Usage of Navigation tool , Timeliner and Clash Detection test using Naviswork
Aim: To export the Revit architecture and structure model to Navisworks Cache file
Procedure:
- Open the model which is to be exported
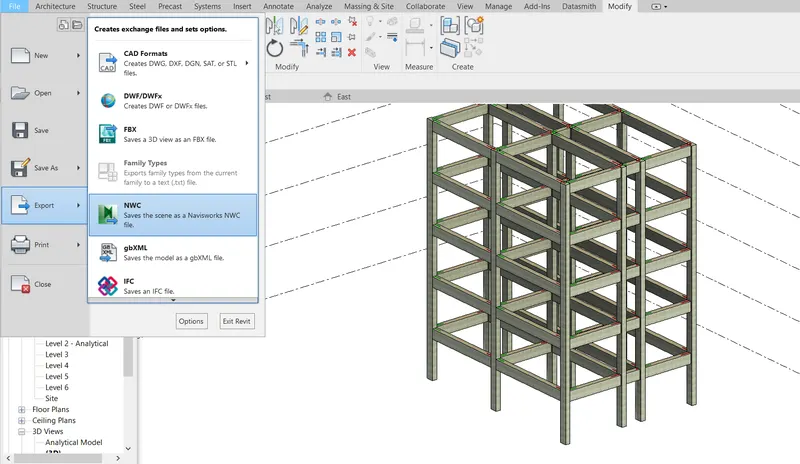
- Go to the file option, select export and click on NWC then the dialogue box appeares and click save
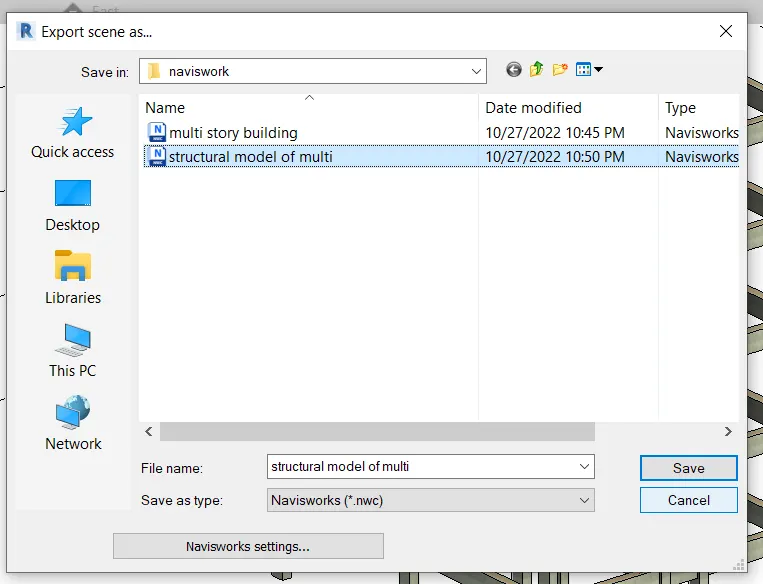
- Then the file will be saved in naviswork
- Open naviswork software and then click on open, open the file which was saved.
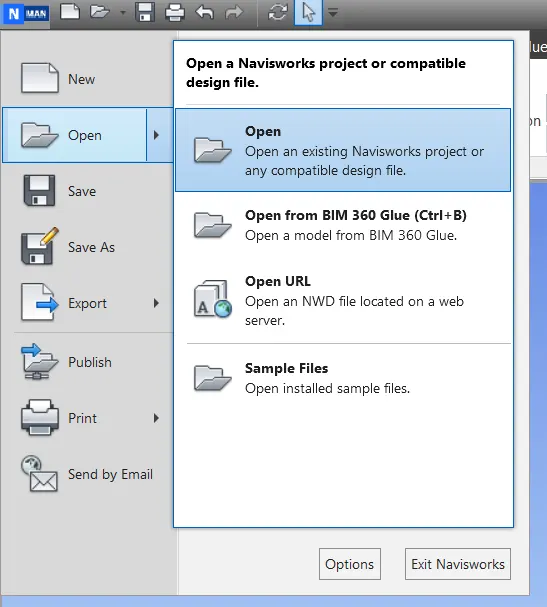
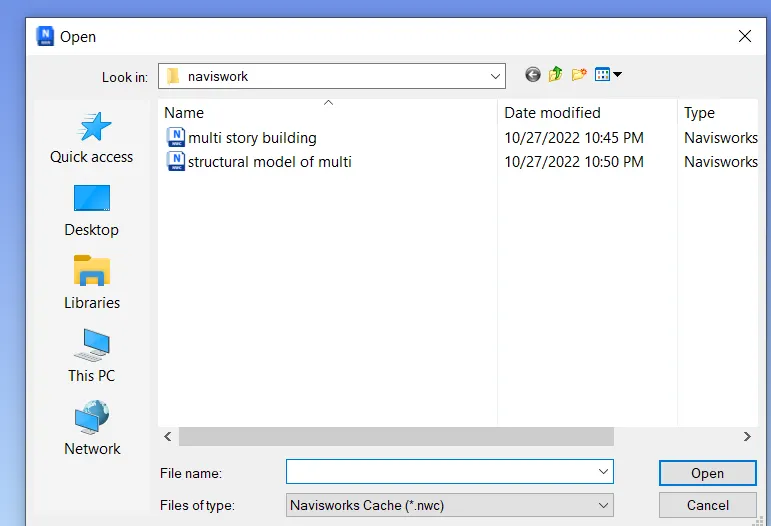
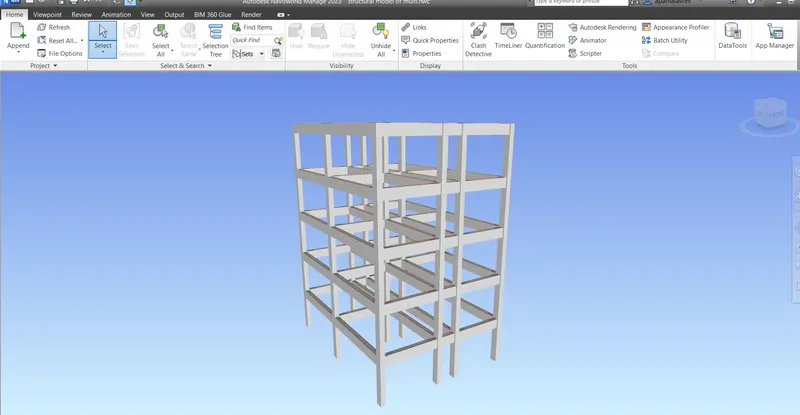
Result: Using NWC option both structure and architecture is exported from revit to naviwork.
2. Aim: To use navigate tool to walk around the model and walk through the rooms created and record it.
Procedure:
- Open naviswork software and open the architectural file which was exported
- Click on viewport option and select walkthrough option
- Then click on save viewpoint, then select the record to record the viedo of walkthorugh
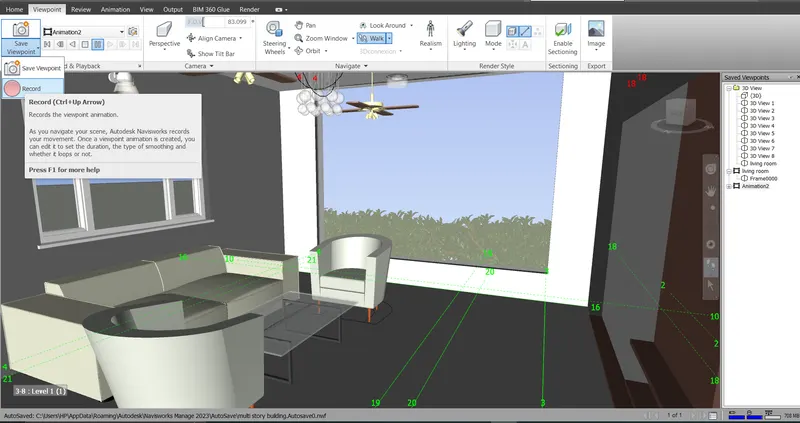
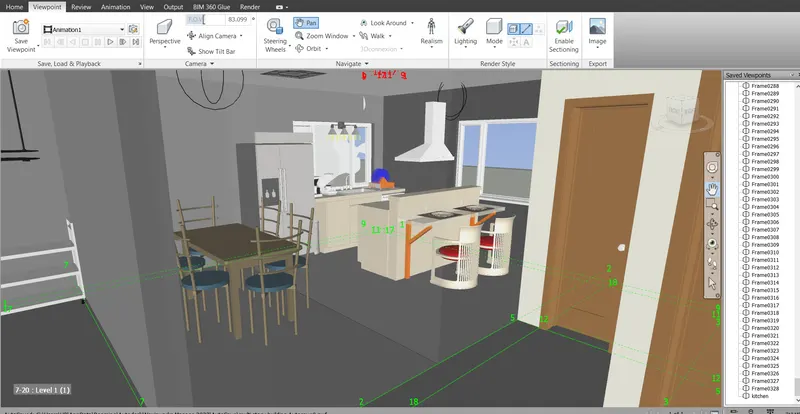
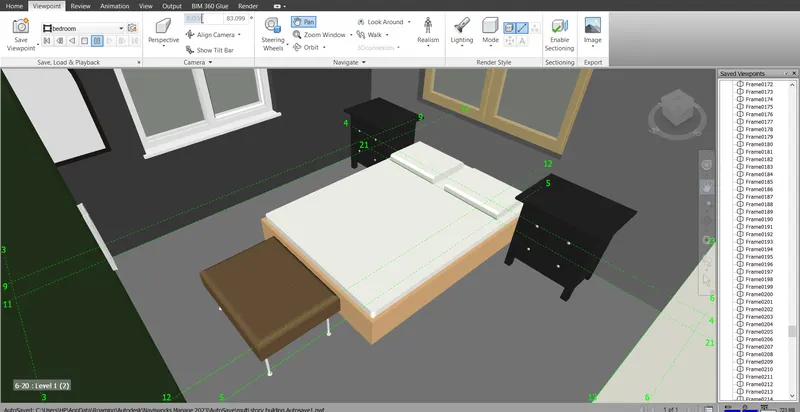
3.Aim: To use Realism feature to walk through the model and record it.
Procedure :
- Open the architectural file which was exported to naviswork
- Click on viewpoint option and select relasim and select third person
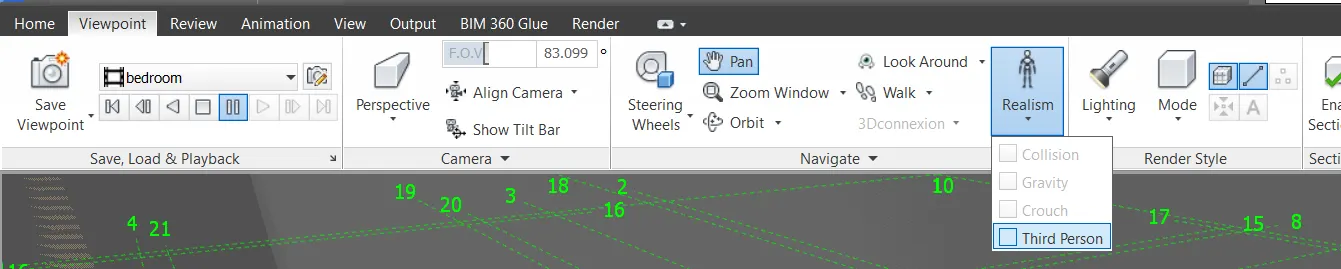
- Now click on save viewpoint and select walkthrough option
- After clicking on relalism option then select walkthrough option and using cursor option you can move around.
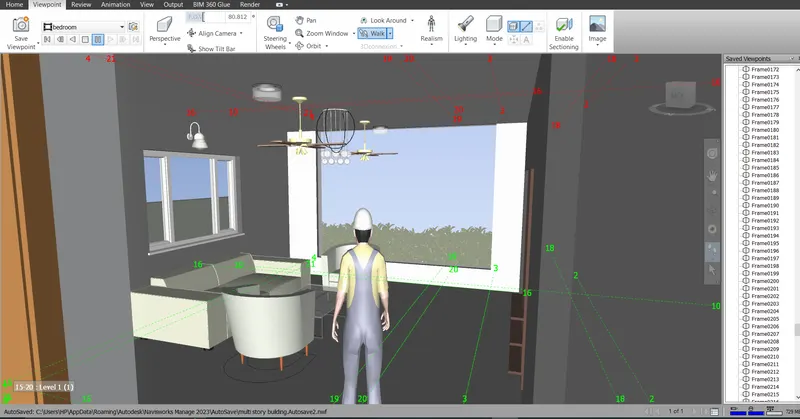
Result:With the help of above procedure use navigate tool to use realistic feature to walk through the model and record our walkthrough as animation.
4. Aim:To create the clas detection test between two model
Procedure:
- Open the architecture model which was saved in naviswork
- Now go to append option and add structural model to architeture model
- After loading both the file go to the home tabe and click on clash detection
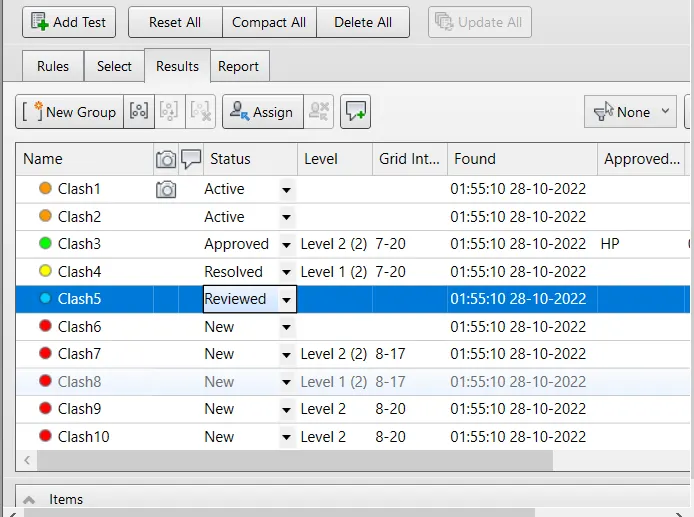
- In the clash detection dialogue box click on add test and select structural and architectural model then select run test
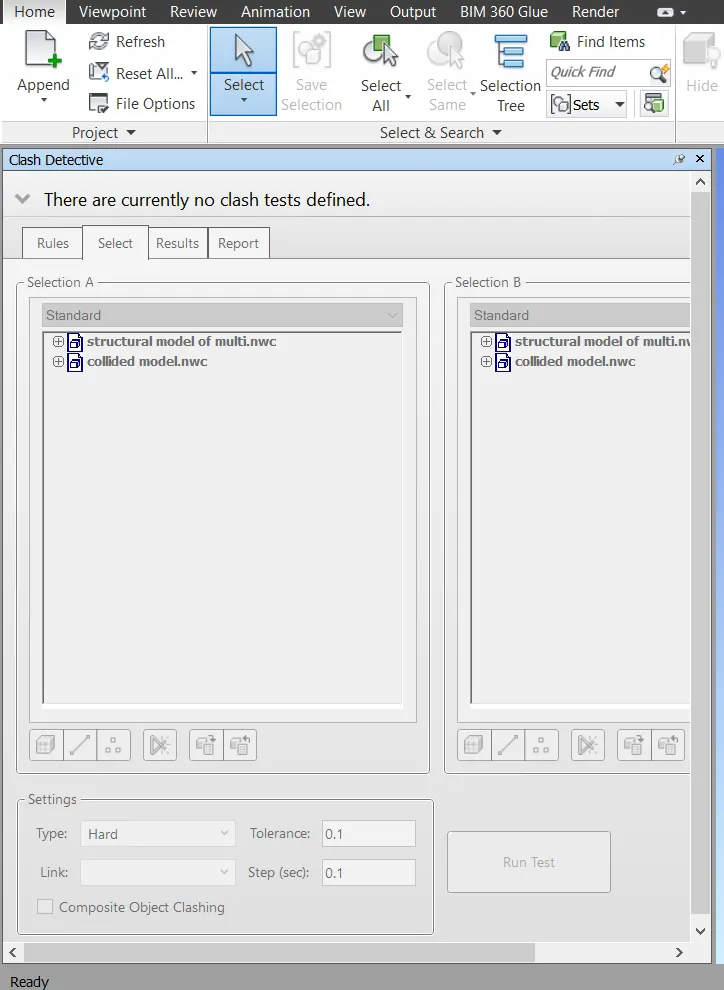
- Then all the clashes will be dected
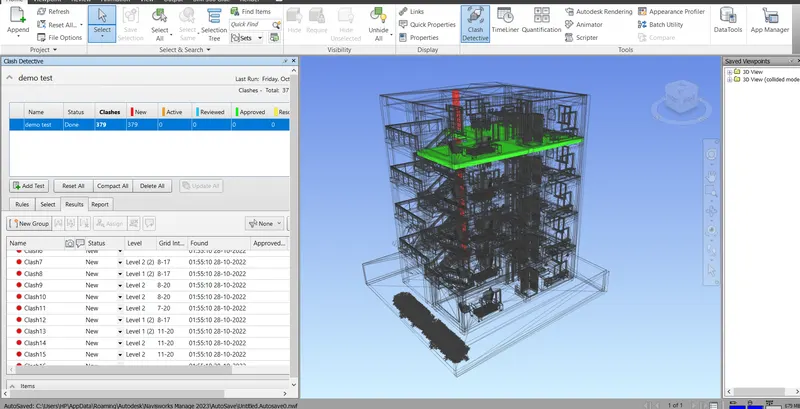
- To change the status, click on status option and change it accordingly
5. Aim: To prepare a schedule for the project using timeline feature in naviswork
Prodedure:
- Open the structural model in naviswork
- Click on timeline option, timeliner tool will appear
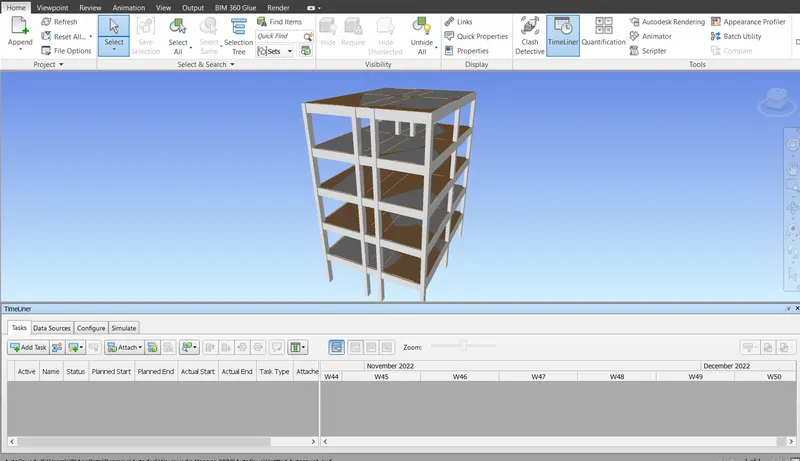
- Then select the selction tree from the left corner
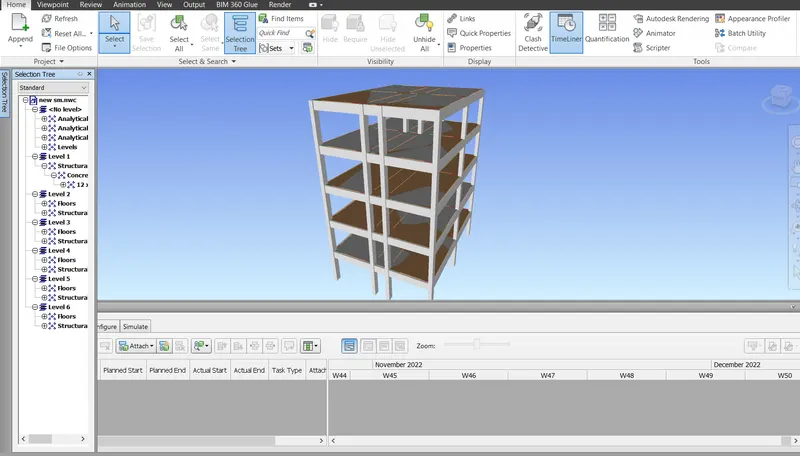
- Then the components to to add
- Enter the all the details in the timeliner
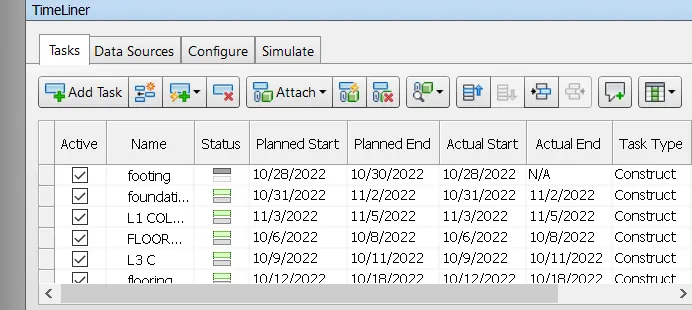
- Once we finish filling all the details in the timeliner dialog box we can click on simulate option.
Result :Using the above procedure the schedule has been created and visual simulation is also done using the simulation option with the start and end date.