Usage of Navigation tool , Timeliner and Clash Detection test using Naviswork
Q1)
Aim: To use the architecture /structure project file developed by you from week 6-8.export the Revit file to the Navisworks cache file
Procedure :
Step 1: Open Revit software and click open the saved file which was developed by week 6
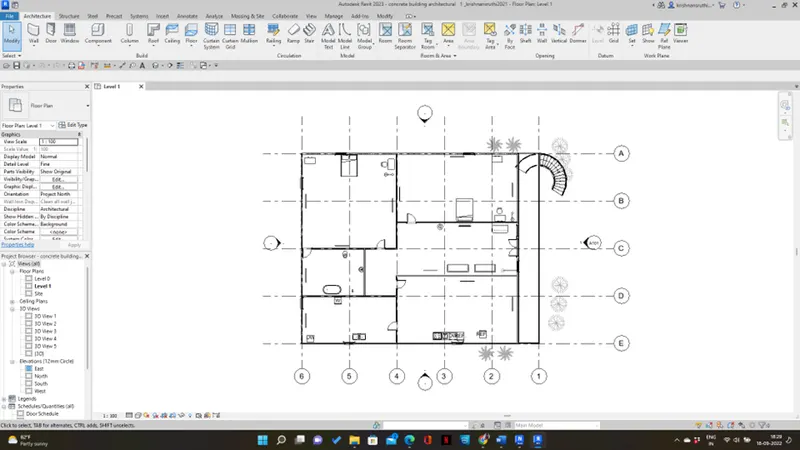
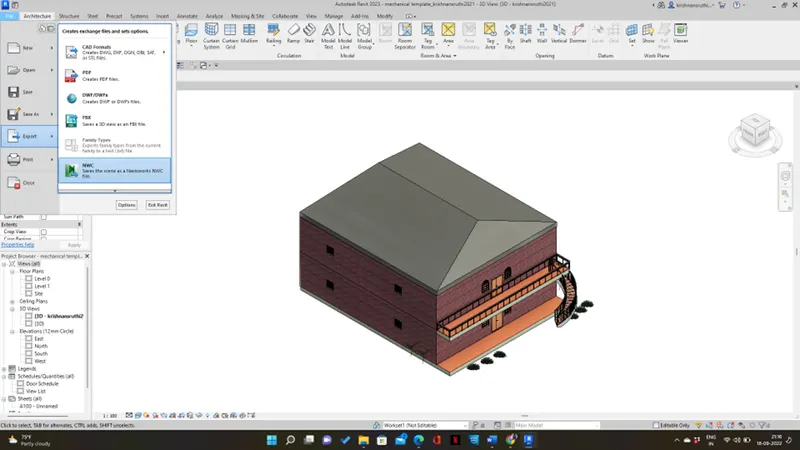
Step 2: Click on the file and select the export option and choose NWC
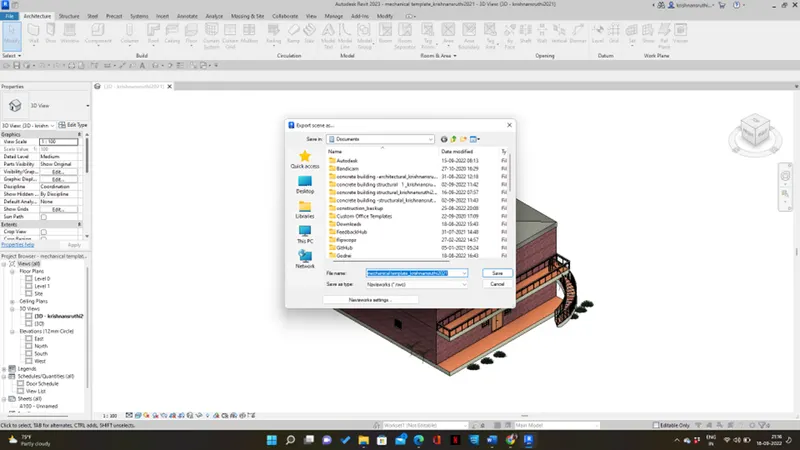
Step 3; Select the required file to open and click on the save option
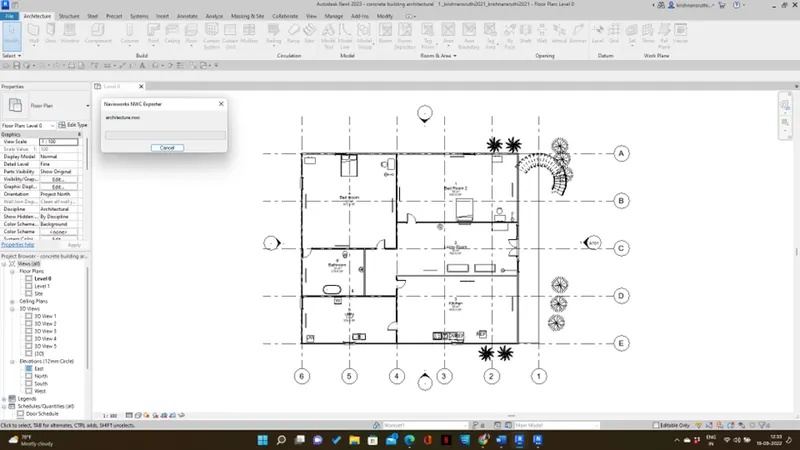
Step 4: Then a file will be exported to Navisworks
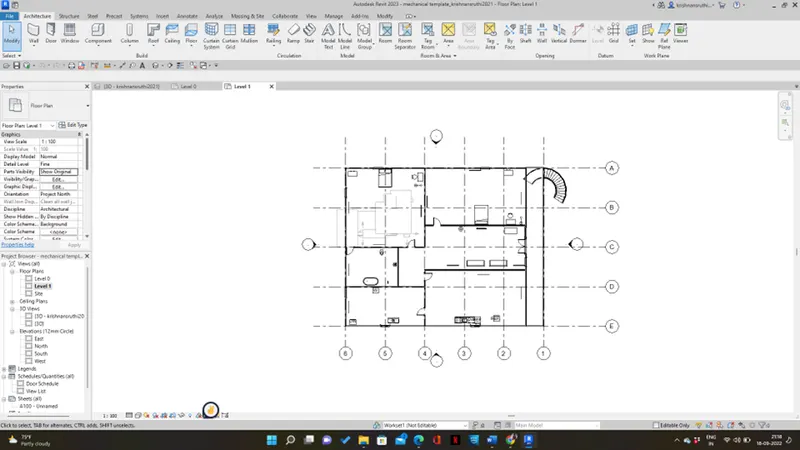
Step 5: Go to the structural file menu and click open
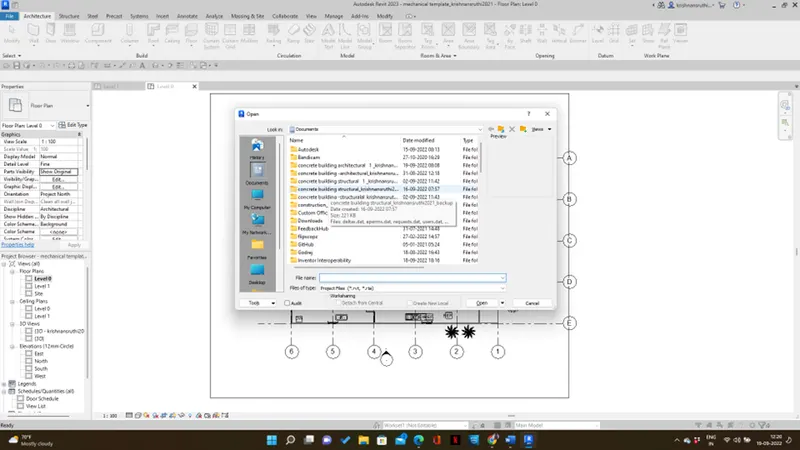
Step 6: dialog box will appear, type the filename in Navisworks and select the extensions NWC and click ok
Step 7: Revit the file opened in Navisworks
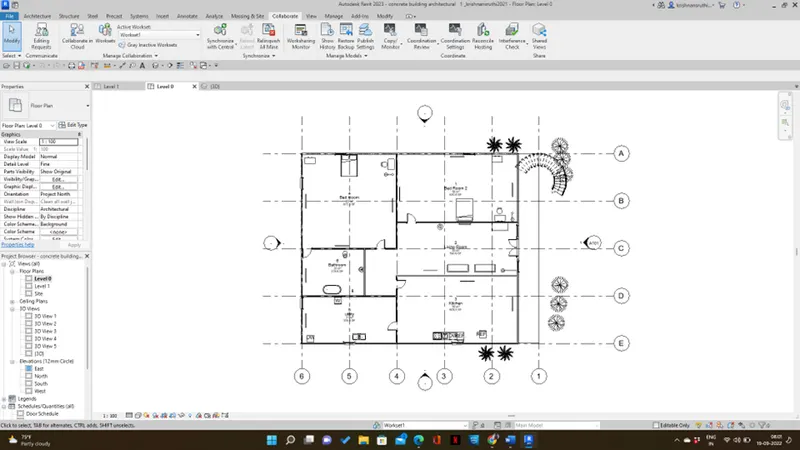
RESULT: Successfully exported the Revit file to Navisworks
Q2)
Aim: Use the navigation tool to walk around the model and walkthrough
Procedure:
Step 1: Go to naviswork manage and click on the file and open and click on the required file
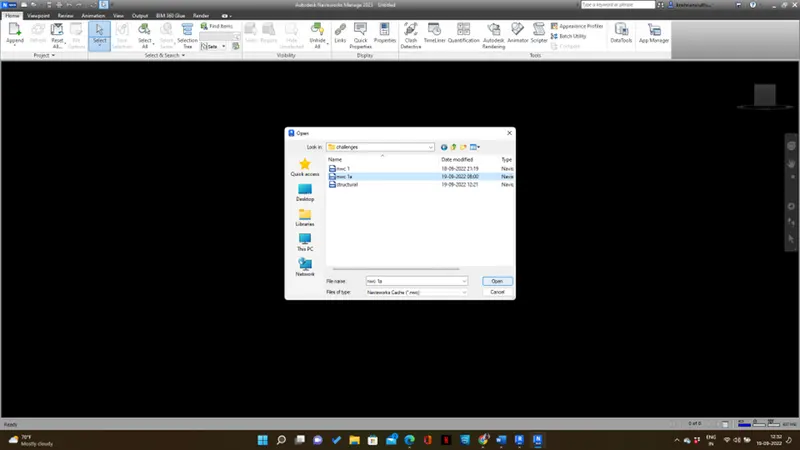
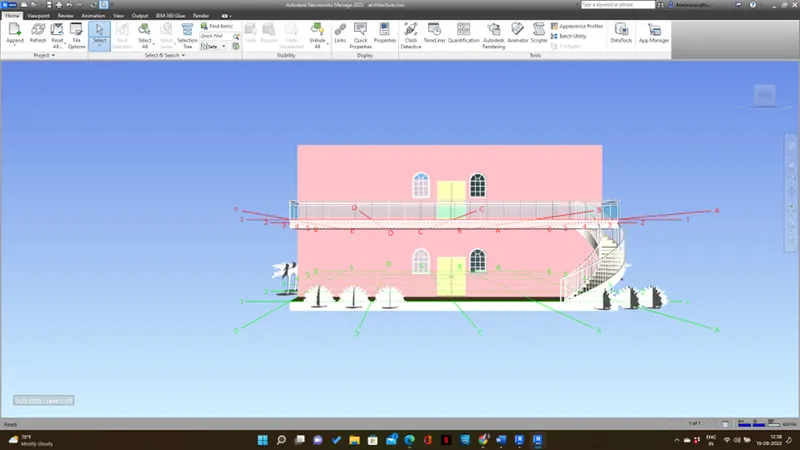
Step 2: Go to the viewpoint tab and choose the walk option for recording the walk to choose to save pint and click record
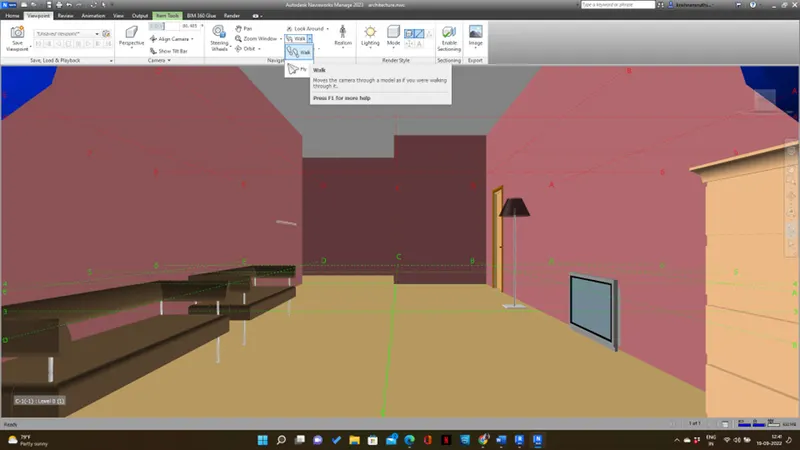
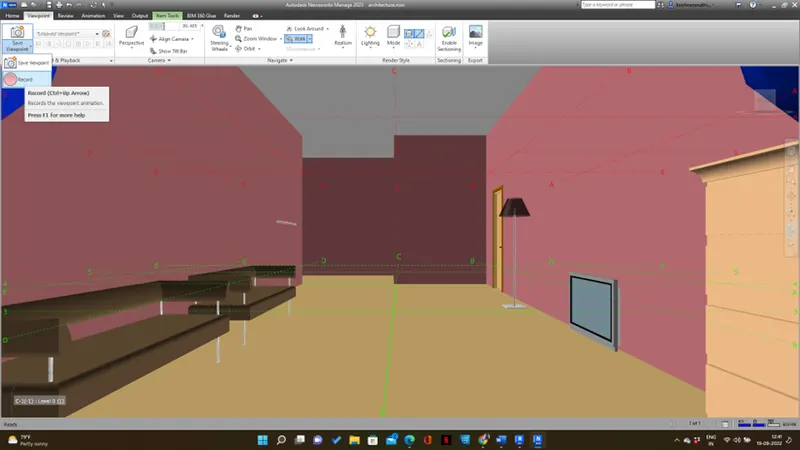
Step 3; We can walk through to the desired position using the walk tool
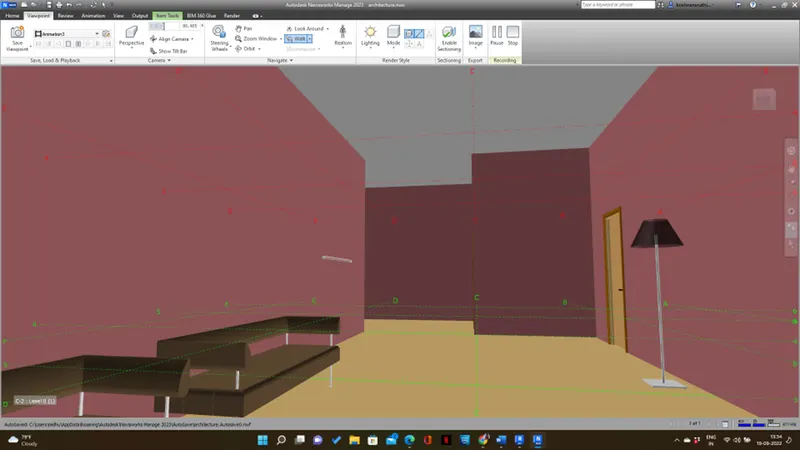
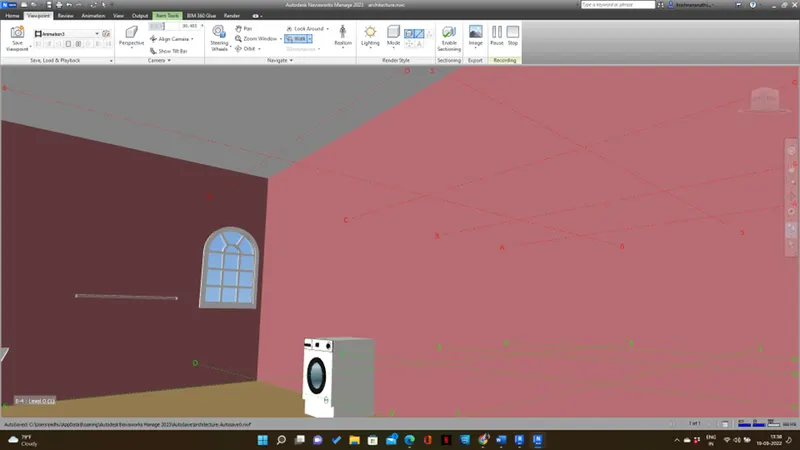
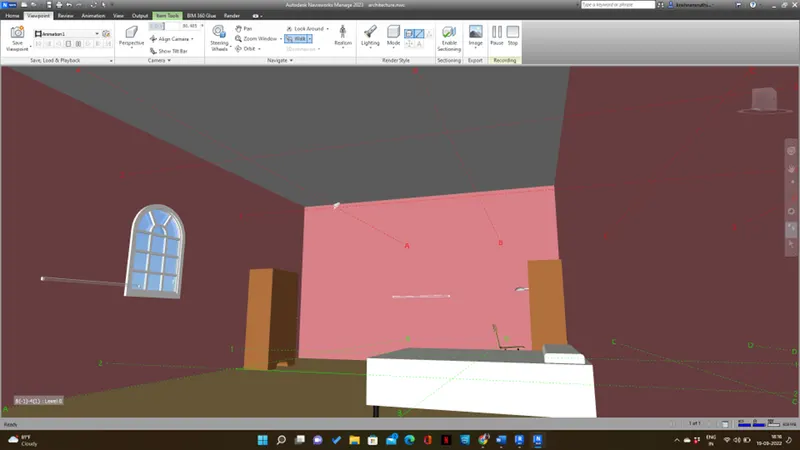
Step 4: The recorder walk points available in the saved viewpoints
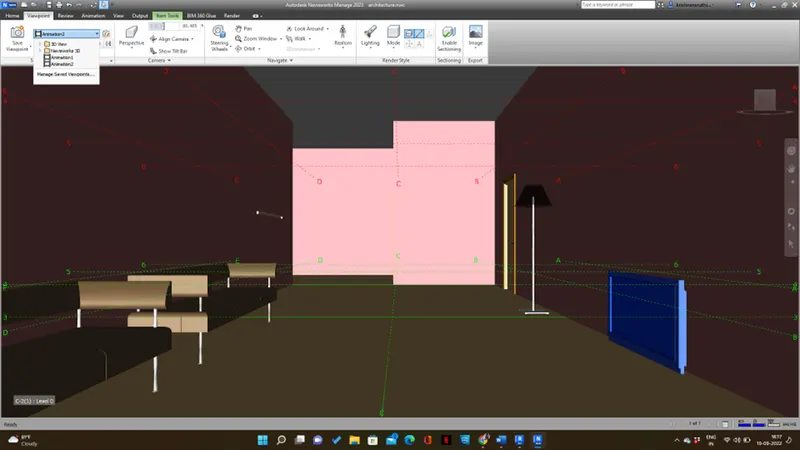
Step 5: To see the recorder video, go to animation and choose the video and click the play button
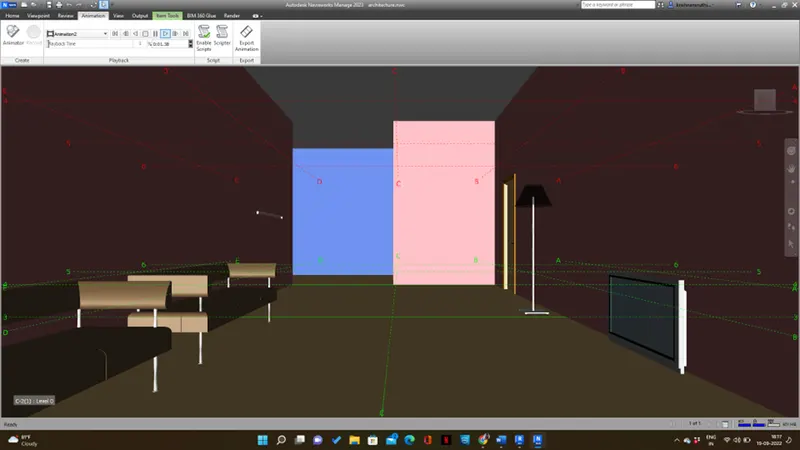
Step 6: To export to the system go to the animation tab and choose export animation, a dialog box will appear to change its format to windows avi and save the file
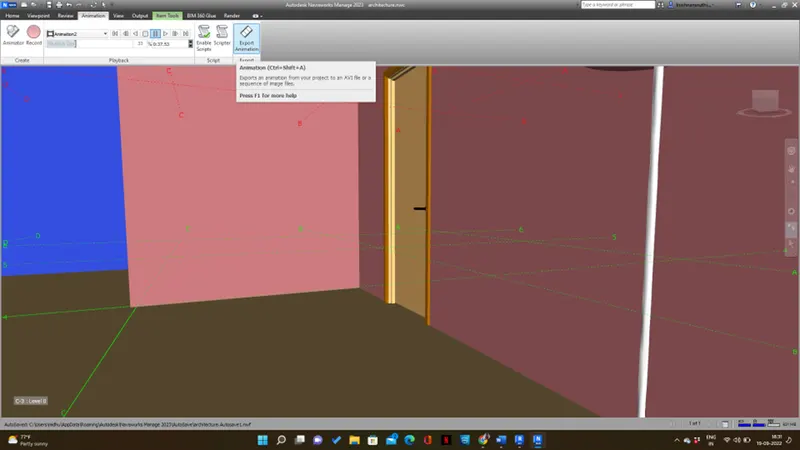
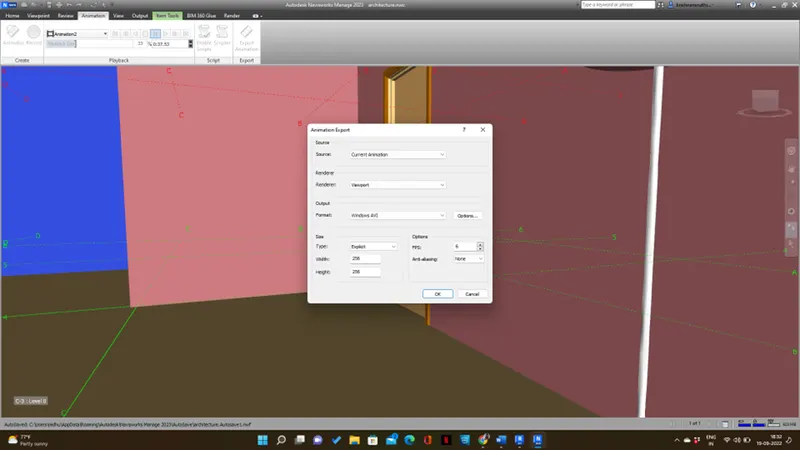
Result: Successfully use navigate tool to walk through the model and to walk through the rooms created and record our movements.
Q3)
Aim: To use navigate tool to use the realistic feature to walk through the model and record our moves as animation in the Navisworks file.
Procedure :
Step 1: Go to navis work manage and click on the file and open and click on the required file
Step 2: Go to the viewpoint tab and choose realism and click the third person option for recording the walk choose to save pint and click record
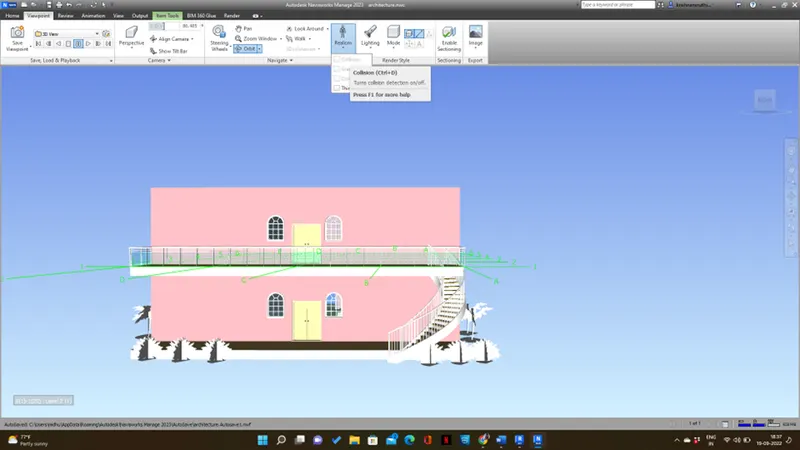
Step 3; click the walk option and walk through to the desired position
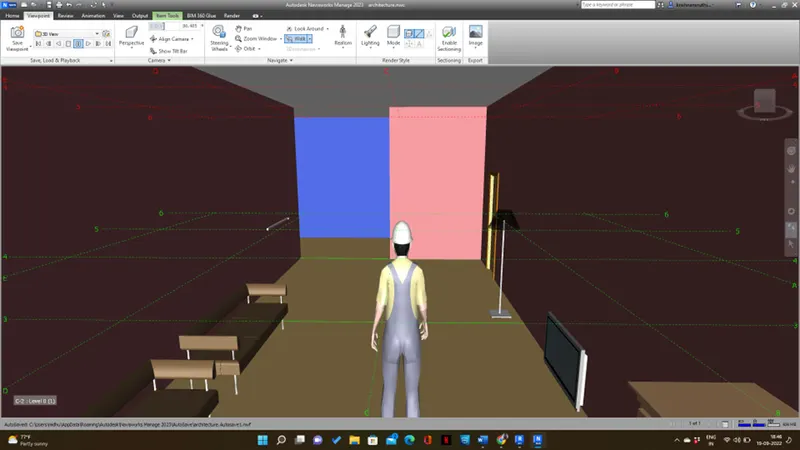
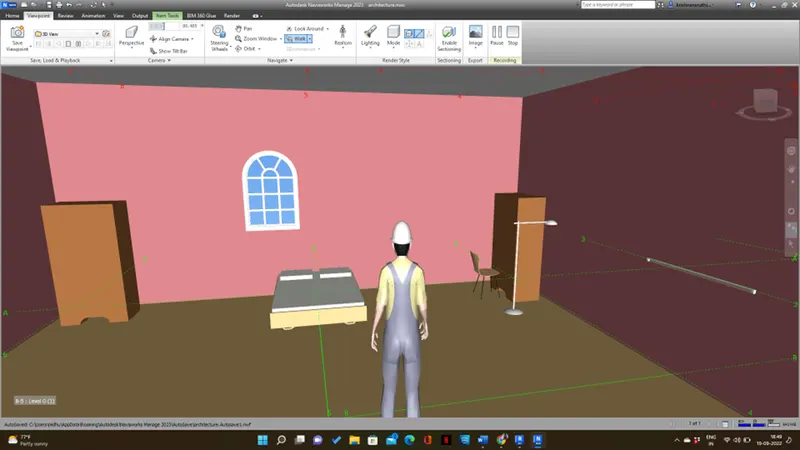
Step 4: The recorder walk points available in the saved viewpoints
Step 5: To see the recorder video, go to animation and choose the video and click the play button
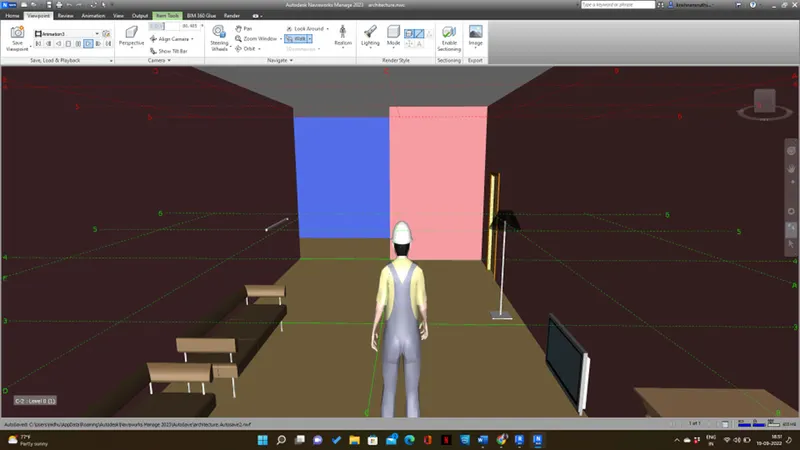
Result: Successfully use navigate tool to use the realistic feature to walk through the model and record our movements.
Q4)
Aim: To create a clash detection test between the architectural and structural models.
- Run the clash detection test
- Study the clashes between the models
- List which of the clashes could be approved
- List which of the clashes could be neglected
- List which of the clashes can be resolved
- Save the results after color coding the clashes to the Navisworks file
- In case of resolution annotate the clash and save the view to defined views in Navisworks
Procedure:
Step 1: Load the NWC file of both architecture and structural file
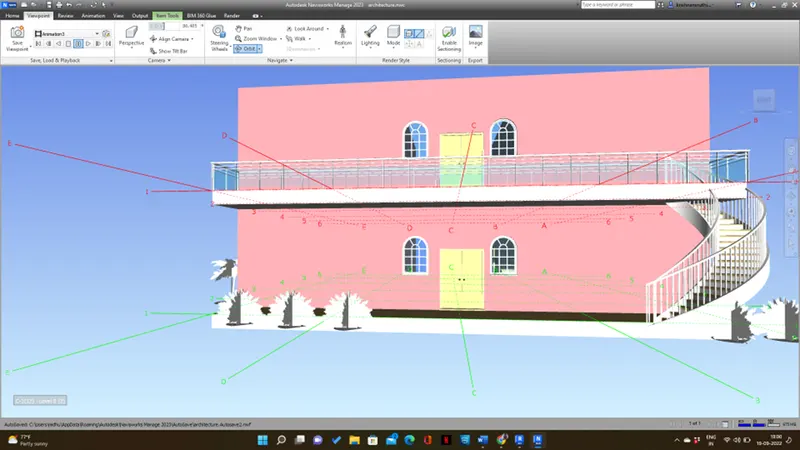
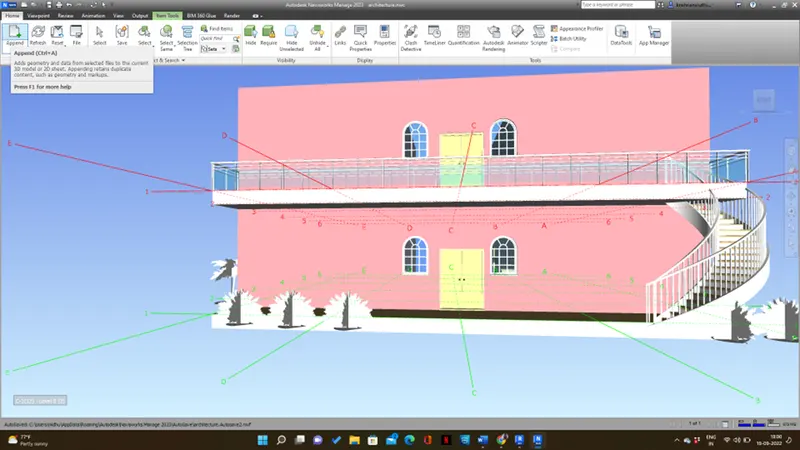
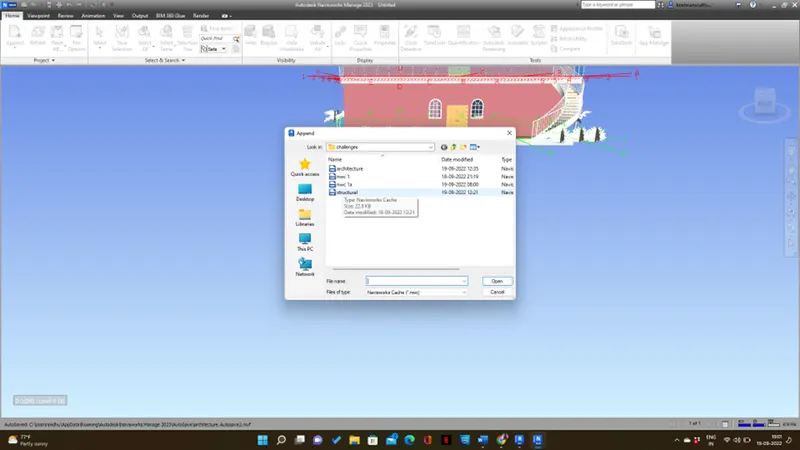
a)
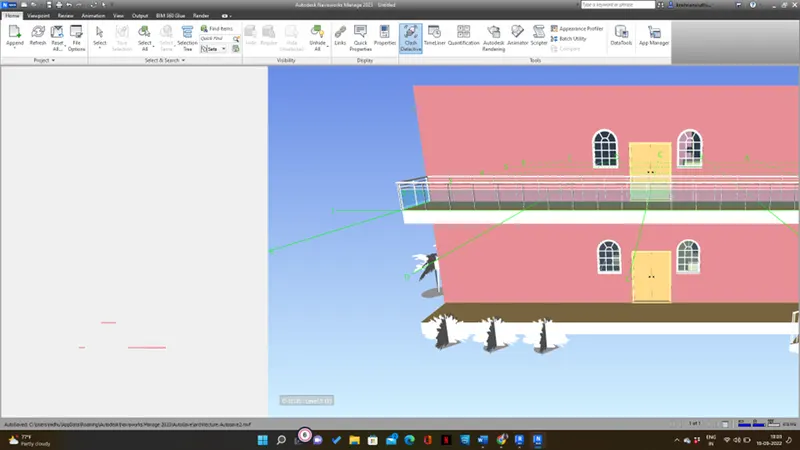
Step 2: Go to the home tab and click clash detective
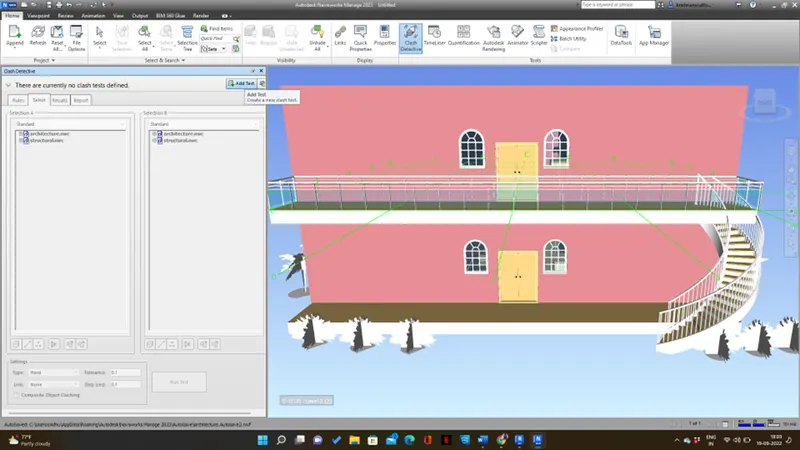
Step 3: A dialog box will appear, choose to add a task and select architecture from selection A and structural from selection B
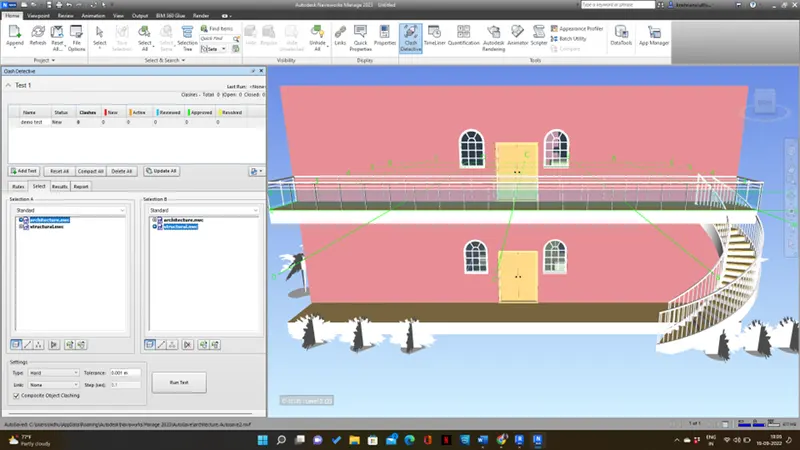
Step 4: Choose the surface and run the test
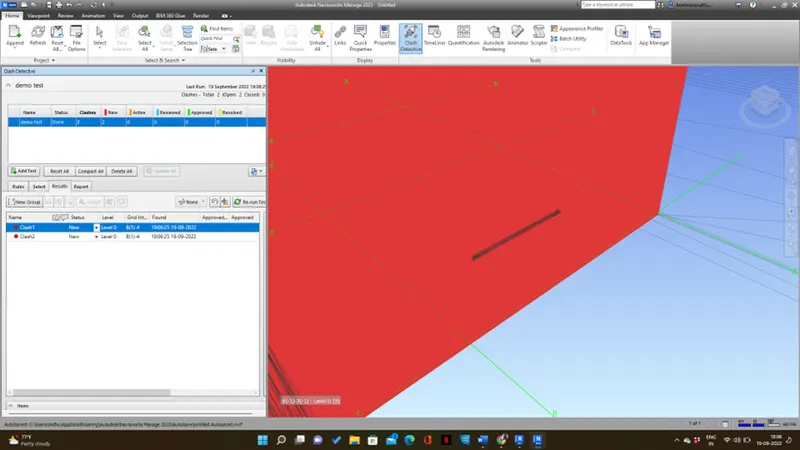
Step 5: Click any one clash and provide the status to any like approved, neglected, and resolved
Result: Successfully doing the clash detection test and we can resolve the problems and send the file to the design engineer for corrections.
Q5)
Aim: To prepare a schedule for the project by adding reasonable assumptions like task start and end date and simulate the task using the timeline feature in Navisworks.
Procedure:
Step 1: Open the Revit Navisworks and export the architecture file
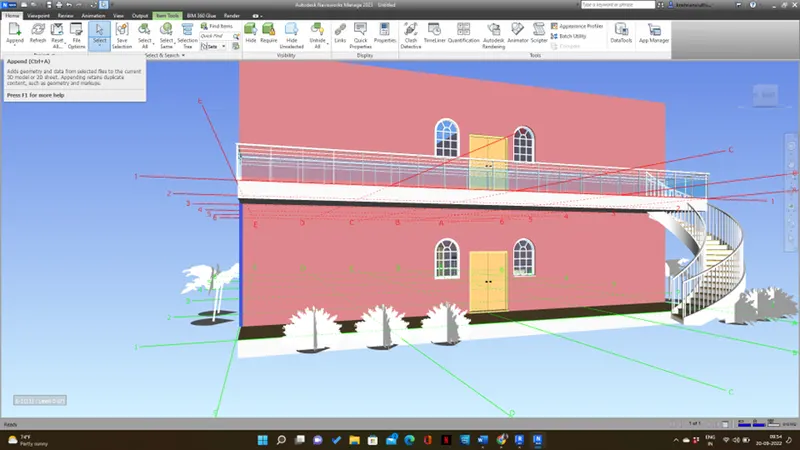
Step 2: Go to the home tab and choose timeliner,a dialog box will appear
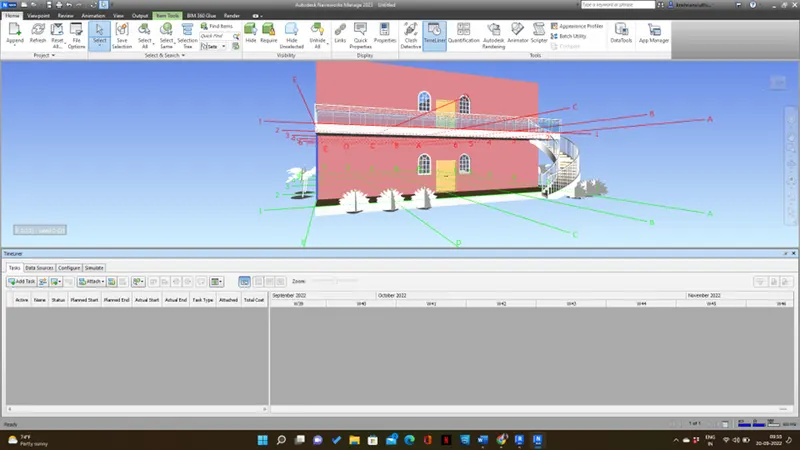
Step 3: Enable the selection tree in the home tab and add a task
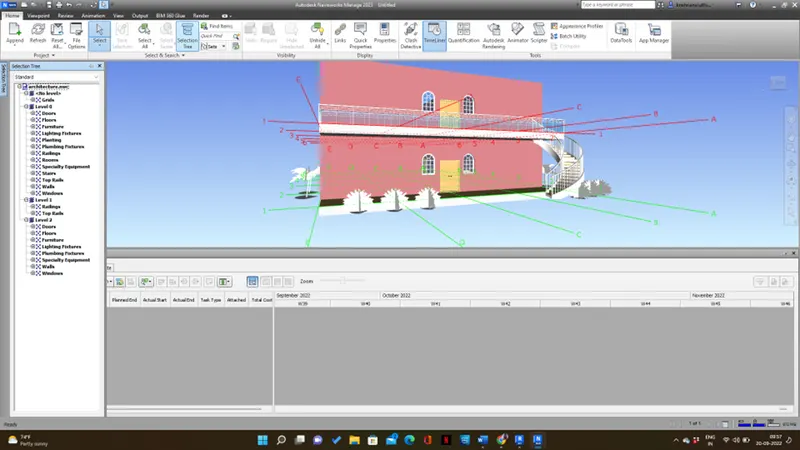
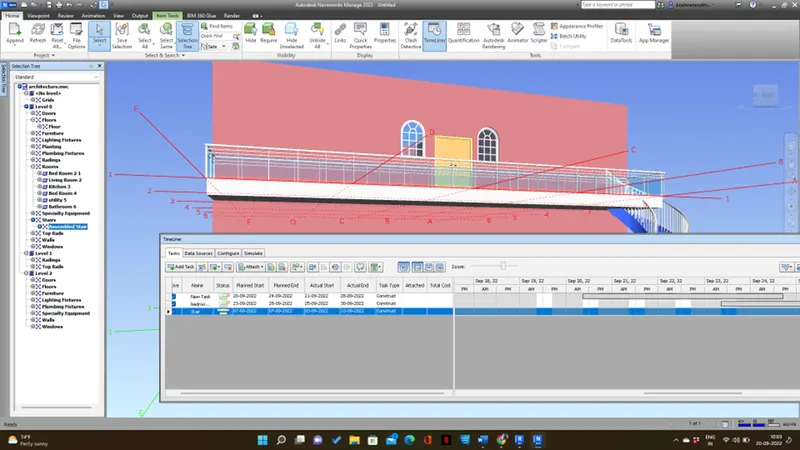
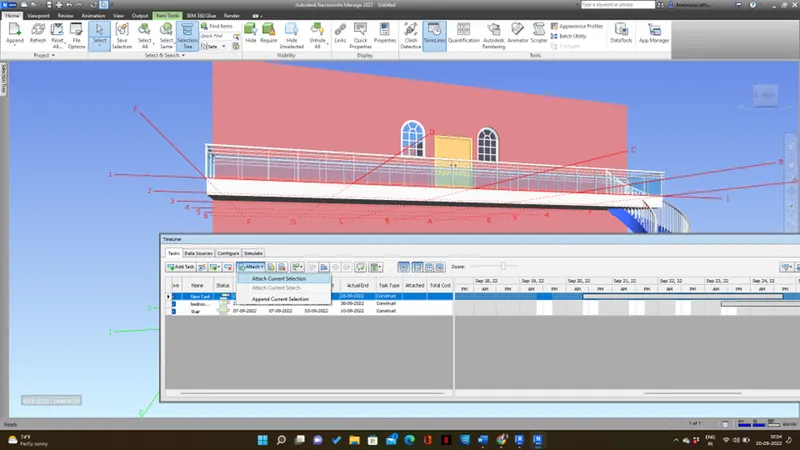
Step 4: Attach the current selection
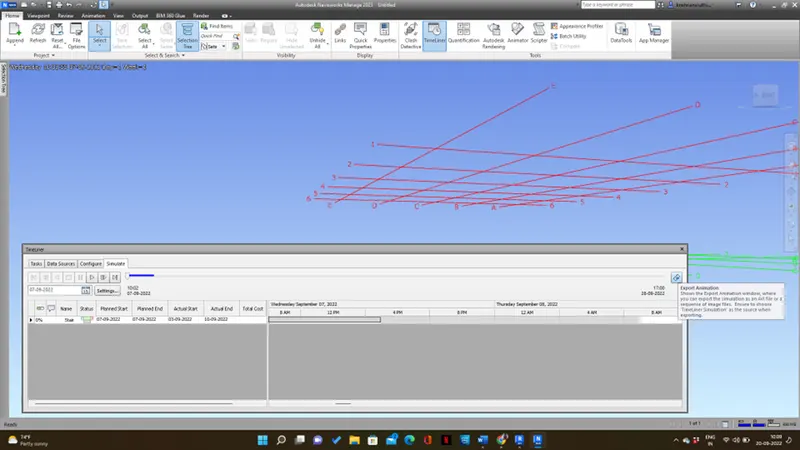
Step 5: To animate the model as per schedule click simulate and click the play button
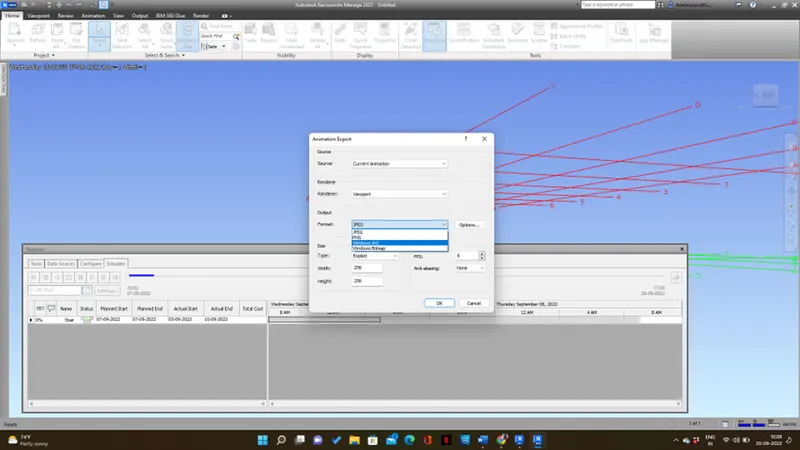
Step 6: Click export animation and choose the format and click ok
Result:Successfully prepare a schedule for the project and add dates to our project and complete a visual simulation using the timeliner feature