Creating Walls, Partition walls and Floors for a residential layout using REVIT
CREATION OF WALLS, PARTITION WALLS, AND FLOORS FOR A RESIDENTIAL LAYOUT USING REVIT
Q1) AIM: To create a floor layout from the week 2 project
PROCEDURE
Step 1: Open the week 2 project
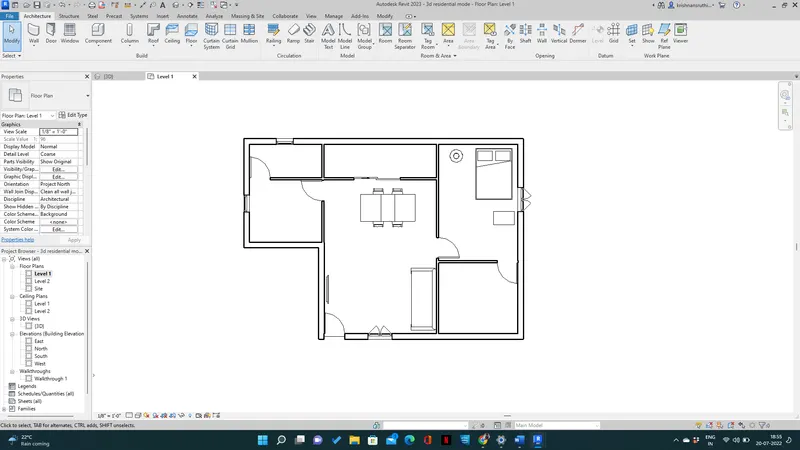
Step 2: Go to the architecture tab and select floor >boundary lines>pick lines
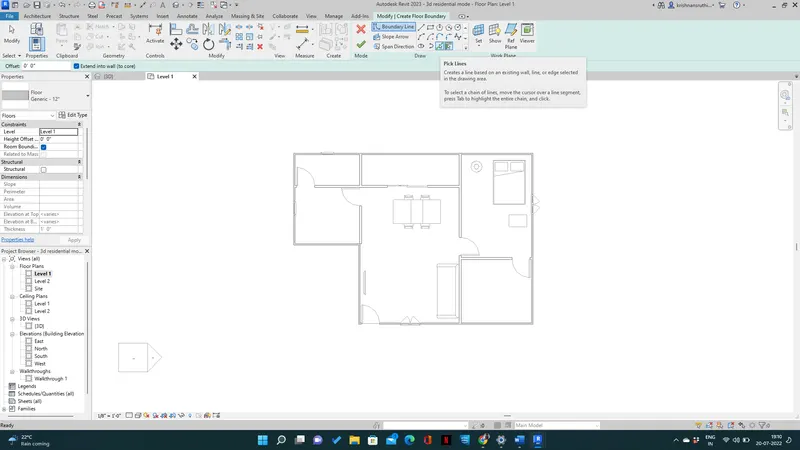
Step 3: Go to property browser >edit type
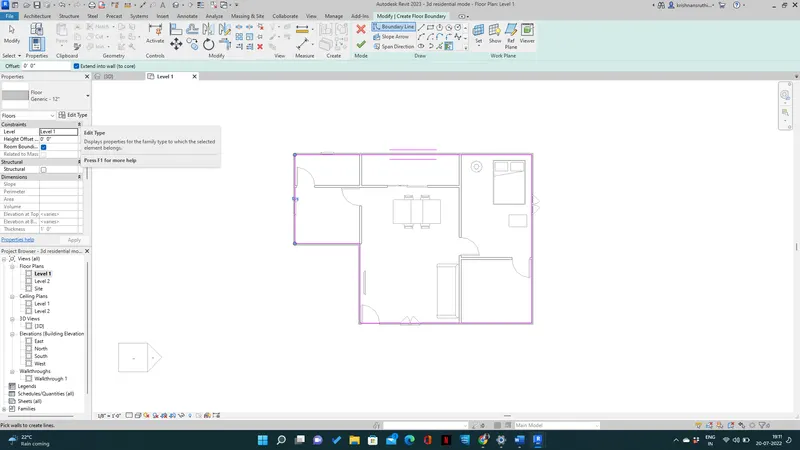
Step 4:click on duplicate>rename the floor type
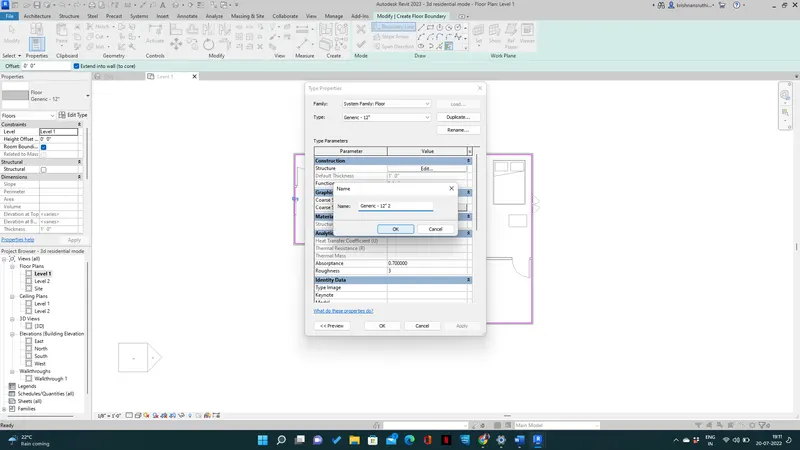
Step 5: A dialog box will appear and change the material >ok
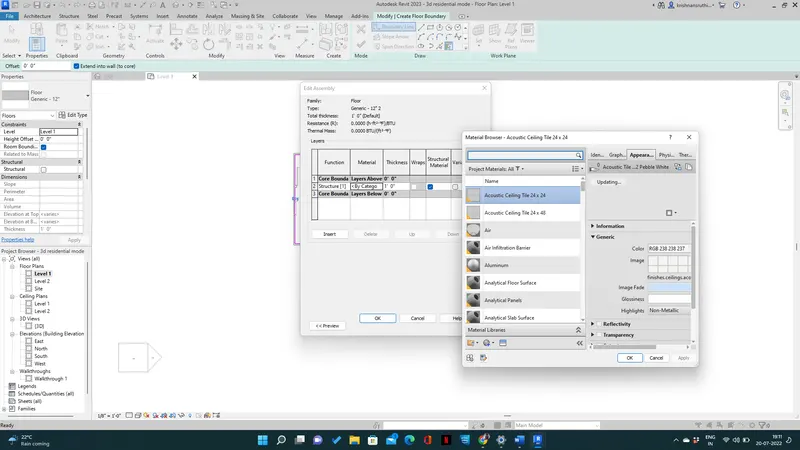
Step 6: change the thickness of the material>ok
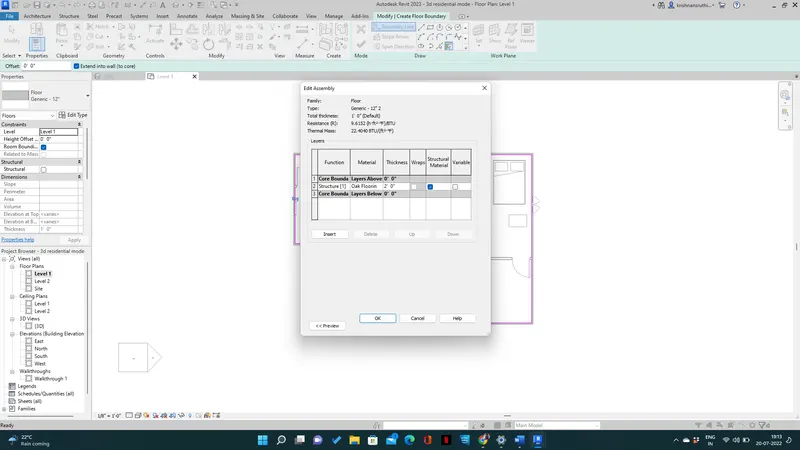
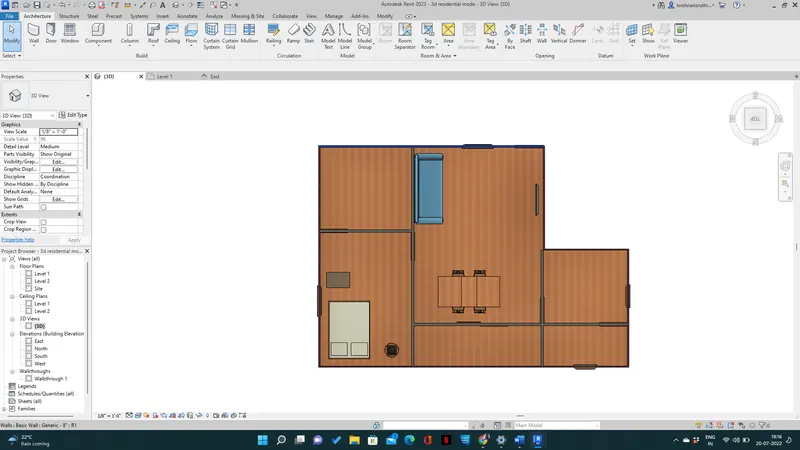
RESULT: Successfully change the floor material and thickness
Q2) AIM: To create the walls and change the material and thickness using the property browser
PROCEDURE
Step 1: Open the Revit project of the residential unit
Step 2: Go to the architecture tab and select walls using pick lines
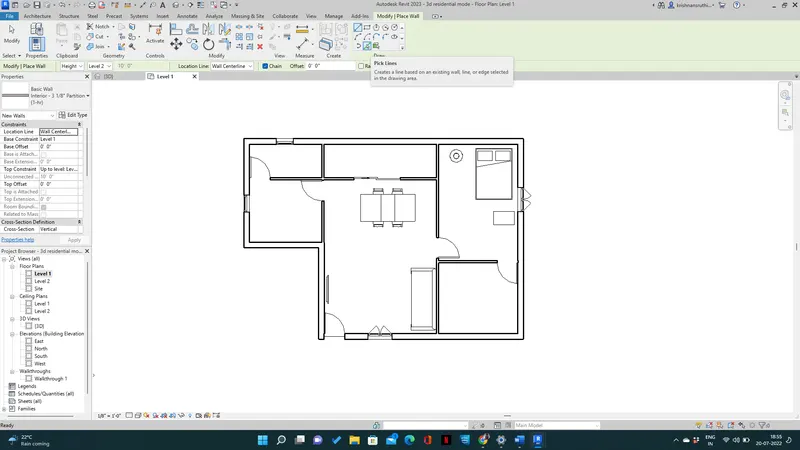
Step 3: Go to property browser and click edit type
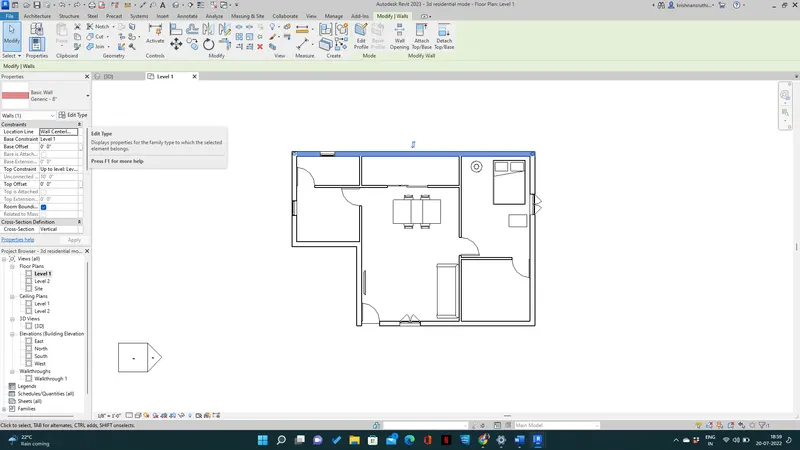
Step 4:A dialog box will appear and click on duplicate>rename it
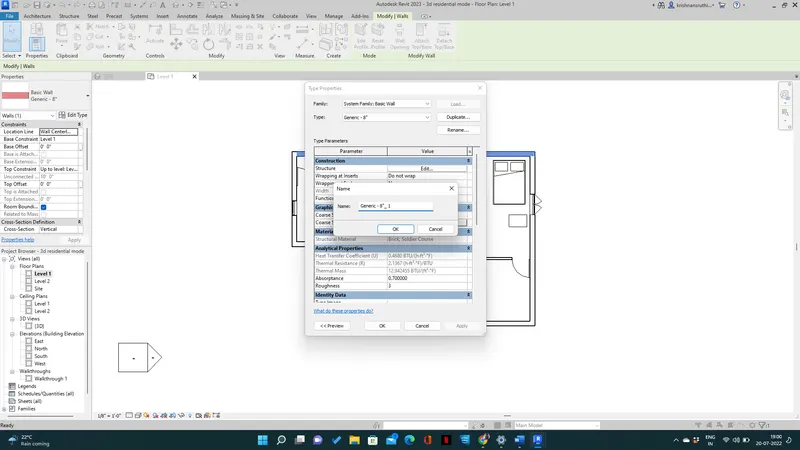
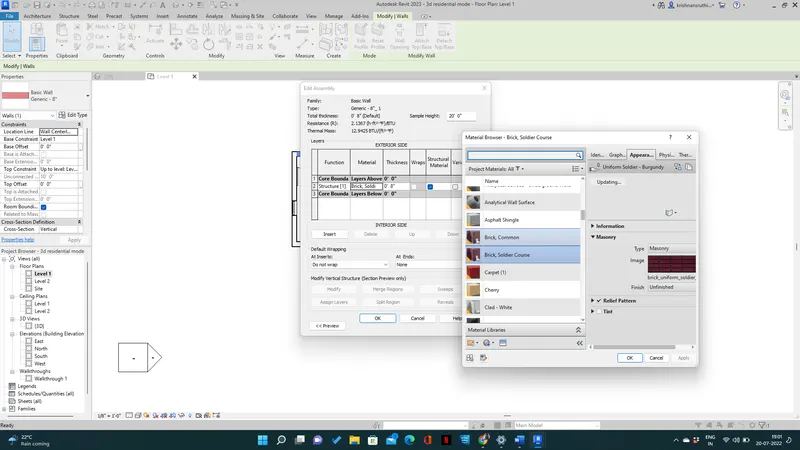
Step 5: Edit structure>choose the material
Step 6: Change the thickness of the wall>ok
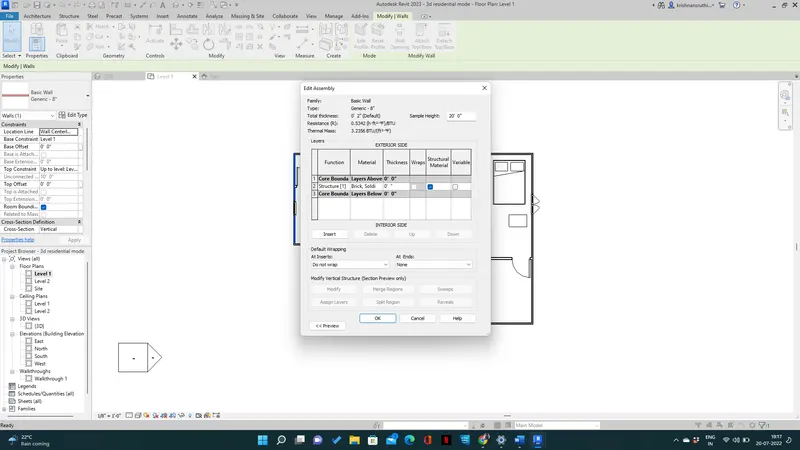
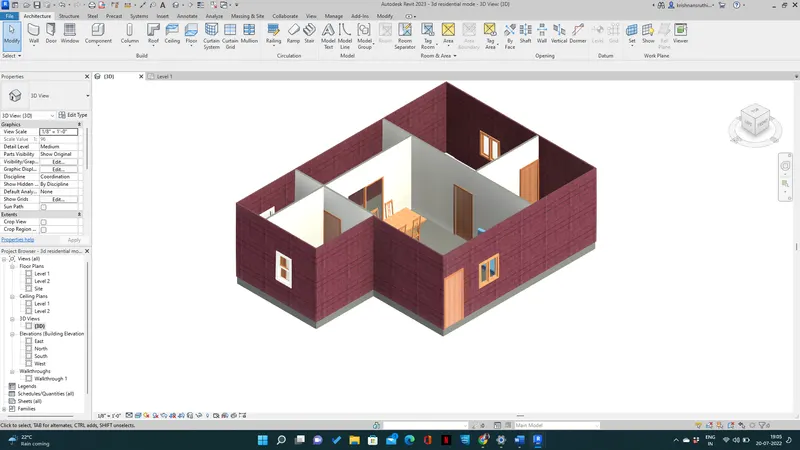
RESULT: Successfully change the floor material and thickness
a) According to my observation, connecting walls with associated levels rather than unconnected is beneficial as if we change the levels even the walls will change automatically.
b)Both are convenient, but I preferred depth as the height can be changed by the constrained method.
Q3) AIM: To copy the model elements such as walls and floors modeled to ground floor level and paste it aligned to first-floor level
PROCEDURE
Step 1: Select all the elements from the ground floor level
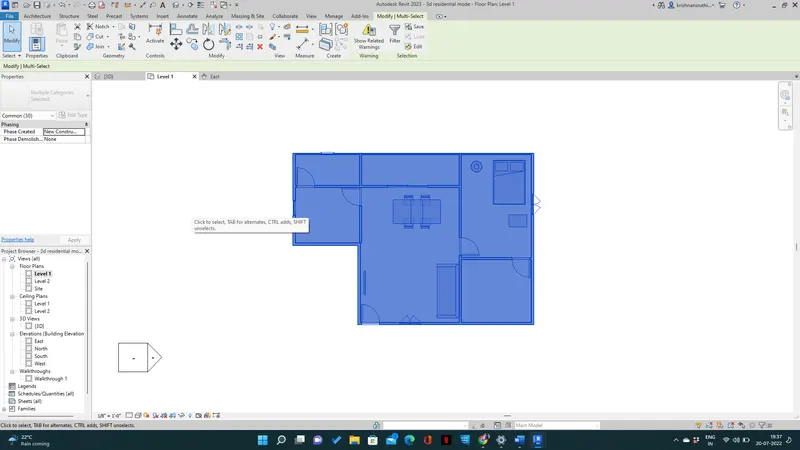
Step 2: A ribbon tab will appear and then select copy to clipboard from the tab
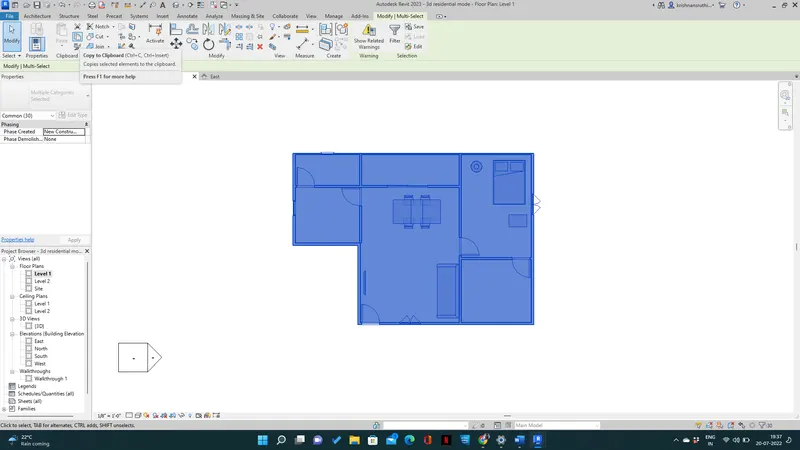
Step 3: Paste>aligned to select levels
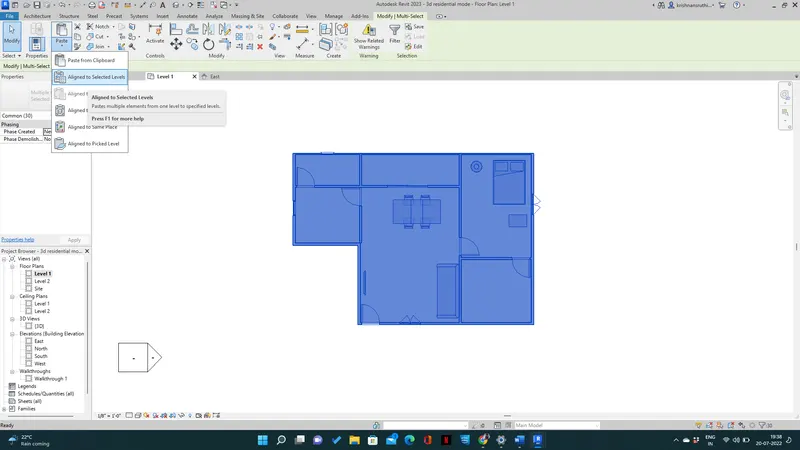
Step 5: select level 2 >ok
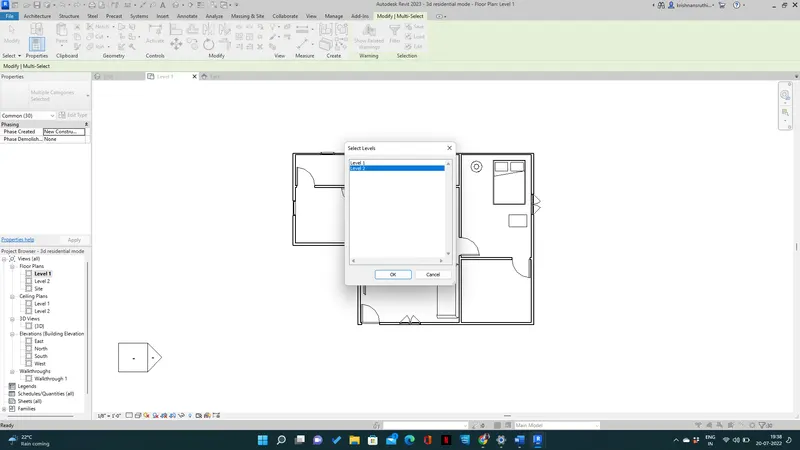
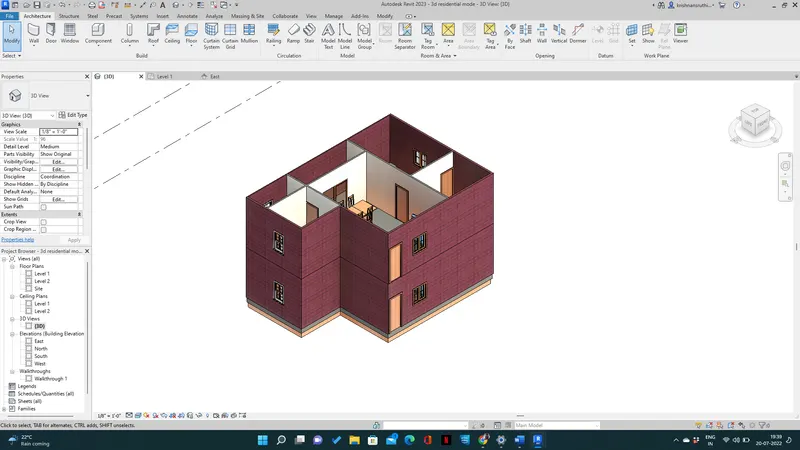
Result: Successfully copy the elements from the ground floor to the first floor
Q4) AIM: To create
a. Living Room/ Drawing Room ( 15’ X 18’)
b. Dining Room (9’ X 11’)
c. Bed Room ( 9’ X 12’ and 15’ X 11’)
d. Rest Room ( 10’ X 12’ )
e. Kitchen (8’ X 10’)
PROCEDURE
Step 1: Go to the architecture tab and select walls
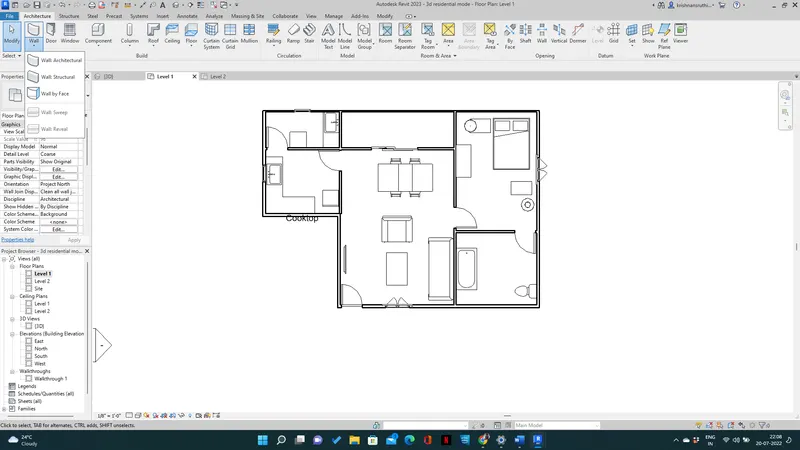
Step 2:Select partition wall from the property browser
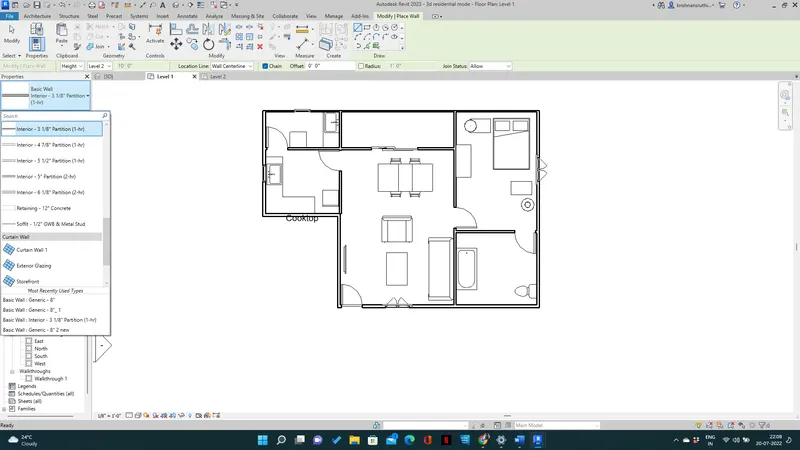
Step 3:Draw the partition wall as per the given dimension
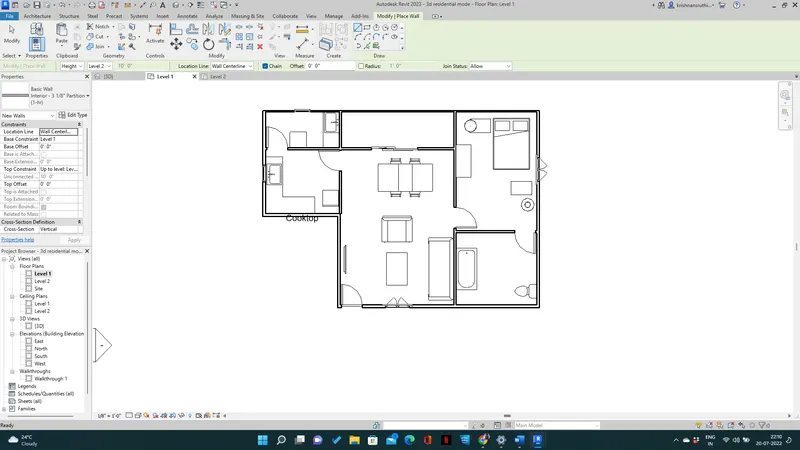
Result: Successfully create interior walls and separate the rooms
Q5) AIM: To add components to be included in a residential unit were inserted to the Revit file.
PROCEDURE
Step1: architecture tab>doors/windows>load families>select it>ok
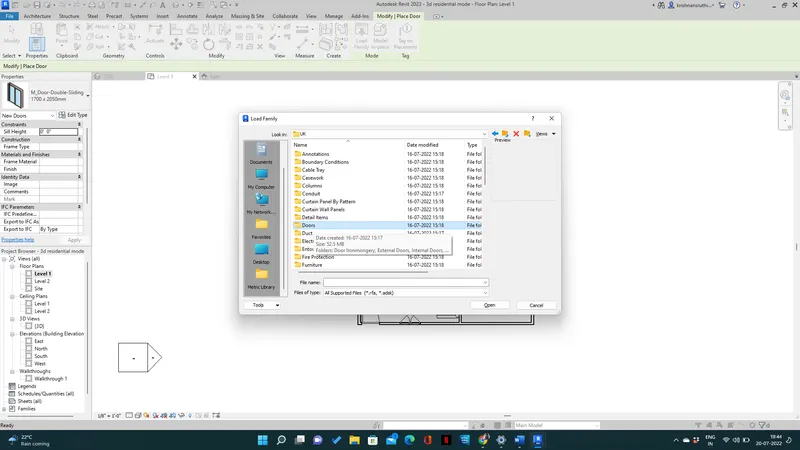
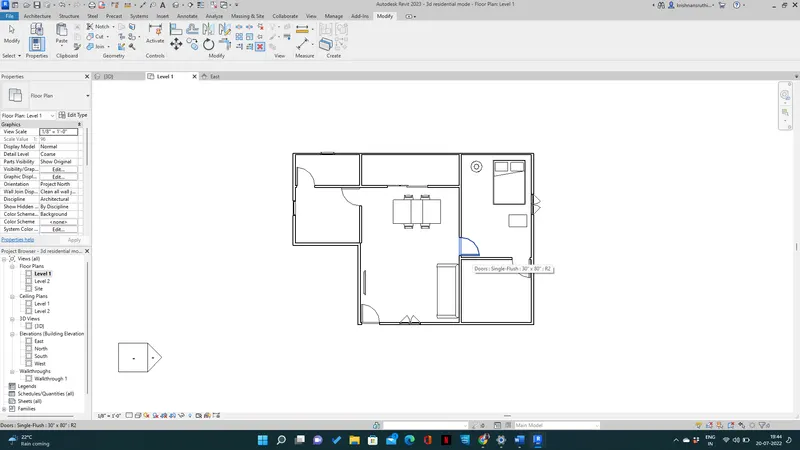
Step 2: Go to the architecture tab and select place a component
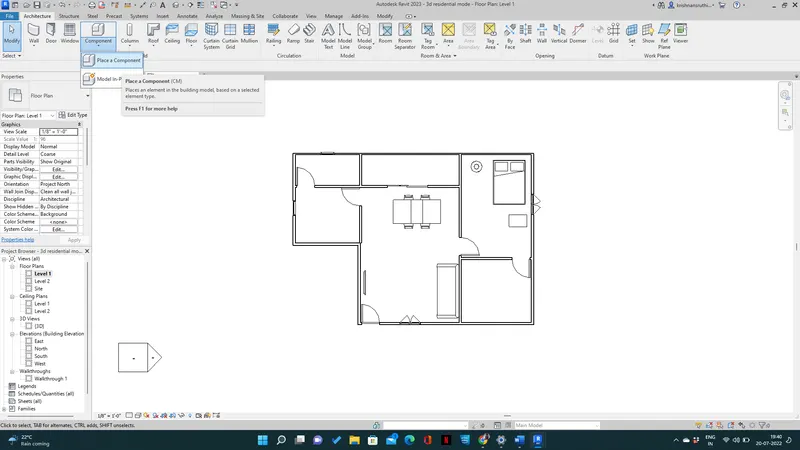
Step 3: Select load families
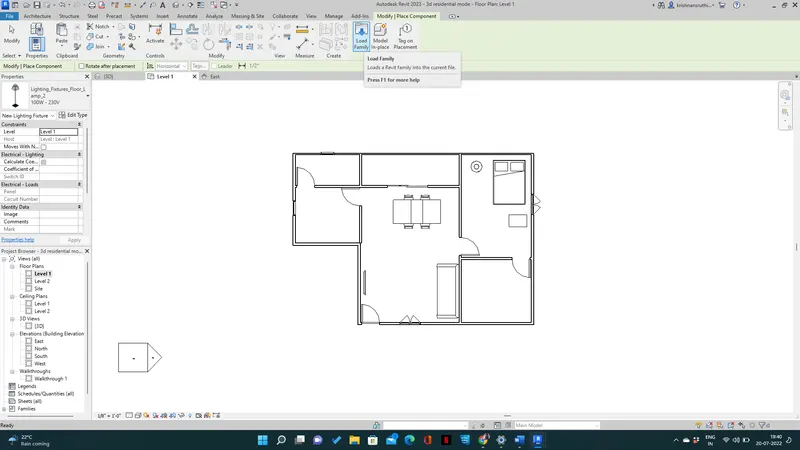
Step 4:Place furniture set couch table, tv desk, and shelf cabinets
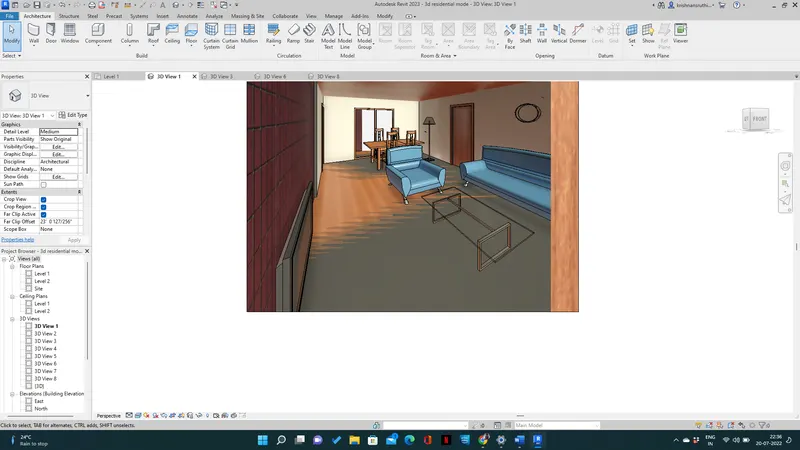
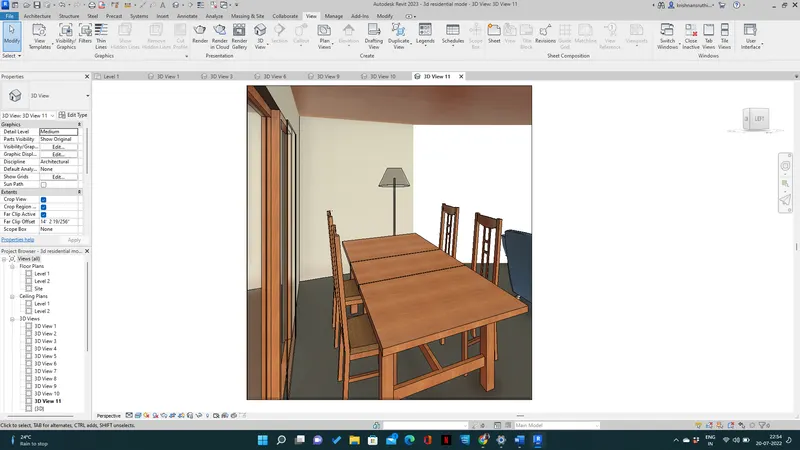
Step 5:The Dining Room must include a table and chairs serving the purpose of eating
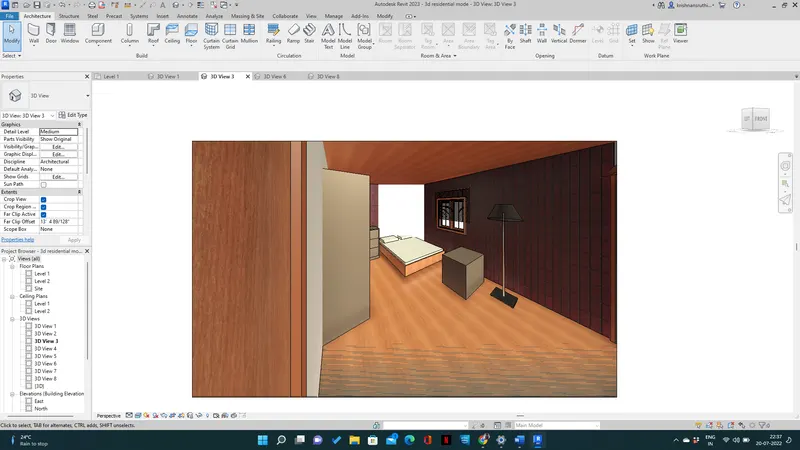
Step 6: Bed Room must include a bed set, shelf, lighting, and individual study desk and chair
Step 7: Restroom should include bathtub and plumbing fixtures discussed in class
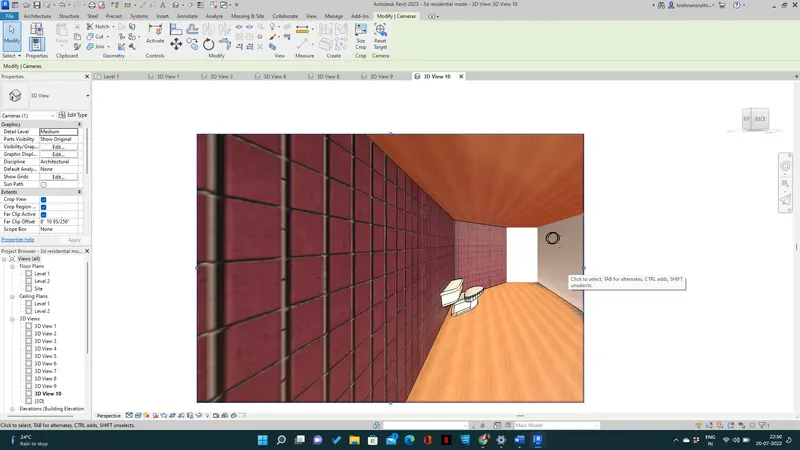
Step 8: The kitchen should include countertops, a gas stove cabinet, and shelves to store food items
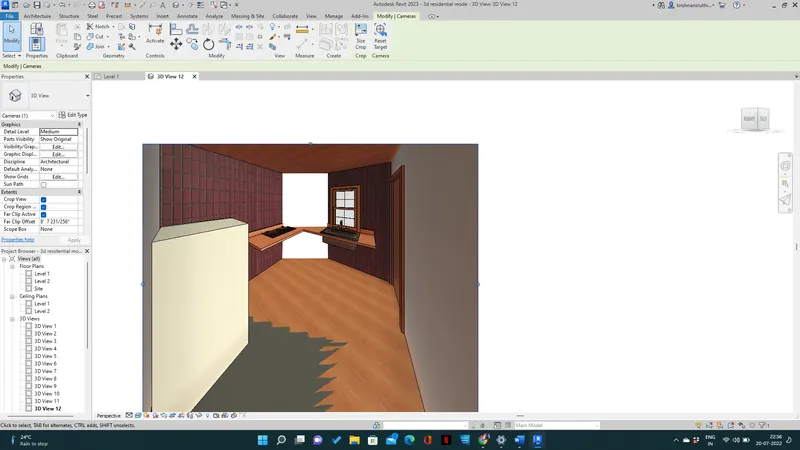
Step 9: The wash/storage room can include washing machines and shelves to store clothes
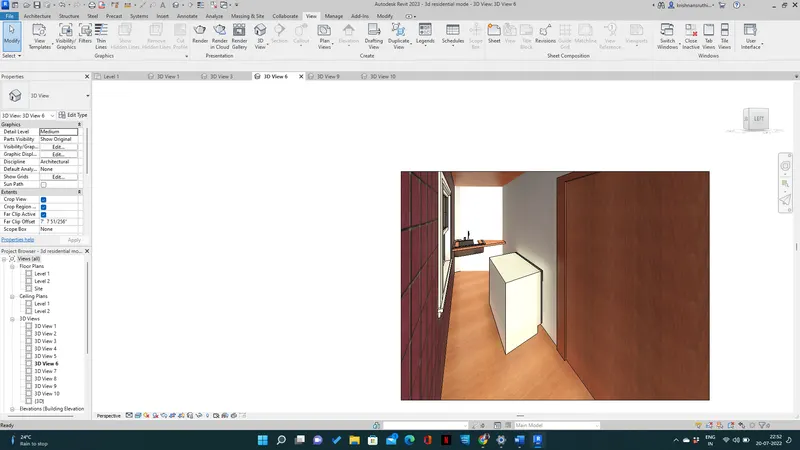
Result: Successfully placed the furniture, kitchen appliances, etc.