Usage of Navigation tool , Timeliner and Clash Detection test using Naviswork
Aim-To export the Revit architectural and structural model to the Naviswork cache file.
Introduction-Autodesk Navisworks Manage software is a comprehensive project review solution that supports coordination, analysis, and communication of design intent and constructability.
Multidisciplinary design data created in a broad range of Building Information Modeling (BIM), digital prototype, and process plant design applications can be combined into a single integrated project model. Interference management tools help design and construction professionals anticipate and minimize potential problems before construction begins, helping to reduce expensive delays and rework.
Navisworks Manage (also known as Navis) is integrated with Autodesk BIM 360 Coordinate software to help connect the entire project team and streamline BIM project review and coordination workflows. The software combines model coordination with project quantities and schedules to deliver simulation and quantification features, including time and cost analysis. Entire project models can be published and viewed using Autodesk Navisworks Freedom software.
Procedure-
-Open Revit software
-Click on Open>Select project 7 file>Select Architectural Model file
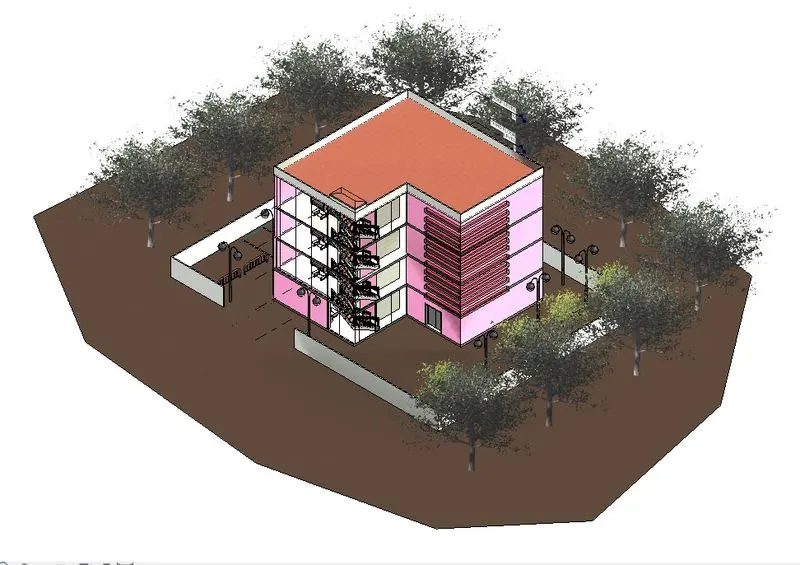
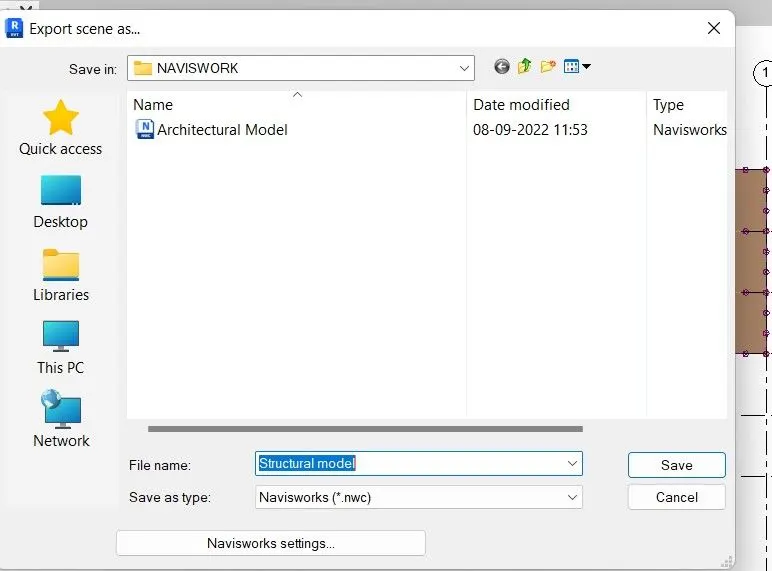
-Go to file>Select Export>Select NWC file and export this file into navisworks
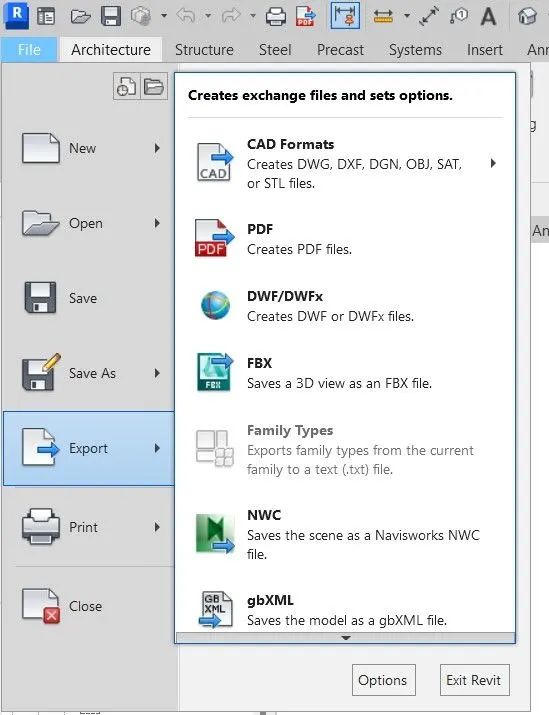
-Select destination folder to save this file and ok
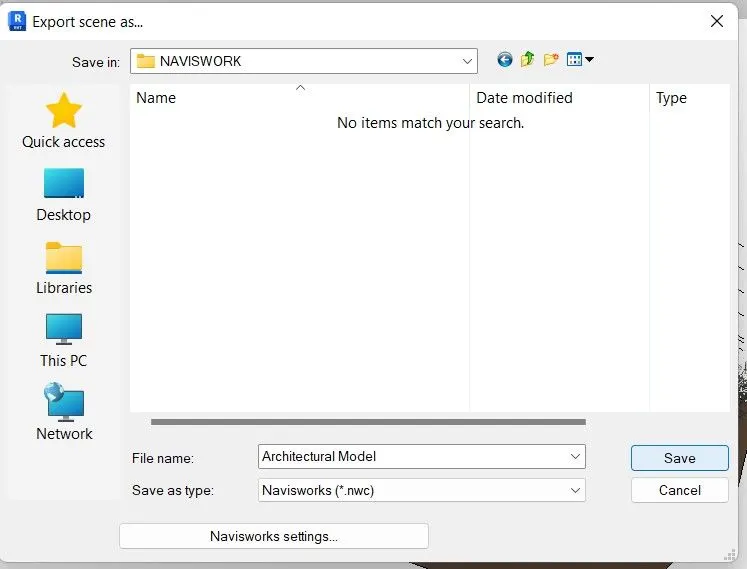
-Click on Open>Select project 7 file>Select Architectural Model file
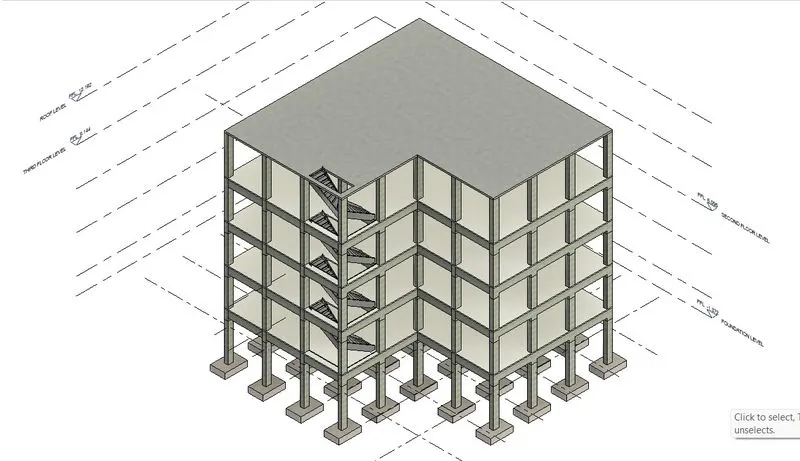
-Go to file>Select Export>Select NWC file and export this file into navisworks
-Select destination folder to save this file and ok
Result-
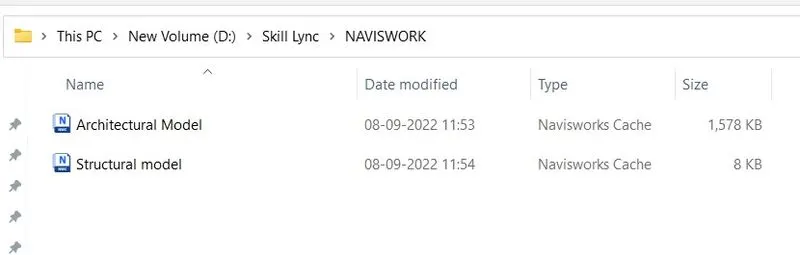
The Architectural and structural Revit files have been successfully exported to Naviswork (NWC) file.
Aim-To use the Navigation tool to walk around the model and walk through the rooms created and record your moving as animation.
Introduction-With the Walk tool, we can navigate through a model as if were walking through it. There are different ways we can utilize its features and various navigation methods.
Here are the basic steps:
1. Select Walk from the Navigation Bar (Ctrl+2); the “feet” will appear on the screen.
2. With the left mouse button pressed, move your mouse in the direction you wish to go.
3. Move the mouse forward to go forward and move it left or right to turn.
4. Stop moving forward and only move the mouse left or right to look around; be sure to keep the left mouse button pressed to continue navigation.
5. Pull the mouse back to move in reverse.
6. Let go of the mouse button to stop walking.
Procedure-
-Open the Naviswork manage software and click on open
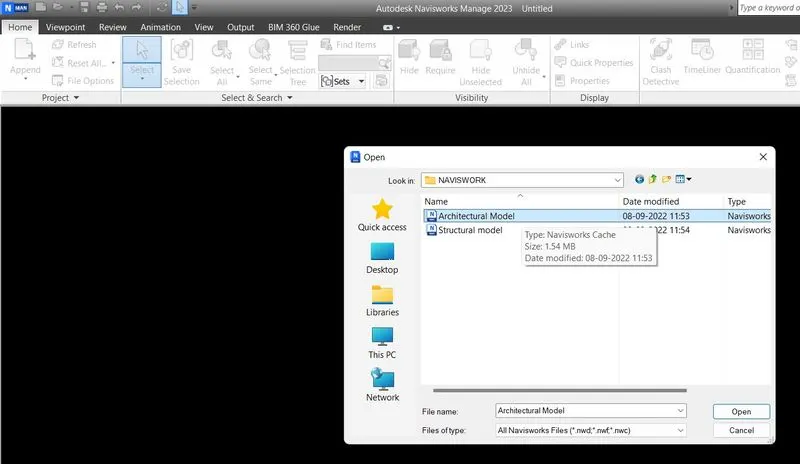
-After open the file with the help of scrolling go to reception area
-Now Fo to Viewpoint>Select Save viewpoint>Rename it as Reception area
-In viewoint seelct record and then click on Walk option
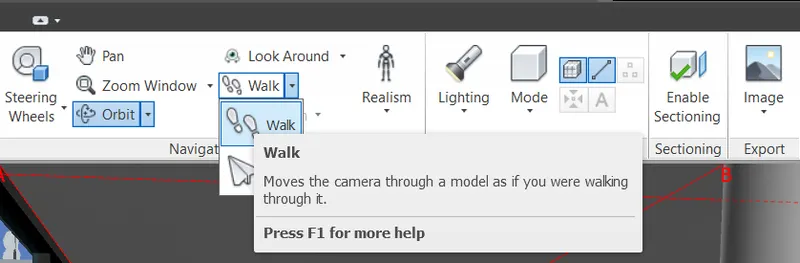
-Now start walking through reception area by using mouse cursor
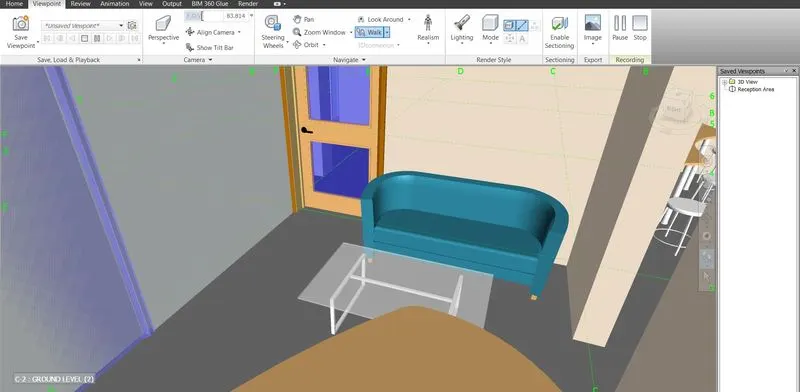
-After recording click on STOP and name it as Reception area
-Now Go to Animation and play the just recorded video
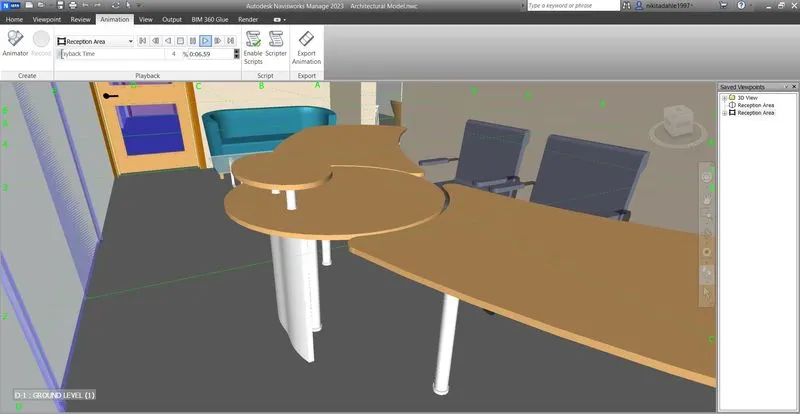
-in Animation select Export option to export this video
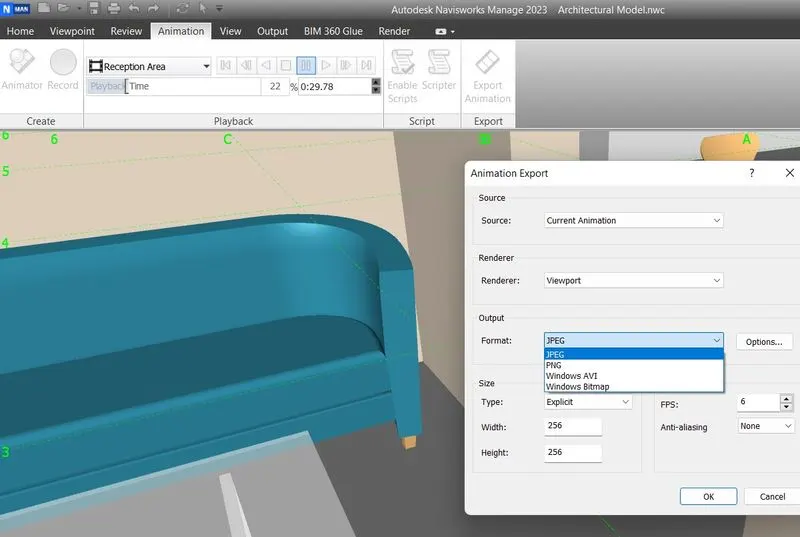
Result-
The Navigation tool to walk around the model and rooms has been completed and recorded the animated video successfully.
Aim-To use Navigate tool to use the realism feature to walk through the model and record the moving as animation.
Introduction-This function allows us to navigate the scene from a third-person perspective. When the third person is activated, you will be able to see an avatar which is a representation of yourself within the 3D model. Whilst navigating you will be controlling the avatar's interaction with the current scene
When you navigate a 3D model, you can use the realism tools on the Viewpoint tab Navigate panel to control the speed and realism of your navigation. The realism tools are not available in a 2D workspace.
Procedure-
-Open the Naviswork manage software and click on open
-After open the file with the help of scrolling go to office room
-Now Fo to Viewpoint>Select Save viewpoint>Rename it as Office Room
-In viewpoint select Realism>Select third person
-Now select Record option and select walk option to go through model
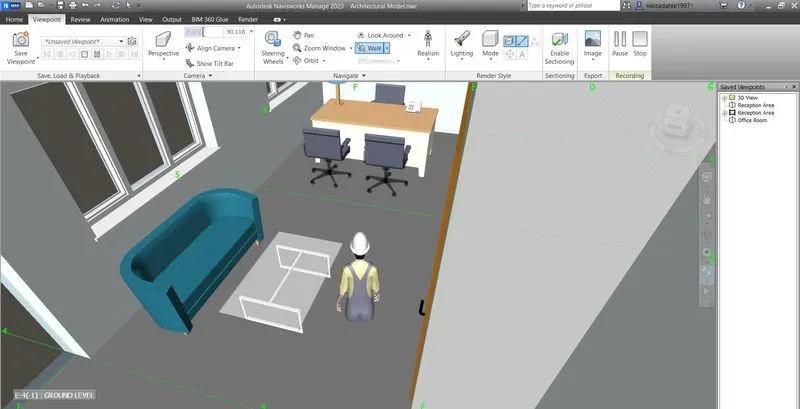
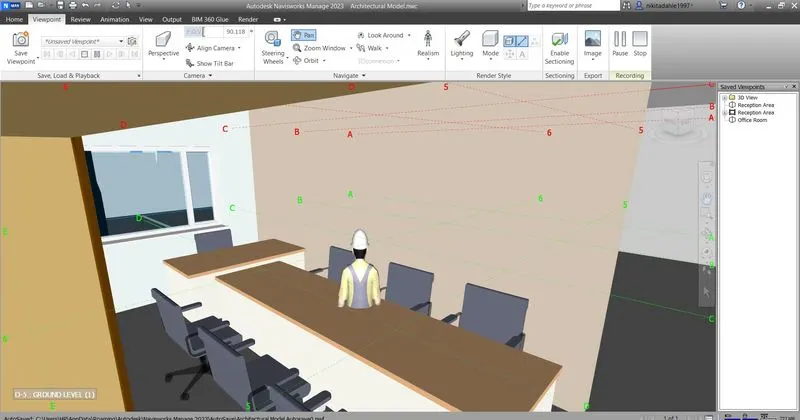
-After recording click on STOP and name it asOffice room
-Now Go to Animation and play the just recorded video
-In Anomation select Export>to export this video
Result-
The Navigation tool to walk through the model has been completed and recorded the animation in Naviswork using the realism feature.
Aim-To run the clash detection test between the structural and architectural model.
Introduction-Navisworks clash detection tool is a construction project evaluation and simulation software by Autodesk that facilitates BIM (Building Information Modeling) coordination by combining design and construction data into a holistic framework and detecting and mitigating clash and obstruction issues before construction.
In a BIM workflow, clash detection entails detecting clashes and conflicts across various models or their components to rectify such issues before construction begins. Spatial overlap of models or their sections, representations in the same design with incompatible parameters, or an unusual time sequence in 4D BIM modeling are all examples of clashes & conflicts.
Procedure-
-As we already open Architectual file in Naviswork
-In Home tab Select Append>Append>Add Structural file>Open
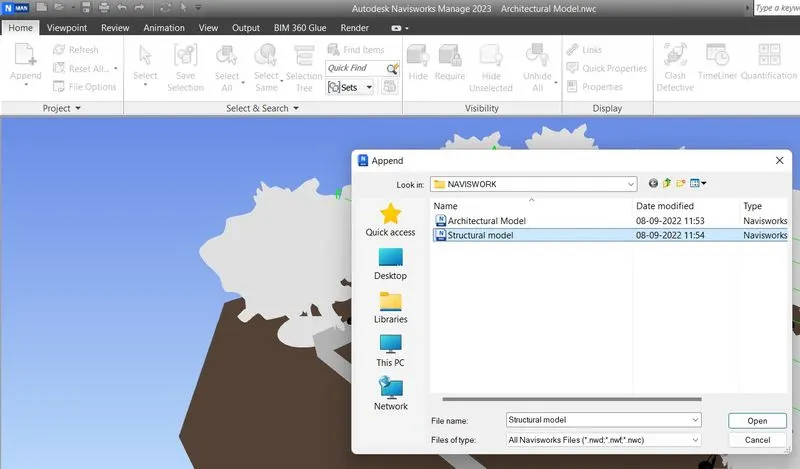
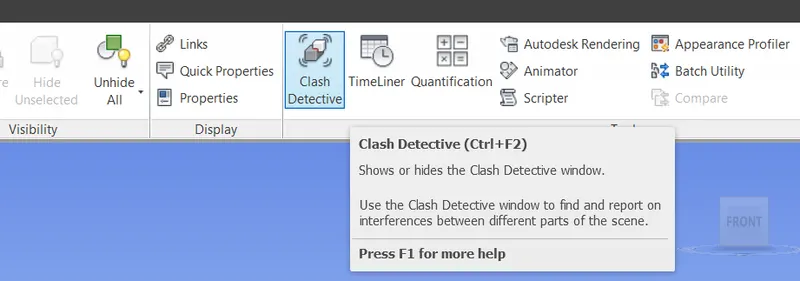
-In Home tab select>Clash detection test
-Add test and rename it as Demo test, in section A select architecture and section B structural file
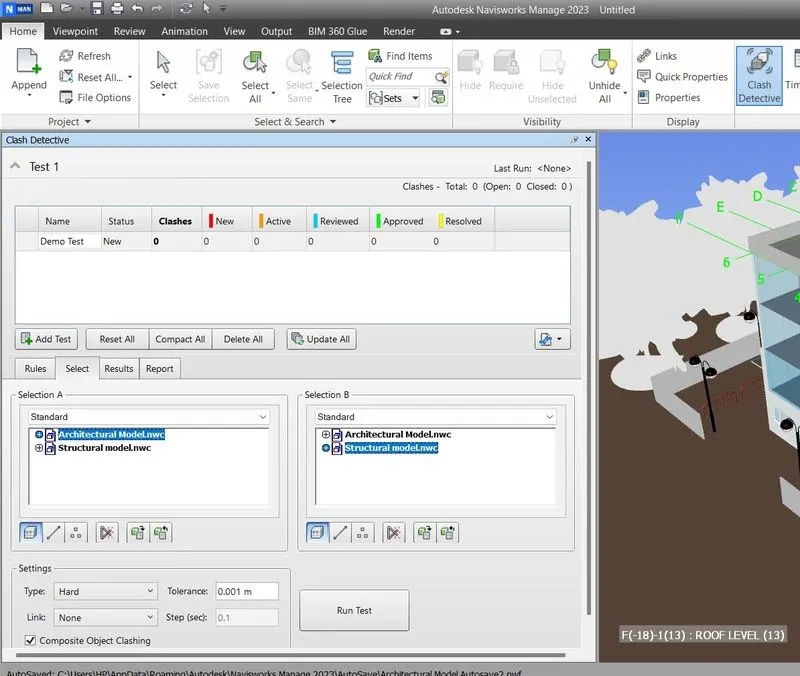
-Now select Run Test
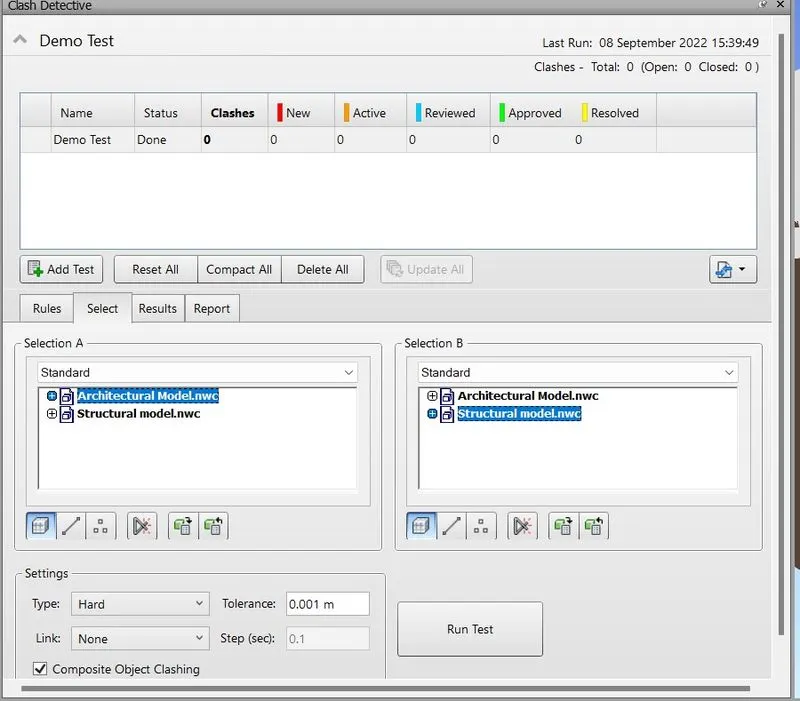
-In this model there is no Clashes appear.
-If there is clashes then it will shows the total no. of clashes and there is option to select one by one clash and set it is Active mode or Reviewd or Approved.
Result-
The Clash detection test was completed successfully between the architectural and structural model.
Aim-To use the Timeliner feature in Naviswork to prepare a schedule for the project.
Introduction-The TimeLiner tool adds schedule simulation to Autodesk Navisworks. timeline imports schedules from a variety of sources. You can then connect tasks in the schedule with objects in the model to create a simulation.
This allows you to see the effects of the schedule on the model, and compare planned dates against actual dates. Costs can also be assigned to tasks to track the cost of a project throughout its schedule. TimeLiner also allows the export of images and animations based on the results of the simulation. TimeLiner will automatically update the simulation if the model or schedule changes
Navisworks TimeLiner module allows construction professionals and BIM users to model the construction sequence. It can be difficult to link the schedule and map the correct set of columns. TimeLiner Simulator with Autodesk Navisworks, explains how to create the simulation using your topmost items, layers, as well as sets.
Procedure-
-Open Naviswork software and load Architecture file
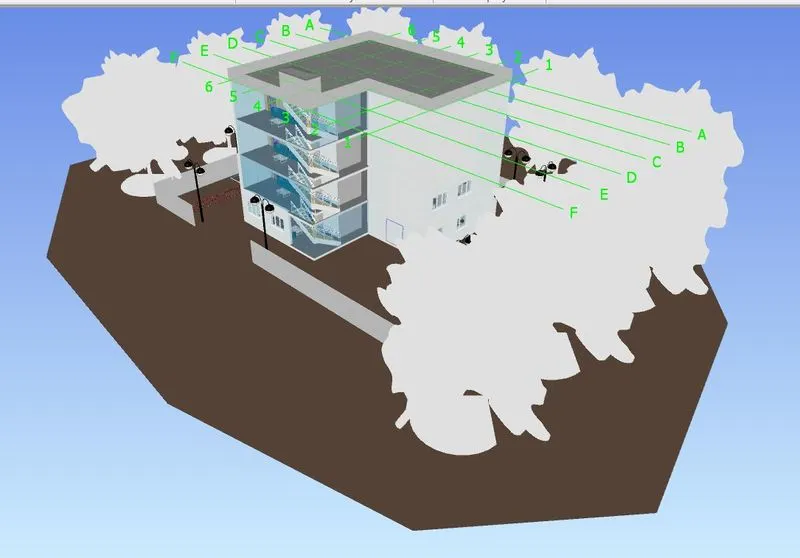
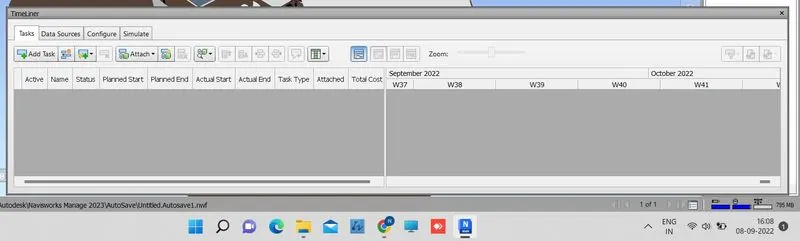
-In Home tab select>Timeliner
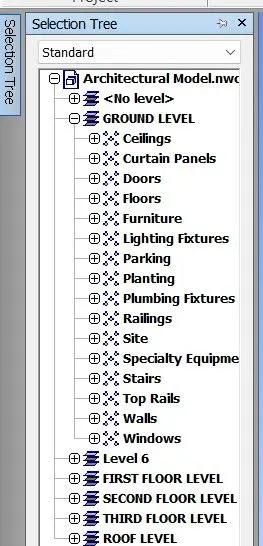
-In Home tab select Selection tree
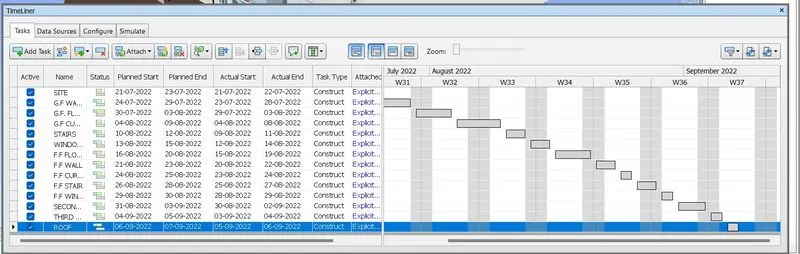
-Click on Add task and add all the tasks with a planned start, planned end, actual start, and actual end dates
-Add according to assigments
-Add task as Construct type, In selection tree select that particular that we are just added and then select Attech option and select current
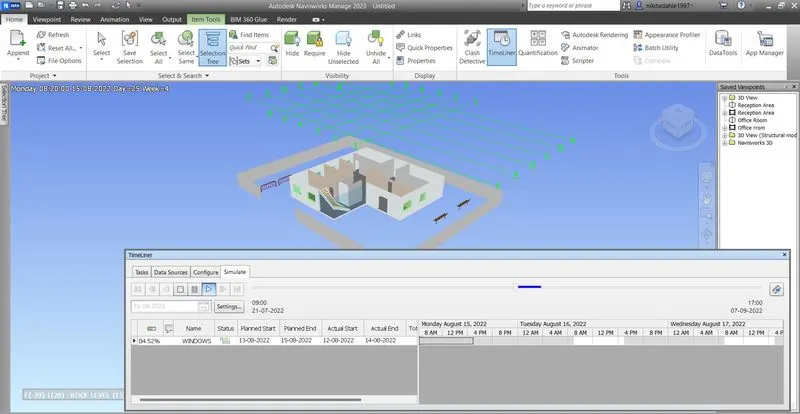
-Now Go to Stimulate option and play the video
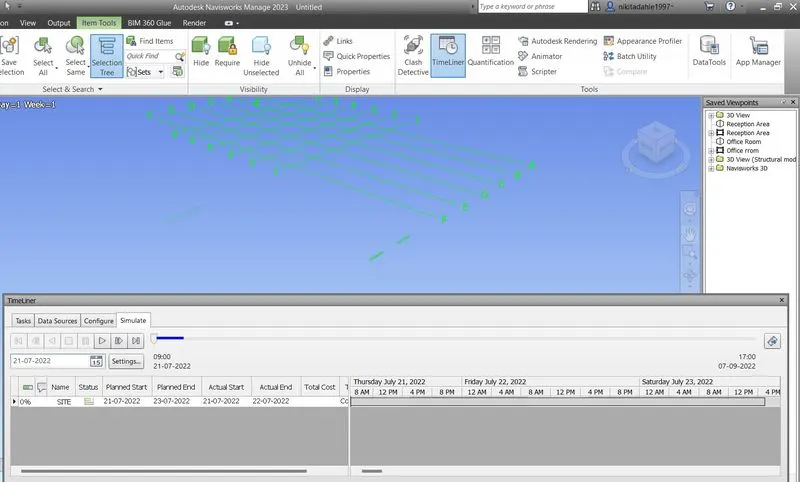
-It shows the according we shedule the task from site to roof level
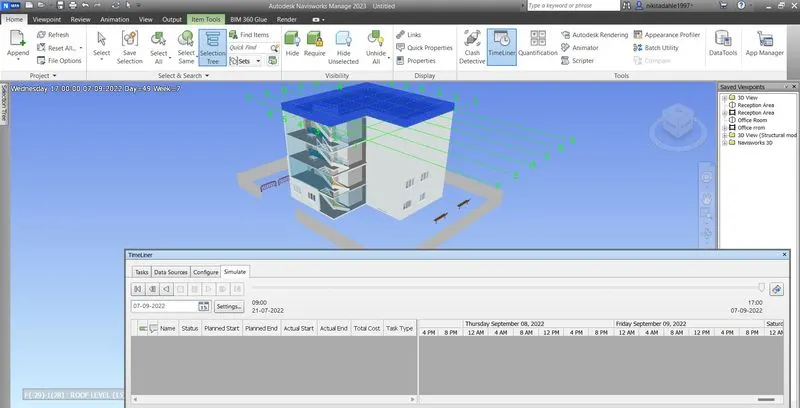
-Now in right hand side Select Export option
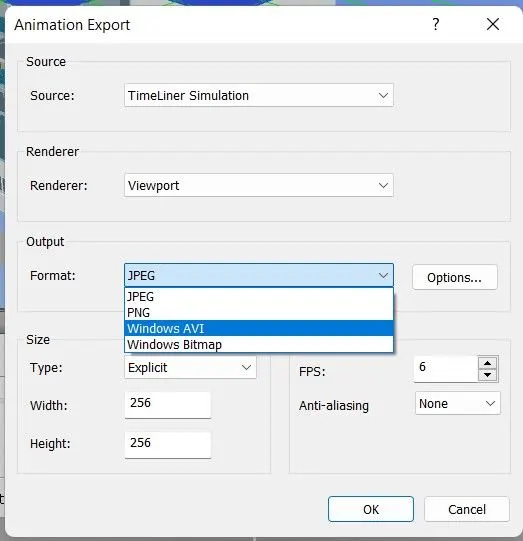
-Save it in appropriate folder
Resul-
The Timeliner feature in Naviswork to prepare a schedule for the project has been completed successfully.