Usage of Navigation tool , Timeliner and Clash Detection test using Naviswork
1) Use the Architecture/ Structure Project file developed by you in Week 6 to 8. Export the Revit architecture and structure model to Navisworks Cache file following the export settings discussed in class?
Aim:
To export the revit architectural and structural to naviswork .
Introducation:
By exporting the model into the navis we can add detailing to the project and we can schedule the project.
Procedure:
First we need to open the revit architecture file and now click on the file and click on the export option.
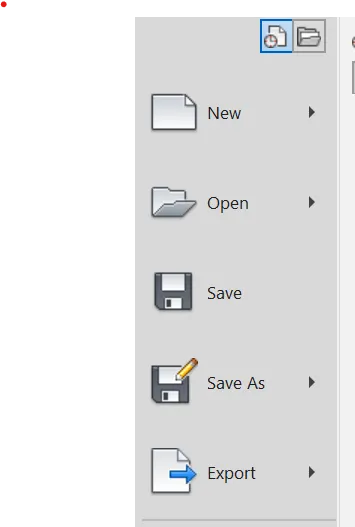
now click on the nwc icon.
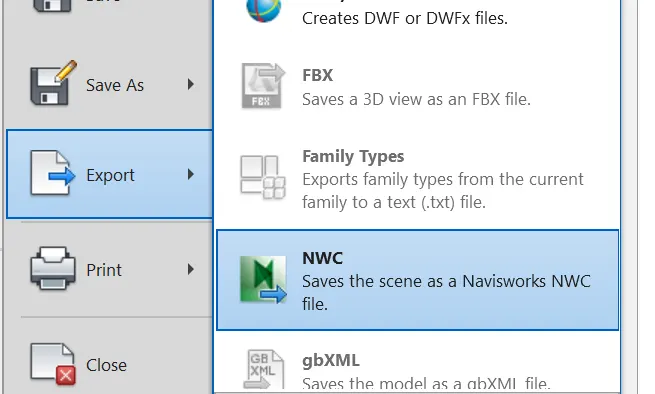
now give a name and save the project by checking it appropriate file type.
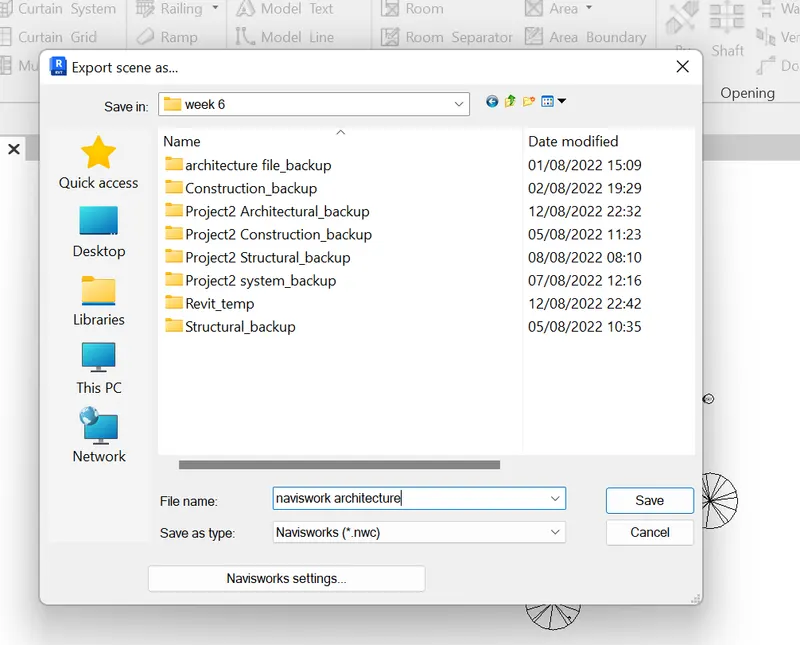
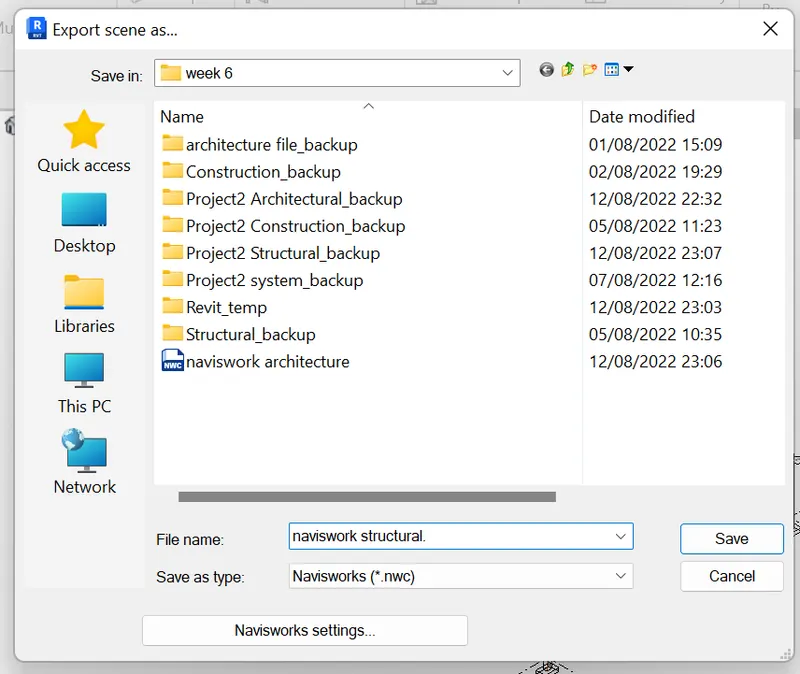
as same way open structural file in revit click on the file.
now click on the nwc icon.
now give a name and save the project by checking it appropriate file type.
Result:
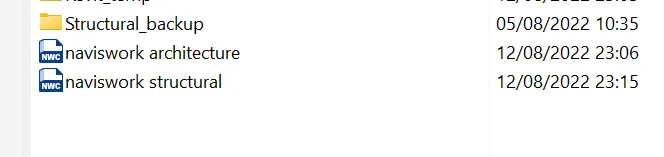
As a result we now have succesfully exported files to the naviswork.
2) Use Navigate Tool to walk around the model and walk through the rooms created and record your moving as animation in your Navisworks file?
Aim:
To use navigation tool to walk around the model and the rooms created and record your movings as animations.
Introduction:
BY navigating and walkin thriugh the structure we can see the model as perticular and can make changes according to the model.
Procedure:
First we need ton open the naviswork manage. then we can see the screen like this.
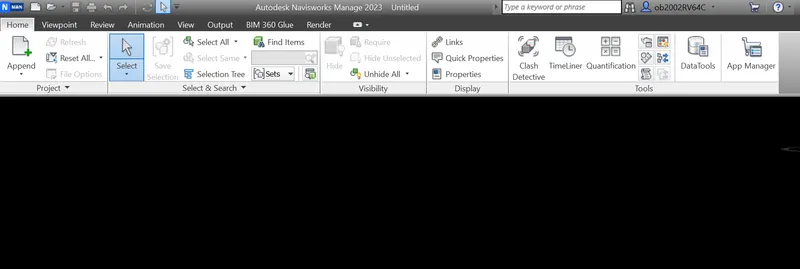
Now click on the n man on the top left and click on open.
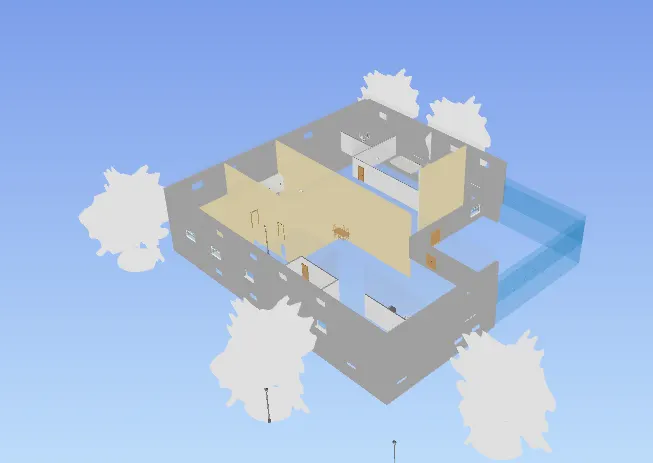
Now by using the curser wlk in the bulding.
Now click on the viewpoint tab and click on the walk icon in the viewpoint tab.
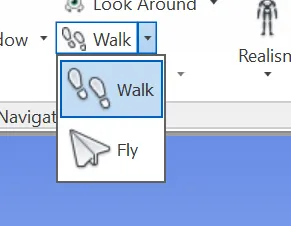
and now click on the savepoint on the top left of the viewpoint tab.
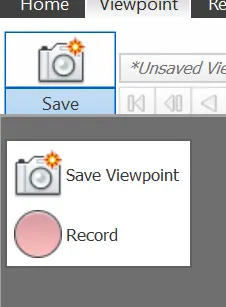
now click on the record and drag the screen withe zoom and click on zomma and walk around the building while the video is recording.
now to save click on the save option in the tab again.
now we can see that in the walk in has been saved in the tab.
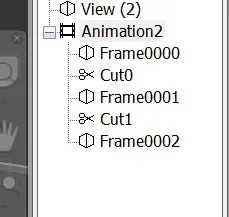
now we can export the file by clicking on the export video icon in the ribbon tab.
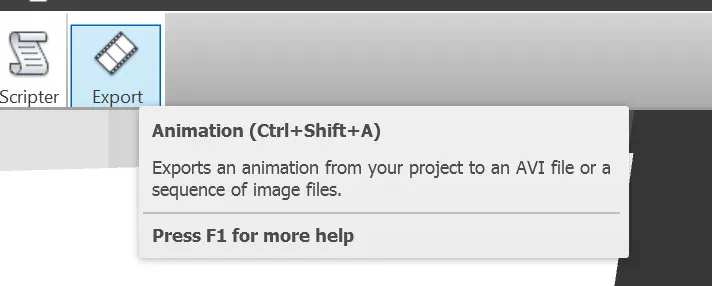
now see the option according to then click on the save.
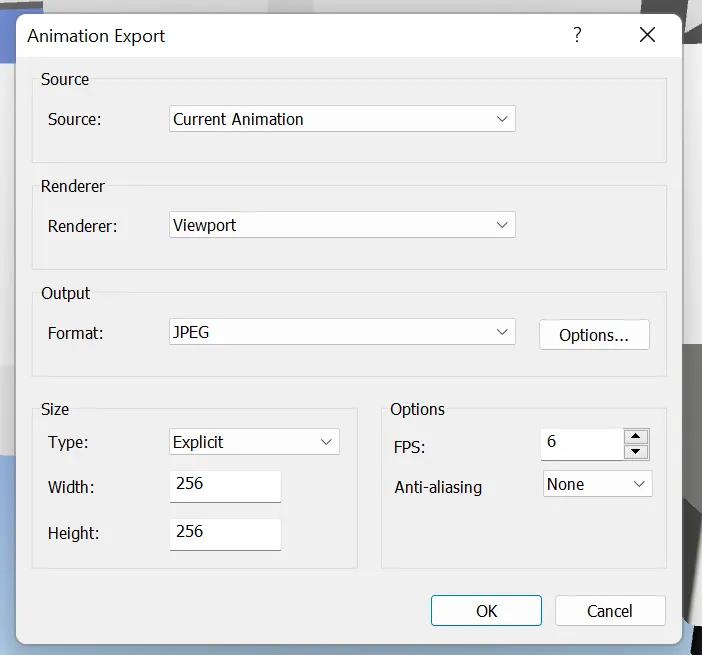
now click on the OK and then we can see in the folders according to that.
Result:
As a result we can see that video has been recorded while walking and saved in the file.
3) Use Navigate tool to use Realism feature to walk through the model and record your moving as animation in Navisworks file?
Aim:
To use realism feature to walk through the model and recording the animation to naviswork.
Introduction:
This realism feature helps in identifying the model components as real time view when a person walk through the model.
Procedure:
First we need to open the neviswork file and the architecture model and then go to the viewpoint tab.
Now click on the realisam icon in the ribbon tab.

now click on a person has been in the model.
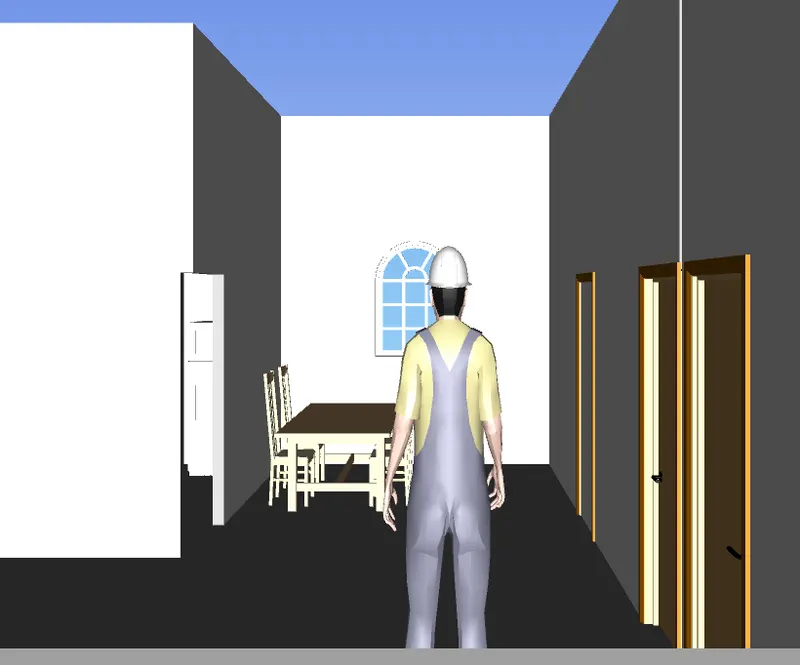
now click on the save video option in the ribbon tab.
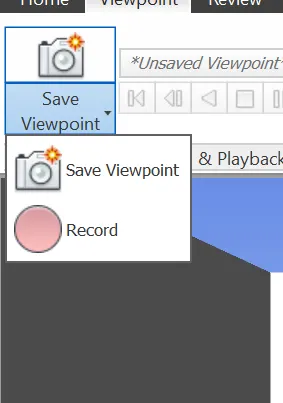
now click on record and scroll down the rooms and you can see time running in th ribbon tab.
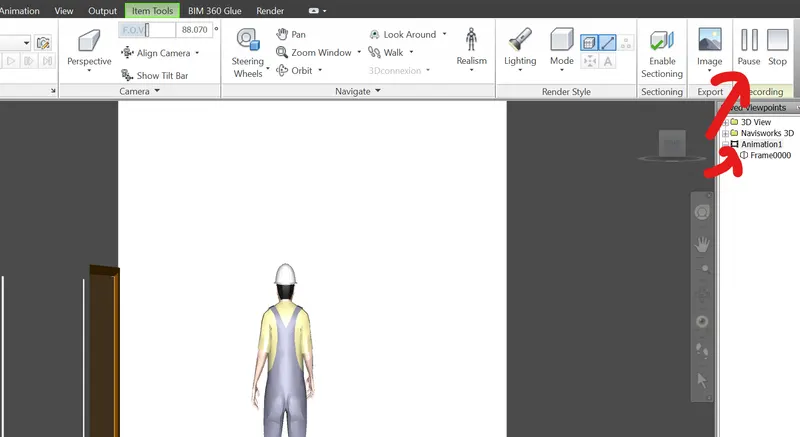
now once yu stop recording we can see that there is a video saved in the browser.
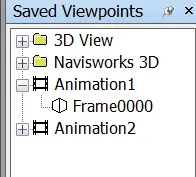
Result:
As a result we can see that there is an viewpoint saved in the browser.
4) Embed both architecture and structure *.nwc file to your Navisworks file. Create a clash detection test between the two models
a. Run the Clash Detection Test
b. Study the clashes between the two models
c. List which of the clashes could be approved
d. List which of the clashes could be neglected ( will be taken care later)
e. List which of the clashes can be resolved
f. Save the results after color coding the clashes to the Navisworks file
g. In case of resolution annotate the clash and save the view to defined views in Navisworks?
Aim:
To create a clash detection test between two architectural and structural models in the neviswork.
Introduction:
This clash detection test help us in identify the clashes in the model and we can let the drafters can know by showing them in the pointing them.
Procedure:
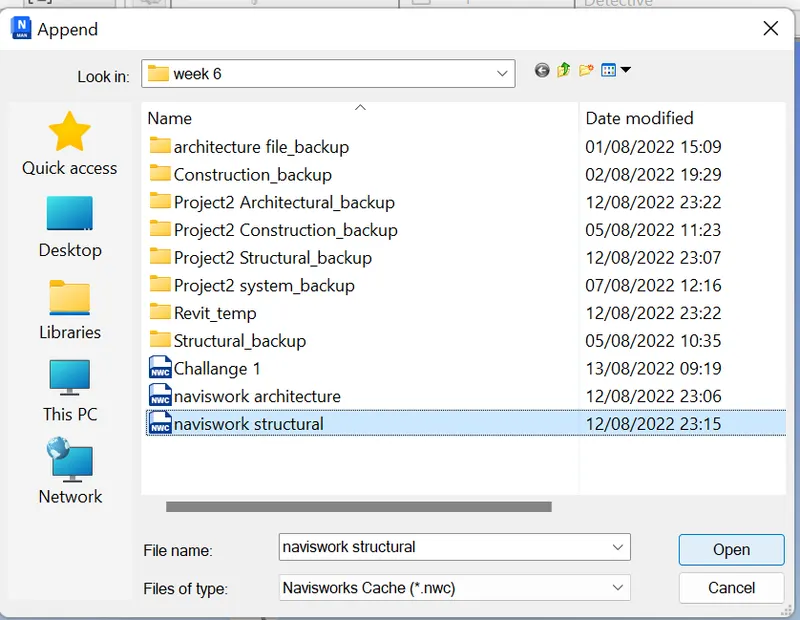
First we need to open the architectural file in the neviswork. in the home tab we can see the append click on that to import the structural file.
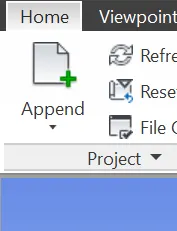
oce we select append click on the structural file and click on ok. then we can see that structural file loaded into the nevis.
now we can see the clash detection icon in the home tab.

Now select architectural file in section a and structural in b.
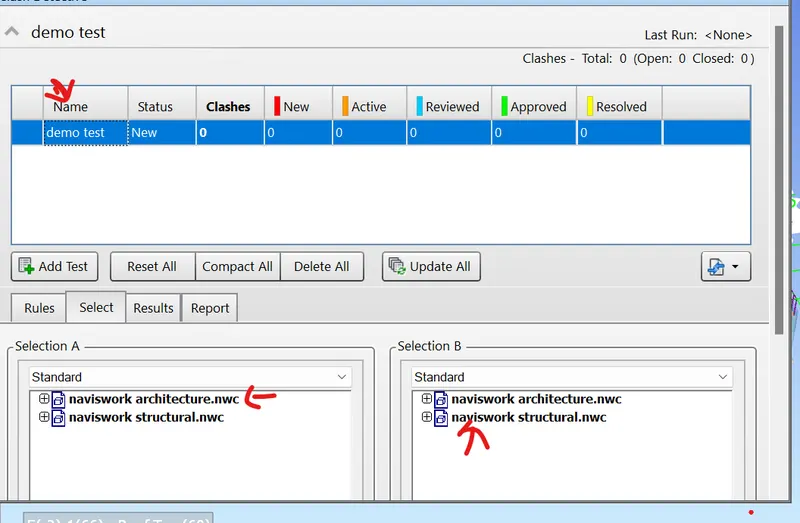
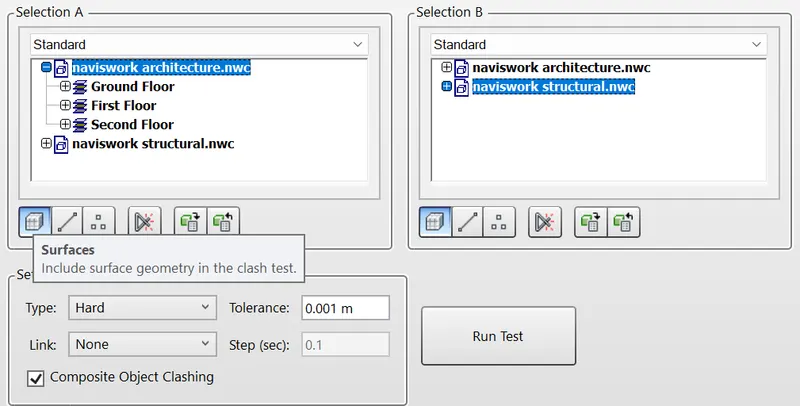
now select them and click on the surface and them press run.
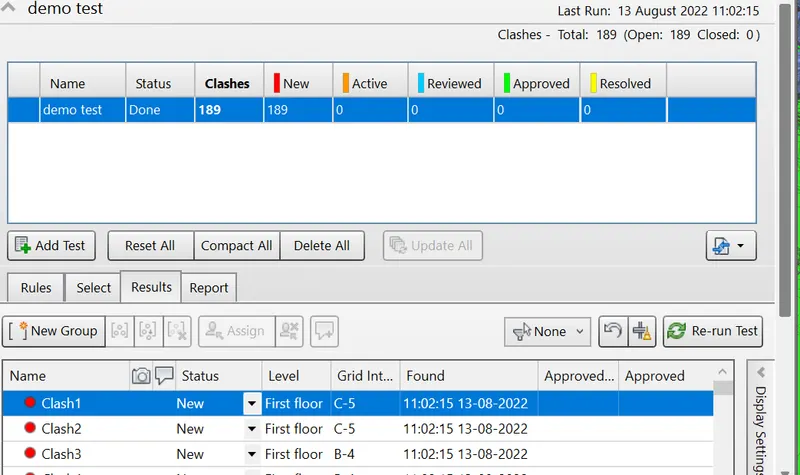
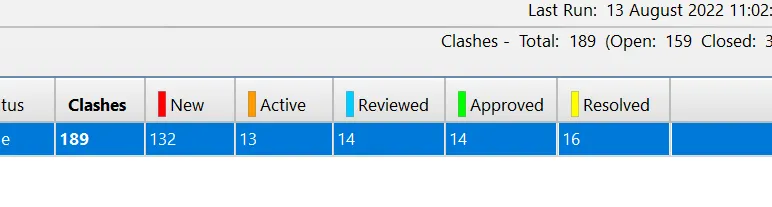
after run it will show you no of clashes in the model.
now to provide the status for the clashes undeer the status we can change the status for the clash.
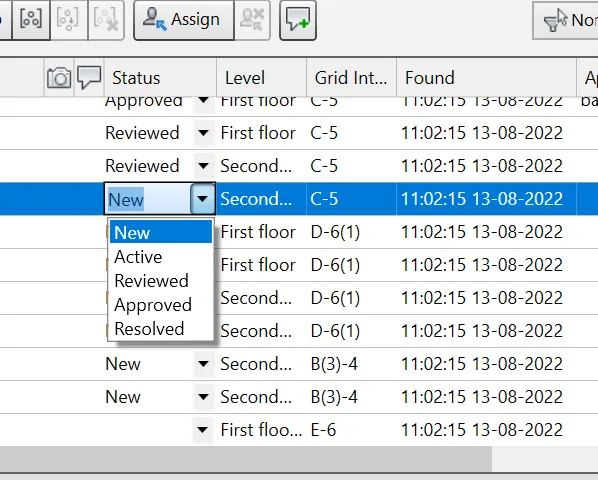
now we can see now of have been approved and no of are approved,reviewed.
Result:
As a result we can see the status of the clashes and by revewing the chash and mark according.
5) Using the Timeliner feature in Navisworks prepare a schedule for the project developed in week 6 to 8 by adding reasonable assumptions for task start date and end date and simulate the task completion as a visual simulation. Record it and save the timeline simulation to Navisworks file?
Aim:
To prepare time schedule for the project by using the timeliner feature in the neviswork.
Introduction:
By preparing the time schedule for the building we used to complete the project according to the schedule. so the work will be equally divided and dated appropriatly.
Procedure:
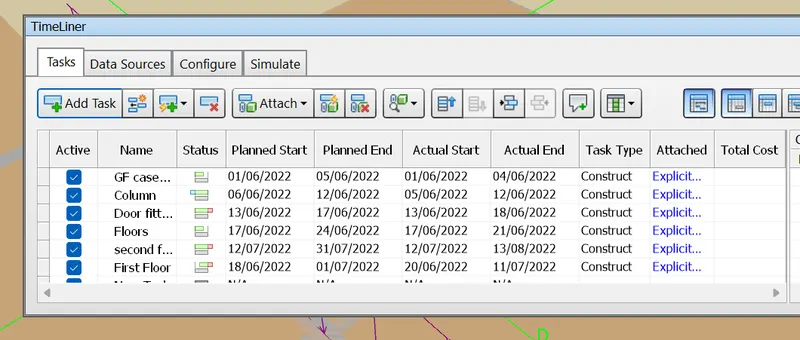
First we need to open the neviswork in the home tab we can see the time liner icon click on that to select.

now we can see that a new tab has been open to make the schedules.
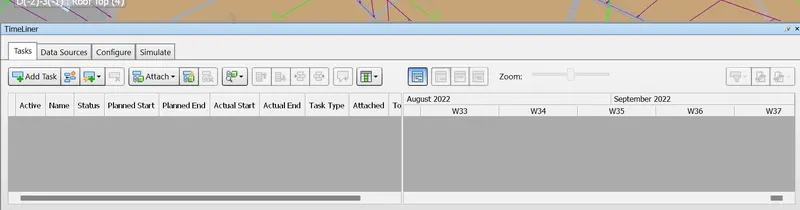
now click on the add task to add the task and give a name to the task accordingly.
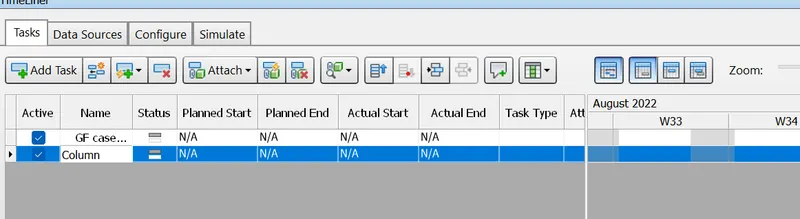
Now to give dates to the datrts and the end and give the proper date.
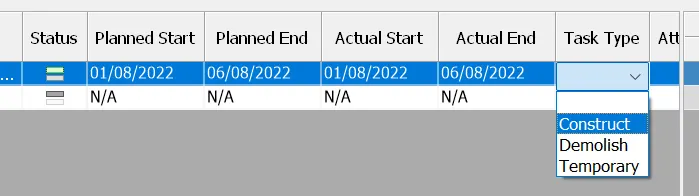
as the same way give all the naes for the task by adding new task and give dates for them.
Now click on the the selection tree and click on the any task and click on the selection tree to assain it to the tree according to the task.
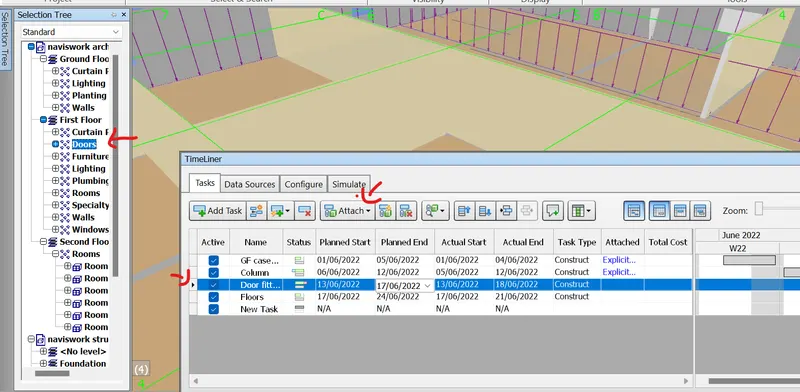
now click onnthe attach we can see that has been attachec to the tak.
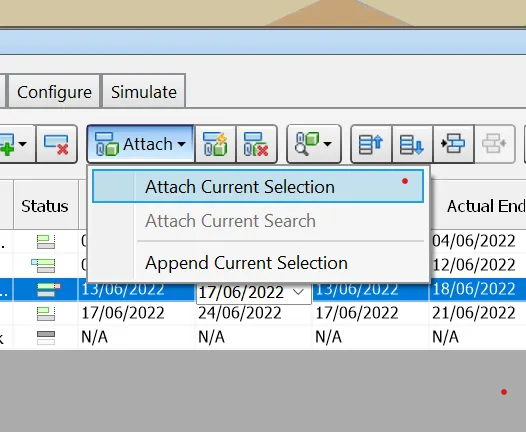
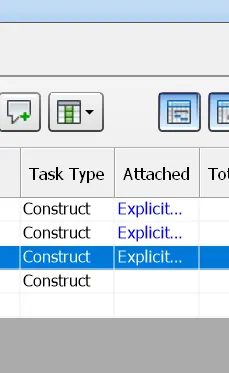
so we can see the file has been attached to the project.
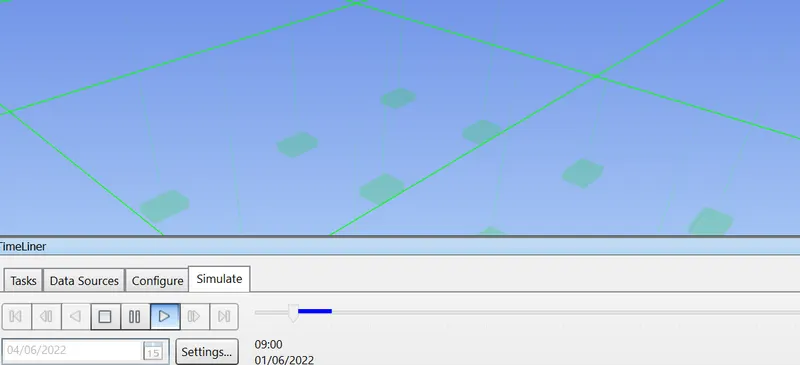
now we click on the simulate option inthe timeline.
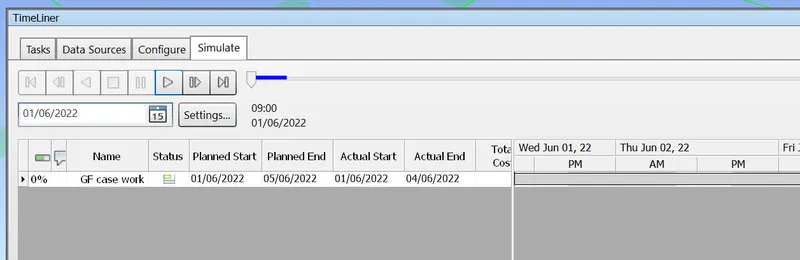
now click on play to view the time line viewing of the building accoring.
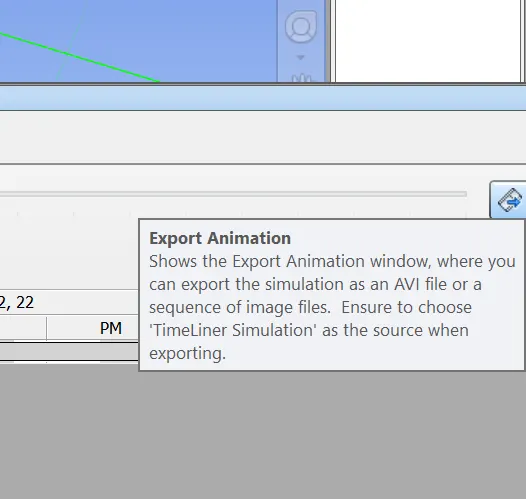
If we want to save the animation click on the animation on the right of the screen.
Result:
As a result we can see the timelapse of the building accoring ton the date while we paly the video.