3D Creation of Celing, Roof, Architectural plan, Structural plan, Sectional view, Elevation view and Camera specific view for a house plan using REVIT
1) Based on the project saved from Week 3, proceed from the First Floor Level. Model a Ceiling from the architecture tab above the walls at the first-floor level?
Aim:-
To create a ceilling in the first floor level by using architecture tab.
Introduction:-
In this we need to create an ceilling with the help of architecture tab on the first floor level. we need to know how well we can place them in the levels.
Procedure:-
First we need to the project file then click on the architecture tab then click on the ceilling option.
Then the ribbon tab will change automatically.
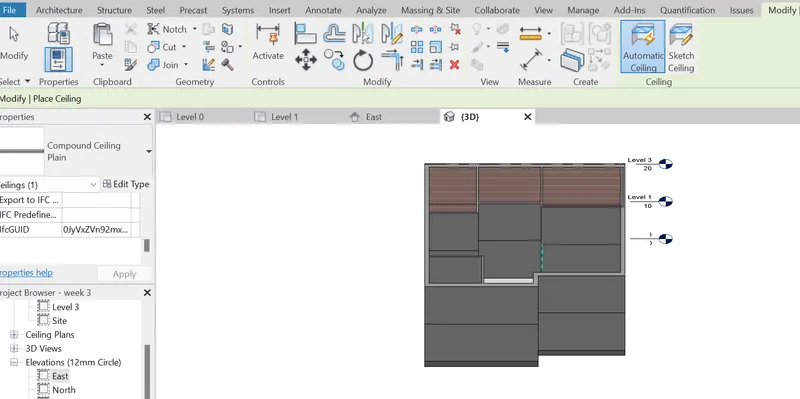
Now click on the sketch celling on the top right. then ribbon tab will change again.
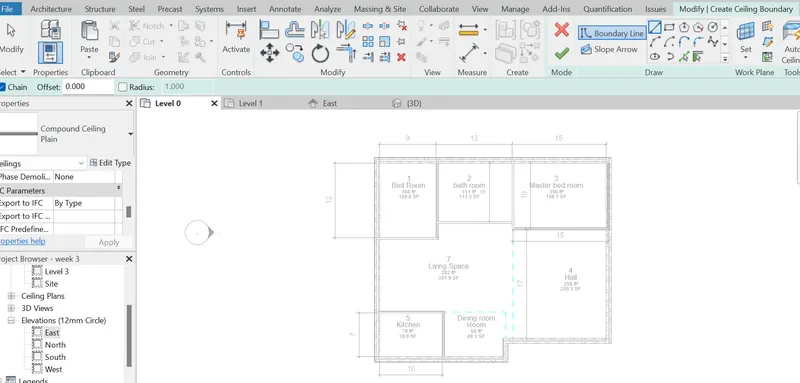
now click on the pick line option and then select the boundries on the wall.
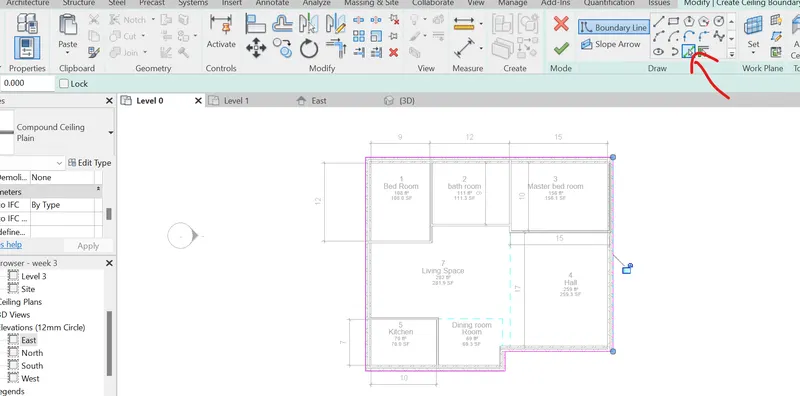
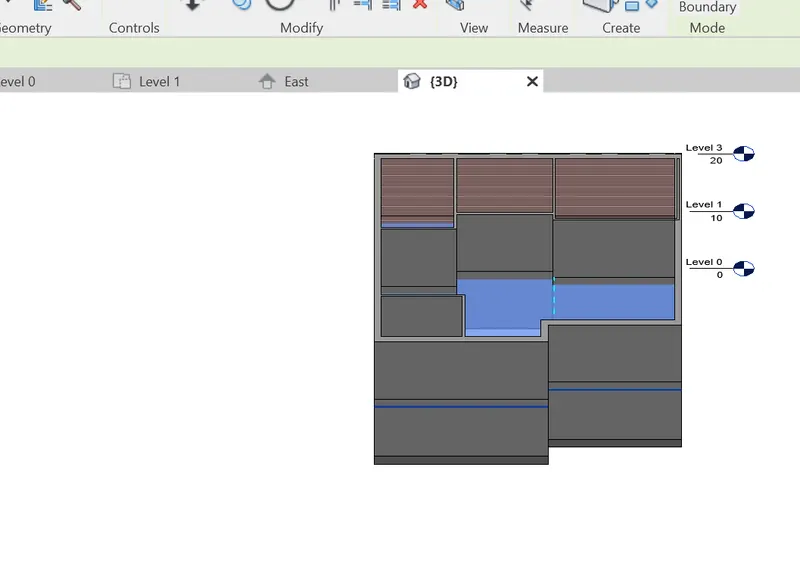
Then click on the green tick button then we can see that in our plan.
Result:-
As result we now have the ceilling for the fist floor.
2) Model a roof above the ceiling by selecting the footprints of the ceiling. Using the adjustment toolbars appearing on-screen adjust the roof slope to 10 degrees ?
Aim:- To model a roof above the ceilling by selecting the footprint. then change the slope to the roof.
Intoduction:-
To add a ceilling to the plan we need to know how to add the ceilling to the plan.
Procedure:-
First we need to open the architecture tab then click on the roof option and then select the rool by footprint.
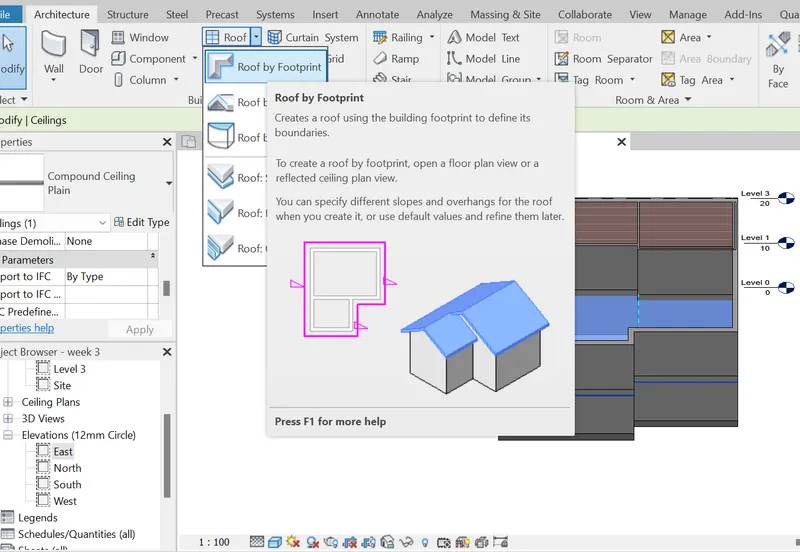
Then the ribbon tab changes then click on the pick line option then select the bounderies of the wall. then click on tick mark.
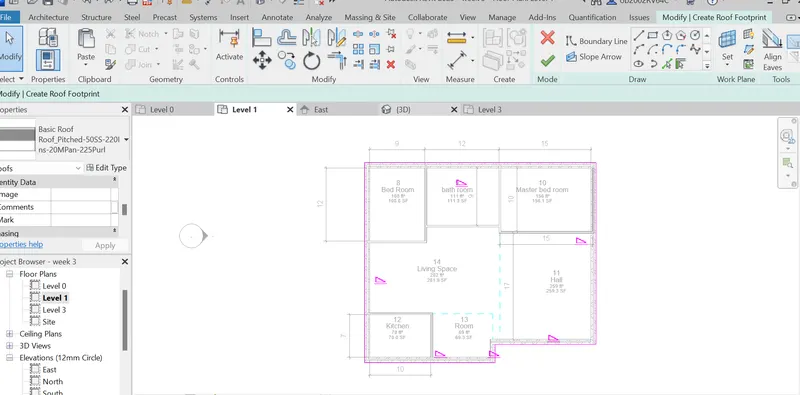
as a result we can now see the roof.
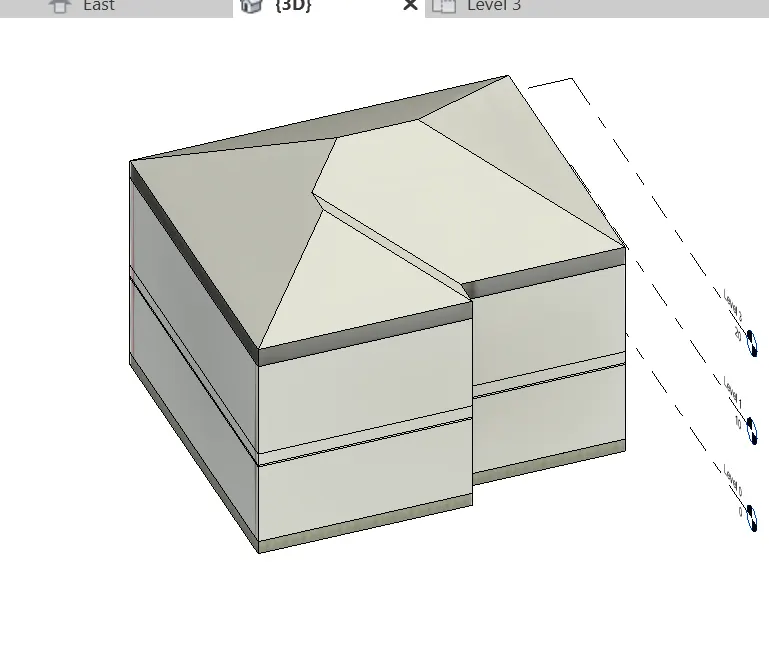
To change the slope of the roof we need click on the roof first then click on then go to the properties browser.
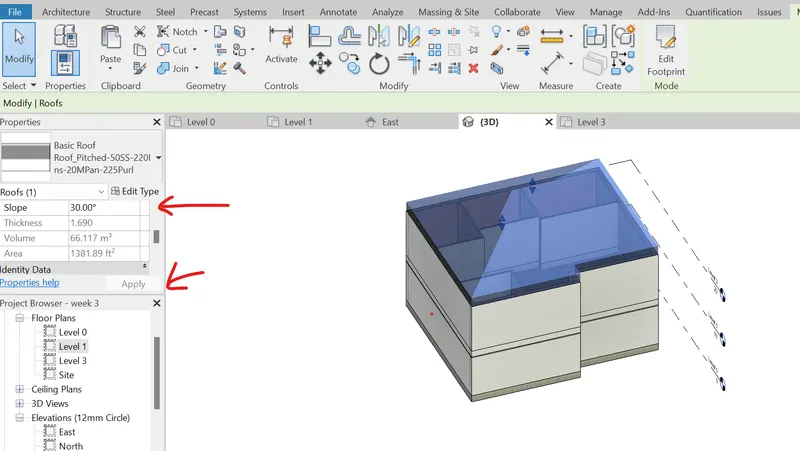
Then change the slope and then click on apply.
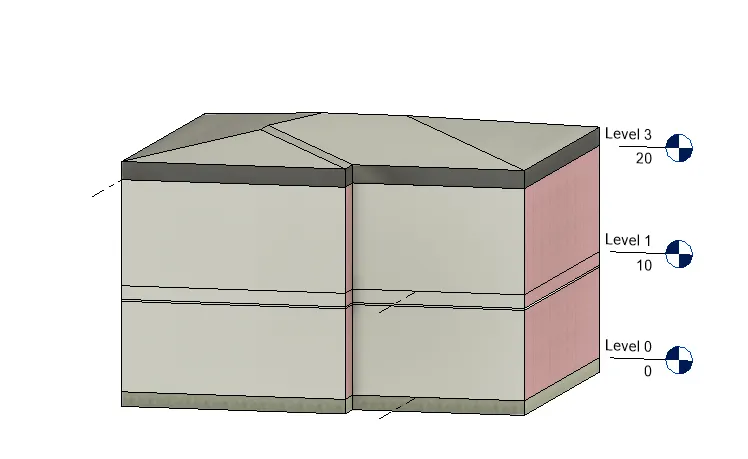
Result:-
As a result we can see the roof has been added and the slope has been changed.
3) Using the file saved from weeks 2 to 4, create plan views for ground floor level and first-floor level including all the walls, floors, and components. Separate them to architecture and structural plans ?
Aim:-
To create a plan view for the ground floor and first floor including all the elements.
Introduction:-
In this we will learn how to creat a plan view from the drawings in the levels.
Procedure:-
In this first we need to open the project file and then we need to go to view tab then click on the create a plan view.
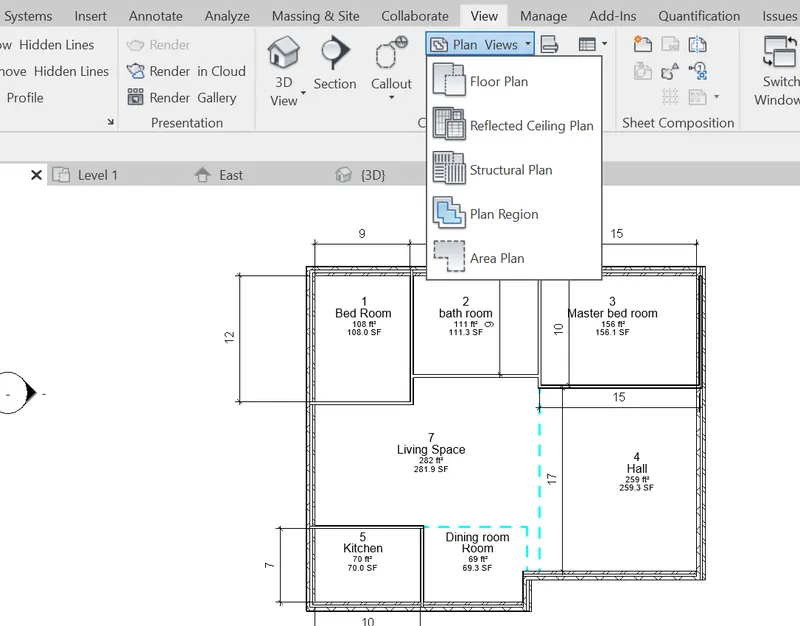
now we need to click on the floor plan then select the floor.
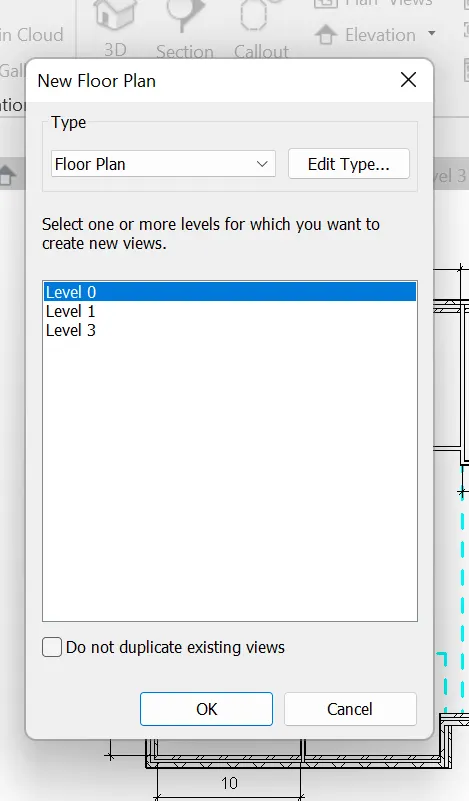
Then select the floor and then click on the ok to create a plan.
Now we nee to go to view tab click on the plan then click on the structural paln.
NOw select the floor then click on the ok.
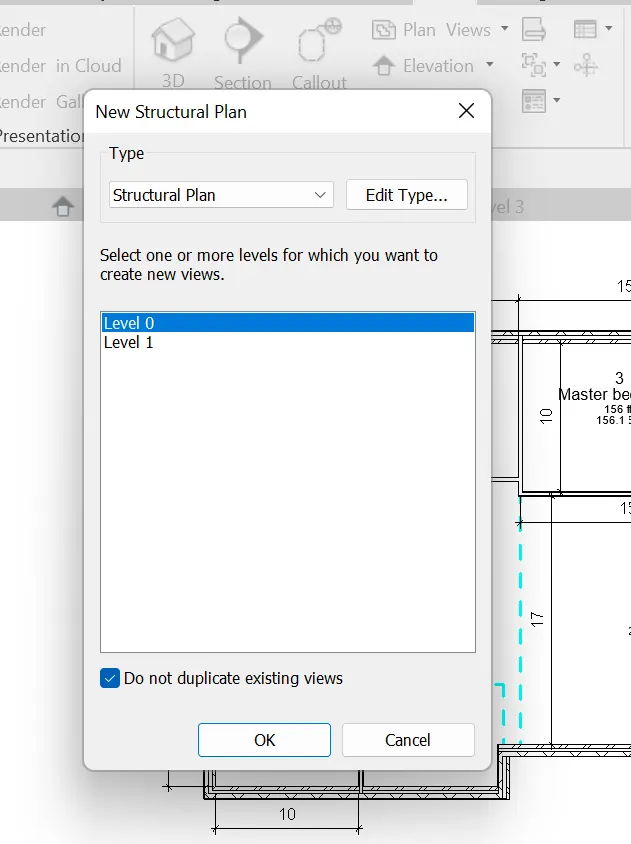
Result:-
As result we can see that the plan has been saved in the we can see them in the properties browser.
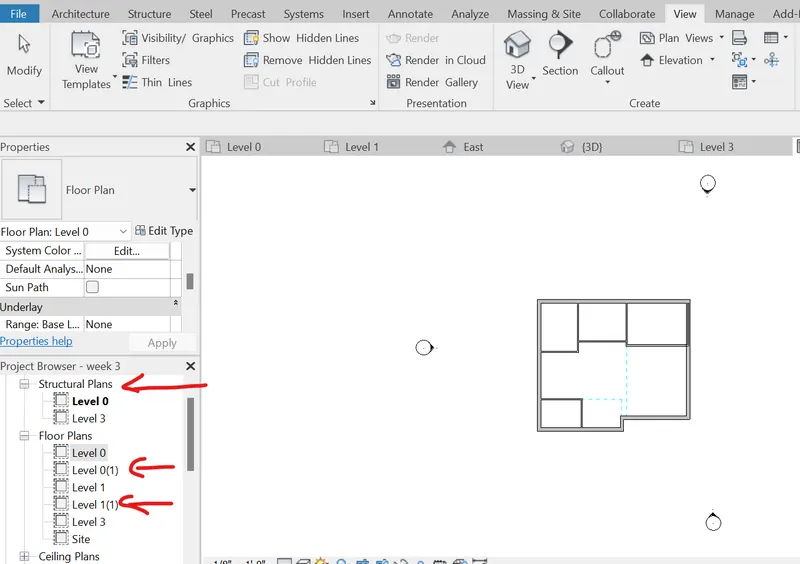
4) Using annotate toolbar add dimensions to all the walls and floors with reference to the longitudinal and transverse grids created in the project file
a. The architecture plan dimensions include details on where the components are placed within the buildings with relation to grids. Overall dimensions are sufficient for architecture plans
b. The Structure plan dimensions must include details on the position of all the walls and interior walls with reference to grids. Locate all the framing components of the building with reference to a fixed point using Structural plans.
Aim:-
To add dimension to the architecture plan and the structural plan with the help of annotation tab.
Introduction:-
We will identify how to add the dimension to the plans with the help of annotation tool. This give the detailingto the project file.
Procedure:-
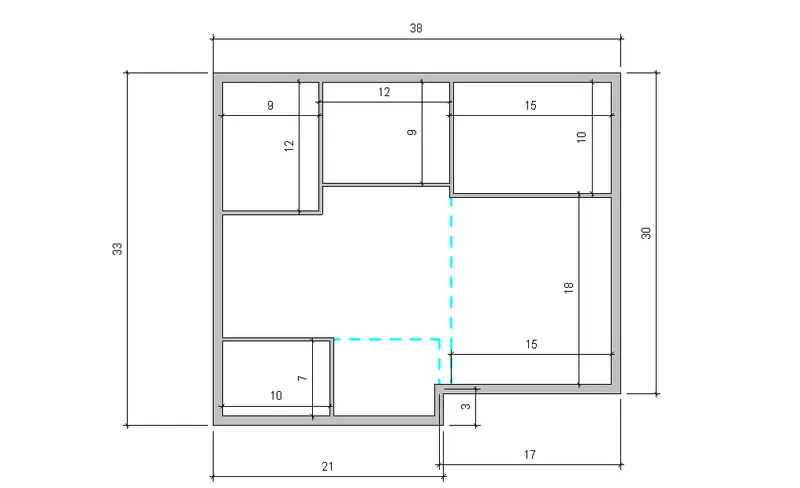
First we need to open the floor plan which we have created before that will be on the properties browser. Then click on the annotation tab then we can see the tools has been changed. then click on the leaner then click on the plan to give them dimensions.
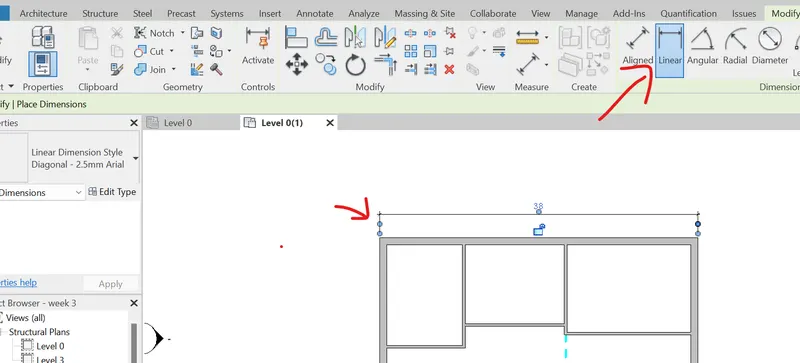
Now give the dimensions all around and add the dimesion to the plan.
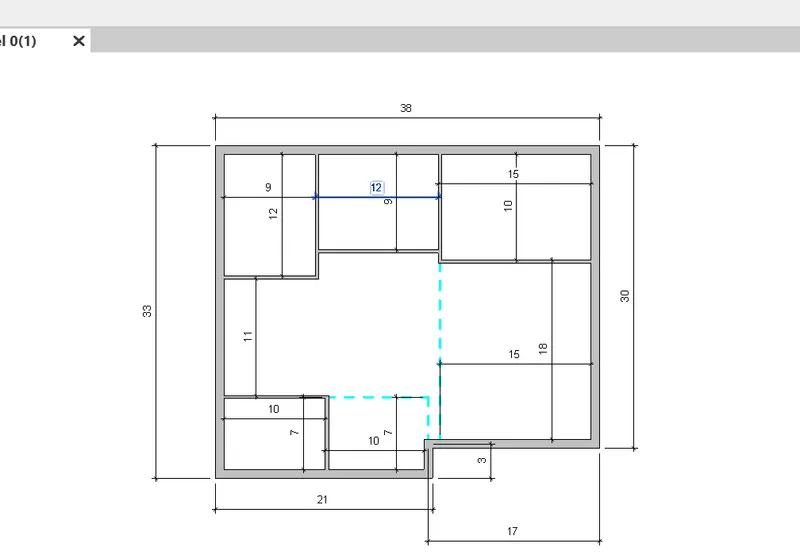
Now to add the dimension in the structural plan. we need to open it from property browser click on the structural plans.
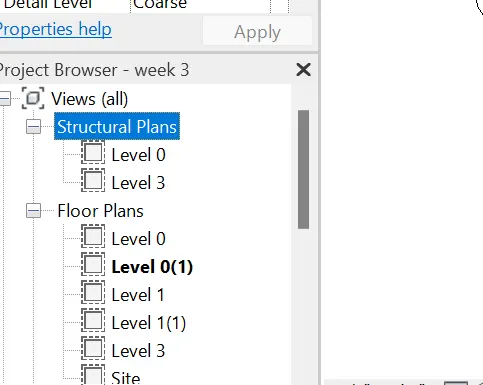
Then select the level the file will be opened.
Now click annotation and select linear and click on the wall to give the dimensions.
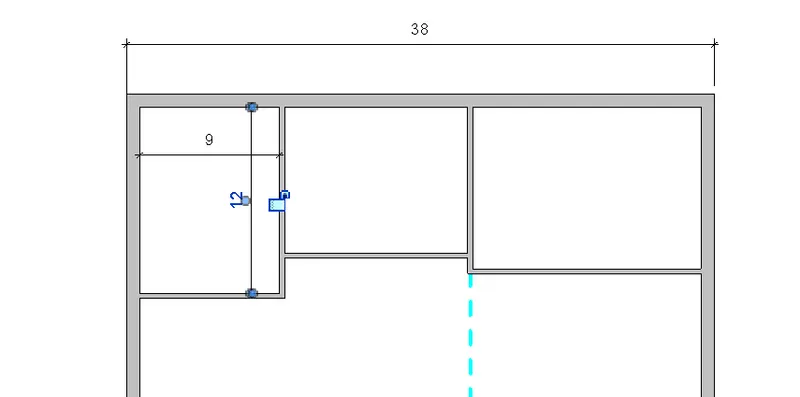
Result:-
As an end result we can see that we now have an dimension to all the section plan and the elevation plan.
5) Create a sheet template from the view tab and adjust the parameters on the sheet to add appropriate views?
Aim:-
To create a sheet template and adjust the paramenters with the help of view tab.
Introduction:-
The sheet view help use to provide the palans in the sheets for the approvals are for the presentaion are for the devolopment.
Procedure:-
First we need to open open the revit file and then click on the view tab then click on the sheert icon.
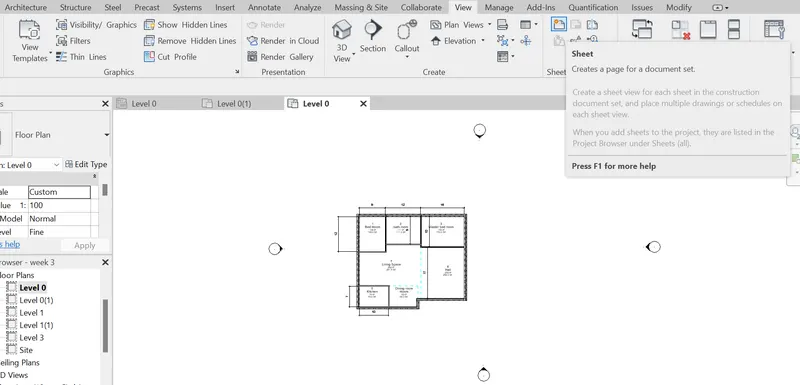
Once click on the that click on the sheet size and click on the ok.
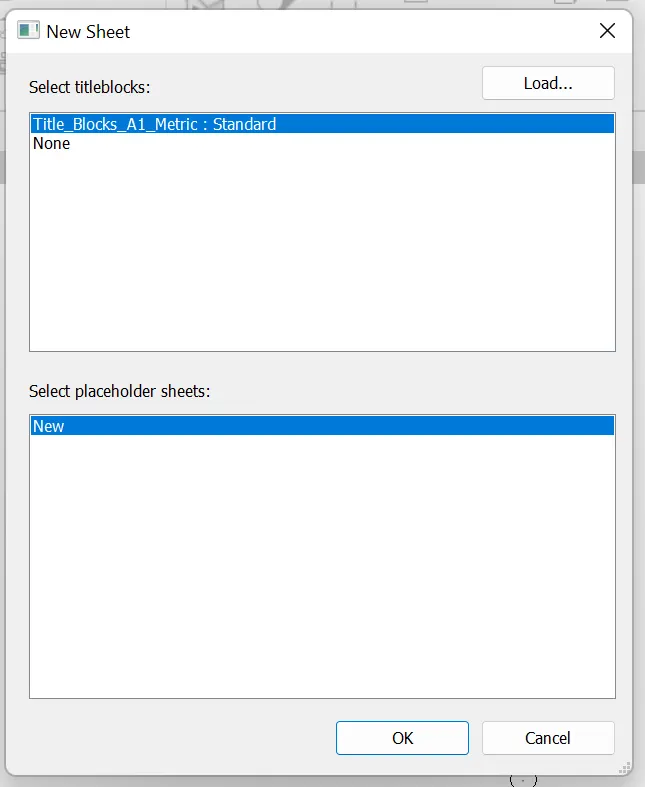
now we can see a sheet opend like this.
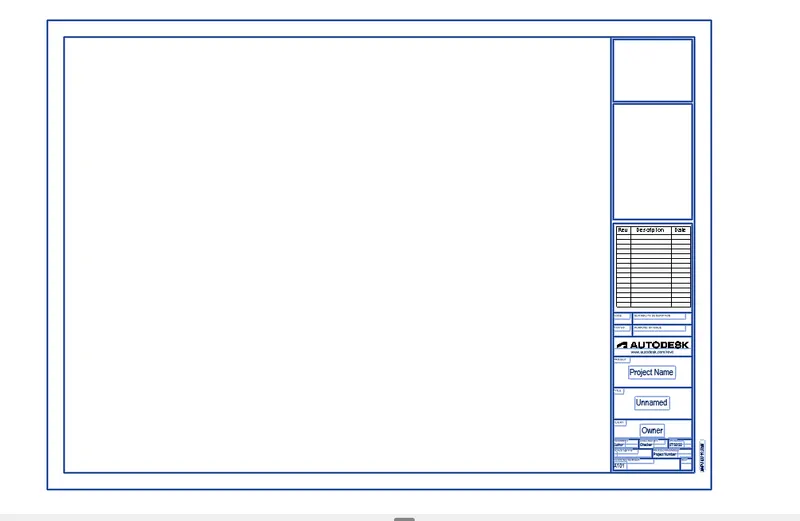
To change the parameters of them double click on them so that we can change them as our wish.
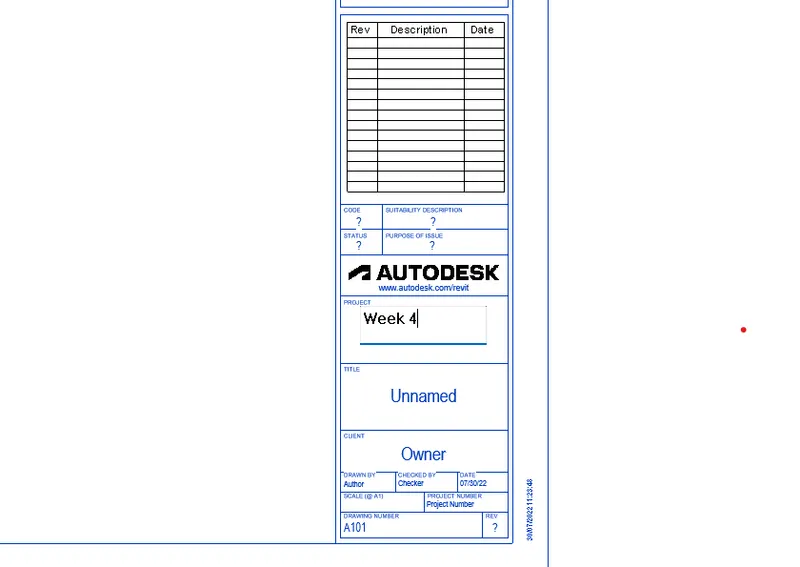
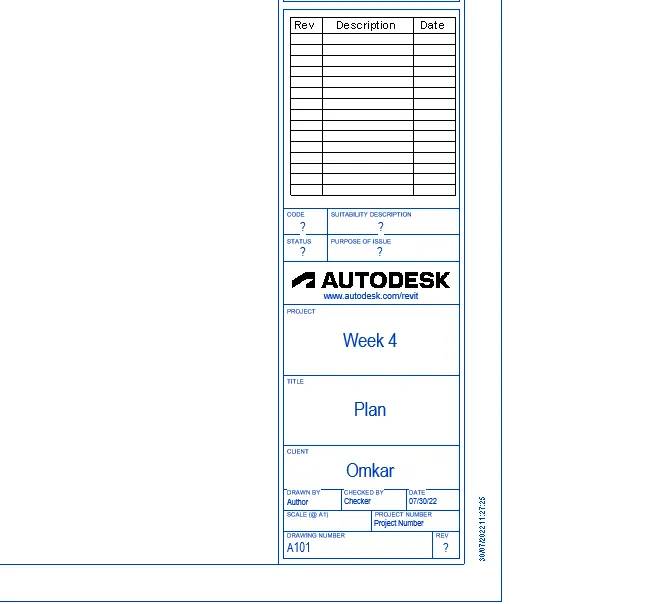
As a result we can see that that changes in the sheet.
now to add the plan click on the floor which ever we plan to add and drag them on to the sheet.
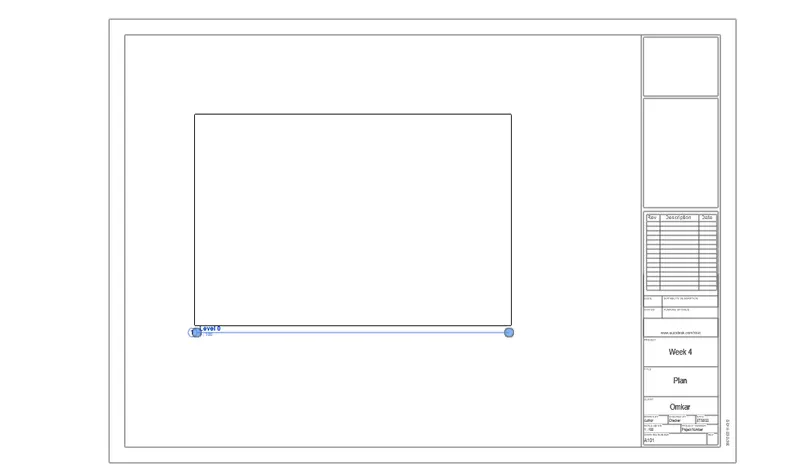
Then palce the palan as per the wish and click on the screnn so that we can see the plan in the sheet.
TO change the scale we need to change the scale in the property browser.
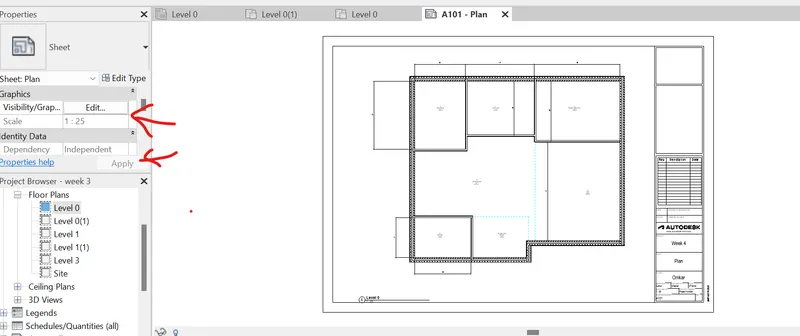
Result:-
Now we can see that sheet has been created and the properties has changed appropriatly and the plan has been added.
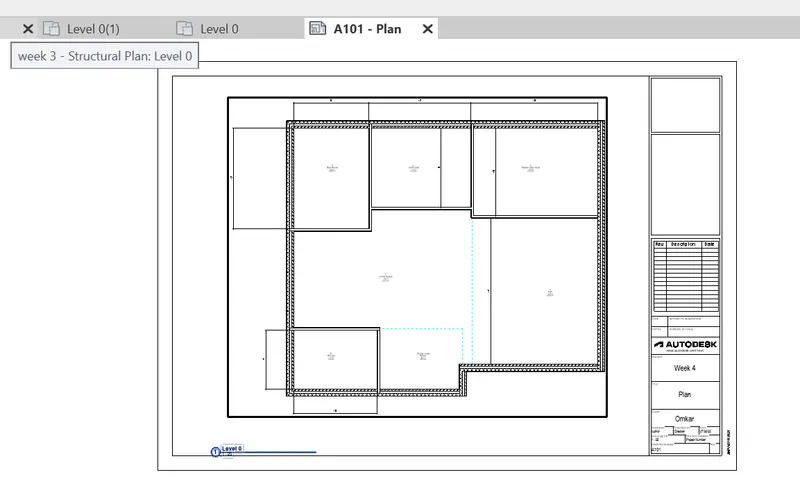
6) Using the elevation tab create the elevation views, looking at your building from East, North, South, and West?
Aim:-
To create the elevations of the building from looking at the building by using the elevation tab.
Introduction:-
By creating the elevation we can see the bulding in different sections.
Procedure:-
First we need to open the file then go to the view tab icon then click on th elevation.
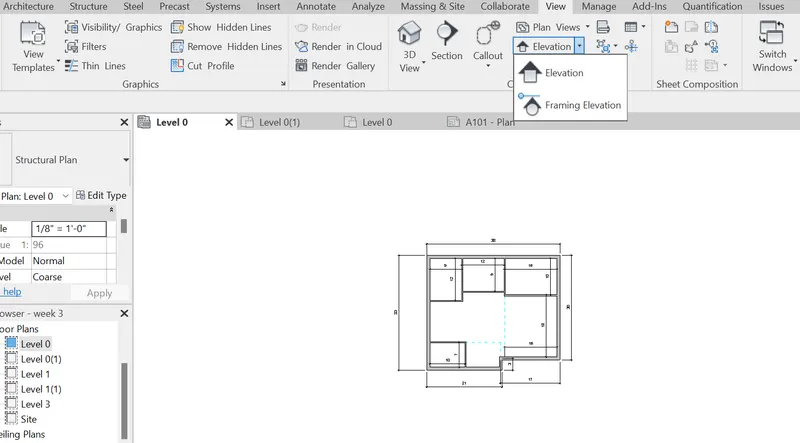
Now click on the elevation to create an elevationand place them in the direction then click on screen.
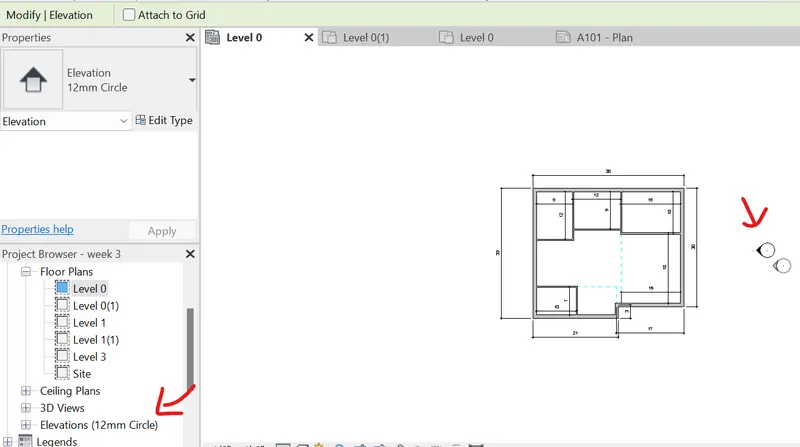
now click on the elevation in the property browser to change the name..
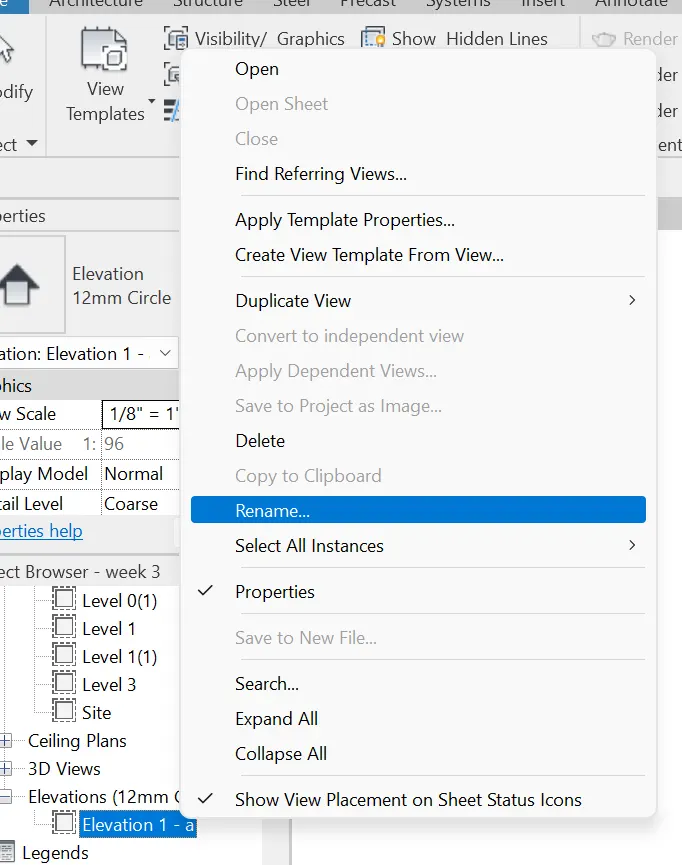
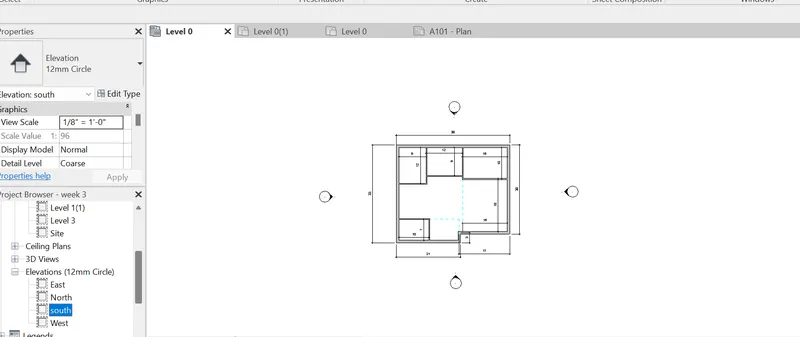
Now keep the elevation direction name.
as the same way click on all the sides and then give them a names.
Then double click on the elevation to see the view from that side.
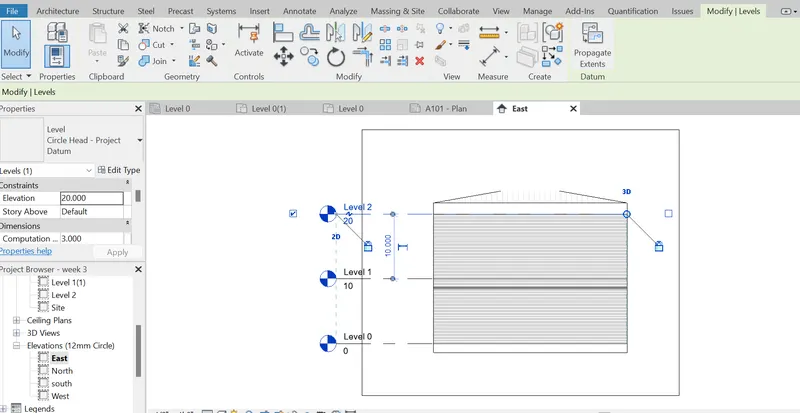
Result:-
As a result we now hav the elevation views w can see them in the properties browser.
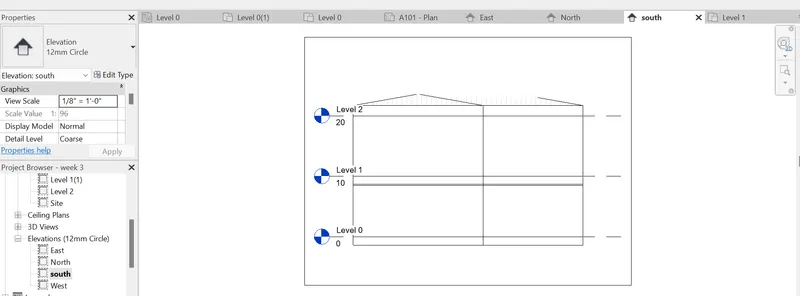
7) Produce section cut through each room either cutting across longitudinally or in a transverse direction?
Aim:-
To produce the section cut through each room.
Introduction:-
This will be cross the section help in identify the elements and the conditions to give more detailing to the project.
Procedure:-
First we need to open the revit file then go to the view tab then click on the section icon.
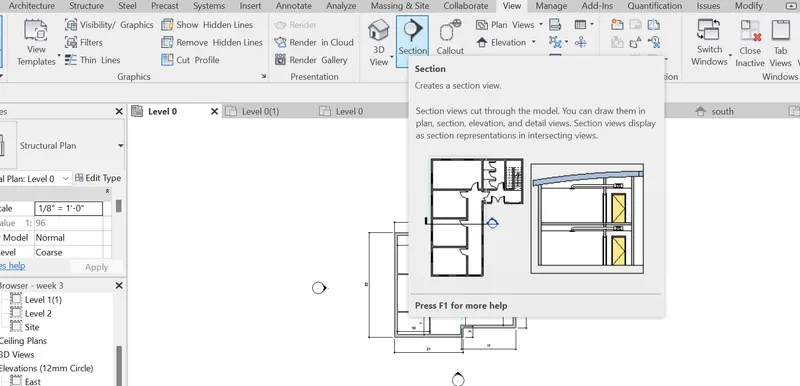
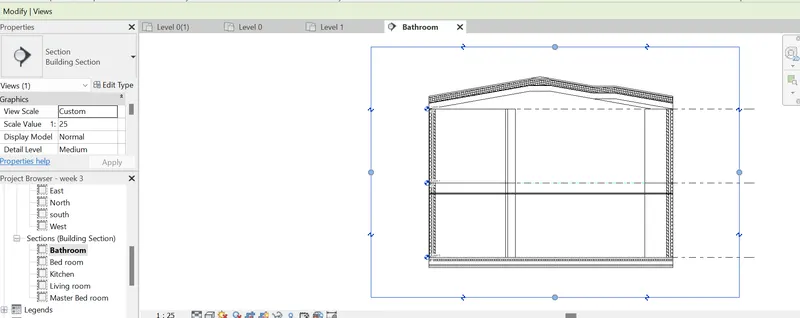
Then we need to click on the room to create the section then click on the screen the section will be created and added in the property bar.
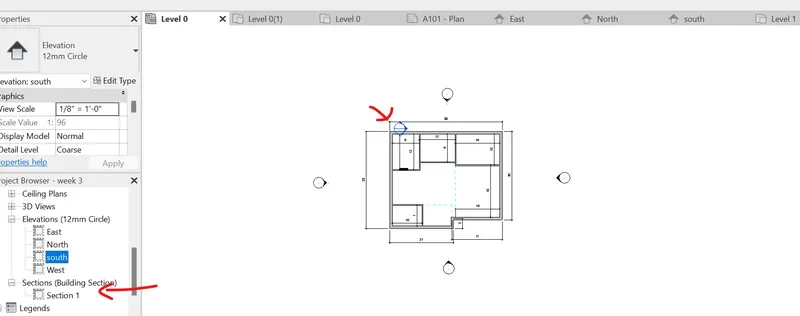
As the same waycreate all the section and then chage the name in the property browser.
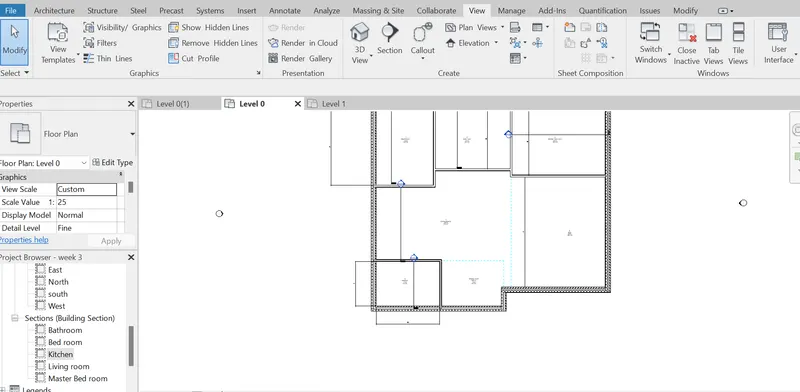
Now click on that section to see the view.
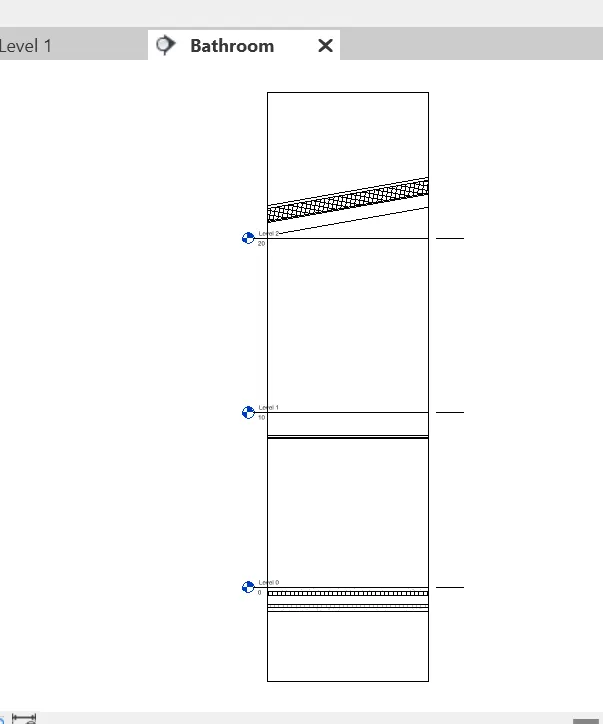
Now click on the edges and drag them to see all the side.
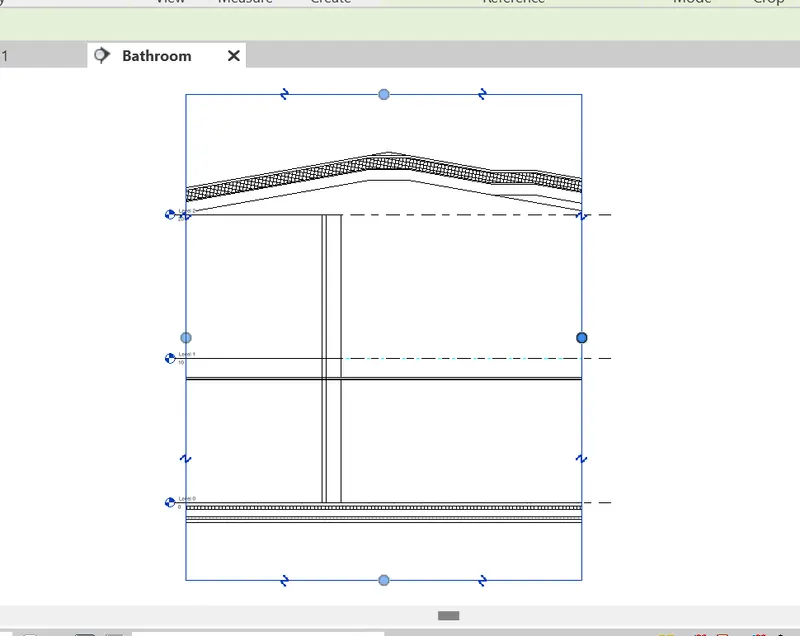
Result:-
As a result we can now see tha section views alon all the room.
8) Classify the views, Plan Views, Section Views, and Elevation views to either Design or Documentation category using Properties browser?
Aim:-
To classify the plan view, elevation view, section view by using the property browser.
Introduction:-
In this we will classify the view either for design or documentation category.
Procedure:-
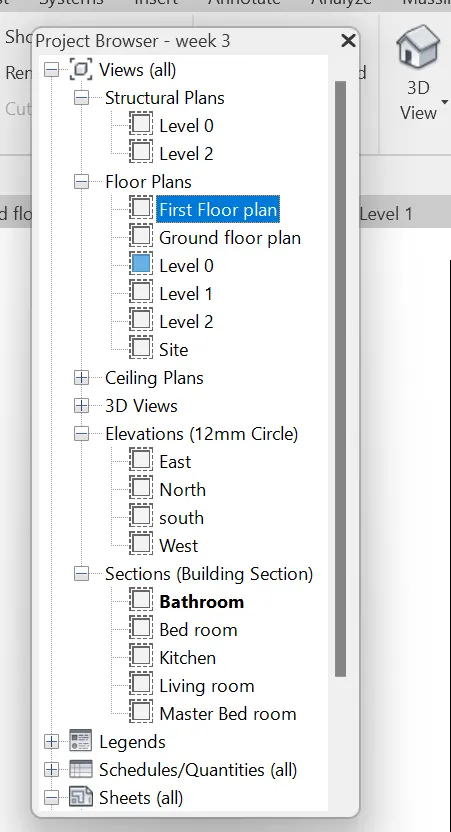
As we have already created the section in the previous questions. now to classify first i am taking the structural plan.
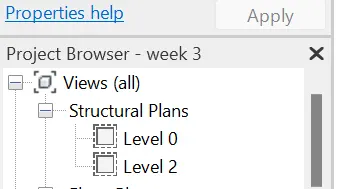
This provided with the levels and this are helpfull to identify the structure properties with an accurate dimensions.
Then we see the floor plans.
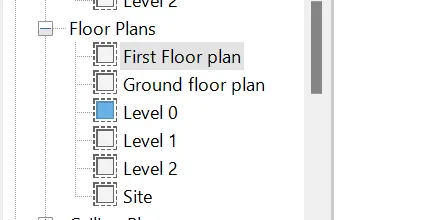
This plan shows the plans of the file as per the levels created we can see the plans according to the levels and they can add more detailing to the projects.
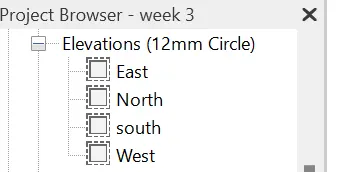
Next the elevation view show the drawingviews along the direction so that we can see the drawing view in all the direction from outside.
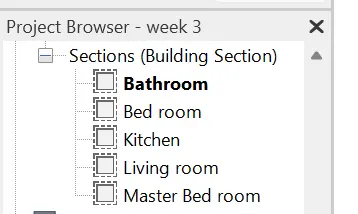
Next the section view this helps in identify thing across the section we cut through and identify he detailing through the walls and the rooms accrodingly.
Result:-
As a result we can see all of them in the propertty browser and they helps us giving detailing to the project.
9) Using the sheet template produced create multiple sheets as follows
a. A 101- Ground Floor Architecture Plan
b. A 102- First Floor Architecture Plan
c. A 103- Roof Plan
d. S 101- Ground Floor Structural Plan
e. S 102- First Floor Structural Plan
f. S 103- Roof Framing Plan
g. A-201- North-South Elevations
h. A-202- East-West Elevations
Add additional sheets based on the sections created in your Revit file?
Aim:-
To create multiple sheets by using the sheet template.
Introduction:-
This sheets help us to use for the approvals we cn creat the sheets and add the views in the sheets.
Procedure:-
As we already created a sheet for the ground floor plan as the same was we will now create a plan for the first floor
we need to open the view tab then click on the sheet select sheet and click on ok.
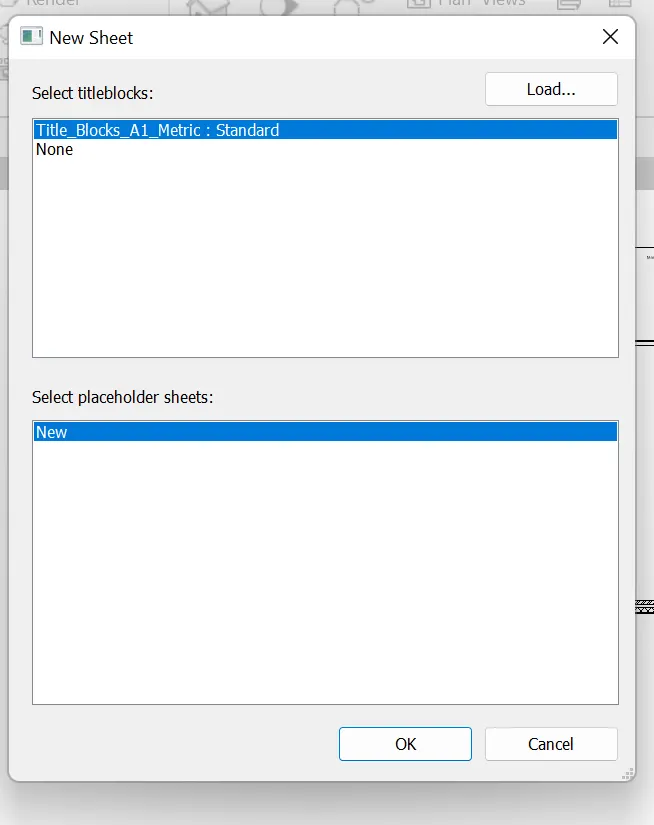
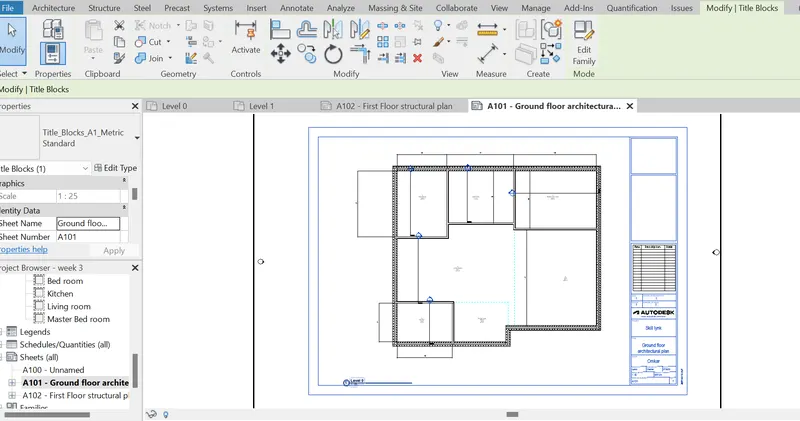
Once the sheet is opened then change the name of the sheet ans=d the properties and then add the paln by draging it in the sheet.
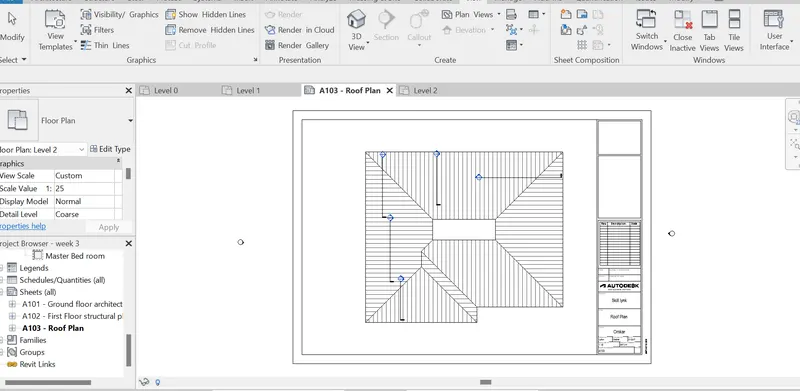
Then click on the new sheet then click ok and add the roof plan. Then change the properties and then change the scale.
Now create a new sheet and add the ground floor structural plan in the sheet then change the properties and the scale of the plan.
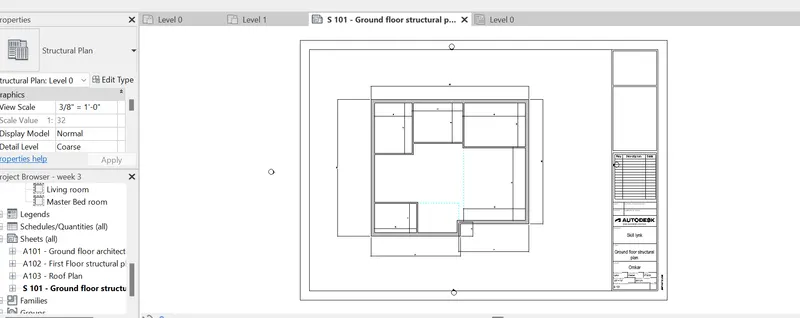
Now create a new sheet then change the properties of the sheet. then add the structural plan by dragging it into the sheet. then change the scale of plan so that it fits to the sheet.
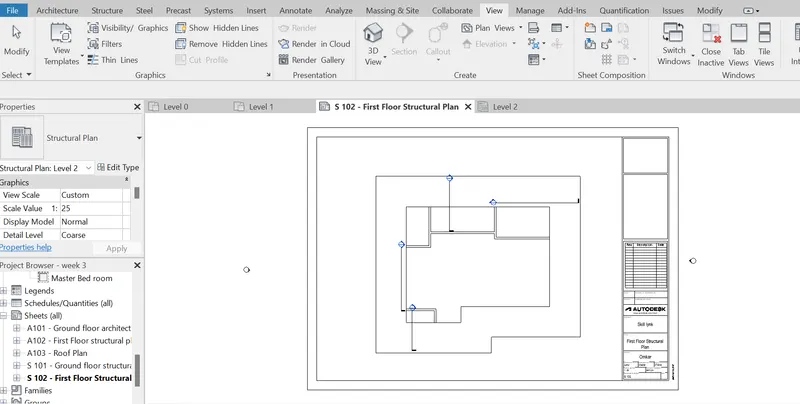
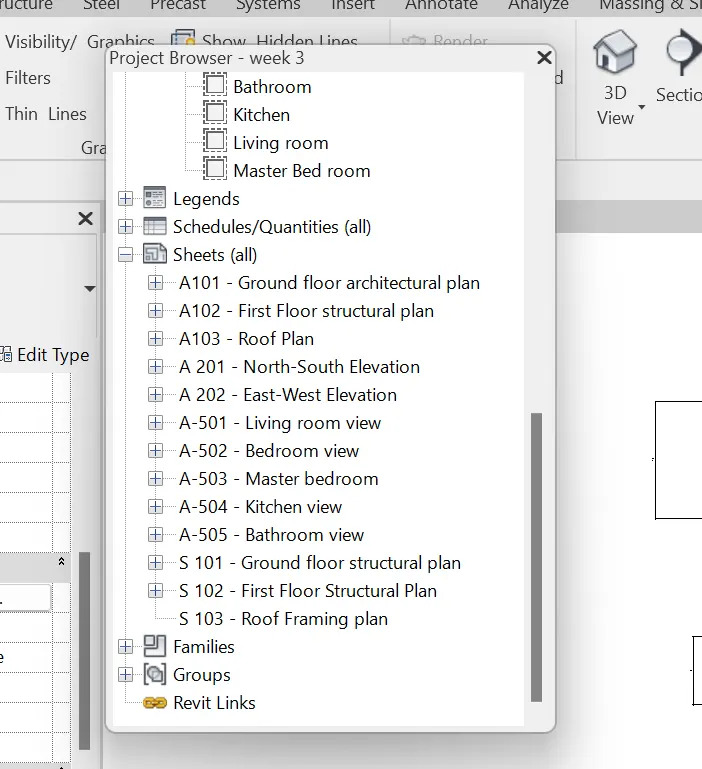
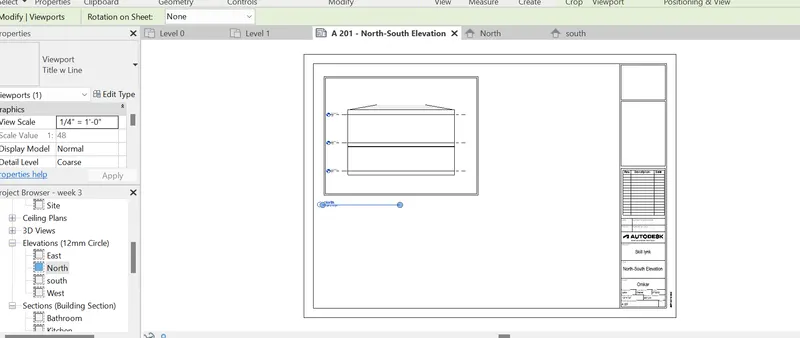
Now we create a new sheet then change the title and the parameters and then add the north south elevation in the sheet with the approperiate scale.
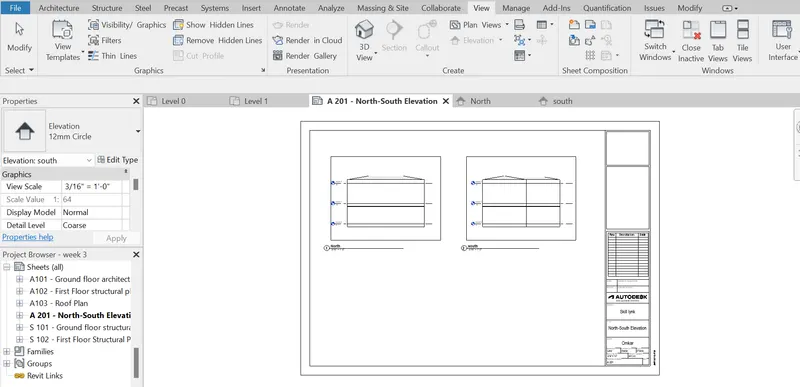
now add the other section to the same sheet.
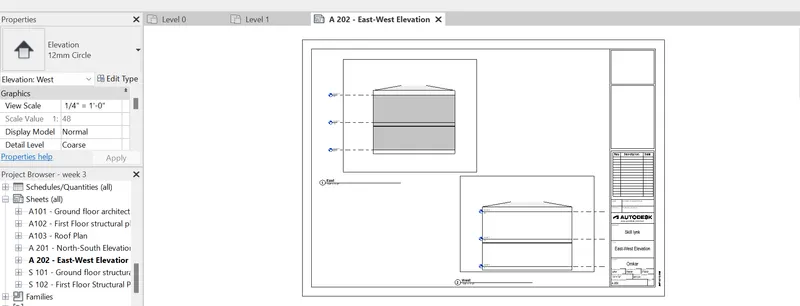
Now create a new sheet and change the properties and add the sections.
Result:-
As a result we now have the shhets to presr=ent for the approvals or for the documentations. we can see them in the Property brosers.
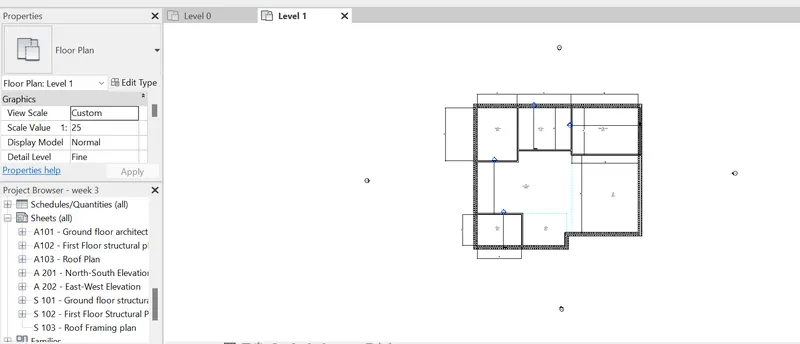
10) Create a camera-specific view or a 3D view in each room ( living, dining, bedroom). Based on the views create a new set of sheets starting A-501 (you can add as many sheets after, 502, 503.. n)to place the 3D view images. Produce the sheets as a part of project drafting?
Aim:-
To create a 3D views od the rooms and adding them in to thse sheets.
Introduction:-
in this we create 3D view to see the view form as the personal perspective so that we can present them to the clients.
Procedure:-
To create a 3D view view need to open the view tab then click on the house icon.
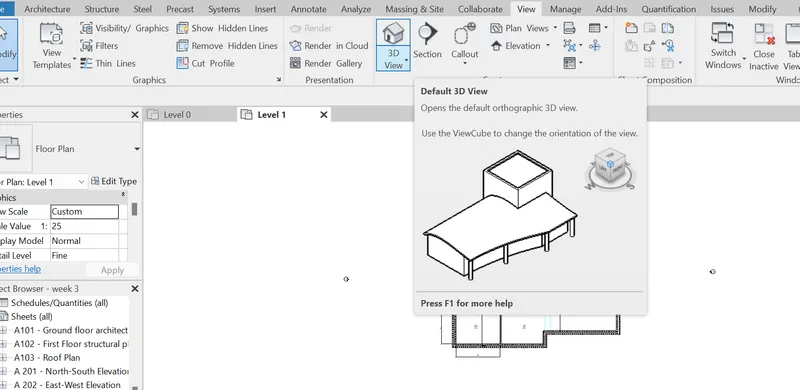
click on the camara view then place the camera in the room to see the view. we need to place them in the location and give the direction as which way we are looking to see the view.
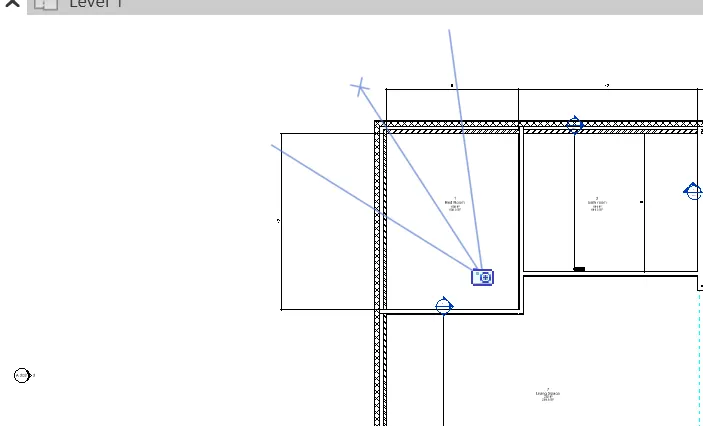
Now click on the screen and we can see the view has been creaed and added in the propety browser.
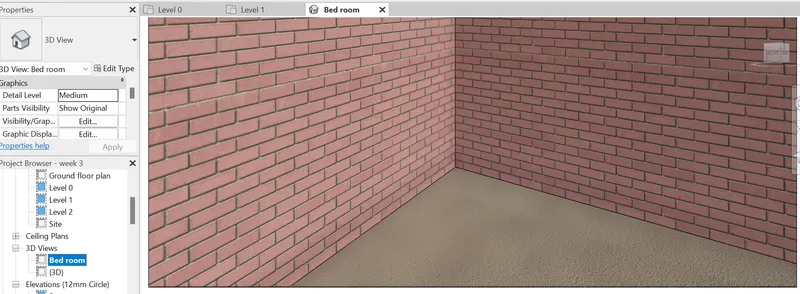
Then go to the other room and place the camara repeat the same procedure.
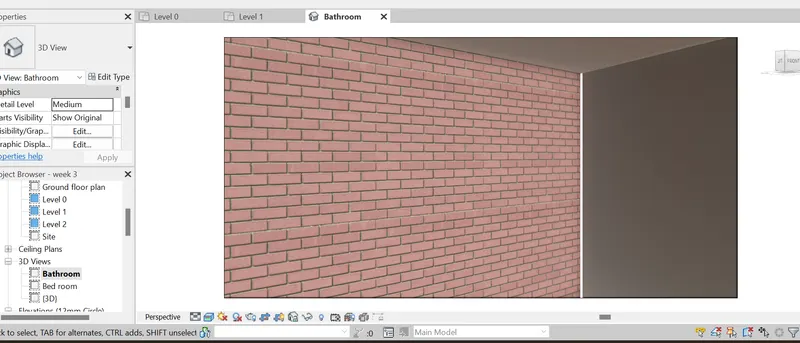
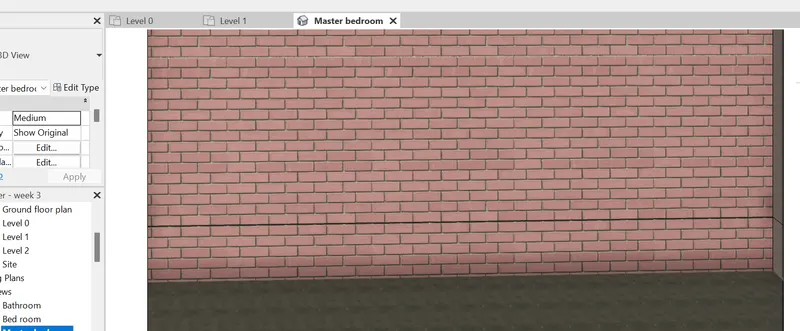
Afte creating all the 3D views. we can see them on the propoerties browser.
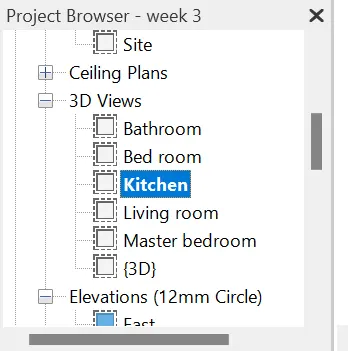
now create the sheets and add the drawing in the sheets .
Then chage the name of the file and add the view in the sheet and add the scale as proprait.
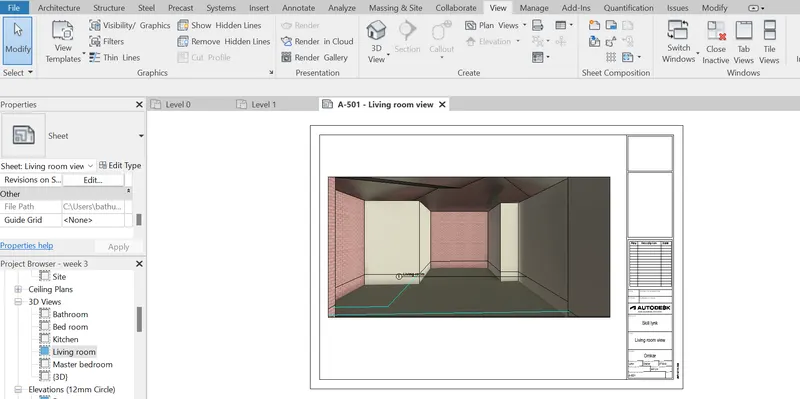
Now create a new sheet add the view scale approprait and change the title.
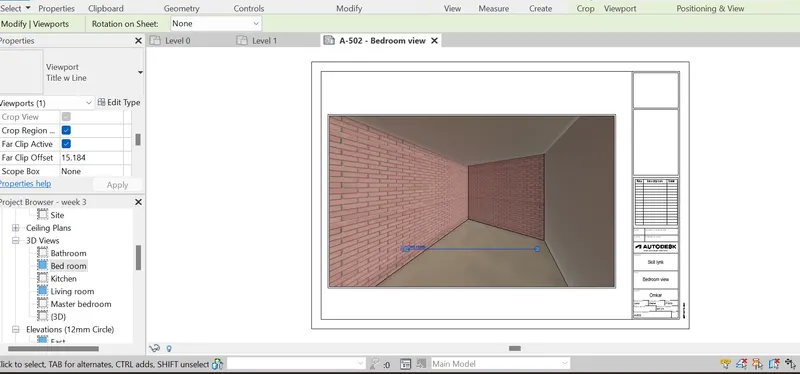
Then the next sheet.
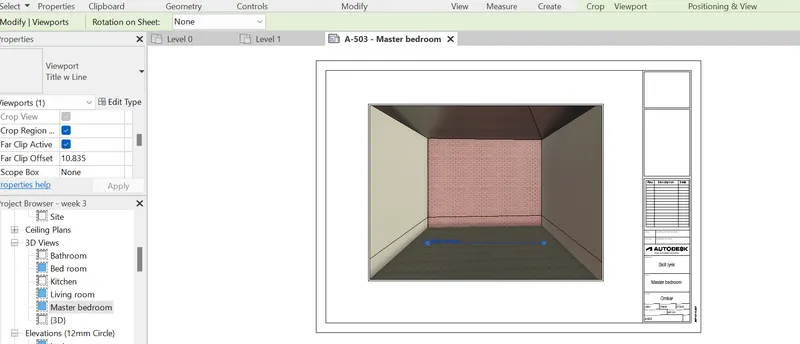
in the end we got all the views in the sheets and then we can see them in the browser.
Result:-
As aresult we can see that now all the vies has been presented in the sheets and the sheets can be found in the property broser.