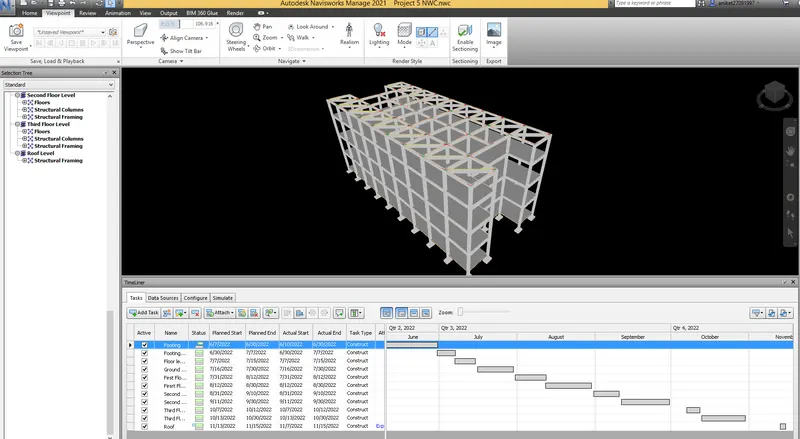
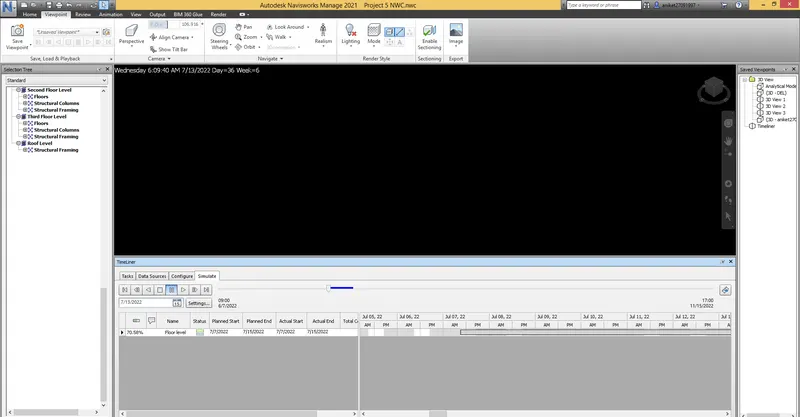
Usage of Navigation tool , Timeliner and Clash Detection test using Naviswork
1)
Aim - To use the architecture/structural project file developed from week 6-8, Export the Revit file to Navisworks cache file.
Introduction -
1) Navisworks is a software tool which is generally used by Management files people .
2) It helps us to coordinate or manage the project with more efficiency .
3) It allows users to open and combine 3D models, navigate around them in real-time and review the model using a set of tools .
4) A selection of plug-ins enhances the package adding interference detection, 4D time simulation, photorealistic rendering and
PDF-like publishing.
5) It is a project review software that allows Architecture, Engineering and Construction professionals holistically review
integrated models and data with stakeholders during preconstruction to better control project outcomes.
6) Following are the functionalist of Naviswork
a) Coordination
b) Clash Detection
c) 5D Project scheduling
d) Rendering
e) Quantification
f) Construction Simulation
Procedure -
Step 1)
i) To start the Naviswork , first we have to Download the Naviswrok Explorer setup to export our file into Naviswork
ii) Go to Chrome - Search - Naviswork 3D viewer
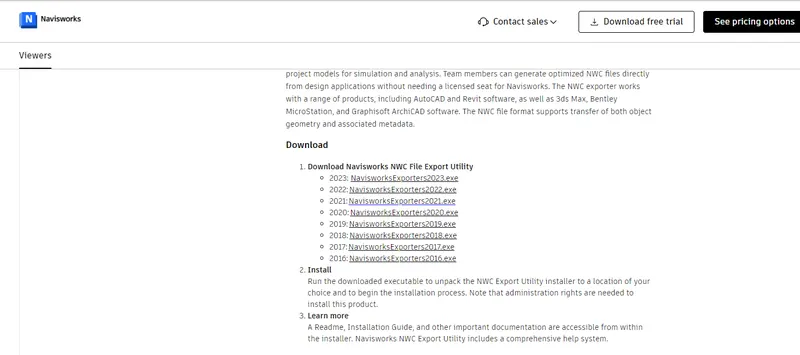
iii) Download the Setup file and Install it .
Step 2)
i) Once you Install the Naviswork
ii) Open the Revit software
iii) Open the Revit Project of week 6 to week 8
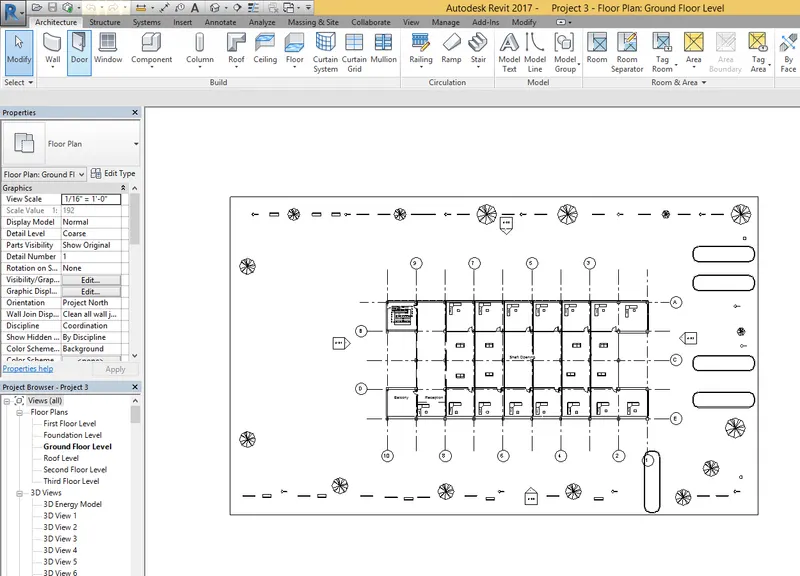
Step 3)
i) Once you Open Revit
ii) Click on Application Menu
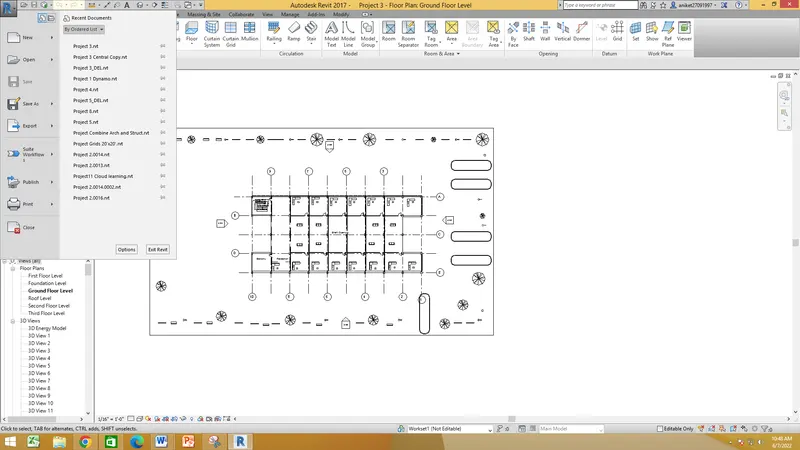
Step 4)
i) Click on Export tab
ii) You will see the option of NWC ( Naviswork )
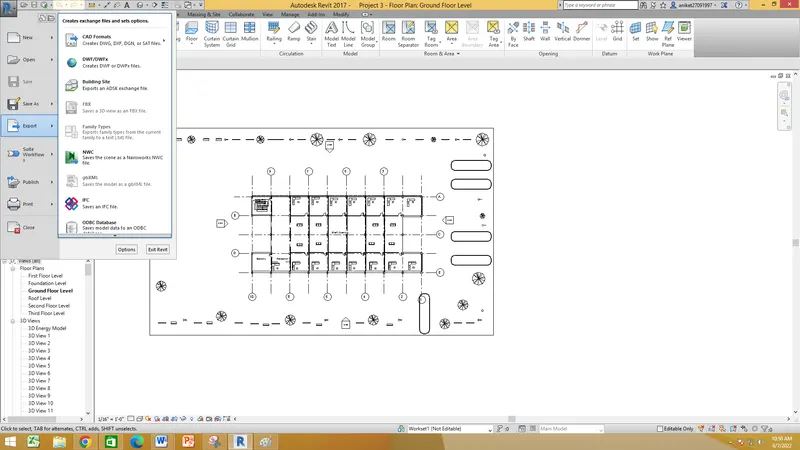
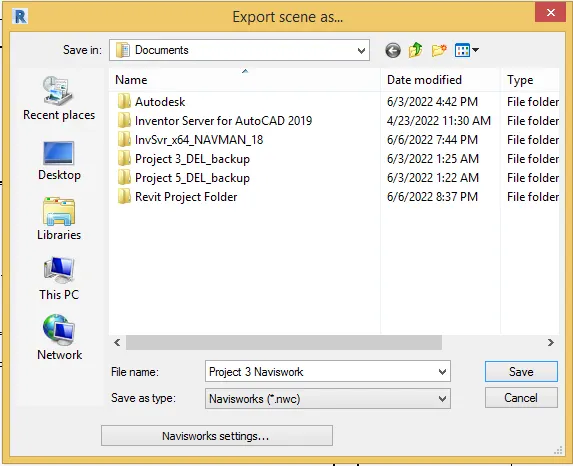
iii) Save the file as Project 3 Naviswork
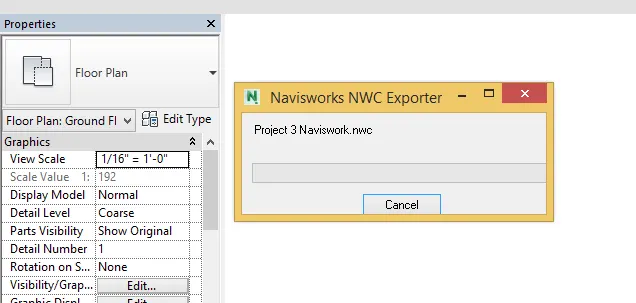
iv) Once you save you will see the Export Process
Step 5)
i) After completion , Open the file by Using Naviswork Manage
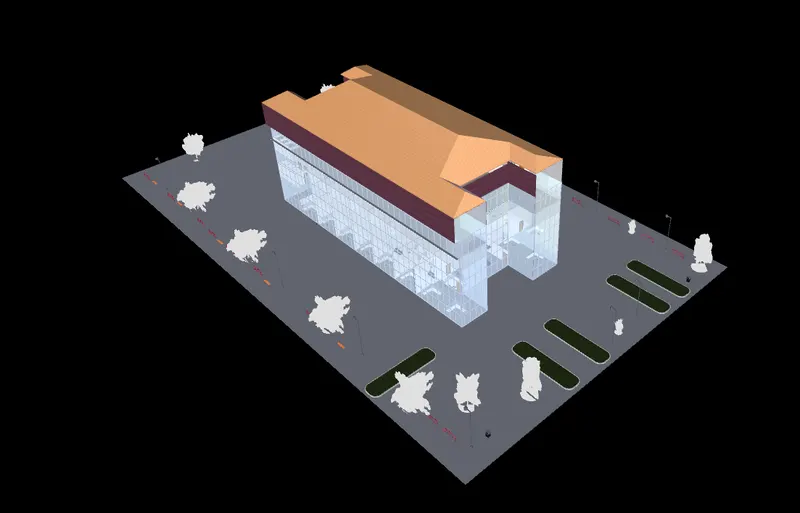
Result - The Architecture Model is successfully exported to the Naviswork Cache File .
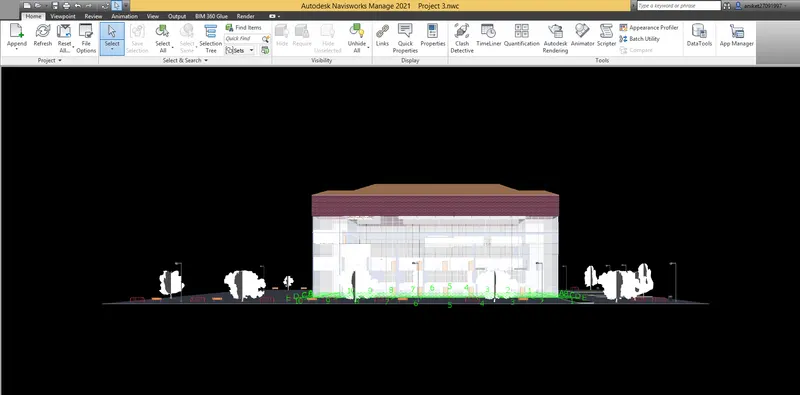
2)
Aim - To use Navigate Tool to walk around the model and walk through the rooms created and record your moving as animation in
your Navisworks file.
Introduction -
1) Navisworks is a software tool which is generally used by Management files people .
2) It helps us to coordinate or manage the project with more efficiency .
3) It allows users to open and combine 3D models, navigate around them in real-time and review the model using a set of tools .
4) A selection of plug-ins enhances the package adding interference detection, 4D time simulation, photorealistic rendering and
PDF-like publishing.
5) It is a project review software that allows Architecture, Engineering and Construction professionals holistically review
integrated models and data with stakeholders during preconstruction to better control project outcomes.
Procedure -
Step 1)
i) Open the architectural file in Navisworks which you have exported in Question 1)
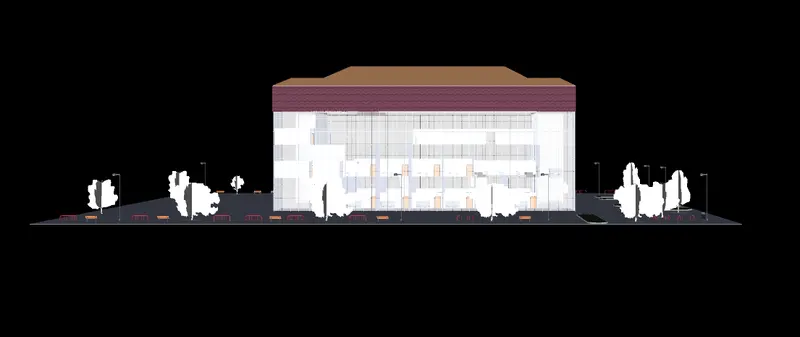
Step 2)
i) Click on Viewpoint option
ii) Select Walk option

Step 3)
i) Click on the Viewpoint tab - Select Record
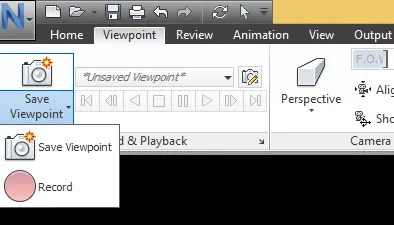
Step 4)
i) Video has been Recorded in the form of different Frames
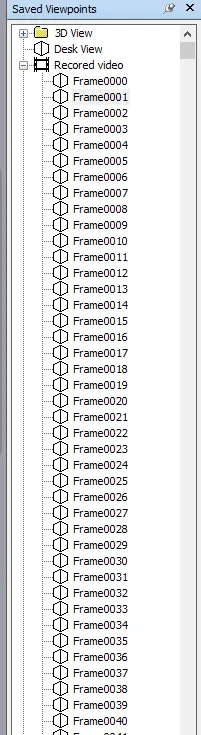
Step 5) Using the walk option we have walked through different rooms and it is reorded as follows
1) Staircase
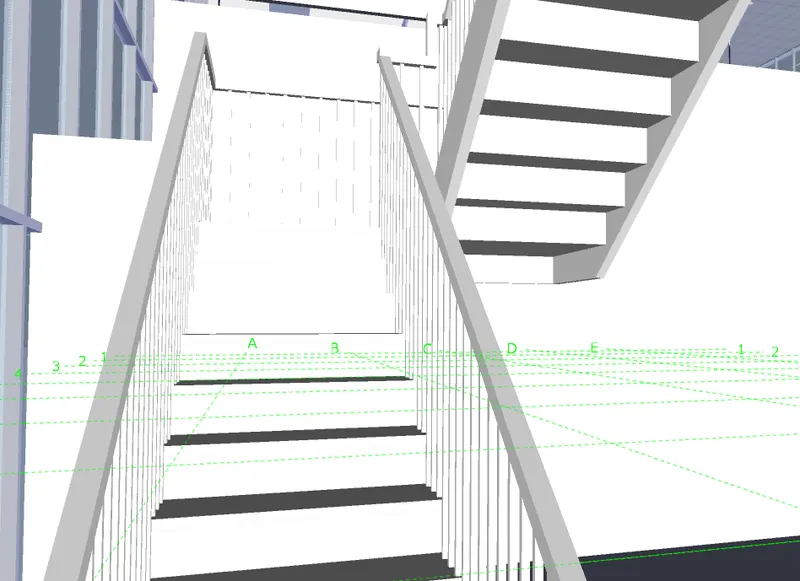
2) Entrance Lobby
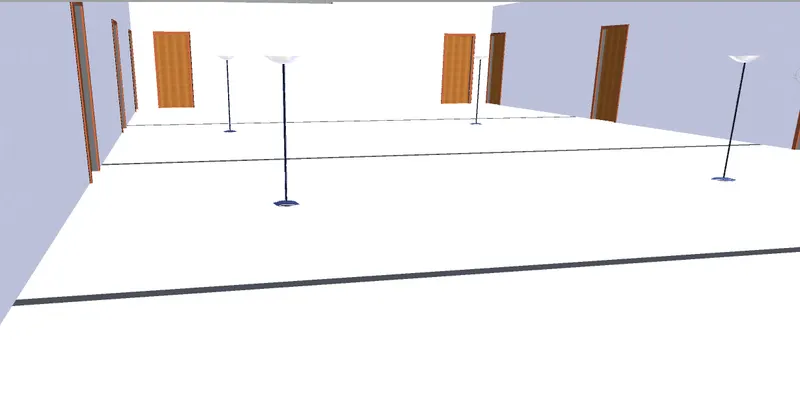
3) Workstation
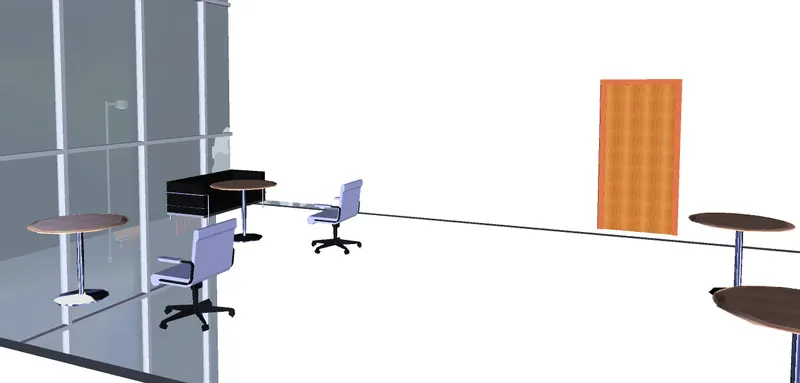
4) Meeting Room
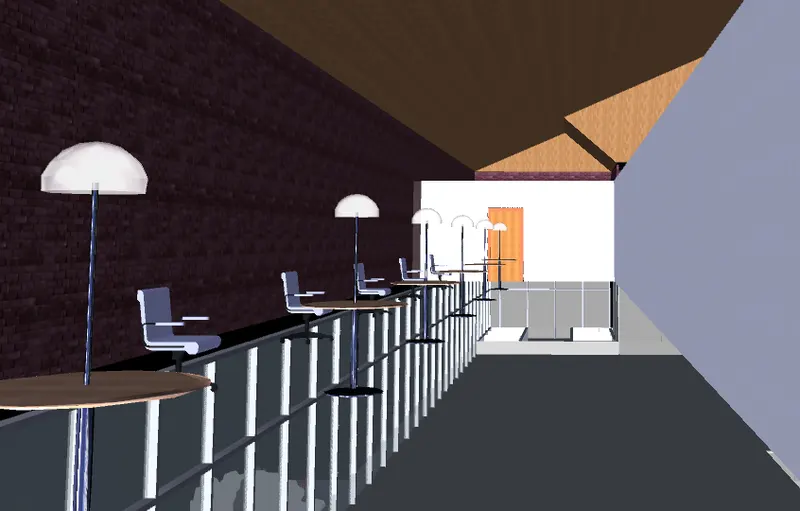
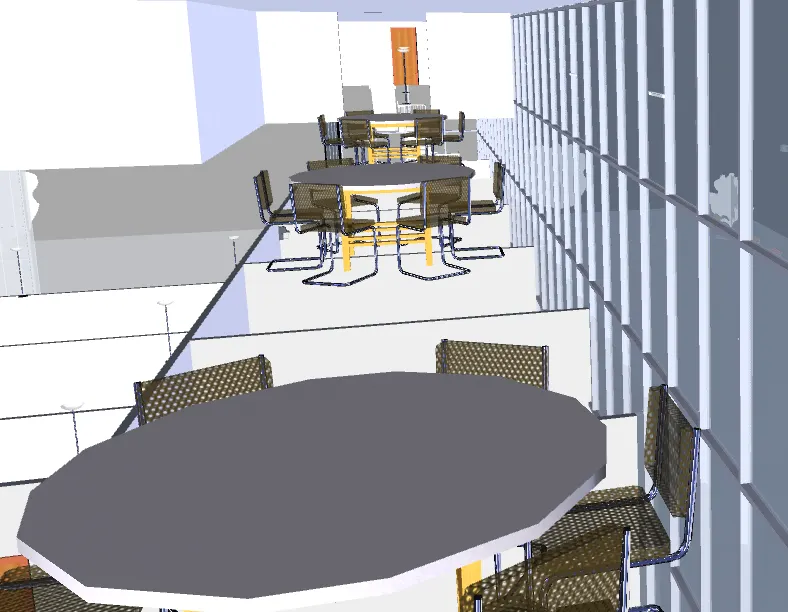
5) Cafeteria
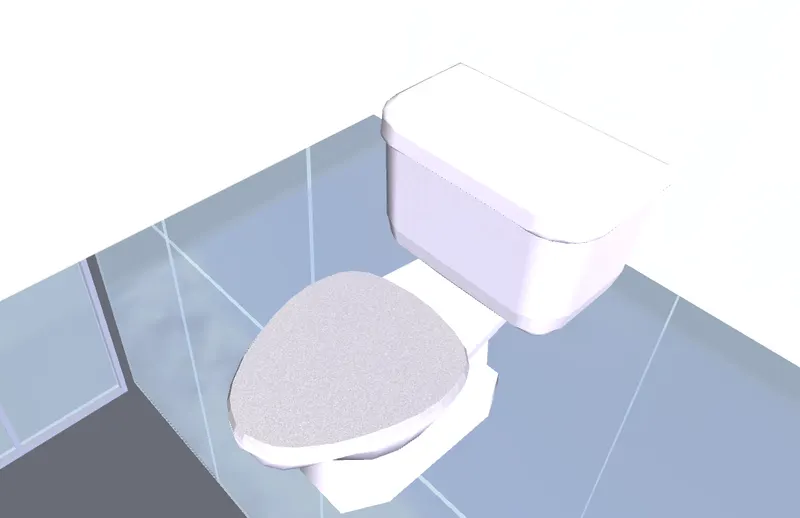
6) Washroom -
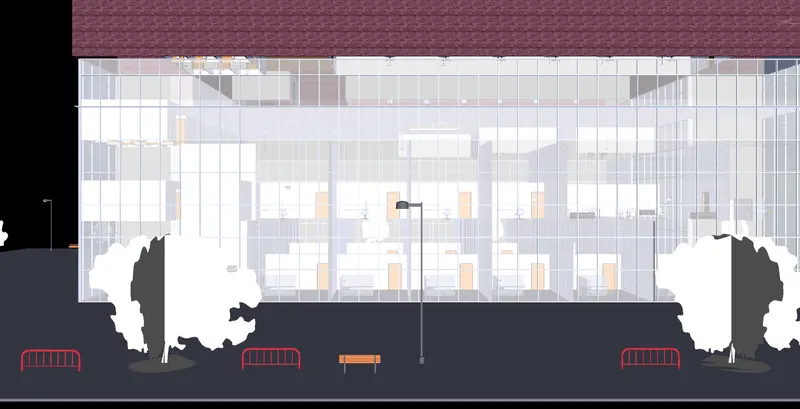
Results - A walk around the model and around the room is recorded successfully using Navigate tool Walk
1) Outside View -
2) Staircase
3) Entrance Lobby
4) Workstation
5) Meeting Room
6) Cafeteria
7) Washroom -
3)
Aim - To use Navigate tool to use Realism feature to walk through the model and record your moving as animation in
Navisworks file
Introduction -
1) Navisworks is a software tool which is generally used by Management files people .
2) It helps us to coordinate or manage the project with more efficiency .
3) It allows users to open and combine 3D models, navigate around them in real-time and review the model using a set of tools .
4) A selection of plug-ins enhances the package adding interference detection, 4D time simulation, photorealistic rendering and
PDF-like publishing.
5) It is a project review software that allows Architecture, Engineering and Construction professionals holistically review
integrated models and data with stakeholders during preconstruction to better control project outcomes.
Procedure -
Step 1)
i) Open the previous file
ii) Click on Viewpoint
iii) Select Realism - Third Person

Step 2)
i) Once you click Third person option in Realism menu under the viewpoint tab
ii) Click on the Record option
iii) We can save viewpoint using the save viewpoint option above it.
Step 3)
Using Realism Feature we have walk through the Office building as follows
1) Entrance Area
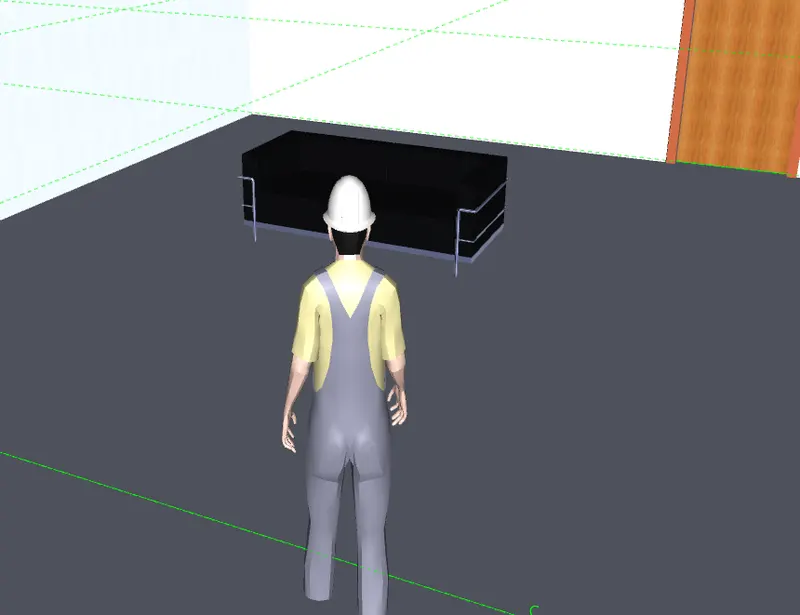
2) Waiting Area -
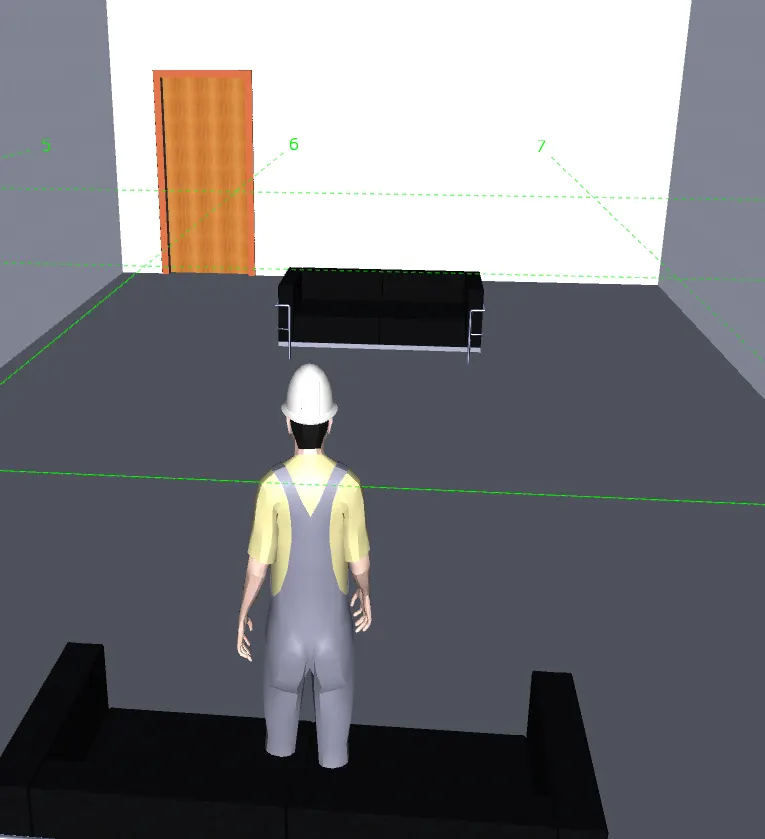
3) Cabin
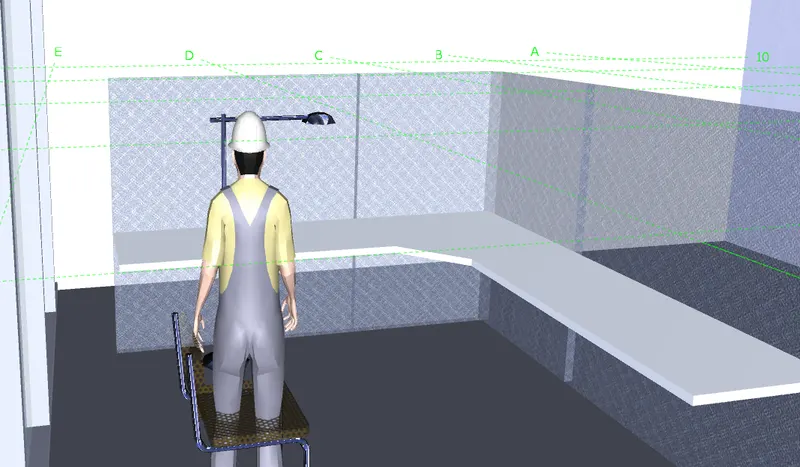
4) Lobby
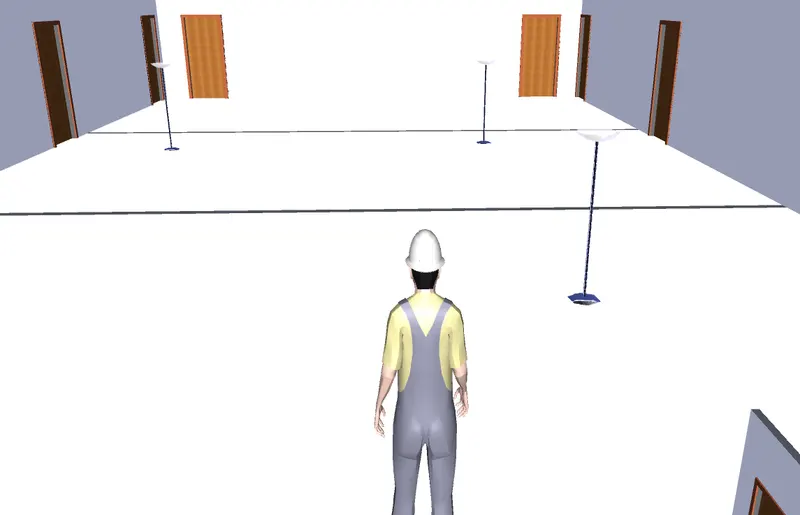
5) Conference hall
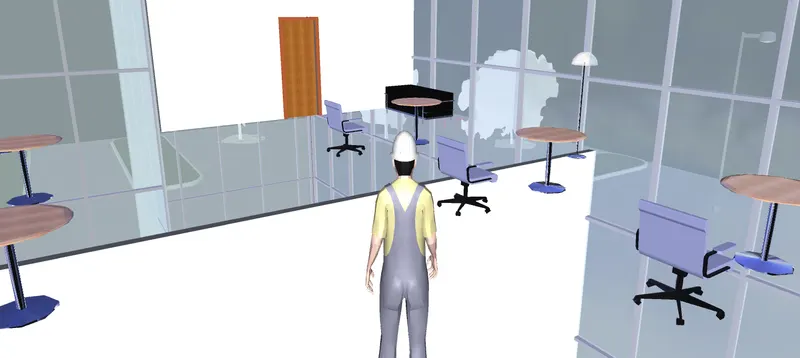
6) Meeting Room
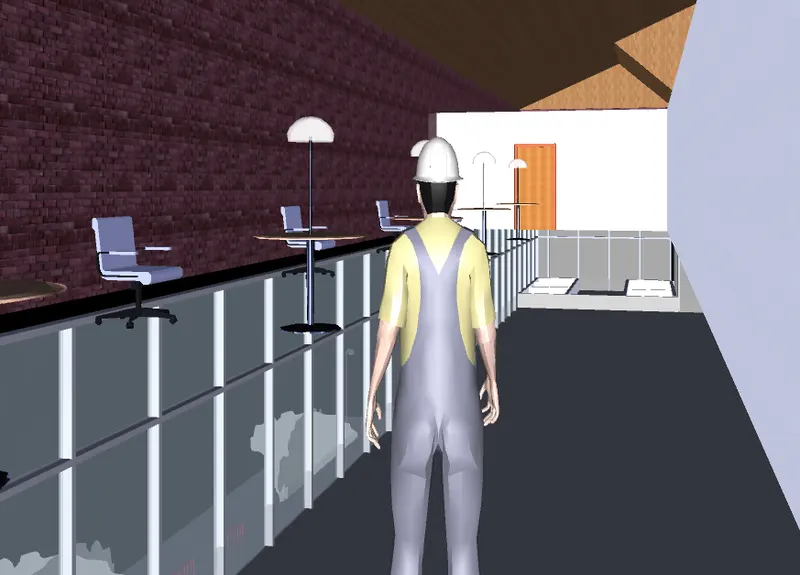
Results - Using Realism Features we have walked through model and recorded .
1) Entrance Area
2) Waiting Area -
3) Cabin
4) Lobby
5) Conference hall
6) Meeting Room
4)
Aim - To Embed both architecture and structure *.nwc file to your Navisworks file. Create a clash detection test between the two
models
Introduction -
1) Navisworks is a software tool which is generally used by Management files people .
2) It helps us to coordinate or manage the project with more efficiency .
3) It allows users to open and combine 3D models, navigate around them in real-time and review the model using a set of tools .
4) A selection of plug-ins enhances the package adding interference detection, 4D time simulation, photorealistic rendering and
PDF-like publishing.
5) It is a project review software that allows Architecture, Engineering and Construction professionals holistically review
integrated models and data with stakeholders during preconstruction to better control project outcomes.
Procedure
Step 1)
i) Open the Architecture File in Naviswork Manage which we have opened in earlier question
Step 2)
i) Once file is open
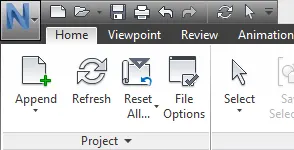
ii) Click on the Home tab
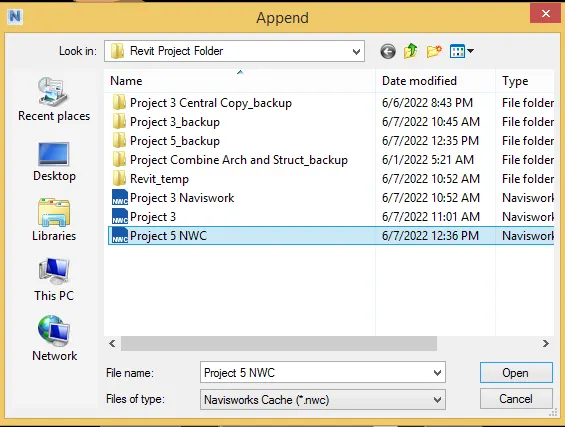
iii) Select Append
Step 3)
i) Once you Append the Structural file
ii) Click on Clash Detective option the Home tab to start the test.

Step 4)
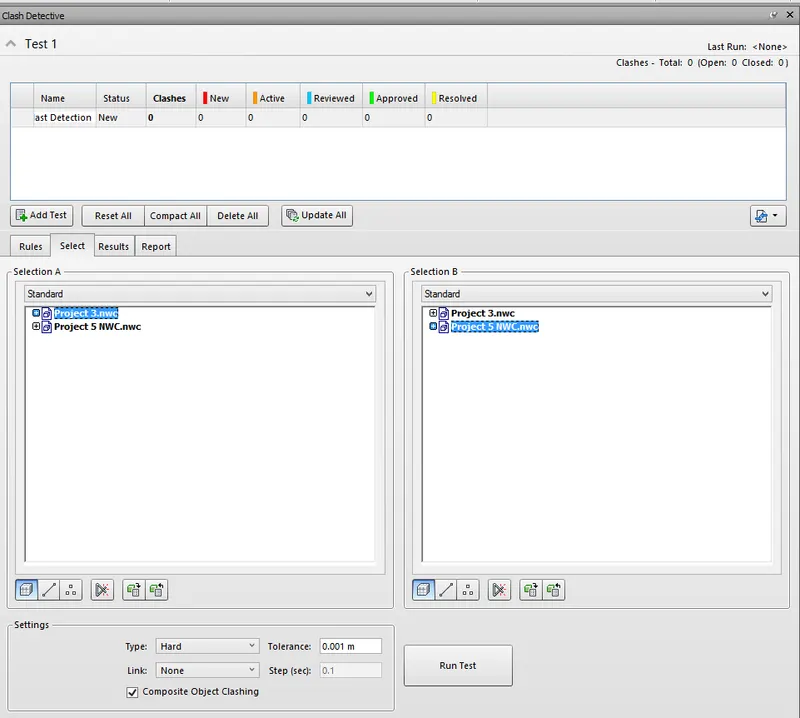
i) Add the test
ii) Select Architecture and Structural file in Standard A and B
Step 5)
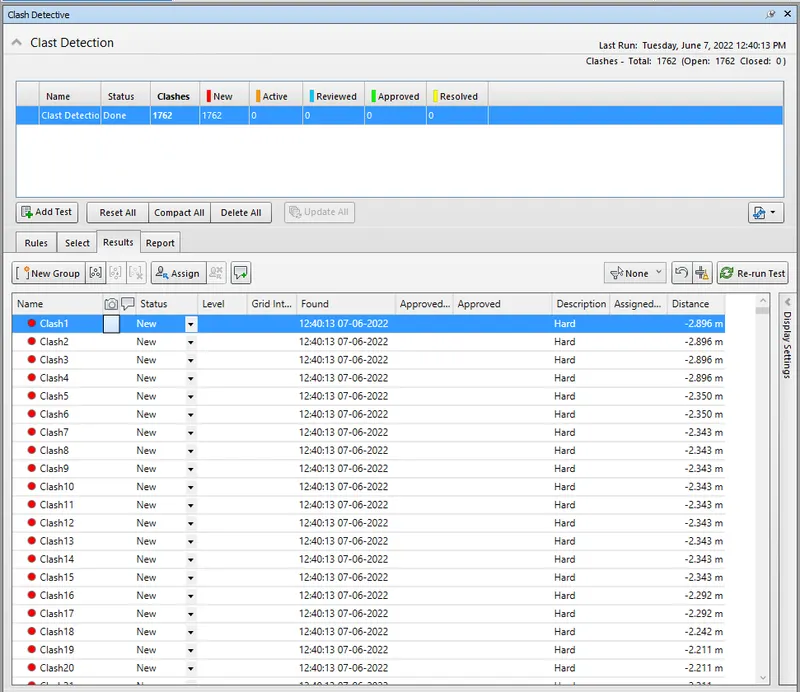
i) As we have created some manual error to see the clas detection as follows
ii) Click on Run test
Step 6)
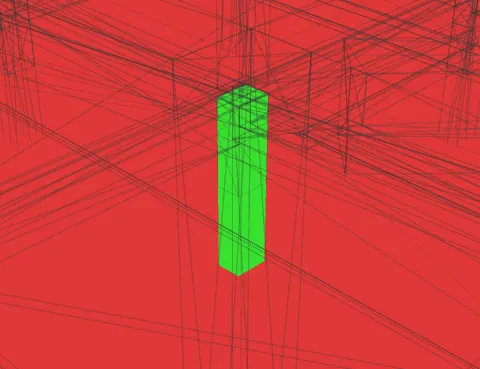
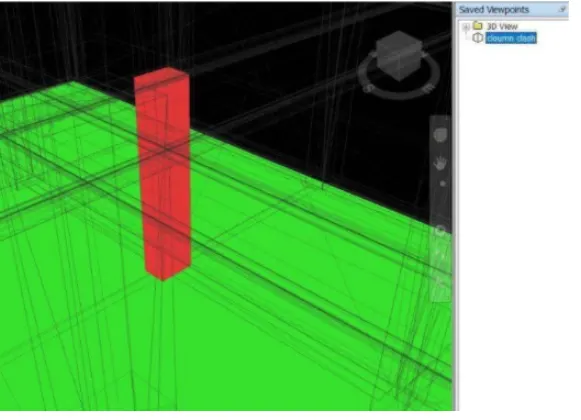
i) As you can see that this column is overlapping in between Architecture walls and Structural Columns
ii) You can resolve it later .
Step 7)
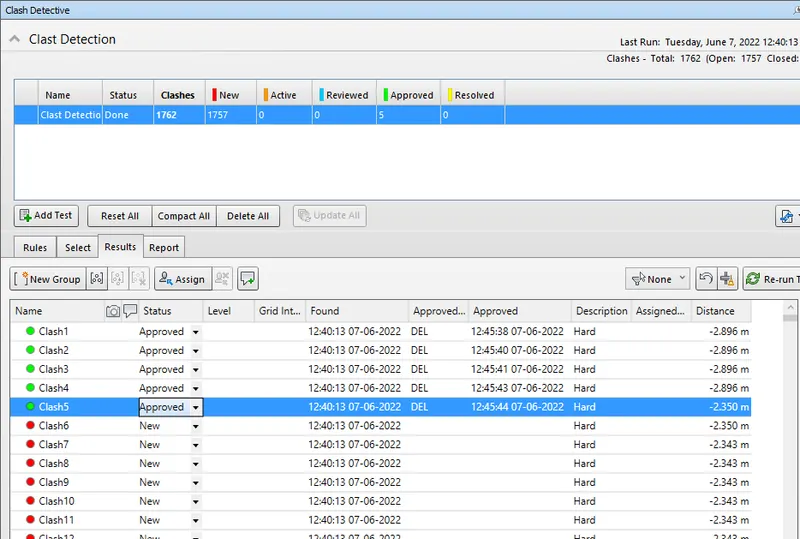
i) Select those clashes which we can edit it later and it won't be seen in next Run Test
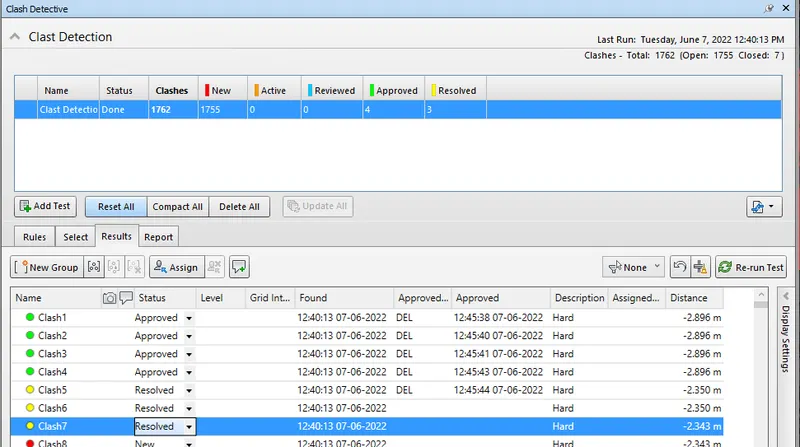
ii) Those Clashes can be marked as Approved Clashes
iii) Here we approved 1st 5 Clashes
Step 8)
i) Mark those clashes which are Resolved
Step 9)
i) Save the Result after Colour coding the clashes
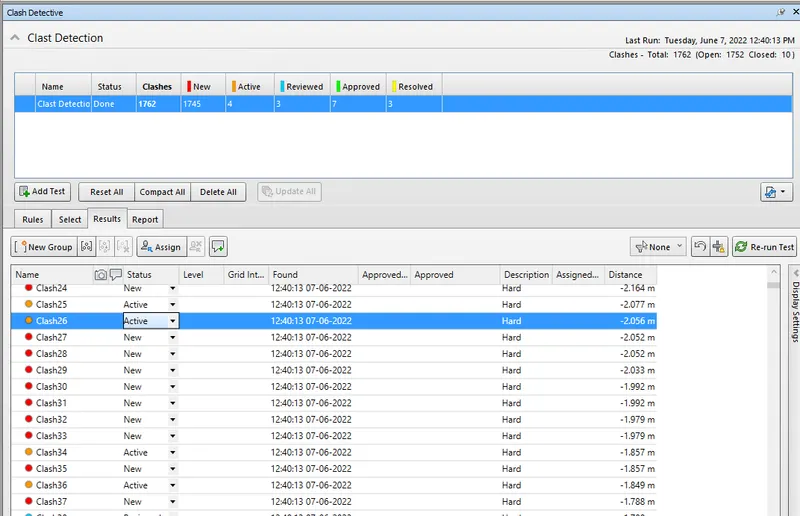
Results - A Clash Detection test has been done Successfully .
a) We have Rin Clash Detection Test
b) Clashes has been studied between models
As you can see that this column is overlapping in between Architecture walls and Structural Columns
c) List which of the clashes could be approved -
i) Clashes can be approved as part of construction, these clashes will not appear again and will turn to green colour once we click on
approve
d) List which of the clashes could be neglected ( will be taken care later) -
i) The clashes which will not cause any issue to the project can be easily neglected.
e) List which of the clashes can be resolved -
i) Clashes can be resolved which can change model boundary conditions these clashes can be excluded from the detective test.
f) Save the results after color coding the clashes to the Navisworks file
5)
Aim - Using the Timeliner feature in Navisworks prepare a schedule for the project developed.
Introduction -
1) Navisworks is a software tool which is generally used by Management files people .
2) It helps us to coordinate or manage the project with more efficiency .
3) It allows users to open and combine 3D models, navigate around them in real-time and review the model using a set of tools .
4) A selection of plug-ins enhances the package adding interference detection, 4D time simulation, photorealistic rendering and
PDF-like publishing.
5) It is a project review software that allows Architecture, Engineering and Construction professionals holistically review
integrated models and data with stakeholders during preconstruction to better control project outcomes.
Procedure -
Step 1)
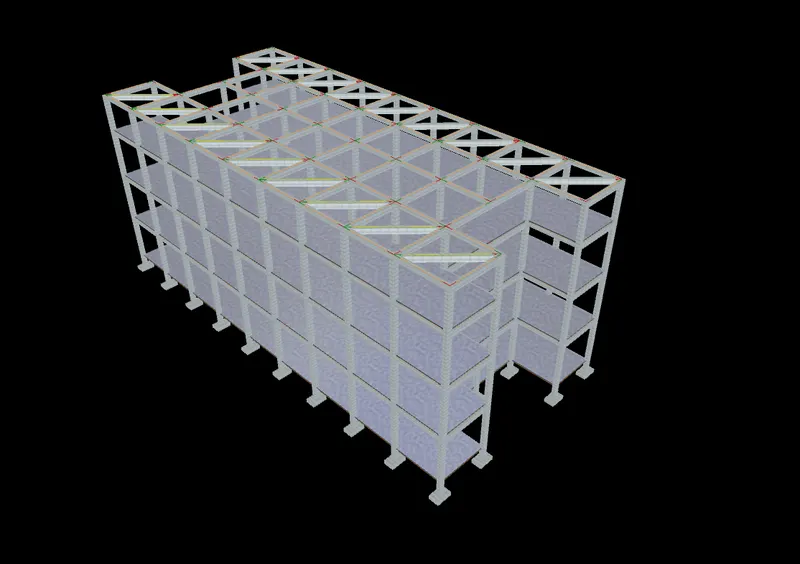
i) Open the Structural file in Navisworks .
Step 2)
i) Click Home tab and then click on Timeliner option

Step 3)
i) Once you click on Timeliner , you will see a Timeliner box as follows
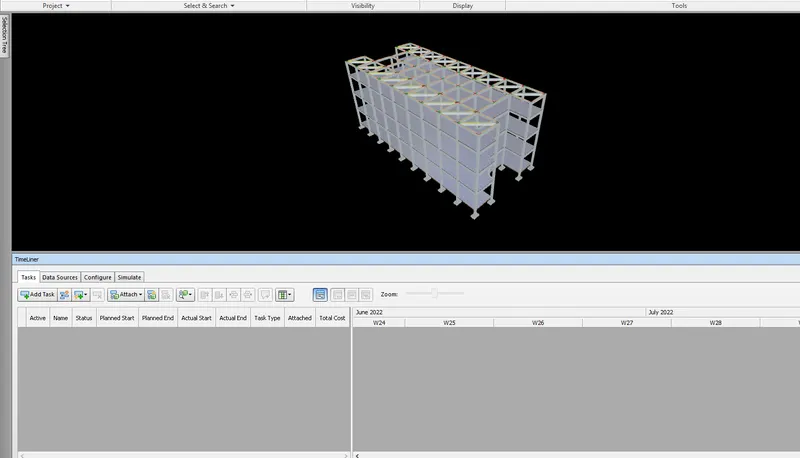
ii) Now click on add task in the timeliner to add new tasks
iiii) Add task as Footing - Assume the Planned start date and End Date and Give the Actual start and End dates .
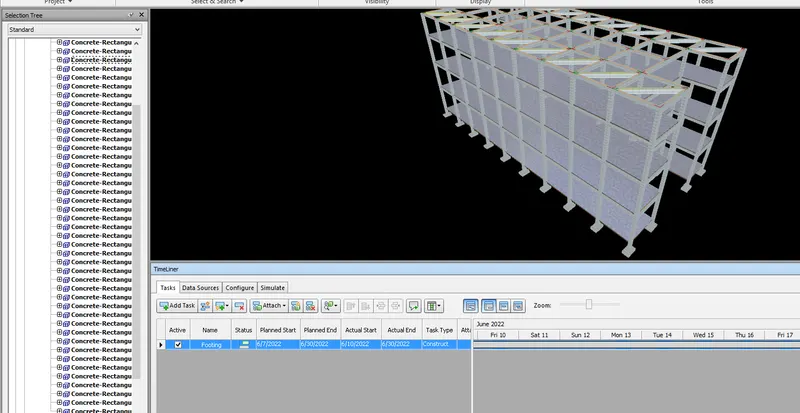
Step 4)
i) Now click on add task in the timeliner to add new tasks
iiii) Add task as Footing Column - Assume the Planned start date and End Date and Give the Actual start and End dates .
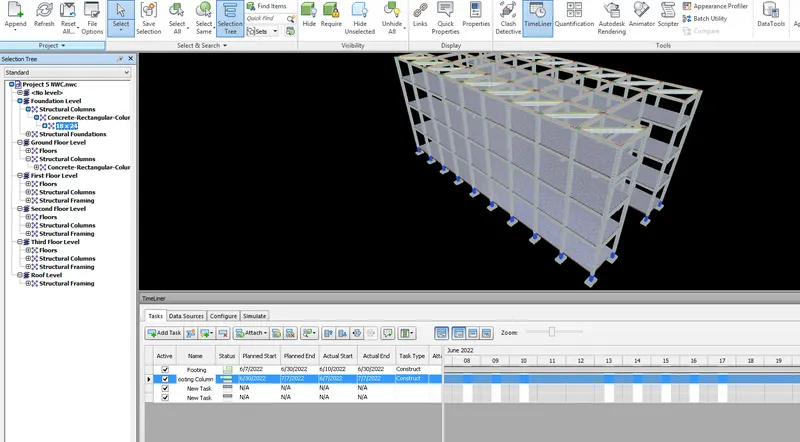
Step 5)
i) Now click on Add task in the timeliner to add new tasks
iiii) Add task as Floor of Ground Floor - Assume the Planned start date and End Date and Give the Actual start and End dates .
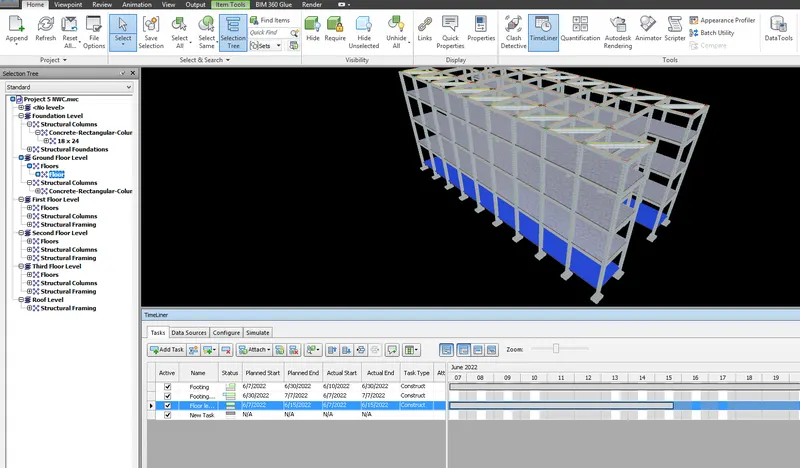
Step 6)
i) Now click on Add task in the timeliner to add new tasks
iiii) Add task as Ground Floor + Column - Assume the Planned start date and End Date and Give the Actual start and End dates .
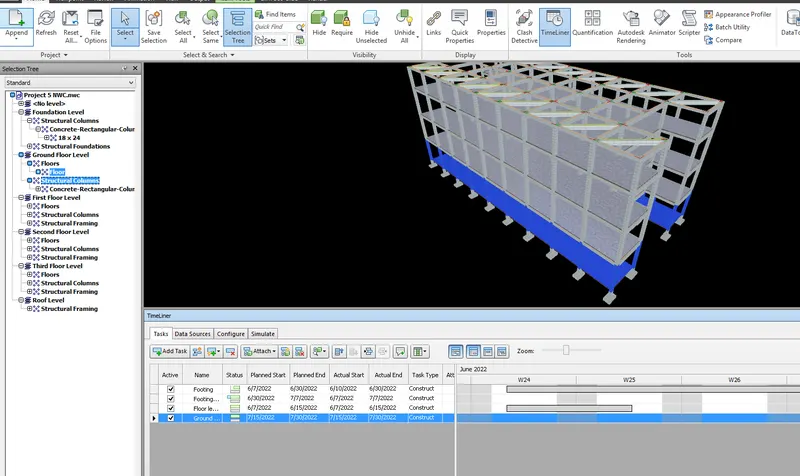
Step 7)
i) Now click on Add task in the timeliner to add new tasks
iiii) Add task as First Floor - Assume the Planned start date and End Date and Give the Actual start and End dates .
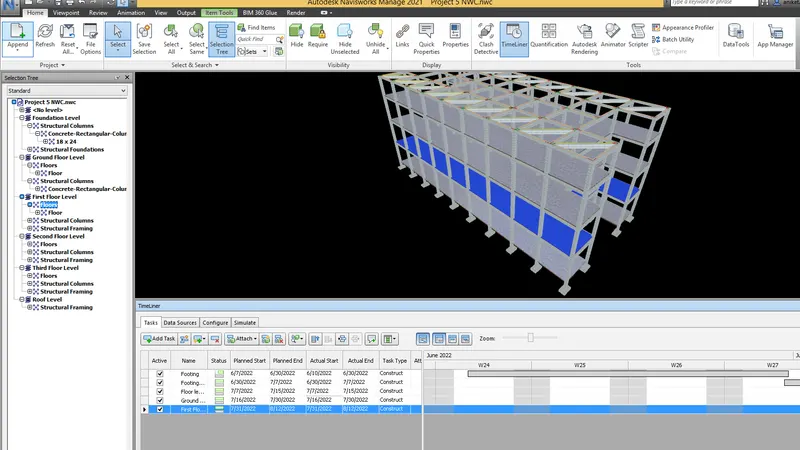
Step 8)
i) Now click on Add task in the timeliner to add new tasks
iiii) Add task as First Floor + Columns - Assume the Planned start date and End Date and Give the Actual start and End dates .
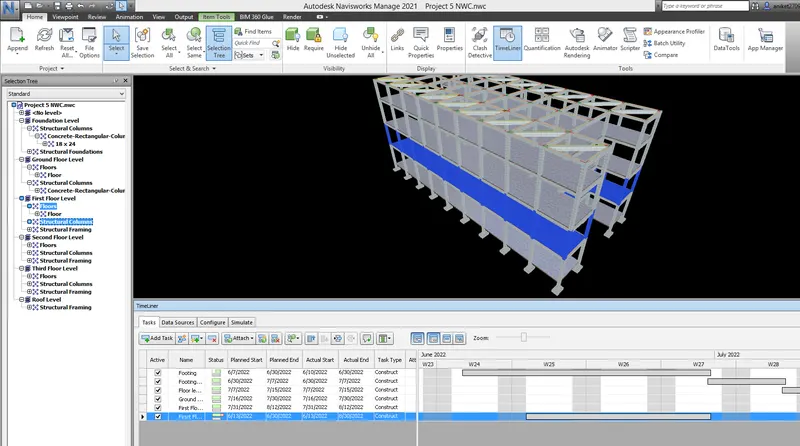
Step 9)
i) Now click on Add task in the timeliner to add new tasks
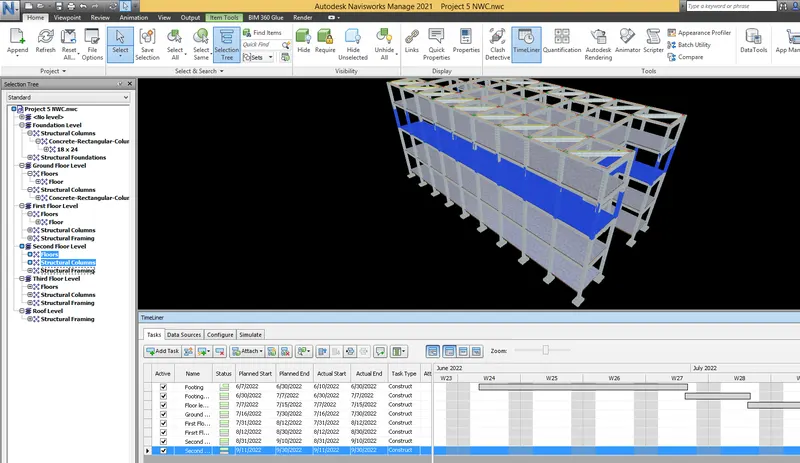
iiii) Add task as Second Floor - Assume the Planned start date and End Date and Give the Actual start and End dates .
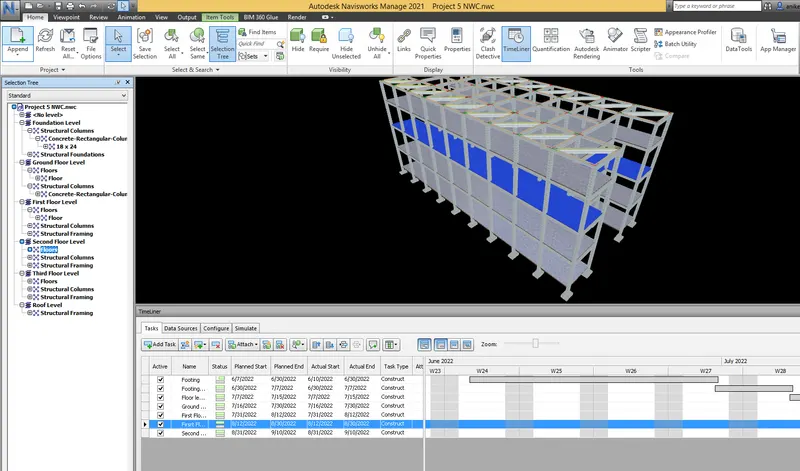
Step 10)
i) Now click on Add task in the timeliner to add new tasks
iiii) Add task as Second Floor + Columns - Assume the Planned start date and End Date and Give the Actual start and End dates .
Step 11)
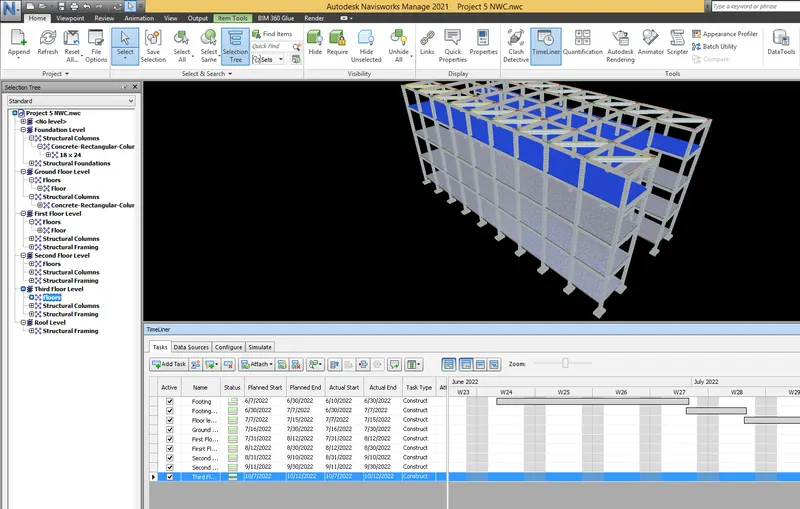
i) Now click on Add task in the timeliner to add new tasks
iiii) Add task as Third Floor - Assume the Planned start date and End Date and Give the Actual start and End dates .
Step 12)
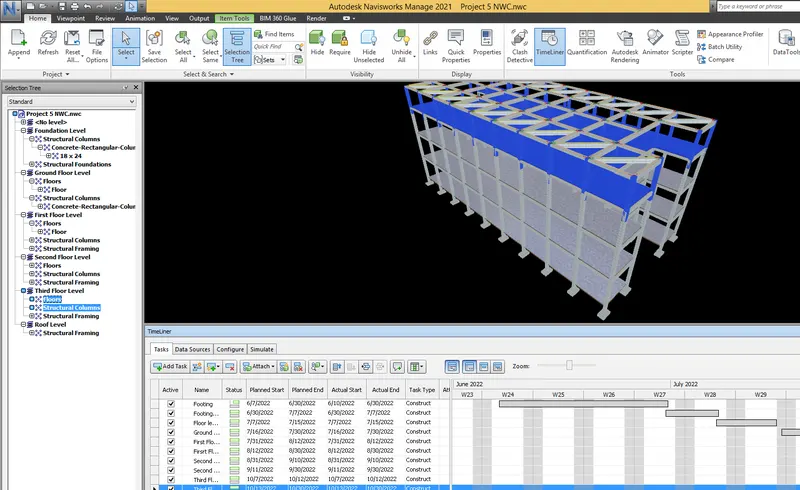
i) Now click on Add task in the timeliner to add new tasks
iiii) Add task as Third Floor + Columns - Assume the Planned start date and End Date and Give the Actual start and End dates .
Step 13)
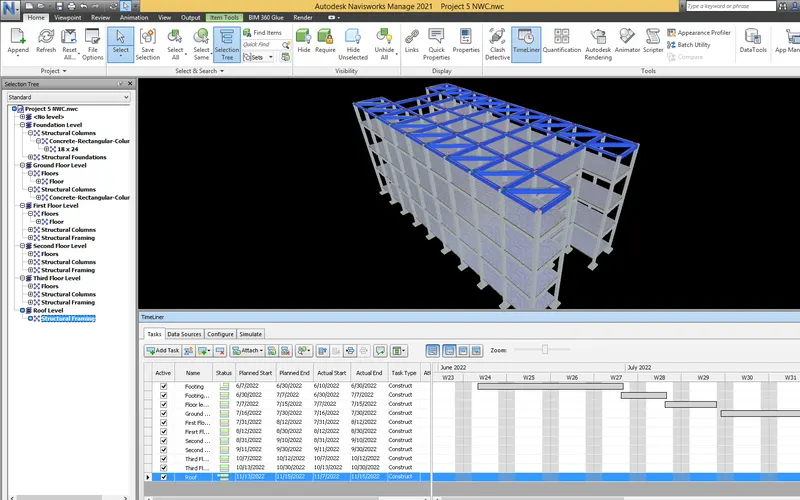
i) Now click on Add task in the timeliner to add new tasks
iiii) Add task as Roof Level - Assume the Planned start date and End Date and Give the Actual start and End dates .
Step 14)
i) As all the task are assigned
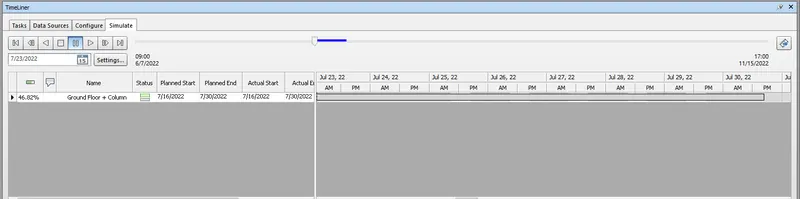
ii) Now Click on Stimulate and Record the work and Save it
Results -
i) We have prepared the Schedule of Week 6 to Week 8 by using Timeliner
ii) We have add the task and perform the Visula Stimulation .
iii) We have saved it and recorded too .