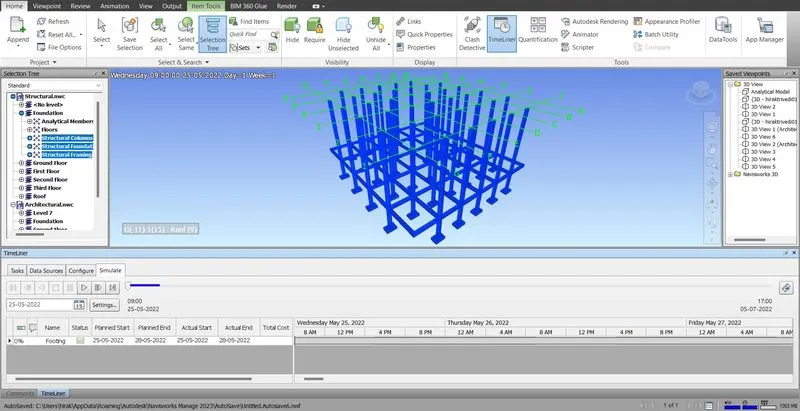
Usage of Navigation tool , Timeliner and Clash Detection test using Naviswork
NavisWorks Introduction :-
- It is a project review software that allows Architecture, Engineering and Construction professionals holistically review integrated models and data with stakeholders during preconstruction to better control project outcomes.
- Navisworks is available in three versions namely Freedom, Simulate and Manage.
- Freedom is a free viewer for native NWD files.
- Simulate is the base level and includes the functionalities except for Clash Detective.
- Manage on the other hand is the top level and includes all features.
- Navisworks file comes in an NWD format which is a relatively small file size that contains overall 3D project information which clients can use to review through the use of Navisworks Freedom.
- Aggregated models can be analysed at a faster speed rate as compare to Revit.
Question :- 1
Use the Architecture/ Structure Project file developed by you in Week 6 to 8. Export the Revit architecture and structure model to Navisworks Cache file following the export settings discussed in class.
Aim :-
- To Export the Revit architecture and structure model to Navisworks Cache file following the export settings.
Procedure :-
- Open Week-7 Project.
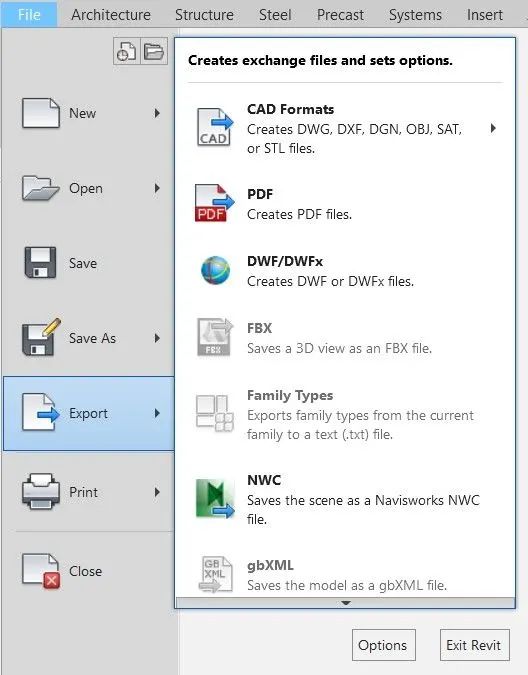
- Goto File Menu.
- Select Export.
- Select NWC that saves the file as Navisworks NWC File.
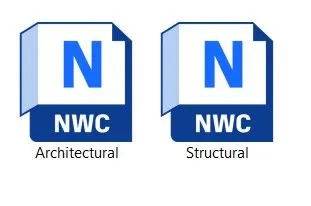
- Save both Architectural and Structural files in NWC format.
Result :-
- Exported the Revit architecture and structure model to Navisworks Cache file following the export settings.
Question :- 2
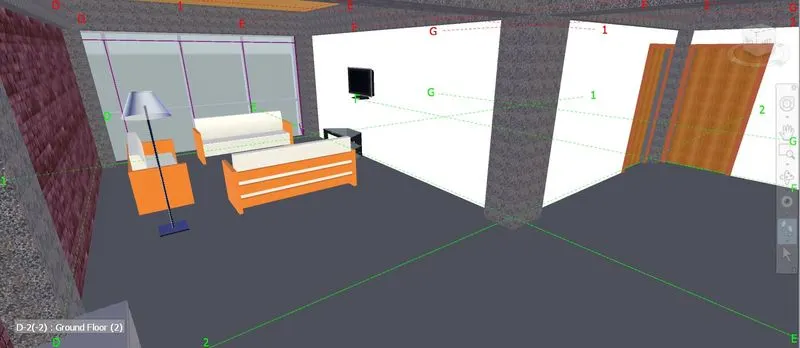
Use Navigate Tool to walk around the model and walk through the rooms created and record your moving as animation in your Navisworks file.
Aim :-
- To use Navigate Tool to walk around the model and walk through the rooms created and record your moving as animation in your Navisworks file.
Introduction :-
- Viewpoints are snapshots taken of the model as it is displayed in the Scene View.
- Viewpoints can be used for more than just saving information about the view of the model.
- For example, they can be annotated with redlines and comments, allowing you to use viewpoints as a design review audit trail.
- Viewpoints can also be used as links in the Scene View, so that when you click on and zoom to the viewpoint.
- Autodesk Navisworks also displays the redlines and comments associated with it.
Procedure :-
- Open Navisworks Manage.
- Open the File.
- Open the Architectural file in NWC format.
- Go to Viewpoet Menu.
- Click on PAN.
- You can walkaround in the workspace.

- Click on WALK.
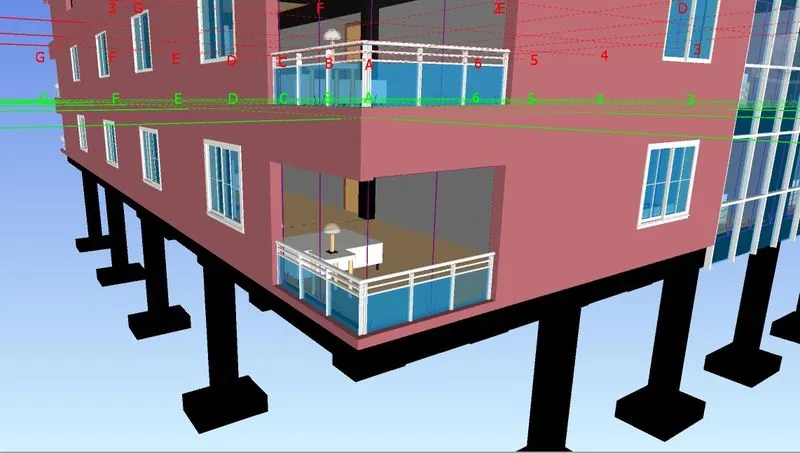
- You can Walk around in your Model.

- Click on Record in Save viewport and walk around building.
- Click on Animation and record the video.

Result :-
- Used Navigate Tool to walk around the model and walked through the rooms created and recorded my moving as animation in my Navisworks file.
Question :- 3
Use Navigate tool to use Realism feature to walk through the model and record your moving as animation in Navisworks file.
Aim :-
- To Use Navigate tool to use Realism feature to walk through the model and record your moving as animation in Navisworks file.
Introduction :-
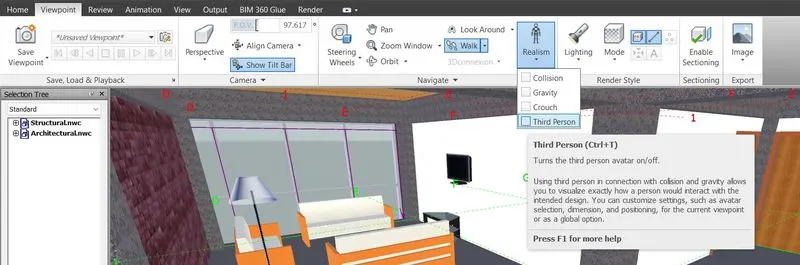
- When you navigate a 3D model, you can use the realism tools on the Viewpoint tab.
- Navigate panel to control the speed and realism of your navigation.
- The realism tools are not available in a 2D workspace.
Procedure :-
- Go to Viewport TAb.
- Click on Realism tool and Select third person.
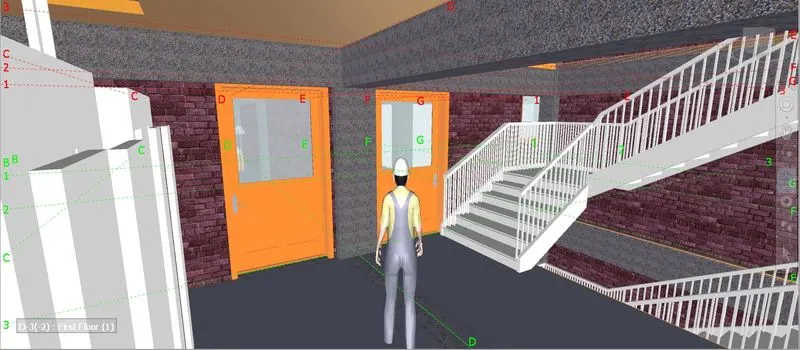
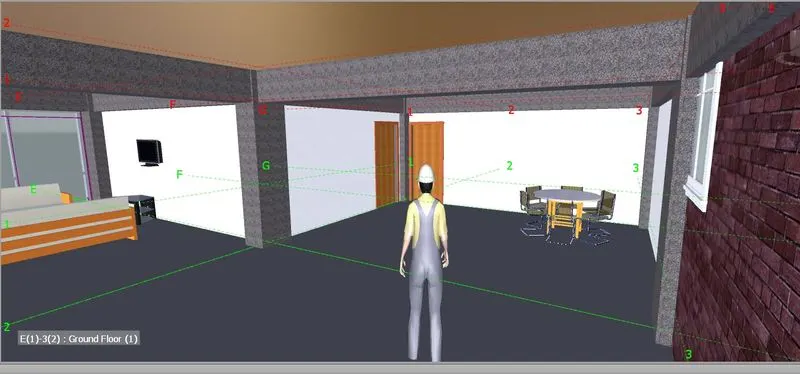
- Clickon walk and move through the building.
Result :-
- Used Navigate tool to use Realism feature to walked through the model and recorded my moving as animation in Navisworks file.
Question :- 4
Embed both architecture and structure *.nwc file to your Navisworks file. Create a clash detection test between the two models
a. Run the Clash Detection Test
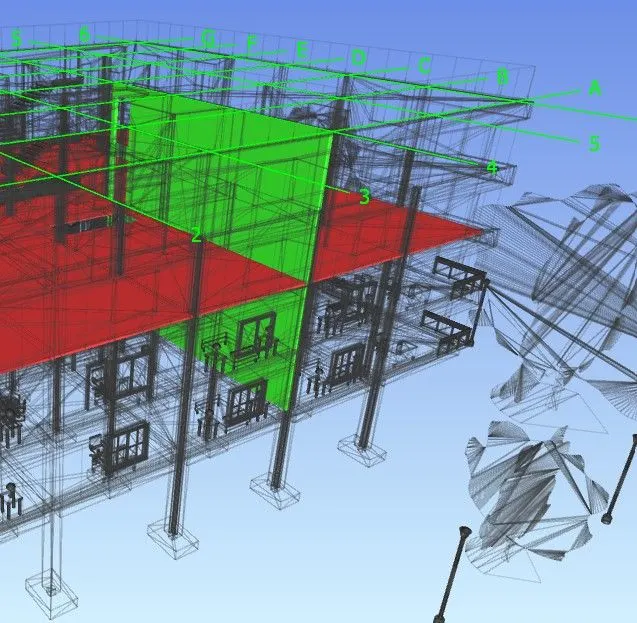
b. Study the clashes between the two models
c. List which of the clashes could be approved
d. List which of the clashes could be neglected ( will be taken care later)
e. List which of the clashes can be resolved
f. Save the results after color coding the clashes to the Navisworks file
g. In case of resolution annotate the clash and save the view to defined views in Navisworks
Aim :-
- To Create a clash detection test between the two models of architecture and structure *.nwc file to Navisworks file.
Introduction :-
- Clash Detection as the name suggests, it is about playing a Detective role and finding out clashes among trades in the virtual building design model.
- Clash detection is the method of identifying and inspecting the various building design interferences which frequently occur during the BIM coordination or Construction Gatekeeping process.
- Clash detection is like a review process that ensures all building components, assemblies, and trades are in ready-to-be-installed conditions generating no conflicts with other building trades.
- Clash detection will only come into the picture when all the building design trades are integrated into the BIM model.
Procedure :-
- Open Archetectural Model.
- Click on Append in Home tab.
- Click on Clash detection on Home tab.
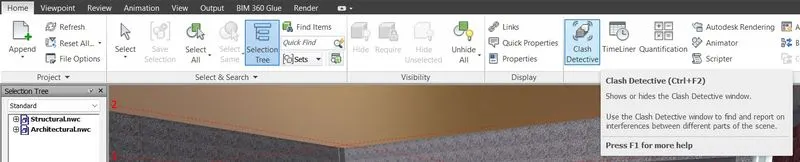
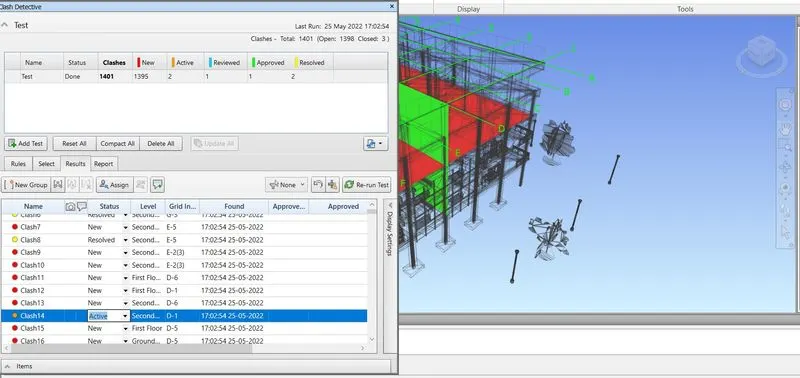
- Select Add test.
- Select one side structural and another side Architectural.
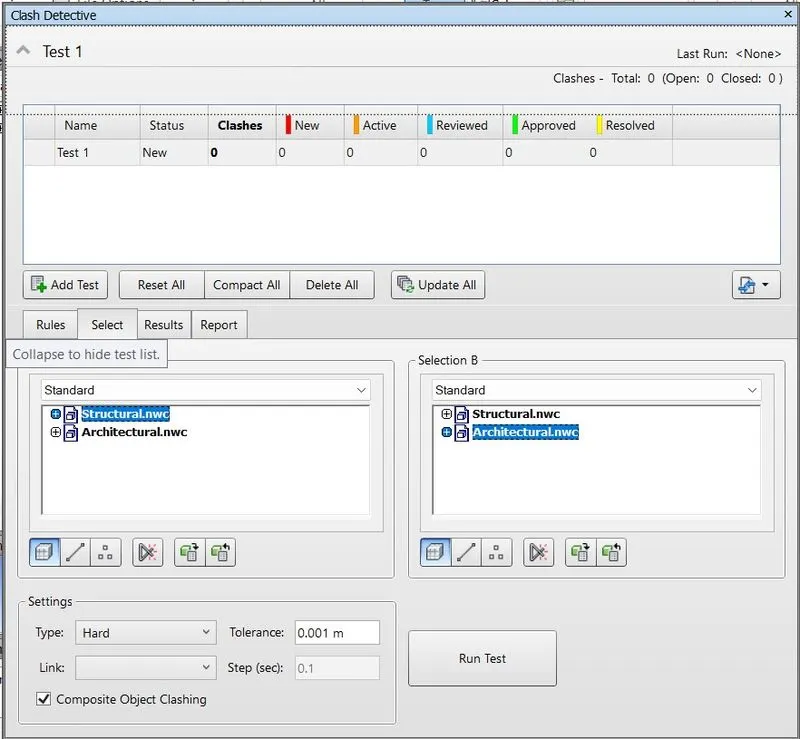
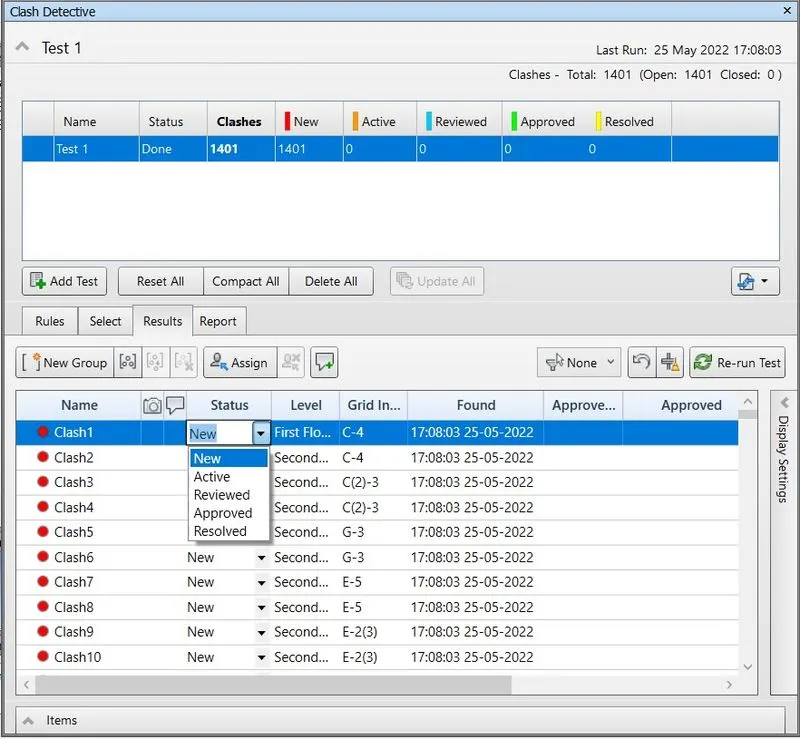
- Select Surfaces and Run Test.
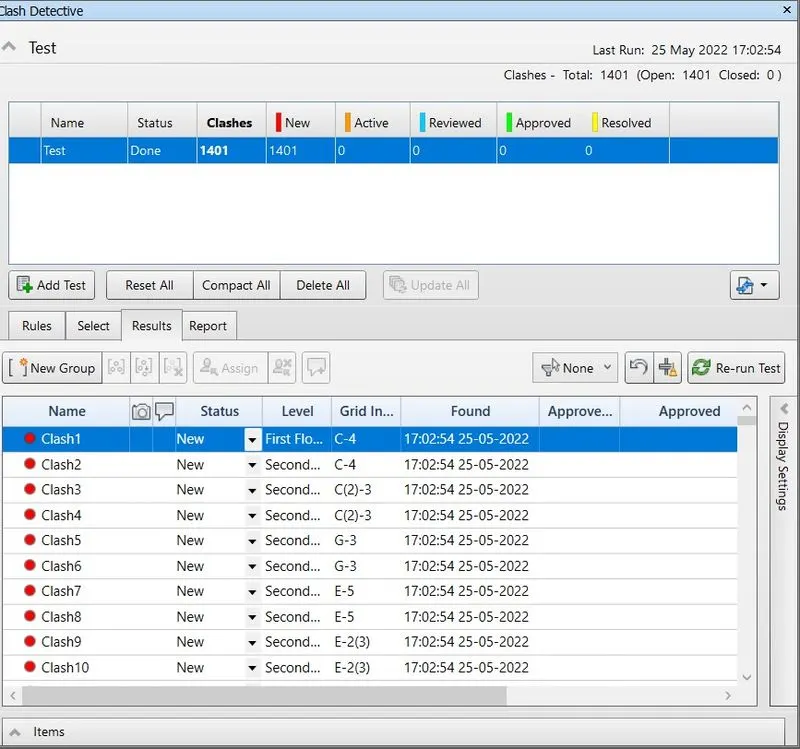
- Click on status and change the status to resolved or reviewed option.
Result :-
- Created a clash detection test between the two models of architecture and structure *.nwc file to Navisworks file.
Question :- 5
Using the Timeliner feature in Navisworks prepare a schedule for the project developed in week 6 to 8 by adding reasonable assumptions for task start date and end date and simulate the task completion as a visual simulation. Record it and save the timeline simulation to Navisworks file.
Aim :-
- To prepare a schedule for the project developed in week 6 to 8 by adding reasonable assumptions for task start date and end date and simulate the task completion as a visual simulation and record it and save the timeline simulation to Navisworks file using the Timeliner feature in Navisworks.
Introduction :-
- The TimeLiner tool adds schedule simulation to Autodesk Navisworks.
- TimeLiner imports schedules from a variety of sources.
- You can then connect tasks in the schedule with objects in the model to create a simulation.
- This allows you to see the effects of the schedule on the model, and compare planned dates against actual dates.
- Costs can also be assigned to tasks to track the cost of a project throughout its schedule.
- TimeLiner also allows the export of images and animations based on the results of the simulation.
- TimeLiner will automatically update the simulation if the model or schedule changes.
Procedure :-
- Go to Home tab.
- Select Timeliner option.

- Click on Selection Tree in Home TAb.
- Add the task.
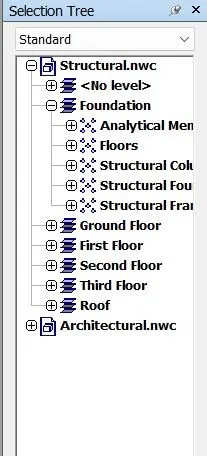
- Add the task as per the work done during the counstruction of building.
- Footimg.
- Columns
- Beams
- Floors
- Etc.

- Enter the dates and time of the tasks.
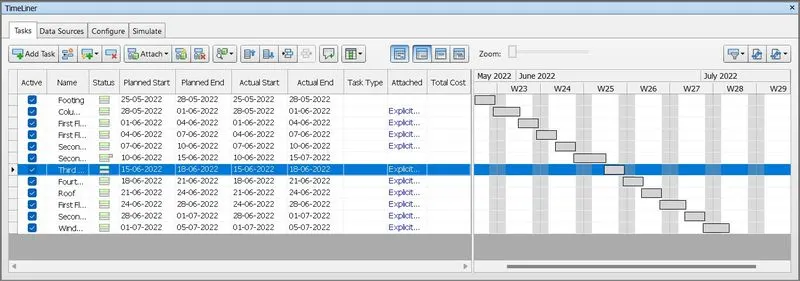
- Click on simulate and record the video.
Result :-
- Prepared a schedule for the project developed in week 6 to 8 by adding reasonable assumptions for task start date and end date.
- Simulated the task completion as a visual simulation and record it and saved the timeline simulation to Navisworks file using the Timeliner feature in Navisworks.