Usage of Navigation tool , Timeliner and Clash Detection test using Naviswork
1.AIM
To Export the Revit architecture and structure model to Navisworks Coche files following the export settings
INTRODUCTION
- Navisworks Cache Files are created mostly for ease of use and speed
- When you open a model created in other programs, it creates a cache file that is much smaller in size and you won't even notice it
- The next time that you open that same model, it will instantly part rather than gathering the information for it
- This is because it is now reading the information from the cache file rather than the model isolate (so long as the original file isn't newer than the cache file in which case it will re-cache and replace the old one), it does this for each file Navisworks opens or merges natively
PROCEDURE
STEP-1
- first, we have to open the Revit software and open the architectural model
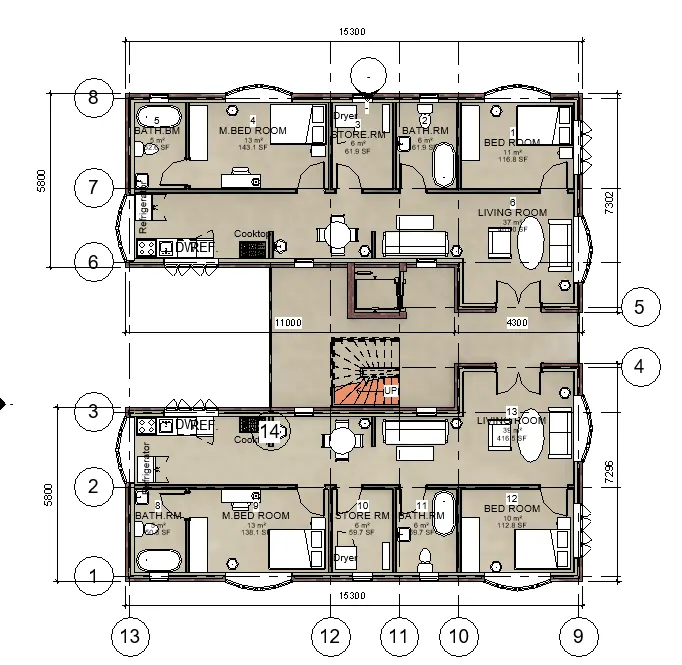
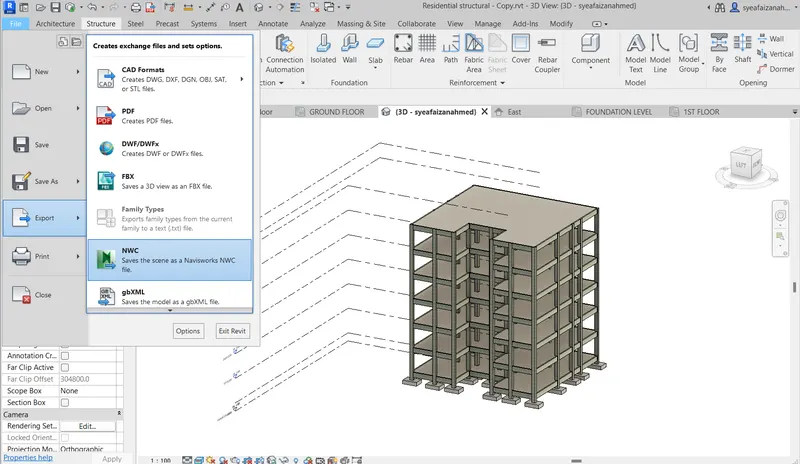
- Then we click on the file option and export the model as NWC file, as shown in the below figure find the export scene so tab will appear need the give the file name as Architectural
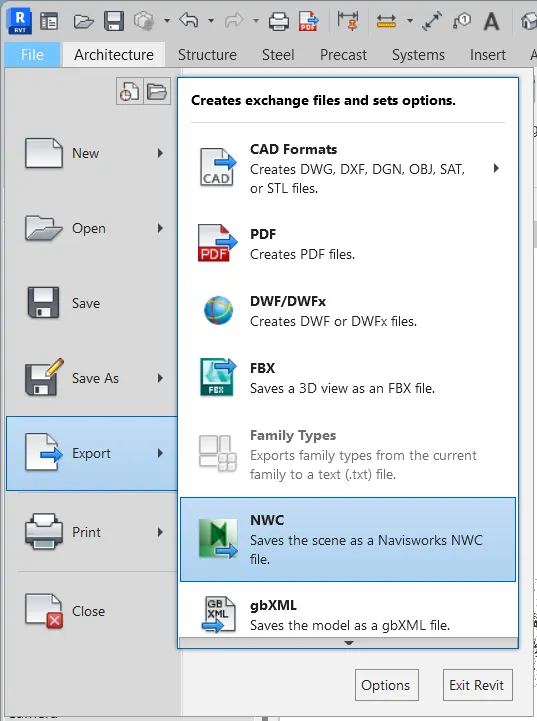
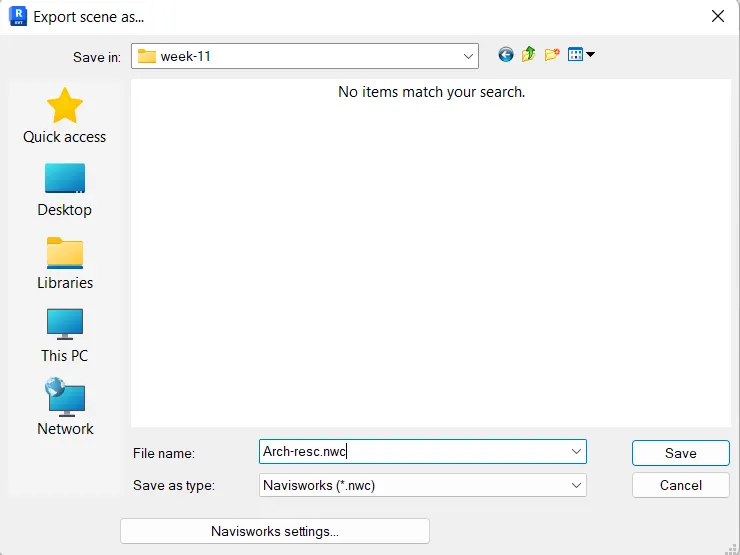
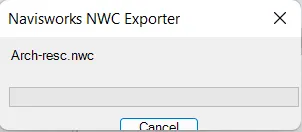
- save the file and then give save and it iwll start converting the file into naviswroks with extension .NWC
STEP-2
- Next, we have to open the Revit software and open the structural model
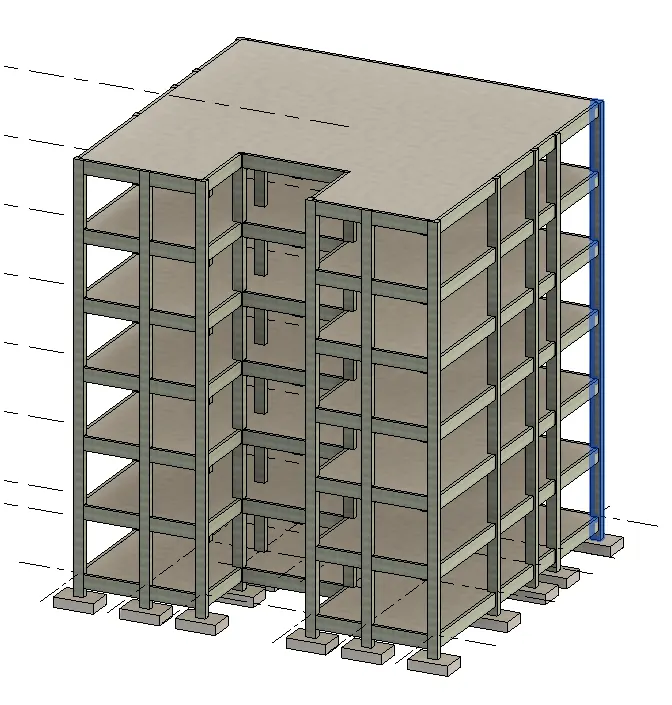
- Next, we click on the file option and export the model as NWC file, as shown in the below figure
- Next the export scene as tab will appear, next the give the NWC file name as residential structural
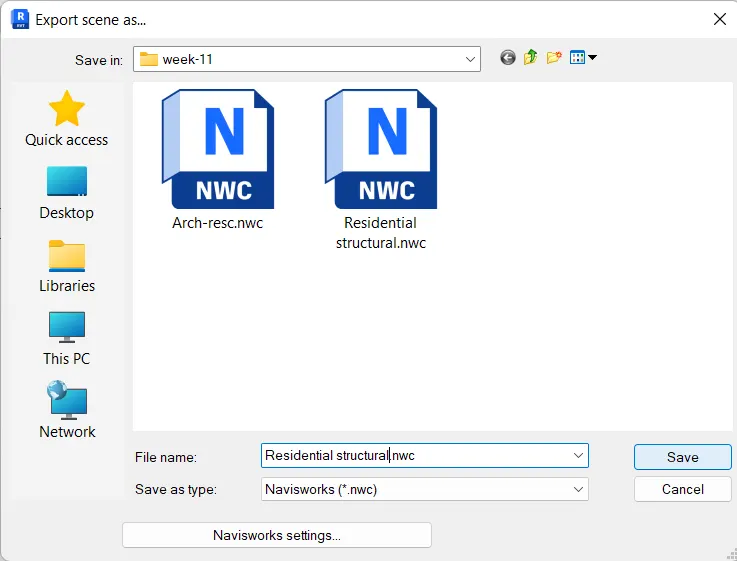
- save the file and then give save and it iwll start converting the file into naviswroks with extension .NWC
STEP-3
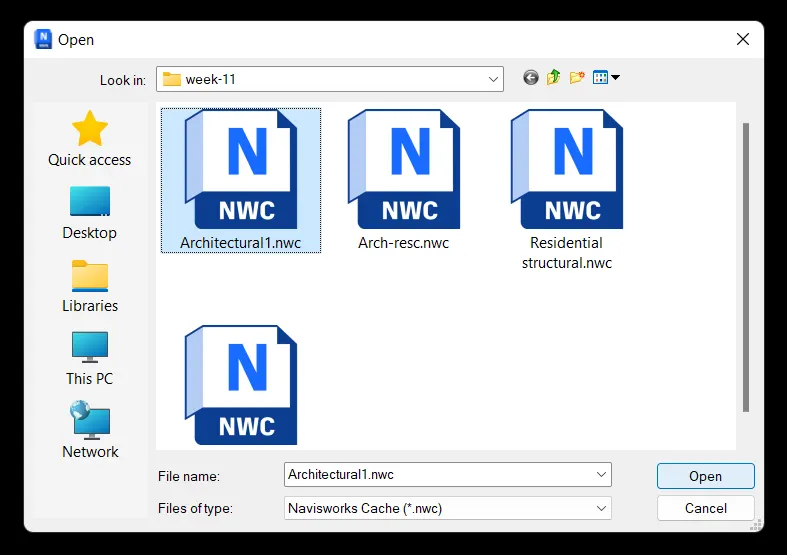
- Now open the naviswork 2023, open file option and open the architectural file which is converted to naviswork file
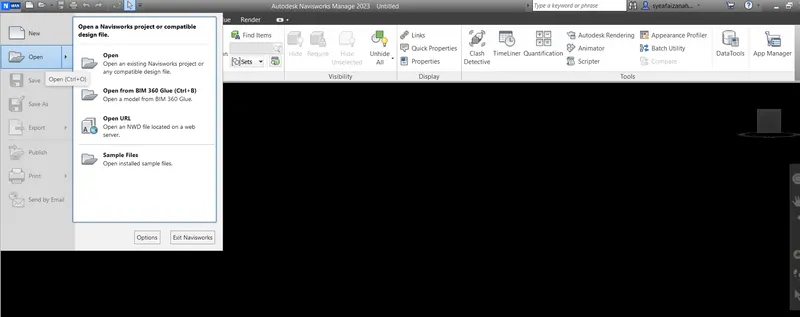
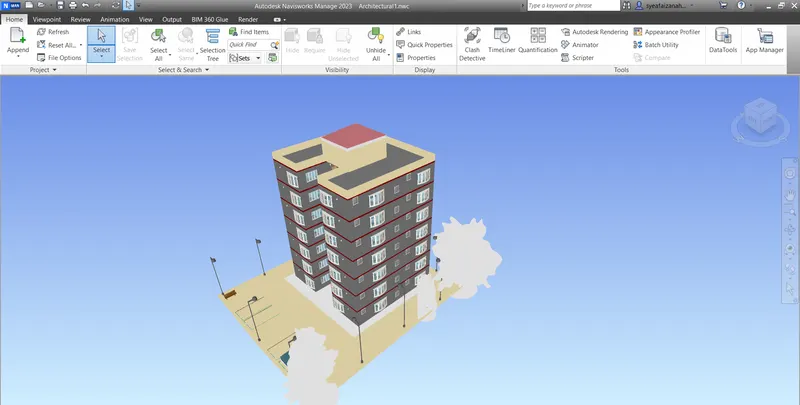
- The architectural and structural model are opened in Navisworks
- next select the file which i wnat to open
RESULT
Revit structural and architectural model are successfully exported to the Navisworks files
2.AIM
Using the Navigate Tool to walk around the model and work through the rooms created and record moving a animation in your Navisworks file
INTRODUCTION
- With the Walk tool you can navigate through a model as if you were walking through it
- Once you start the Walk tool the Center Circle icon is displayed near the base of the view and the curser changes to display a series of arrows to walk through the model you drag in the direction in which you want to move in
PROCEDURE
STEP-1
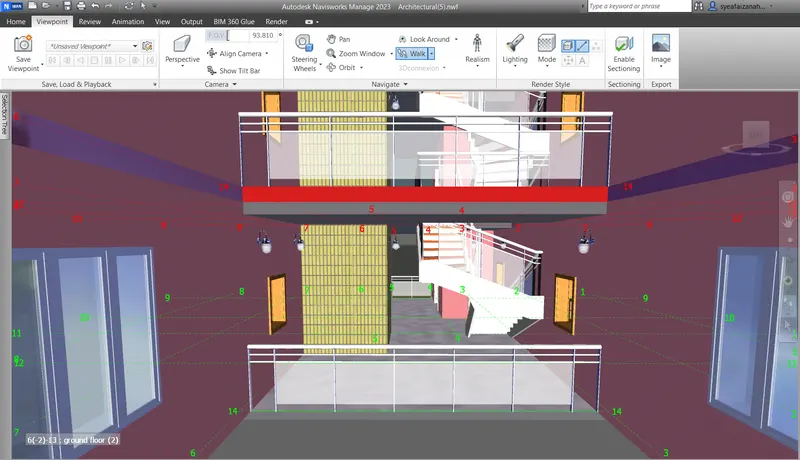
- Open the architechtural file and go inside into living room to start the walk
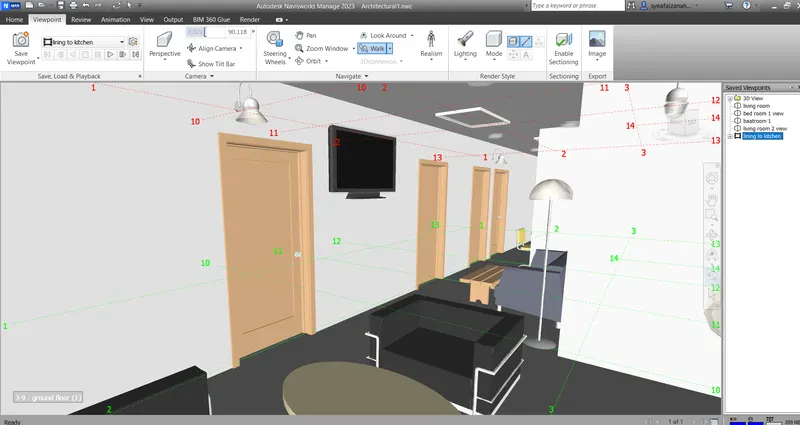
- After opening the architectural view in the Navisworks, then click on the walk hook as shown in the below figure
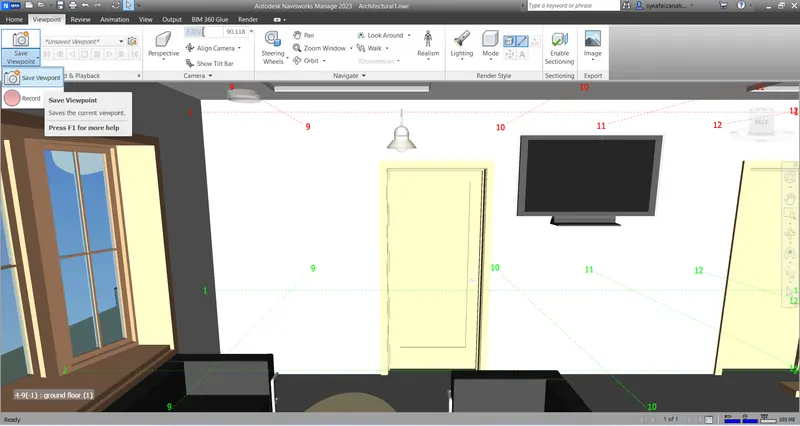
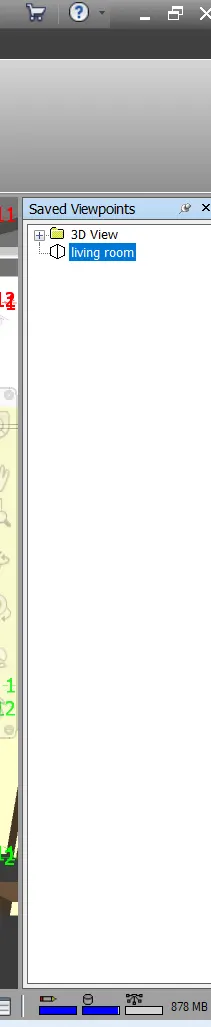
- The best thing is to save the viewpoint for every rooms like living, bed room etc.,
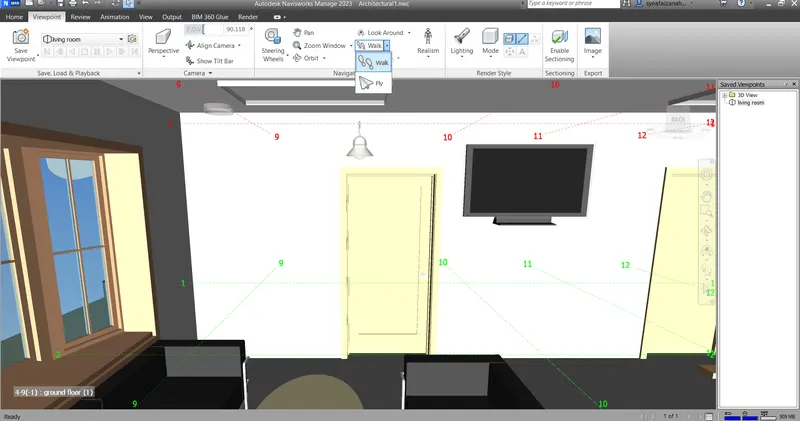
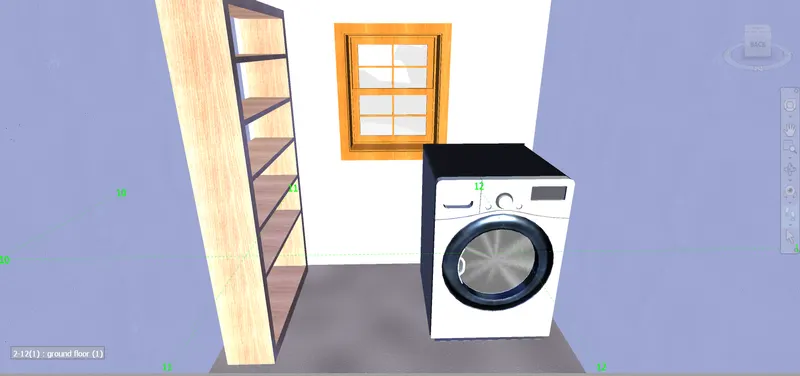
- Next, we use the record option in the viewport toolbar to record the moving it each and room, as shown in the below Figures
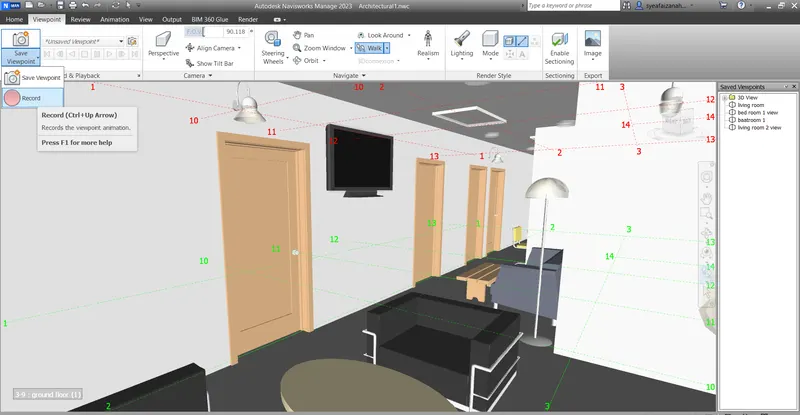
- Start walking the throught rooms and kitchens to look over the building
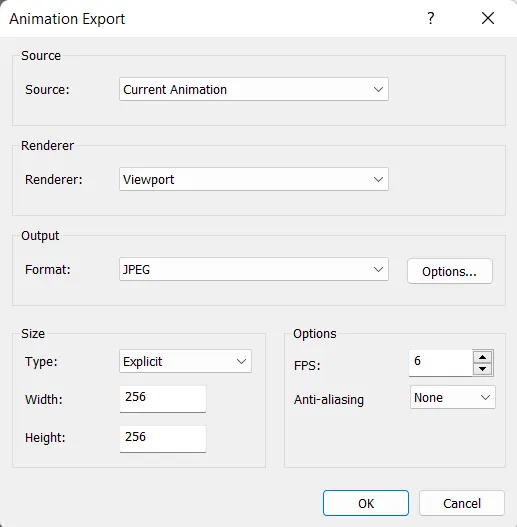
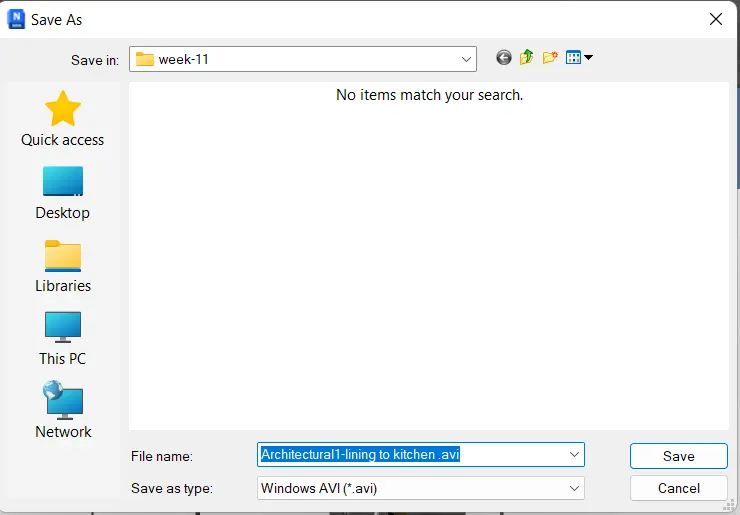
- next stop the recording and you can save the recording video in your pc
STEP-2
- Walkthrough of living room
STEP-3
- Walkthrough of bedroom
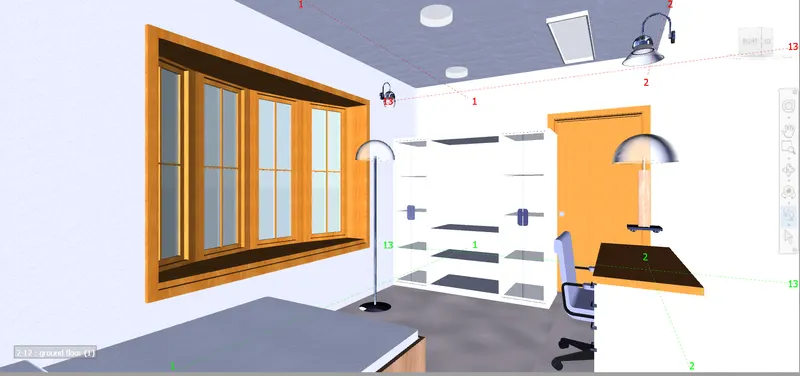
STEP-4
- Walkthrough of kitchen and dinning table
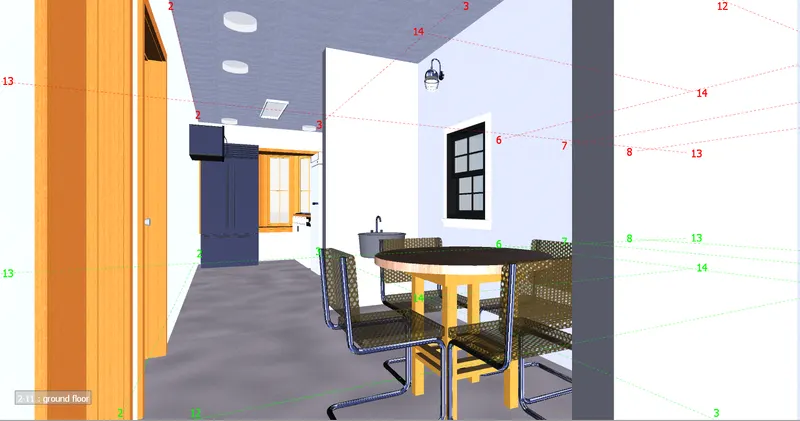
STEP-5
- Walkthrough of entrance door
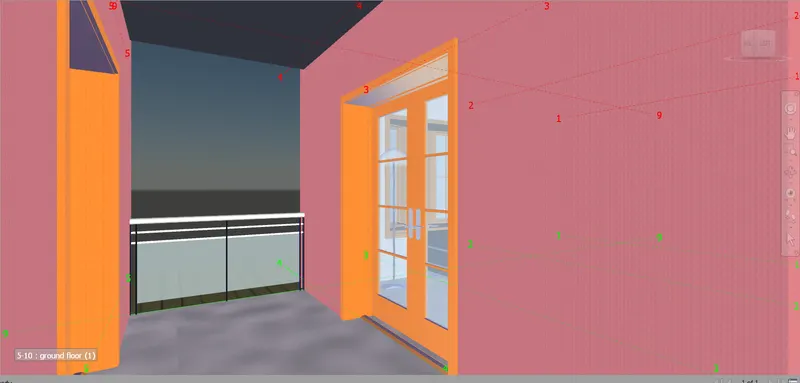
- walkthrougt of starircase
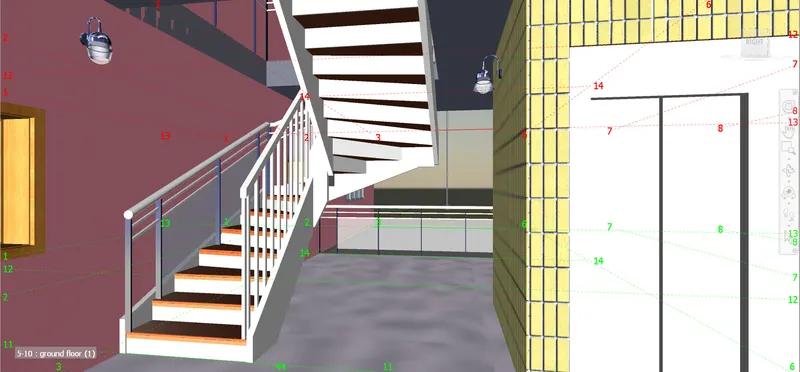
- Walkthrought of storeroom and front view
RESULT
- Used navigation tool to walk around model
- walkthrough in rooms is done
- To record moving as animation in Navisworks file.
3.AIM
Use navigation tool to use Realism feature to walk through the model and record moving as animation in Navisworks file
INTRODUCTION
- This function allows you to navigate scene from a third person perspective
- When third person is activated, you will be able to see an avatar which is a representation of yourself within the 3D model
- Whilst navigating you will be controlling the captor’s interaction with the current scree
- Using third person in connection with collision and gravity makes this a very powerful function allowing you to visualize exactly how a person would interact with the intended design
- You can customize settings such as avatar selection. dimension, and positioning for the current a global option
PROCEDURE
STEP-1
- Open the architechtural file and go inside into living room to start the walk
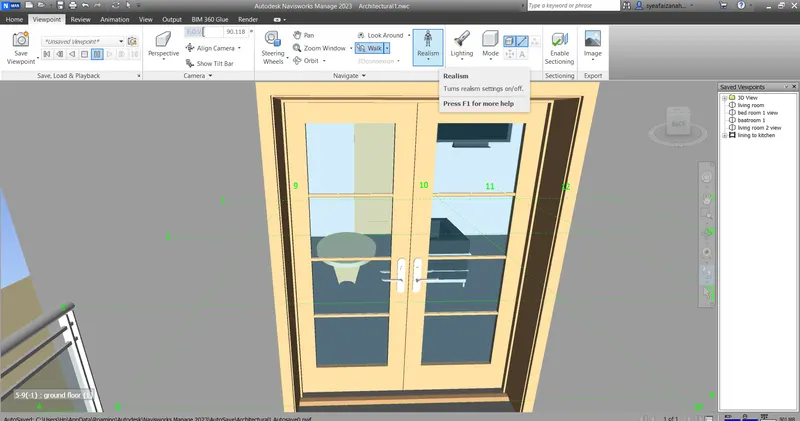
- First, we open the realism option and select the third persons as shown below
- Now we use the record option in the viewport toolbar to reopen the moving ta animation in each and every room as shown in the below figure
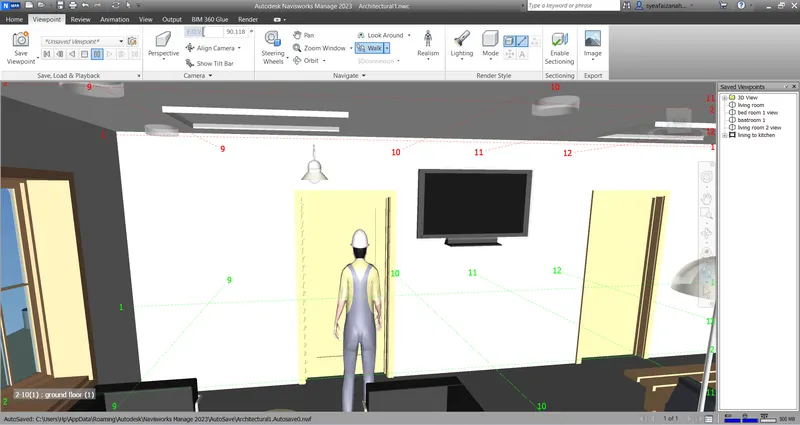
STEP-2
- Walkthrough of living room
STEP-3
- Walkthrough bedroom
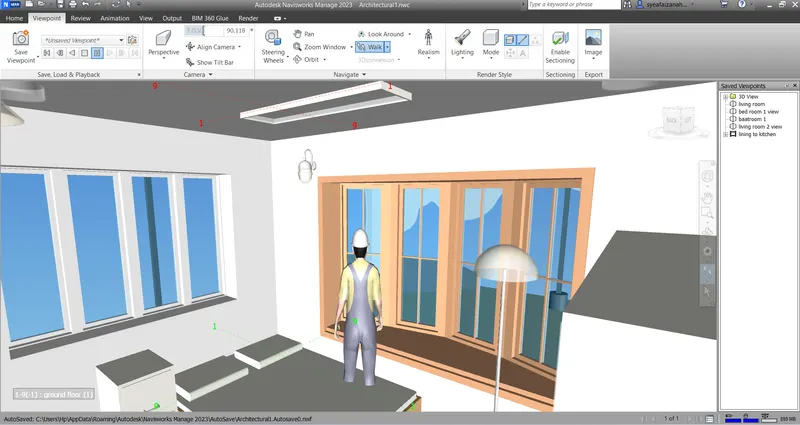
STEP-4
- Walkthrough of kitchen and dinning table
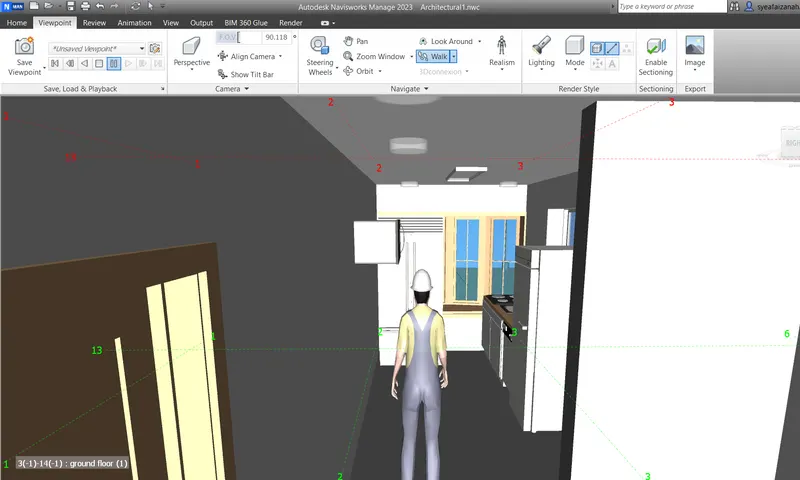
STEP-5
- Walkthrough of master bed room
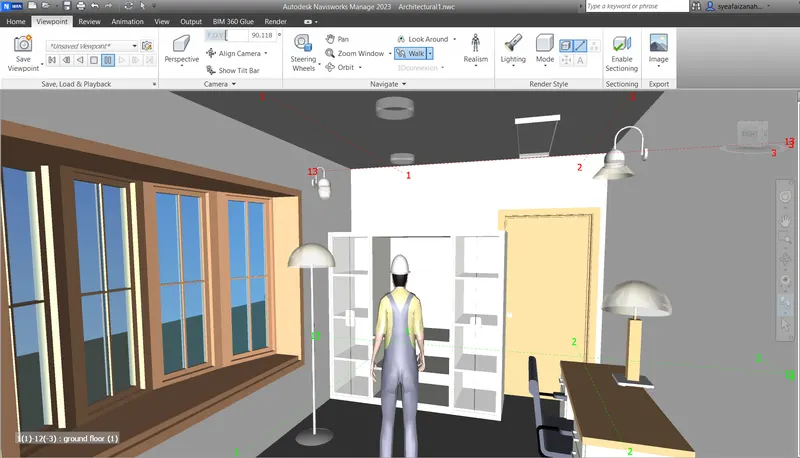
RESULT
- Used navigation tool to walk around model
- walkthrough in rooms are done
- To record moving as animation in Navisworks file.
4.AIM
To Create a clash detection test between the two models
INTRODUCTION
- The Clash Detective tool enables you to search through your total project model identifying cross-discipline Interferences (clashes) earlier in the design process This feature is available for Autodesk Navisworks Manage users only
PROCEDURE
STEP-1
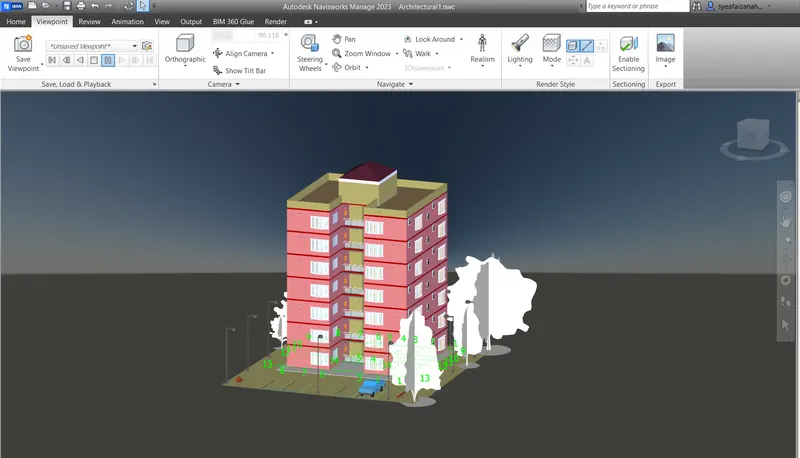
- first open the architectural model in naviswork
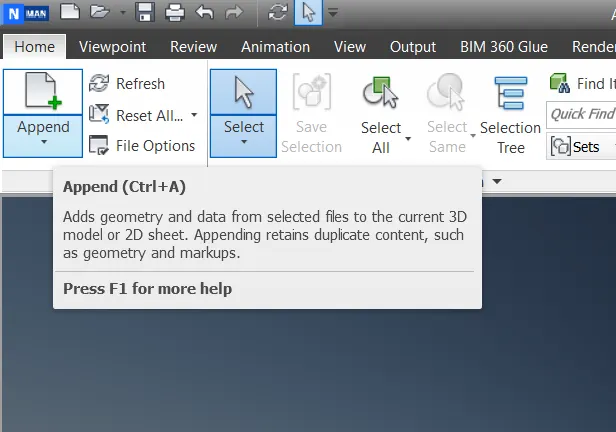
- next open the structural model by append tool
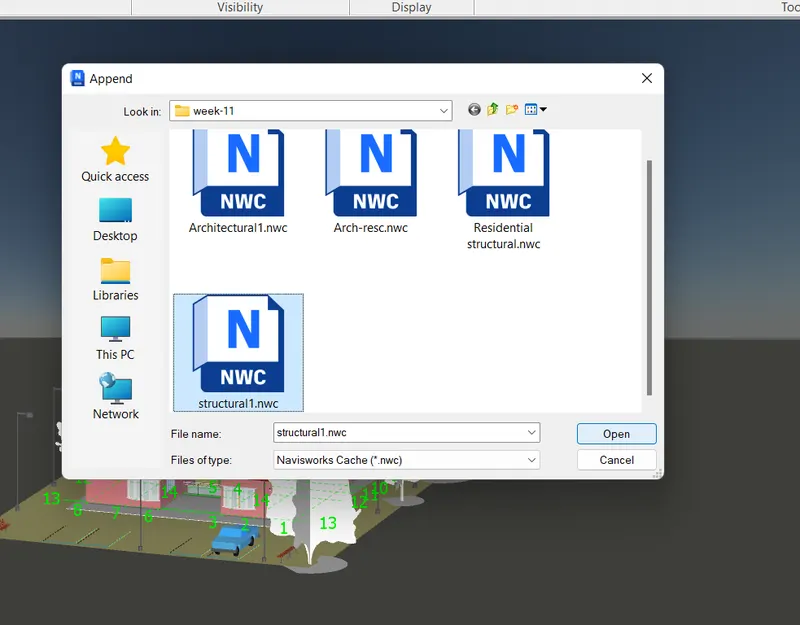
- open the model from the file and open
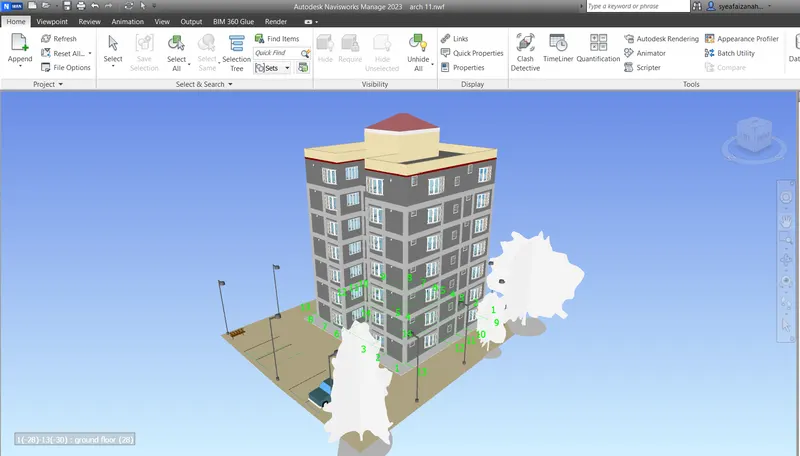
- the combine model is open as shown in below figure
- First, we need to open the home tab and select the clash detective tool
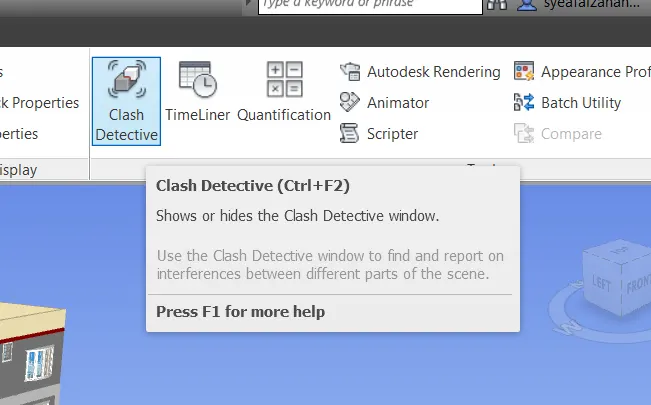
STEP-2
- Clash detective test is appear as shown below
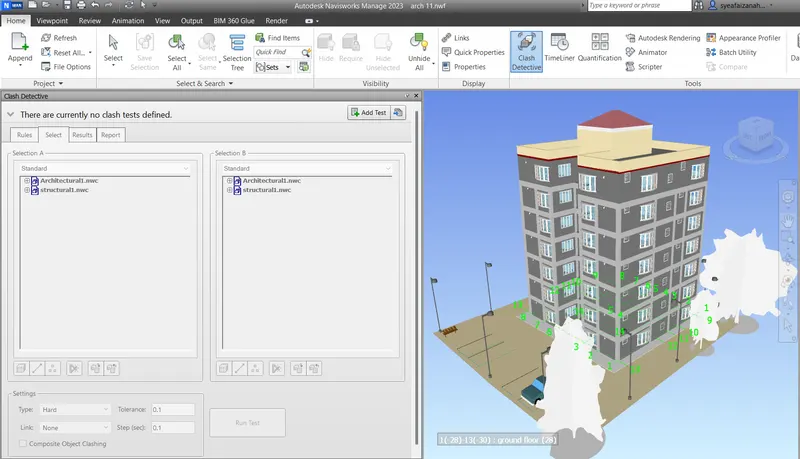
- next add test , rename the test and select the two model from each group and select surface and start run test
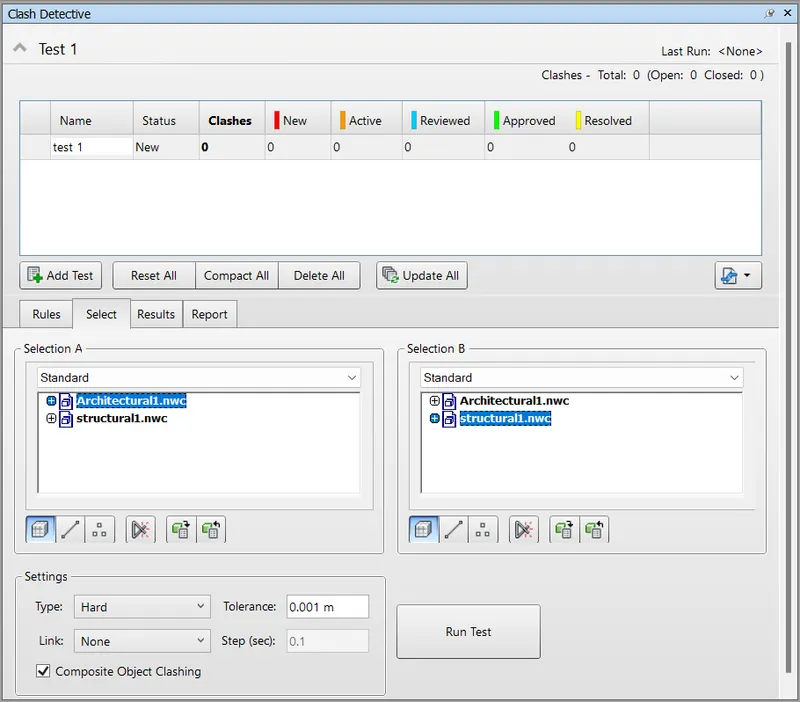
STEP-3
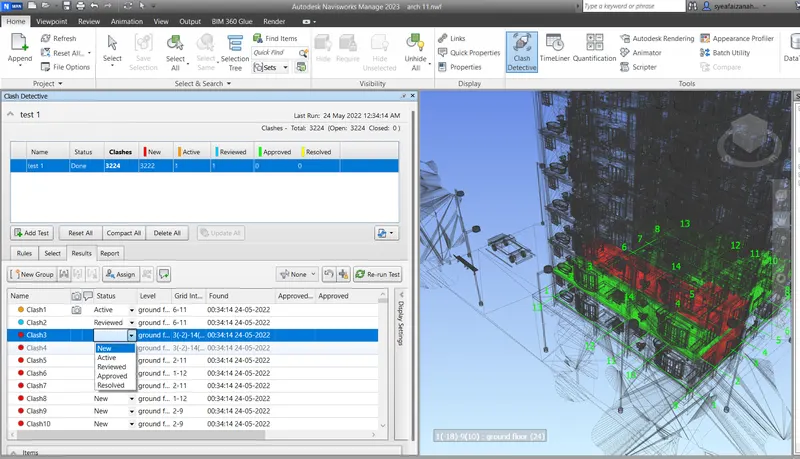
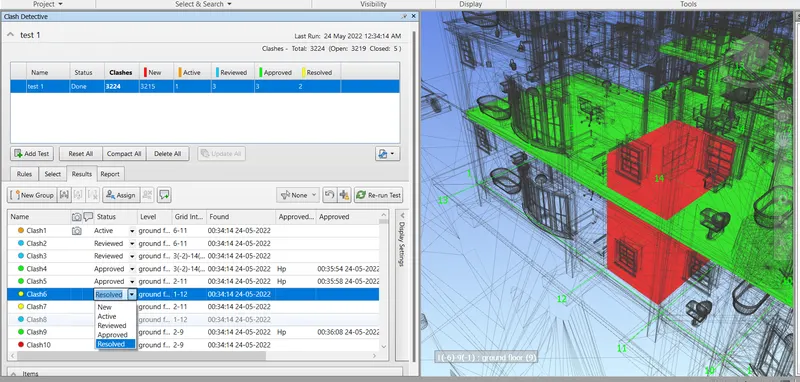
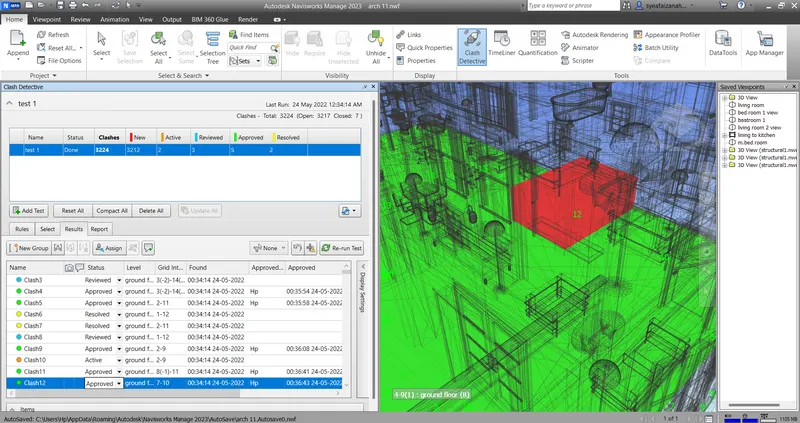
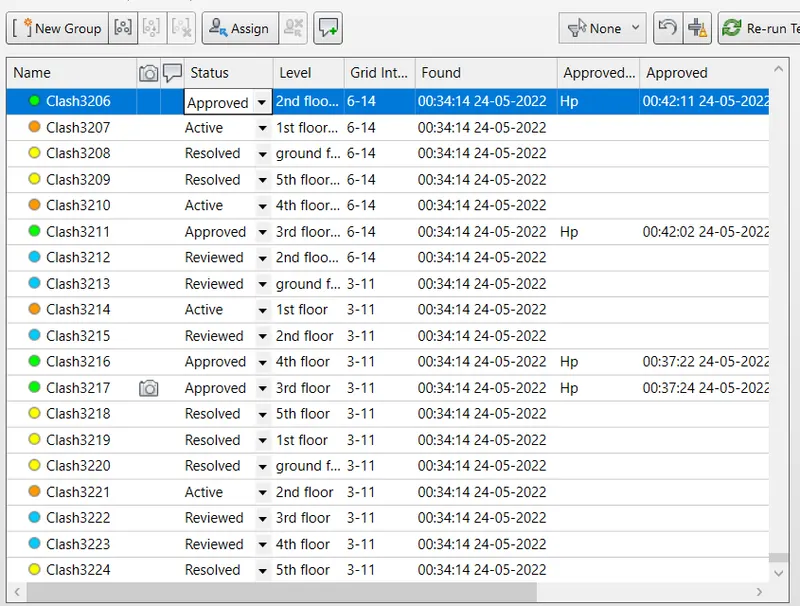
- my model get totally 3224 clashes so change status of each clash according to their status
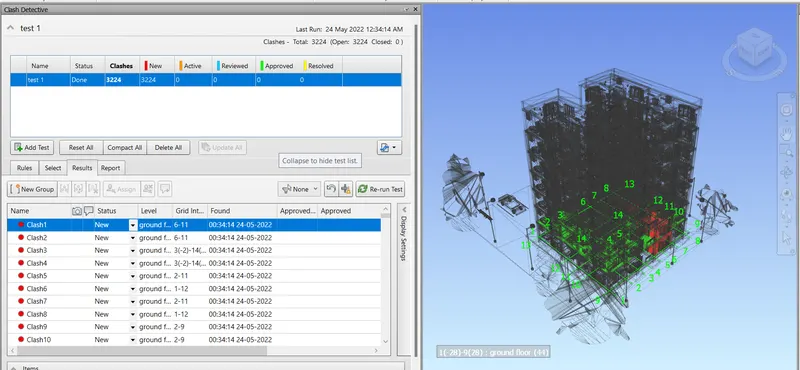
- Next list down the clashes which are approved
- Next list down the clashes which are neglected
- Next list down the clothes which are resolved.
STEP-4
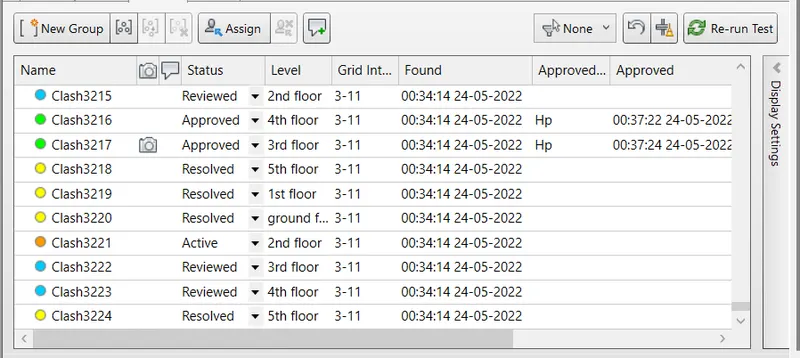
- Next save the results after color coding the clashes.
- and all clashes is appoved according to status
STEP-5
- Resolved clashes can be cleared from the list by using the compact option.
RESULT
Successfully done the clash detective test between two models
5.AIM
To use the Timeliner feature in Navisworks to prepare a schedule for the project developed in week 6 to 8
INTRODUCTION
- The Timeliner tool odds schedule simulation to Autodesk Navisworks Time liner imports schedules from a variety of sources
- You can then connect tasks in the schedule with objects in the model to create a simulation
- This allows you to so the effects of the schedule on the model and compare planned does against actual
- Costs can also be assigned to as to track the cost of a project throughout its schedule Time liner allows the sport of images and animations based on the results of the simulation
- Timeliner will automatically update the simulation if the model
PROCEDURE
STEP-1
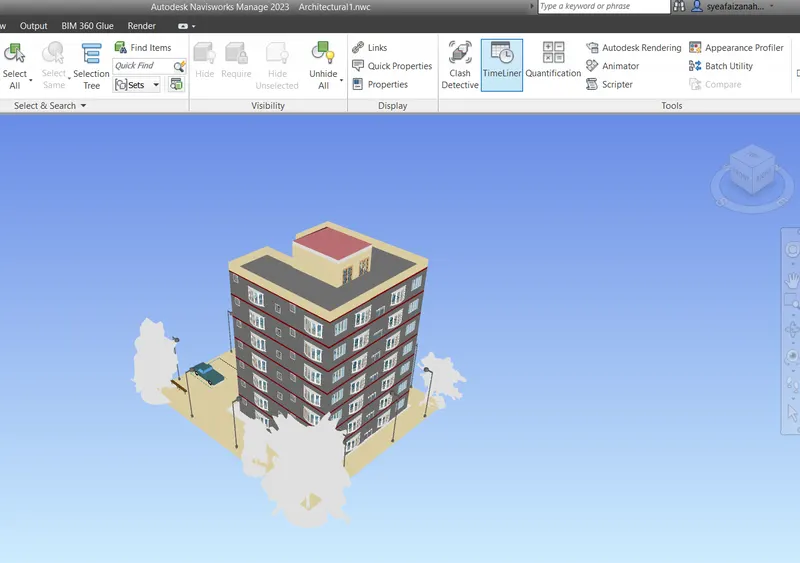
- First we open the Architectural modes in Navisworks which was opened from Revit
STEP-2
- Next select the home tab and select the timeliner
STEP-3
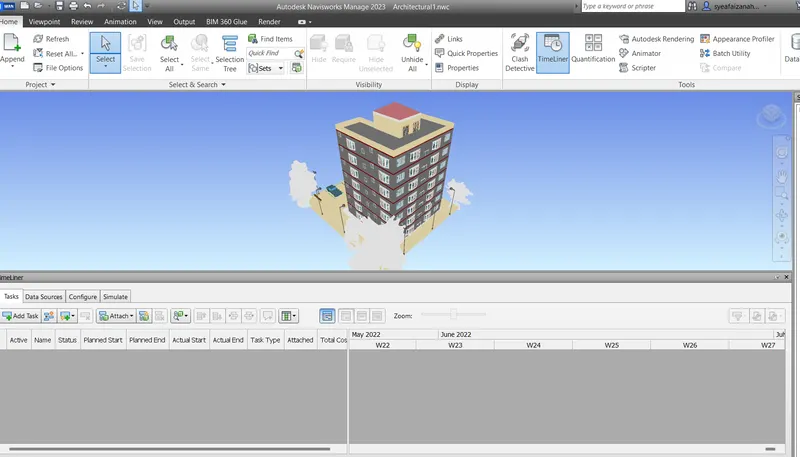
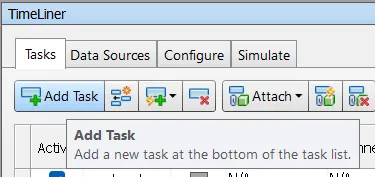
- Next add the tasks, rename it and gives the starting and ending dates
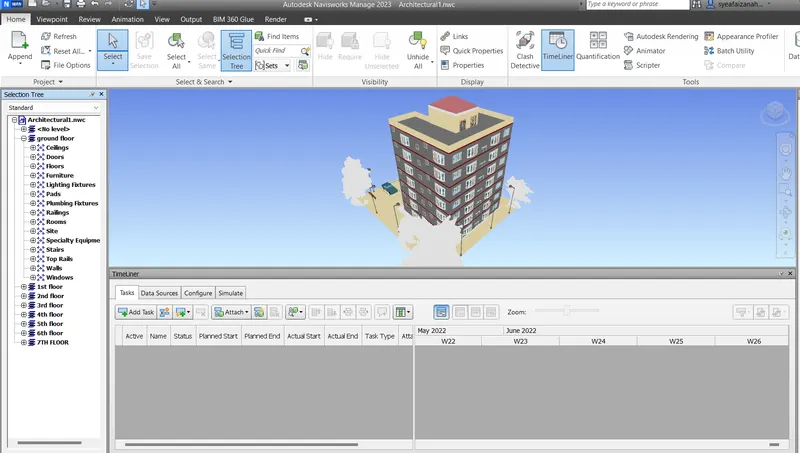
- open the selection trere from home tab as shown below figure
STEP-4
- update the actual dates like start and finish date to the task
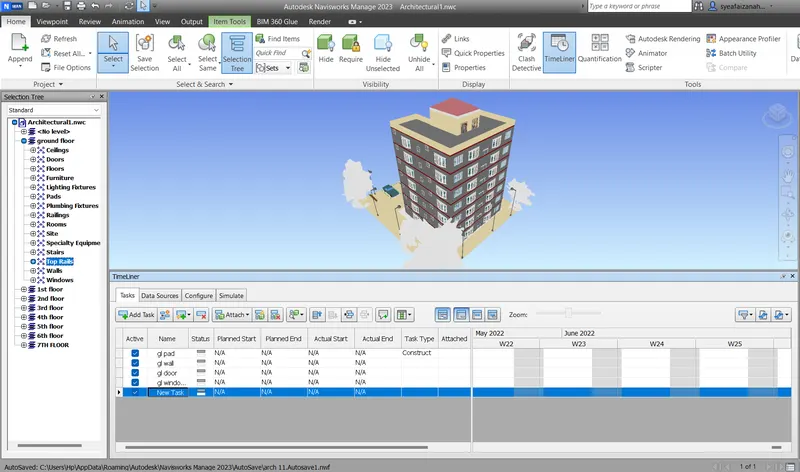
- Next update the task type to construct and creat the step by step construction process from the selection tree from ground floor to 7th floor and attach the files for the specific task
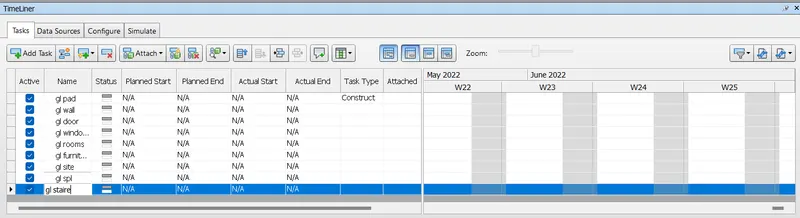
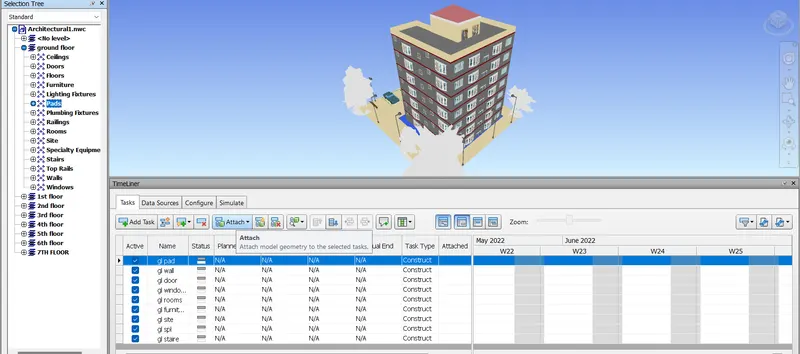
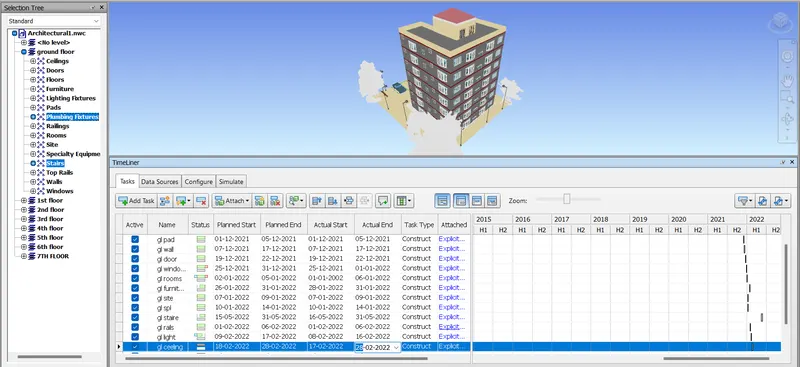
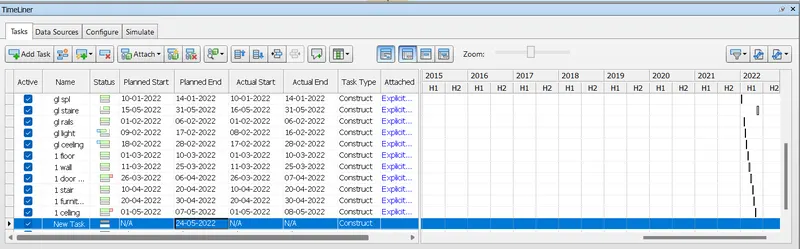
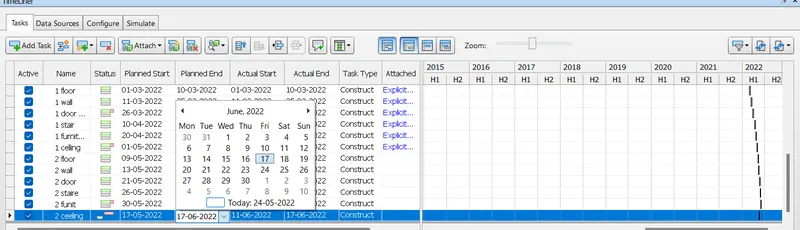
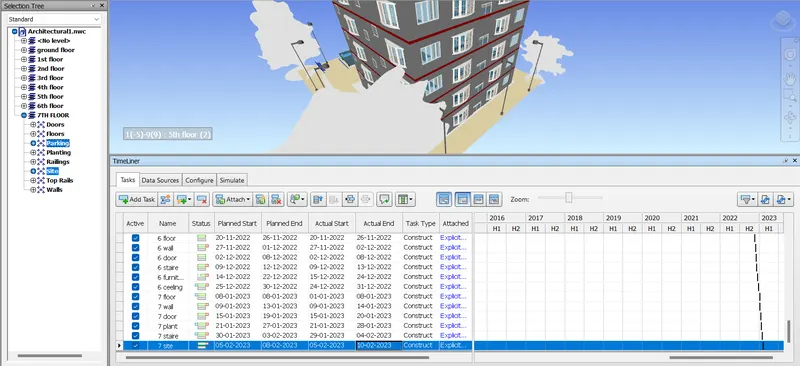
- finally done till 7th floor for all tasks next start simulate
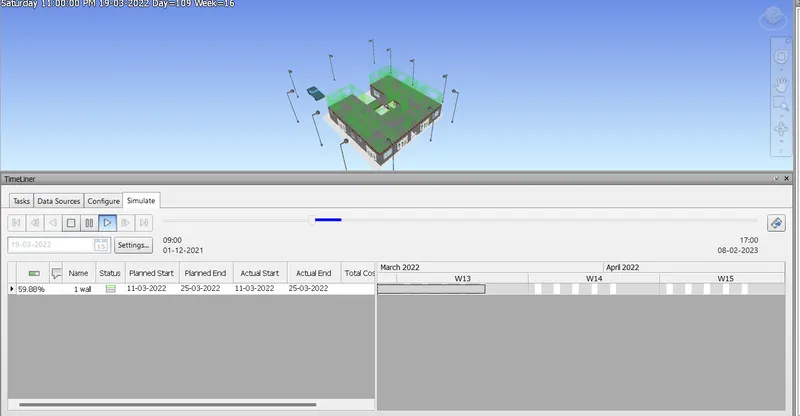
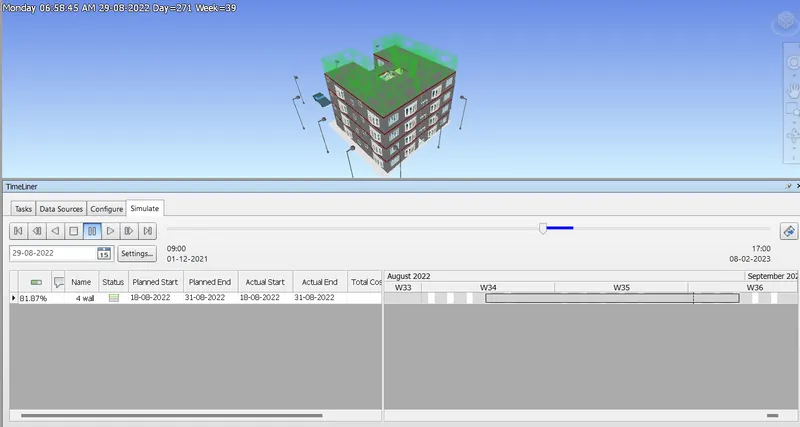
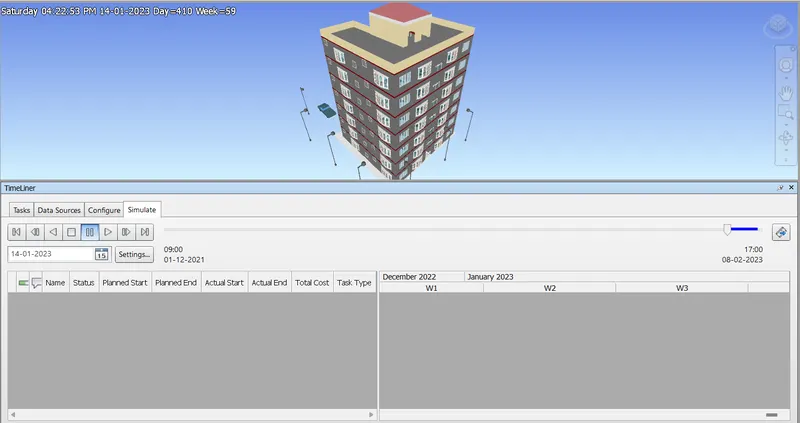
STEP-5
- then click on the simulate to play the recorded task and save the project
RESULT
The timeliner feature is used successfully in Navisworks to prepare a schedule for the project developed in week 6 to week 8