Usage of Navigation tool , Timeliner and Clash Detection test using Naviswork
1)
AIM:
To Use the Architecture/ Structure Project file developed by you in Week 6 to 8. Export the Revit architecture and structure model to Navisworks Cache file following the export settings discussed in class
PROCEDURE:
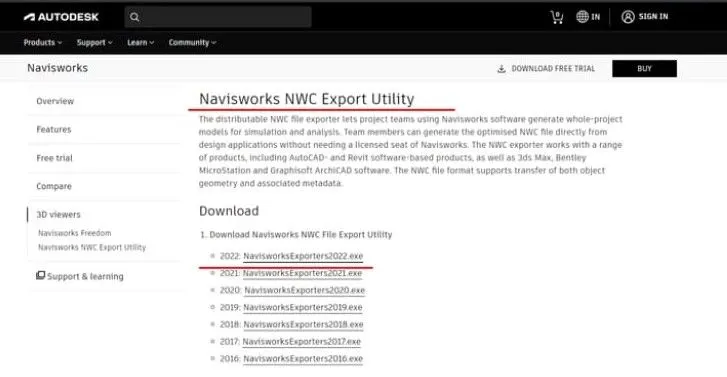
- First install the Navisworks 3D viewer on your PC or laptop from autodesk website
- Open revit and open the already created structural or architectural file in it that needed to export
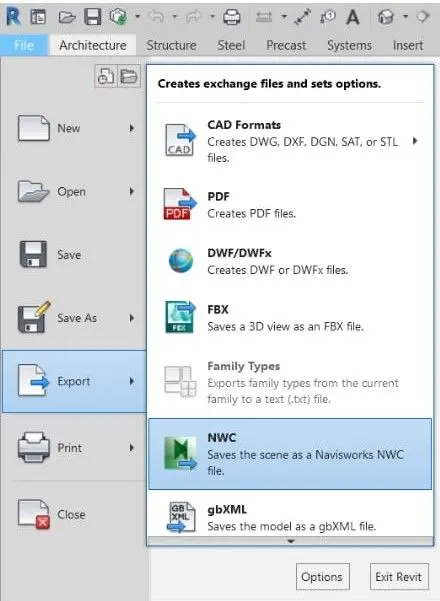
- Click on file and then export
- Then select the NWC file format
- A dialog box pops up asking for the location to save the exported file
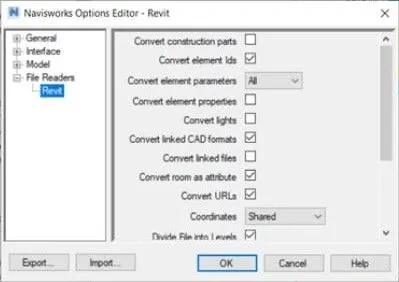
- Make necessary changes if required from navisworks settings and then click OK
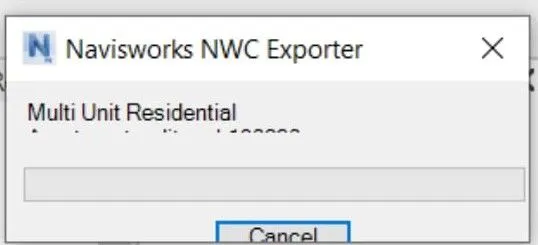
- The revit architectural or structural file has been exported as naviswork file.
RESULT:
The revit architectural or structural file has been exported to navisworks in the required format
2)
AIM:
To Use Navigate Tool to walk around the model and walk through the rooms created and record your moving as animation in your Navisworks file
PROCEDURE:
- Open the navisworks and then select the architectural NWS file that has already been exported
- Now select the append option in the left corner and select the structural NWS file that has been exported
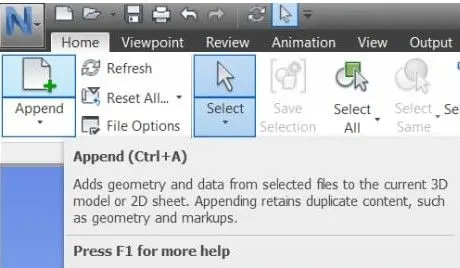
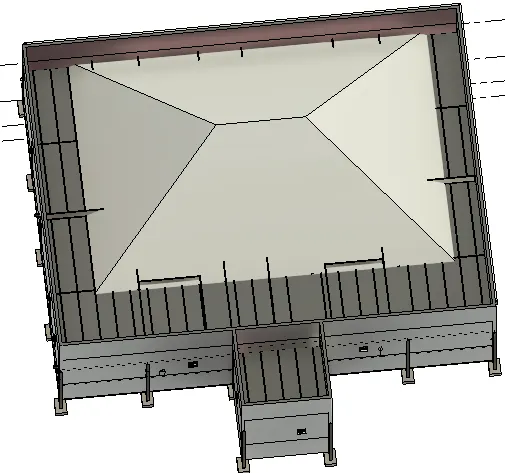
- Now we can see both structural and architectural files that has been opened in the navisworks manage workspace.
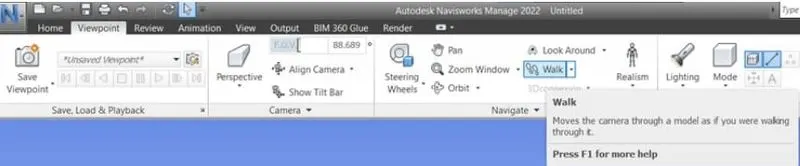
- Now go to viewpoint tab and select walk option to walk through the model
- Now click on the viewpoint option in the left corner and in the drop down we will find record option
- Select the record option and walk through the rooms using walk option
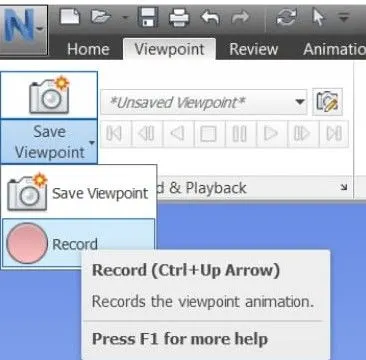
- Click on stop after walking is completed and recording will be saved as a file
- Walk through various rooms of the model
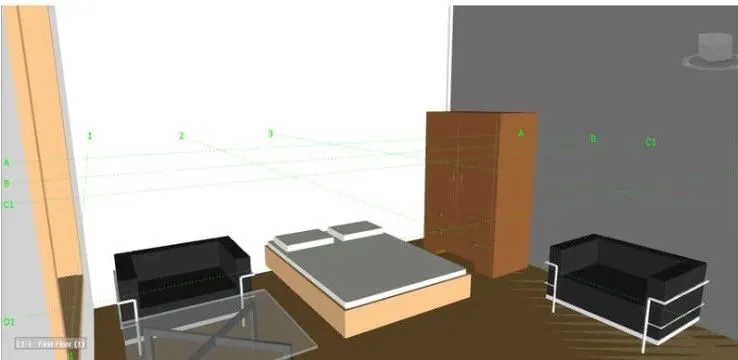
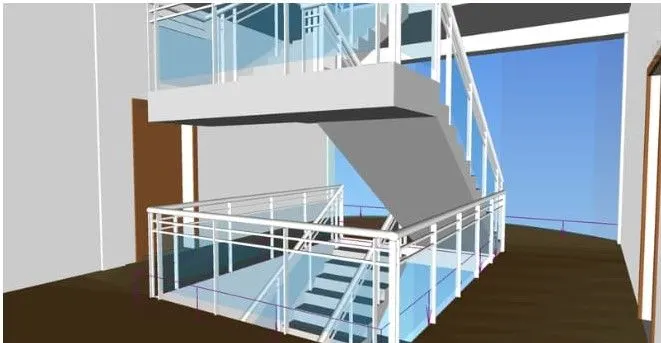
RESULT:
Walk recording have been successfully saved including walks around and through the building
3)
AIM:
To Use Navigate tool to use Realism feature to walk through the model and record your moving as animation in Navisworks file
PROCEDURE:
- Open the navisworks and then go to viewpoint tab and select walk option and select realism option that is placed beside the walk option

- Now select third person option and go to viewpoint and select record option
- Now walk throughout the model using navigation tools like pan
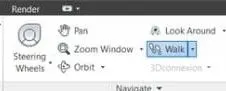
- Walk through various rooms covering entire model
- Images of various walkthroughs of diiferent rooms of the model
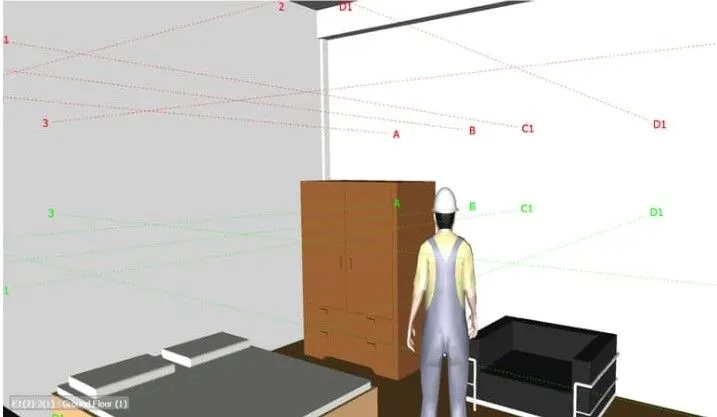
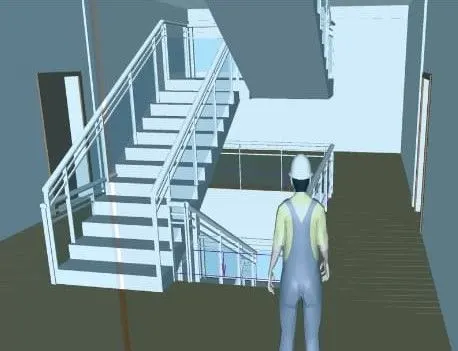
RESULTS:
We have walked and recorded the animation of entire model using realism feature of navisworks
4)
AIM:
To Embed both architecture and structure *.nwc file to your Navisworks file. Create a clash detection test between the two models
a. Run the Clash Detection Test
b. Study the clashes between the two models
c. List which of the clashes could be approved
d. List which of the clashes could be neglected ( will be taken care later)
e. List which of the clashes can be resolved
f. Save the results after color coding the clashes to the Navisworks file
g. In case of resolution annotate the clash and save the view to defined views in Navisworks
PROCEDURE:
- Open the navisworks and append the architectural and structural models as shown above
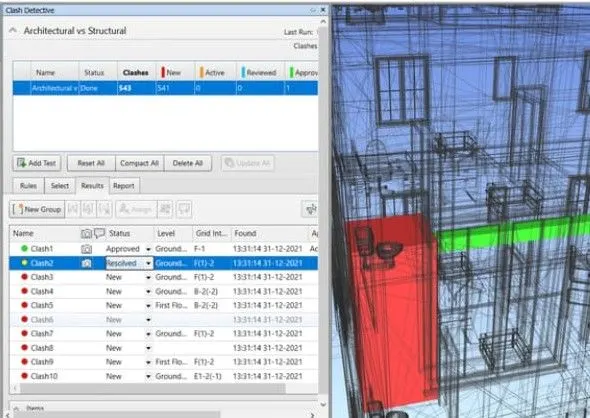
- Now click on clash detection option that is there on the home

- A window pops on the left so now click on add test
- Name the test as architectural vs structural
- Select architectural from section A and structural from Section B
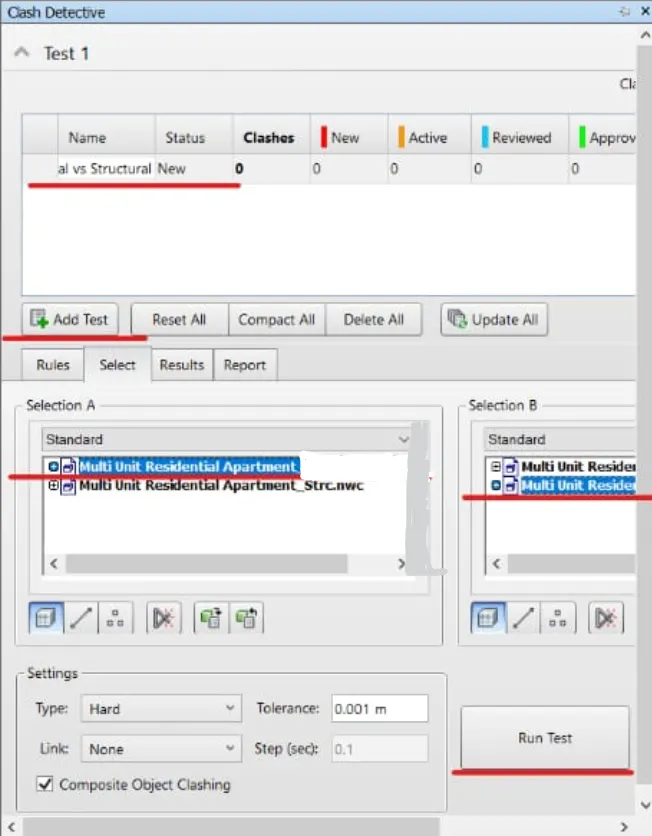
- Click on run test
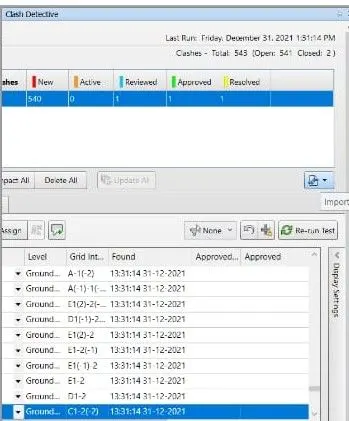
- After the test is run it shows the number of clashes in appending the model and the status of clashes can also be seen
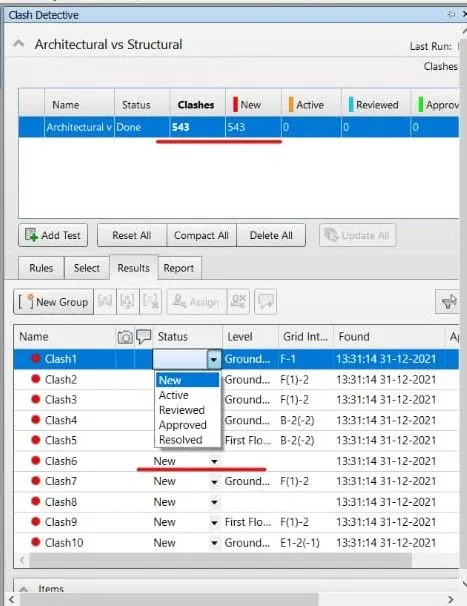
- Make sure to update the status of clashes with every process
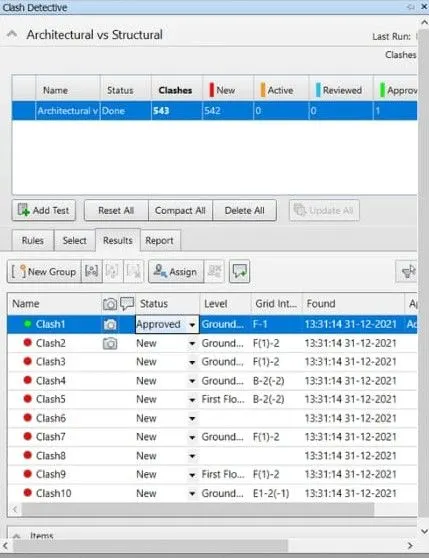
- Inorder to share the clash reports there is an export clash results option just right to it
RESULTS:
Clash detection test has been performed and various clashes have been updated on their status based on its effect
5)
AIM:
To use the Timeliner feature in Navisworks prepare a schedule for the project developed in week 6 to 8 by adding reasonable assumptions for task start date and end date and simulate the task completion as a visual simulation. Record it and save the timeline simulation to Navisworks file.
PROCEDURE:
- Open the architecture file in navisworks and then append the structural file to it
- In the home tab there is a timeliner option , select the timeliner option

- A timeliner workspace opens at the bottom of the window
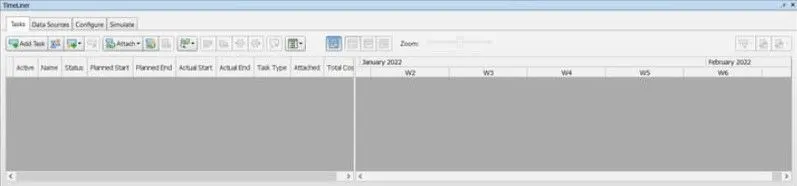
- Now click on add task and rename it as the work that is supposed to be done in the hierarchy order of its construction
- Also add planned start and end dates and actual start and end dates and also the type of work
- Repeat this process until every step of construction task is listed and every detail is filled out
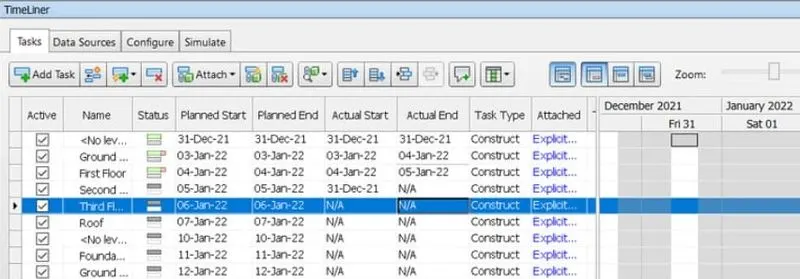
- After entering all the tasks then click on simulate option to see the timeline of completion of the project as lively as possible
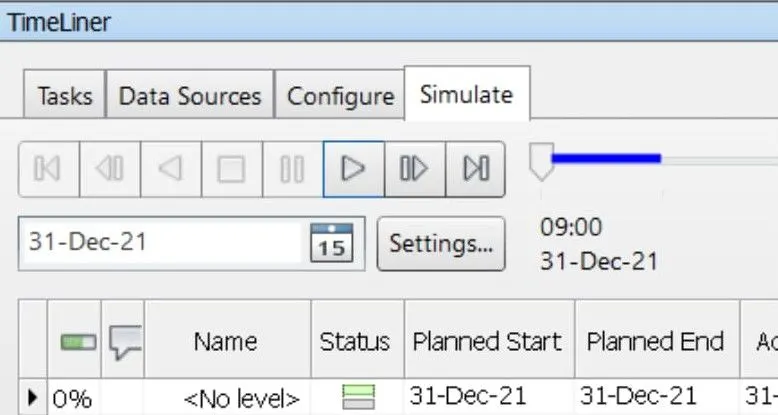
- Each process of construction is shown as a frame and alltogether as an animation
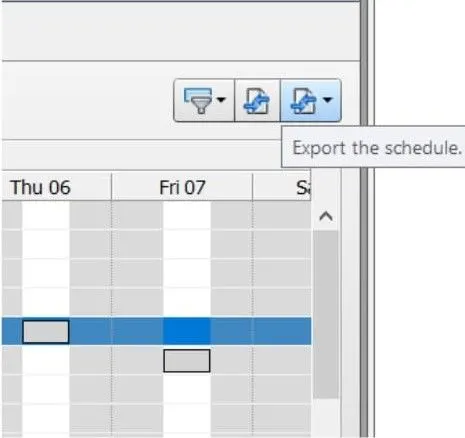
- Now click on the timeline and save it to navisworks by naming it and export the schedule using export option to the right
RESULT:
Schedule has been prepared for the timeliner of the project using navisworks manage