3D Creation of Celing, Roof, Architectural plan, Structural plan, Sectional view, Elevation view and Camera specific view for a house plan using REVIT
1)
AIM:
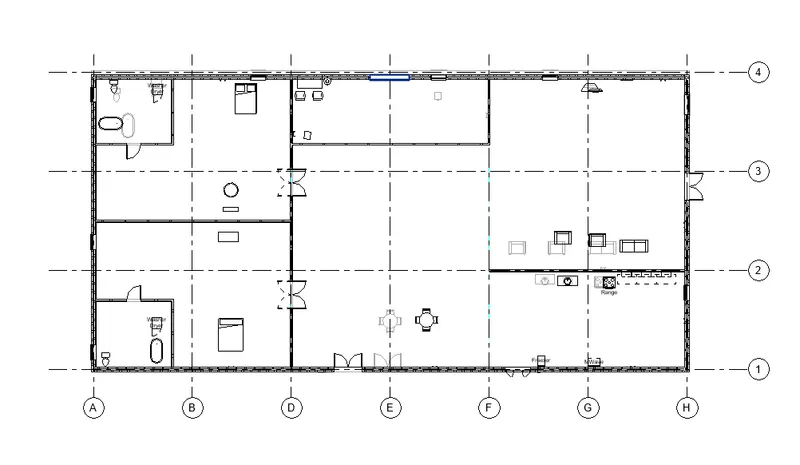
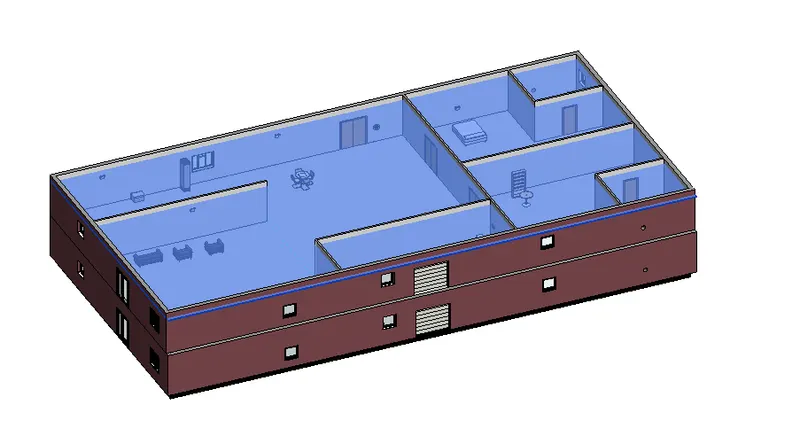
To model a Ceiling from the architecture tab above the walls at the first-floor level
PROCEDURE:
STEP 1:
- Open revit
- Open previous project that you're working on
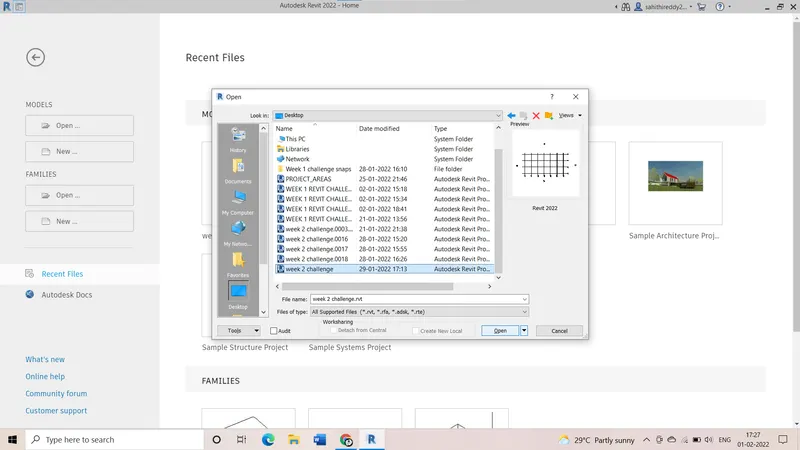
STEP 2:
- Click on architecture tab > ceiling tool
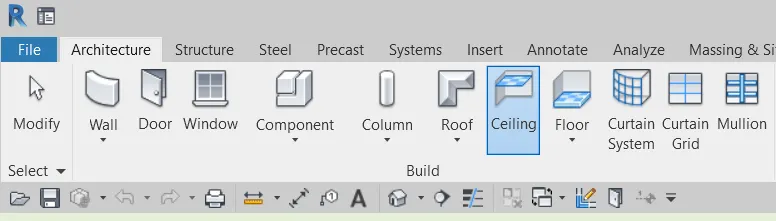
- Then select a ceiling type from properties browser
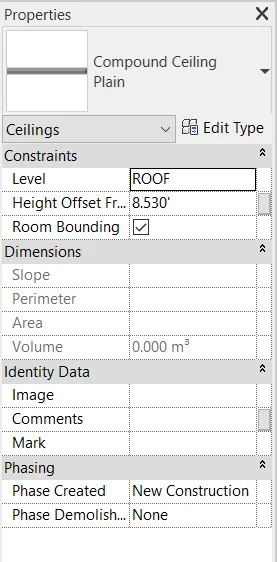
STEP 3:
- Now select sketch ceiling option

- Now sketch the ceiling using sketch ceiling option at the first-floor level
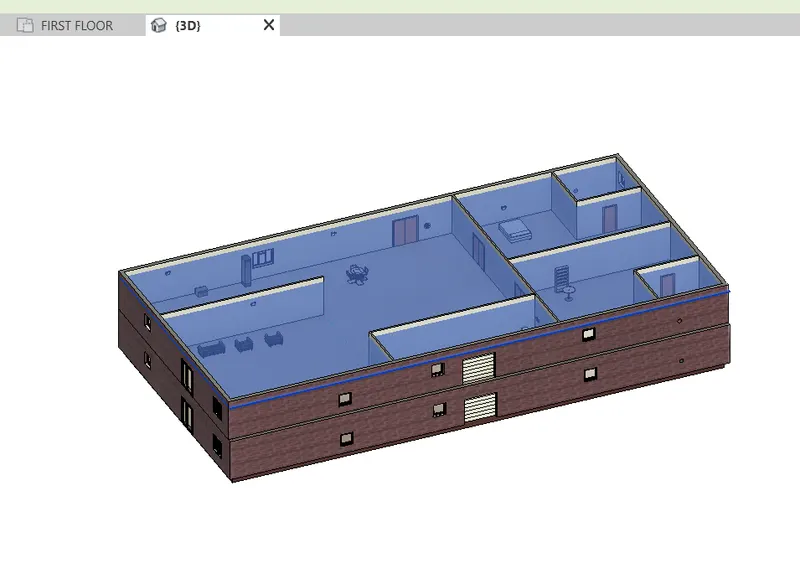
RESULT:
- Ceiling is added to the project successfully
2)
AIM:
To model a roof above the ceiling by selecting the footprints of the ceiling and to adjust the roof slope to 10 degrees
PROCEDURE:
STEP 1:
- Open revit
- Open project that you're working on
STEP 2:
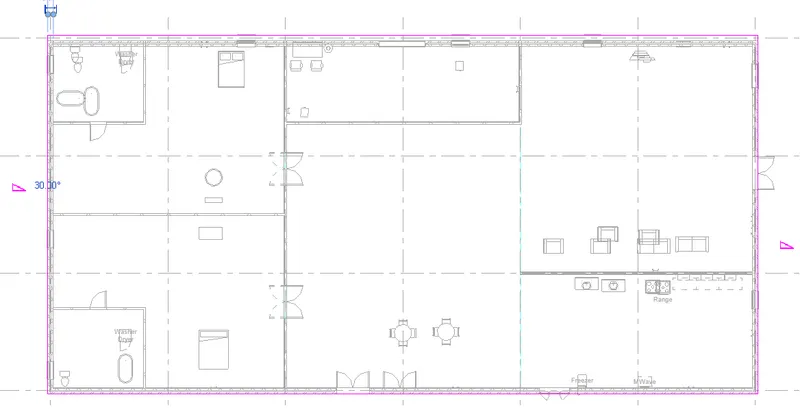
- Click on architecture tab > roof drop down > roof by footprint
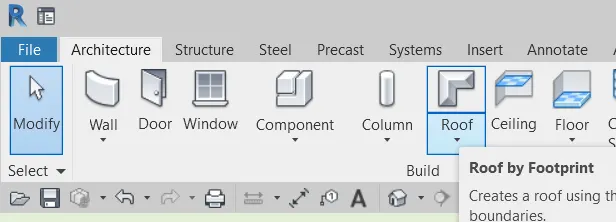
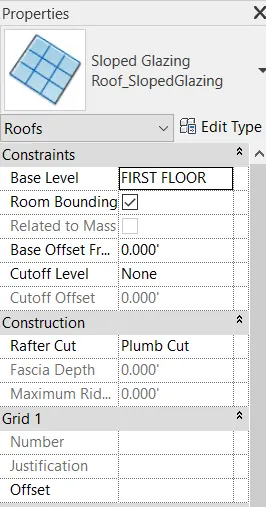
- Properties browser pops up
STEP 3:
- Select a roof type from the properties browser
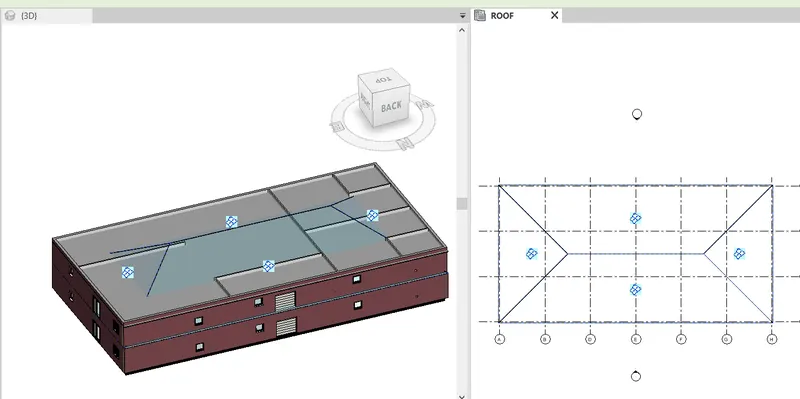
- Now draw the roof by selecting the boundary line option
STEP 4:
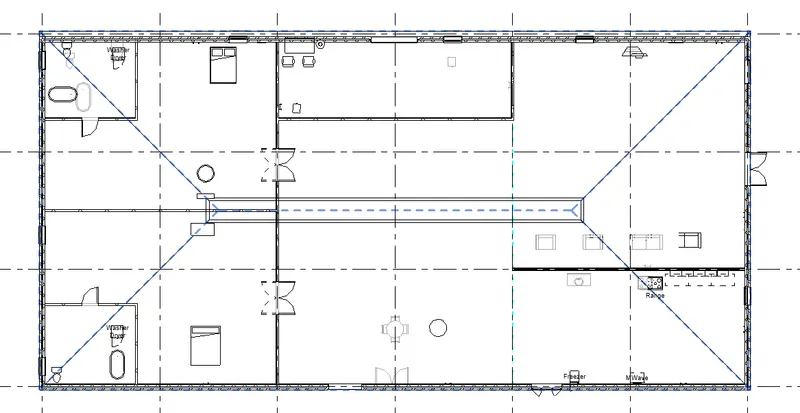
- Also set the slope to 10 degrees
RESULT:
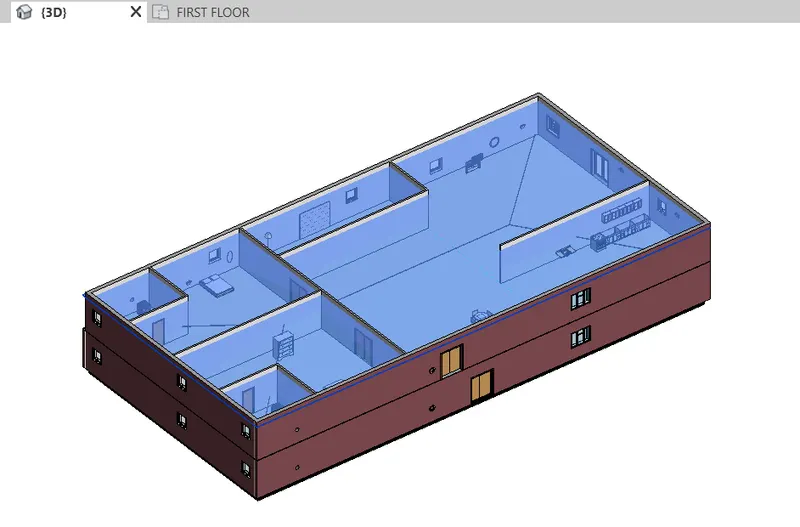
- Required roof with a 10 degree slope is modelled to the plan
3)
AIM:
To create plan views for ground floor level and first-floor level including all the walls, floors, and components and also to separate them to architecture and structural plans.
PROCEDURE:
STEP 1:
- Open revit
- Open project that you're working on
STEP 2:
- Go to project browser then click on floor plans
- Rename the floor plans visible under floor plans
- Level 1 to ground floor > level 2 to first floor and last level to the roof and so on
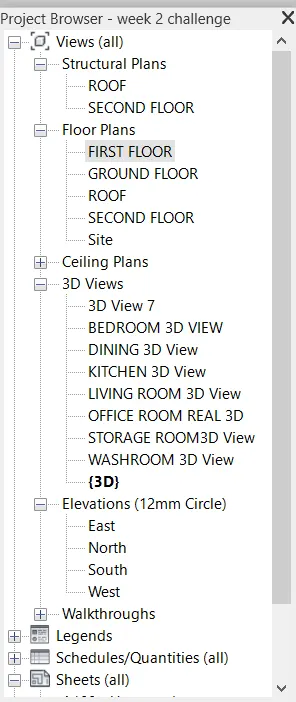
STEP 3:
- Architecture plan views of the project are ready
- To access architectural plan view of ground floor go to floor plans and click on ground floor
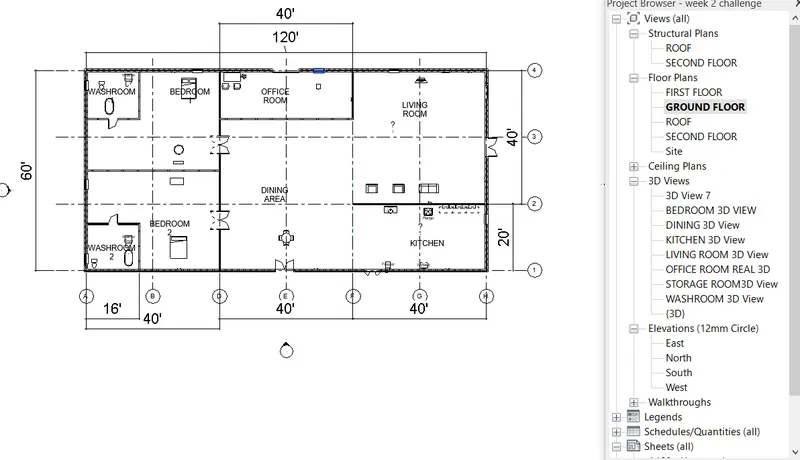
STEP 4:
- To access architectural plan view of first floor then go to floor plans and click on first floor
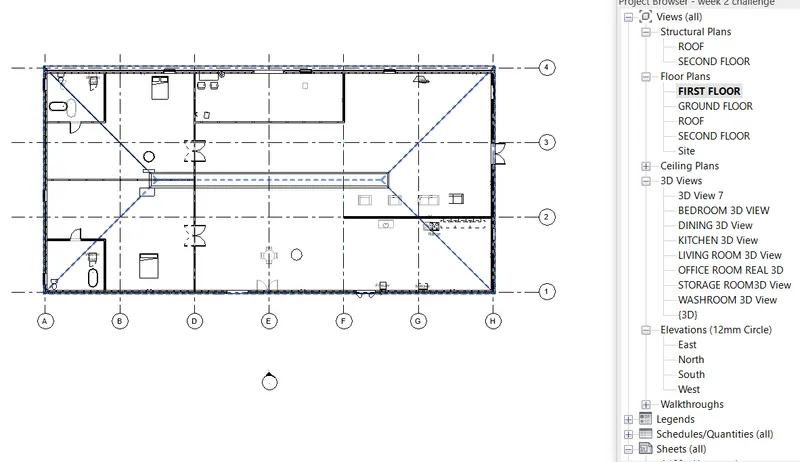
STEP 5: STRUCTURAL PLAN VIEWS
- In case if there are no structural plan views available in the structural plans in the project browser follow the below steps:
- Go to view tab > plan views
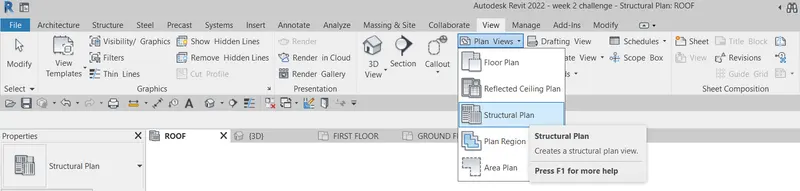
- Then structural plan and then select the plan views missing from the view section and click ok
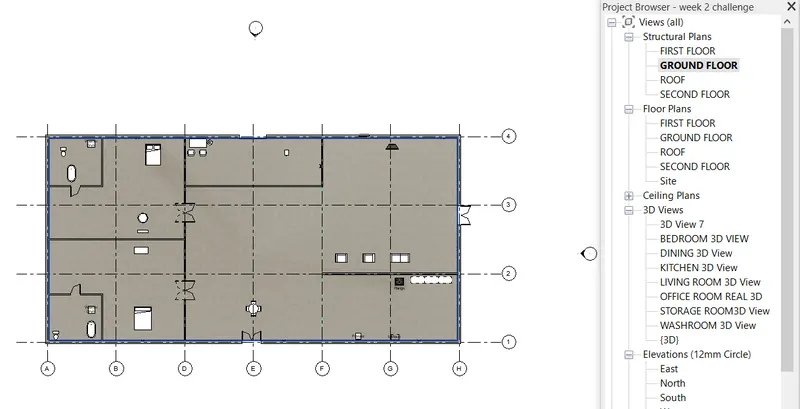
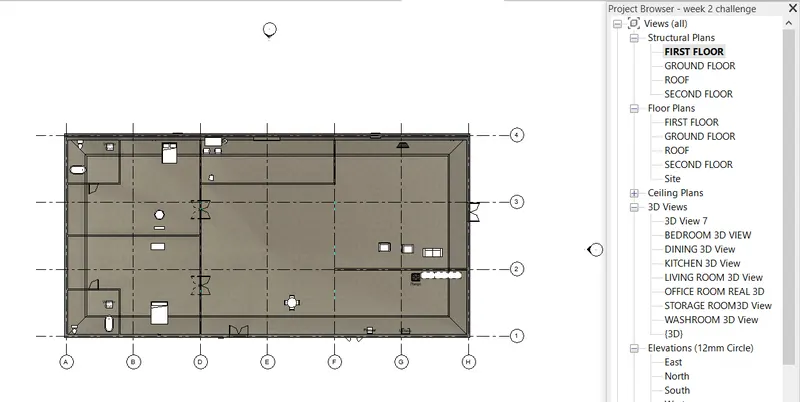
RESULT :
- Architectural plan views are created to the project
- Structural plan views are created to the project
4)
AIM:
To add dimensions to all the walls and floors with reference to the longitudinal and transverse grids created in the project file
- Open revit
- Open project that you're working on
STEP 2:
- Click on Architecture toolbar > grid tool

STEP 3:
- Draw horizontal and vertical grids at 10' difference
- Make sure grids align with the site plan
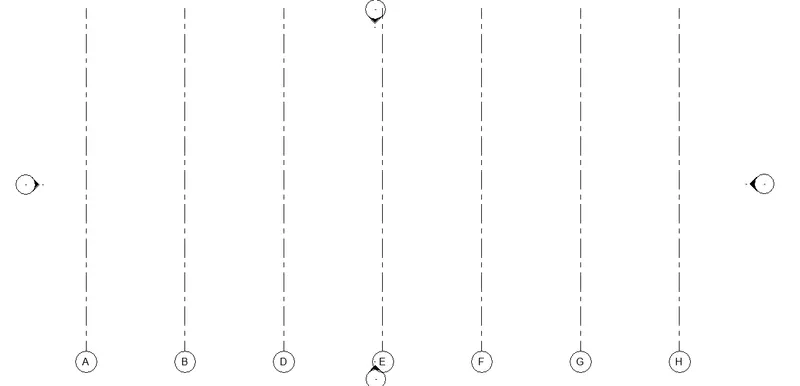
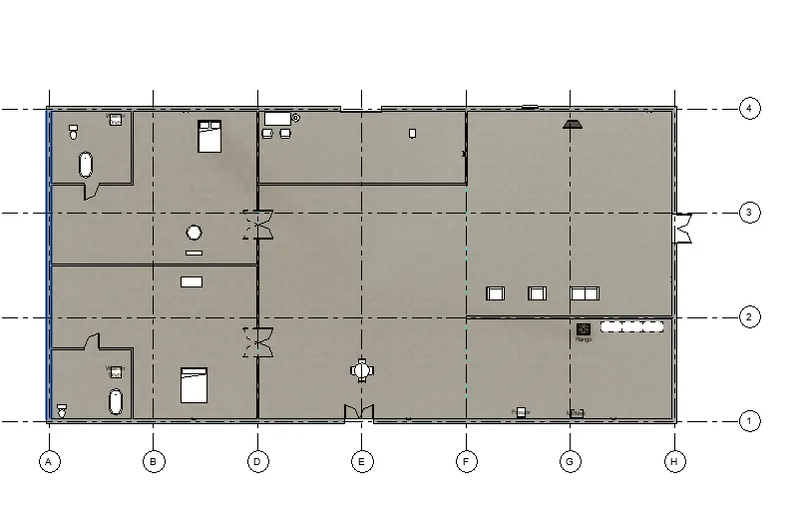
STEP 4:
- Now select aligned tool from annotate tool bar
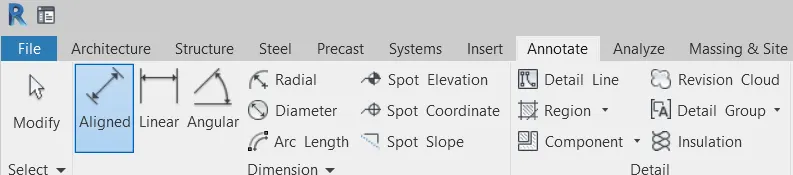
- Annotate architectural plan dimensions on where the components are placed within the buildings with relation to grids
STEP 5:
- The Structure plan dimensions include details on the position of all the walls and interior walls with reference to grids
RESULT:
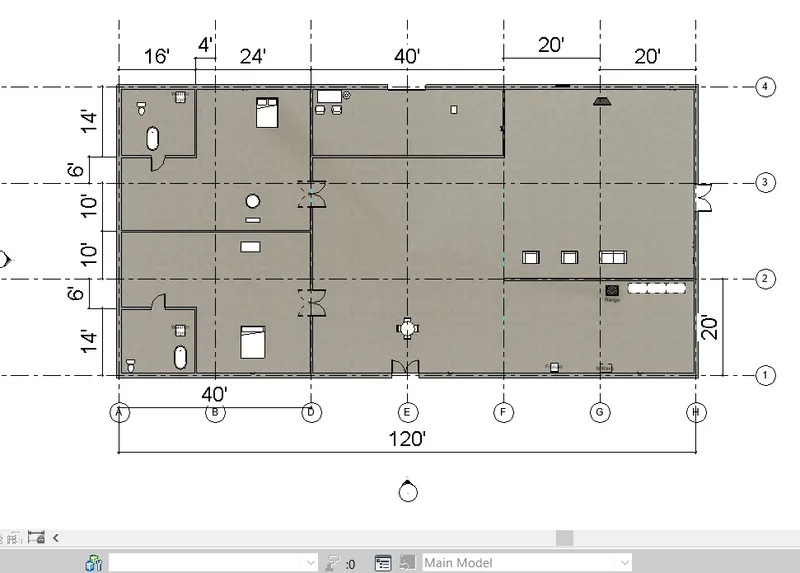
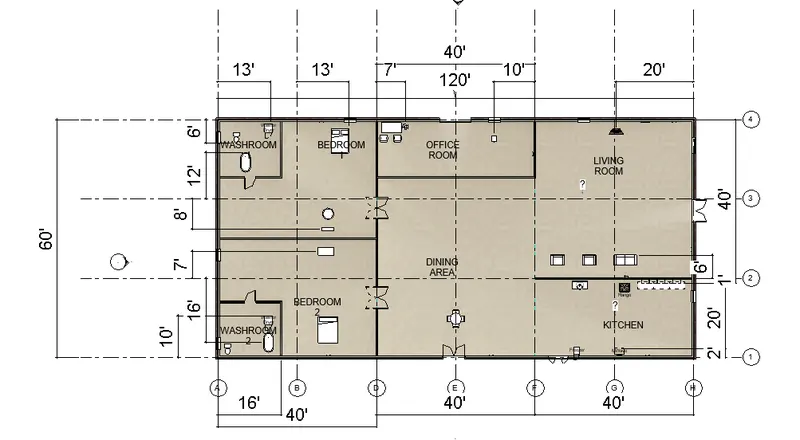
5)
AIM:
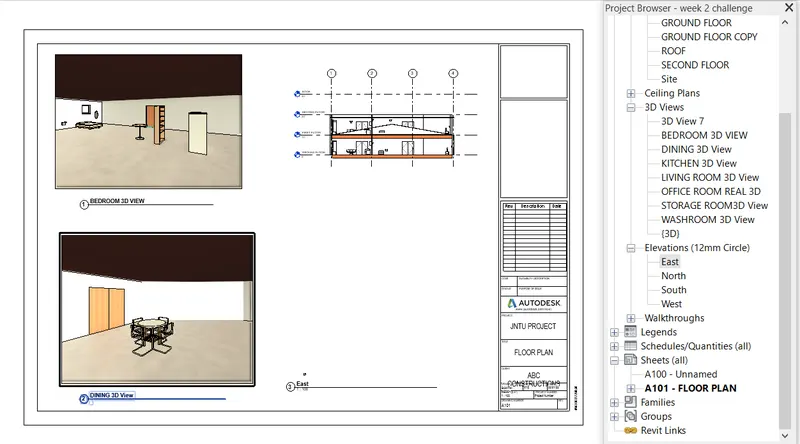
To create a sheet template from the view tab and adjust the parameters on the sheet to add appropriate views
PROCEDURE:
STEP 1:
- Open revit
- Open project that you're working on
STEP 2 :
- View tab > new sheet

- Select the desired sheet type
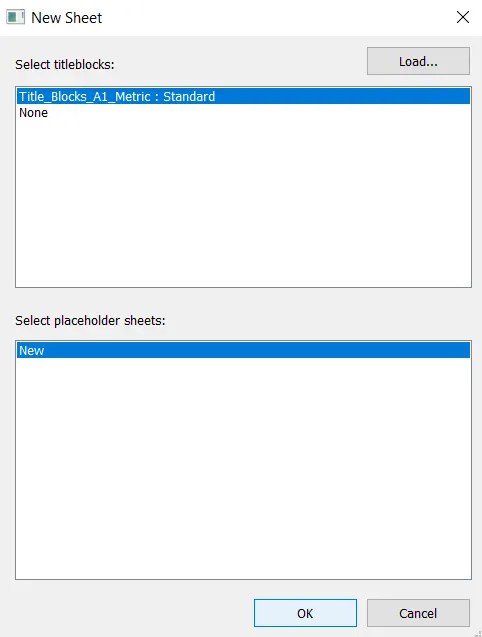
STEP 3:
- Edit the title block in the properties browser
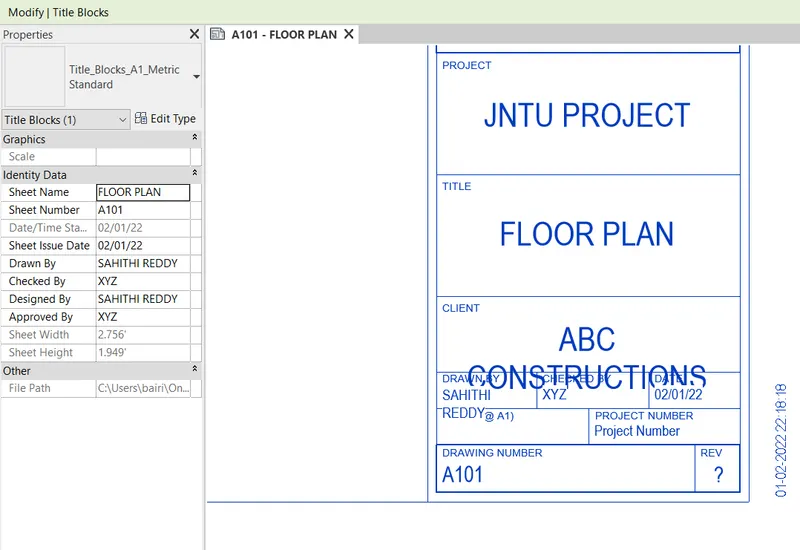
- Also add all the views in the sheet
RESULT :
- Sheet template is prepared and all the parameters are entered in that template
6)
AIM:
To create the elevation views using the elevation tab
PROCEDURE:
STEP 1:
- Open revit
- Open project that you're working on
STEP 2 :
- Go to project browser and select the required view from the drop down list
STEP 3:
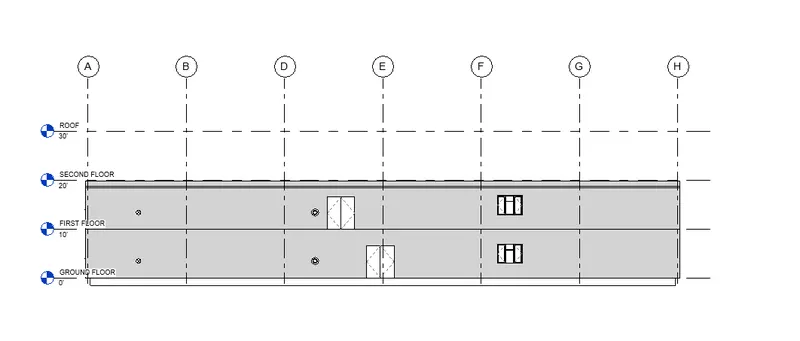
- Click on elevations
- Now from drop down select south elevation
STEP 4:
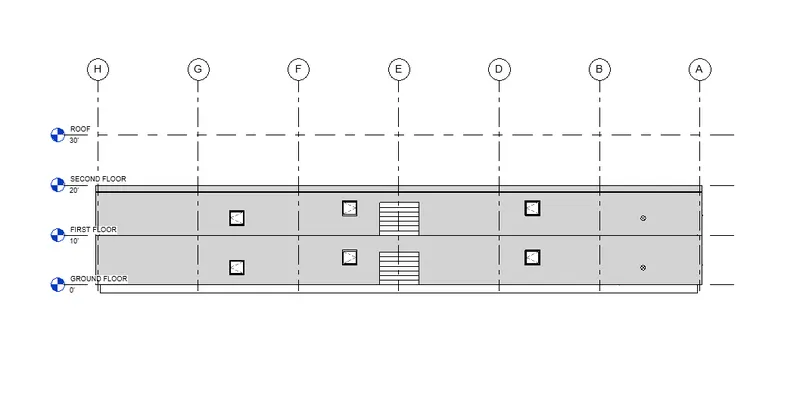
- Click on elevations
- Now from drop down select north elevation
STEP 5:
- Click on elevations
- Now from drop down select east elevation
STEP 6:
- Click on elevations
- Now from drop down select west elevation
RESULT :
- All the elevation views are created
7)
AIM :
To produce section cut through each room either cutting across longitudinally or in a transverse direction
PROCEDURE:
STEP 1:
- Open revit
- Open project that you're working on
STEP 2 :
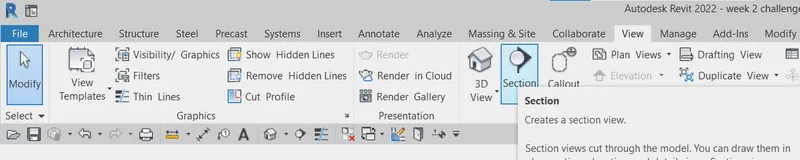
- Click on view tab > then on section tool
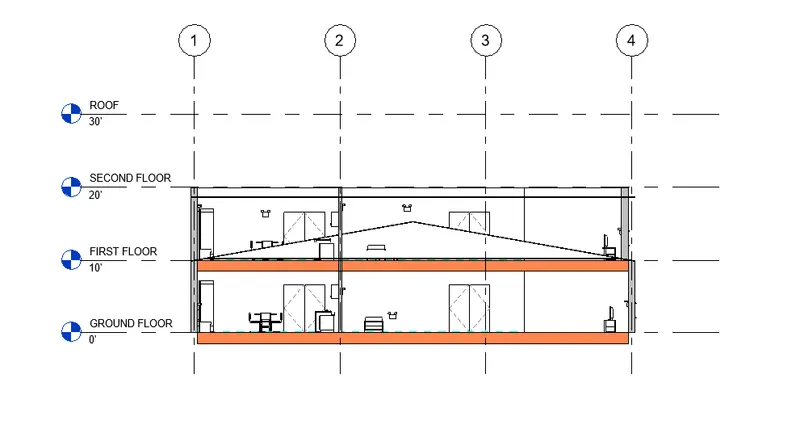
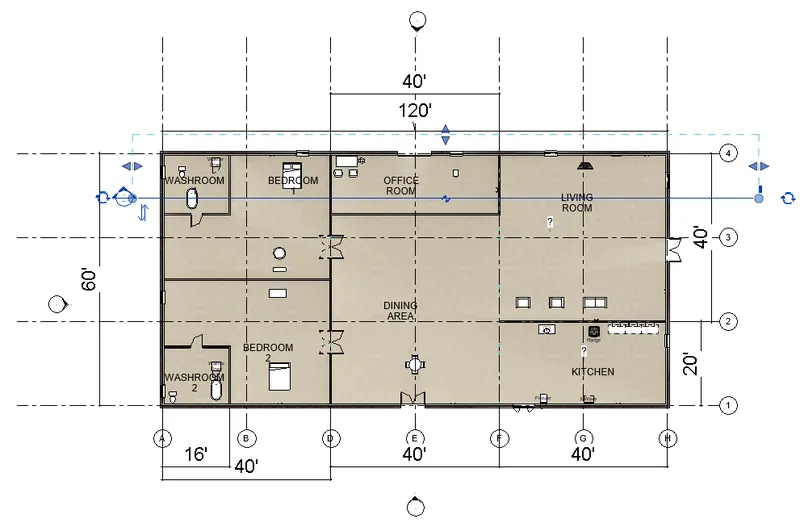
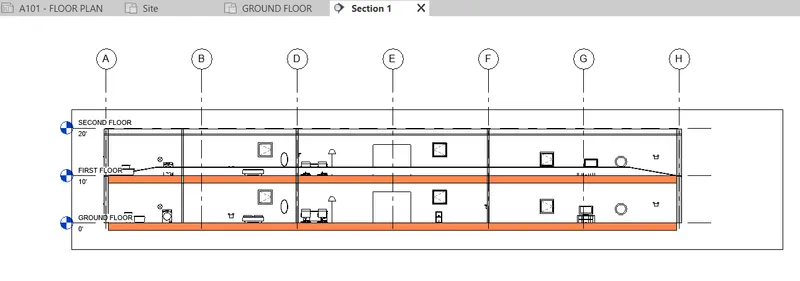
- Now draw a section line through washroom 1 , bedroom 1, office room and living room
STEP 3:
- The above section will be created as section 1 under sections in the project browser
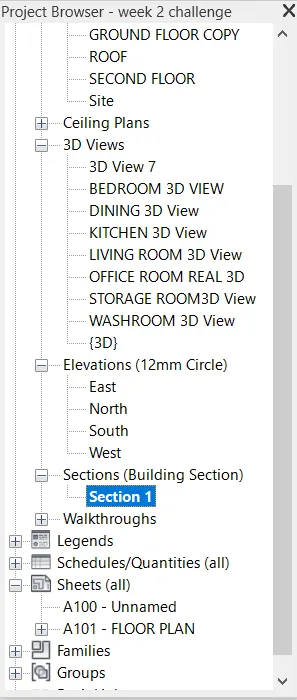
- View the above created section
STEP 4:
- Now click on the sections tool again under the view tab
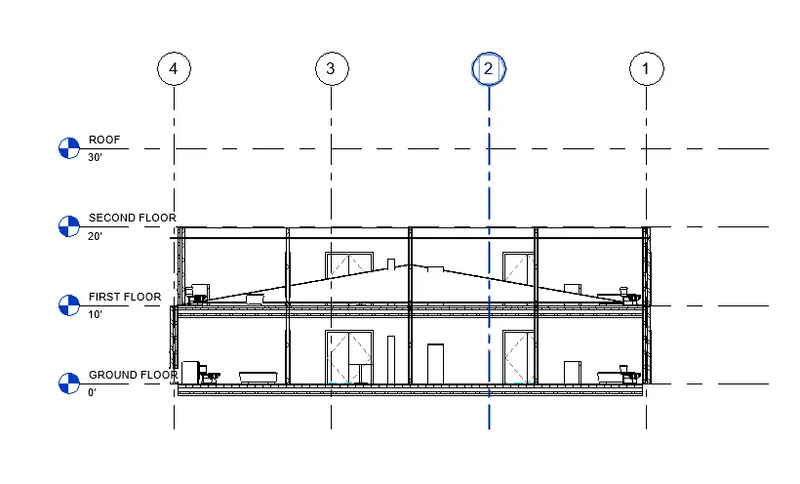
- Draw a section line through washroom 2, bedroom 2, dininig area and the kitchen
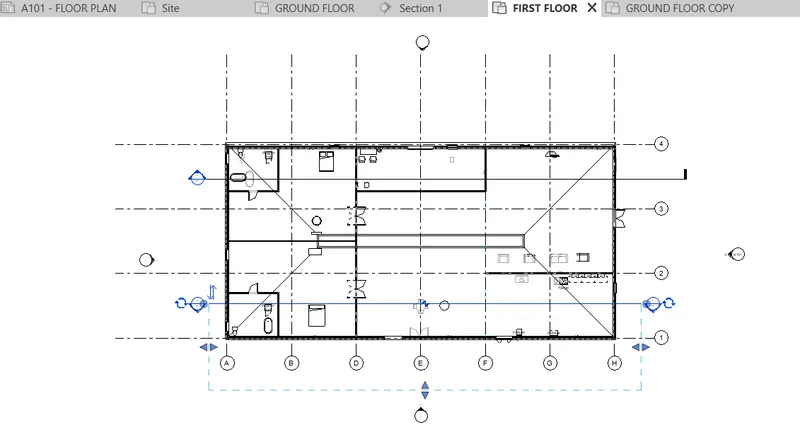
STEP 5:
- The above section will be created as section 2 under sections in the project browser
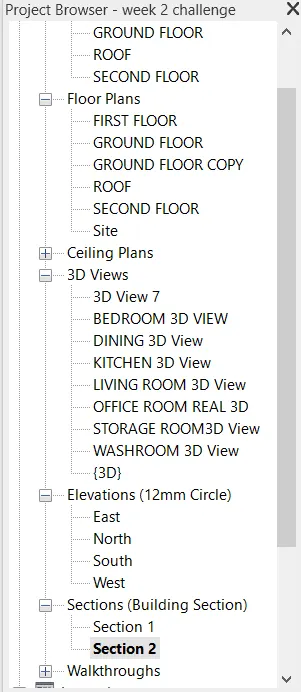
- View the above created section
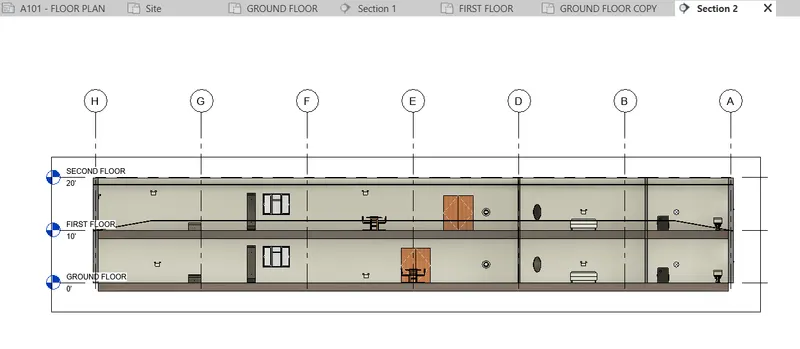
RESULT:
- A section cutting washroom 1 , bedroom 1, office room and living room
- A section cutting washroom 2, bedroom 2, dininig area and the kitchen
8)
AIM:
To classify the views, Plan Views, Section Views, and Elevation views to either Design or Documentation category using Properties browser
PROCEDURE:
STEP 1:
- Open revit
- Open project that you're working on
STEP 2 :
- Click on view tab > then on create new sheet
- Now select the desired sheet type
STEP 3:
- Edit the titleblock details
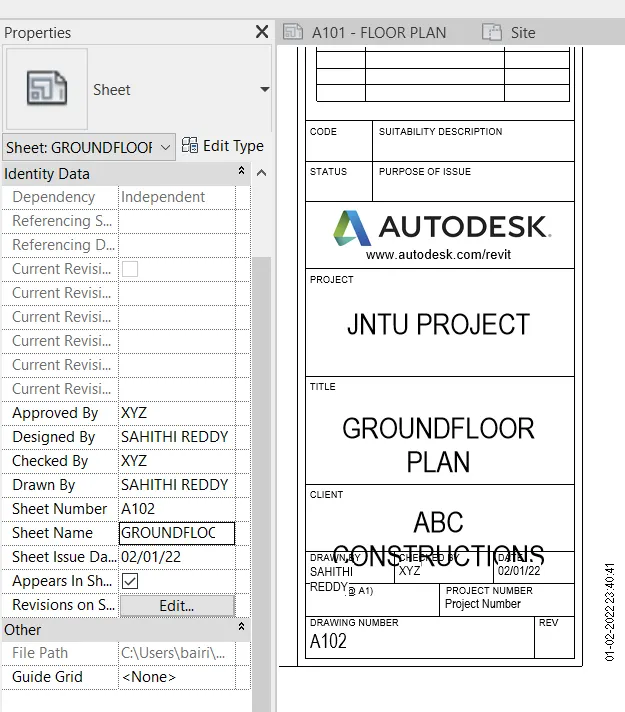
- Now add groundfloor plan view to the sheet
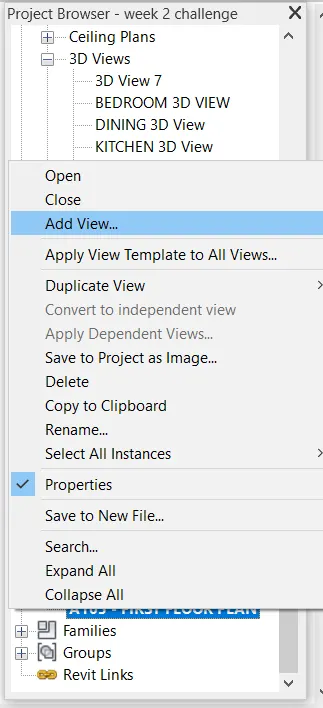
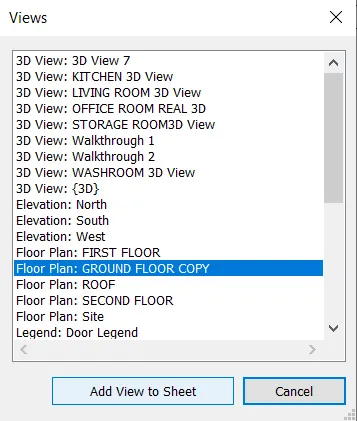
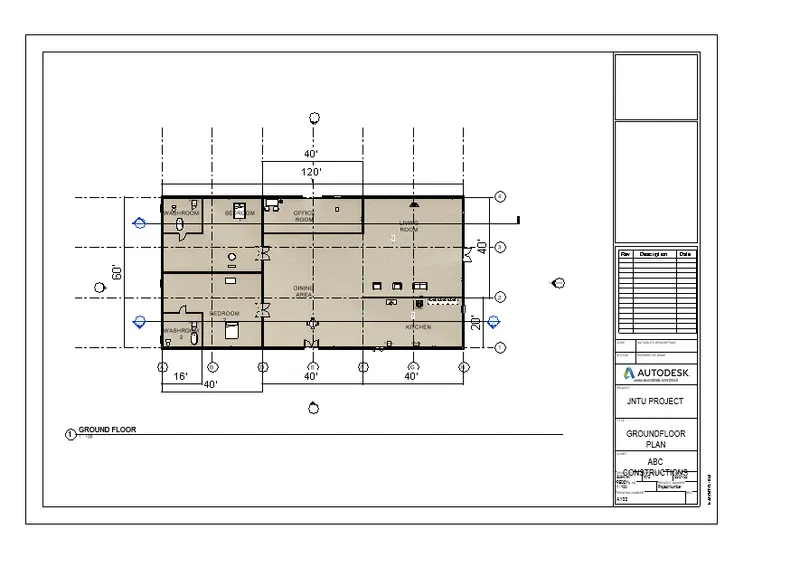
STEP 4:
- Now similarly add first floor plan view to the sheet
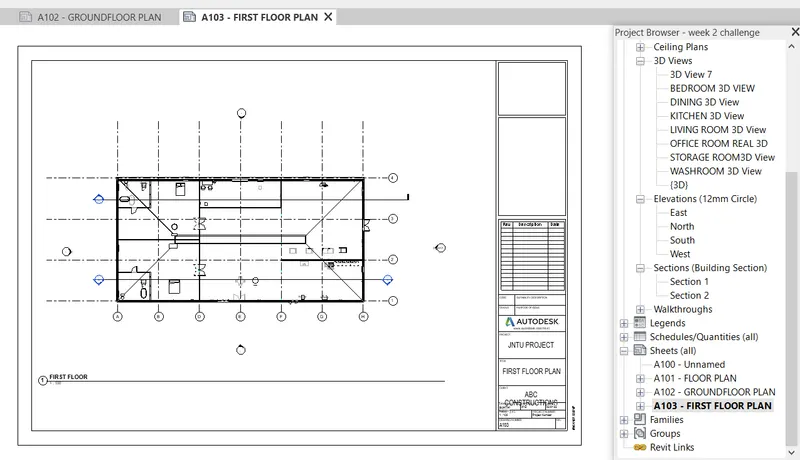
STEP 5:
- Now add elevations to the sheet
- Add east elevation
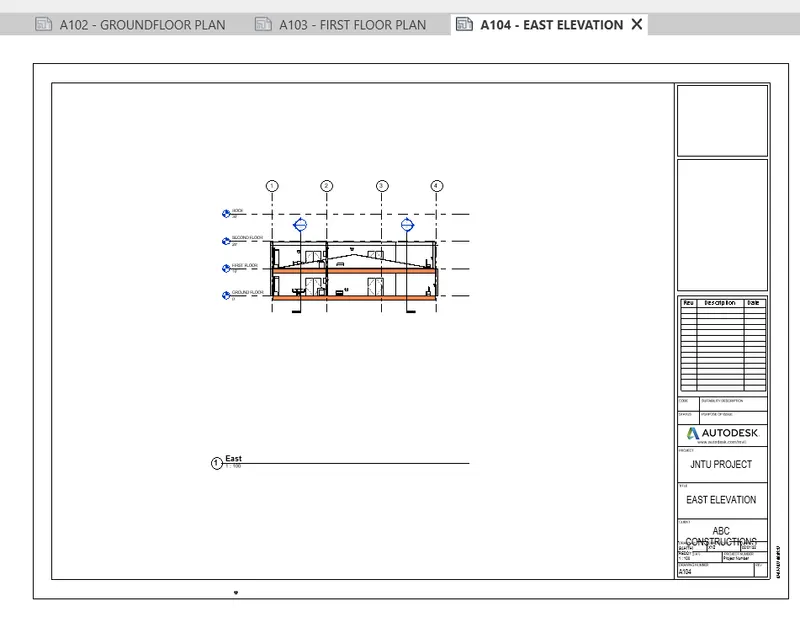
STEP 6:
- Continue the same process with north elevation
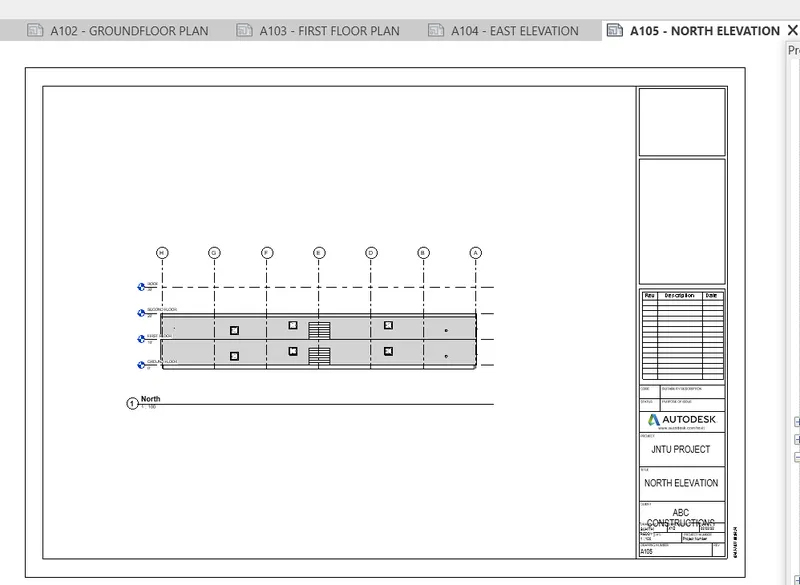
Step 7:
- South elevation
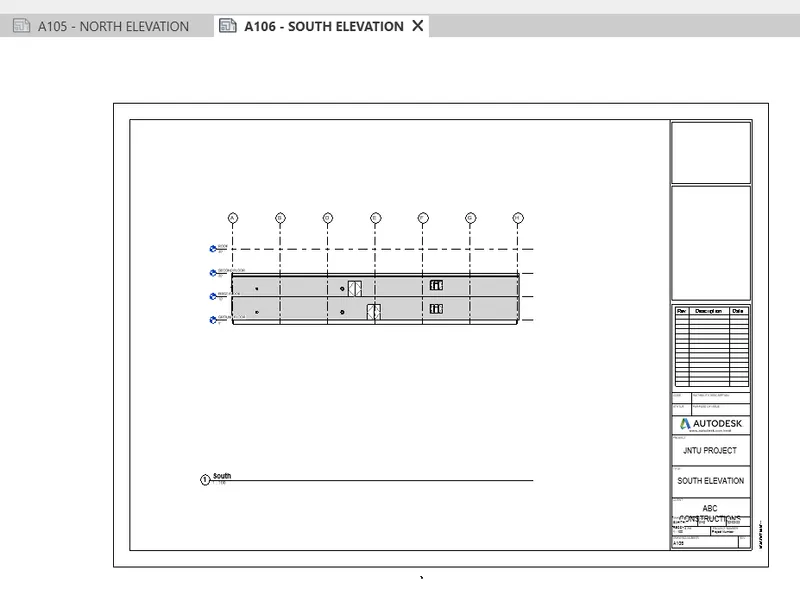
STEP 8:
- West elevation
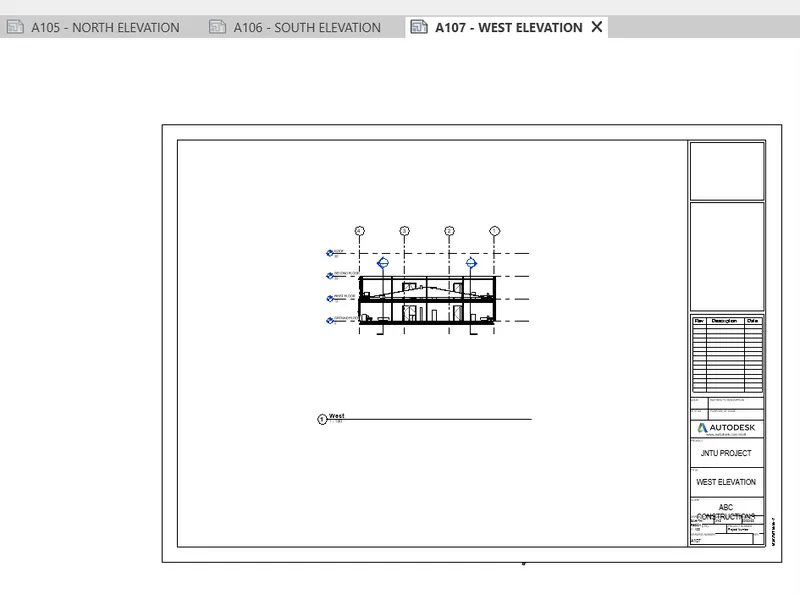
STEP 9:
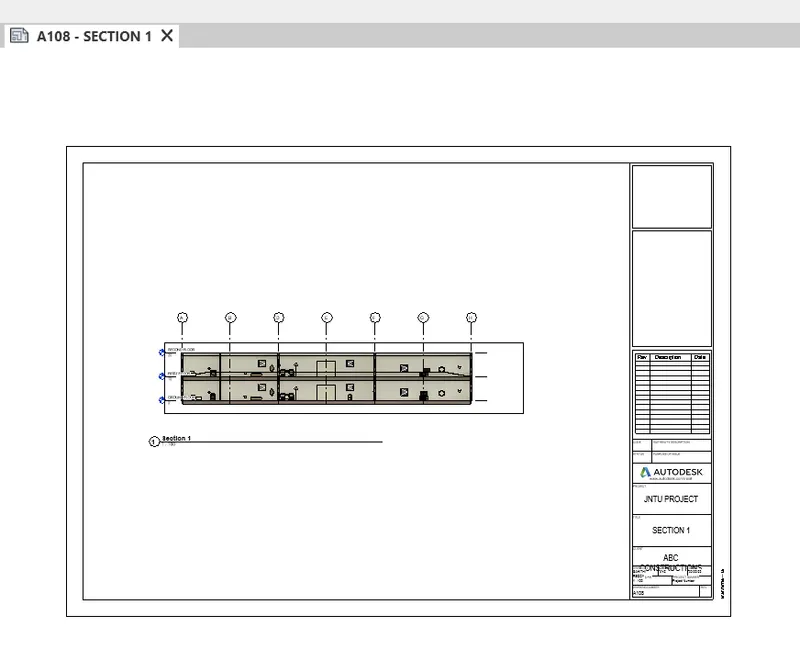
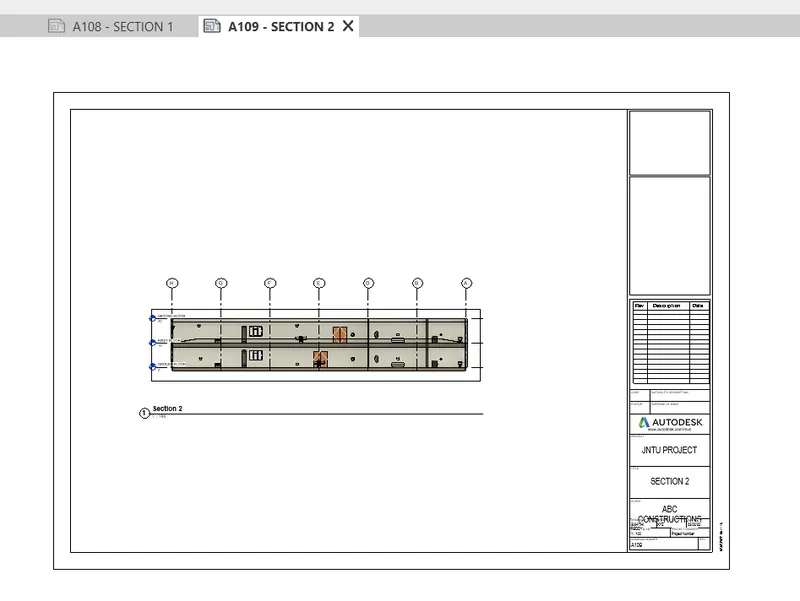
- Now add the sectional views on the sheet aswell
- Add section 1 to the sheet
- Also add section 2 to the sheet
RESULT:
- Now we have classified the views, Plan Views, Section Views, and Elevation views
9)
AIM:
To create multiple sheets as follows using the sheet template
A 101- Ground Floor Architecture Plan
A 102- First Floor Architecture Plan
A 103- Roof Plan
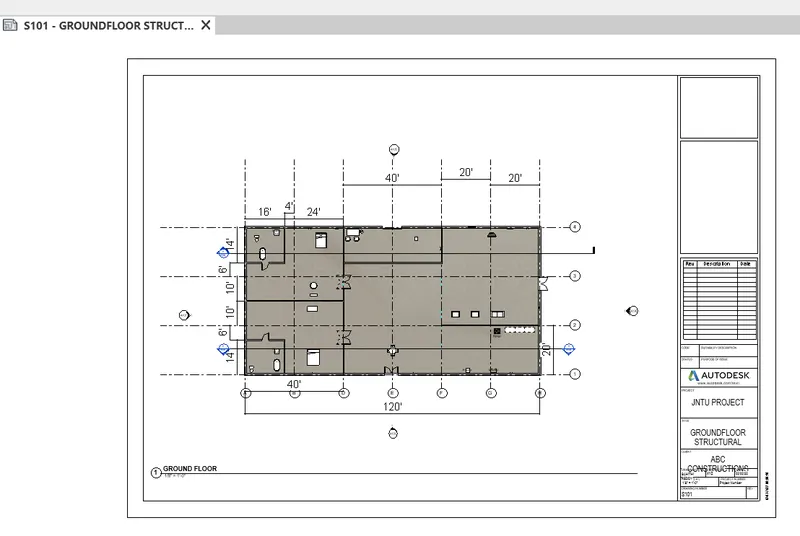
S 101- Ground Floor Structural Plan
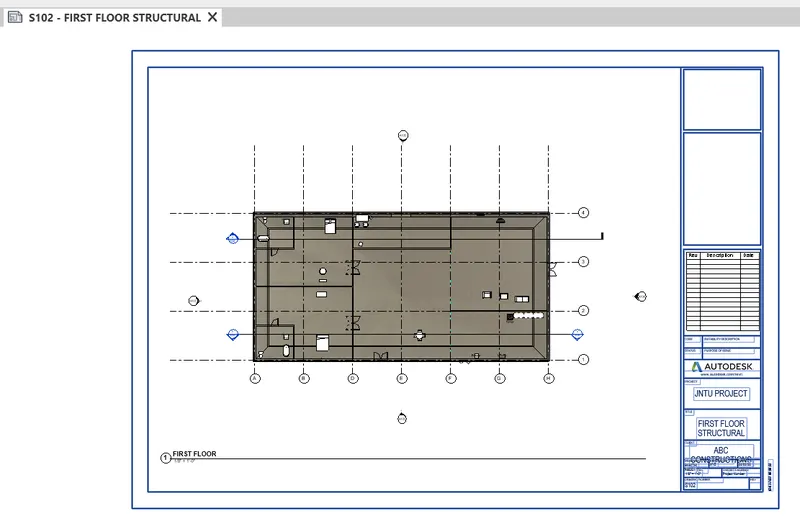
S 102- First Floor Structural Plan
S 103- Roof Framing Plan
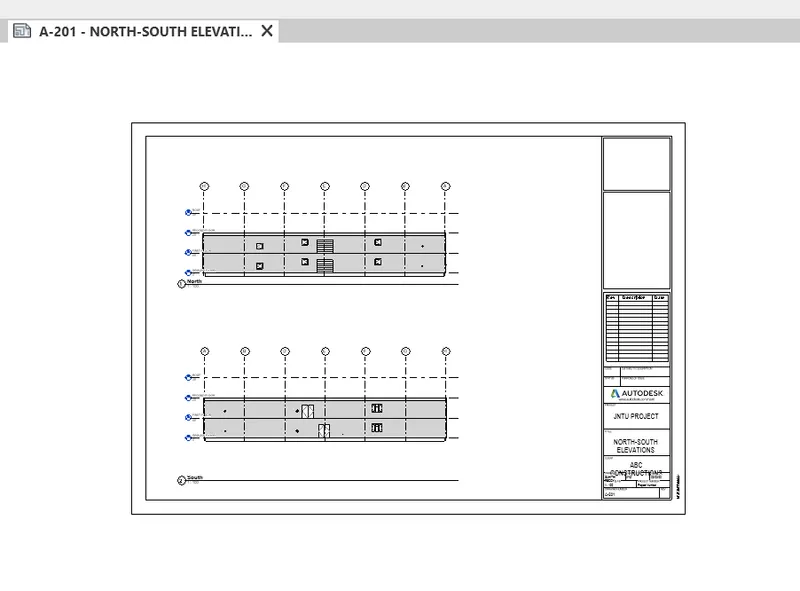
A-201- North-South Elevations
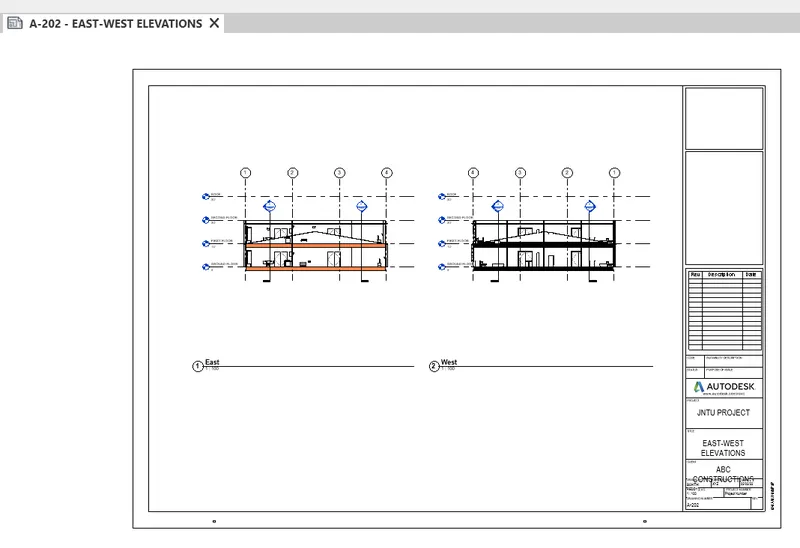
A-202- East-West Elevations
PROCEDURE:
STEP 1:
- Open revit
- Open project that you're working on
STEP 2 :
- Click on create new sheet under the view tab
- Select the desired sheet type
STEP 3:
- Now edit titleblock details on this sheet
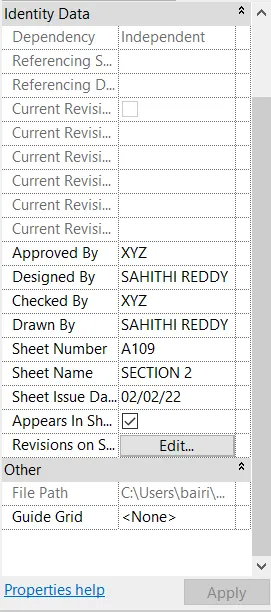
STEP 4:
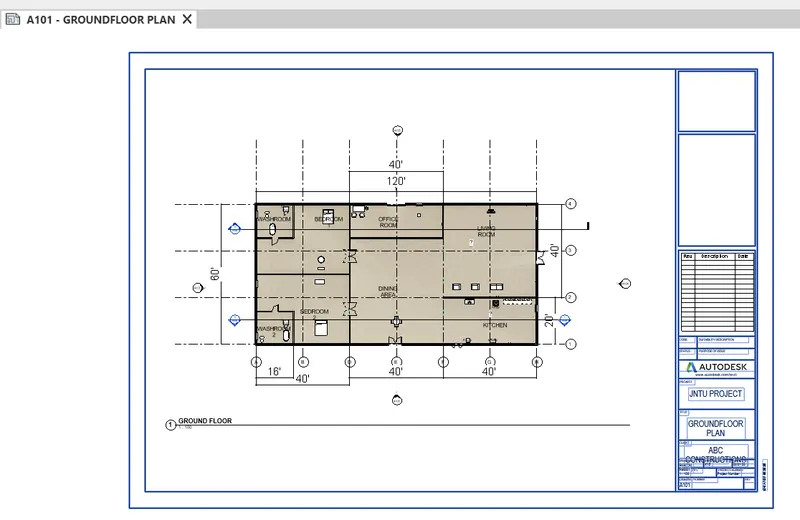
- Now add ground floor plan view to the sheet
- Place it on the sheet A 101
STEP 5:
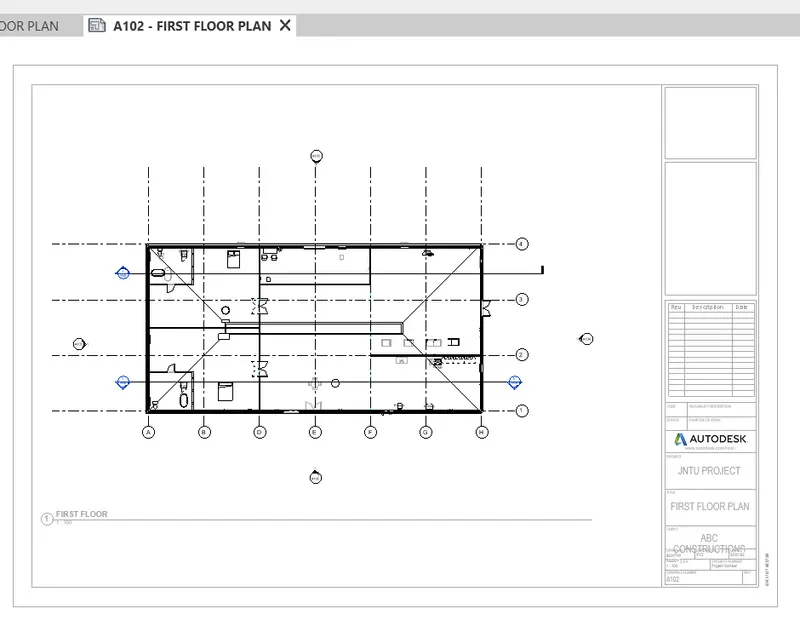
- Follow the same procedure for all the views
- First floor views on sheet A 102
STEP 6:
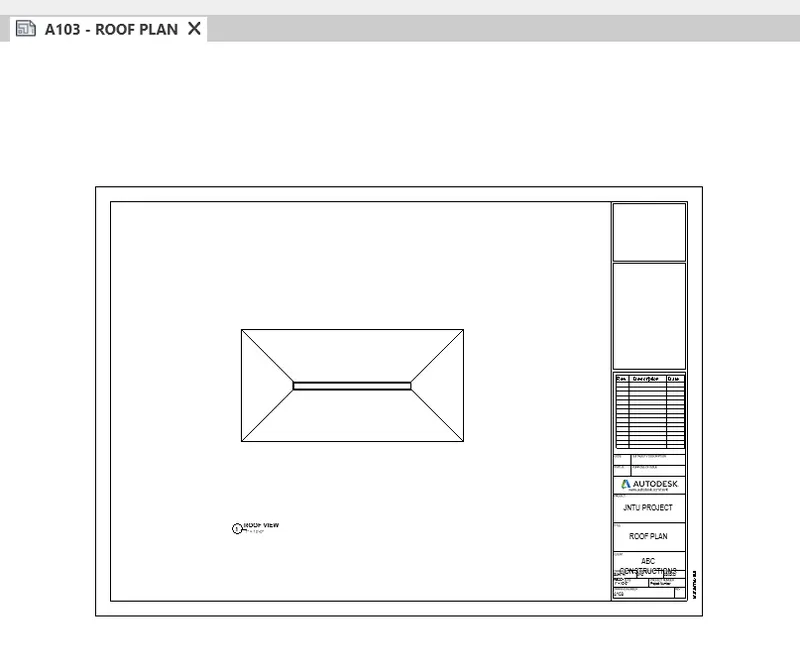
- Roof plan on sheet A 103
STEP 7:
- Ground floor structural plan as S 101
STEP 8:
- First floor structural plan as S 102
STEP 9:
- North - south elevation as A-201
STEP 10:
- East-west elevation as A-202
RESULT:
- All the required sheets are created
- A 101- Ground Floor Architecture Plan
A 102- First Floor Architecture Plan
A 103- Roof Plan
S 101- Ground Floor Structural Plan
S 102- First Floor Structural Plan
S 103- Roof Framing Plan
A-201- North-South Elevations
A-202- East-West Elevations
10)
AIM:
To Create a camera-specific view or a 3D view in each room ( living, dining, bedroom) and also based on the views create a new set of sheets
PROCEDURE:
STEP 1:
- Open revit
- Open project that you're working on
STEP 2 :
- View tab > click on 3D view drop down > select camera
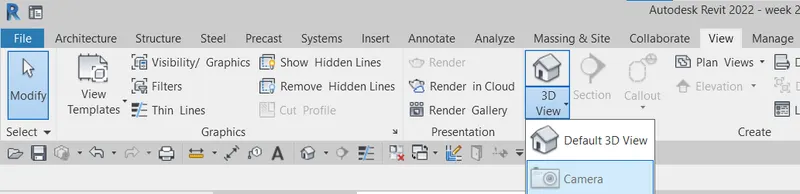
- Now place camera at any of the position where 3D view is required
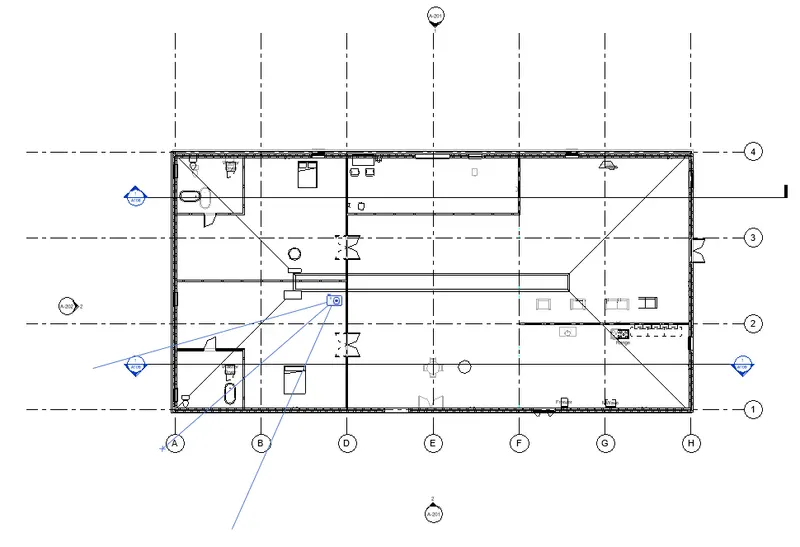
STEP 3:
- 3D view of bedroom
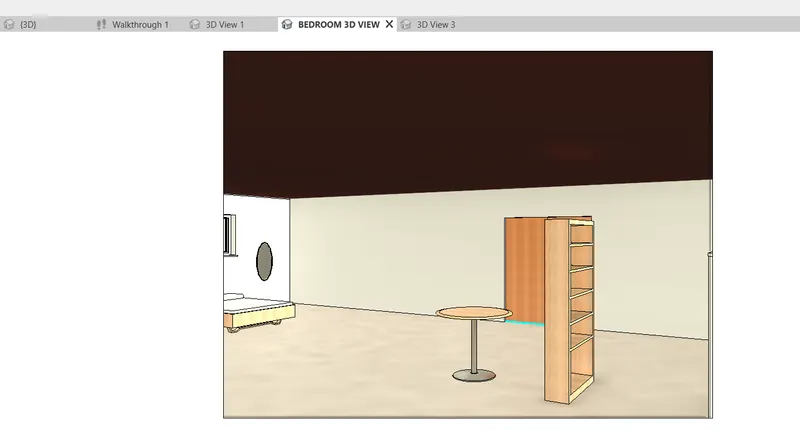
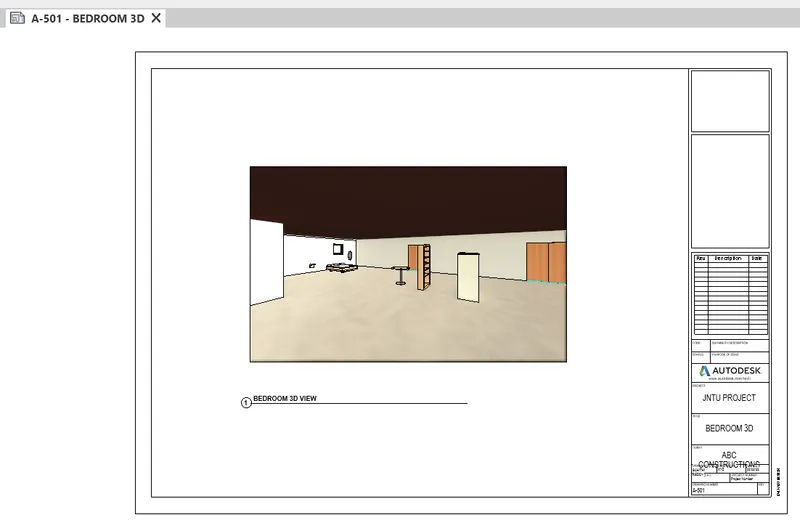
- Click on create new sheet under the view tab
- Select the desired sheet type
- Place the bedroom view on the sheet
STEP 4:
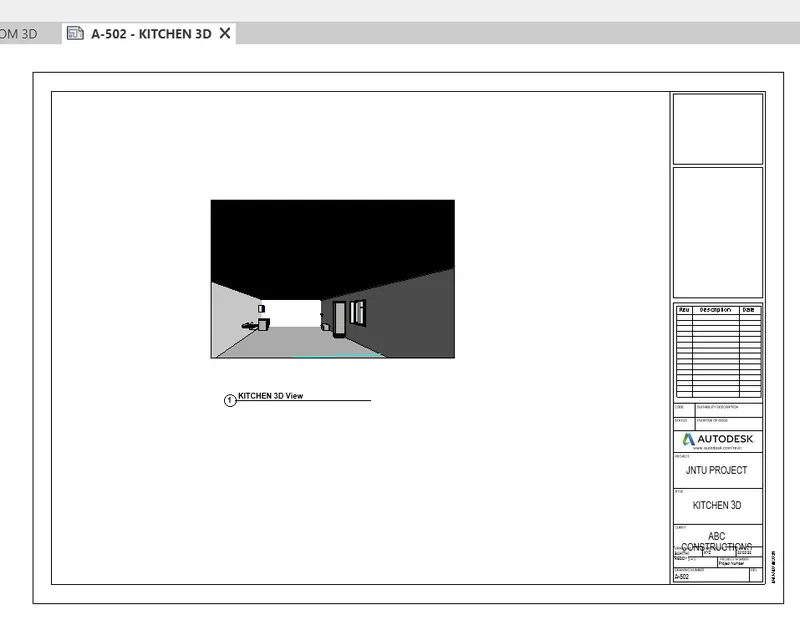
- 3D view of kitchen
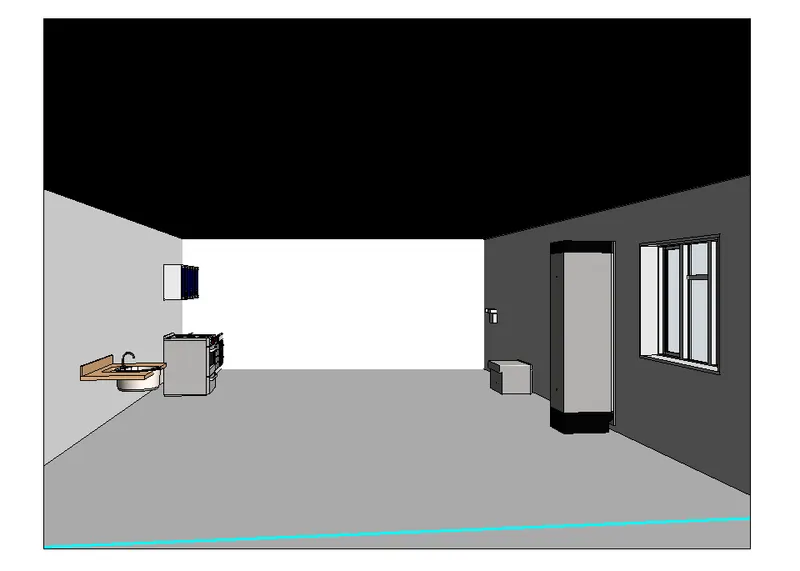
- Click on create new sheet under the view tab
- Select the desired sheet type
- Place the kitchen view on the sheet
STEP 5:
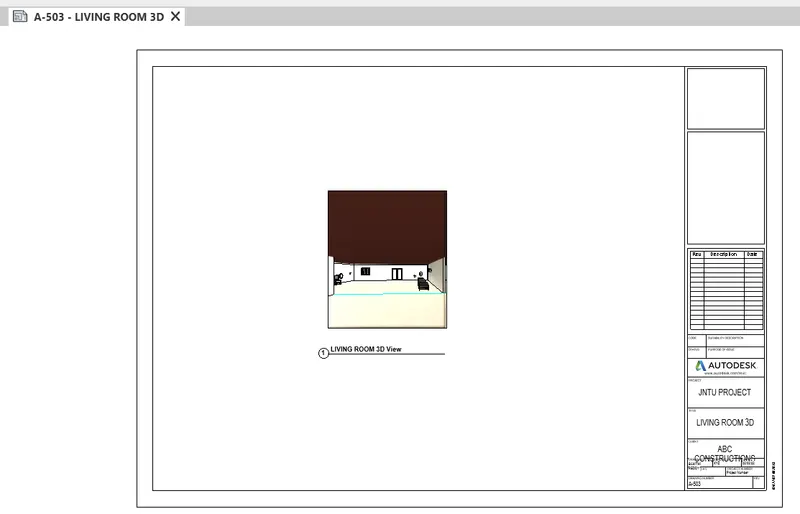
- 3D view of living room
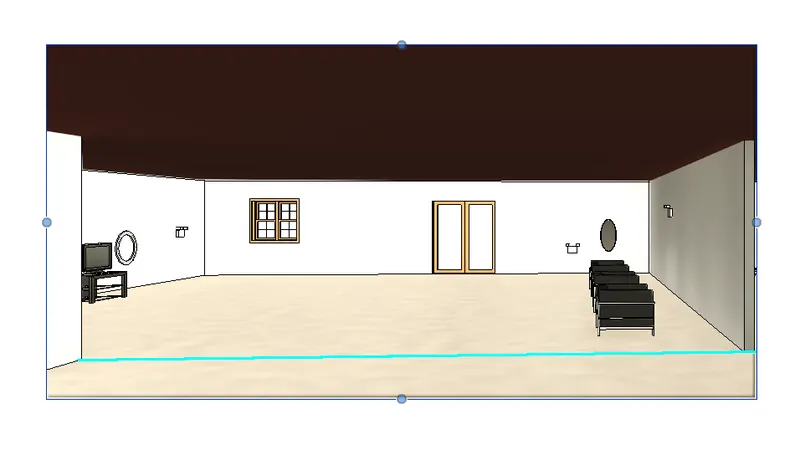
- Click on create new sheet under the view tab
- Select the desired sheet type
- Place the living room view on the sheet
STEP 6:
- 3D view of office room
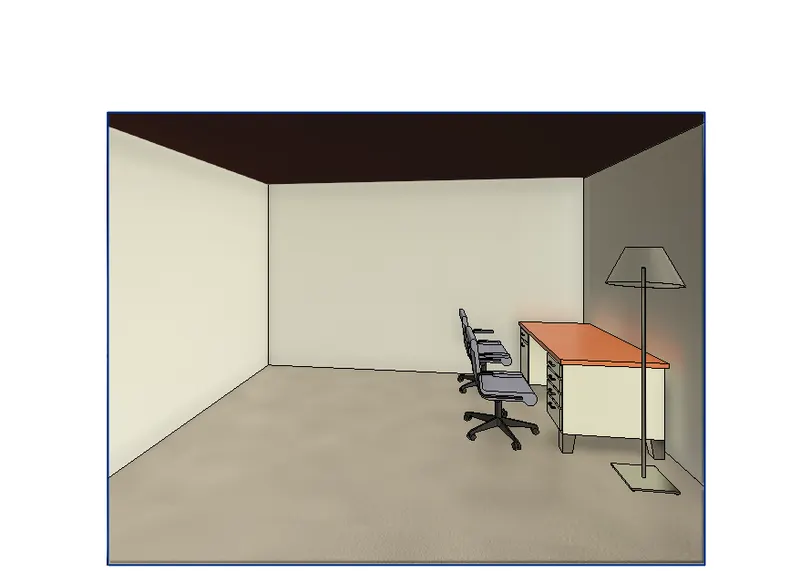
- Click on create new sheet under the view tab
- Select the desired sheet type
- Place the office room view on the sheet
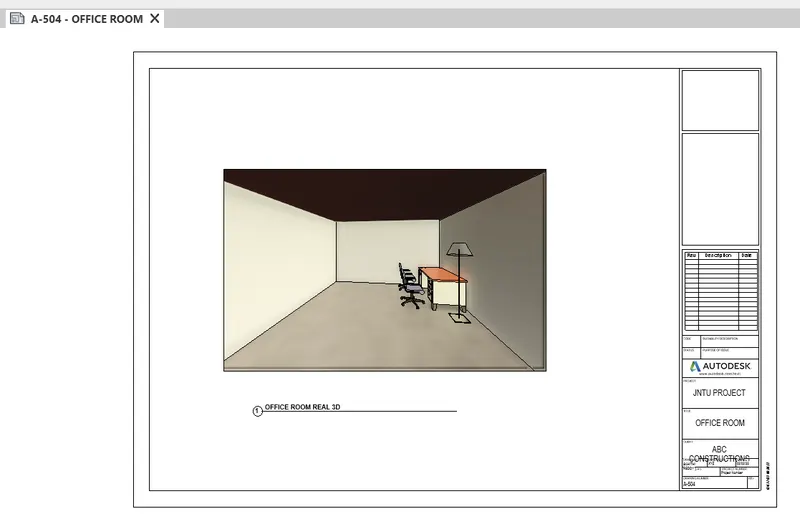
RESULT:
- All the camera views are captured and related set of sheets are created with the respective 3D views