Introduction to REVIT concepts
1) AIM: To create a new project (Strutural/ Architectural/ Construction template) and name the project appropriately.
PROCEDURE:
STEP 1: (Open a new file)
- Open Revit software
-
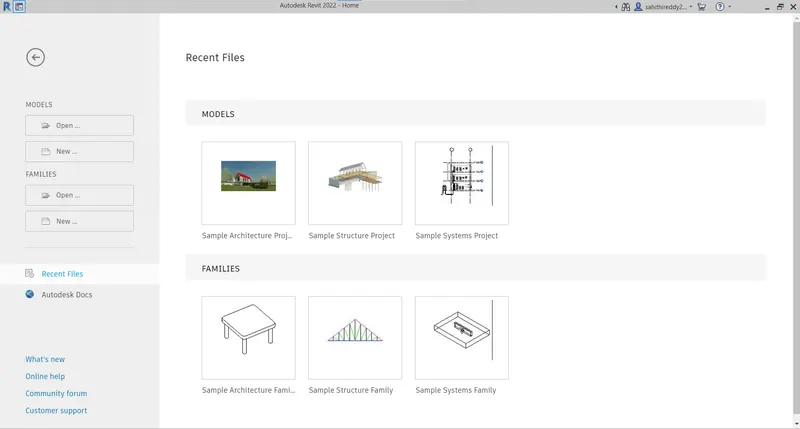
- Now click on NEW
-
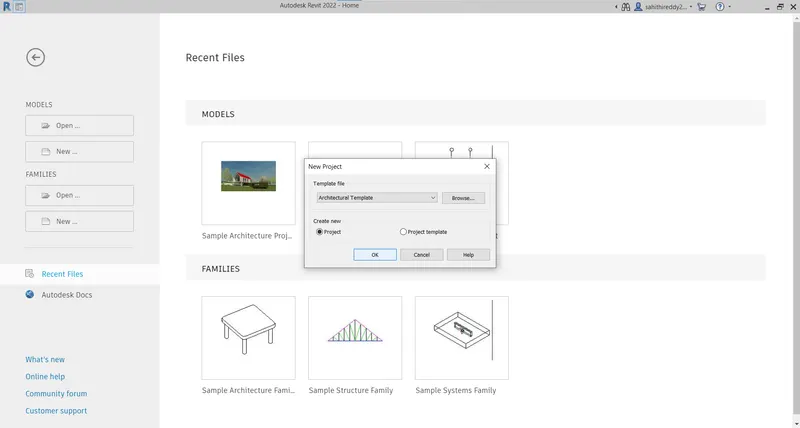
- Then click ARCHITECTURAL TEMPLATE > PROJECT > OK
STEP 2 : (SAVE A FILE)
- After the Revit software opens click on FILE tab and then click on the SAVE icon.
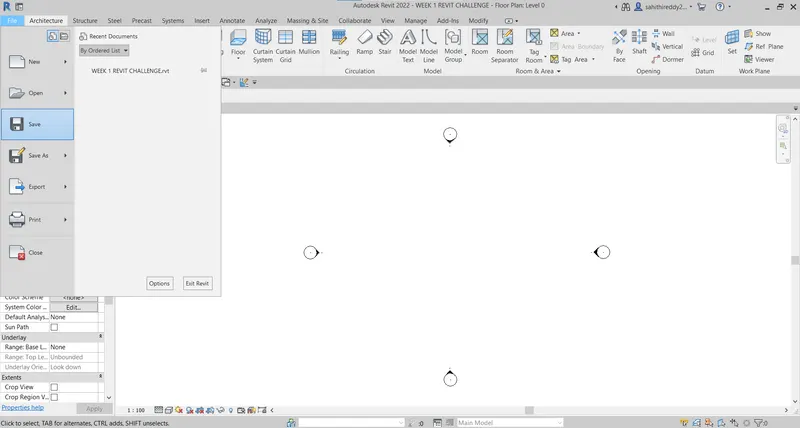
- Type file name and save in the desired location.
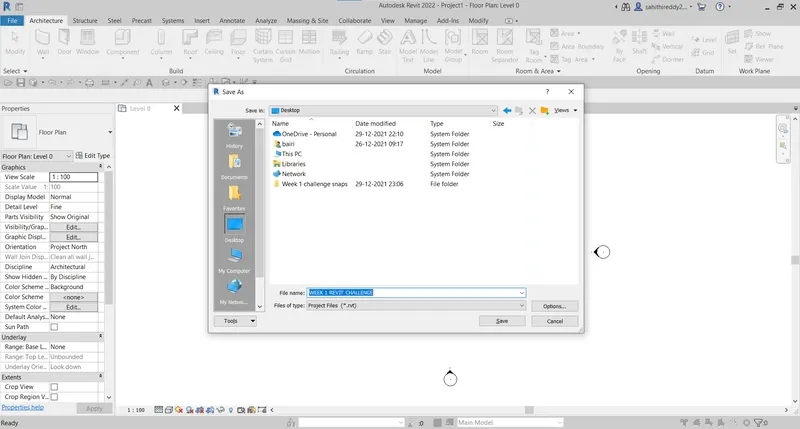
RESULT:

2)
AIM:
To save the new project file and also to close and open using the icons fom file bar
PROCEDURE:
STEP 1: (To save the new file)
- After opening Revit software, open a new project and then click on SAVE icon.
-
- Type a file name and save in the desired location
RESULT:
STEP 2: (Close and open the saved file)
- Open Revit software
- Click on file tab and then click open project
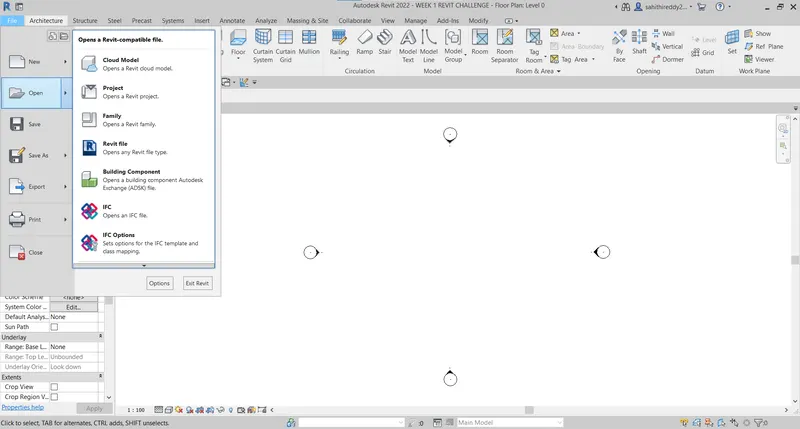
- Open WEEK 1 REVIT CHALLENGE
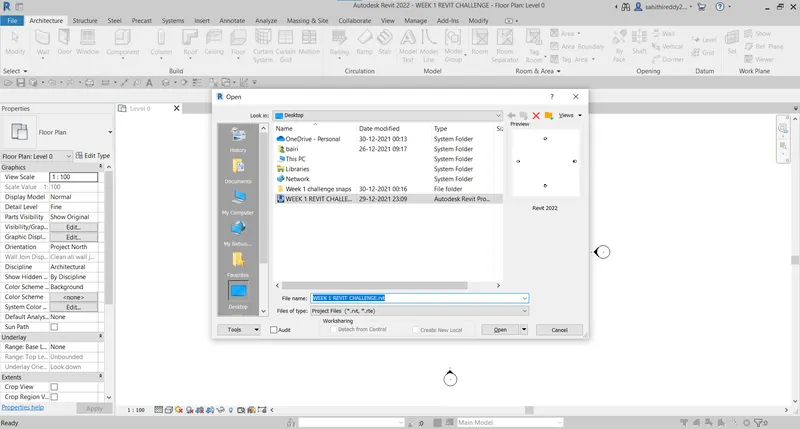
RESULT :
3)
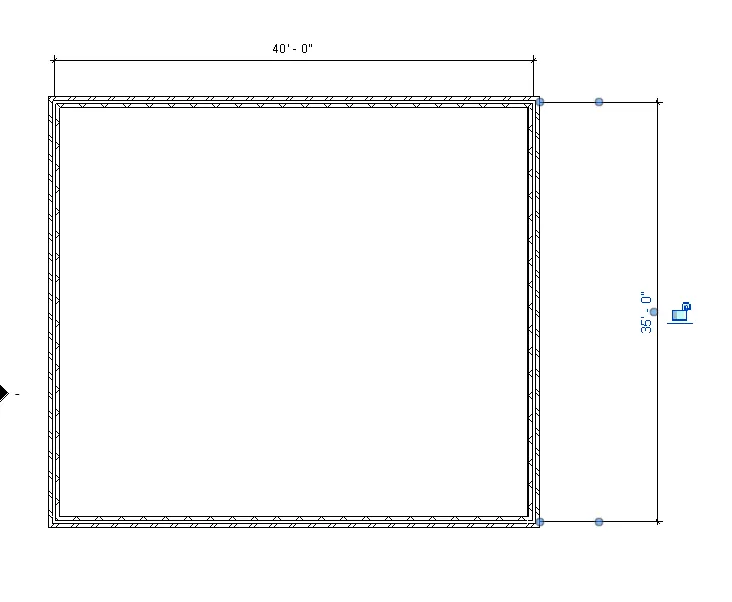
AIM: To create a rectangular layout of walls of 40'-0" x 35'-0"
PROCEDURE:
STEP 1 :
- Open Revit software
- Open the file named WEEK 1 REVIT CHALLENGE
- Go to MANAGE tab and then click on PROJECT UNITS to make sure the units are set to feet and inches
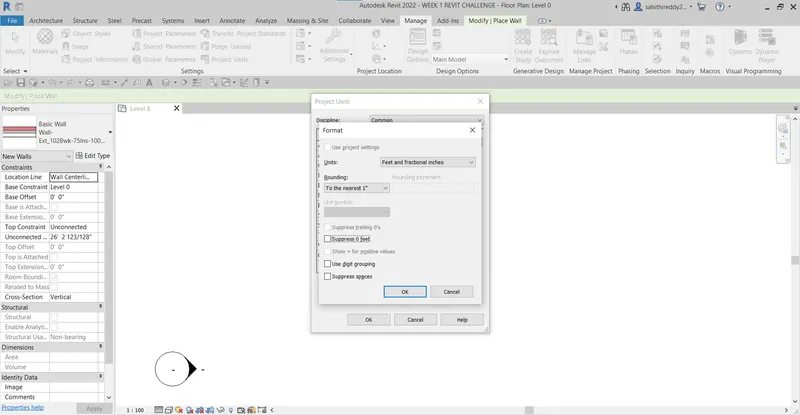
STEP 2:
- Click on ARCHITECTURAL tab and then on the WALL icon
- Now draw a rectangular wall layout of given dimensions.
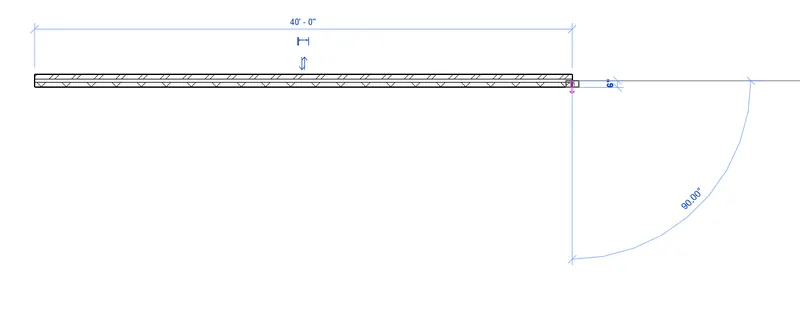
- First draw a horizontal line of 40' starting at any orgin in the space
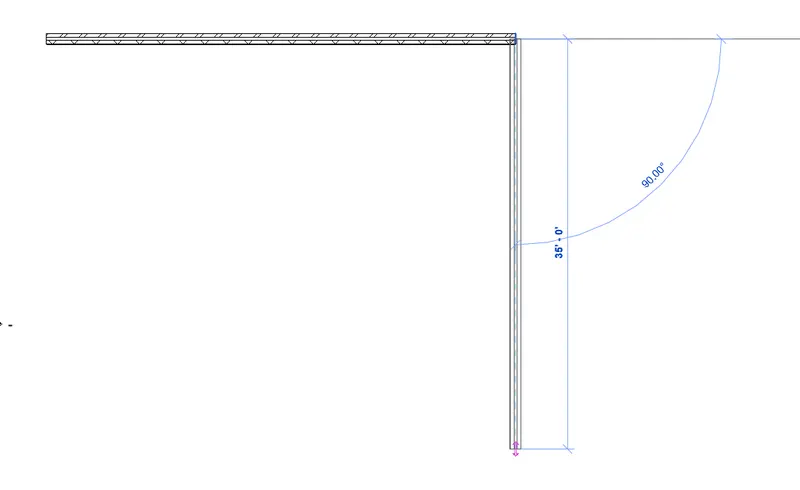
- Now continue from second end towards down to a depth of 35'
- Complete the layout by drawing the other two sides of the wall boundary too
RESULT:
4)
AIM:
To add dimensions to the layout using aligned option from annotate bar
PROCEDURE:
STEP 1:
- Click on ANNOTATE tool bar > aligned and then click on the layout to add the dimensions

RESULT:
5)
AIM:
To use the properties browser to switch to different wall types
PROCEDURE:
STEP 1:
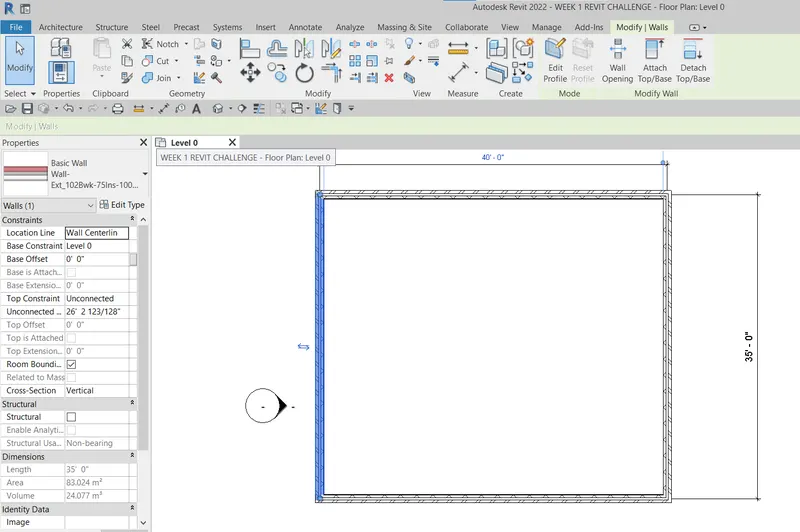
- Create a wall using the wall icon in the ARCHITECTURAL tab
- Now click on the wall layout
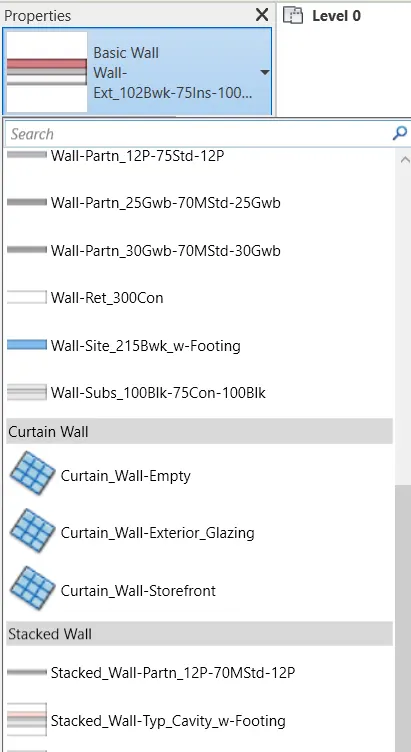
- Properties browser pops up at the left side of the screen
RESULT:
- Now we can switch to different wall types by accessing them in the properties browser
6)
AIM:
To create 3D view from the view toolbar and to save it
PROCEDURE:
STEP 1:
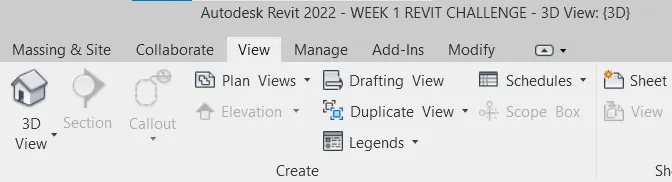
- Go to view tab then click on 3D view
STEP 2:
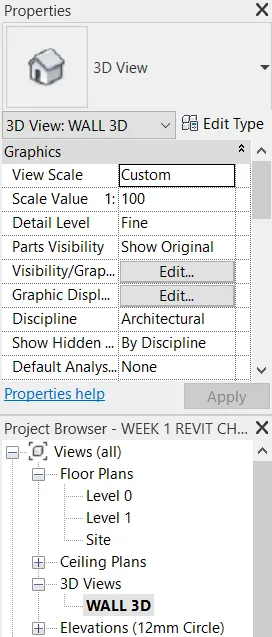
- Go to project browser
- Under 3D view, rename the current tab as WALL 3D
RESULT:
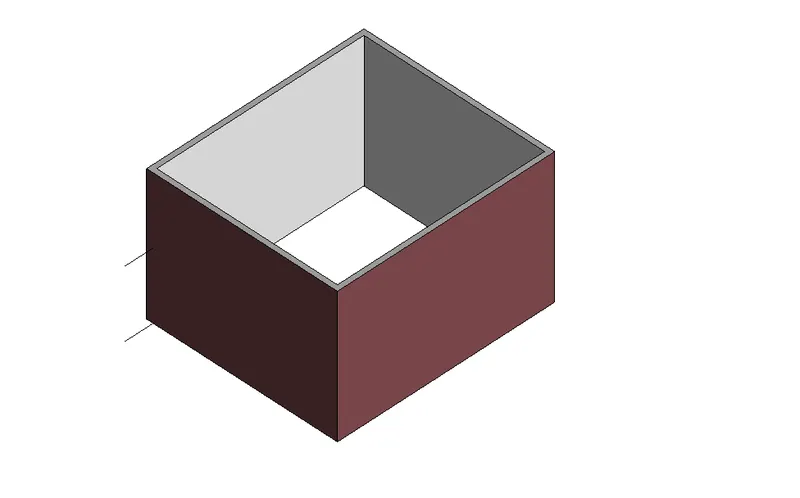
Finally we have renamed the wall layout 3D view to WALL 3D under the project browser.
7)
AIM:
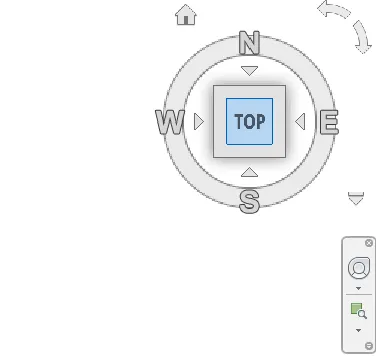
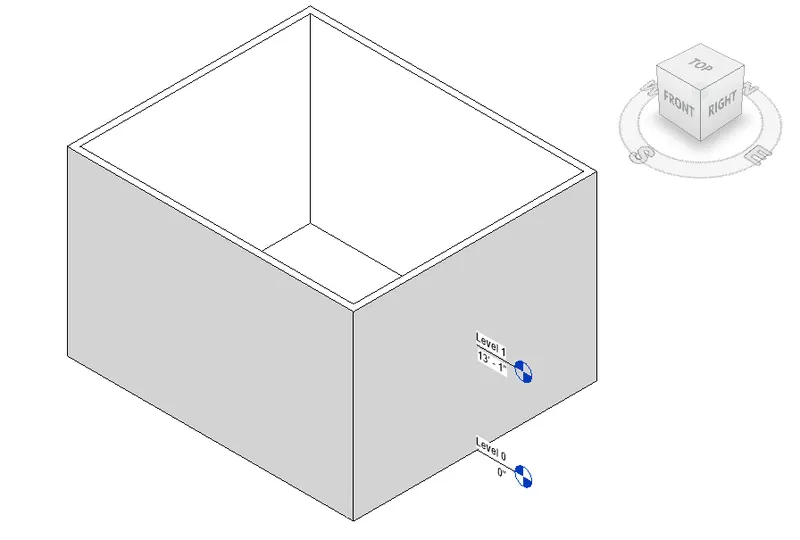
To navigate through the 3D model using the view cube. Orbit/pan through the model layout created
PROCEDURE:
STEP 1: Open any drawing
- Open any drawing created earlier in this challenge
STEP 2: Navigation through view
- Open 3D view created above
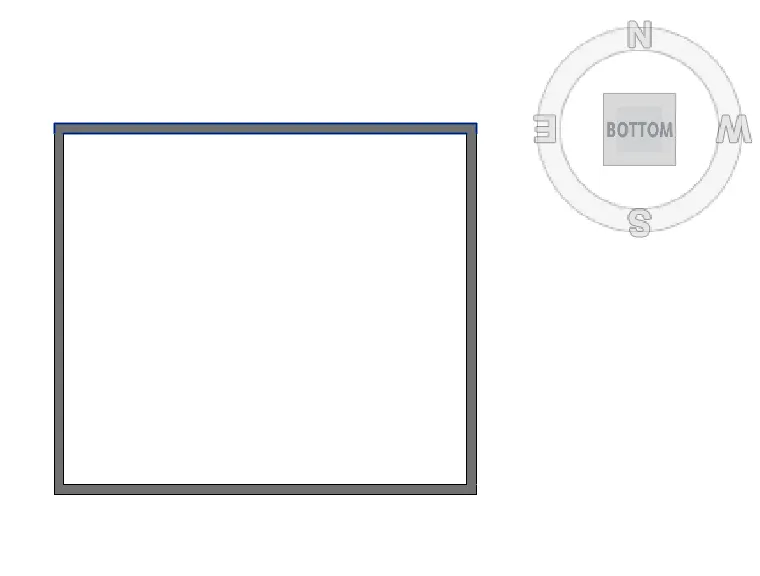
- From view change different views as per requirement
STEP 3: ORBIT/PAN
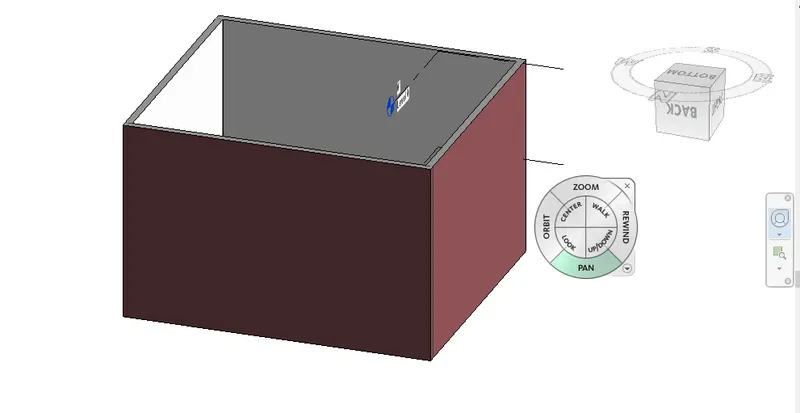
- Using a full navigation wheel we can orbit/pan as shown below
- Click on orbit to start 3D orbit
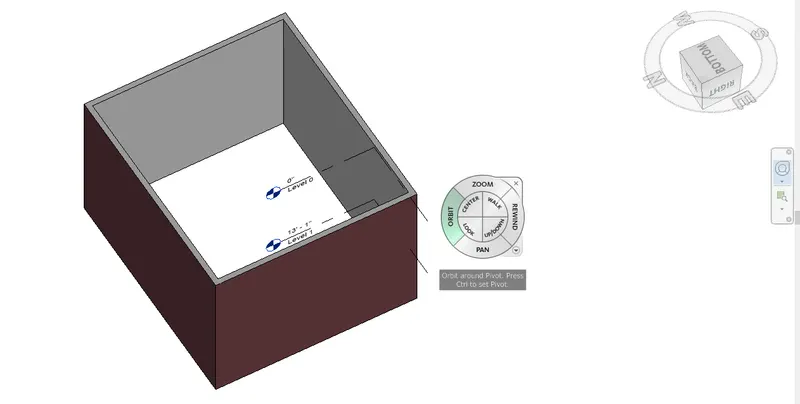
- Click on pan to move through model space
RESULT:
We can navigate through different views as shown below
8)
AIM:
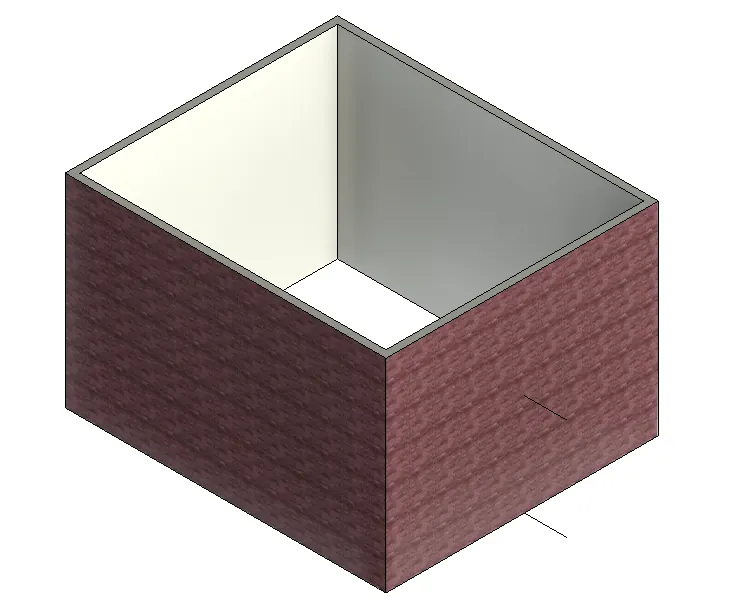
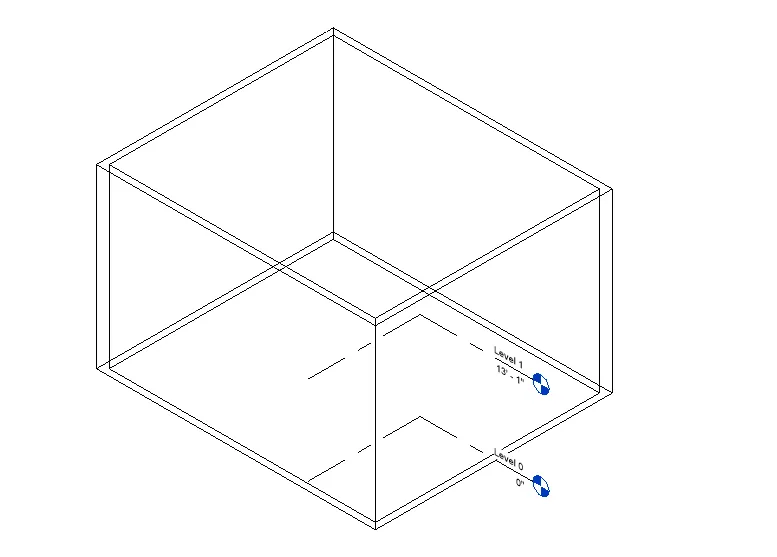
To switch model view to shaded, realistic and hidden line options using visibility settings
PROCEDURE:
- Click on the visibility settings which is available in the bottom toolbar
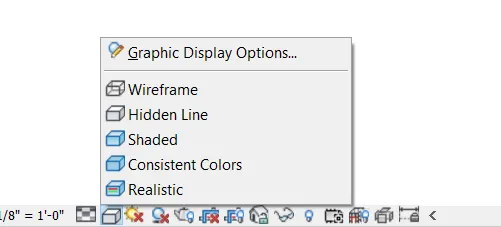
- Change to different views as required
RESULT:
1) REALISTIC VIEW:
2) WIREFRAME:
9)
AIM:
To turn the sunpath on and off to view shadings in the layout created
PROCEDURE:
STEP 1:
- Open the 3D view that is created in the above challenge
STEP 2: CREATING THE SUNPATH
- Go to the bottom toolbar
- Click on the sun symbol to open the sun settings as shown below
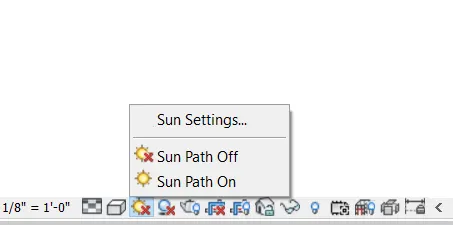
- Set the location
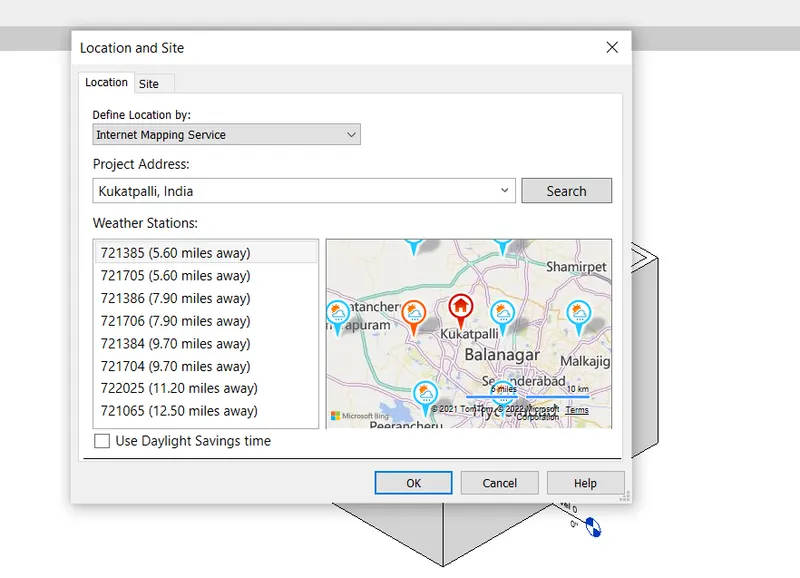
- Click ok
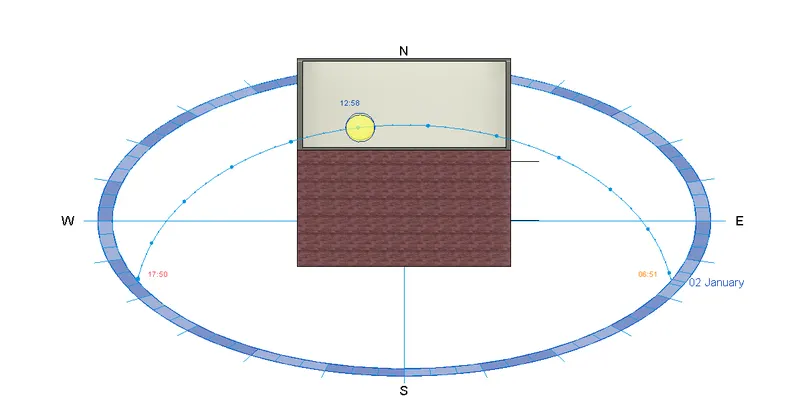
- Turn on the sunpath
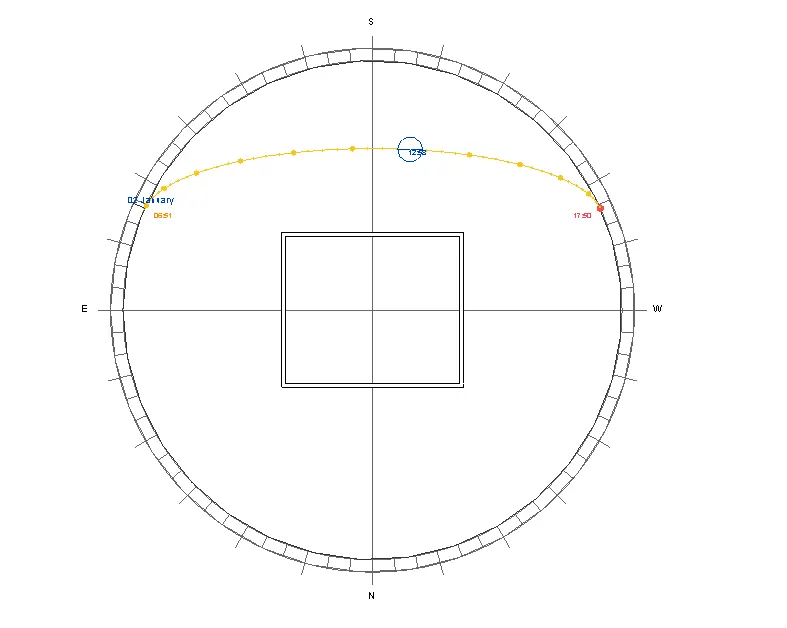
RESULT:
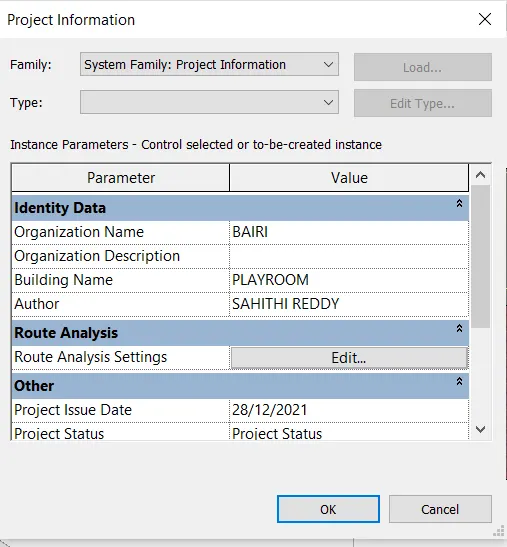
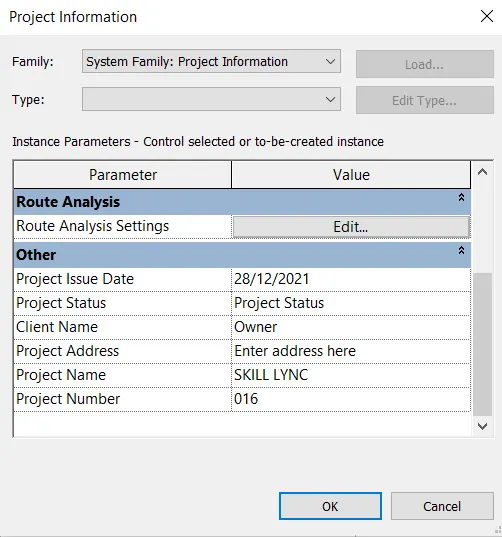
10)
AIM:
To use manage toolbar to enter project setings, projct name and project issue date
PROEDURE:
- Click on manage toolbar then go to project informtaion
- Then fill the respective information
RESULT:
11)
Analyze toolbar used in revit and beneficial for design and modellling:
- Analyze toolbar helps us to perform structural analysis on our building. The boundary conditions enables us to define point, line and area boudary conditions in our analytical model.It will verify the boundary condition of family types that are loaded and assigned in our parametric features of our structural model. Similarly we can apply a point load to our model and to evaluate the performance of the building.

- Similarly we can add and edit load cases to define the design standard suggested load case to a model. We can combine different load cases using load combination icon. It will enable to add and edit load combinations for the analytical model. The main purpose of using the revit to evaluate the sustainability of the building that we are modelling. So we will be interested in the energy or energy optimization of that building that we are going to model. So, revit offers features such as , it creates an energy model from the features we have modelled in our project and then the energy analytical model will be based on the conceptual masses. The building elements and the material that we use to construct the building and the amount of material that are used in our project will be known.
12)
Links that revit supports to be linked to the model:
-
LINK REVIT: Link one revit model to current revit model or another revit model
- LINK CAD: Link 2D plan to revit file then converts to 3D model by using 3D dimesions
- LINK IFC: Links an IFC file to current project for information that is required for additional design work
- LINK TOPOGRAPHY: Links the existing topography to present revit model
- MANAGE LINKS: It link Revit Cad files to current working project
- LINK IMAGE: Link an image for the current working project
- DWF MARKUP: Links DWF files into Revit project
- POINT CLOUD: Links Point cloud project into current project
- COORDINATION MODEL: Links a NWD or NWC file to provide context for the Revit model

13)
The use of collaborate tab in revit and also to see how it supports modeling and its efficiency:
- Collaborate tab is one where team members or group of people can create multiple projects, these members are not only inside network but also outside network
-
This makes one to create more projects in less time. • Under this Collaborate tab we have many options like to show past work, Coordination Review etc

- Efficiency of the work can be increased as more no of people work on same project,this makes to take less time to complete project.