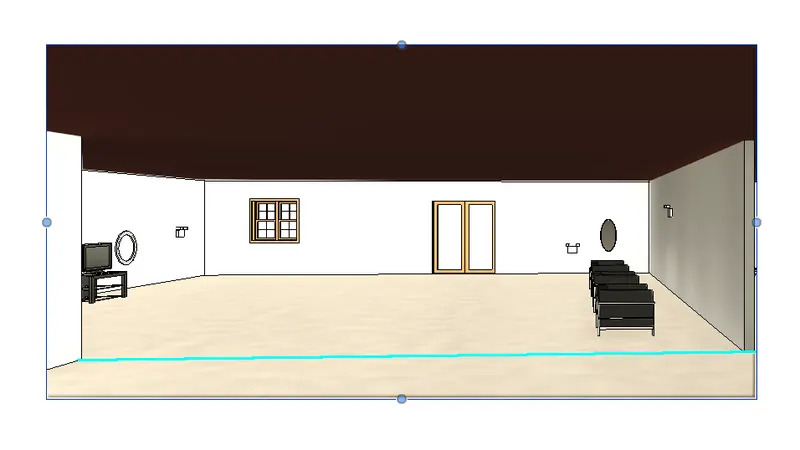
Creating Walls, Partition walls and Floors for a residential layout using REVIT
1)
AIM: To create floor layout for the week 2 project
PROCEDURE:
STEP 1:
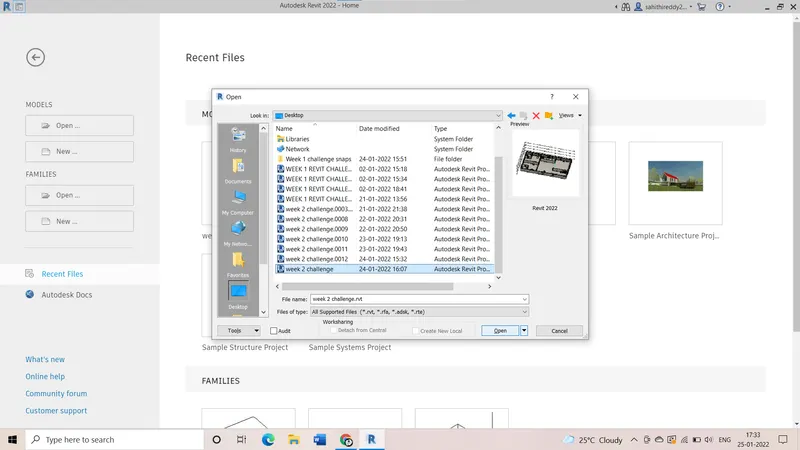
- Open revit
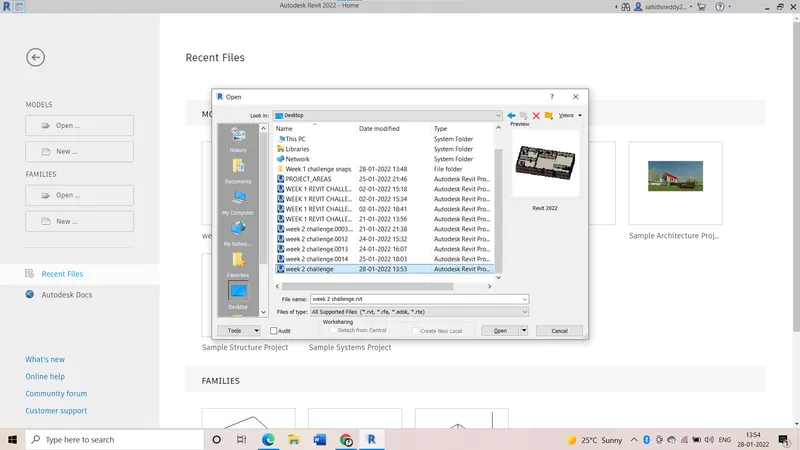
- Open week 2 project
STEP 2:
- Click on architecture tab > Floor
- Property browser > edit type> change floor
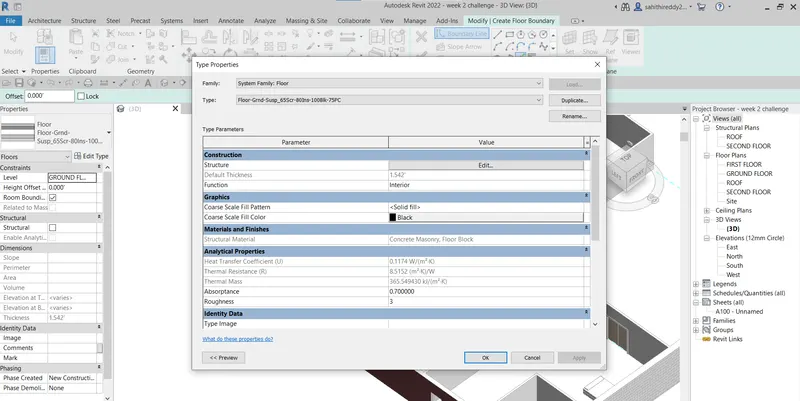
STEP 3:
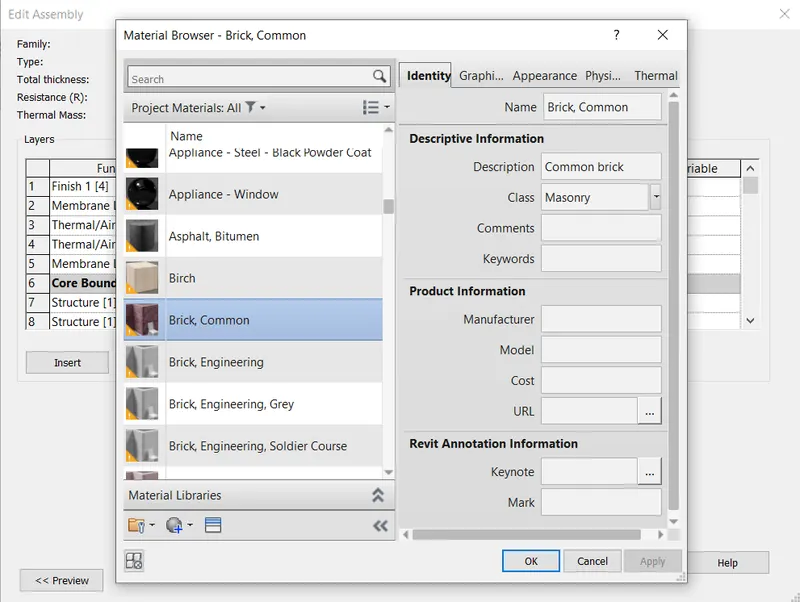
- Click on structural material to change the material type
- Select the desired floor material type
- Duplicate it with change in colour, thickness.
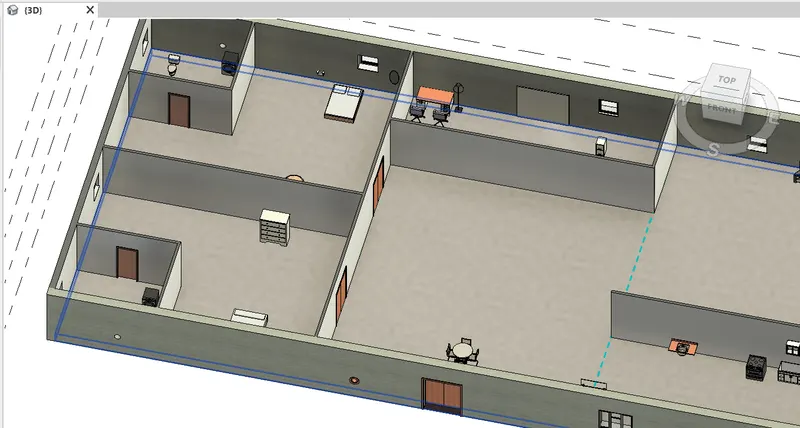
RESULT:
2)
AIM: To create walls and modify them using property browser
PROCEDURE:
STEP 1:
- Open week 2 project file
STEP 2:
- Under architectural tab click on walls
- Click on property browser > edit> walls
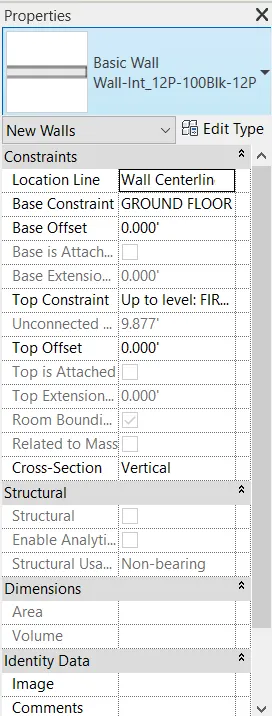
- Click on top constraint > set it to level first floor
STEP 3:
- Properties browser > edit type > structure
- Now change the properties of the wall
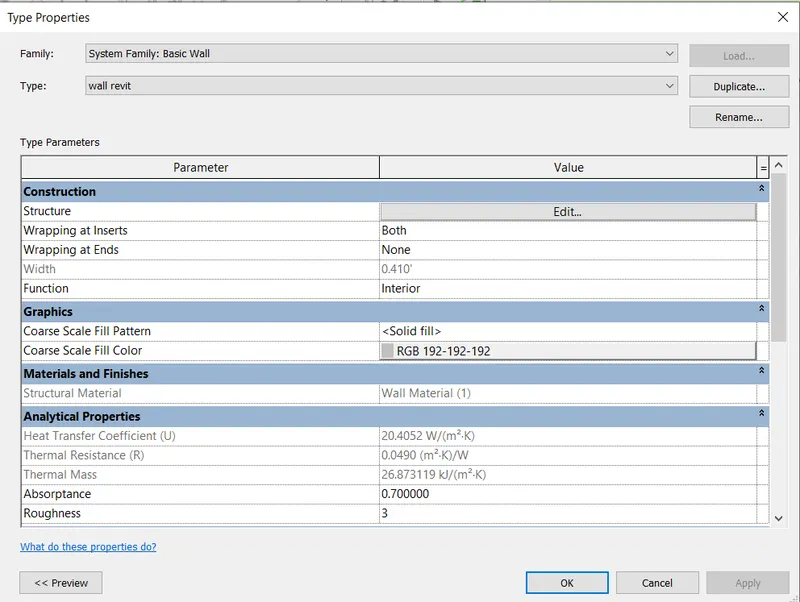
- Select the material of the wall and click ok
RESULT:
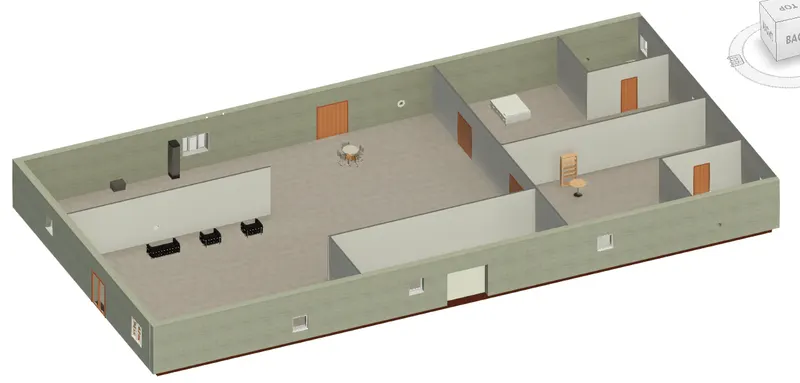
a) Based on my opinion, if walls are connected to the asssociated levels then it will be beneficial for us, it saves us time when we have to change anything regarding to walls we can just change it for a single wall and it reflects on every other wall.
b) I think for me modelling walls by height has been convenient since it is more in check with the reality ( that's how we build walls in real, right!)
3)
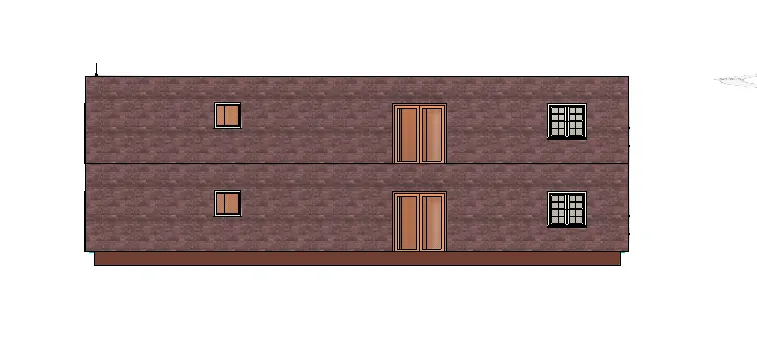
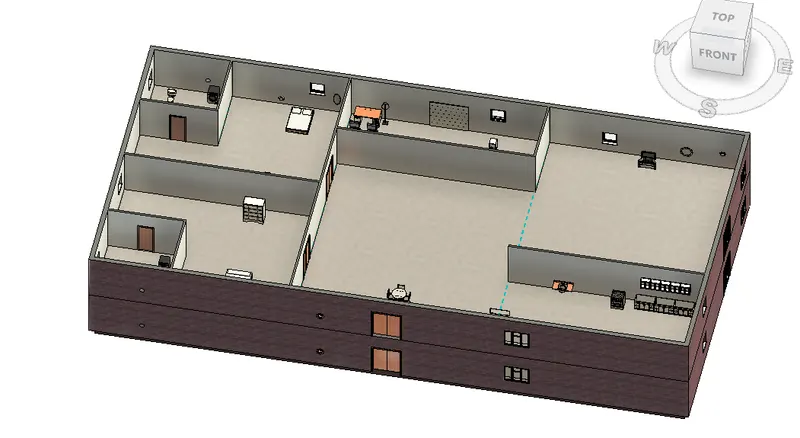
AIM: To copy the model elements ( wall, floor ) modelled to Ground Floor Level and paste it aligned to First Floor Level .
PROCEDURE:
STEP 1:
- Open revit
- Open previous week project
STEP 2:
- Go to elevation > create first floor level
STEP 3:
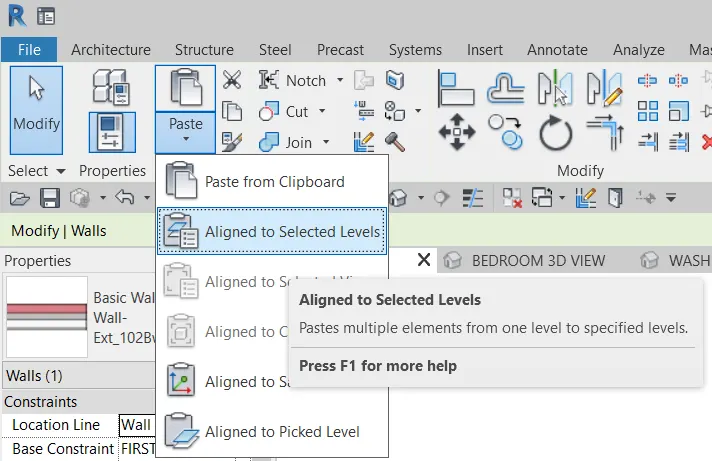
- Click on modify tab > copy the model to clipboard
- Now click on paste > aligned to selected levels > place in 3D view
RESULT:
4)
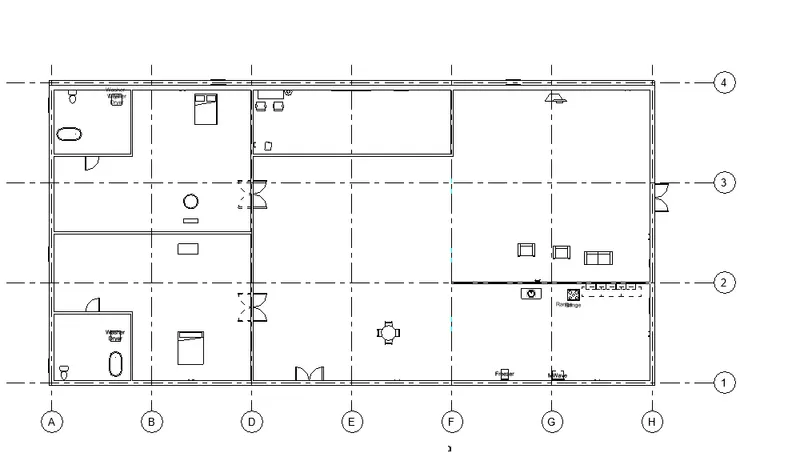
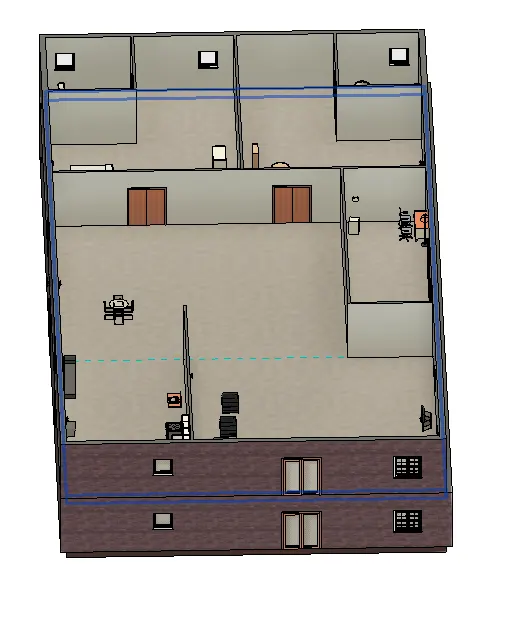
AIM:
To create
Living Room/ Drawing Room ( 15’ X 18’)
Dining Room (9’ X 11’)
Bed Room ( 9’ X 12’ and 15’ X 11’)
Rest Room ( 10’ X 12’ )
Kitchen (8’ X 10’)
PROCEDURE:
STEP 1:
- Create new revit file
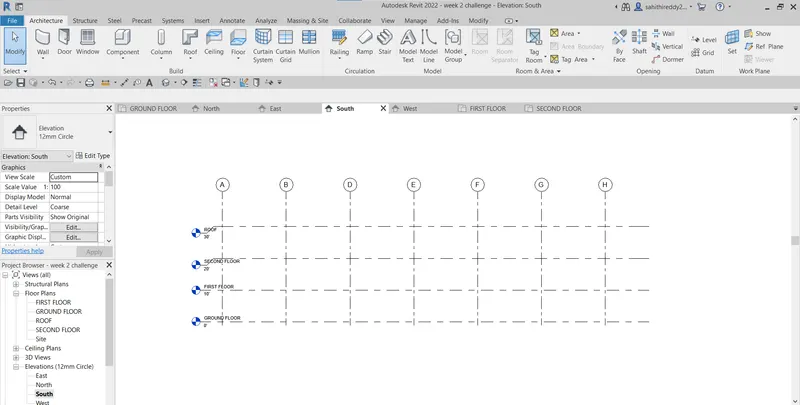
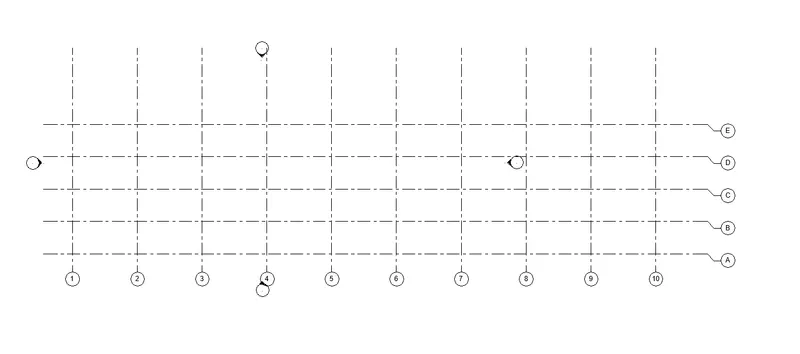
- Setup levels and grids
STEP 2:
- Draw a layout of the residential project
- Start with external walls
STEP 3:
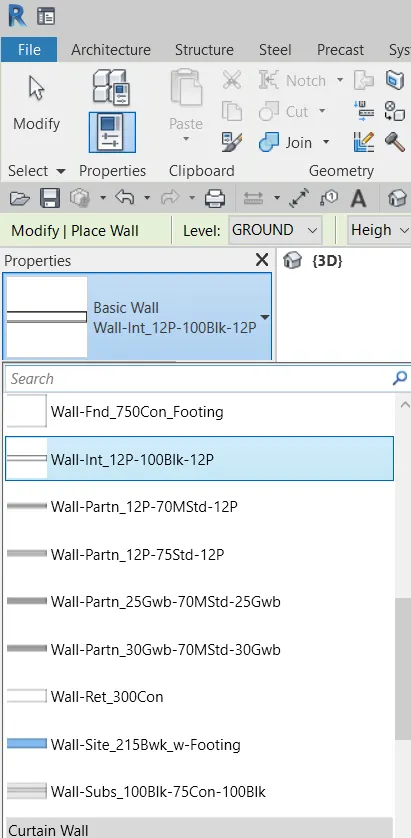
- Architecture tab > walls > property> interior walls > place them in the model
- Now according to the given dimensions place inner partition walls
- Create all the rooms mentioned in the question
RESULT:
5)
AIM:
To add components that are to be included in a residential unit were inserted to the Revit file.
PROCEDURE:
STEP 1 :
- Open previous residential project
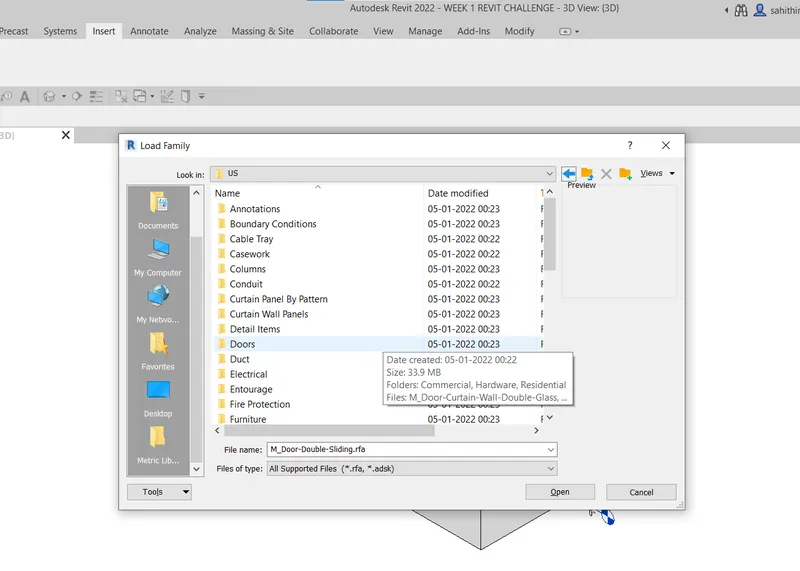
- Click onArchitectural tab > place a component > load family > select doors and windows and plumbing fixtures and every other component mentioned in the question
STEP 2:
- Place them in their respective positions
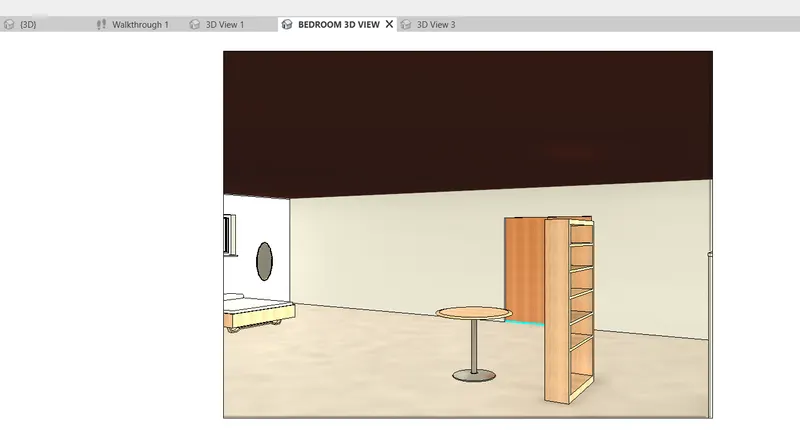
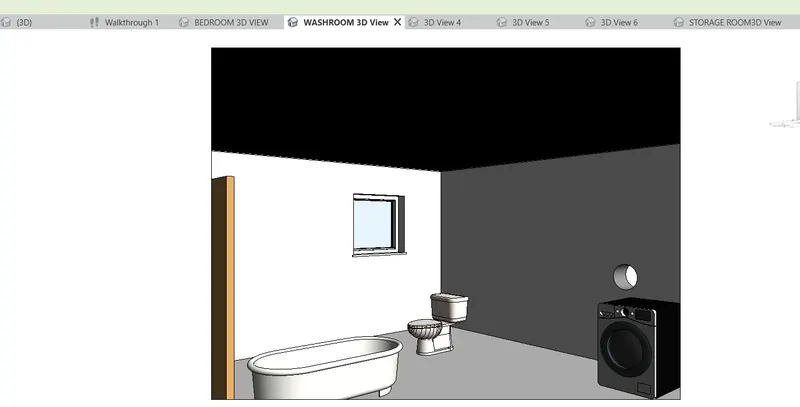
- Check for its authenticity on a real time basis to verify the model in 3D view.
RESULT:
BEDROOM
RESTROOM
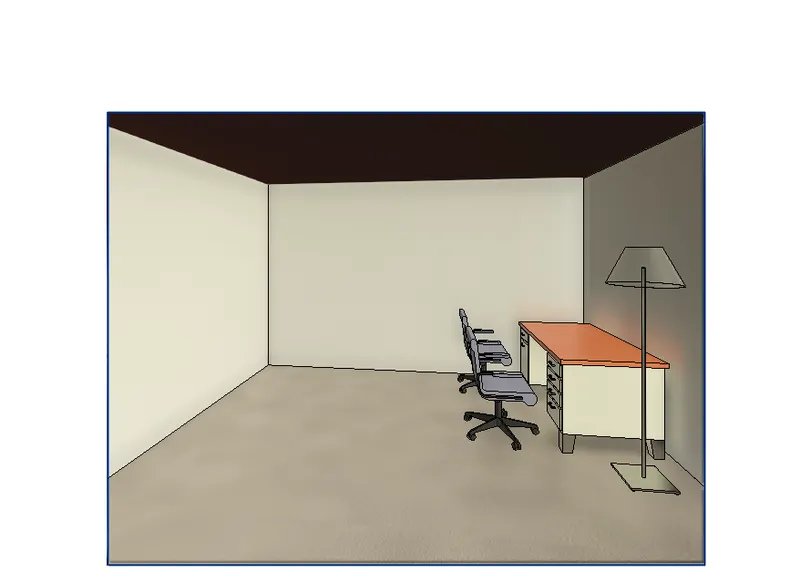
OFFICE ROOM
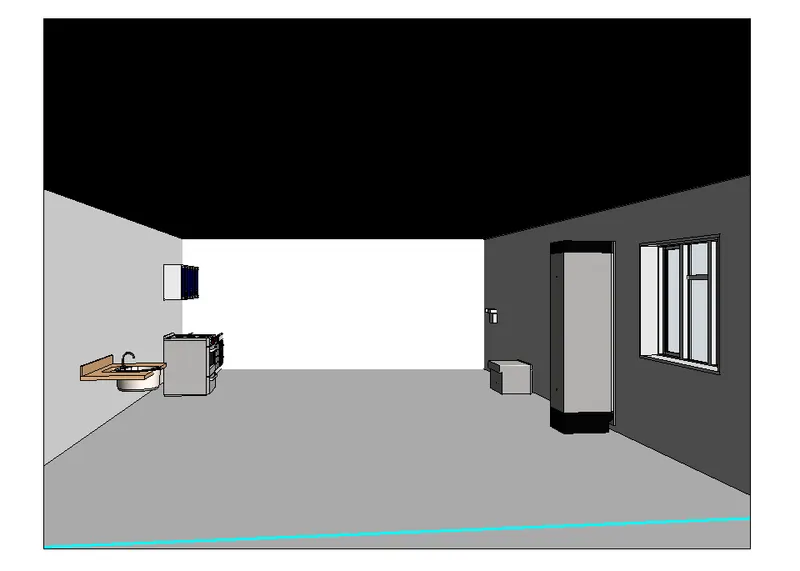
KITCHEN
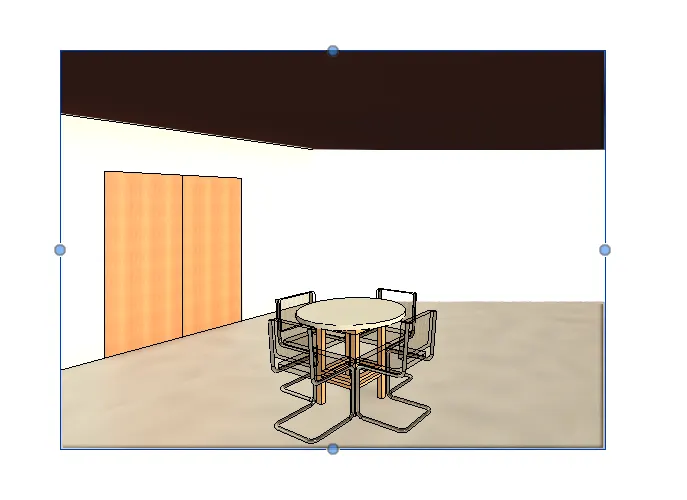
DINING AREA
LIVING ROOM