Usage of Navigation tool , Timeliner and Clash Detection test using Naviswork
Q1) ANs:
Aim:
To export the Revit architecture and structure model to Navisworks Cache file following the export settings.
Procedure:
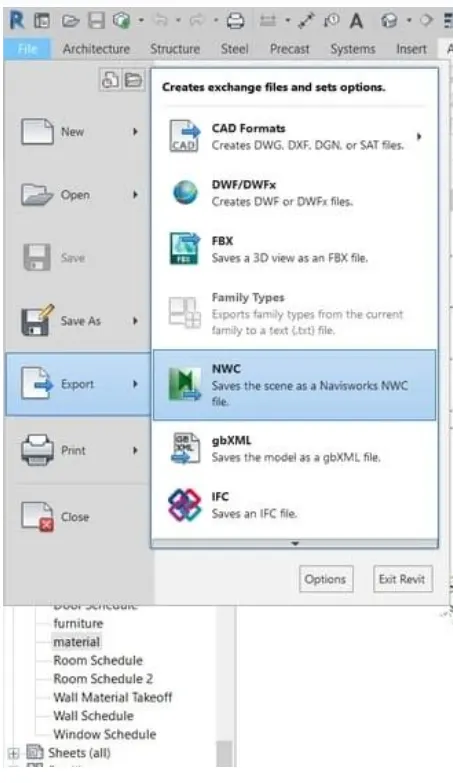
1. Open the file and select the export option and choose NWC.
2. In naviswork open the dialog box and select the files which we need to open
Result:
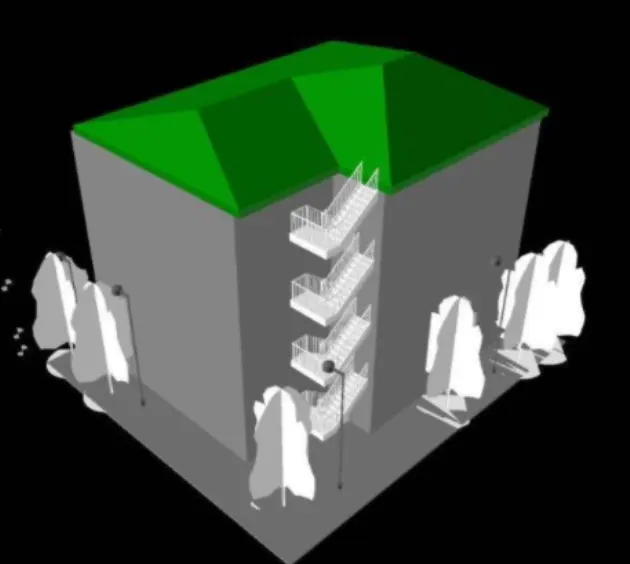
The file gets opened in the Naviswork interface.
Q2) Ans:
Aim: To use Navigate Tool to walk around the model and walk through the rooms created and record your moving as animation in your Navisworks file.
Procedure:
1. Click on the viewpoint tool and select save viewpoint.
saving the view as per the appropriate names
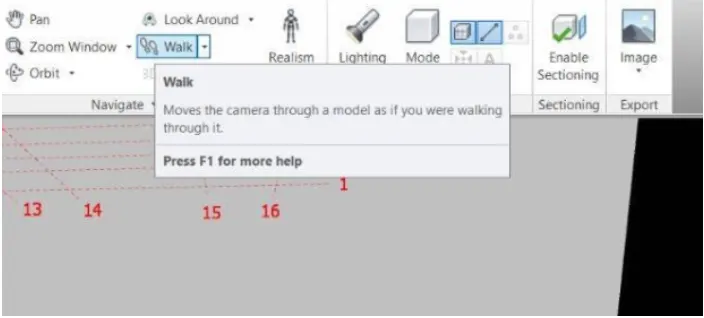
2. Select the walk option and move the cursor
3. Now with the help of the walk tool we can change the direction as per our wish.
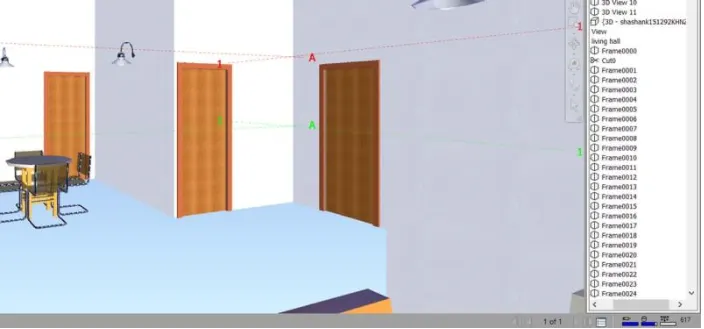
4. With the help of the record option, record the walk and take screenshots. The pictures will be saved as frames.
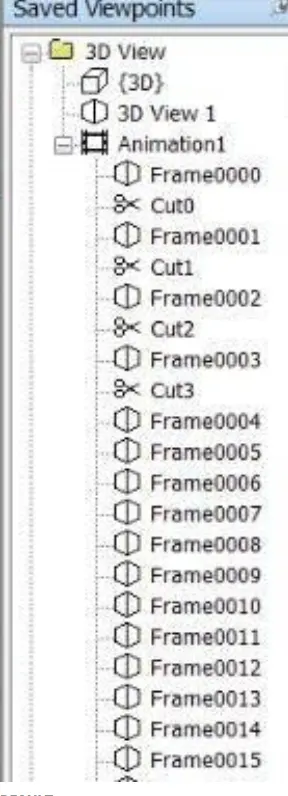
Result:
With the help of navigate tool we have created the walkthrough animation of the design in the Naviswork file.
Q3) Ans:
Aim: To use Navigate tool to use the Realism feature to walk through the model and record your moving as animation in the Navisworks file.
Procedure:
1. Click on viewpoint and followed by selecting save viewpoint options.
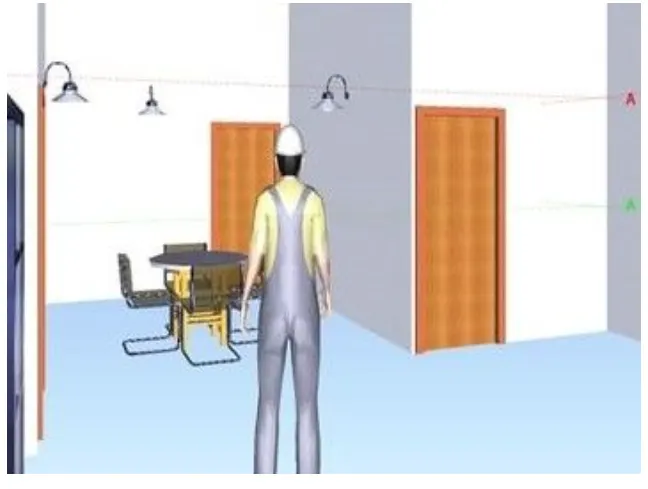
2. Save the view with the appropriate name. Click on the realistic option and select third person option.
3. Select the walk option and use the cursor.
4. We can move the view in the project with the help of arrows.
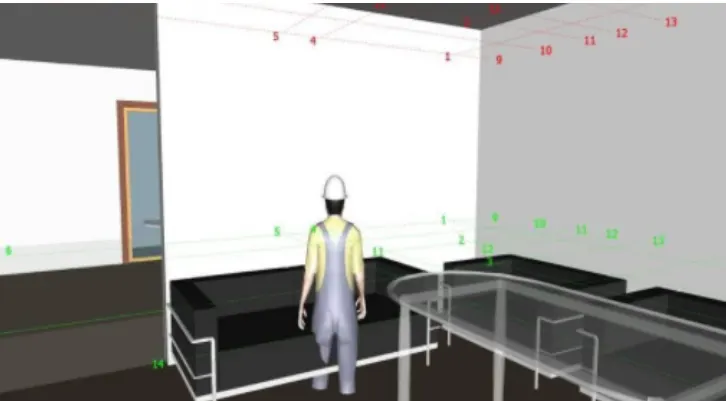
5. Now we can use the record option and record the walkthrough. Pictures will be saved as frames.
Q4) Ans:
Aim: To embed both architecture and structure *.nwc file to your Navisworks file. Create a clash detection test between the two models
Procedure:
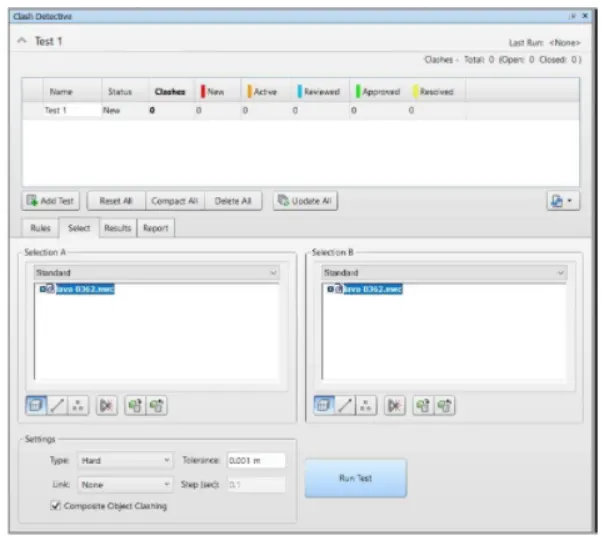
1. Go to the menu and select clash detection test. A clash detection dialog box appears.
2. Click on add test option
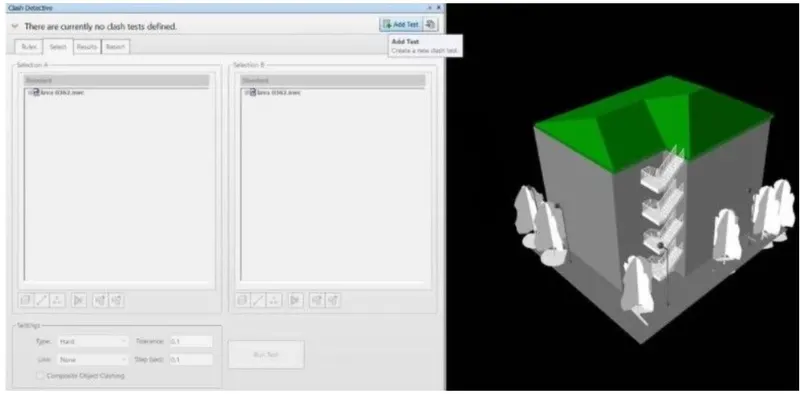
3. Then select the files we want to test then click run test.
Clashes can be approved, reviewed, resolved
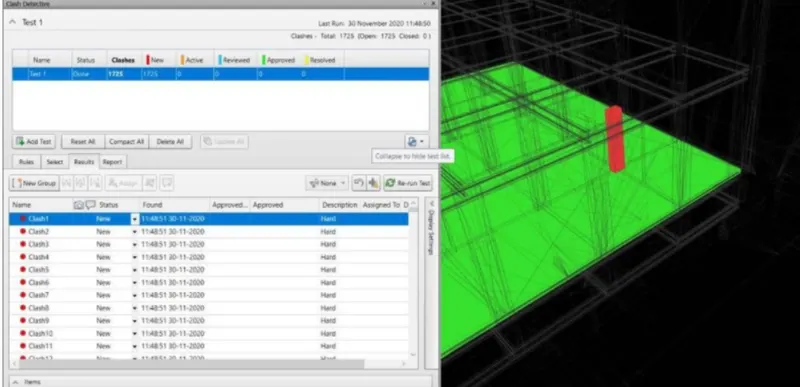
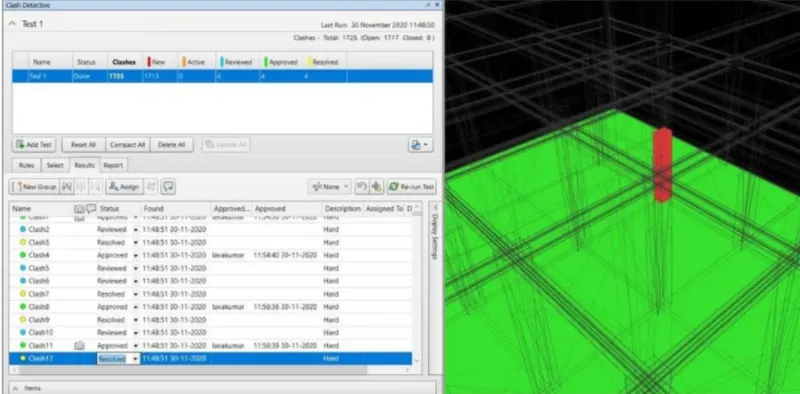
Once we change all the clashes we can sent for review.
Result:
Successfully performed the clashes and we can resolve the problems and send the file to the design engineer for corrections.
Q5) Ans:
Aim: Using the Timeline feature in Navisworks prepare a schedule for the project developed in weeks 6 to 8 by adding reasonable assumptions for task start date and end date and simulating the task completion as a visual simulation. Record it and save the timeline simulation to Navisworks file.
Procedure:
1. Open the naviswork file and click on the timeline tool from the home menu.
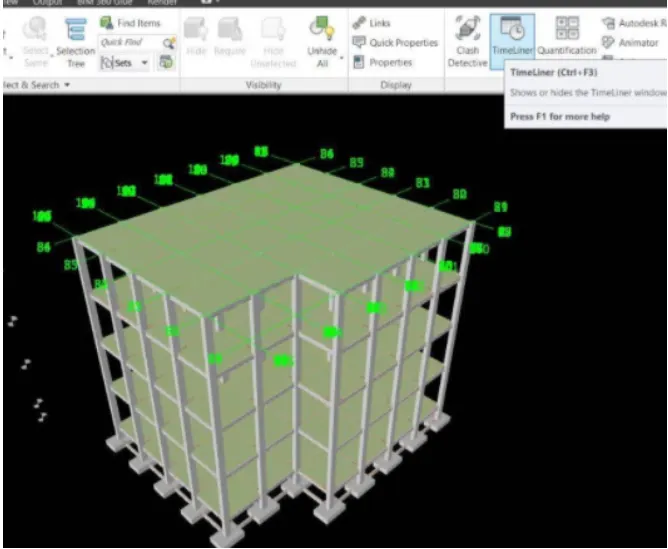
2. Select the components by clicking on the selection tree and add them to the timeline.
3. Click on the task and add the first work to the project. We can add the actual start and completion date.
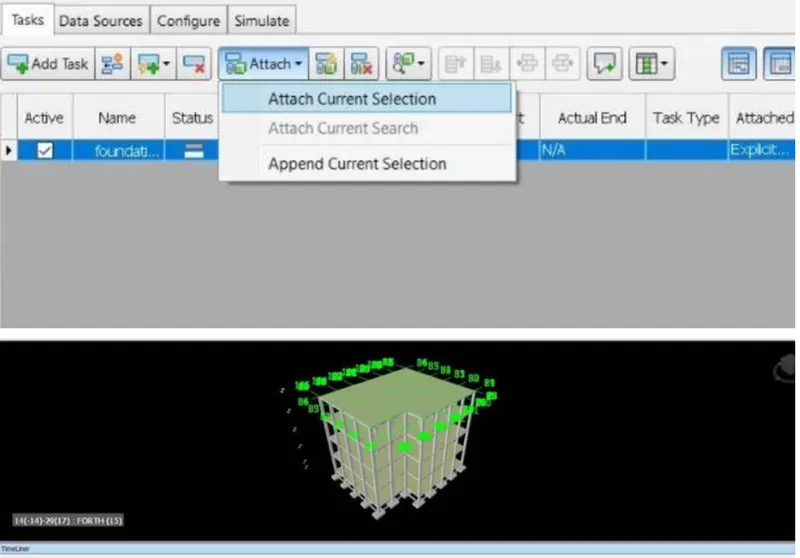
4. Once we fill all the details in the timeline dialog we can click simulate option.
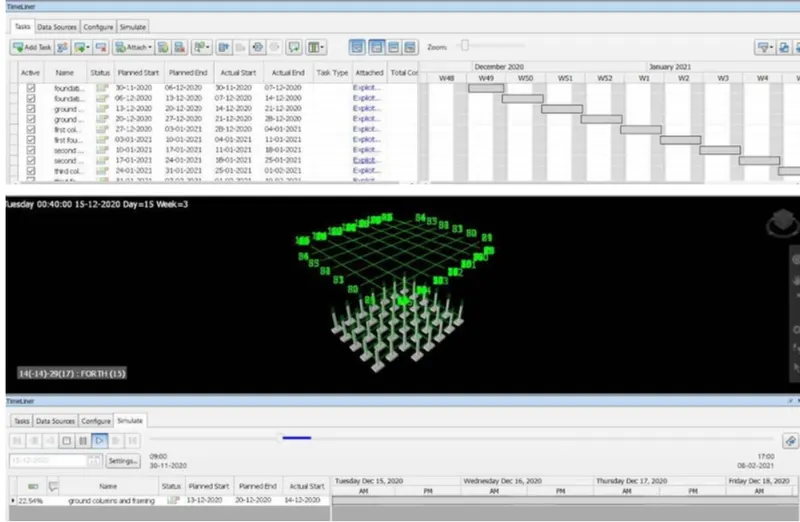
5. The simulation begins and we can see the construction from the scratch with the starting and ending date as its timeline
Result:
Used timeline feature in Naviswork to prepare the schedule for inception and completion date as well as visual simulation on the whole project.