3D Creation of Celing, Roof, Architectural plan, Structural plan, Sectional view, Elevation view and Camera specific view for a house plan using REVIT
Q1) Ans:
Aim:
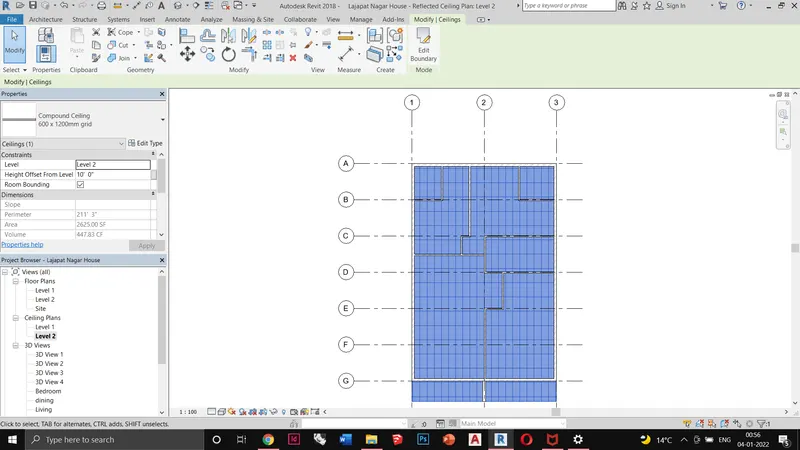
To create a ceiling for the first-floor level from the architecture tab
Introduction:
* Ceiling is a part of the building that helps in enclosing a space.
* A ceiling can be used for providing light points, ventilation fixtures, forming some kind of ornamentation, etc.
* It also helps in providing division between floors
Procedure:
* Select the LEVEL 2 (First Floor) ceiling plan the project browser tab
* Go to Architecture<Ceiling<sketch ceiling<pick lines
Result:
The ceiling is formed perfectly. I had to give the 10ft as its height offset from level as floor to floor height is 10ft.
Q2) Ans:
Aim:
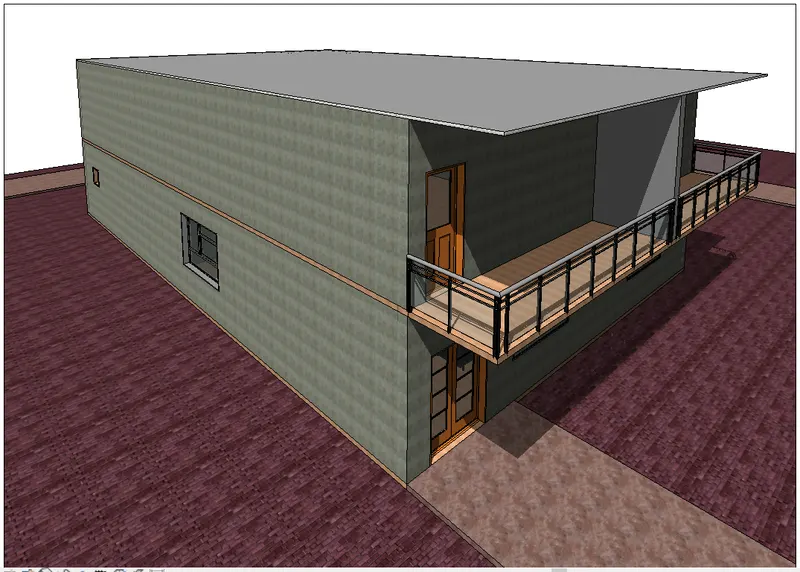
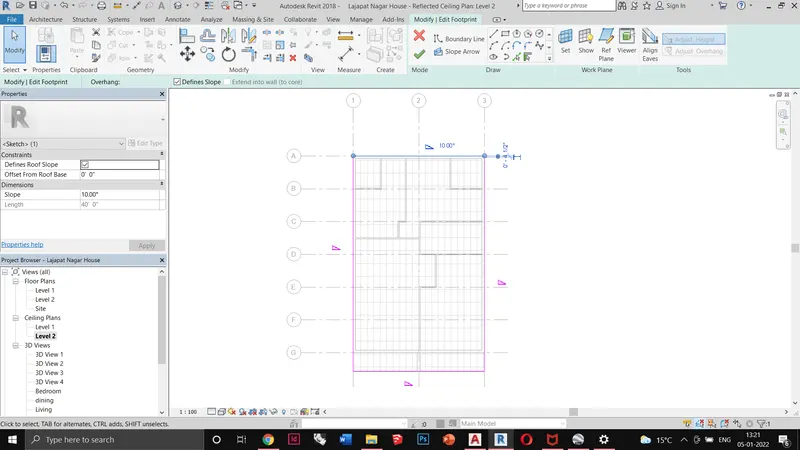
To model the roof by selecting the ceiling and giving it a slope of 10degrees
Introduction:
* A roof is the top covering of a building, including all materials and constructions necessary to support it.
* A roof protects from harsh weather, animals & insects from entering inside the house.
* There can be different types of roofs depending upon the location and climate of the place.
Procedure:
* Selecting level 2 (First Floor) for making the roof
* Go to Architecture<roof<roof by footprint<pick lines
* after this provide roof slope to 10degree.
* Duplicating the roof to a 6inch roof.
Result:
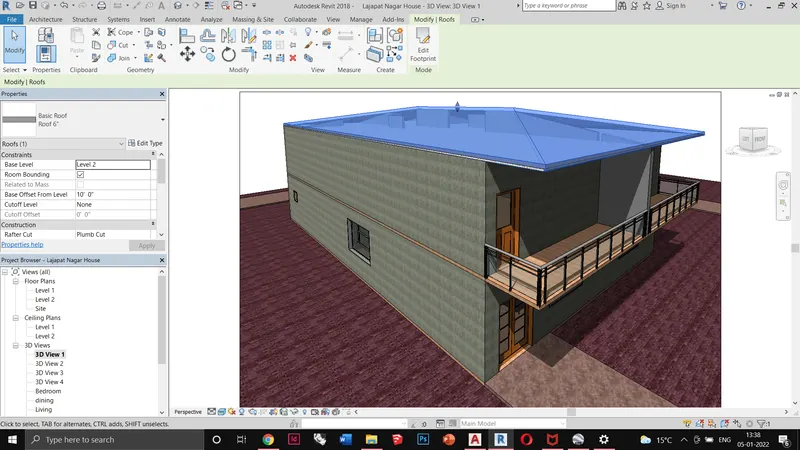
Q3) Ans:
Aim:
Creating plan views for architecture and structure
Introduction:
* 2-dimensional views provide a better understanding of the layout and details.
* In Revit this plan can be easily separated and saved in the view portal for better access.
Procedure:
* Go to view<plan view<floor plan<uncheck duplicate existing views<select level for creating floor plan views
* Go to view<plan view<structural plan<select level for creating structural plan views
Result
Creating floor plan views
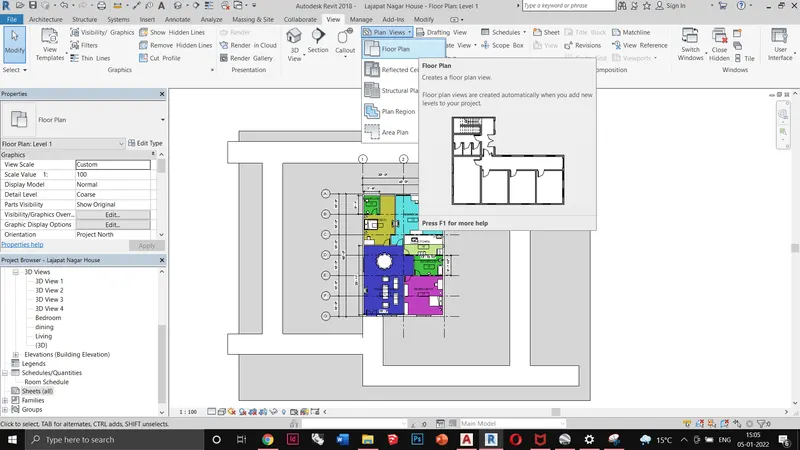
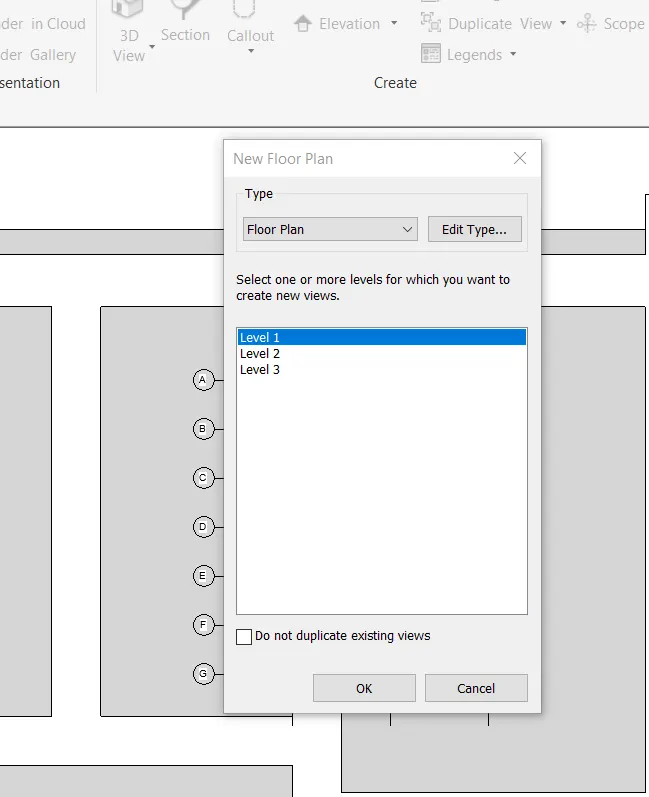
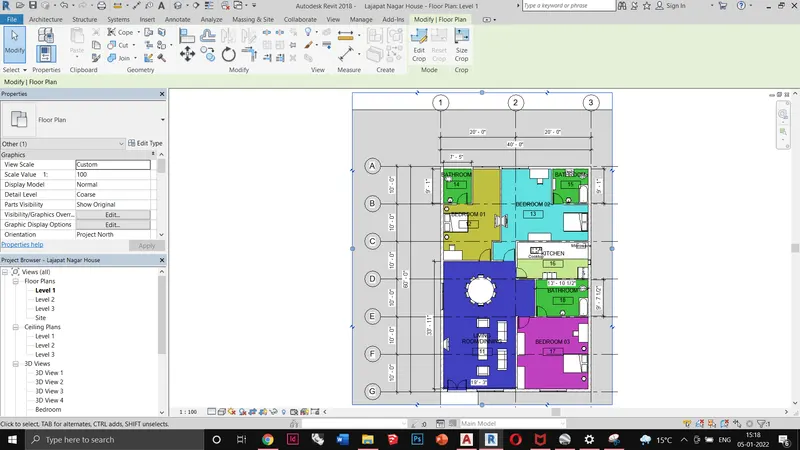
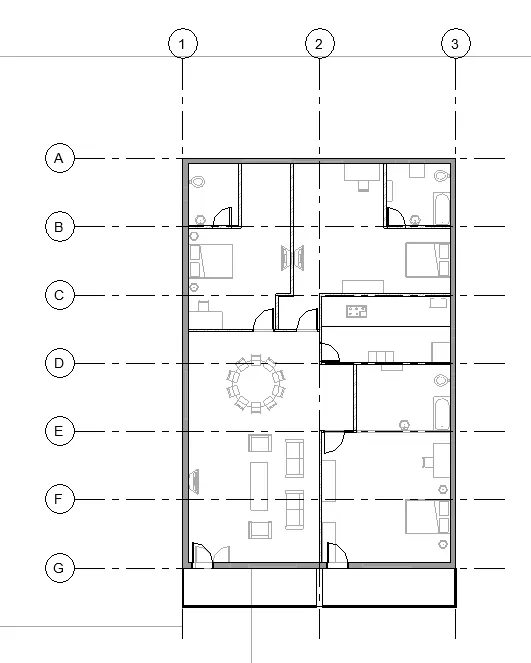
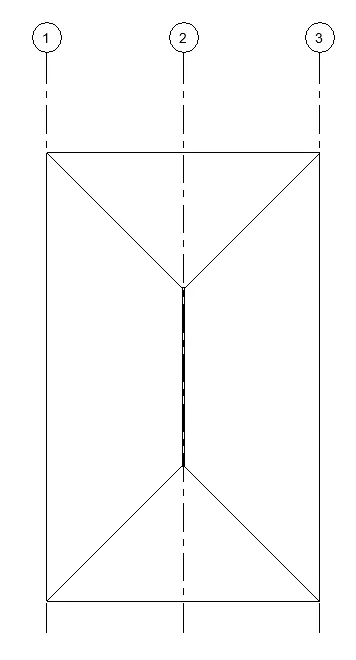
First-floor view Terrace view
Creating structural views
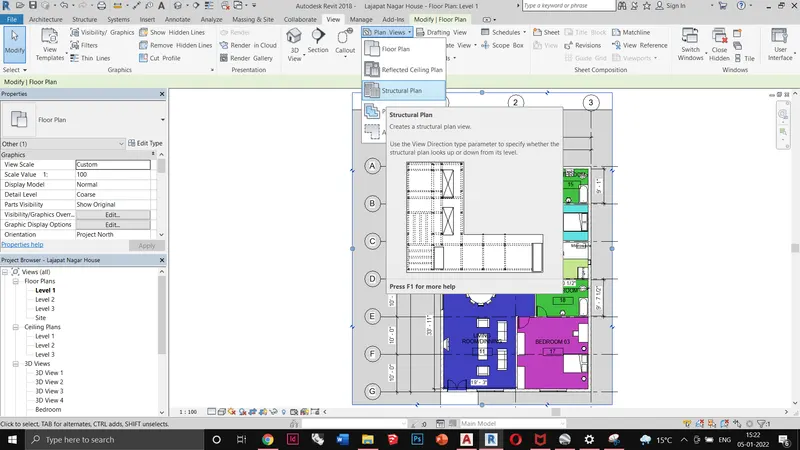
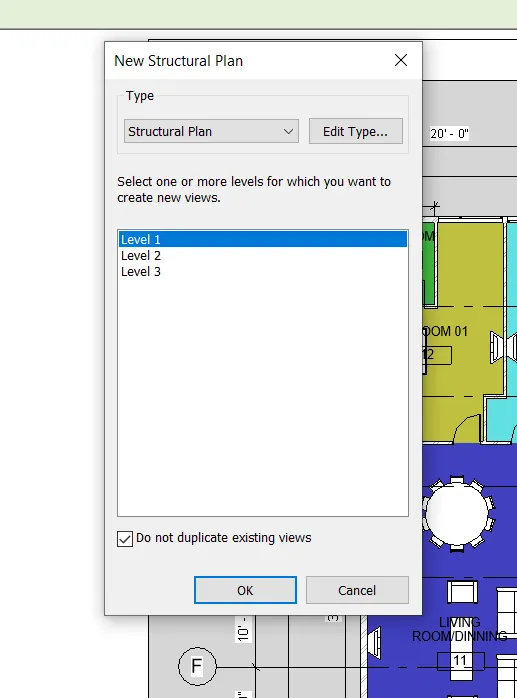
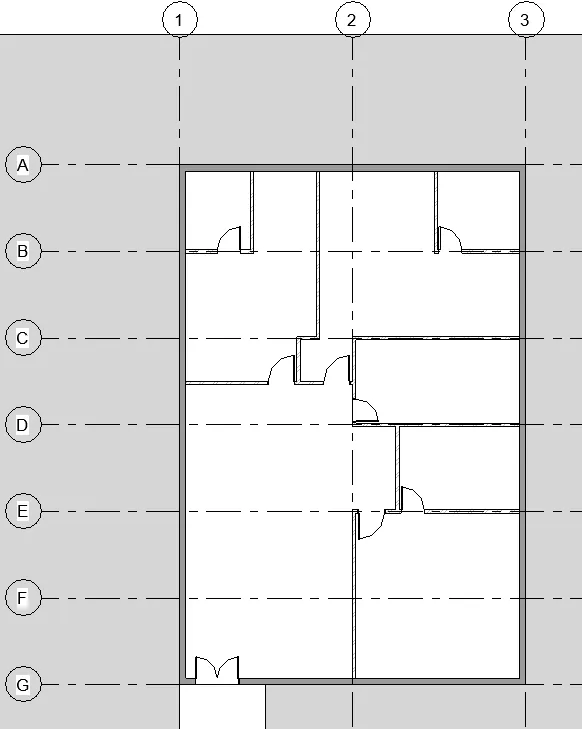
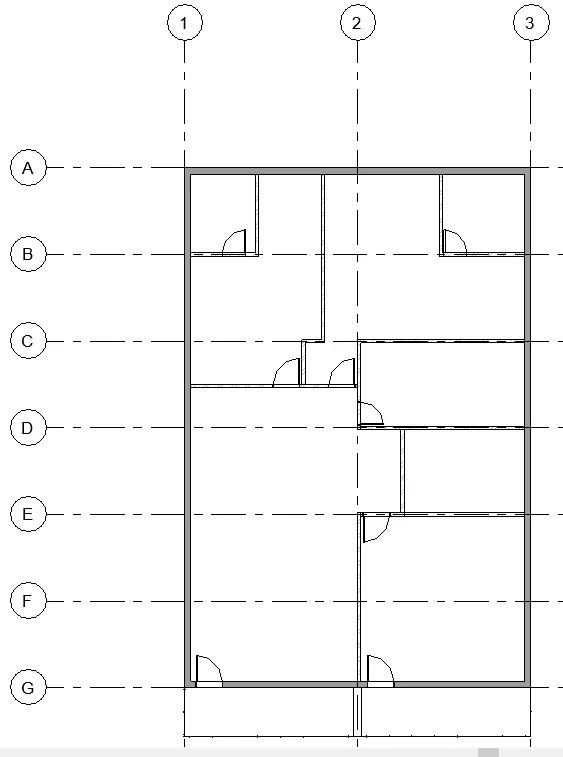
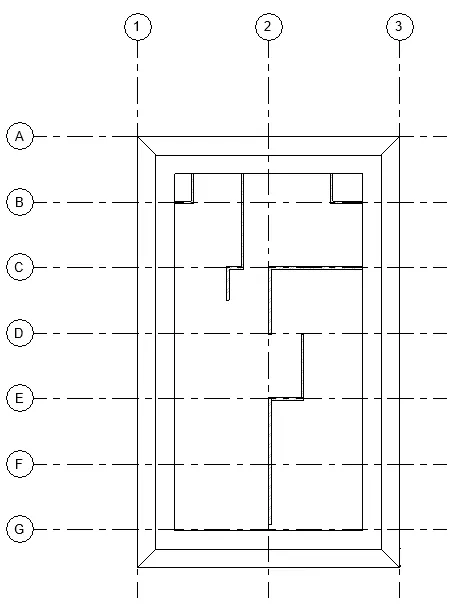
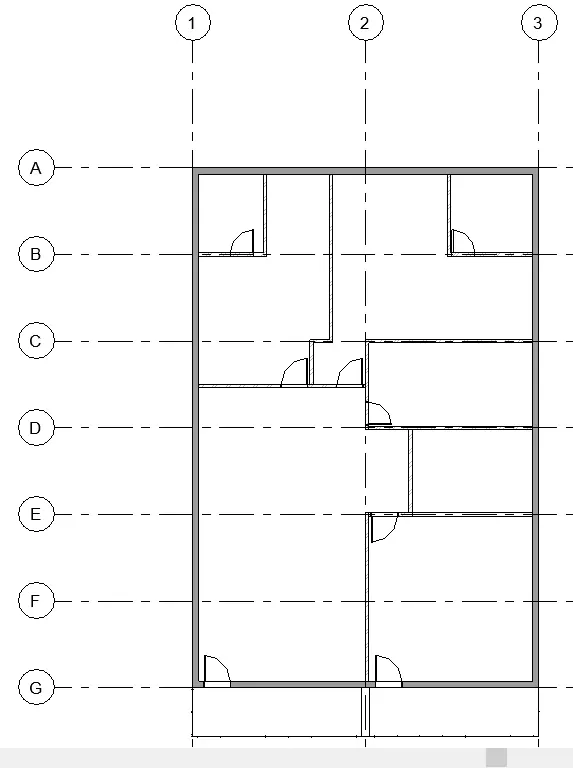 First-floor view Terrace View
Q4) Ans:
Aim:
Using annotate toolbar add dimensions to all the walls and floors with reference to the longitudinal and transverse grids
Introduction:
* Gridlines are added to create a reference framework for the design.
* Gridlines can be longitudinal and transverse.
* Dimension measure such as aligned, linear, angular, etc.
Procedure:
* select the aligned dimension from annotate tab
* select the grid as the reference for the reference and click ok
* give dimension to the walls and floors and click ok.
Result:
Dimensioning the components with reference to grid lines in floor plan views
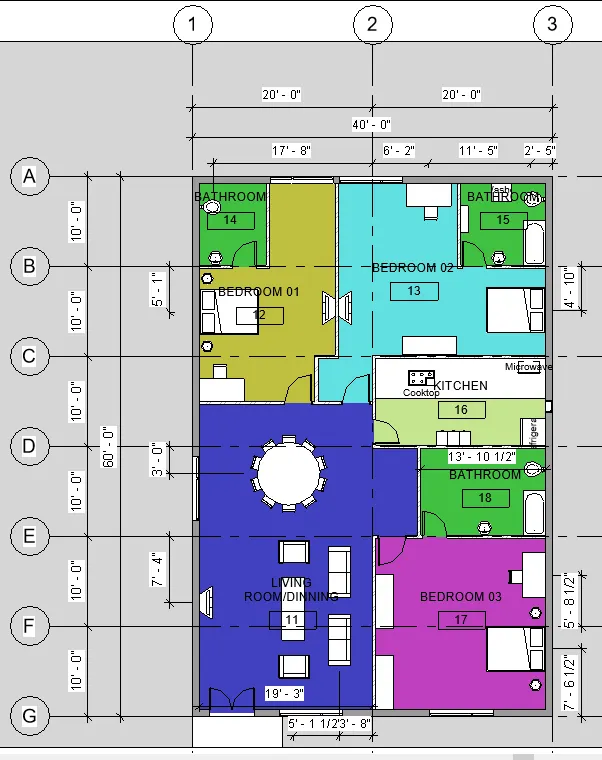
Dimensioning the walls and interior walls in structural plan view
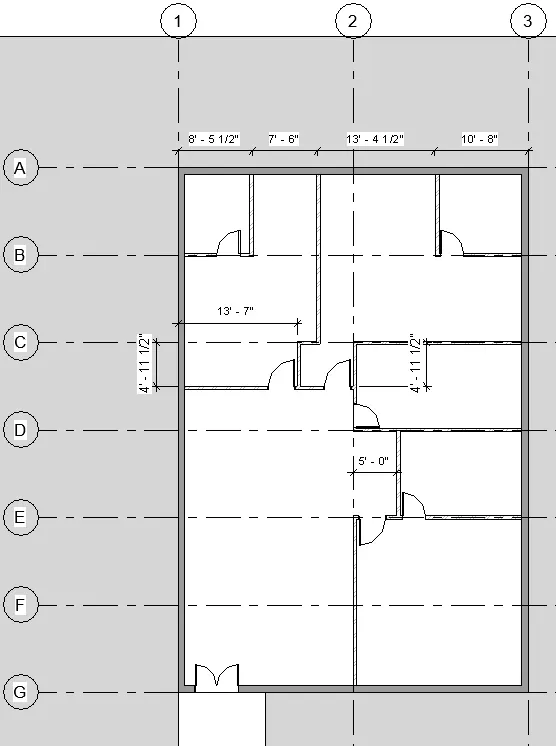
Q5) Ans:
Aim:
Creating a sheet template from the view tab and adjusting the parameters on the sheet to add appropriate views
Introduction:
* In Revit we can make multiple drawings & sheets to make a construction document set.
* Sheet making is very helpful in making the construction documentation process easier and efficient.
Procedure:
* Creating floor views to put on the sheet template.
* Go to View tab<sheet<selecting the sheet size
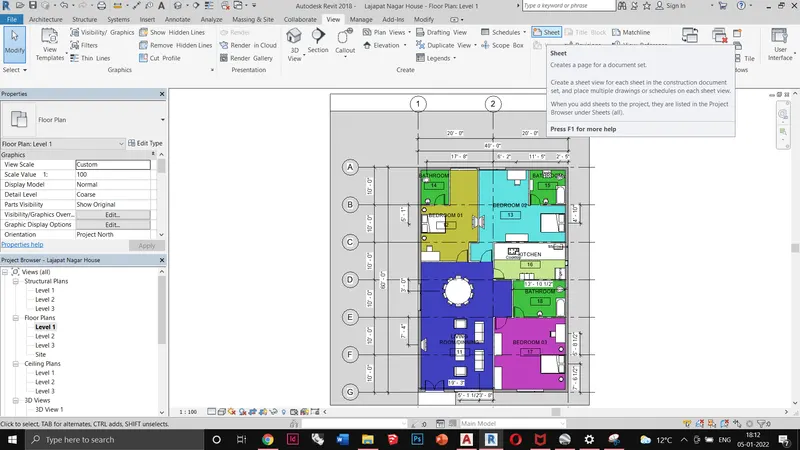
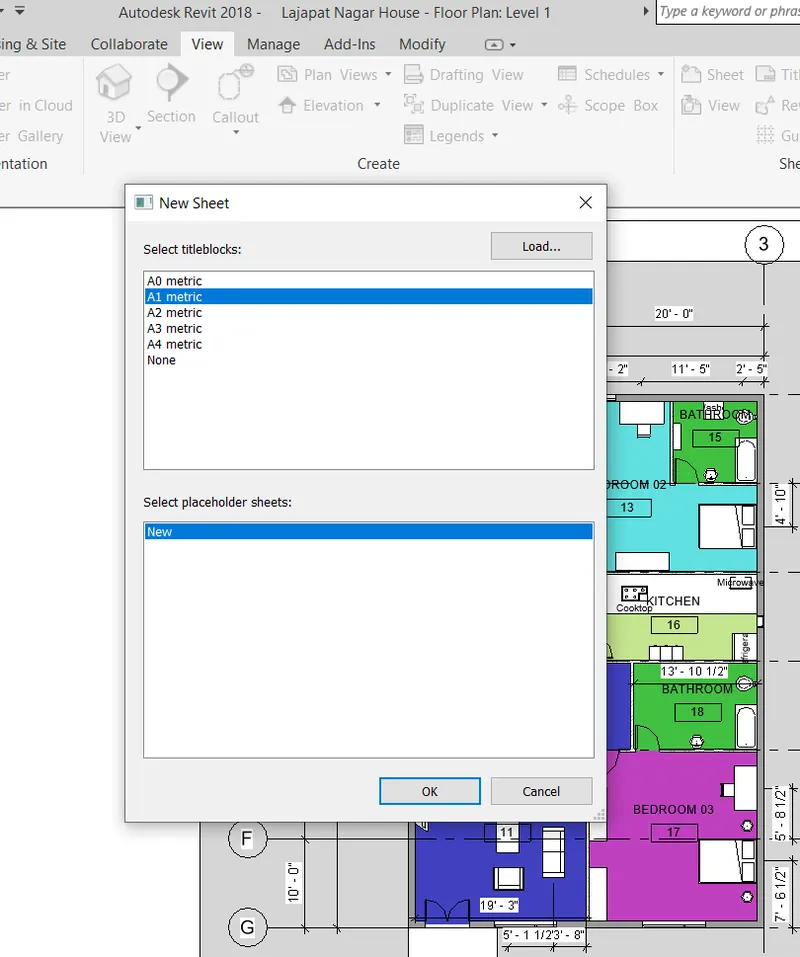
Selecting the sheet template
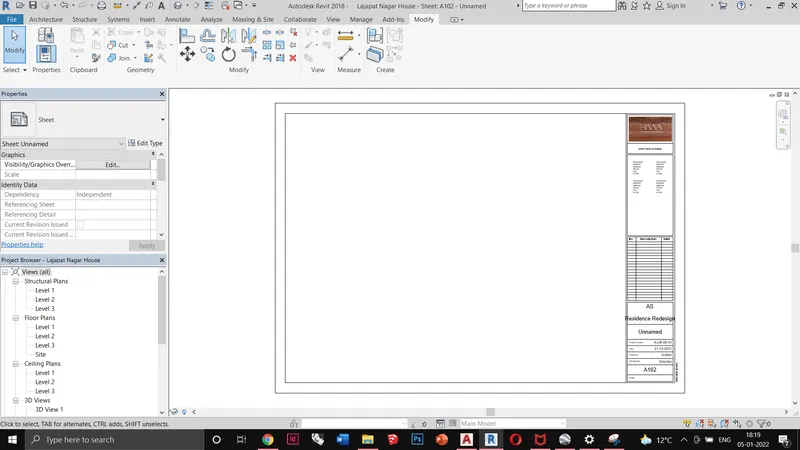
creating A1 sheet template
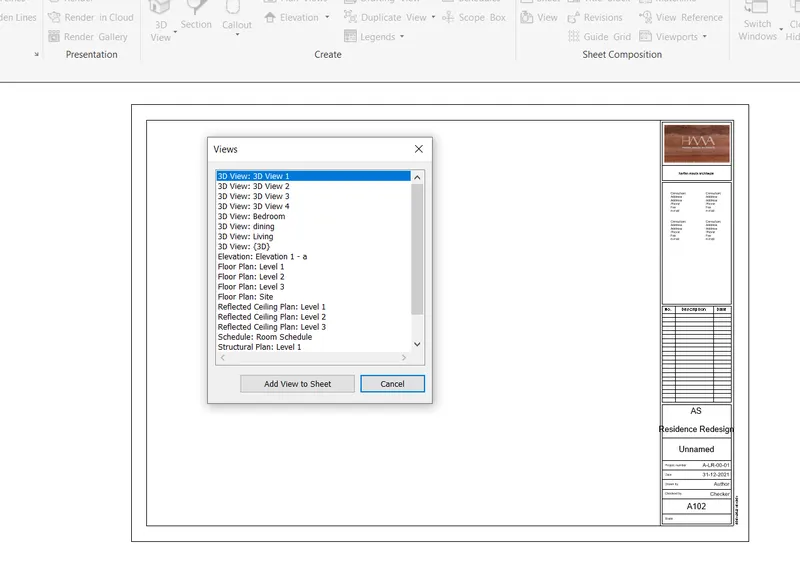
* go to view tab< view< select the drawing from the views
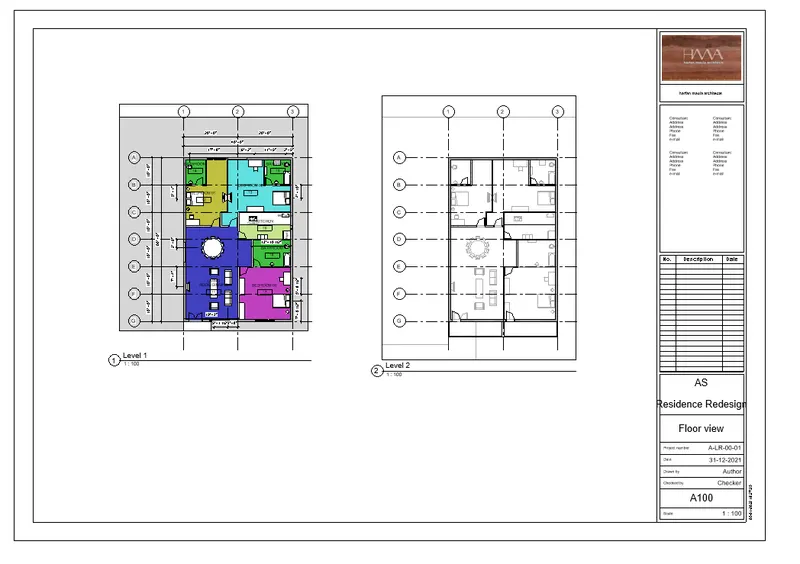
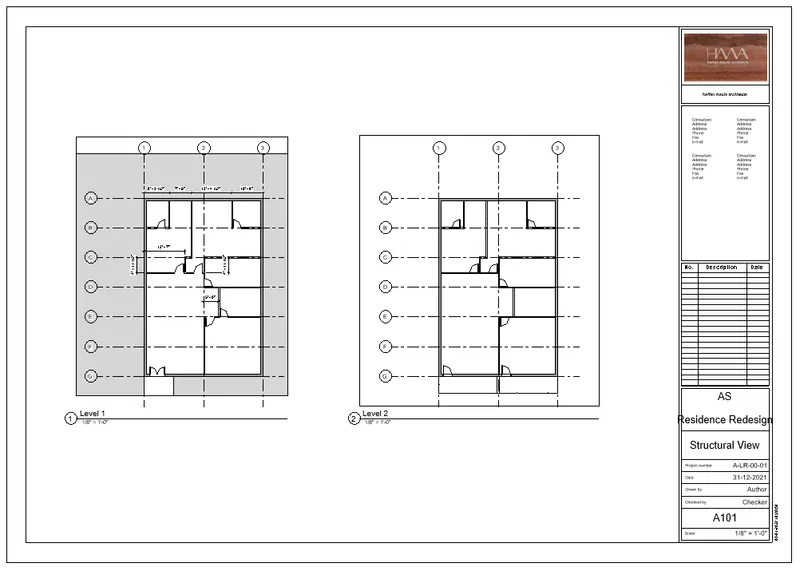
Q6) Ans:
Aim:
Using the elevation tab create the elevation views, looking at your building from East, North, South, and West
Introduction:
* Elevation views are part of the default template in Revit.
* Elevation views help in sketching the level tags.
* Revit allows creating elevation views as per our requirements.
Procedure:
* Go to level 1 from the project browser
* Go to view tab< elevation and place the marker as per requirement
* Rename the elevation tag to North, East, South & West.
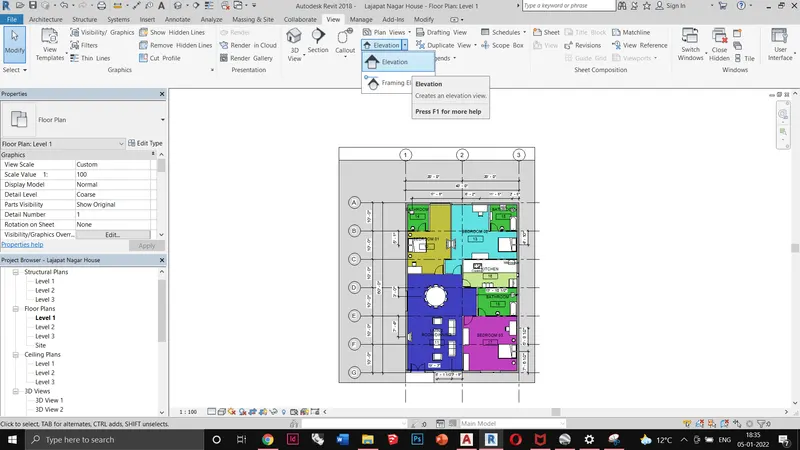
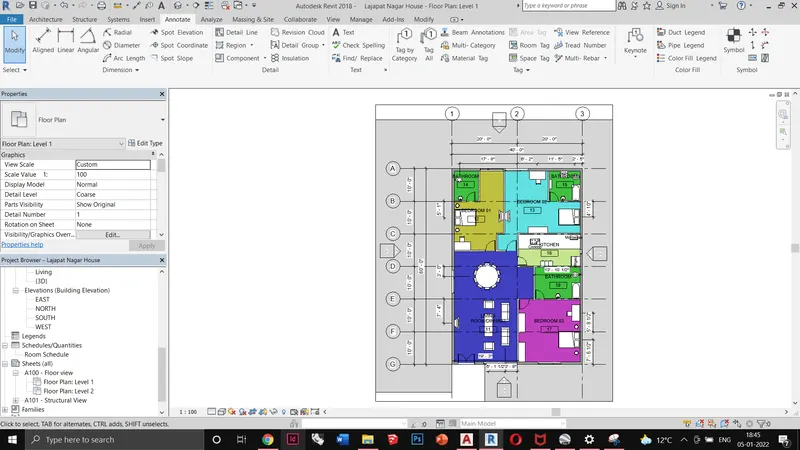
Creating building elevations
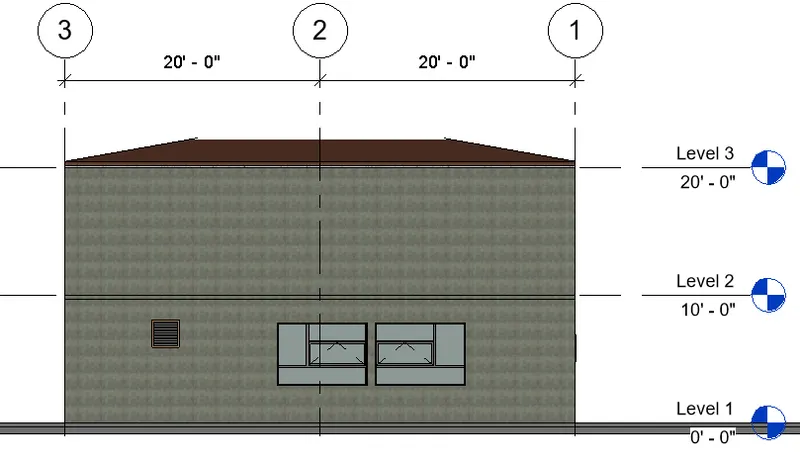
North
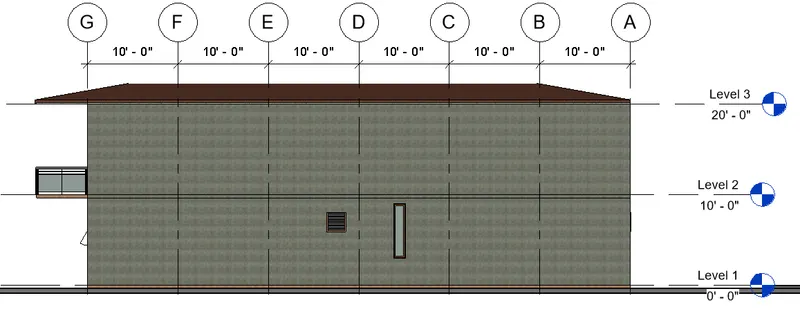
East
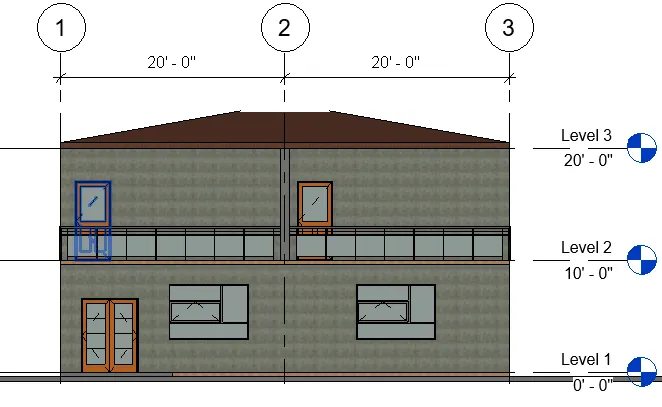
South
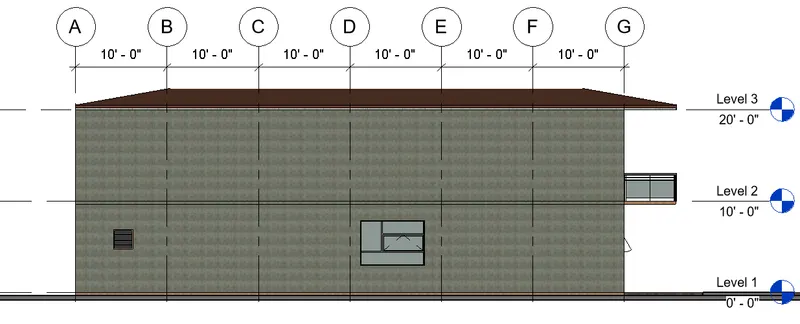
West
Q7) Ans:
Aim:
Section cut through each room either cutting across longitudinally or in a transverse direction.
Introduction:
* A section is a cross-section through a building.
* It helps to show the parts of the building
* Each section is shown as a separate listing in the project browser.
Procedure:
* Go to the view tab< section
* Place the section line longitudinal or transverse
* Stretch the section line as per the section view is required.
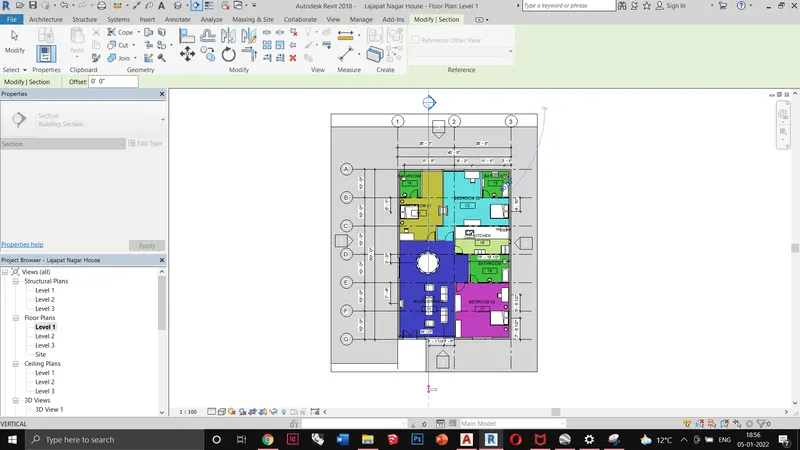
Placing the section line longitudinal
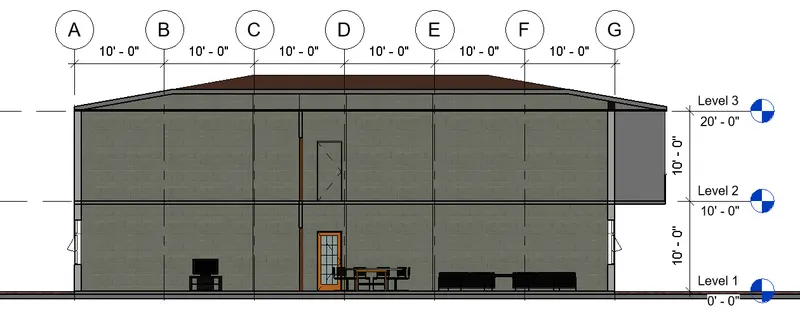
sectional view
Q8) Ans:
Aim:
To classify the views, Plan Views, Section Views, and Elevation views to either Design or Documentation category using Properties browser
Introduction:
Property browser shows a logical hierarchy for all views, schedules, sheets, groups and other parts of the current project.
Procedure:
* When views are created using 3d view/plan view it is by default shown in the project browser.
Result:
* Project browser shows the views as follows:
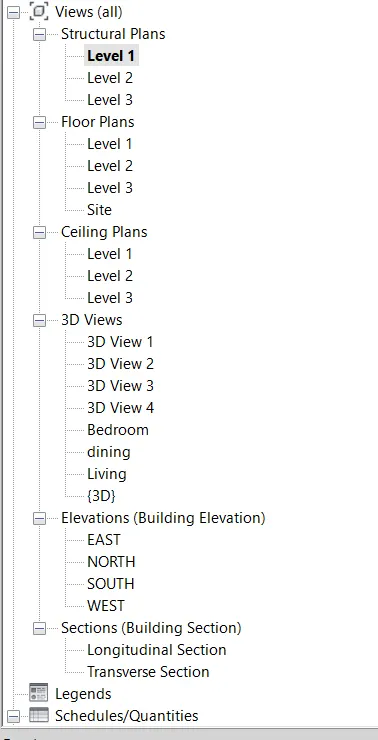
This is a expanded project browser which shows the floor plan, structural plans, elevations, sections.
Q9) Ans:
Aim:
To create sheet template for architectural plan, structural plan, sectional view, roof plan, elevation plan.
Introduction:
* In Revit we can create sheet view for each sheet in the construction document set.
* Create views on project template before starting the documentation process.
Procedure:
* Go to the view tab< sheets< load the required sheet
* rename the sheet from the project browser as mentioned.
Result:
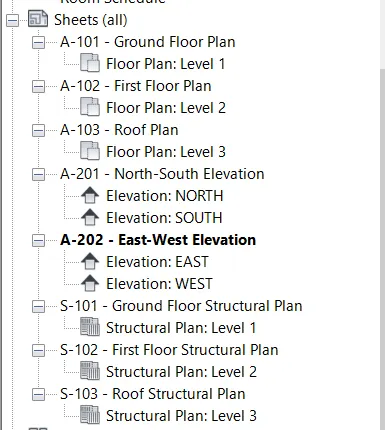
a) A-101
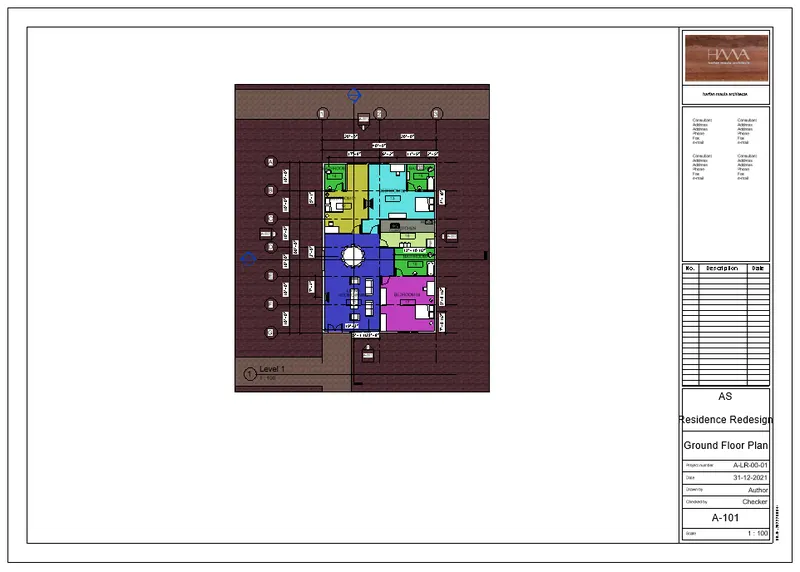
b) A-102
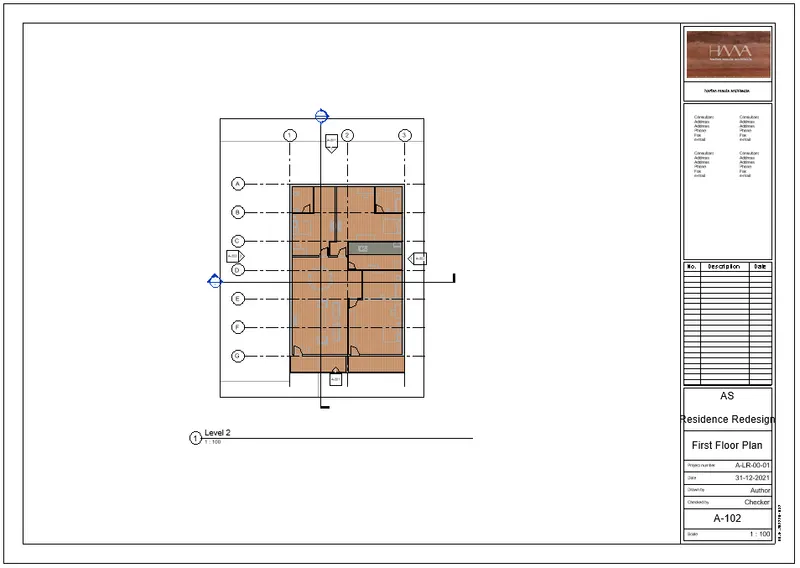
c) A-103
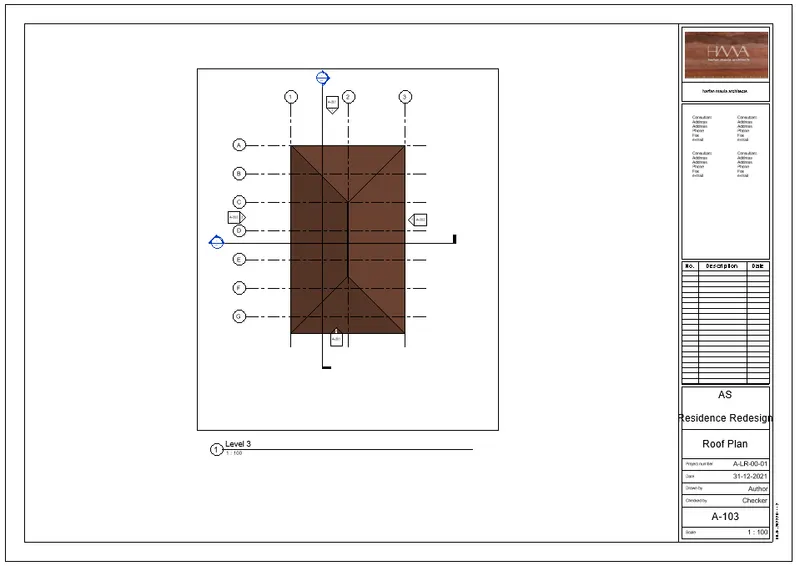
d) S-101
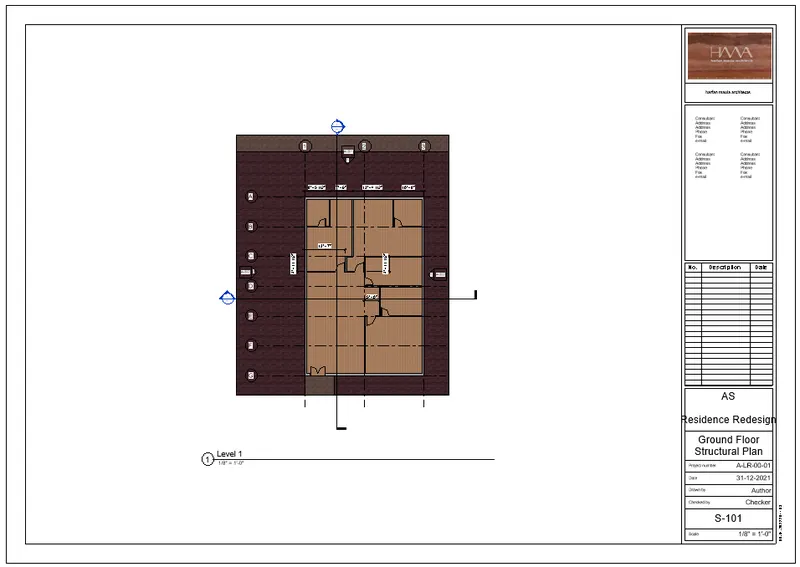
e) S-102
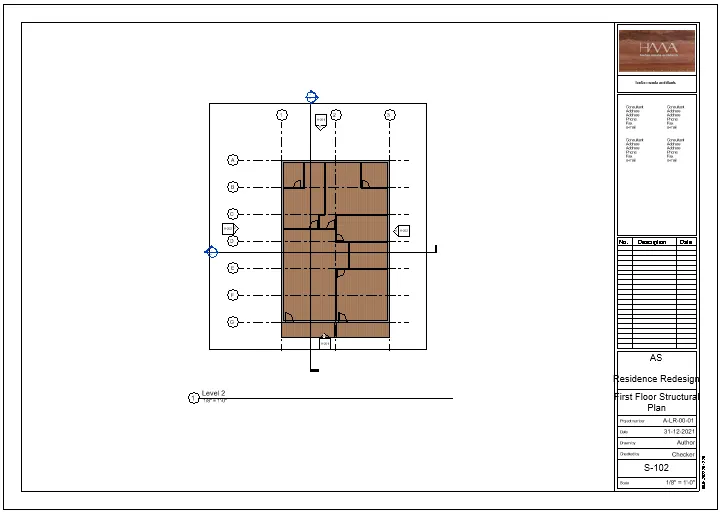
f) S-103
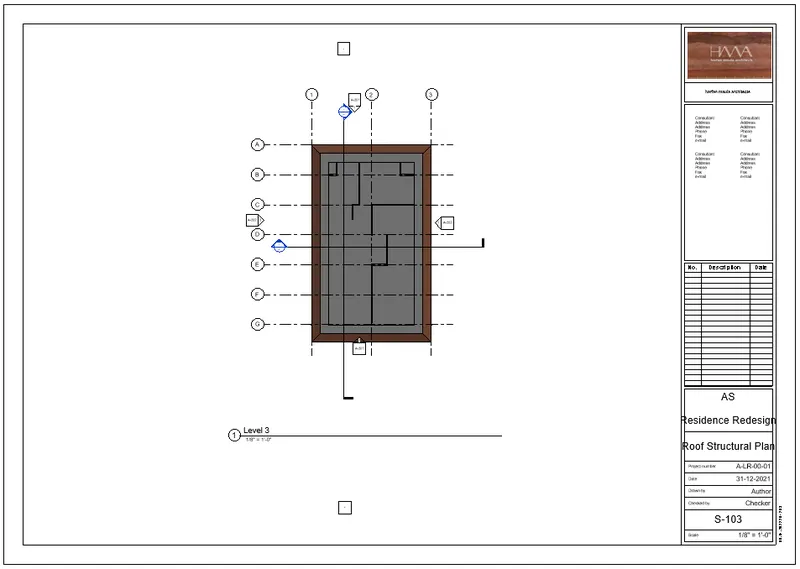
g) A-201
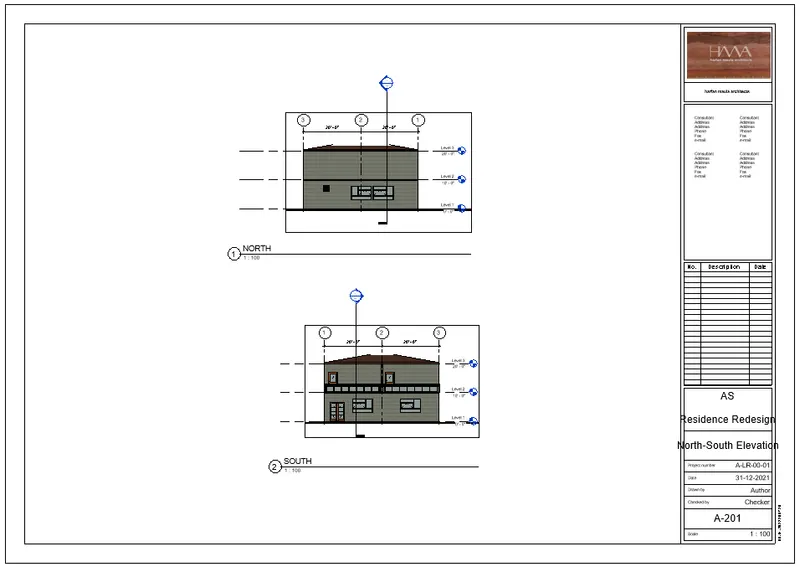
h) A-202
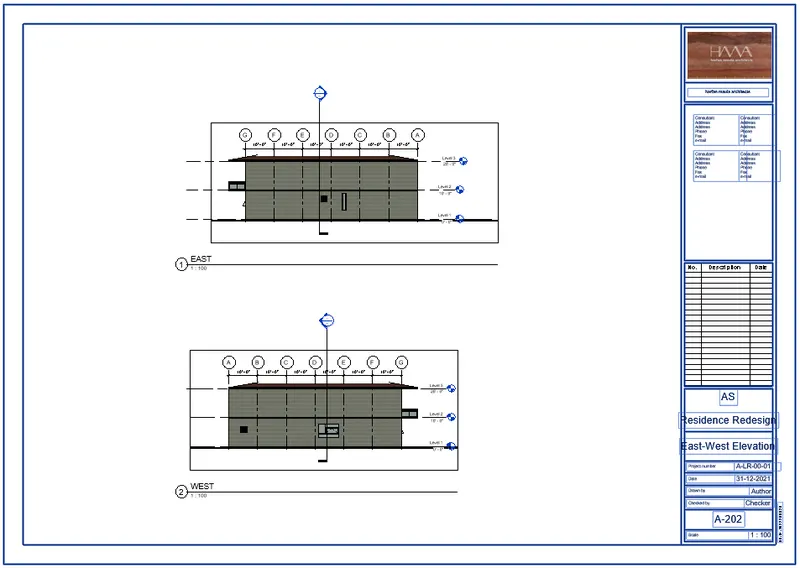
Q10) Ans:
Aim:
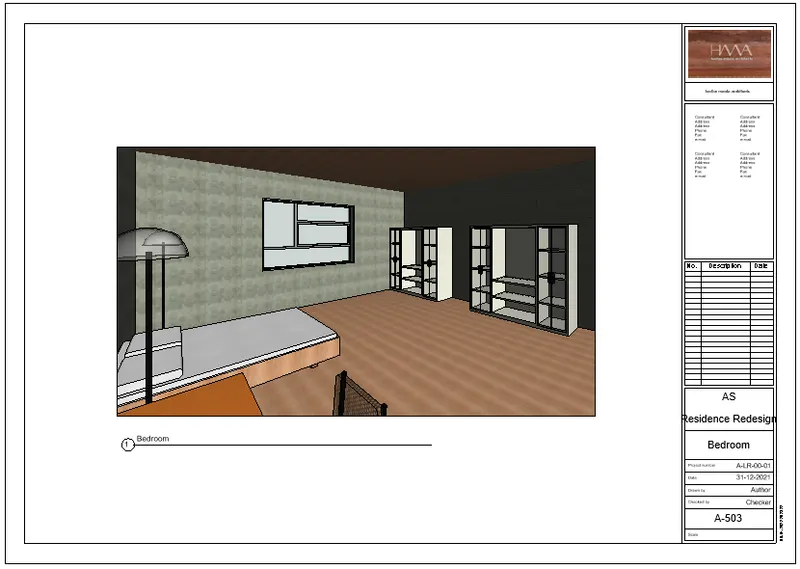
To create a rendering of living, dining, bathroom
Introduction:
* Camera view helps to see through inside the building.
* Gives a brief idea about the look
Procedure:
* Go to view<3d view< camera
* Set the camera as per the requirement
* Set the camera elevation
Result:
A-501
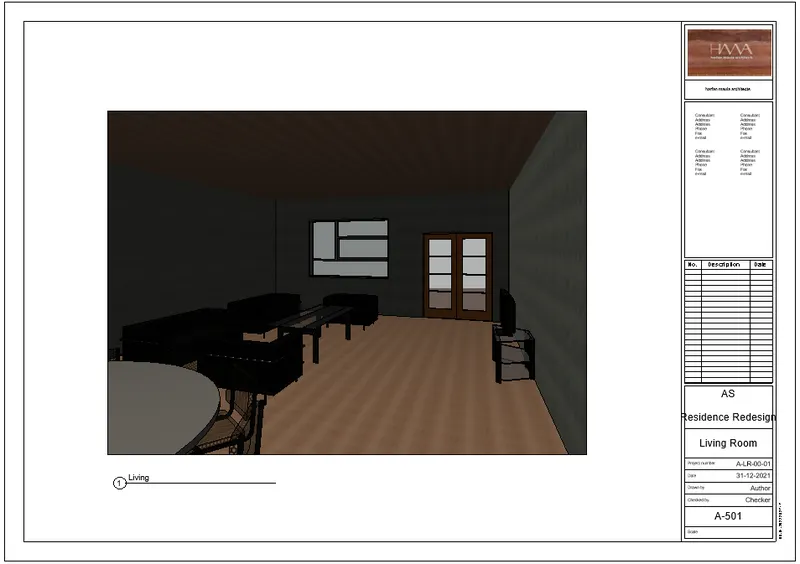
A-502
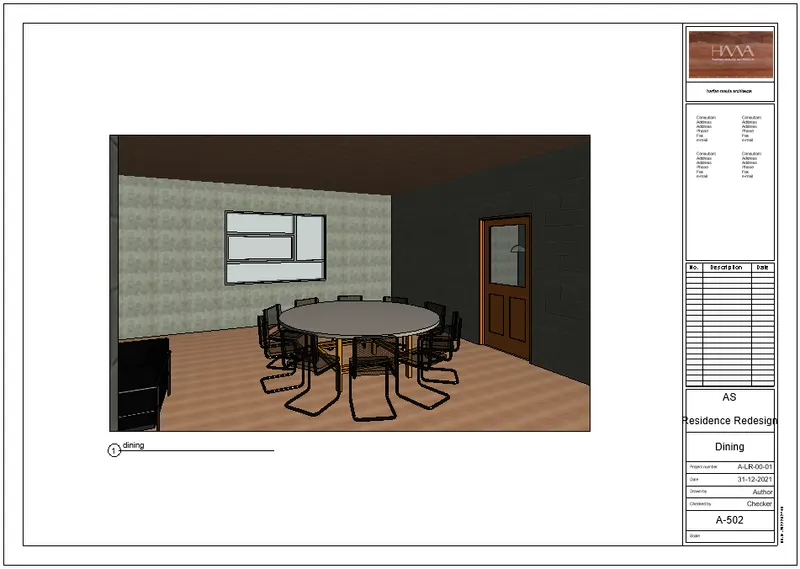
A-503