Usage of Collaborate tool in REVIT
Q1) Ans:
Aim:
To set project base point and project shared coordinates for the project.
Introduction:
* The project base point is used almost exclusively for internal (firm-practice) purposes. It is used to place dimensions relative to the building.
* It is represented by a blue circle 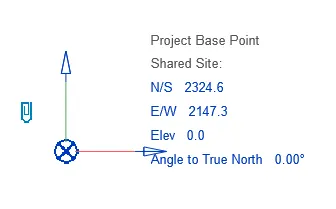 with a cross in the middle. It can also be used to set the angle difference between the True North and the Project North.
* When working on a project with multiple interlinked files from different platforms, you need to establish shared coordinates to position the models so that they align with each other.
Procedure:
* open the architectural template from the start panel
* check the project base point by going to the site in the project browser.
* Draw the architecture grid transverse and longitudinal.
* go to manage<coordinates
Results:
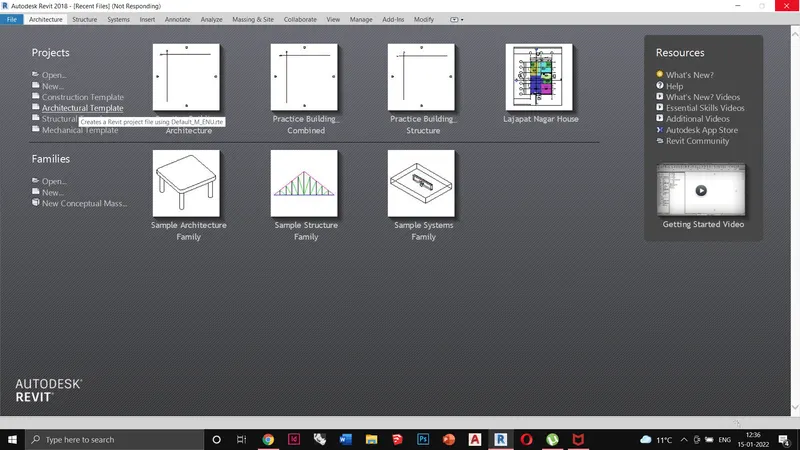
Opening the architectural template
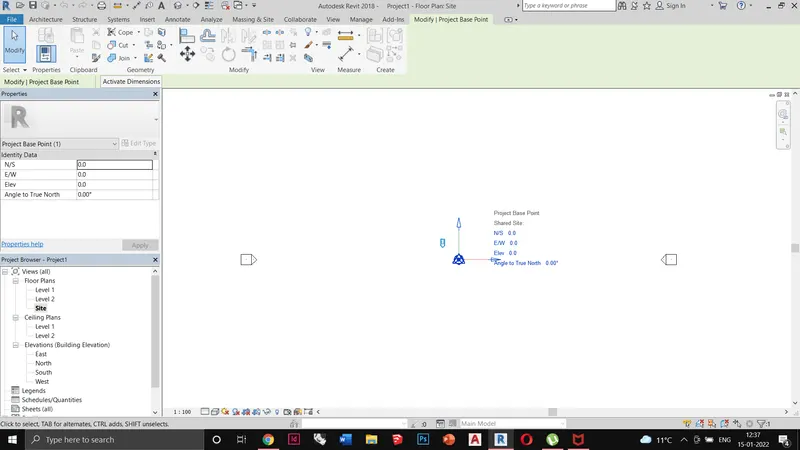
Checking the project base point
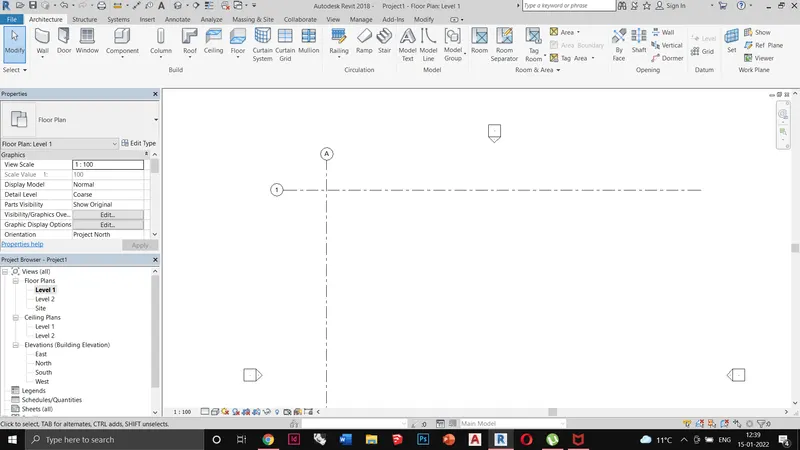
Adding the horizontal and vertical architecture grids.
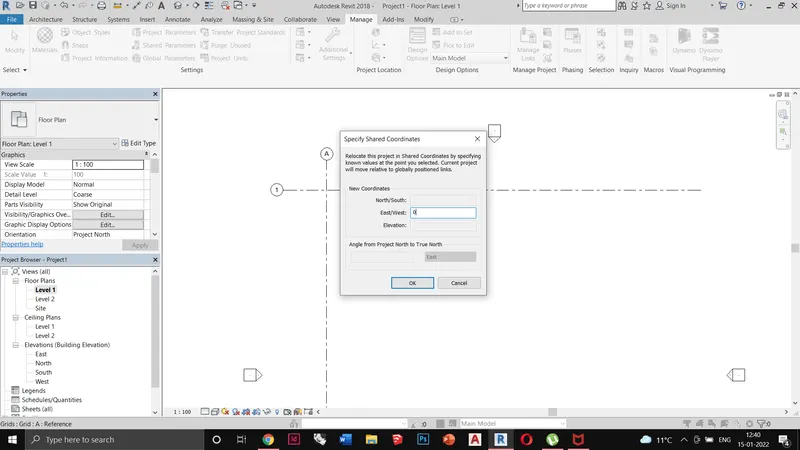
Specifying the coordinates for the grid.
Q2) Ans:
Aim:
To enter the same project parameters from the saved architectural template to the structure template.
Introduction:
* Similar to Question 01.
* Creating two files with the same project parameters will help us in referencing the files in a combined format.
Procedure:
* open the structure template from the start panel
* check the project base point by going to the site in the project browser.
* Draw the architecture grid transverse and longitudinal.
* go to manage<coordinates
Results:
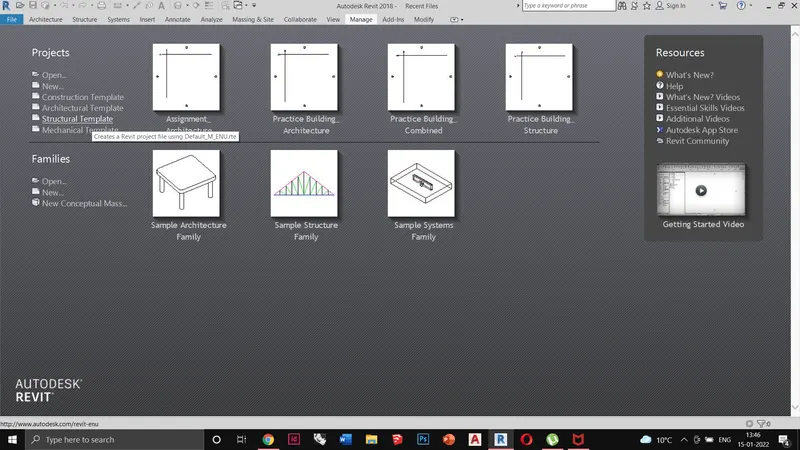
Open the structural template
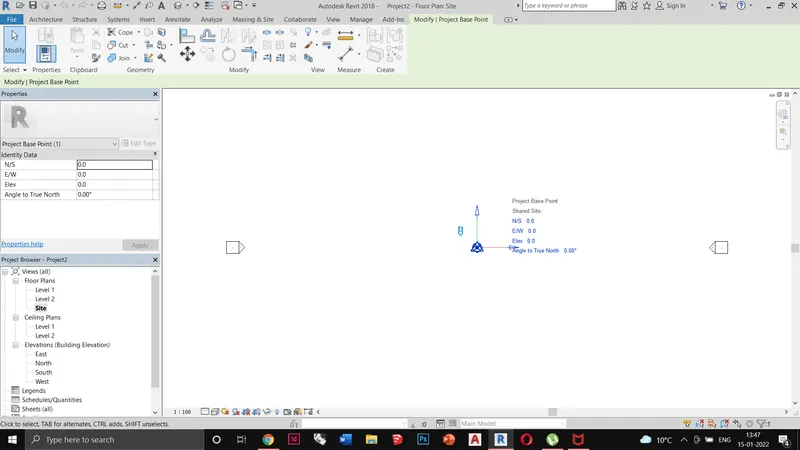
Checking the project base point
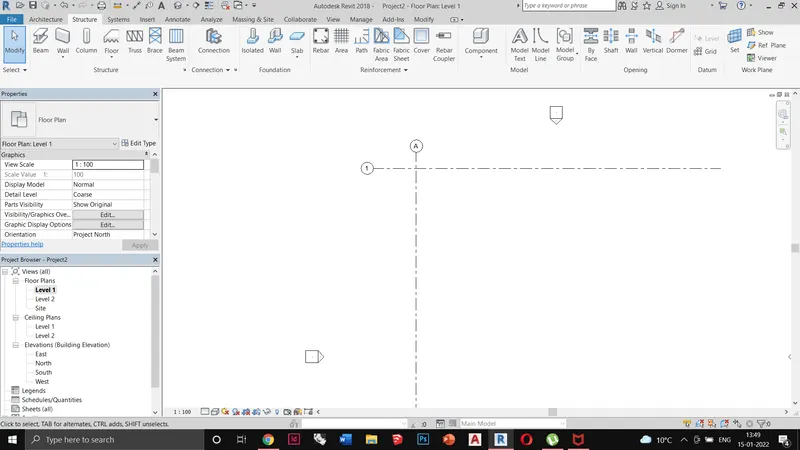
Adding the horizontal and vertical structure grids
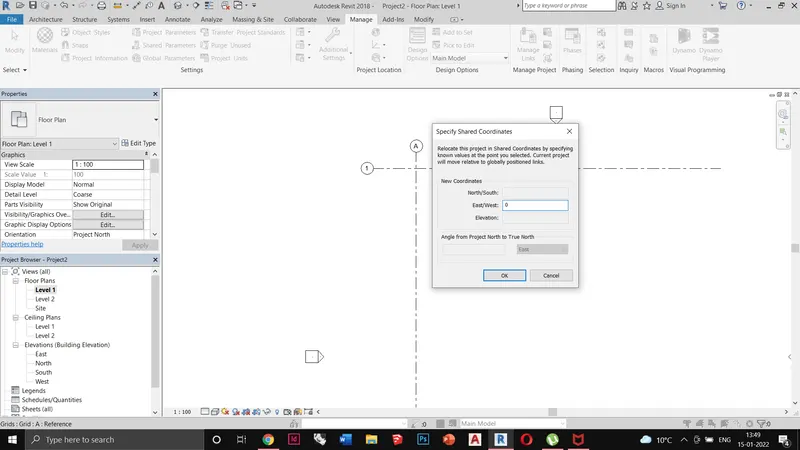
specifying project share coordinates
Q3) Ans:
Aim:
To make the architecture model the central model
Introduction:
* It makes it possible for multiple people to work on the model at the same time.
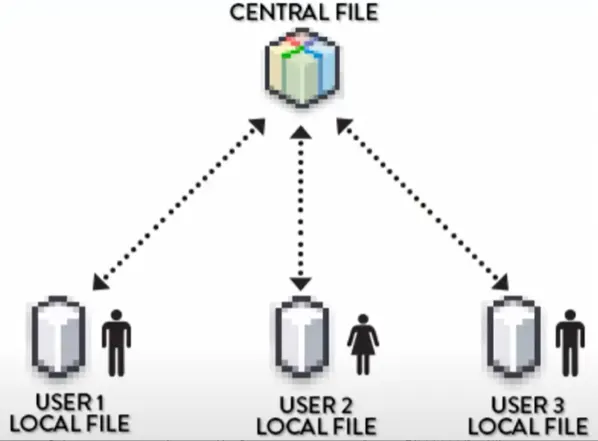
* The central model stores the current ownership information for all elements in the project and acts as the distribution point for all changes published to the file.
* To make this happen you have to allow the work-sharing process.
Procedure:
* Open the architecture model
* Go to collaborate<collaborate< collaborate within your network (if you have a cloud profile then you can use the other option)
Results:
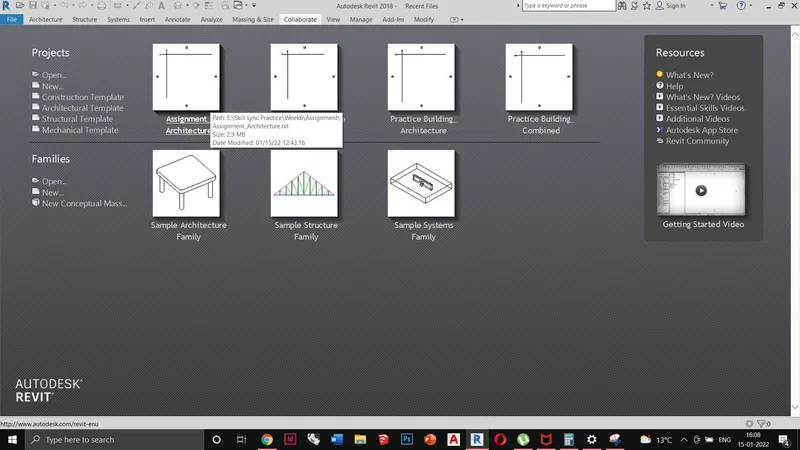
opening the architecture model
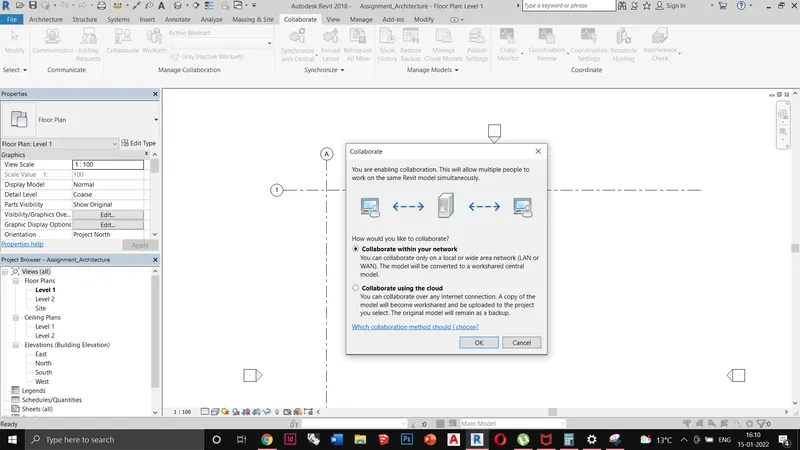
Go to the collaborate tab and select the option collaborate within your network.
saving the model as the central model.
Q4) Ans:
Aim:
To make the horizontal and vertical grids in the model.
Introduction:
* Each user creates a Local File to work simultaneously on the same project. Then, they synchronize the changes to the Central File, which is located on a local server (or on the cloud).
* Now that your central file is created, you can create a local file. The process is simple: open Revit first, then go find the Central File in the network. Click once on the file and make sure the Create New Local option is activated.
Procedure:
* Open the central file saved in the computer.
* Check that the create new local box is ticked
* create the grids as per the week 2 directions.
Results:
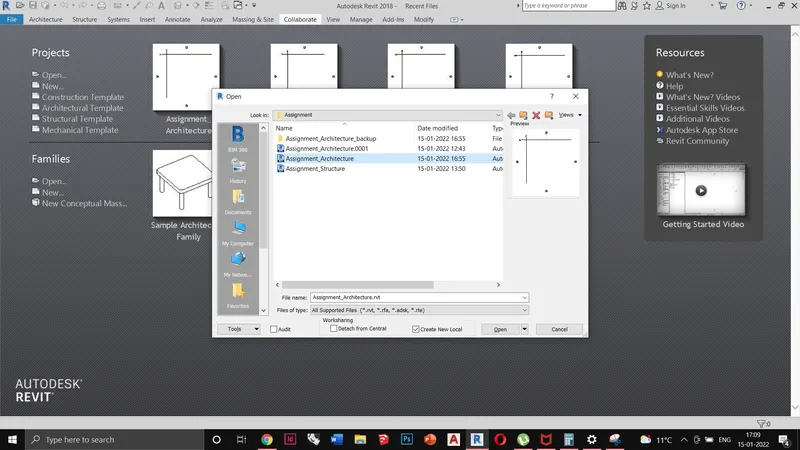
Opening the architecture model and creating a new local.
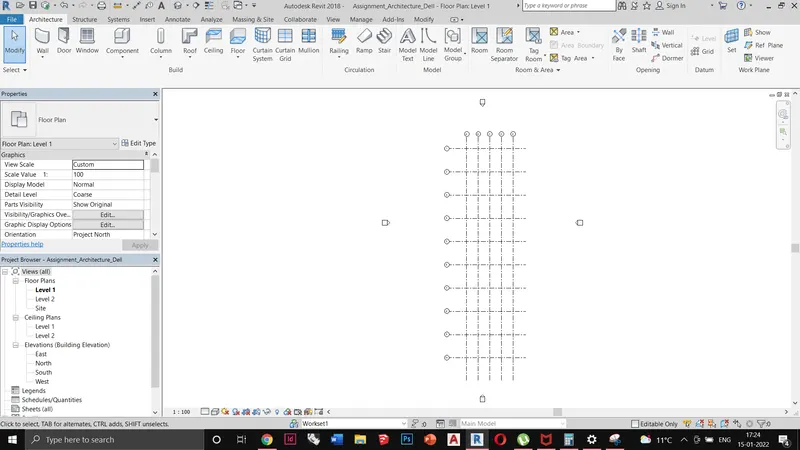
adding grids.
Q5) Ans:
Aim:
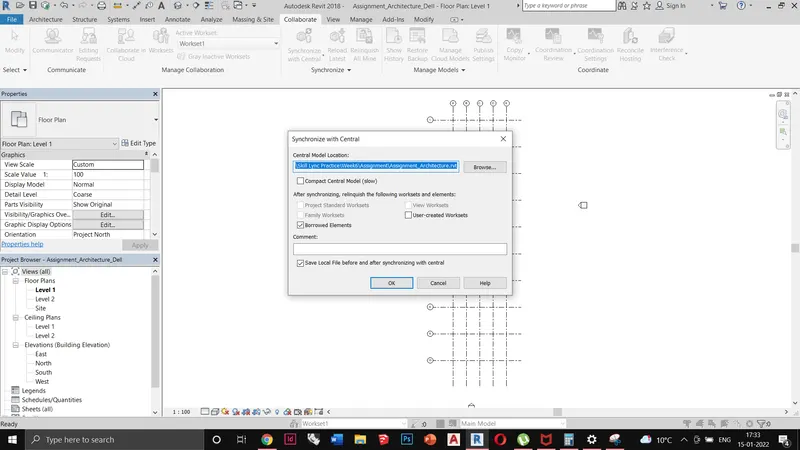
To synchronize the changes in the local file to the central one.
Introduction:
* When working on work shared project, use the Synchronize with Central tool to save your local changes to the central model.
* To bring your work from the local file to the central file, you have to use the Synchronize with Central tool located in Collaborate tab.
Procedure:
* Go to collaborate< click the drop-down menu synchronize with central< synchronize and modify settings.
Results:
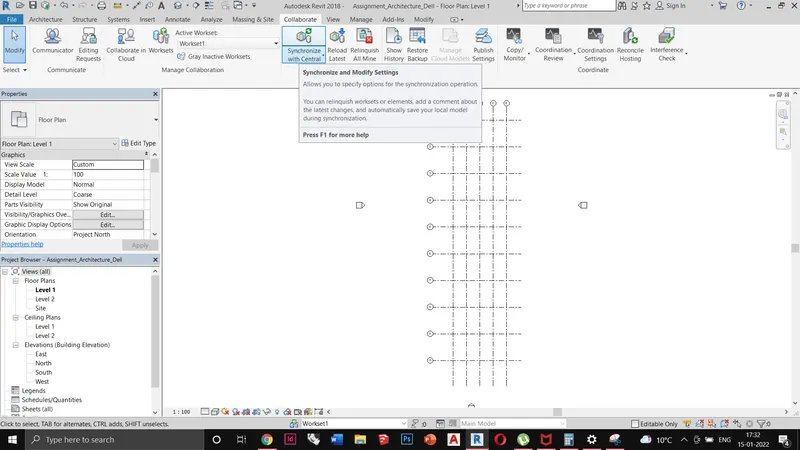
Q6) Ans:
Aim:
To save the structural model as the central model.
Introduction:
* The central model stores the current ownership information for all elements in the project and acts as the distribution point for all changes published to the file.
* To make this happen you have to allow the work-sharing process.
Procedure:
* Open the structure model
* Go to collaborate and select the collaborate within your network (if you have a cloud profile then you can use the other option)
* save the model on your computer as the central file.
Result:
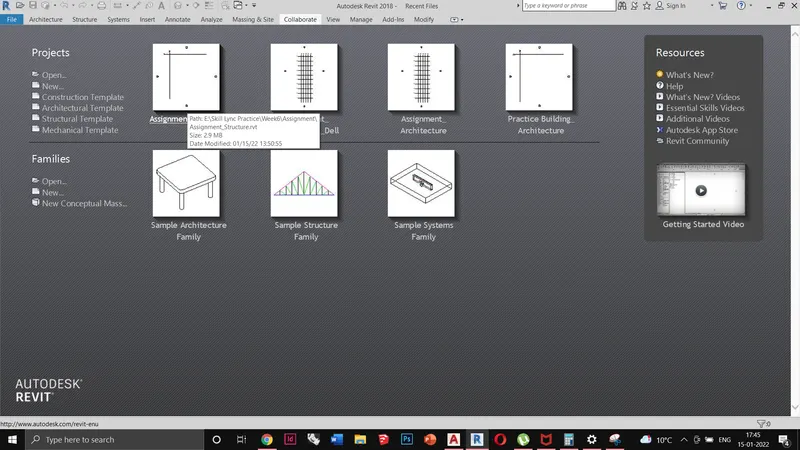
Opening the structure file
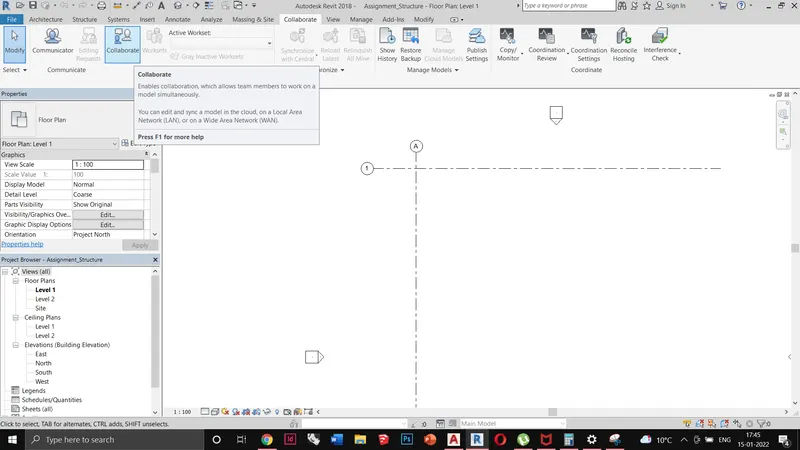
going to collaborate tab and making it the central file.
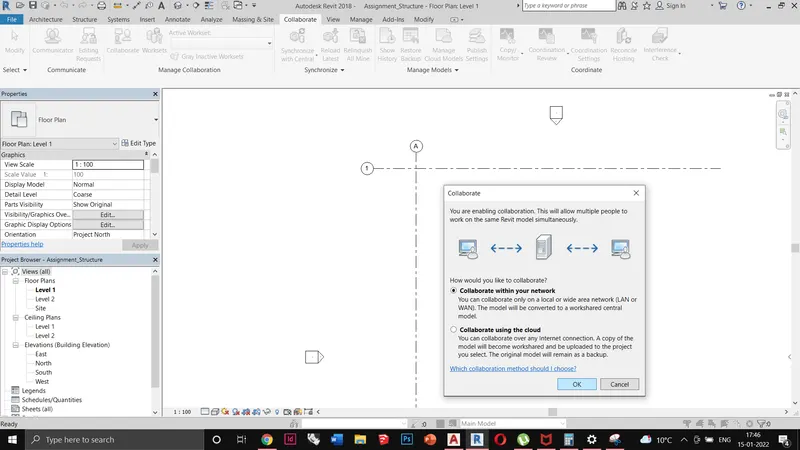
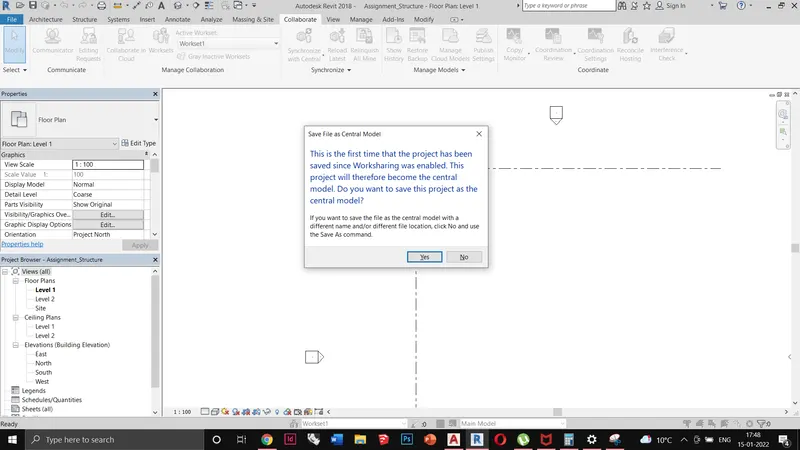
clicking yes to the prompt window and making it the central structure model.
Q7) Ans:
Aim:
Using copy monitor tool and copying the grids from the architecture model to structure.
Introduction:
* The Copy/Monitor tool is designed for use with important elements of a building model to streamline coordination and collaboration on a project that involves multiple teams.
* Using the Copy/Monitor command, we can make a Copy of the grids, which are then Monitored.
Procedure:
* Link the architecture model in the structure using the manage links.
* Go to manage links and add the architecture model.
* Go to collaborate< select copy monitor< select links
* copy the grids from the architecture file and select finish.
Result:
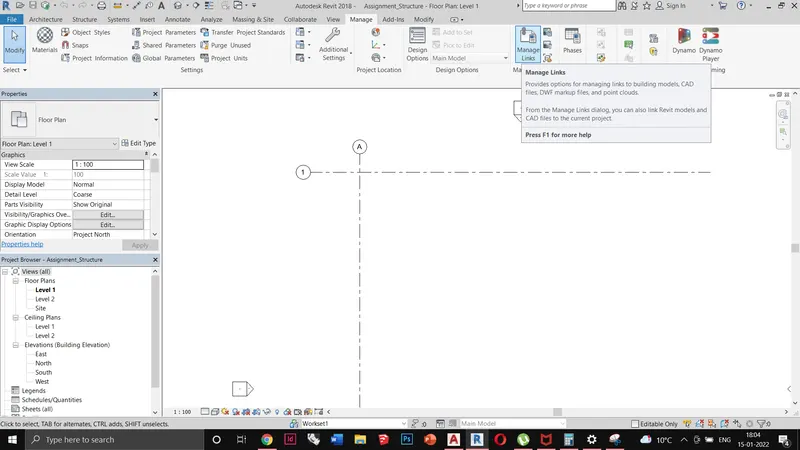
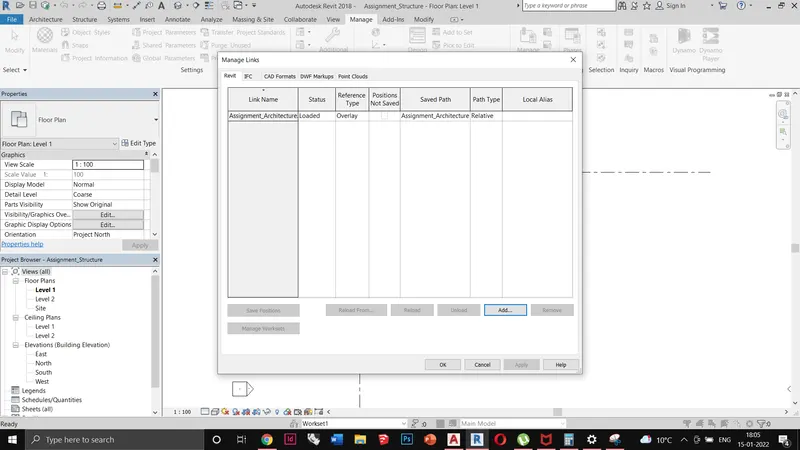
Linking the architecture model
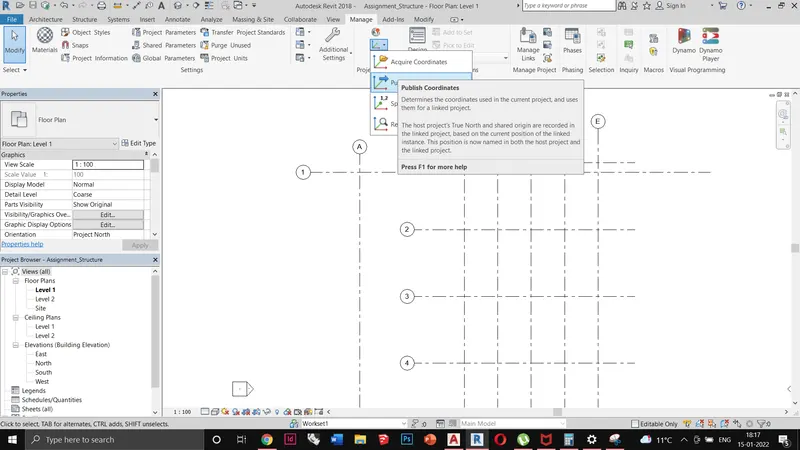
Publishing the coordinates
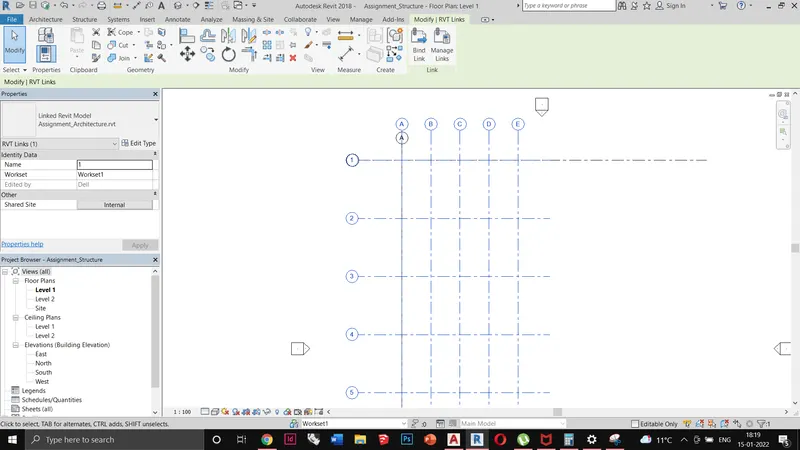
after publishing the coordinates and placing the grid overlap with the structure grid.
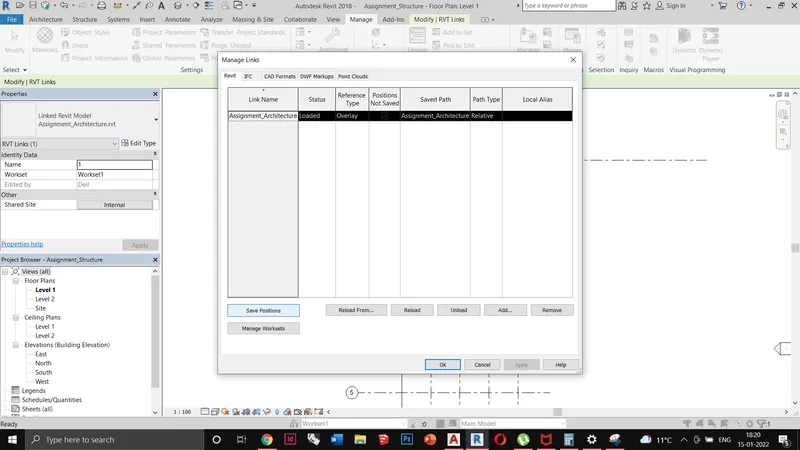
Going to the manage tab and saving the position
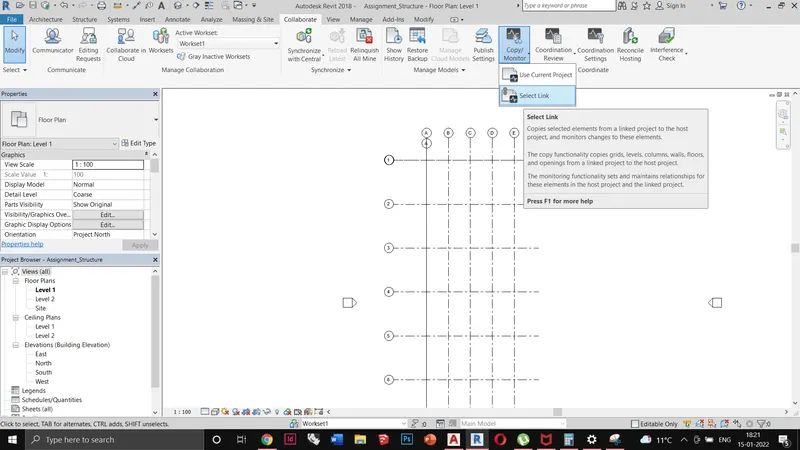
Go to the copy monitor tab and select the select link.
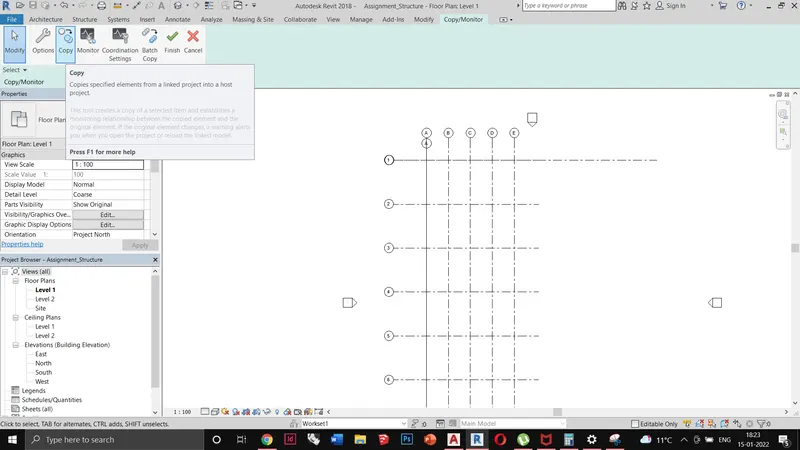
Select the copy option and select all the grids of the architecture model.
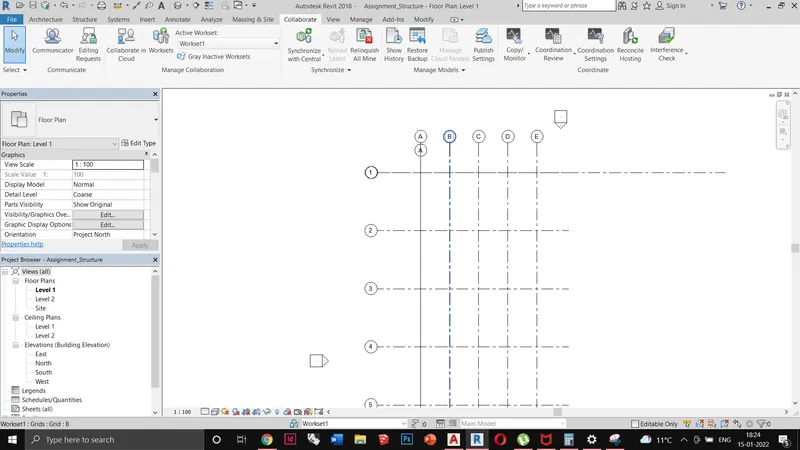
Grids are copied in the structure model.
Q8) Ans:
Aim:
Creating a new construction template and linking the architecture & structure template.
Introduction:
* Revit allows linking multiple files in an open file..It can be CAD, Revit, or IFC files.
* These are imported files and work as external files and no items are selectable within that.
Procedure:
* Create a new construction template.
* Go to collaborate and select the collaborate within the computer option.
* Go to manage links.
* Add the architecture and structural files by origin to origin coordinates.
* Check whether the files are placed at the same location.
Result:
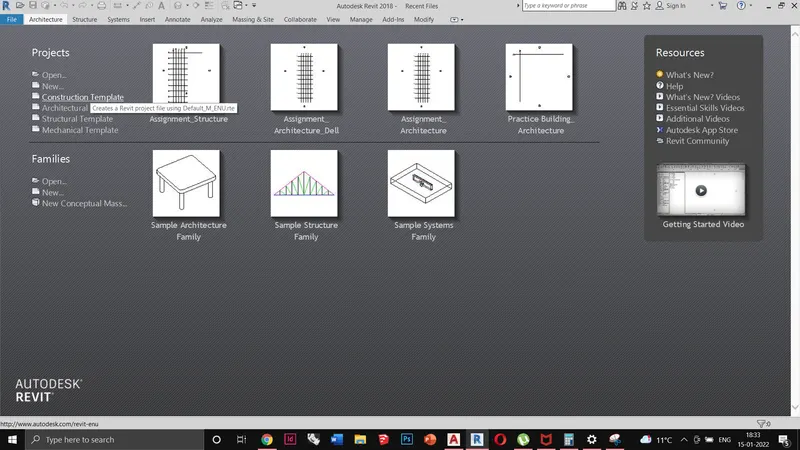
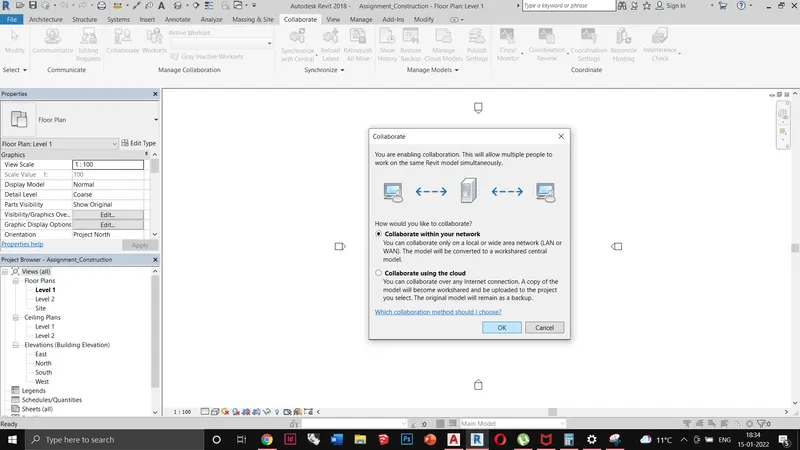
Making it the central model.
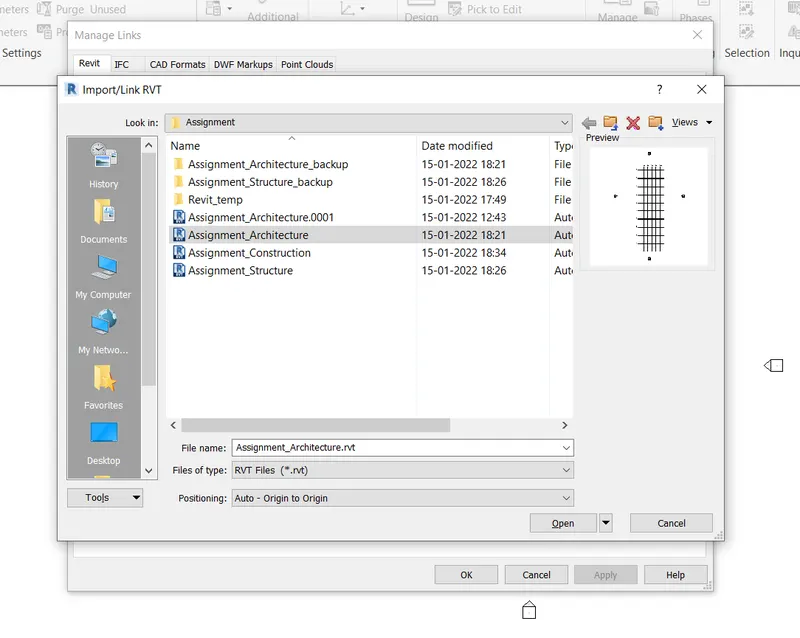
adding the architecture model
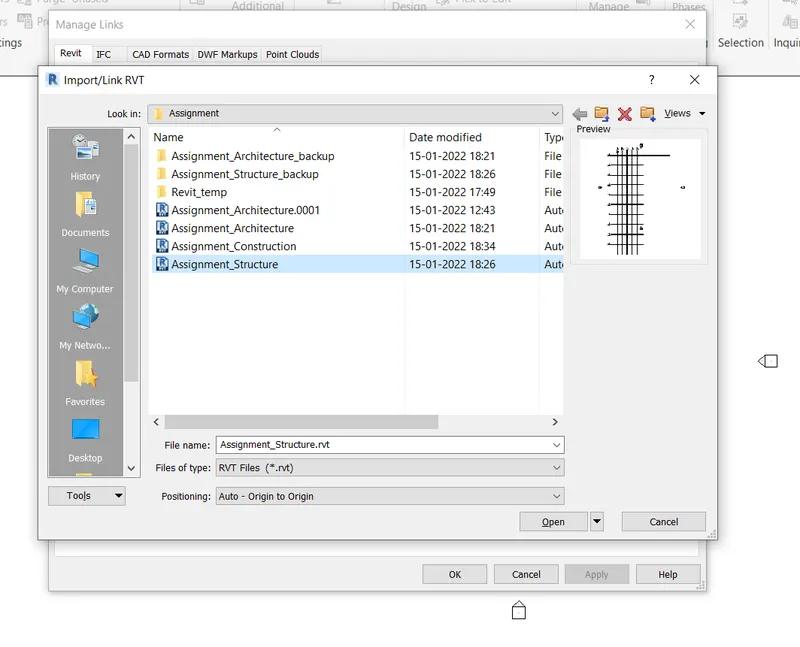
adding the structure model
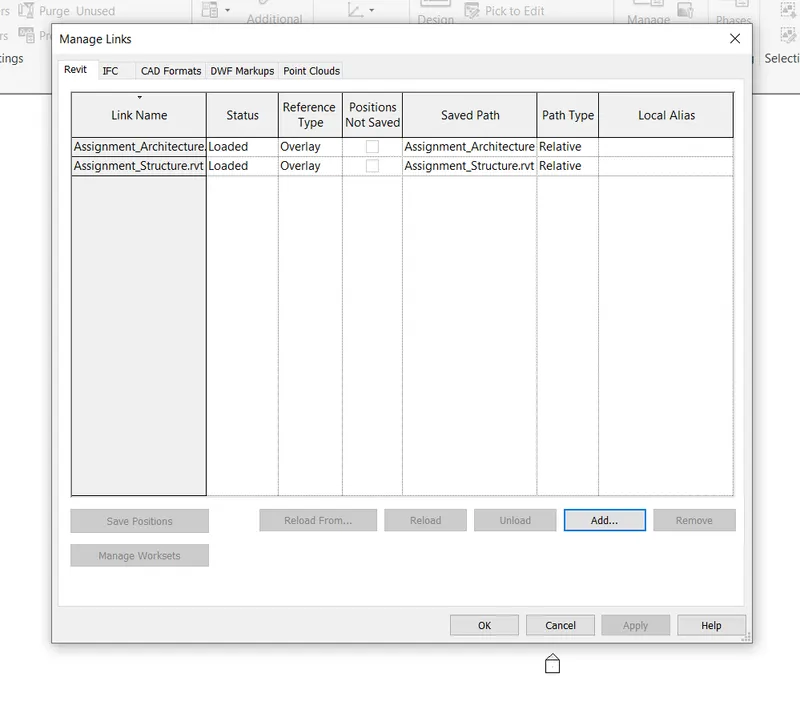
both the models have been added to the construction model.
Q9) Ans:
Aim:
To check whether the grids are placed in the same position.
Results:
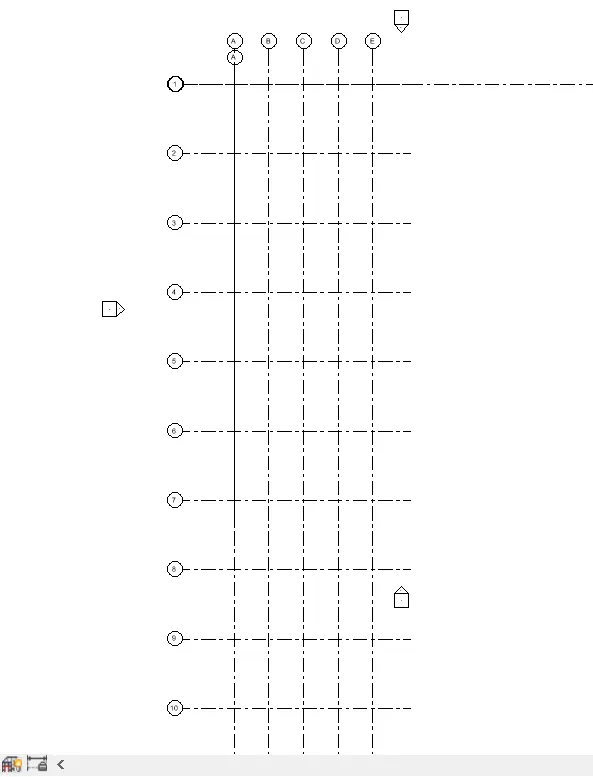
We can see that the grids of both the architecture and structure model have been placed at the same location in the construction file.
Q10) Ans:
Aim:
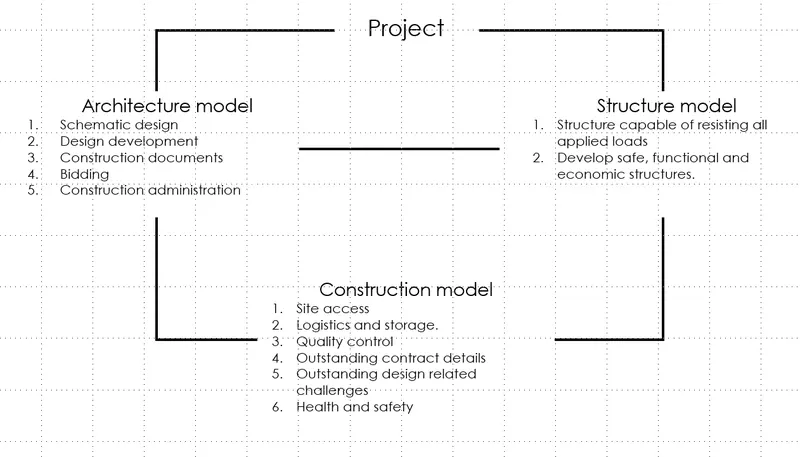
To make a flow chart of a project tree set up in terms of Construction model, Architecture & Structure model.
Result: