Usage of Collaborate tool in REVIT
1) Open an architectural template. Using the Manage tab set project base point and project shared coordinates for the project
Procedure:
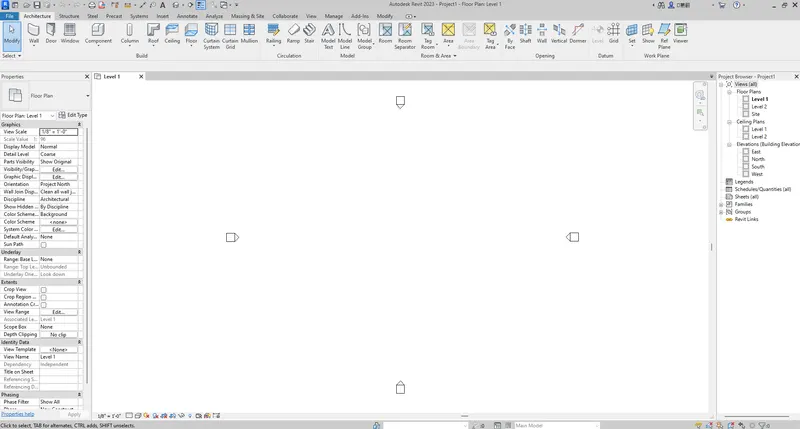
- Open Revit new Architectural template.
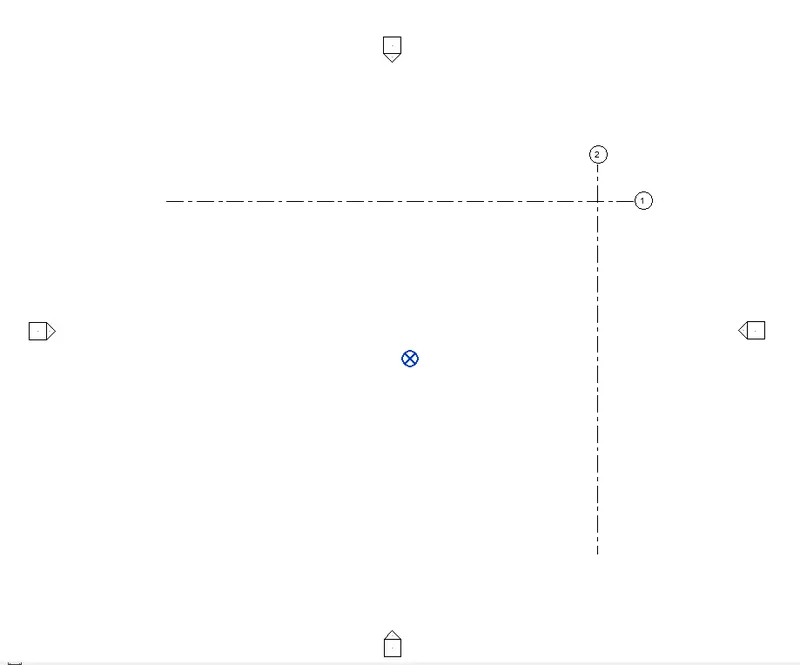
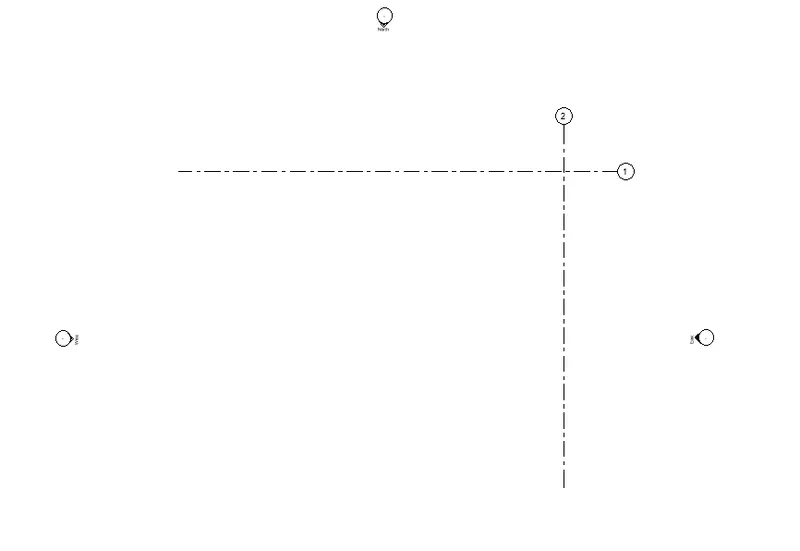
- Draw grids
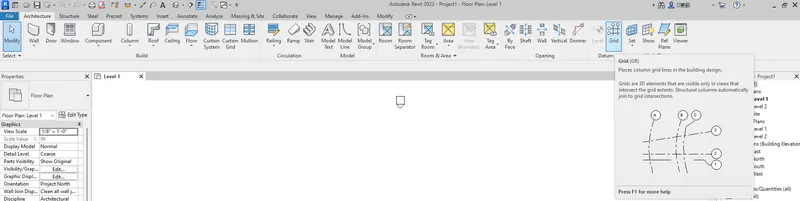
- Select the grid tool in architecture tab.
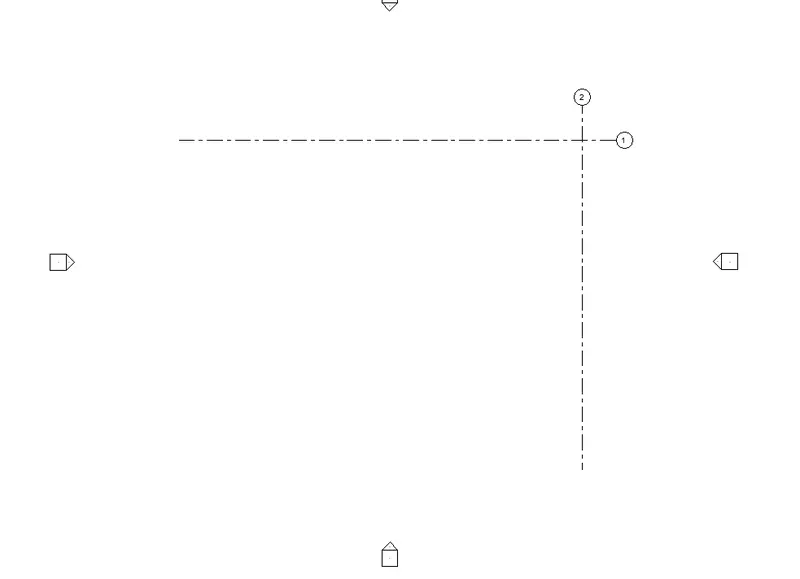
- Draw one horizontal and one vertical grid in the work plane.
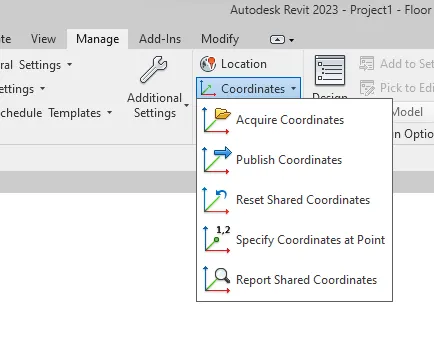
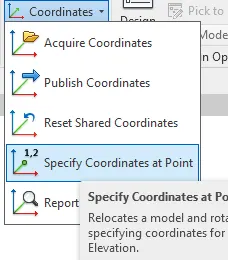
- Go to the drop down of the coordinate tool in the manage tab.
- Select the specify coordinates at point.
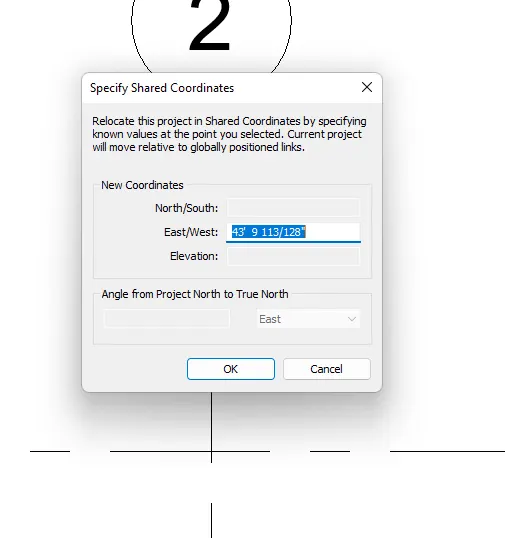
- click the point on the intersection of the grid where the coordinate has to be placed.
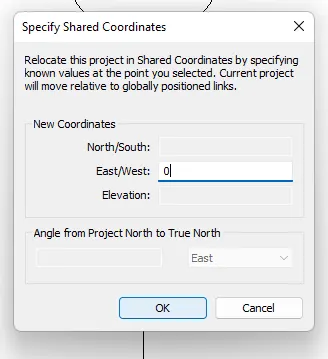
- Enter 0 in the East/West & click ok :
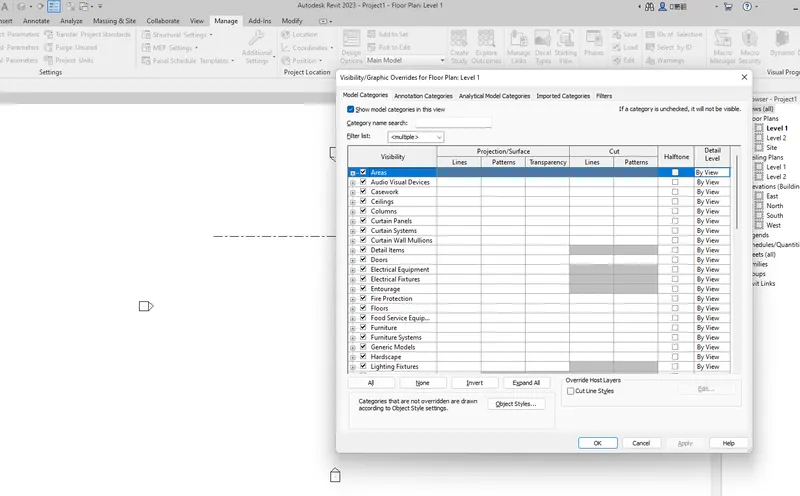
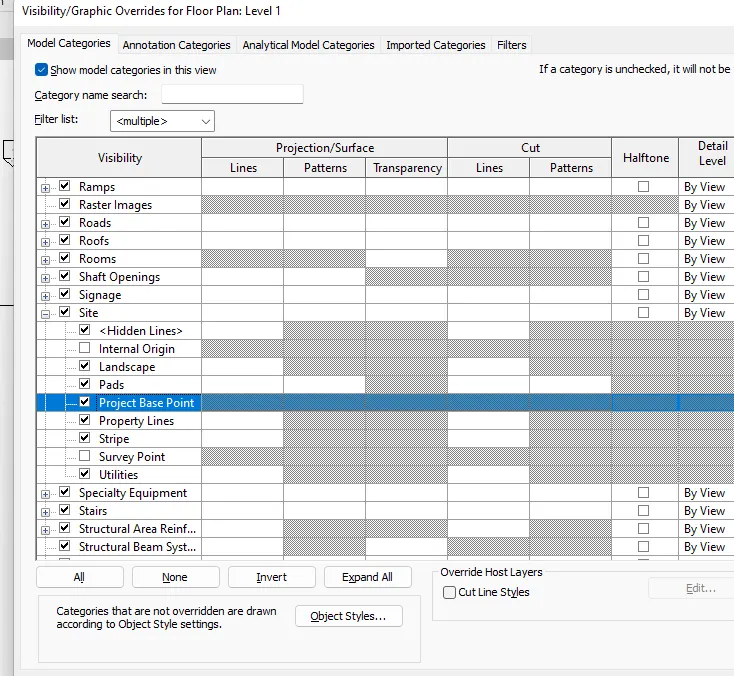
- enter vg command and visibility graphics box will pop up
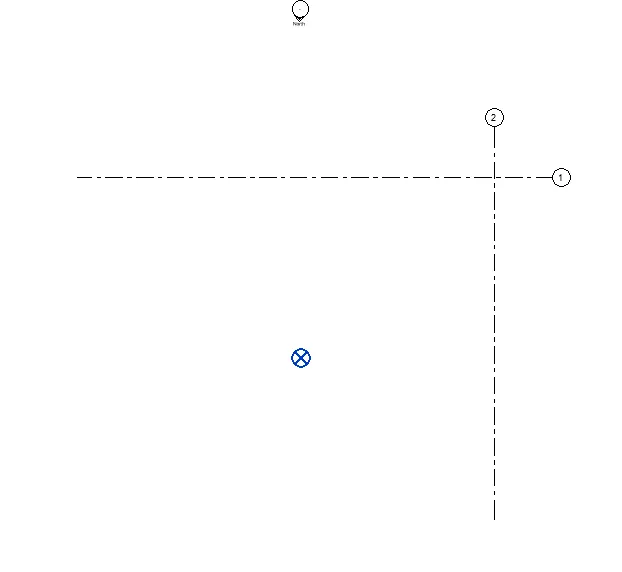
- in the list expand the site option and tick on the base point option & click on ok.
- After clicking ok project base point is visible in the project.
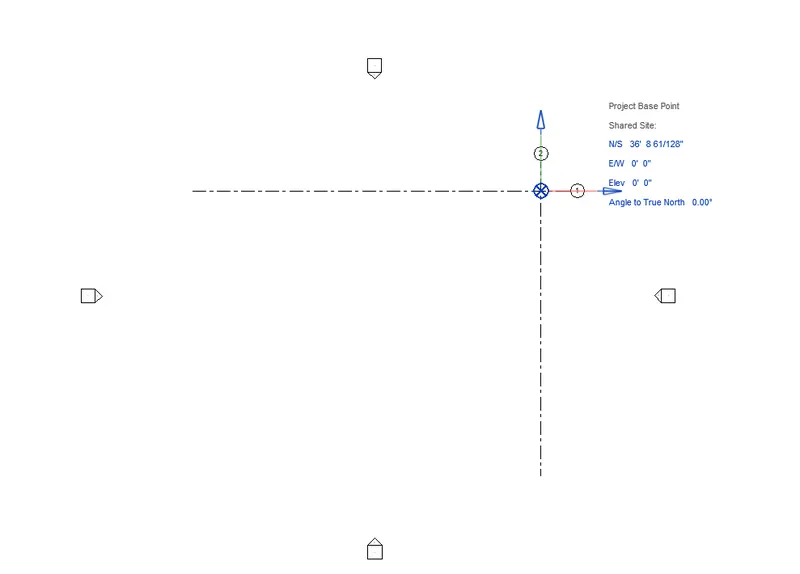
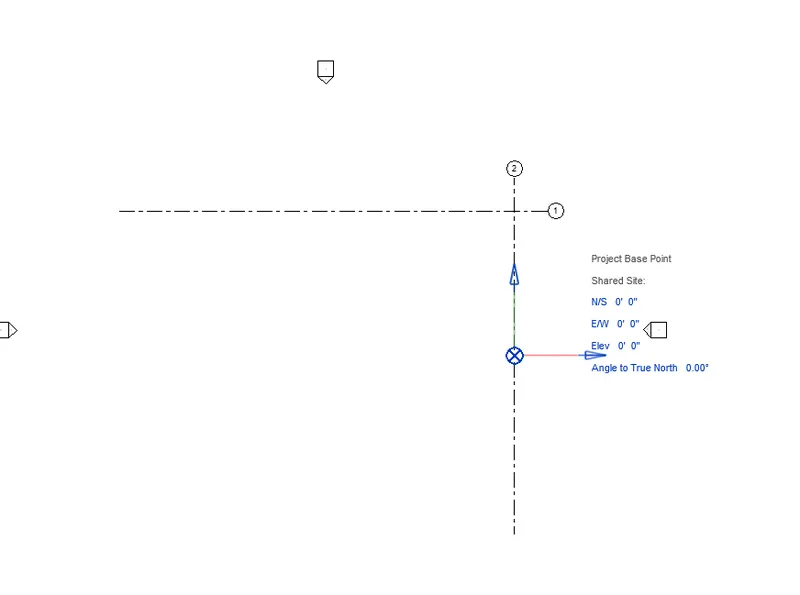
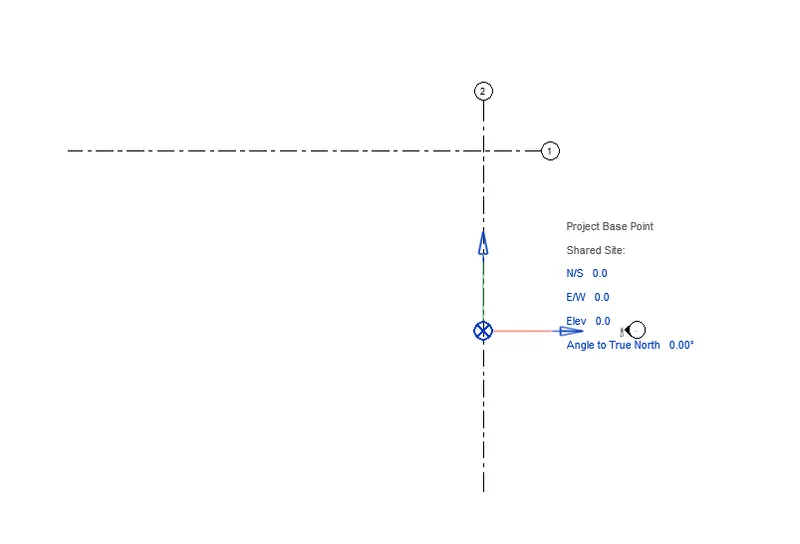
- Now drag and move the project base point ot the intersecting point of the grids.
- Now we can edit all the direction values to zero and see the zero base point for the direction and elevation.
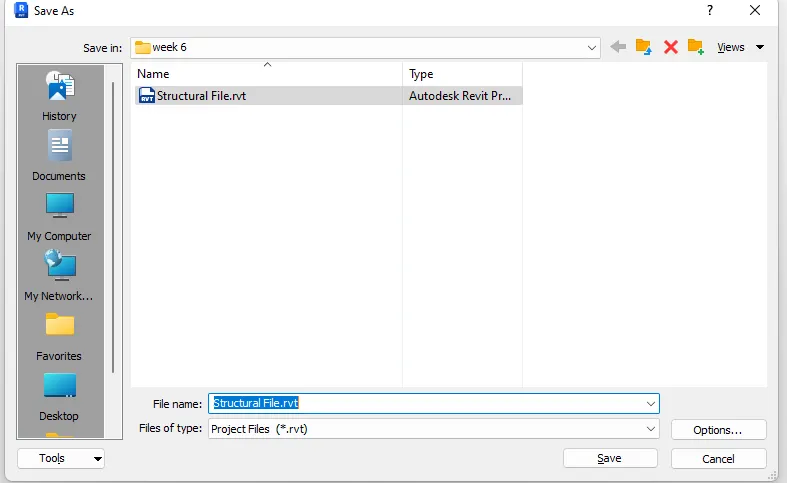
- Now save the file.
- Go to the file tab and select the save as option.
- Save the file in the device.
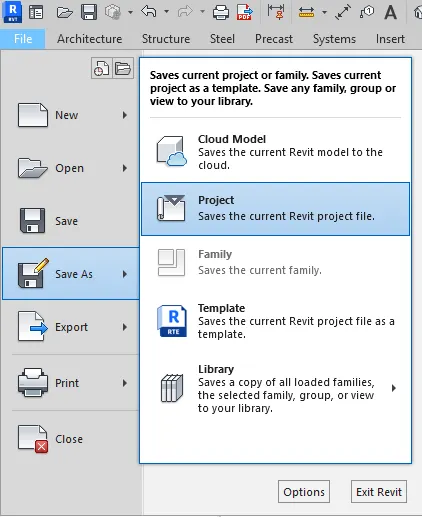
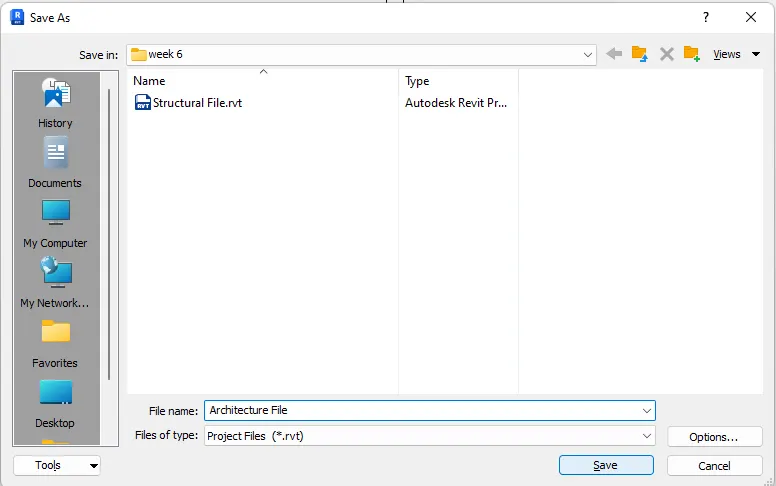
2) Open another new file but with a structural template. Using the manage tab set project parameters the same as the architectural model. Copy the parameters from the architectural model to the structural template or enter the parameters manually into the structural model
Procedure:
- Go to the file tab in the left corner and select the new project option.
- Select the structural template and click ok.
- Draw grids
- Select the grid tool in architecture tab.
- Draw one horizontal and one vertical grid in the work plane.
- Go to the drop down of the coordinate tool in the manage tab.
- Select the specify coordinates at point.
- click the point on the intersection of the grid where the coordinate has to be placed.
- Enter 0 in the East/West & click ok :
- enter vg command and visibility graphics box will pop up
- in the list expand the site option and tick on the base point option & click on ok.
- After clicking ok project base point is visible in the project.
- Enter zero for all the direction and the elevation.
- Now save the file.
- Go to the file tab and select the save as option.
- Save the file in the device.
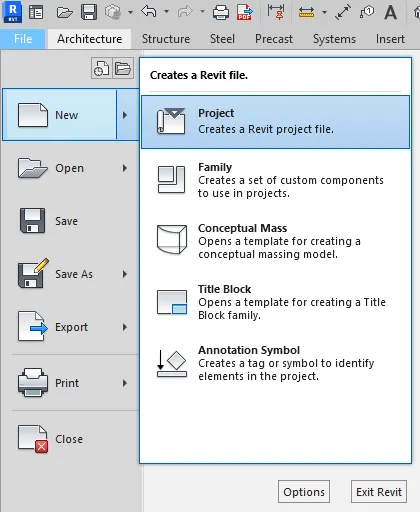
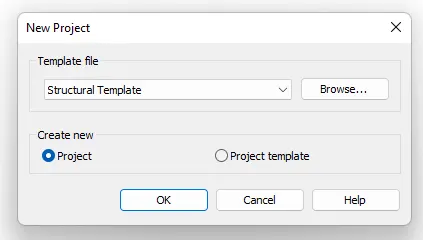

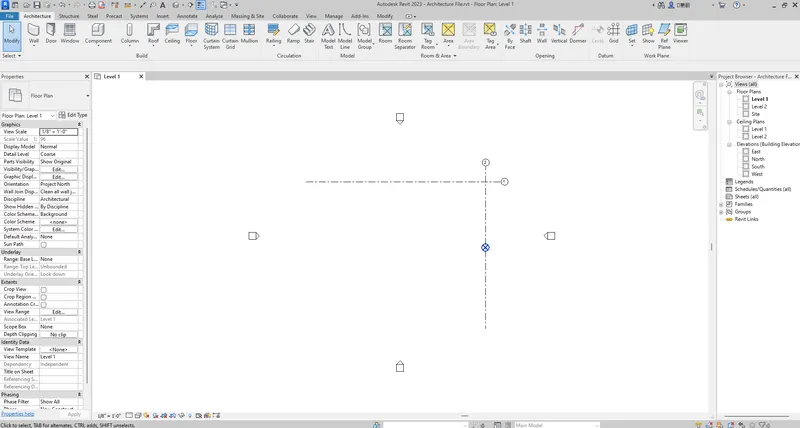
3) Re-open the architectural model. Using the tools under the Collaborate tab make the architectural model a central model (enabling simultaneous working on the model)
Procedure:
- Open the Architecture file.
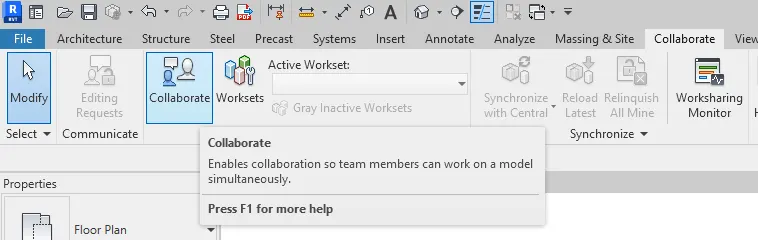
- select the collaborate tool in the collaborate tab.
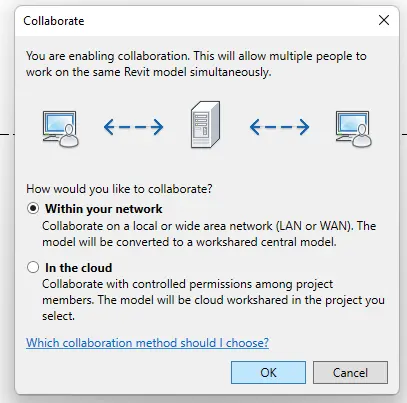
- Select with in your network and click on ok.
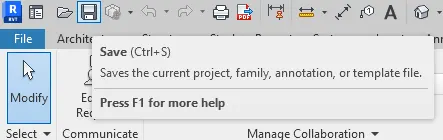
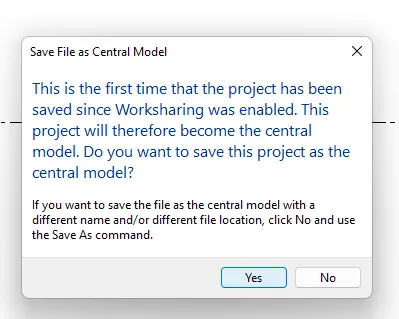
- click on the save button on the top left bar .
- click on Yes.
4) Create the Grids Longitudinal and Transverse pattern for the project similar to the task done in Week 2
Procedure:
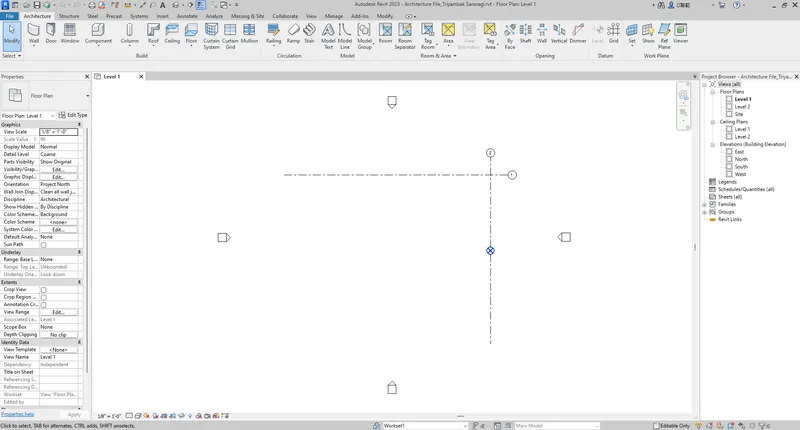
- open the Architectural central Model file.
- Select the Grid Tool in Architecture tab.
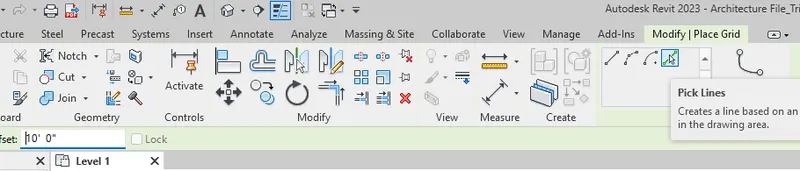
- Select the pick line tool and enter the offset of 10' 0".
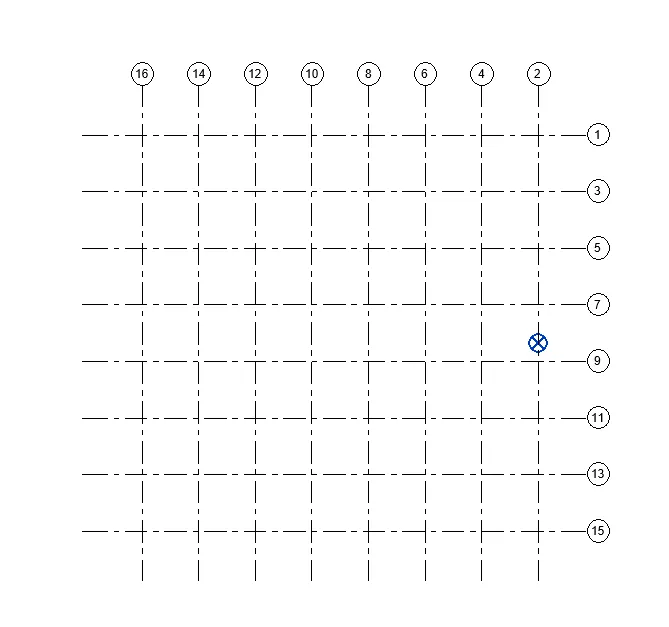
- Now make some more grids.

5) Synchronize the changes from the local copy to the central file of the architectural model.
Procedure:
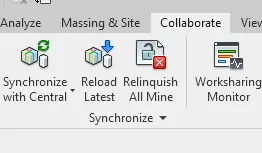
- Goto collaborate tab.
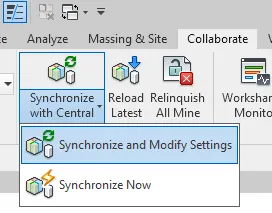
- Select the drop down of the Synchronize with central tool.
- Select Synchronize and modify settings.
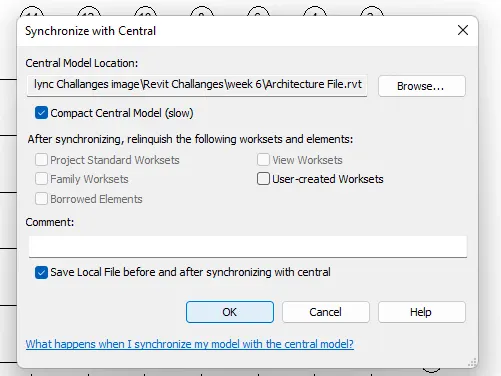
- check the Compact central Model and click on ok.
6) Open the structural model and use the collaborate tools to save the model as a central file.
Procedure:
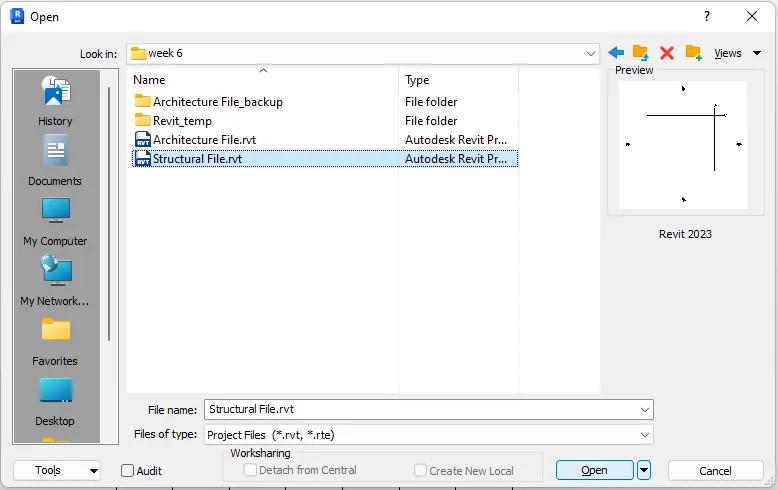
- Open the Structural File.
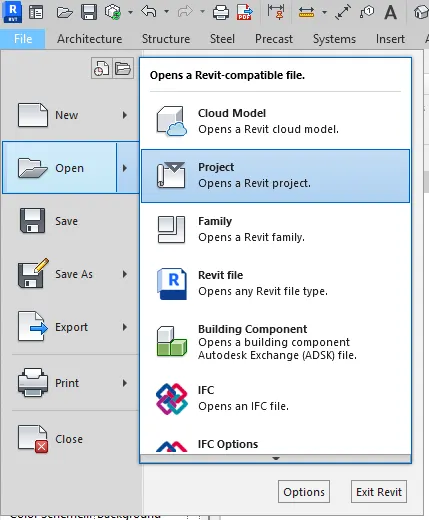
- Go to File tab top left corner select the open then project option.
- Select the structural file and click on open.
- select the collaborate tool in the collaborate tab.
- Select with in your network and click on ok.
- click on the save button on the top left bar .
- click on Yes.
7) Under the Collaborate tab, select the grids and levels from the architectural model, and using Copy Monitor try to copy the grids to the structural model. See what happens when the copy monitored grid is moved around in the structural model.
Procedure:
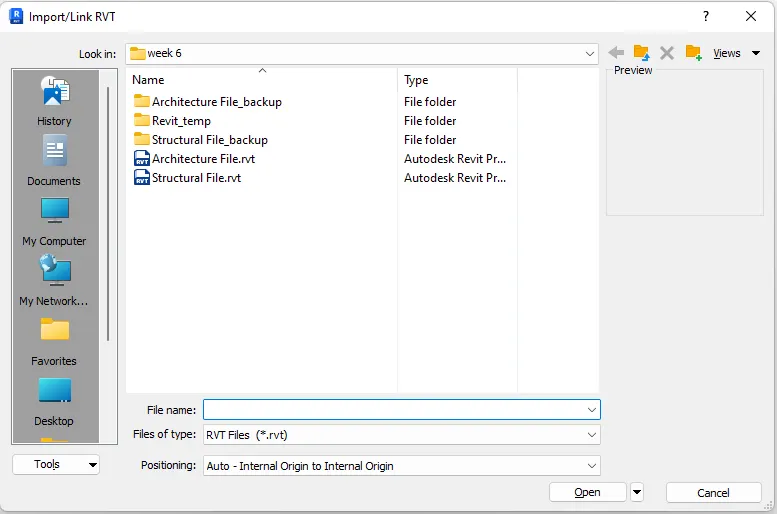
- Goto Insert tab.
- Select the Link Revit tool.
- Select the Architecture file and click on open.
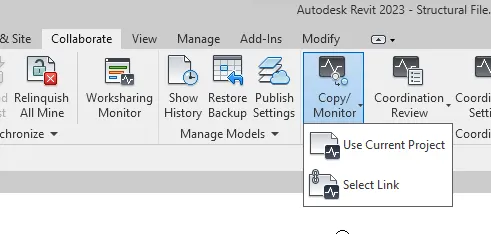
- Select the copy monitor tool in the collaborate tab.
- Select the Select link option & select the linked architecture file in the work space.
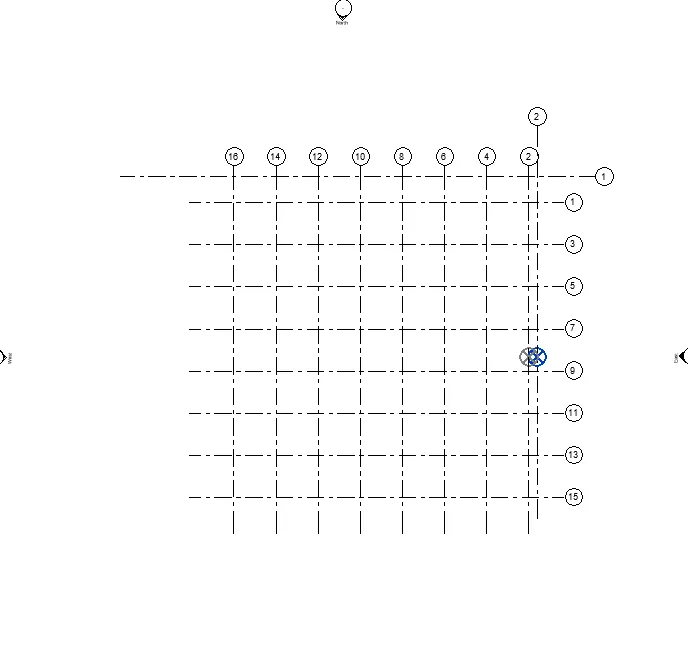
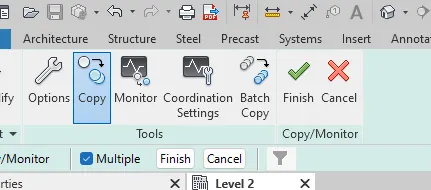
- Select the copy tool in the copy/monitor tab and choose multiple in copy tool.
- Select all the grids of the architectural file and click on the copy finish then click on the copy/monitor finish tool.

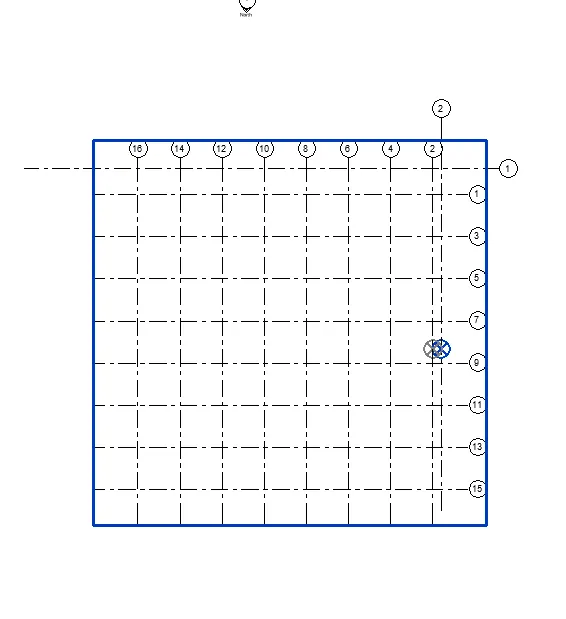
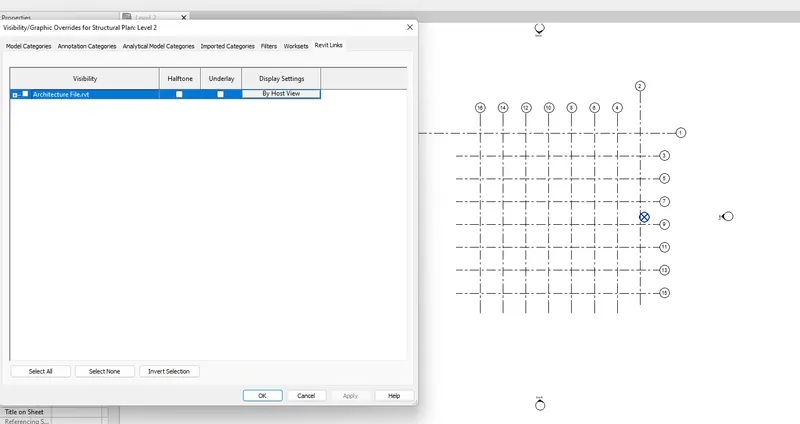
8) Create another new file with a construction template. Save the new file as a central model. This file will include both architectural and structural model. Under the manage tab, Click manage links to link both architectural and structural files. Save the file and close all the files.
Procedure:
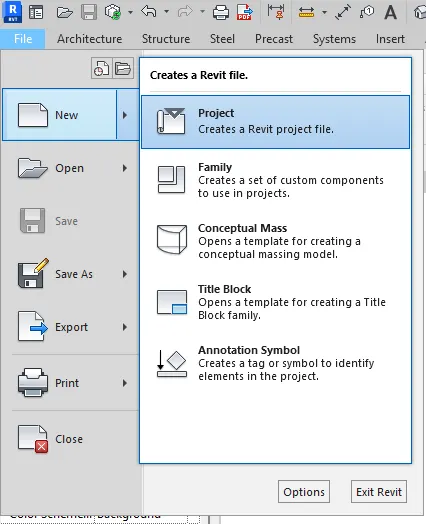
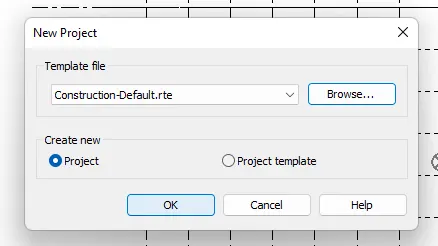
- Go to file tab on the top left corner and choose new and project option.
- Select the Construction Template.
- select the collaborate tool in the collaborate tab.
- Select with in your network and click on ok.
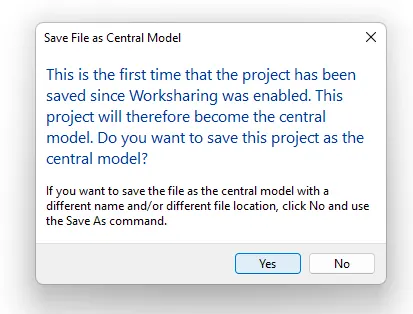
- click on the save button on the top left bar .
- click on Yes.
- Goto Insert tab.
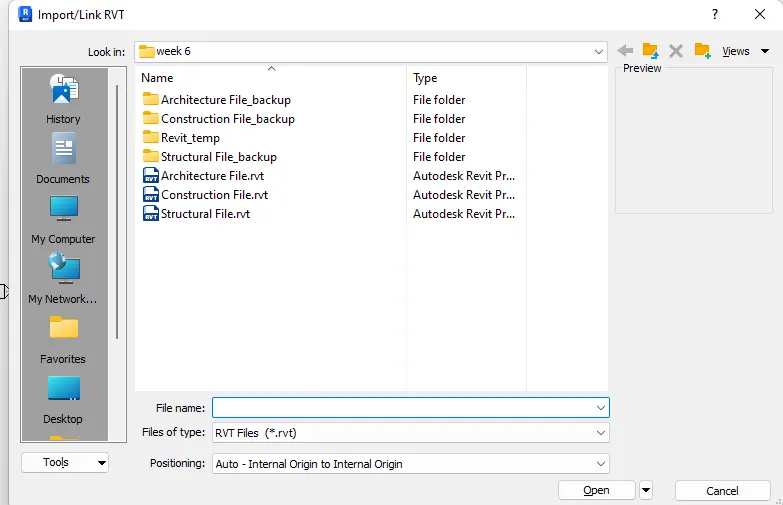
- Select the Link Revit tool.
- Select the Architecture file and click on open.
- Goto Insert tab.
- Select the Link Revit tool.
- Select the Structure file and click on open.
- Bothe the files have been successfully linked with the construction file.
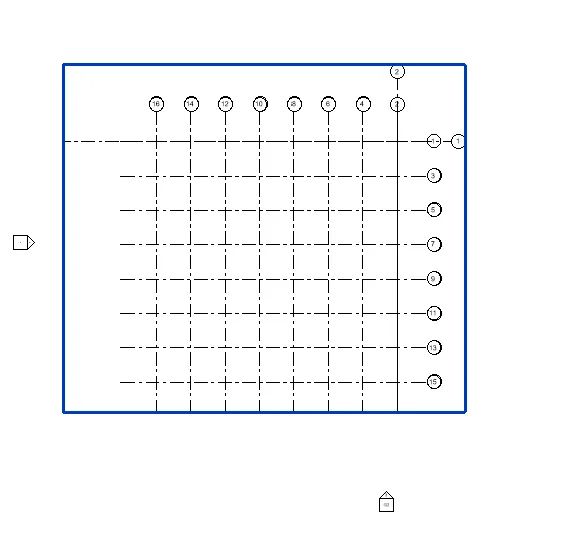
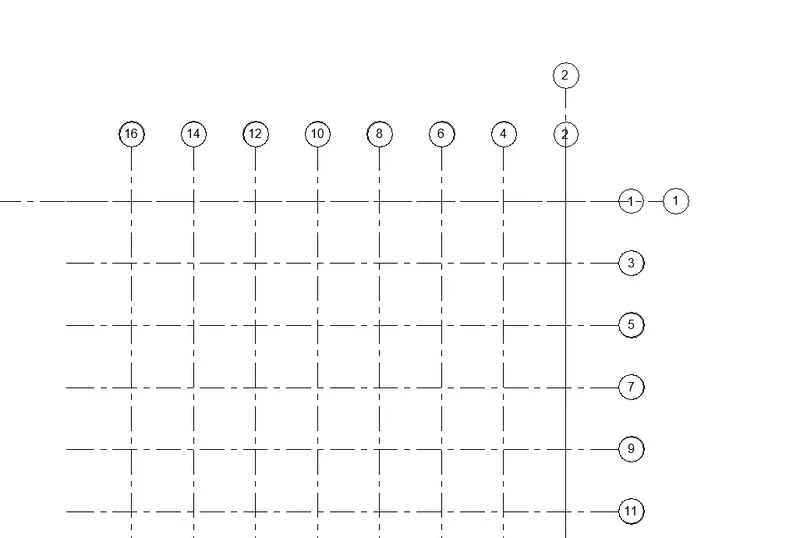
9) Are the grids from structural and architectural model matching in the construction template created? If yes the model is set up for project 2. If not work on the shared parameters and linking options under Manage links
( Hint: origin to origin, by shared coordinates or by project base point to base point ) to link the models in an appropriate manner
Procedure:
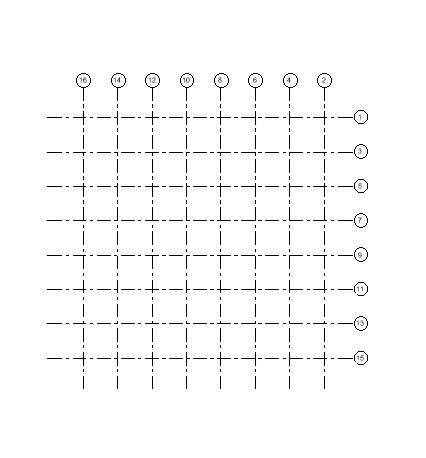
- Yes the grids from structural and architectural model matching in the construction template created.
- So Saving the file.
10) List a flow chart of a project tree set up in terms of Construction model, Architecture & Structure model, in this exercise and understand how many people can work on the same project using Revit simultaneously
Solution:
- Construction Model
- Architectural Model
- Modelling walls.
- Modelling Doors.
- Modelling Windows.
- Assigning Materials.
- Modelling Architectural Flooring's.
- Modelling Architectural Roofing's & Ceiling's.
- Enables to provide geographics condition.
- Modelling Staircase.
- Creates Openings.
- Architectural Model in overall contributes to the aesthetic beauty of the building.
- Structural Model
- Modelling Column.
- Modelling Beam.
- Modelling Footing.
- Modelling Structural floor.
- Modelling Labs.
- Modelling Trass System.
- Modelling Connections.
- Structural Model in General develops the entire framework of the structure.
- Architectural Model
many people can work on the same project using Revit simultaneously are :
Architectural People, Structural People, Mechanical People, Electrical People, Plumbing People etc.