Usage of Collaborate tool in REVIT
1) AIM : Using the Manage tab set project base point and project shared coordinates for the project.
INTRODUCTION : In architecture tab set project base for project and shared coordinates for project.
PROCEDURE:
Step 1: first open architectural tab
Step 2 : now create two grid in this project
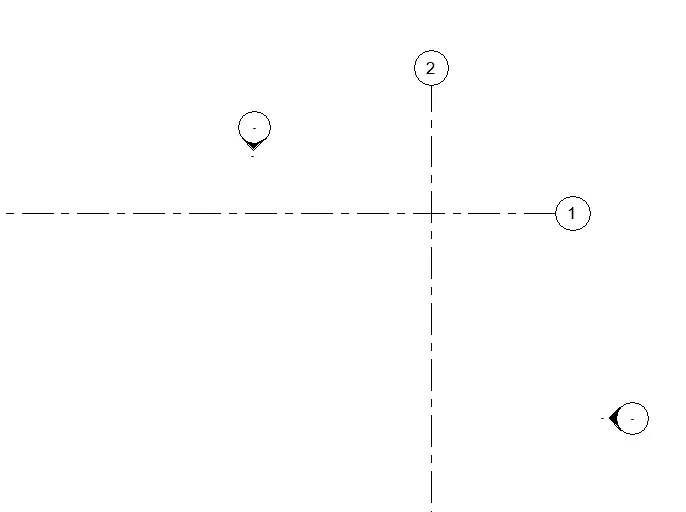
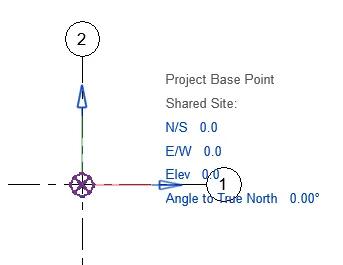
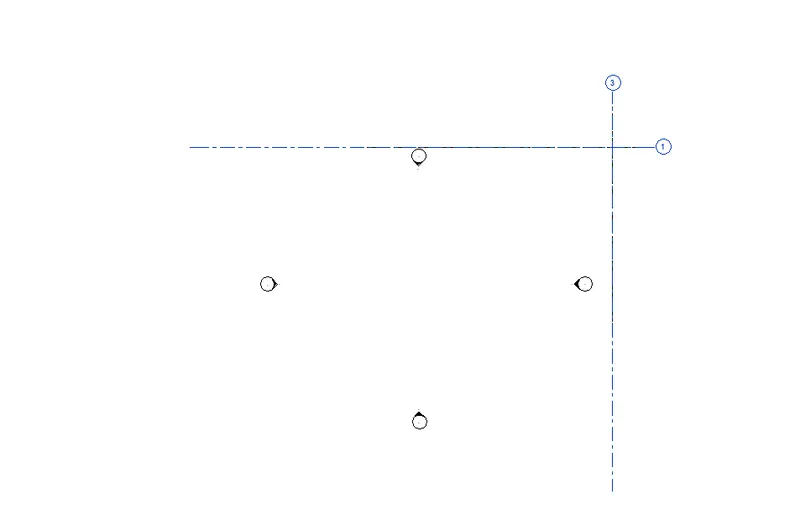
Step 3: now go manage tab and go to project location. select specify coordinates at point in shared cooridanate.
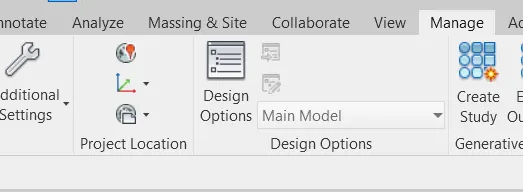
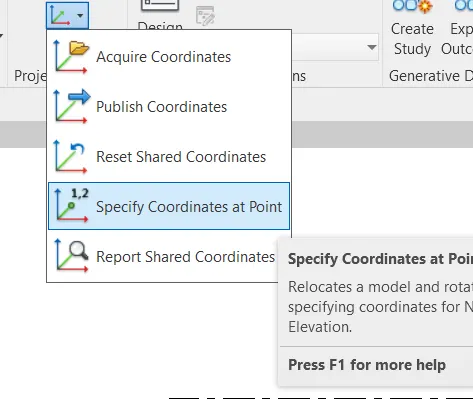
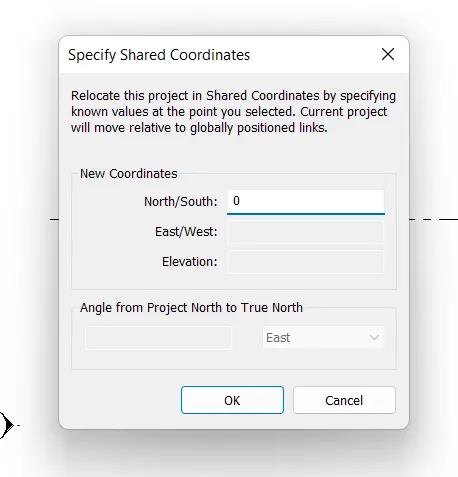
Step 4 :now select grid then automatically shared coordinates pop up then type new coordinate (0,0)
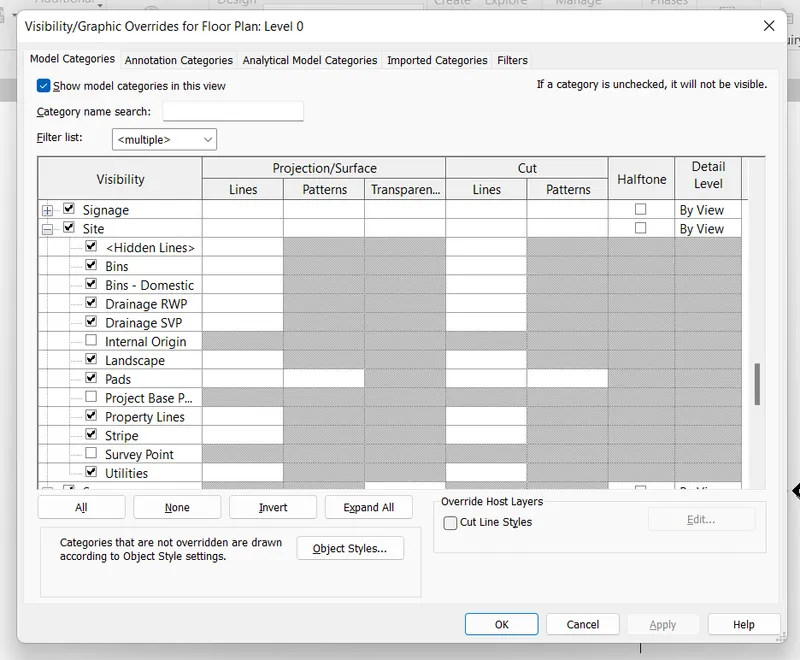
Step 5 : now type "VG" and select site and tick on project base
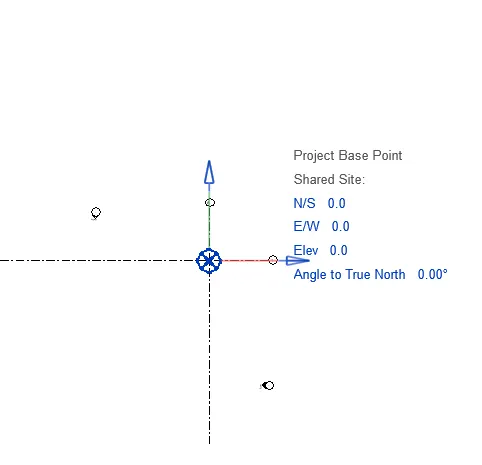
RESULT :
2) AIM : Open another new file but with a structural template. Using the manage tab set project parameters the same as the architectural model.
INTRODUCTION : In structure tab set project base for project and shared coordinates for project.
PROCEDURE:
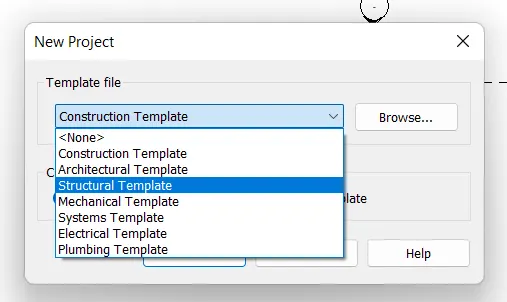
Step 1: first open structural templete
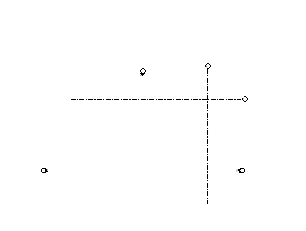
Step 2 : now create two grid in this project
Step 3 :now go manage tab and go to project location. select specify coordinates at point in shared cooridanate.
Step 4 :now select grid then automatically shared coordinates pop up then type new coordinate (0,0)
Step 5 : now type "VG" and select site and tick on project base
RESULT:
3) AIM : Re-open the architectural model. Using the tools under the Collaborate tab make the architectural model a central model.
INTRODUCTION : use collaborate tab make the file central. once a file is central then if any changes done of copy of central file, automaticlly updated in it.
PROCEDURE:
Step 1 : first open architectural file again
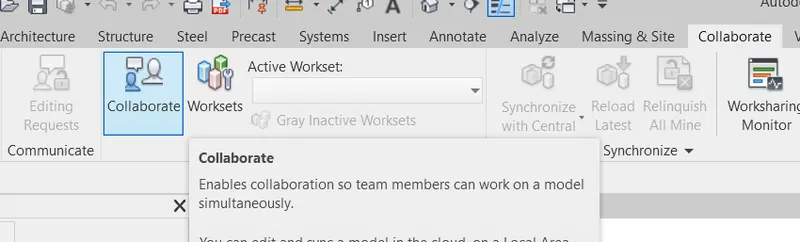
Step 2 : go to collaborate tab
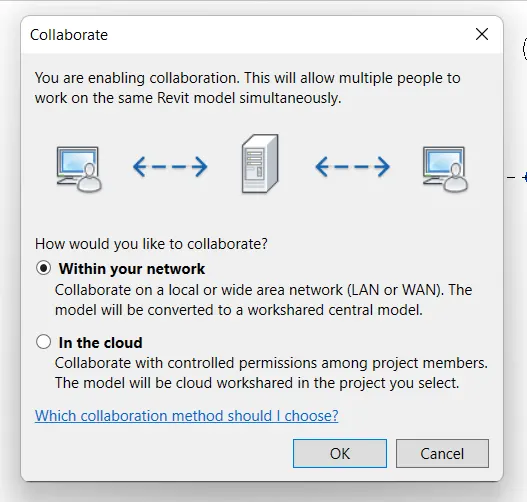
Step 3 : select withn the network in pop up dilague box
RESULT :
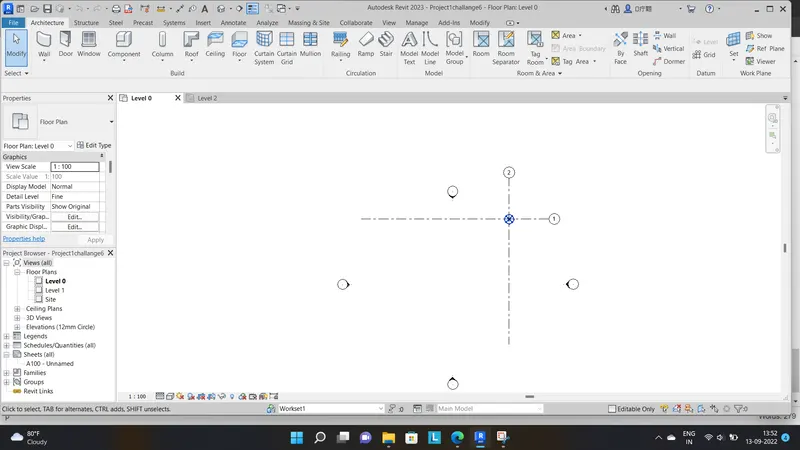
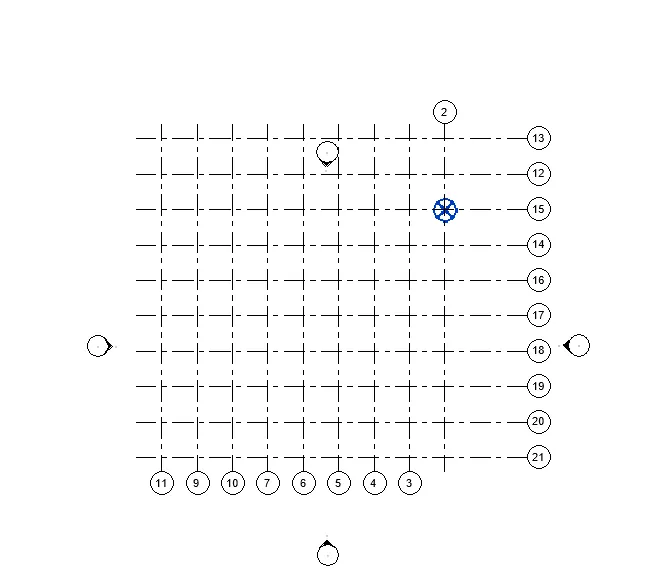
4) AIM : Create the Grids Longitudinal and Transverse pattern for the project
INTRODUCTION : create grids same as week 2.
PROCEDURE :
Step 1 :go to architecture tab.
Step 2 : select grids and select pick up line and offsset it 1000mm.
Step 3 : Now start creating grids in longiitudinal and transverse direction.
Result :
5) AIM : Synchronize the changes from the local copy to the central file of the architectural model.
PROCEDURE :
Step 1 : first make it central file.
Step 2 : after that go to synchronize with central tab,then click
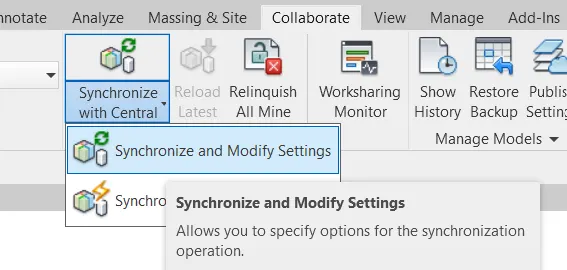
Step 3 : click on synchronize and modify setting then click okk then file is synchronize with cental.
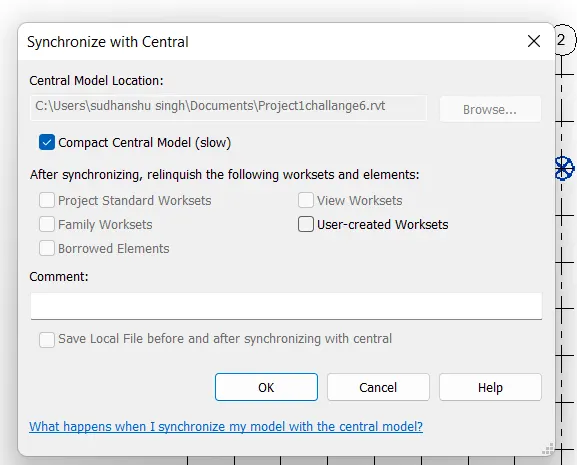
Result :
6) AIM : Open the structural model and use the collaborate tools to save the model as a central file.
INTRODUCTION : use collaborate tab make the file central. once a file is central then if any changes done of copy of central file, automaticlly updated in it.
PROCEDURE:
Step 1 : first open structural file again
Step 2 : go to collaborate tab
Step 3 : select withn the network in pop up dilague box
RESULT :
7) AIM : select the grids and levels from the architectural model, and using Copy Monitor try to copy the grids to the structural model.
INTRODUCTION : we already created architectural and structural file. so first link the architectural file into structural file.
PROCEDURE :
Step 1 : go to structural file that is already created.
Step 2 : go to insert tab and click on revit link
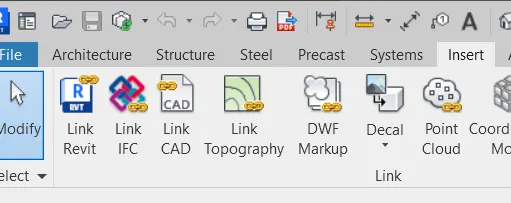
Step 3 : after that chhose architectural file that i have to link in structural file.
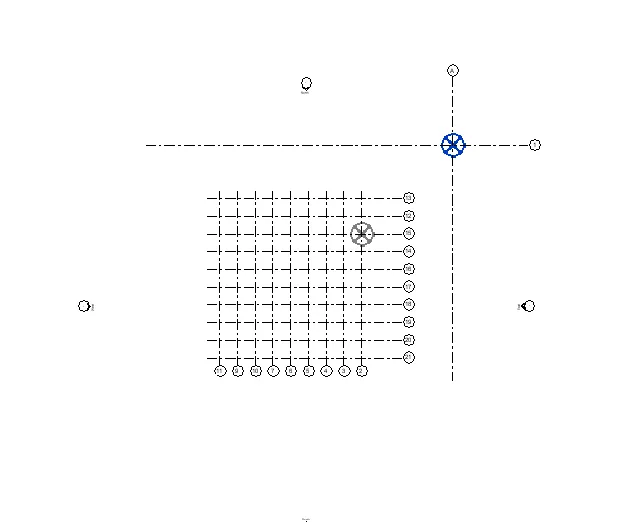
Step 4 : now copy/monitor the link
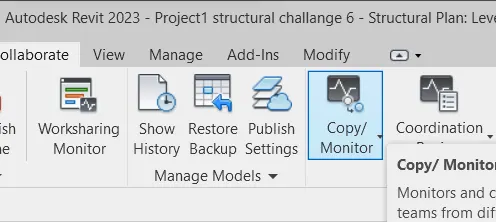
Step 5 : copy the part you want to
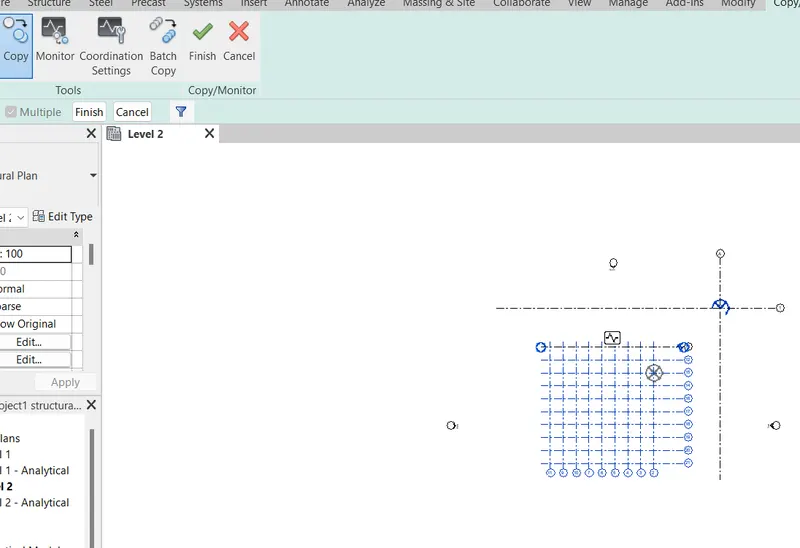
Step 6 : finish it
RESULT :
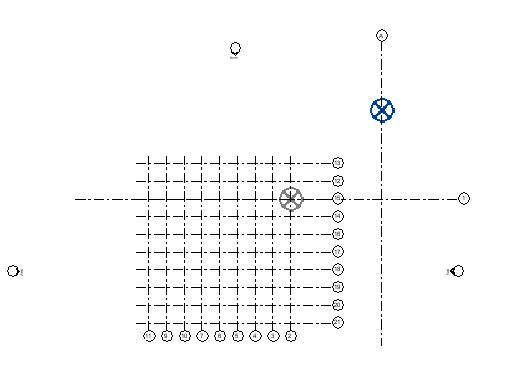
8) AIM : Create another new file with a construction template. Save the new file as a central model. This file will include both architectural and structural model. Under the manage tab, Click manage links to link both architectural and structural files. Save the file and close all the files.
INTRODUCTION : In the revit, first create construction tamplete file,then link it with architcture and structural tamplet file.
PROCEDURE :
Step 1 :first create construction file
Step 2 : now make it central file
Step 3 : now go to manage/ insert tab
Step 4 : go to revit link and choose file architecture file and after that choose structure file
Step 5 : now save it and close
RESULT :
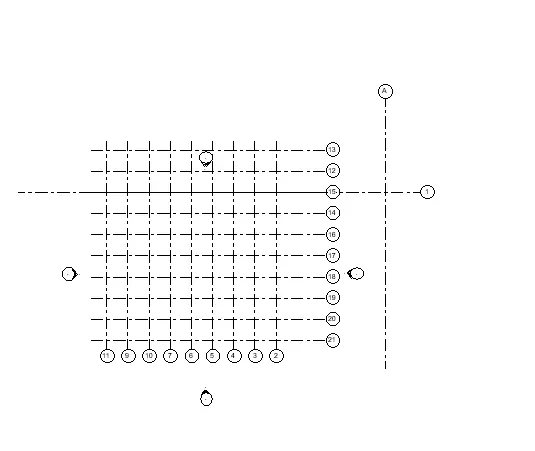
9) YES, the grids from structural and architectural model arematching in the construction template created.
10) Flow chart of a project tree set up in terms of Construction model, Architecture & Structure model :
Construction Model
Architectural Model Structural Model
>Modelling walls >Modeling column
>Modelling windows >Modeling beam
>Modelling doors >Modeling foooting
>assigns materials >Modeling structural floors
>Modelling architectural floorings >Modeling labs
>Modelling architectural roofing's and cellings >Modeling tress systems
>Enables to provide the geographic conditions of >Modelingnconnection
> Modelling staircase
>Creates openings
> Architectural model in ovaerall contributes
to the aesthestic beauty of a building
- There are multiple people work on diffferent parts of one Revit project if file is enabled worksharing.