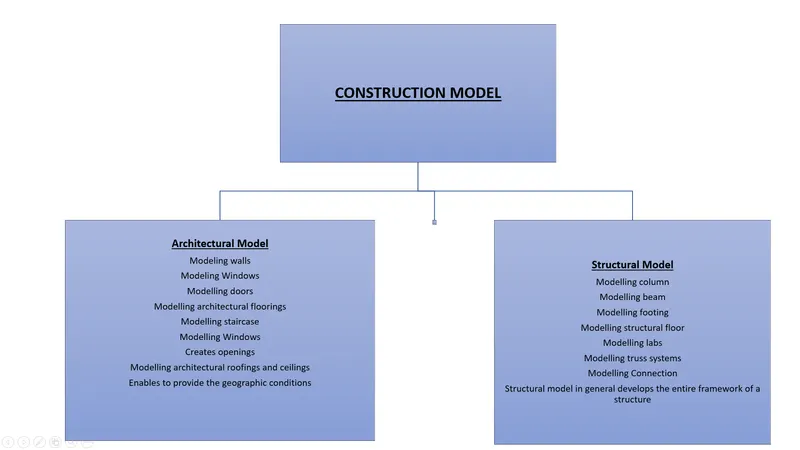
Usage of Collaborate tool in REVIT
CHALLENGE 6
Q1)
AIM: To set project base point and project shared coordinates for the project
Step 1: Go to Revit software and select file and click new
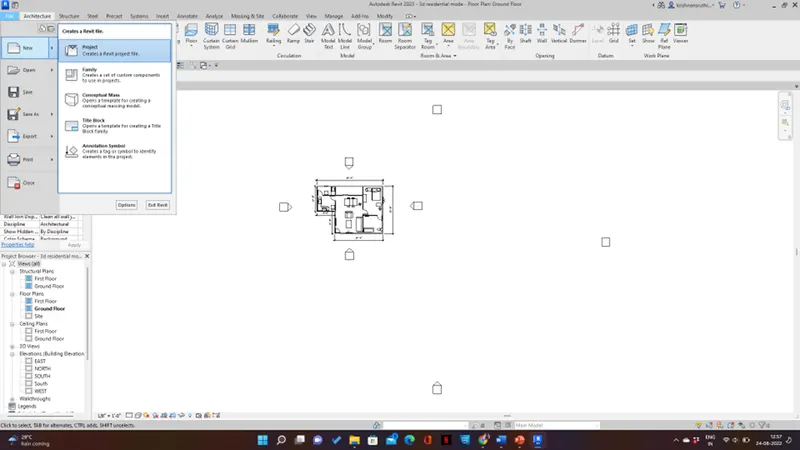
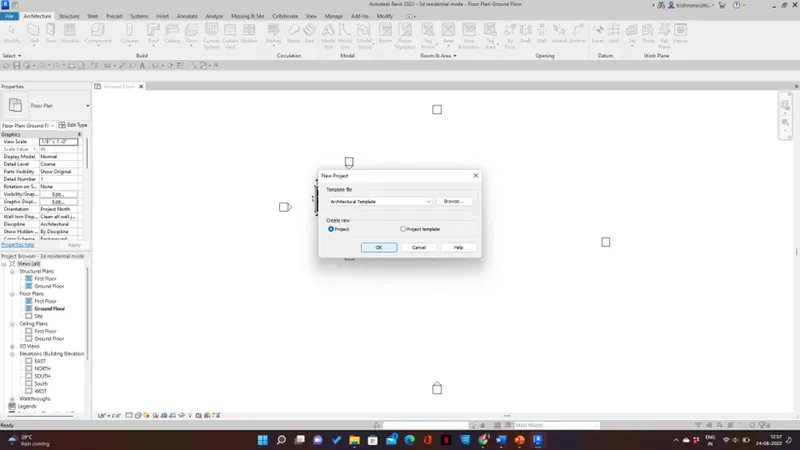
Step 2: Select the architectural template and click ok
Step 3: Select the grid from the ribbon tab
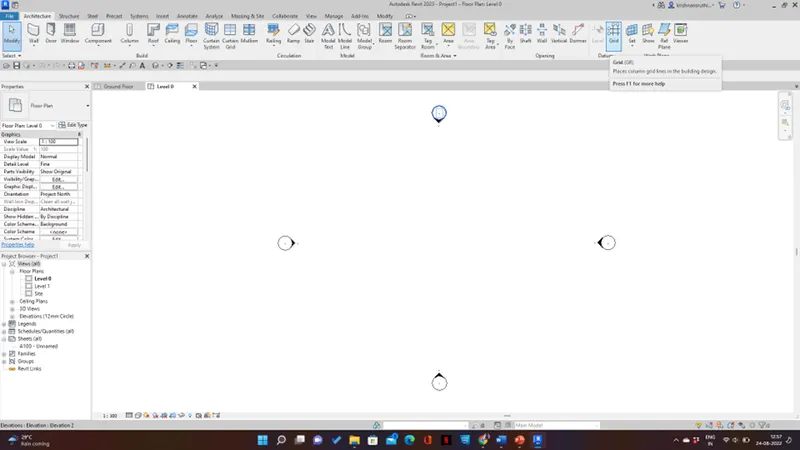
Step 4: Select the line option and draw one horizontal and vertical grids
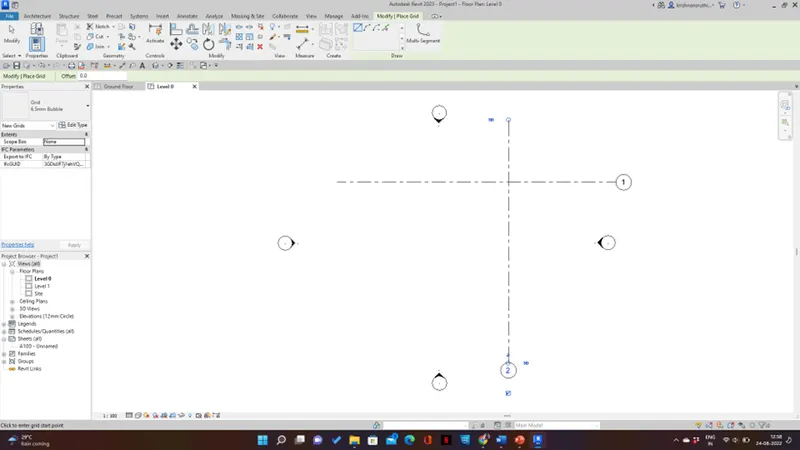
Step 5: Click the Manage tab and select project coordinates
Step 6: Click co-ordinates and select specified coordinates at point
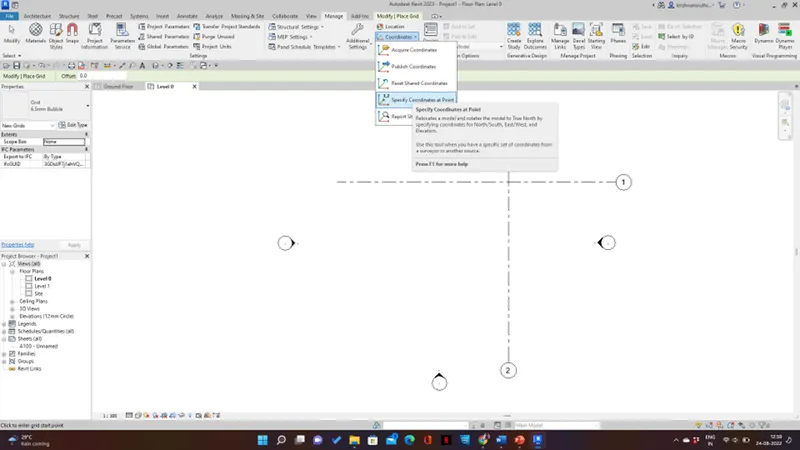
Step 7: Click on the center of the grids
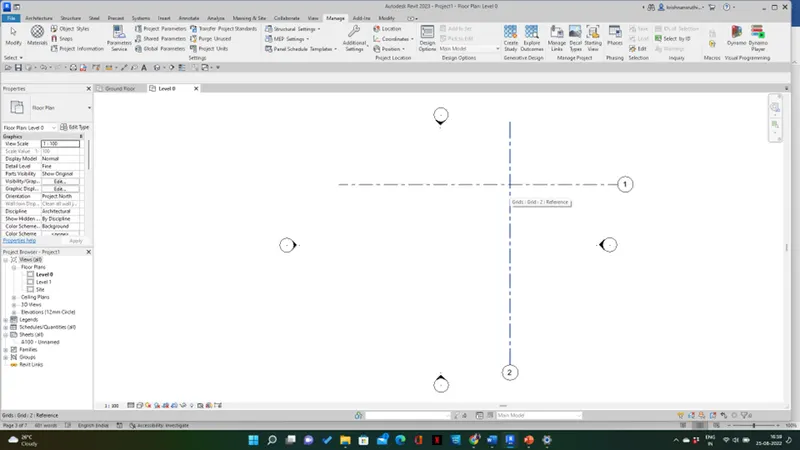
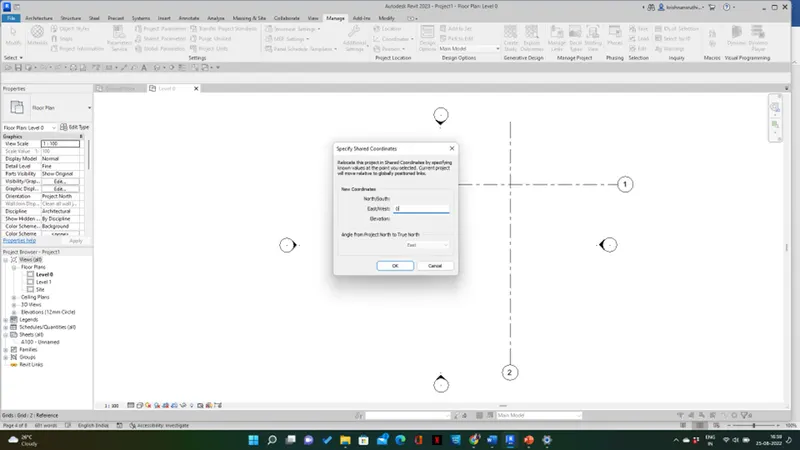
Step 8: A dialog box will appear, provide 0 and click ok
Step 9: Type VG (visibility graphics)
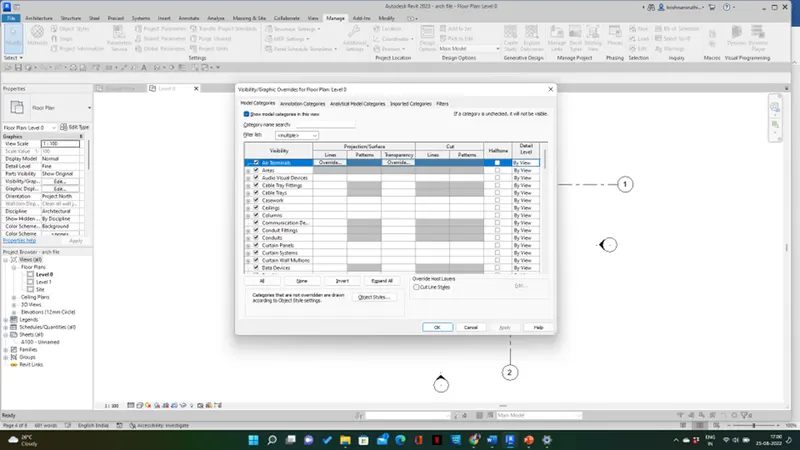
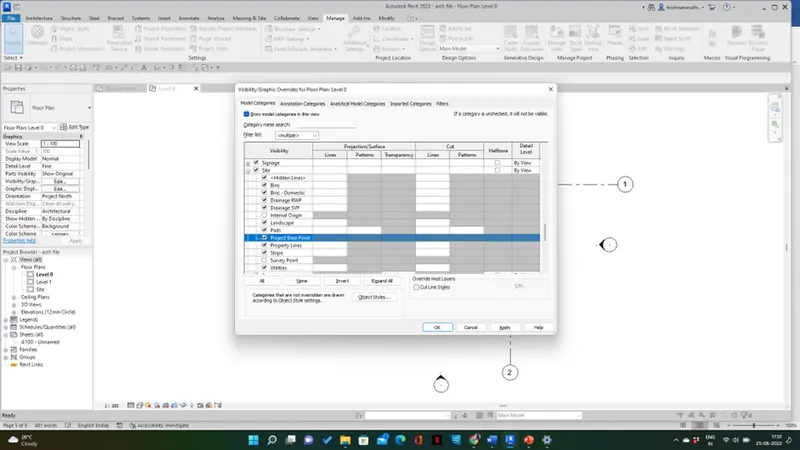
Step 10: A dialog box will appear, Select site and click on project base point and click ok
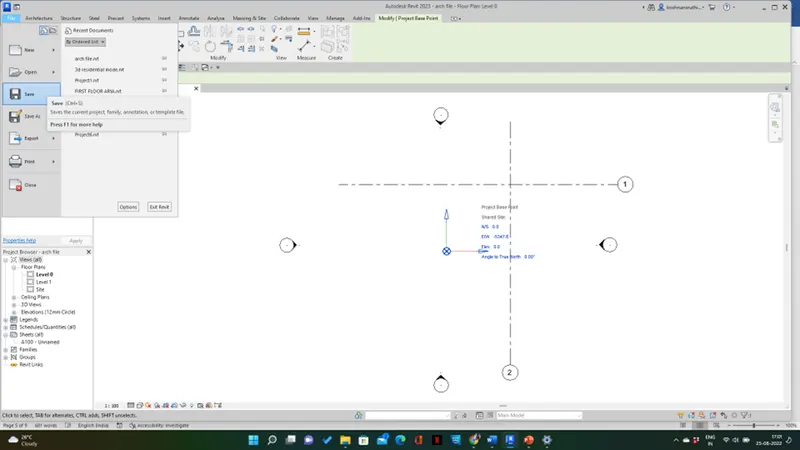
Step 11: Click save from the file menu
Result :
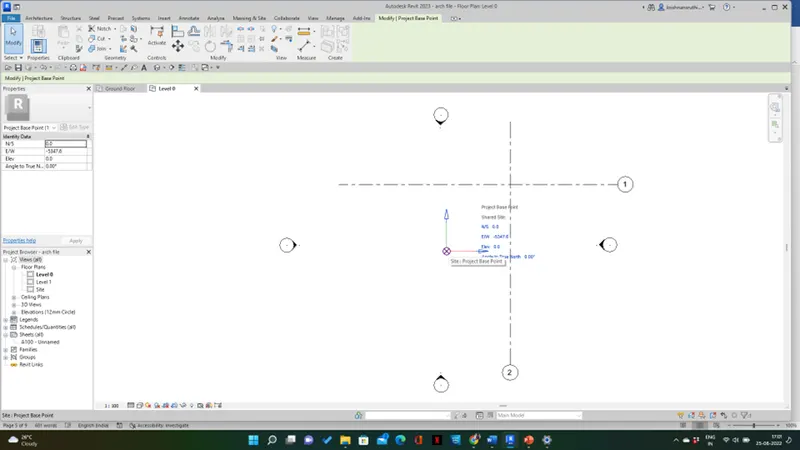
Q2)
AIM: To create a structural template with the same parameters as the architectural project template.
Procedure:
Step 1: Go to Revit software and select file and click new
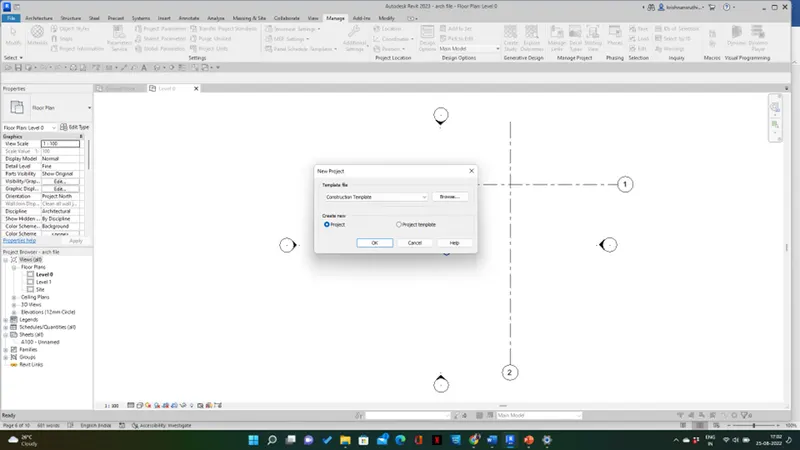
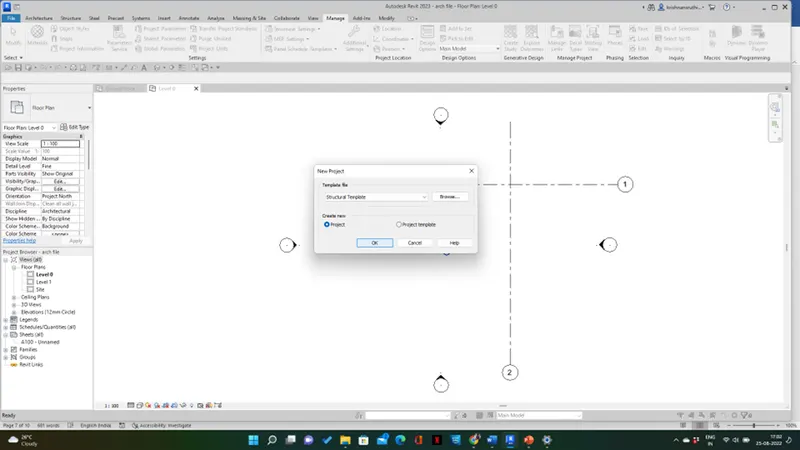
Step 2: Select the structural template and click ok
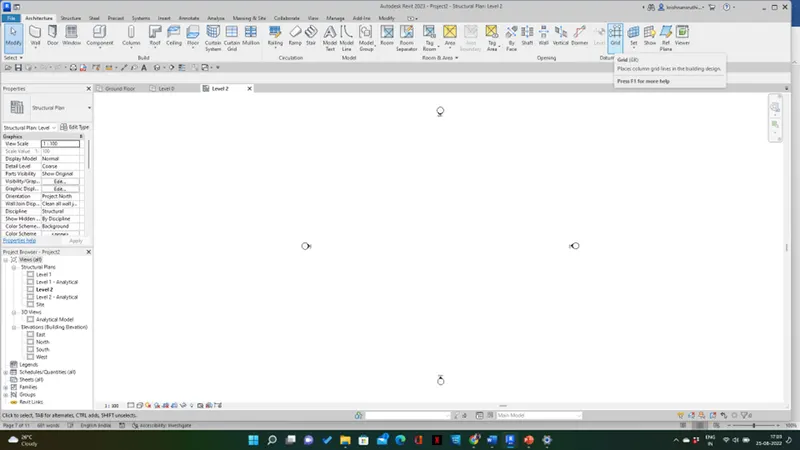
Step 3: Select the grid from the ribbon tab
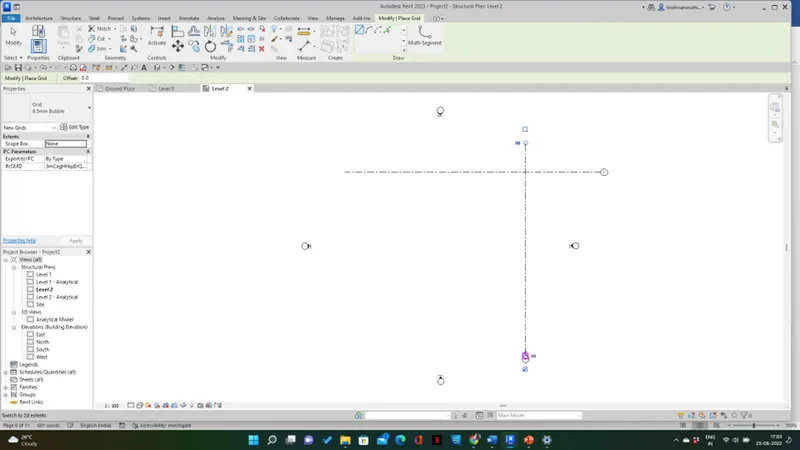
Step 4: Select the line option and draw one horizontal and vertical grids
Step 5: Click the Manage tab and select project coordinates
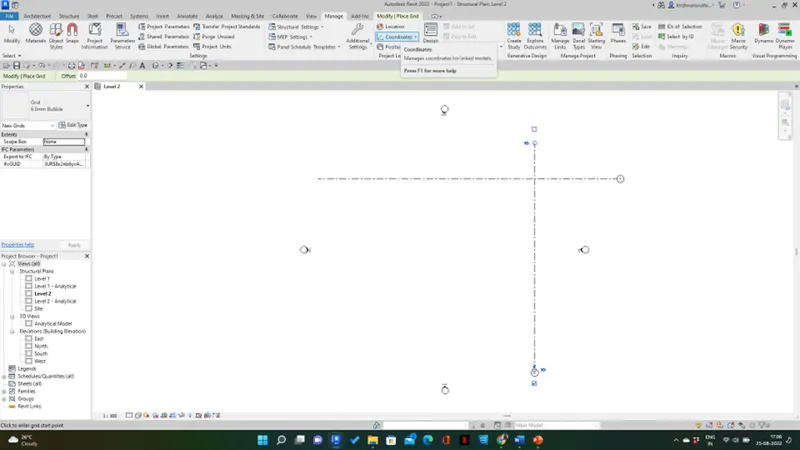
Step 6: Click co-ordinates and select specified coordinates at point
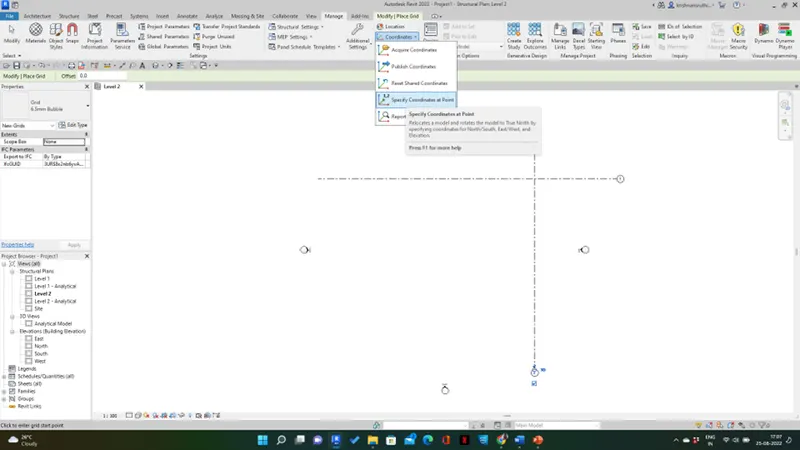
Step 7: Click on the center of the grids
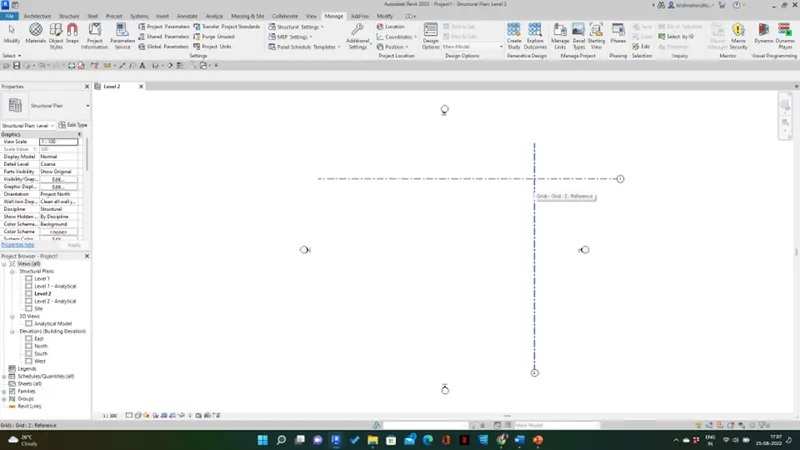
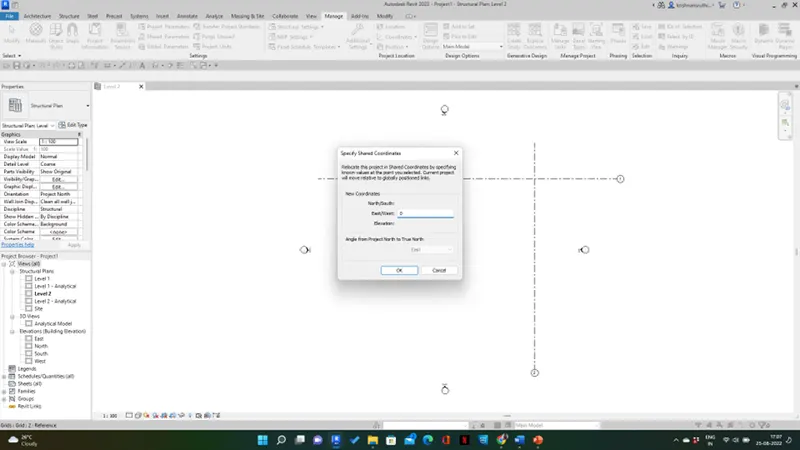
Step 8: A dialog box will appear, provide 0 and click ok
Step 9: Type VG (visibility graphics)
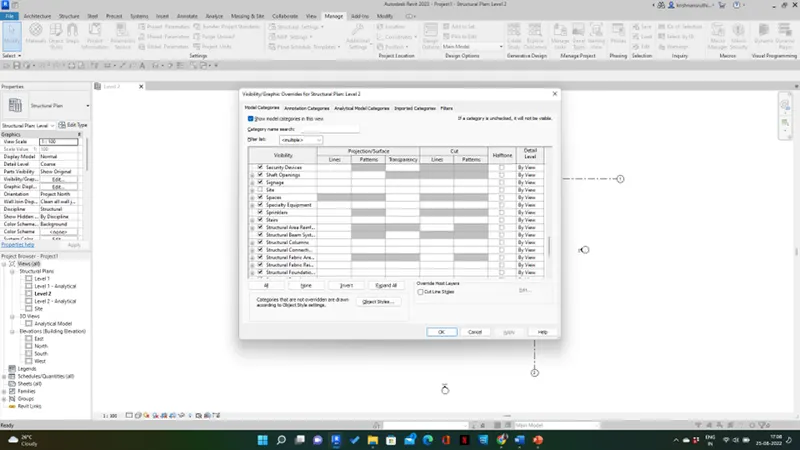
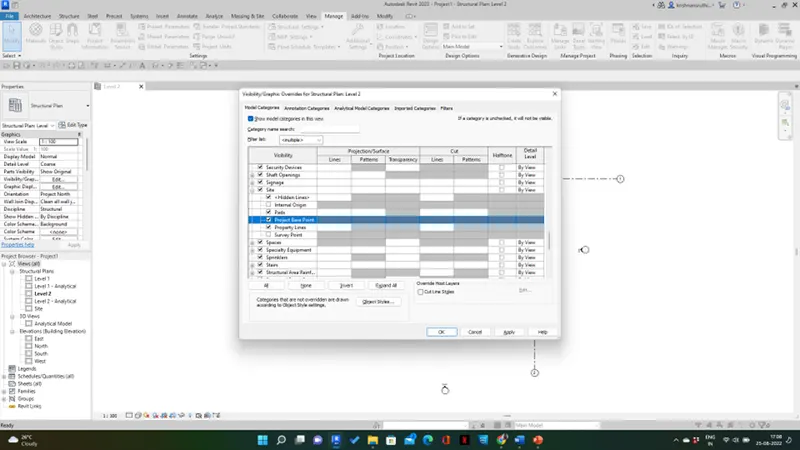
Step 10: A dialog box will appear, select site and click on project base point and click ok
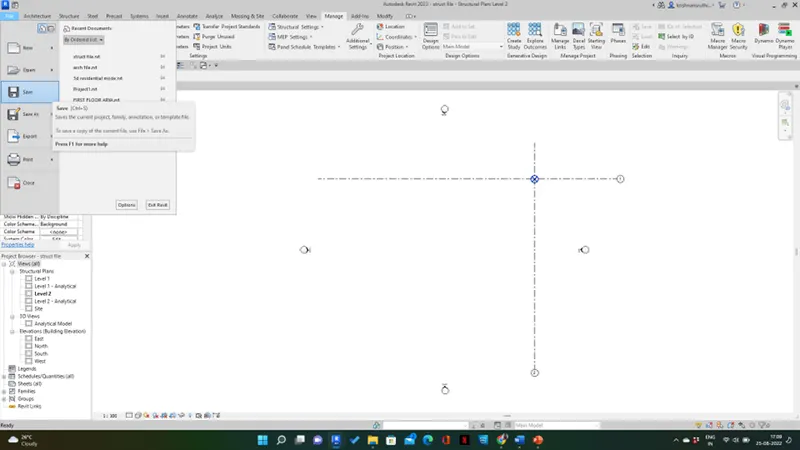
Step 11: Click save from the file menu
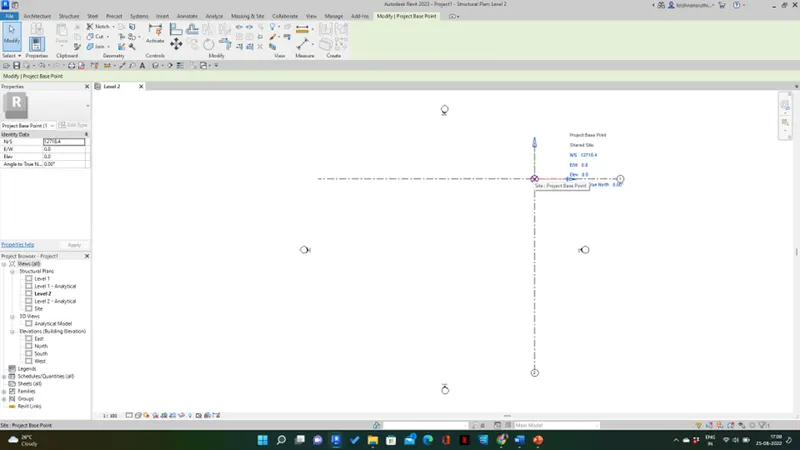
Result :
Q3)
AIM: To create the architectural template as a cental model.
Procedure:
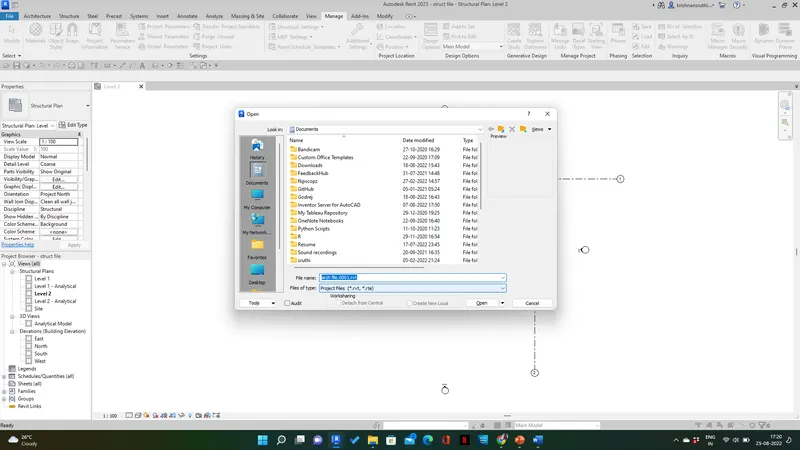
Step 1: Go to open from the file menu and select the architecture file
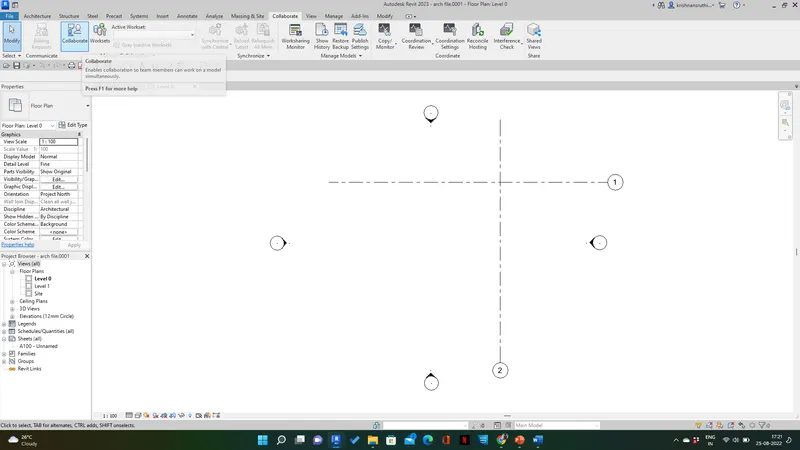
Step 2: Go to collaborate and select collaborate
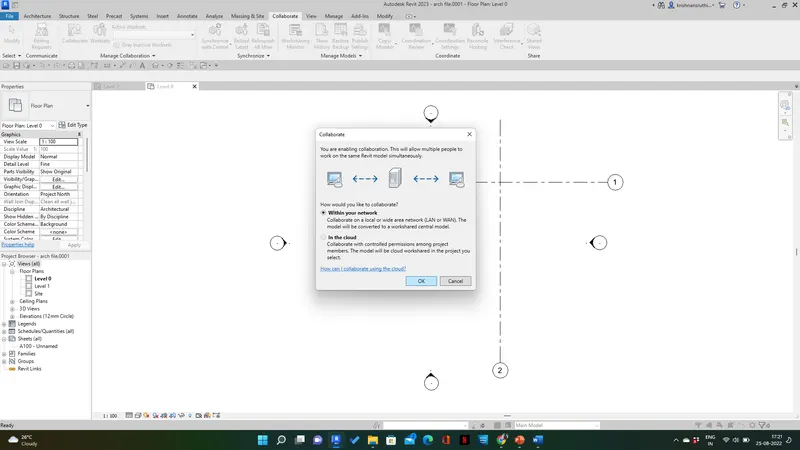
Step 3: A dialog box will appear select within your network and click ok
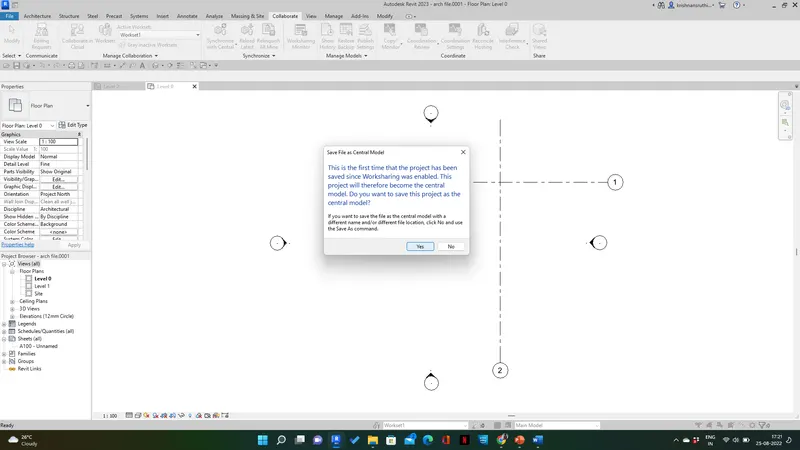
Step 4: Go to file and click save and a dialog will appear and click yes
Result :
Q4)
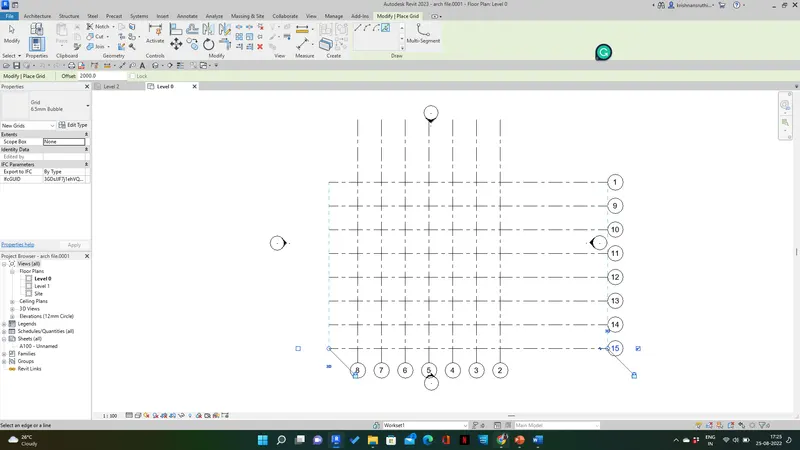
AIM: To create a longitudinal and transverse pattern
Procedure:
Step 1: Go to the architecture template
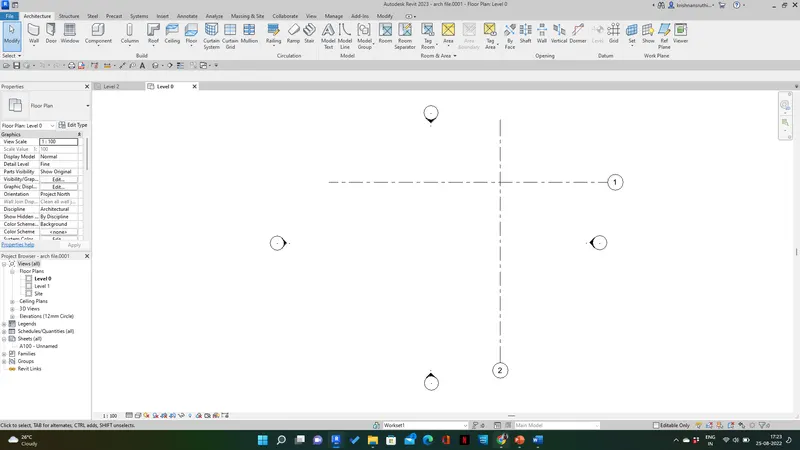
Step 2: Select the architecture tab and click grids and select the pick line option
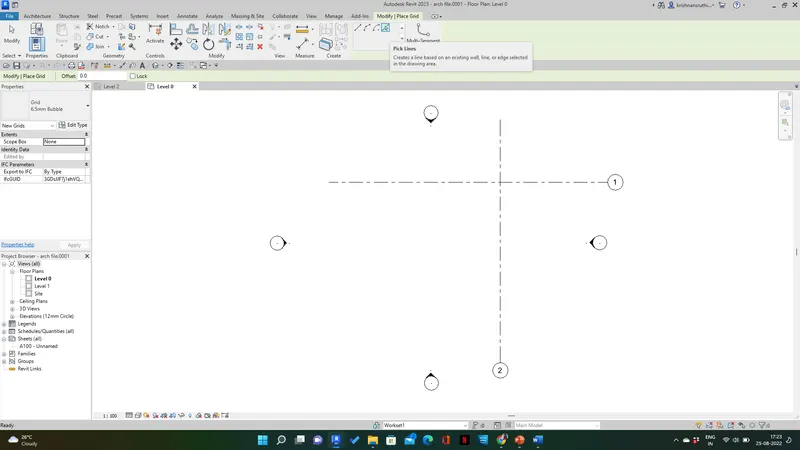
Step 3: Draw grids in equal distances with an offset of 2000.00
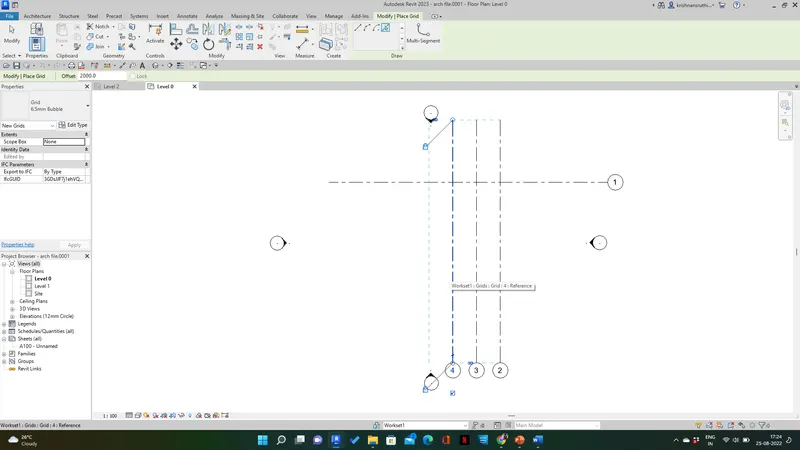
Result :
Q5)
AIM: To synchronize the changes from the local copy to the central file of architectural
Procedure:
Step 1: Go to the architecture file
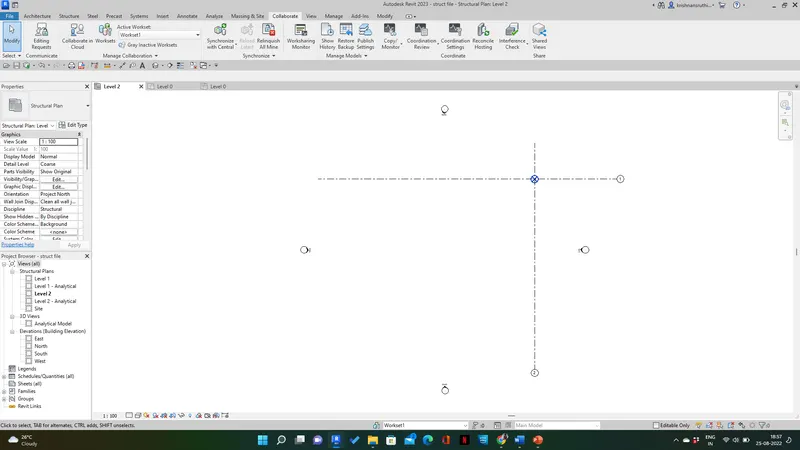
Step 2: Select the collaborate tab and select synchronize with central
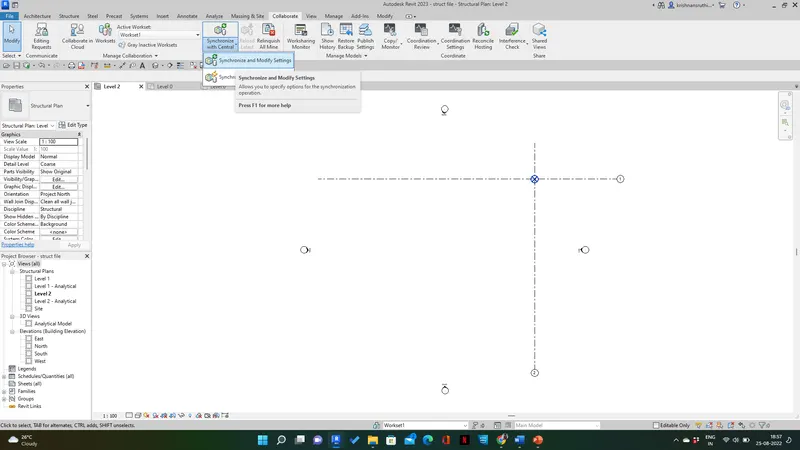
Step 3: Select synchronize with settings and click ok
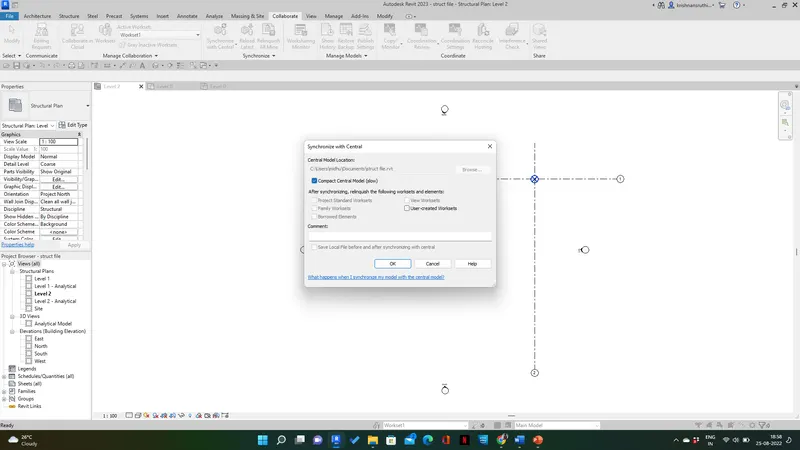
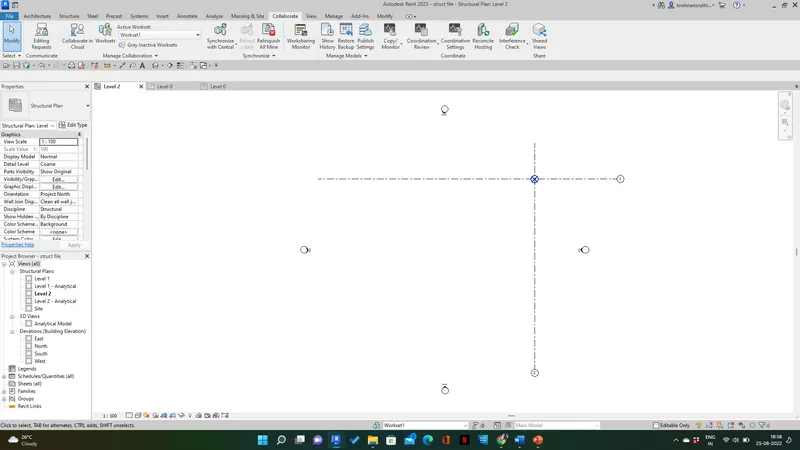
Result: The drawing will sync with the central file
Q6)
AIM: To open the structural model and use collaborative tools to save the model as a central file.
Procedure:
Step 1: Go to open from the file menu and select the structural file
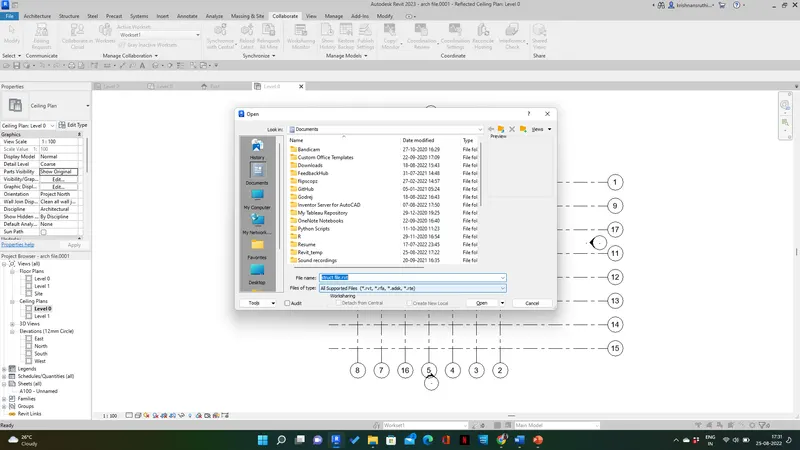
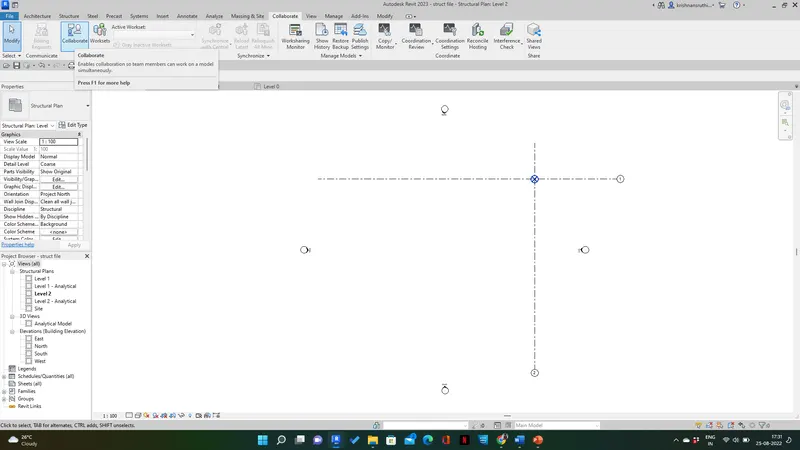
Step 2: Go to collaborate and select collaborate
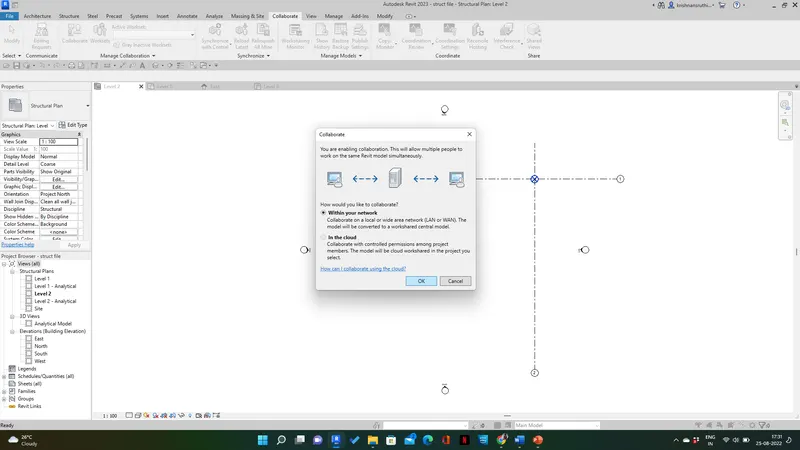
Step 3: A dialog box will appear select within your network and click ok
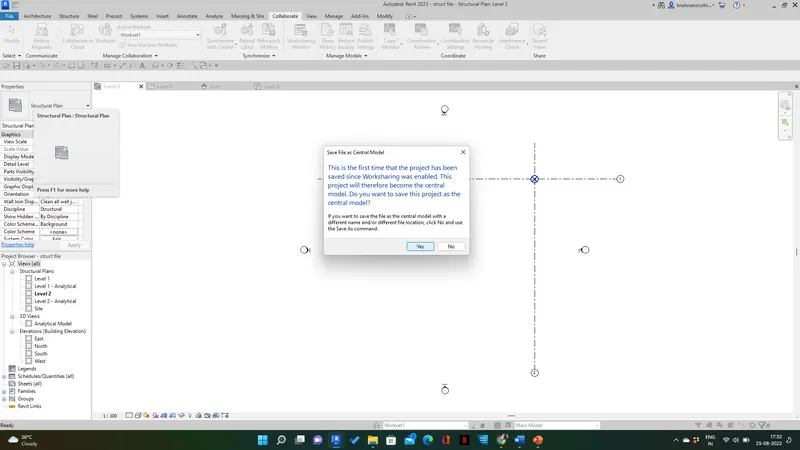
Step 4: Go to file and click save and a dialog will appear and click yes
Result :
Q7)
AIM: To use copy/monitor tool
Procedure:
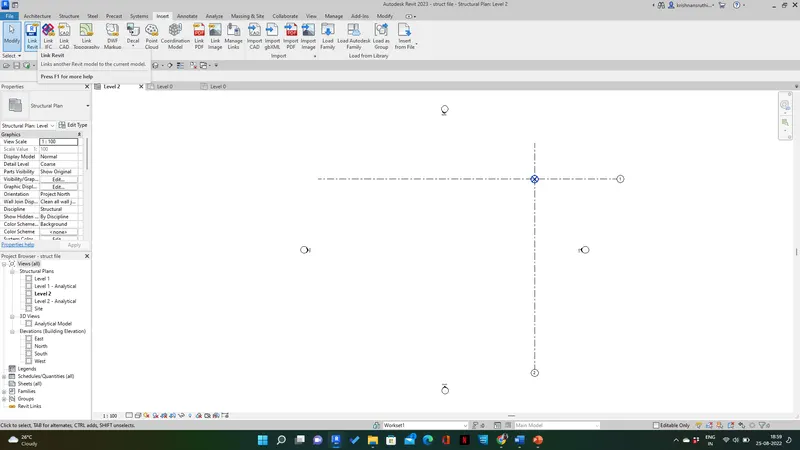
Step 1: Go to insert tab and select link Revit
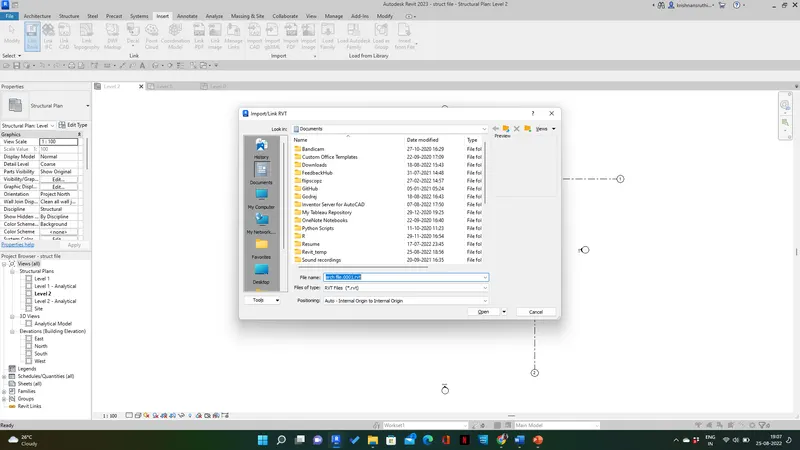
Step 2: Select the architecture file and open
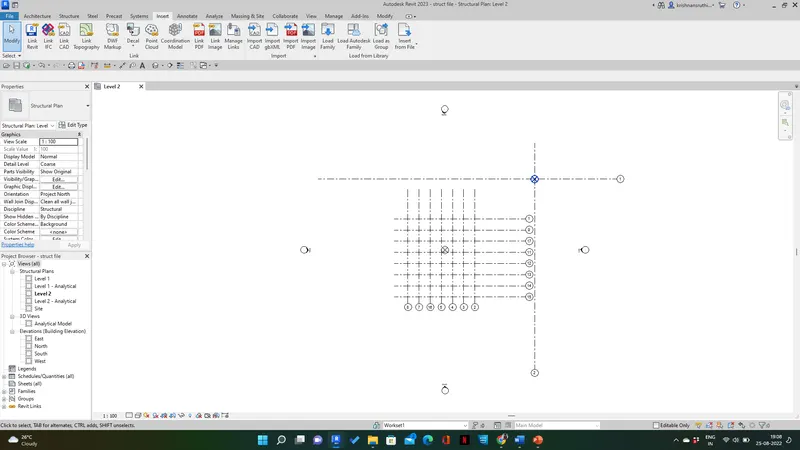
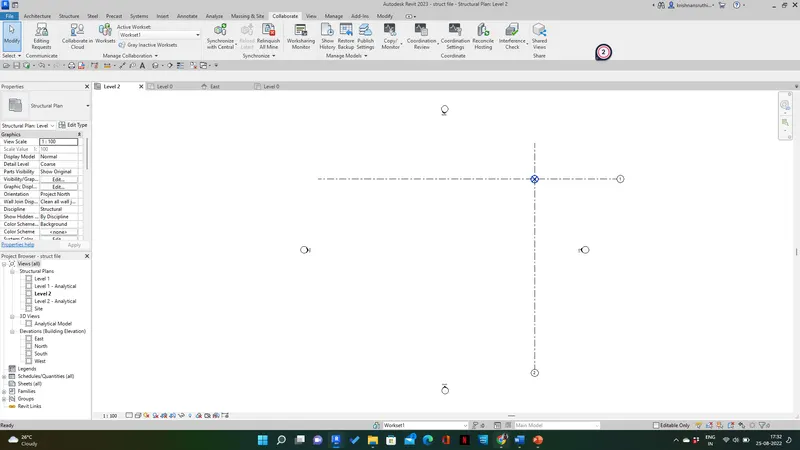
Step 3: Go to the collaborate tab and select copy /monitor from the ribbon tab and select link
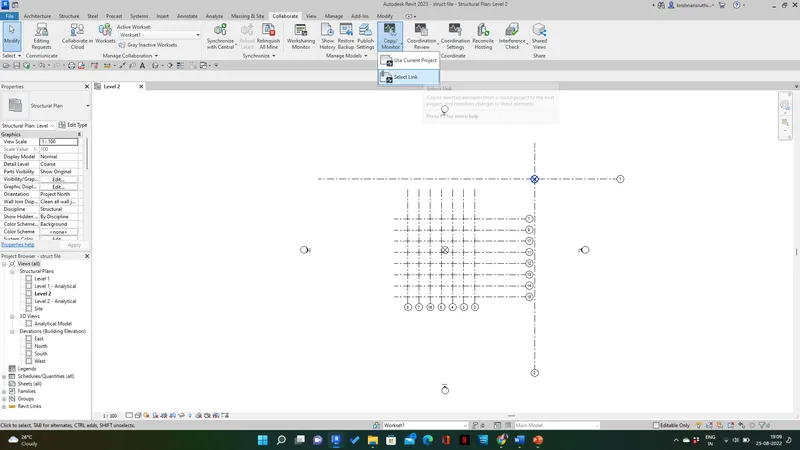
Step 4: Select the grids and select multiple and select copies
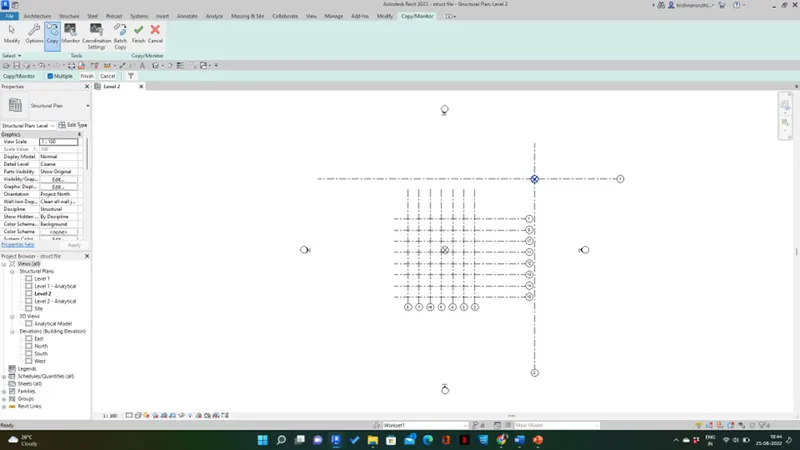
Step 5: Select the finish command
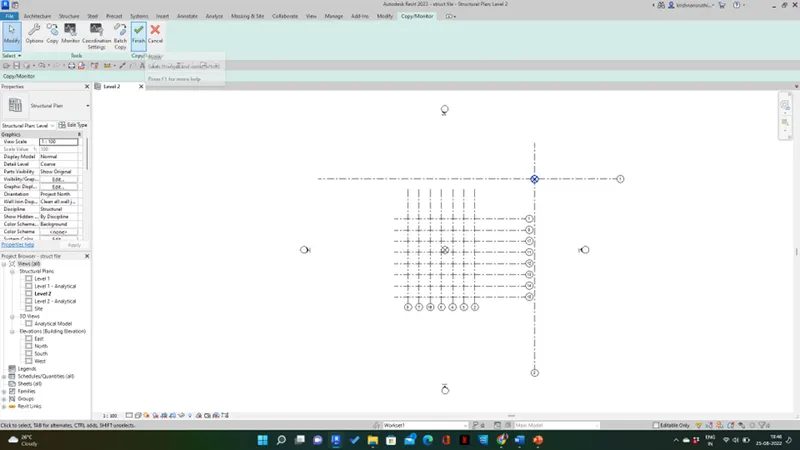
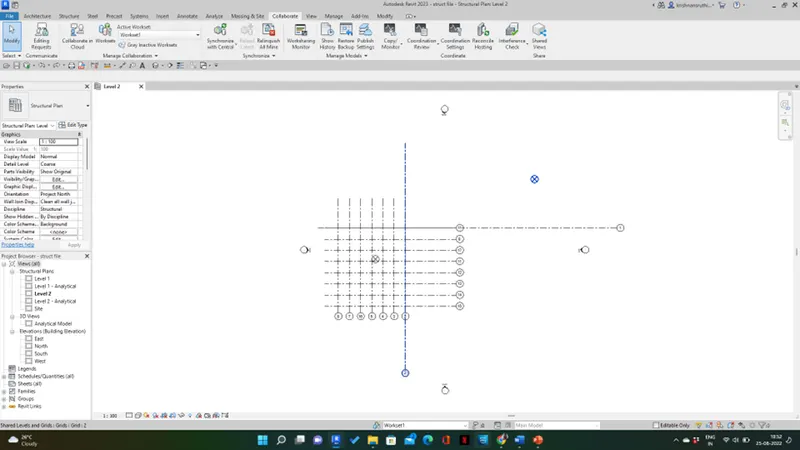
Step 6: Open the structural template file and grids and columns will be found in the structural template
Result :
Q8)
AIM: To create a new file with a construction template that includes both architectural and structural models.
Procedure:
Step 1: Go to open from the file menu and select the architecture file
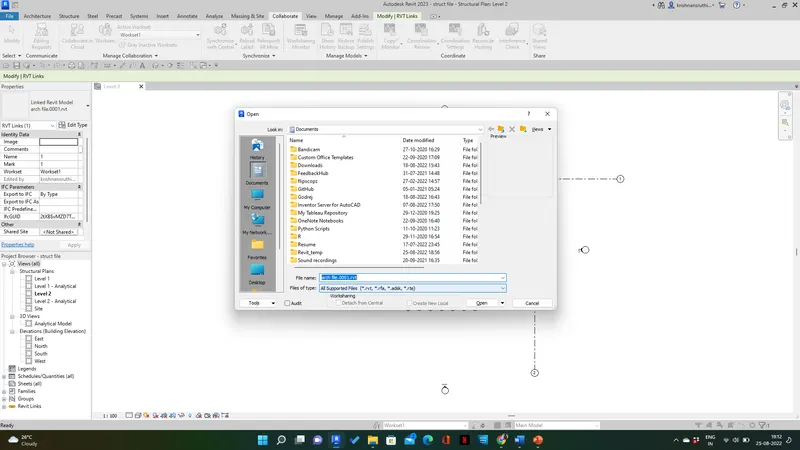
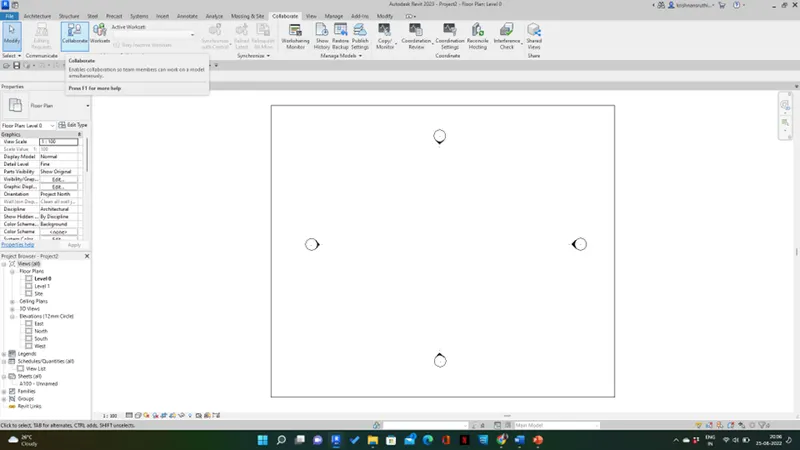
Step 2: Go to collaborate and select collaborate
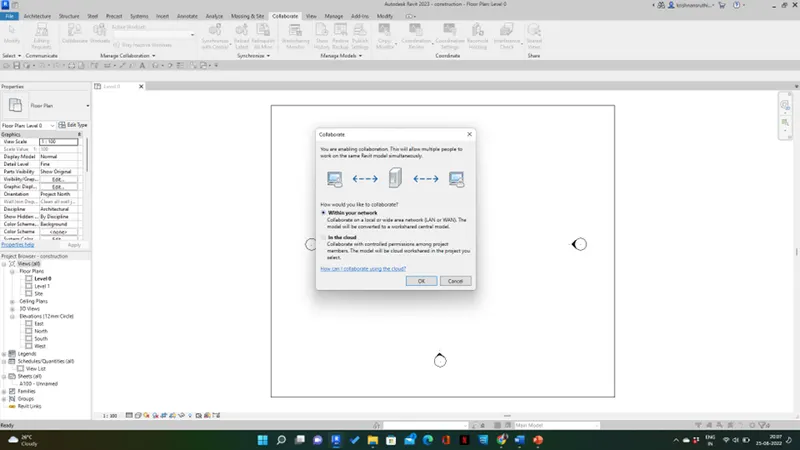
Step 3: A dialog box will appear select within your network and click ok
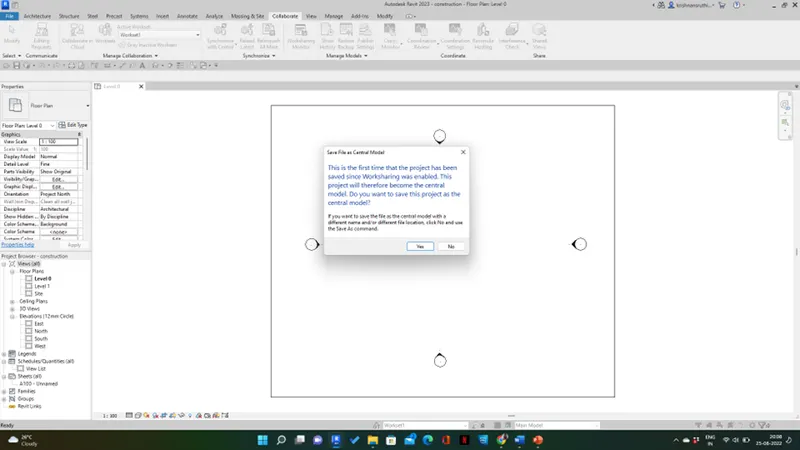
Step 4: Go to file and click save and a dialog will appear and click yes
Step 5: Go to insert tab and select link Revit
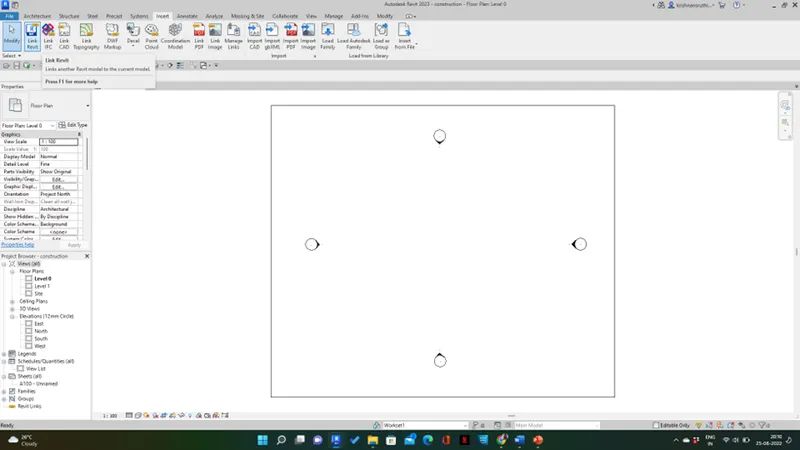
Step 6: Select the architecture file and structural file and click open
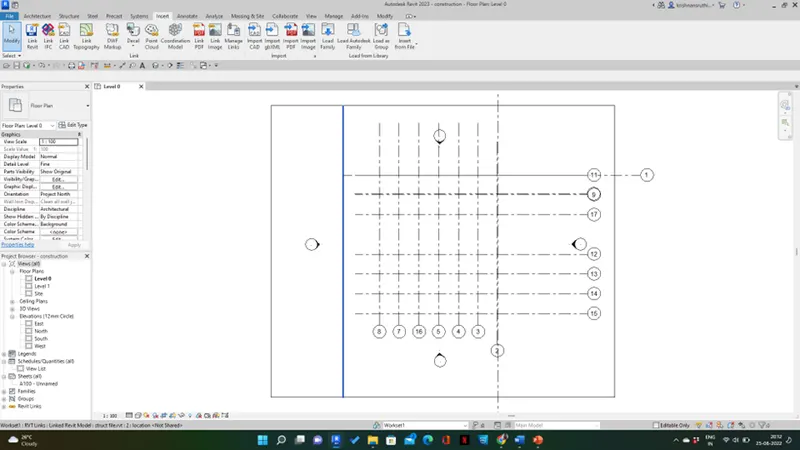
Result :
Q9)
ANS:
Yes, my structural and architectural models are matching in the construction template created. therefore my week 6 challenge is set up for project 2
Procedure:
Step 1: Go to the architecture file and select the manage tab
Step 2: Select the Manage link and select the structural template
Step 3: Select the architecture grid and select acquire coordinates and select the architecture template grid
Step 4: Select the position icon and click relocate position and select the intersection point of the grids
Result: Grids will be positioned
Q10)