Usage of Collaborate tool in REVIT
1aim to open an Open an architectural template. Using the Manage tab set project base point and project shared coordinates for the project
1 open revit
2 open an architecturalteplate
3now go to the archiitectural tab and select the grid
4 draw a horizintal aand vertical grid
5 name the grids to A ,1
6 NOW go to the manage tab and go to the cordinates option
7 select specify cordinates at point
8 set the coordinates to 0,0
9 result 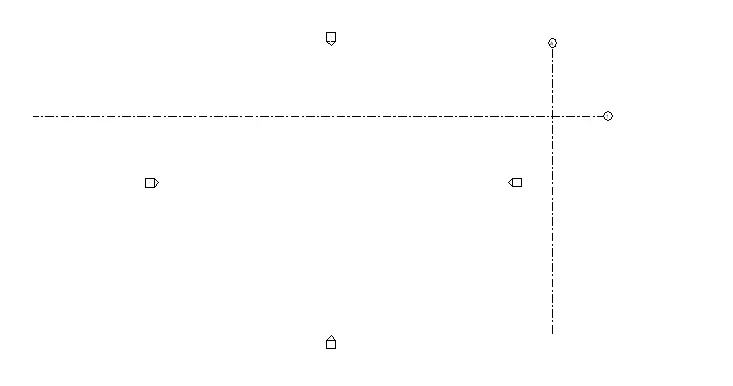
2
1 open revit
2 open an STRUCTURAL TEMPLATE
3now go to the archiitectural tab and select the grid
4 draw a horizintal aand vertical grid
5 name the grids to A ,1
6 NOW go to the manage tab and go to the cordinates option
7 select specify cordinates at point
8 set the coordinates to 0,0
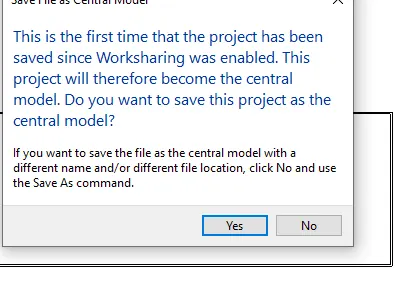
3 aim to re open a file arcitectural mode to central mode
open revit
2 open n architetural tab
3 draw grids
4 rename the grides
5 now to to the mange tab and select the collabrate option
6 now go to the file and save the file
7 save the file to the network by this we have created work sharing environment
8 now go to the save option on top leftof the screen
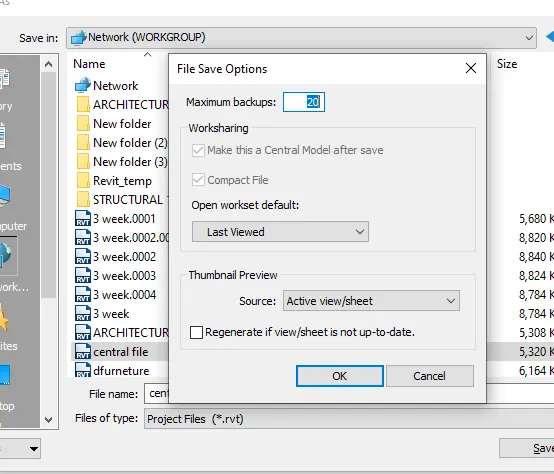
9 name the file and go to options
10 make shur the boxes are ticked
11 resut the central file will be created afte saving
4 aim to make grids
1 open revit
2 open an architectural template
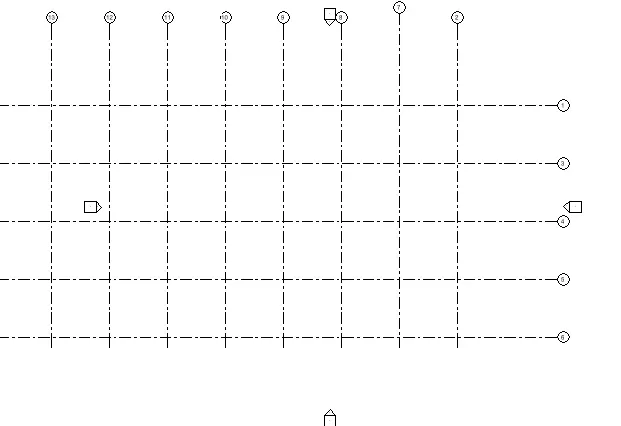
3 now go to architectural tab and elect grids
4 now make the grids from left to right
5 bottom to top
6 aim to save a structural model file as a central file
1 open revit
2 open a structural template
3 now go to the collabrtion tab and click collabrate
4 now save the file in network
5 now go to the file open thi file select options and make a centrial file
6 result 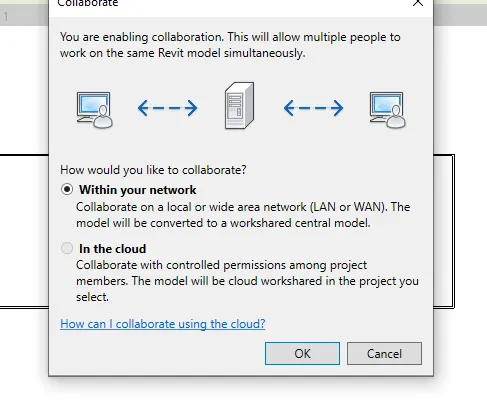
8 aim to undertand the concept of manage links
1 open revit
2 open anarchitectural template
3 nnow draw grids
4 save the architectural template
5 close the file
6 no open the new structural template draw grid and save the file
7 now open a new construction template
8 go to the manage tab
9 now to to the mnage links option
10 now go to the add link option and open both the files
result 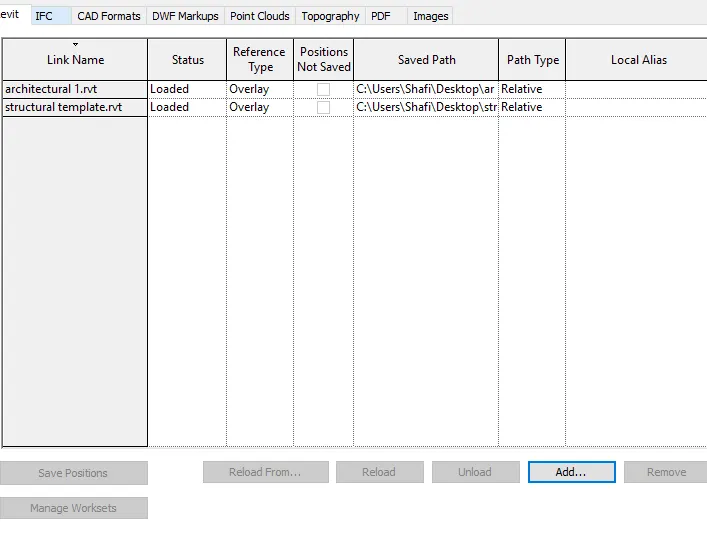
10 aim to create a flow chart of project tree
1 survey
2 planning
3 design
4 evaluating the cost of the project
5 getting aprovel from the local athorites
6 building the project
7 after complition maintning
8 repairing the project if required
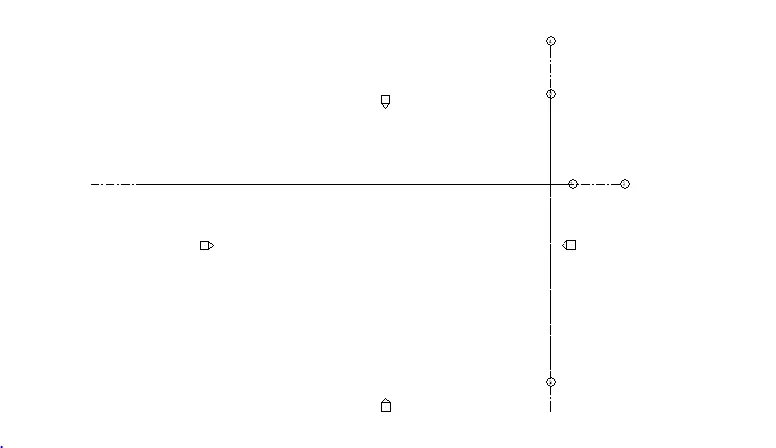
9 AIM TO MATCH THE GRIDS IN STRUCTURAL AND ARCHHITECTURAL TEMPLATE
1 OPEN REVIT
2 OPEN A ARCHITECtural template
3 draw the grid line
4 go too the collab tab and select the cordinate option
5 now set the north south aand east west cordinates to zero
6 select the collab option
7 save the file
8 now close the file and pen a structural template '
9 now draw the grid lines
10 go to the collab tab and set the cordinates to zero
save the file to make it central file
11 now open a fresh architectural tab
12 go to the manage links and open both archhitectural and structural template
13 if thre is an error select the move cordinates option and correct the error
5 AIM TO ) Synchronize the changes from the local copy to the central file of the architectural model.
1 OPEN REVIT
2 SELECT AN ARCHITECTURAL TEMPLATE
3 now draw a section
4 save the section
5 now open a new architectural template
6 go to the revit link
7 add the previos file to it
8 now select the collab and ave file
9 elect the syncronize option
7 AIM TO USE THE COPY MONITER TO COPY THE ELEMENTS
1 OPEN REVIT
2 OPEN AN STRUCTURAL FILE
3 DRAW THE GRIDS
4 save the file
5 now open anewarchitectural template
6 now use the revit link to open thestructural file in this page
7 use the copy monitor to copy the grids into the architectural tab
8 click ok