Usage of Collaborate tool in REVIT
1) Open an architectural template. Using the Manage tab set project base point and project shared coordinates for the project?
Aim:
In an architecture tab set project base point and project share coordinates by using the manage tab.
Introduction:
In this setting the coordinates that usually helps in devoloping projects with the help of coordinate points.
Procedure:
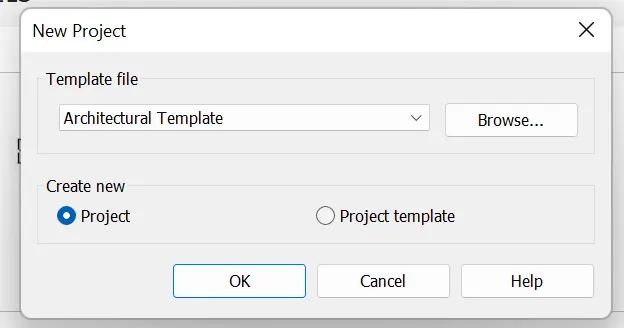
First we need to open the architecture file. then click on the architecture tab to create base points.
Then click on the grid option and then give a base point longitudinal and in the transverse direction.
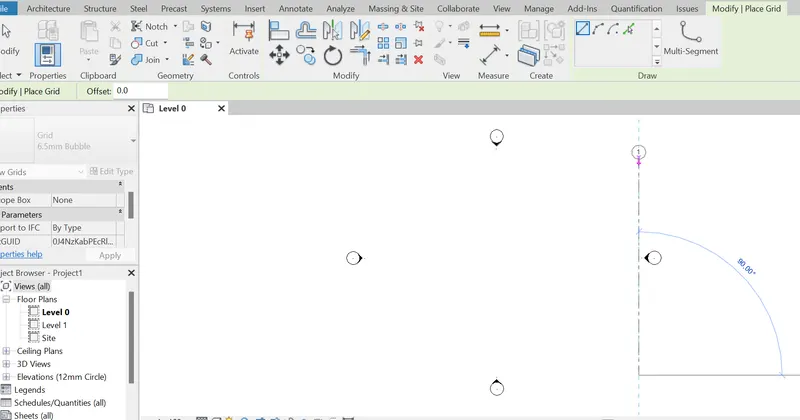
After creating the grids then go to manage tab then find icon says manage co-ordinates.
Then click on the specify coordinates at point.
and click on the grid to give bases.
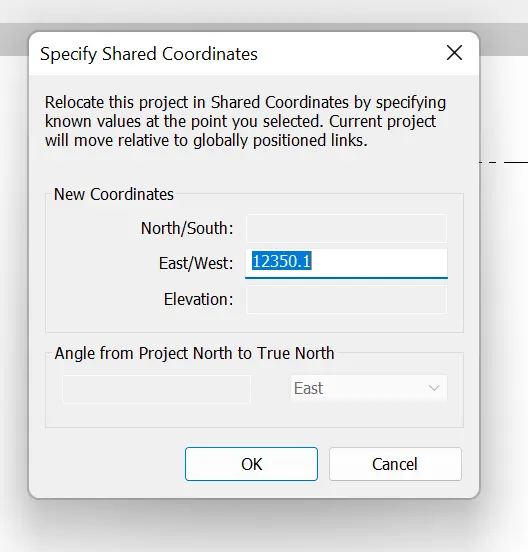
Give the base and click on ok. Now click on the coordiante points again and select the othe grid to give the points.
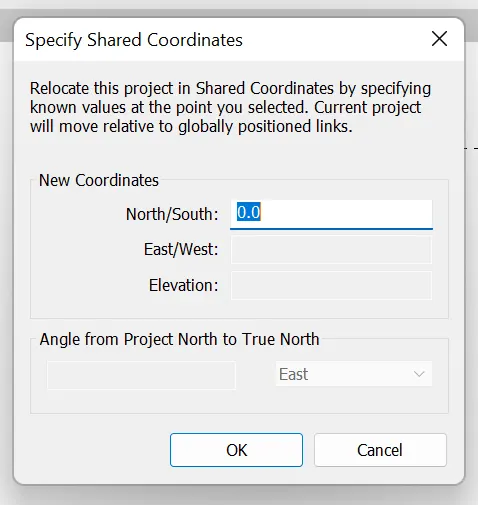
Now to sjow the base point in the file type VG and a new tab will be opned.
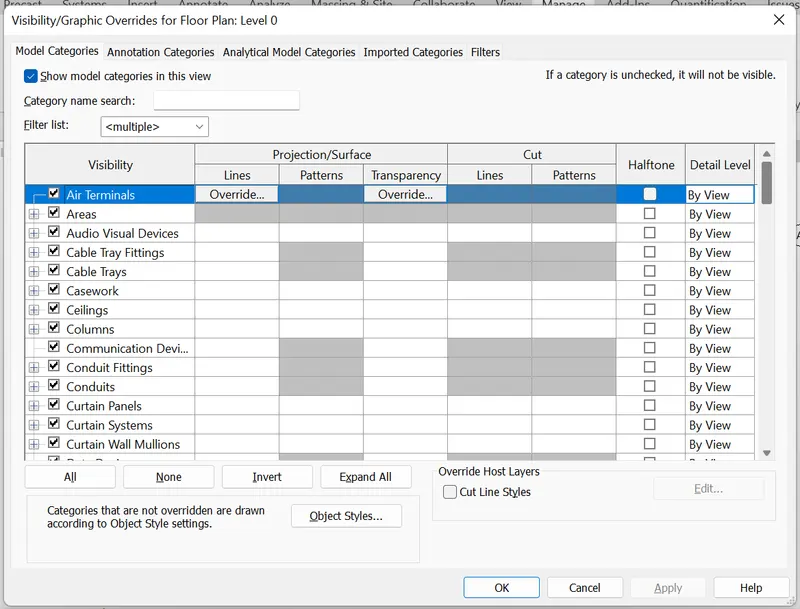
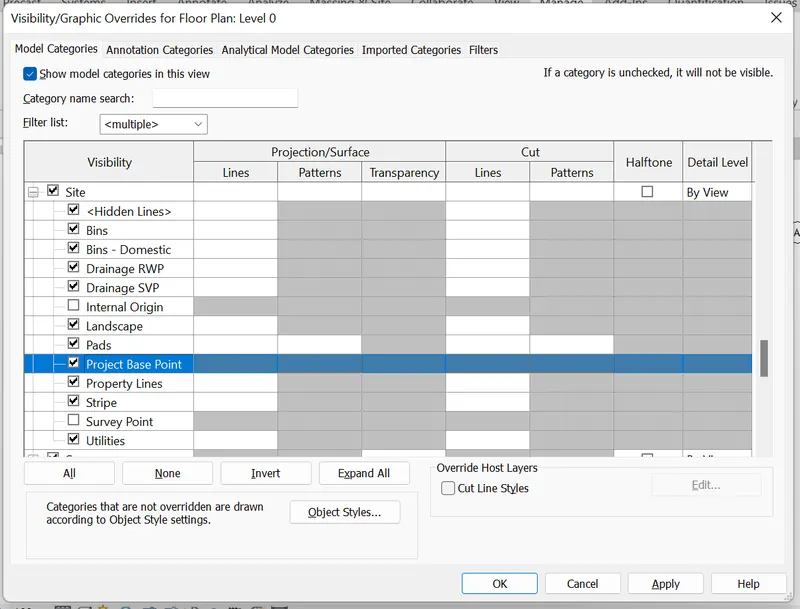
Now go to site and expand them and then select project base point and click on OK.
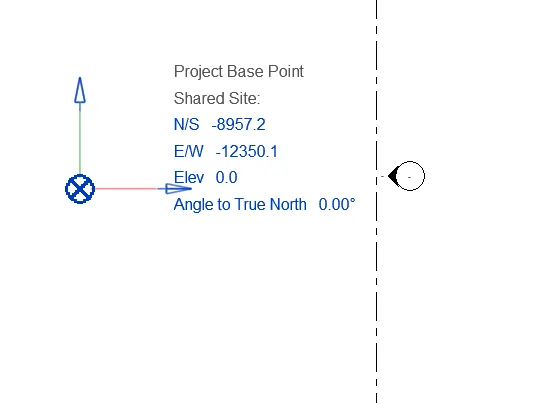
Now we can see the base point shown in the screen now move the point to the center of the grids.
Now drag the base to the center of the lines.
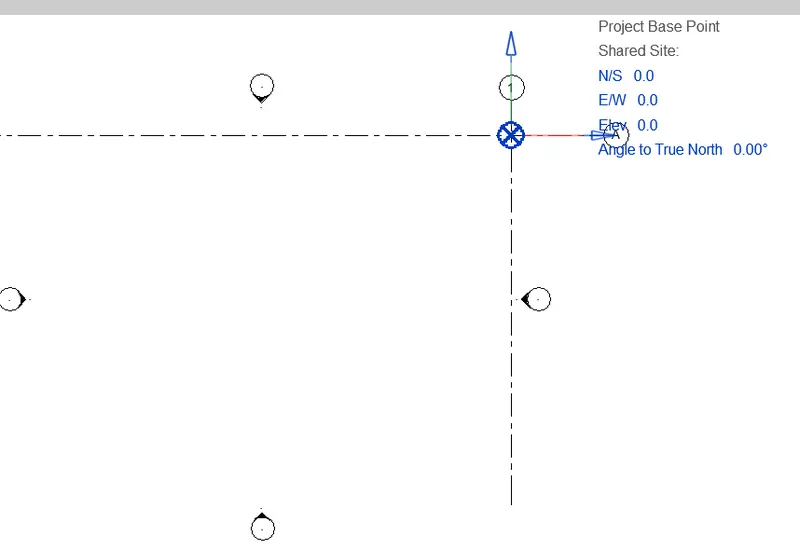
Result:
As a result we now have the base point for the project.
2) Open another new file but with a structural template. Using the manage tab set project parameters the same as the architectural model. Copy the parameters from the architectural model to the structural template or enter the parameters manually into the structural model?
Aim:
To create a new structrual file and copy the parameters from the architecture file to structural.
Introductions:
As we can coordinates the points ao that architect file and structural file. that helps in collabirations of the project.
Project:
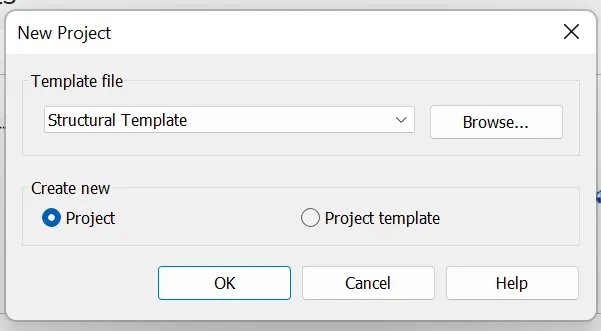
First we need to open the structural file.
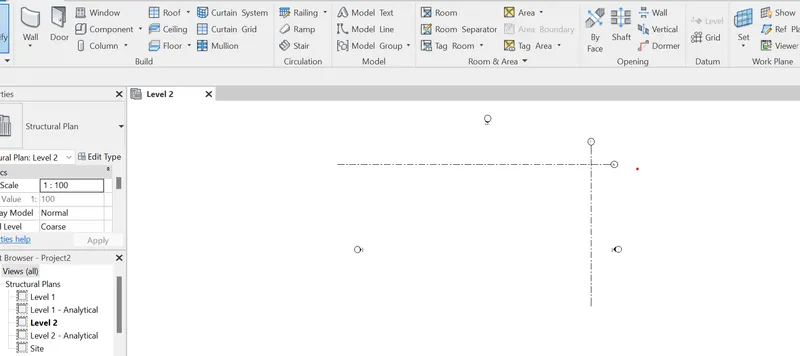
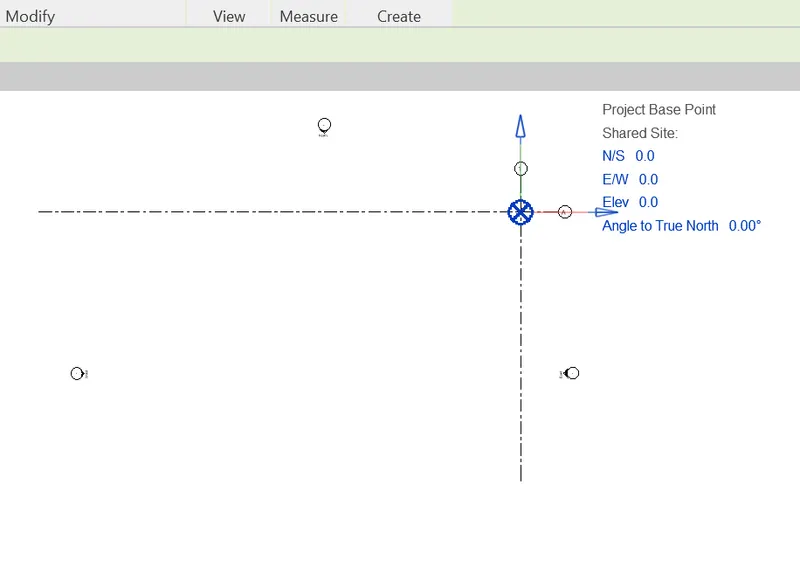
Now click on the grid icon and place them.
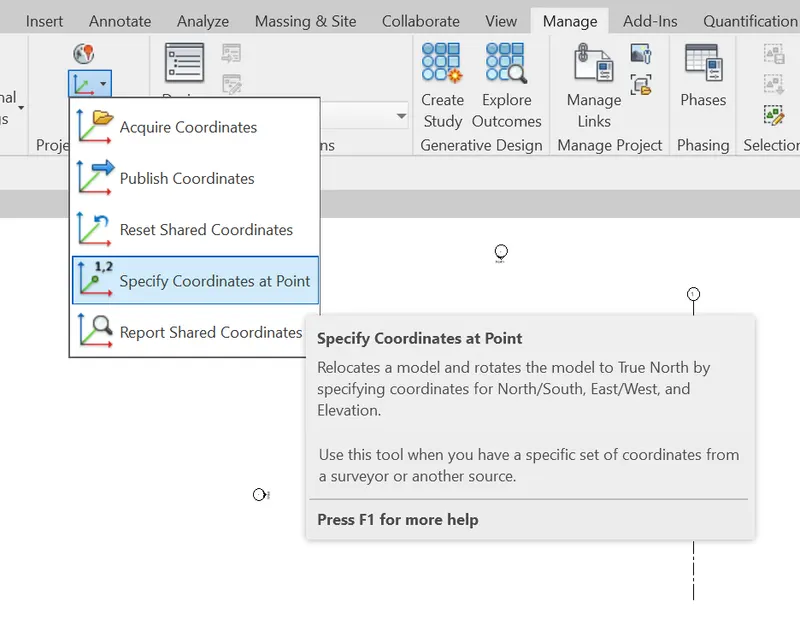
Now go the manage tab then chick on the coordinates icon.
Then select specify coordinates at the point.
Then select the grid and give them the base point value.
Now type VG to show the base value in the screen.
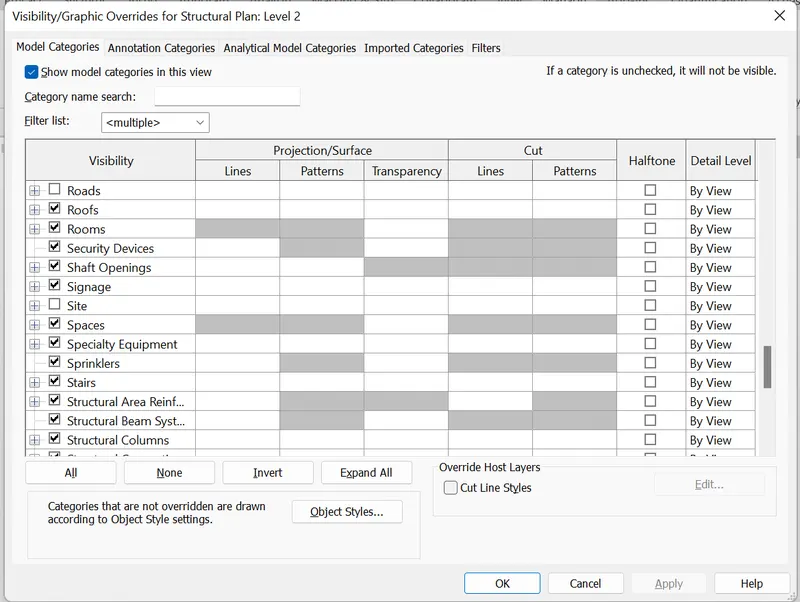
Now click on the site then chage it so that we can see the base point on the screen.
Result:
As a result we now have the have the base points in the project.
3) Re-open the architectural model. Using the tools under the Collaborate tab make the architectural model a central model (enabling simultaneous working on the model)?
Aim:
Using the collaborate tool making the architecture model as the central model and enable simultaneous working on model.
Introduction:
Making the model as the central will make model as the important and have the backup files for the projects.
Procedure:
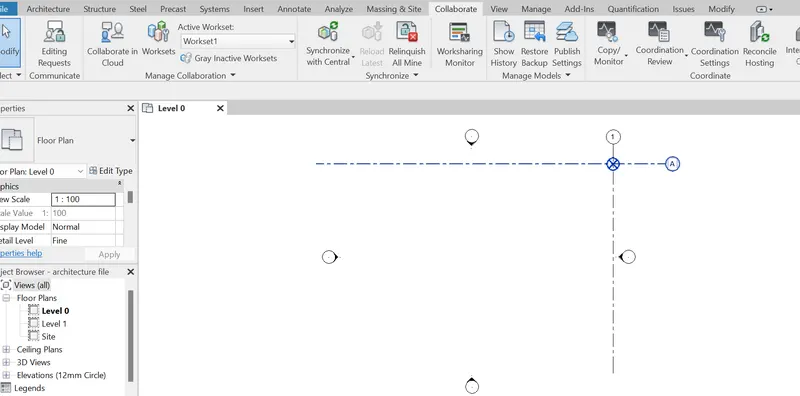
First we need to open the architectural file Then click on the collaborate tab then click on the collaborate icon in the tab.
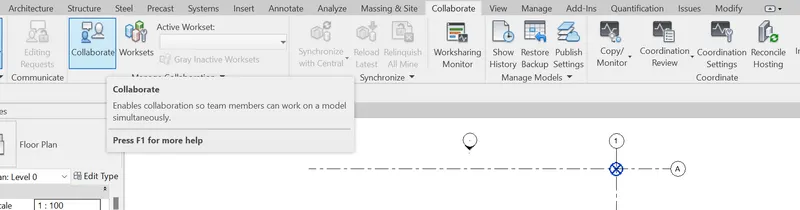
Then click on the either option as per the your wish like with in network or in cloud and click on ok.
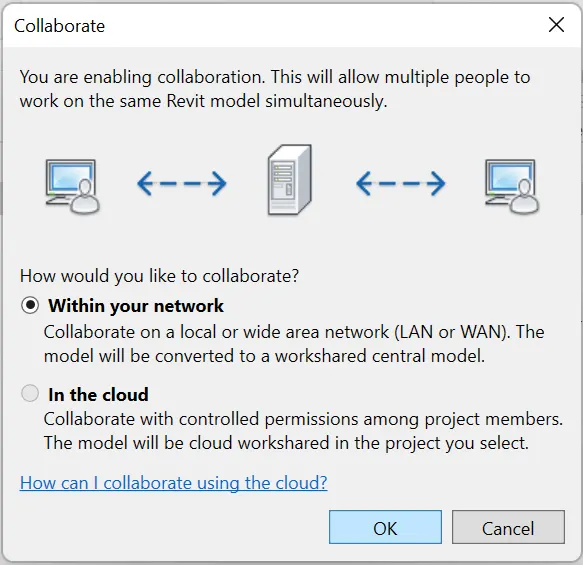
Now click on the save icon whic is in the top ribbon to save your project.
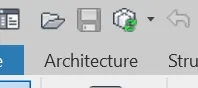
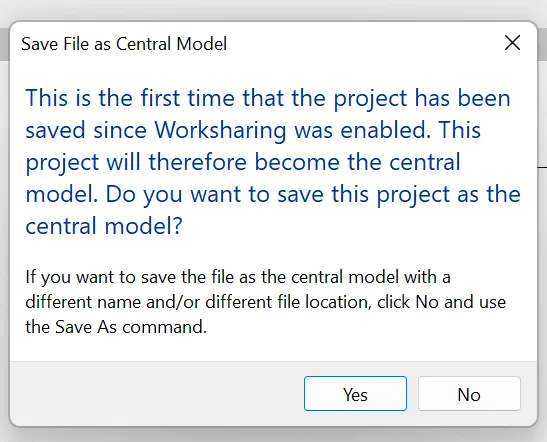
Then it will as you for this then clik on ok to save the project.
Result:
As a result our model is now saved as the central model.
4) Create the Grids Longitudinal and Transverse pattern for the project similar to the task done in Week 2?
Aim:
To create a grid line in the project file in the logintudinal and the transverse pattern.
Introduction:
creating a grid line is better job to position your model with respect to the layout and the pattern of the building. this grid line helps you in guiding the root.
Procedure:
First we need to click on the architecture tab then click on th grid icon then give the off set.
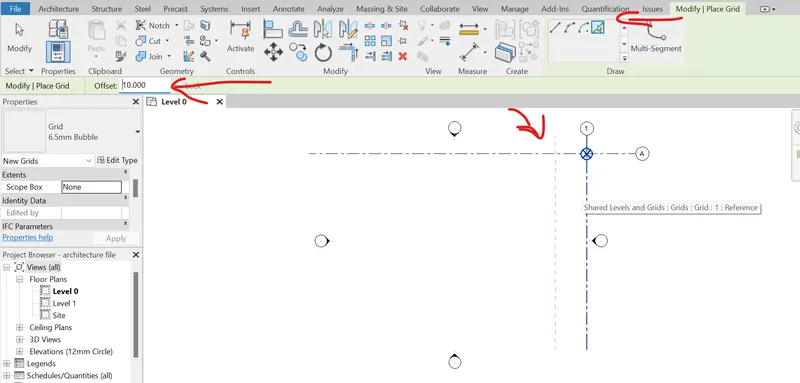
As the same way click on the next line to give the off set.
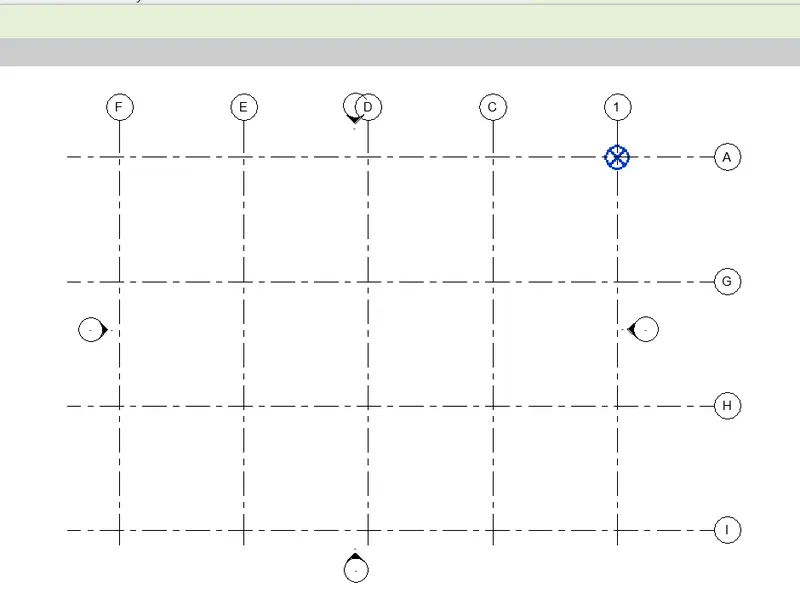
To change the names appropraite double click on the alphabet to change.
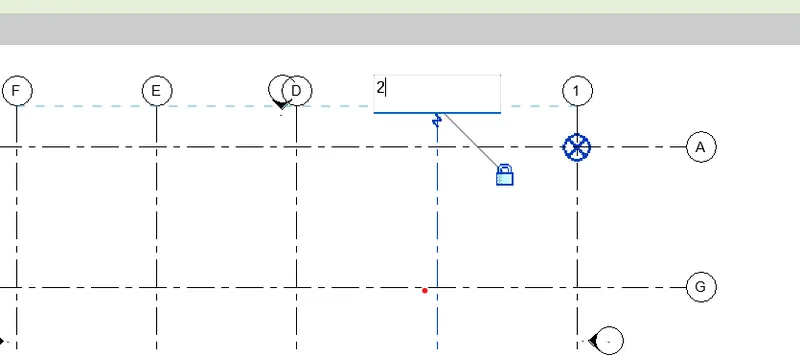
In the same way click on the all the grids to cahge them appropriately.
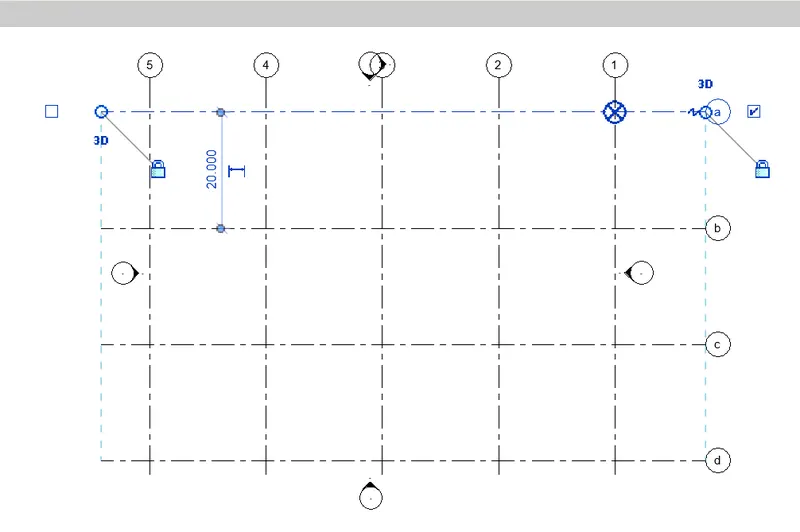
Result:
As a result grids has been placed and named appropraitly.
5) Synchronize the changes from the local copy to the central file of the architectural model?
Aim:
To Synchronize the changes from the local copy to the central file in the architecture tab.
Introduction:
The changes made in the local file to be synchronized to let the other memn=bers knoe the real time change that ever happen in the designs.
Procedure:
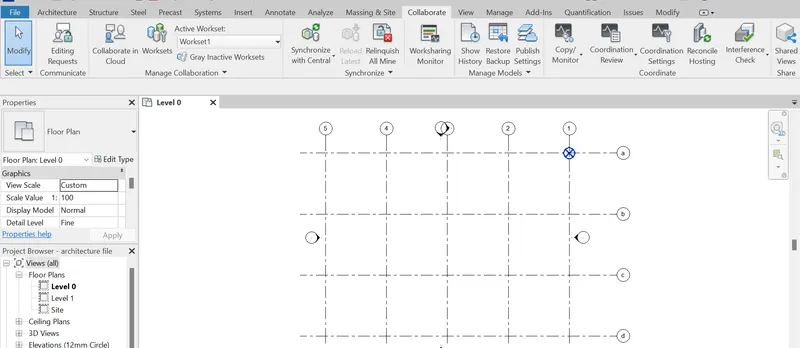
First we need to open the architecture file then click on the collabrate tab then clik on the synchronize icon.

click on the synchronize and modify settings then we can see the new window.
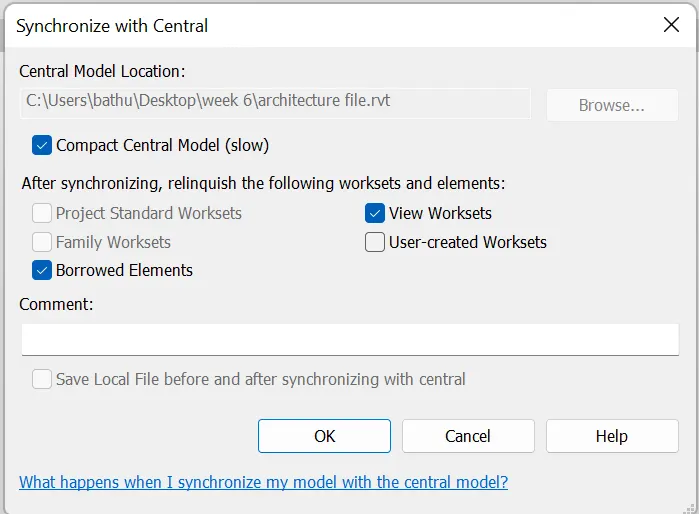
then select the compact the central model and click on the OK
Result:
As a result our local copy now will synchorinozed with the central.
6) Open the structural model and use the collaborate tools to save the model as a central file?
Aim:
To make structural model as the cental model by using the collabrate tool.
Introduction:
Making the central model help the file to be in the safe and work on the local folders and then can add the change to the central model.
Procedure:
First we need to open the structural model.
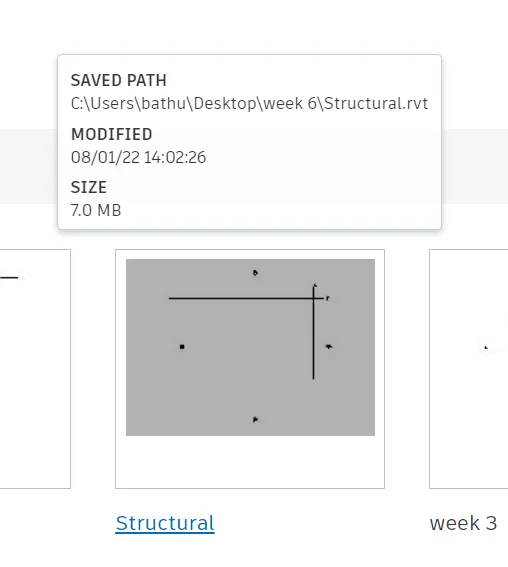
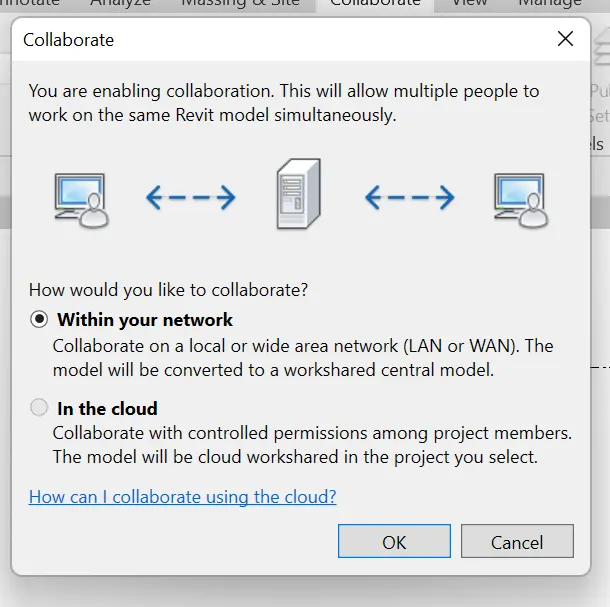
Then we need to go to collabrate tab and click on the collaberate icon. then select any of following either local or to cloud as per your requirement and click on the ok.
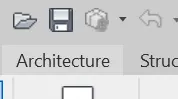
now click on the save icon on top of the ribbon tab.
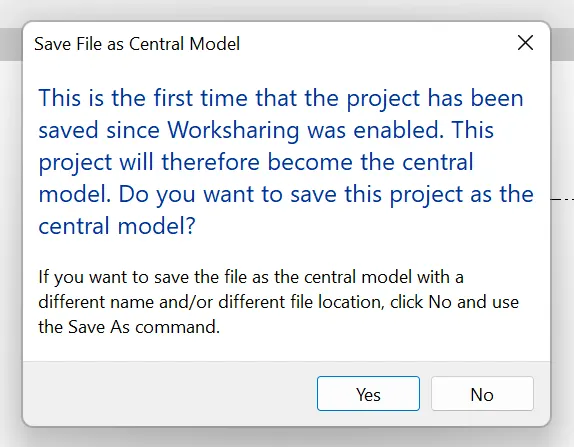
Now click on the save button to save the project as the central. Then click on OK to save the project.
Result:
As a result we can see that out project has been saved as the central project.
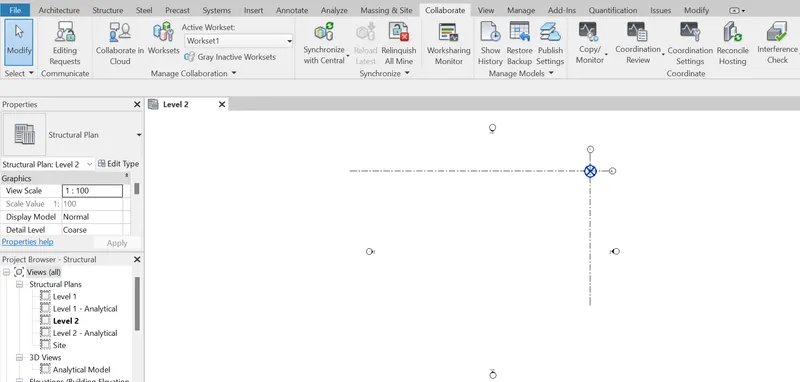
7) Under the Collaborate tab, select the grids and levels from the architectural model, and using Copy Monitor try to copy the grids to the structural model. See what happens when the copy monitored grid is moved around in the structural model?
Aim:
To copy the grid and the levels from the architecture model to the structural model by using the copy monitor grid.
Introduction:
This copy the grids from the architectural to the structrual file help to make the grid.
Procedure:
First we need to open the structural file. then we need to go to insert tab and link the revit file.
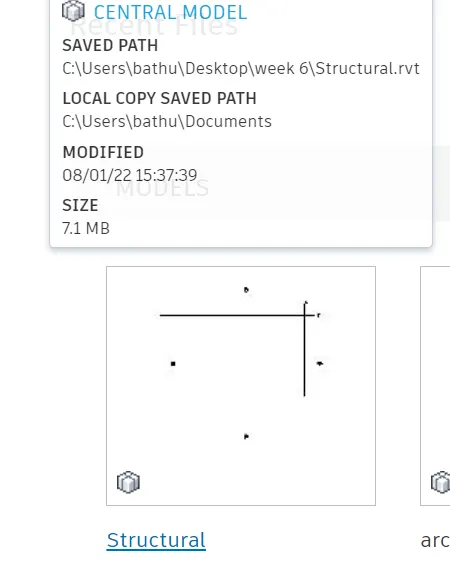
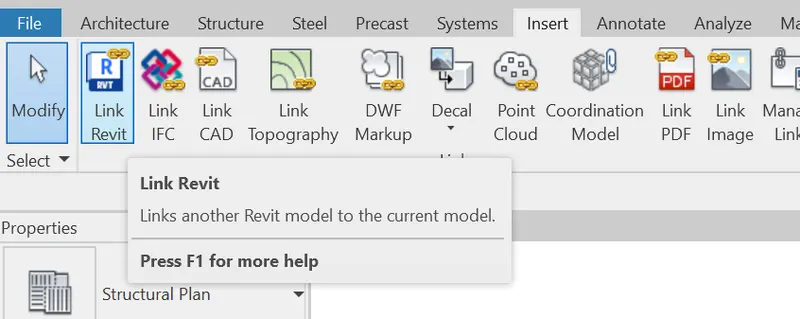
Then open the architecture file click on the open.
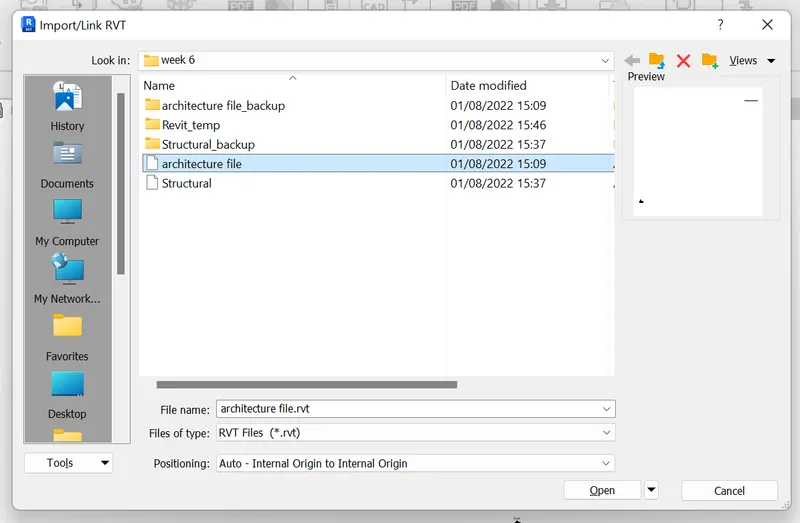
then we can see the file open like this.
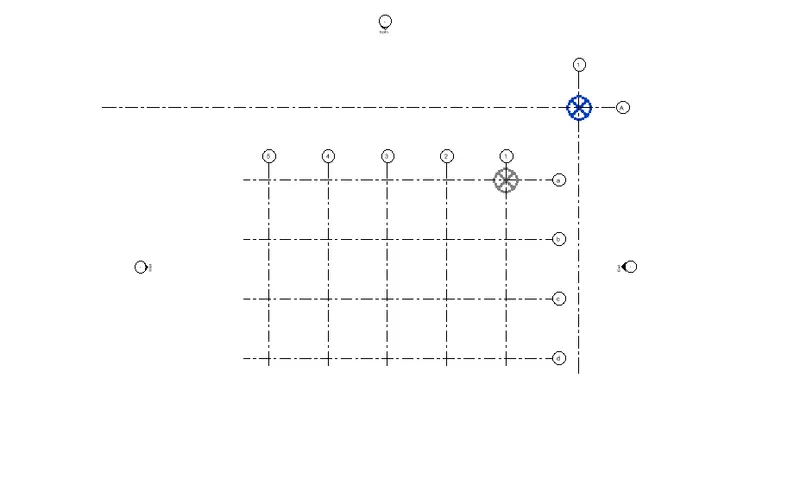
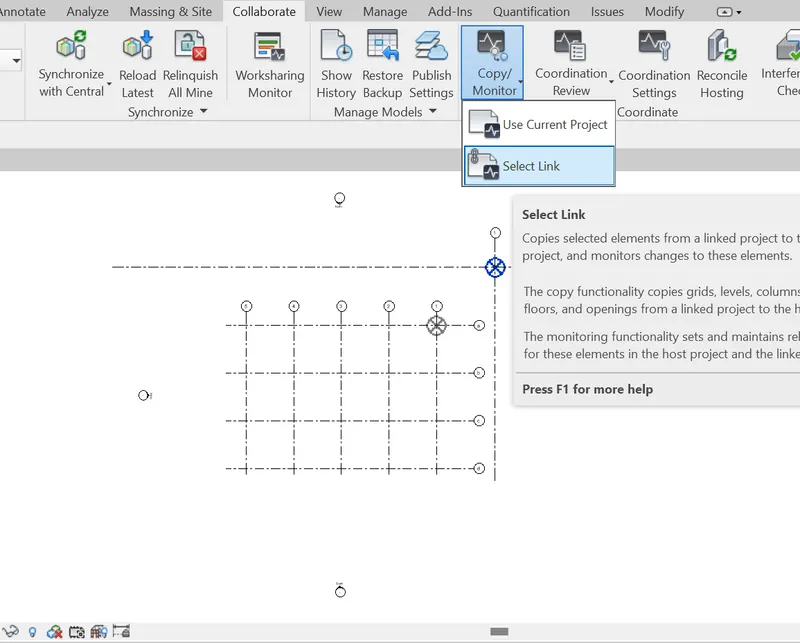
Now go to collabrate tab and click on the copy monitor icon and then click on select link.
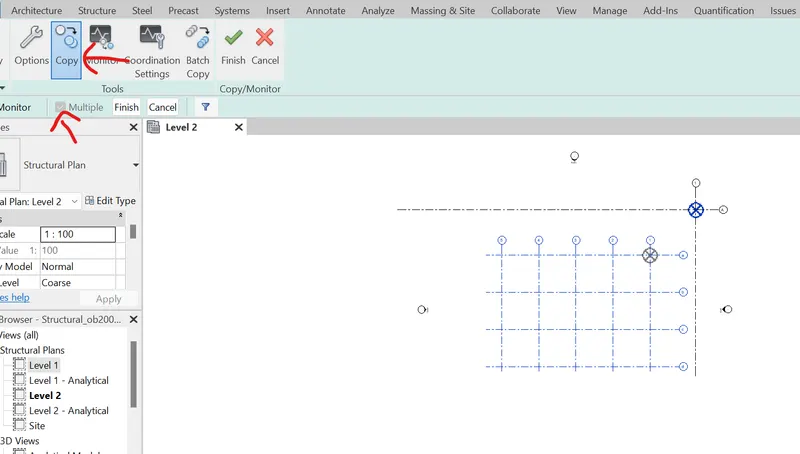
then the ribbon tab change autoamtically. Then click on the copy icon and select all the grids.
Now click on Finish. Then go to modify tab again and click on the tick button.
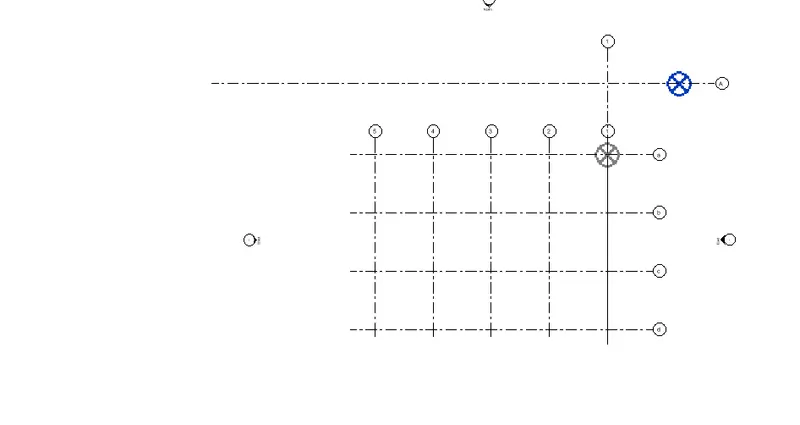
Now to unlink the architecture file go to visability graphics and revit files.
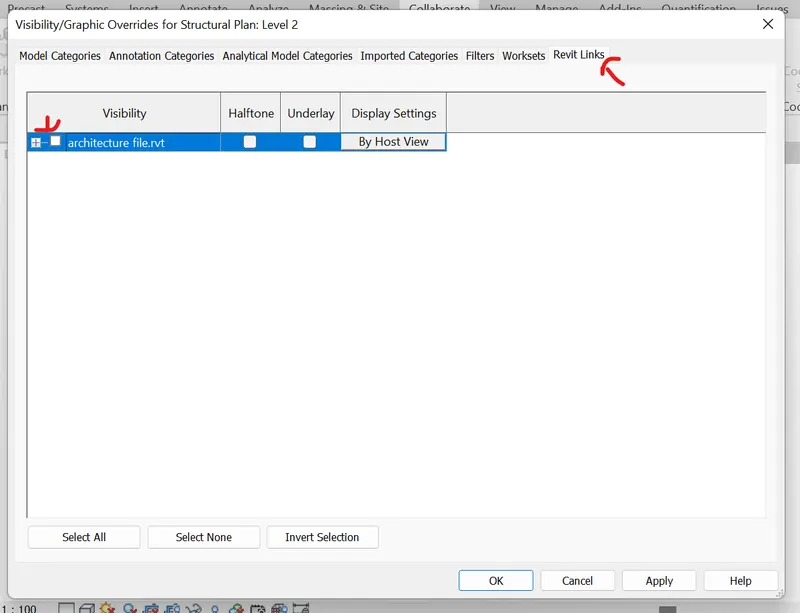
Now click on the apply and ok to see the grids in the structural file.
Result:
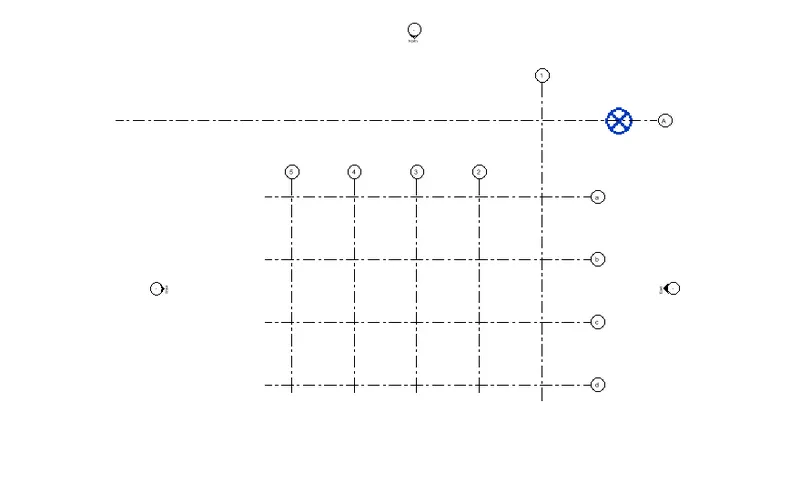
As a result we can now see the grid line copied to the structural file.
8) Create another new file with a construction template. Save the new file as a central model. This file will include both architectural and structural model. Under the manage tab, Click manage links to link both architectural and structural files. Save the file and close all the files?
Aim:
To create a constructoion template and link the both structrual and architectural modal and make the file as central model and save the file with approprait name.
Introduction:
By creating combined file that help in indentify the model so that we can see that if we have any changes to make.
Procedure:
firt we need to create a new construction template.
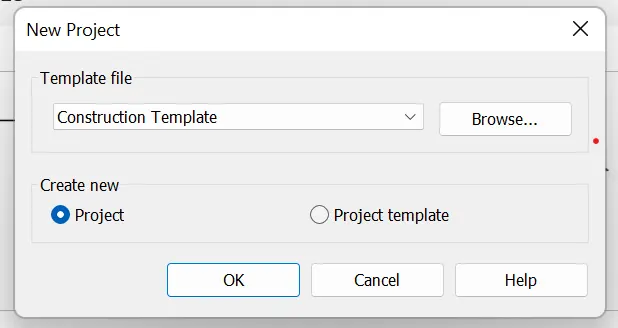
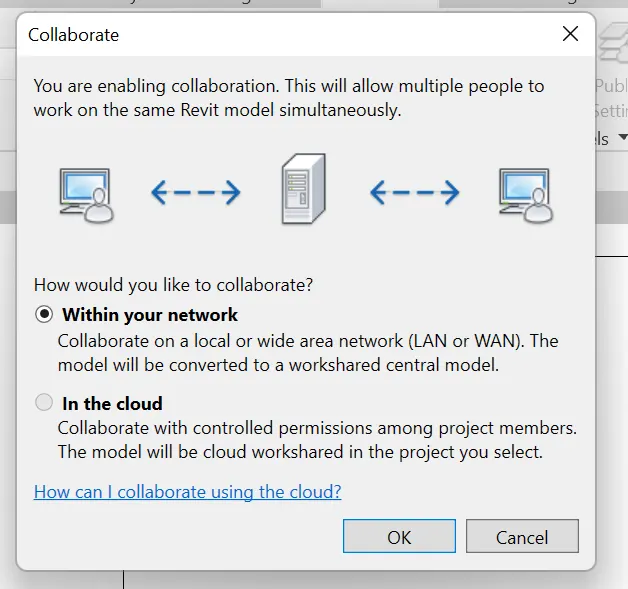
Then go to the collabrate tab and click on collabrate icon.
Then select any of the following as per the requirement and click on Ok.
Now click on the save icon on the top . Then it ask would you like it to save as an central so click on OK.
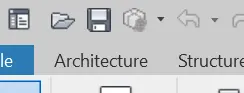
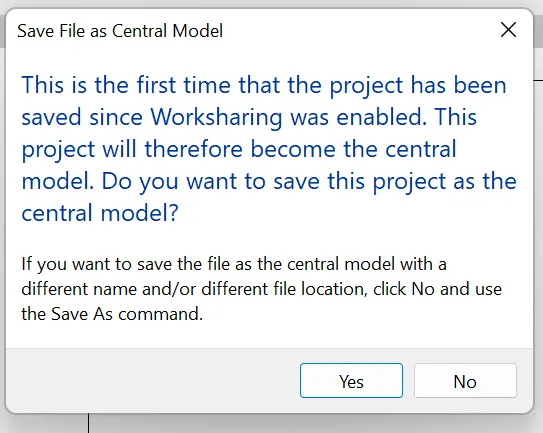
Now go to Insert option click on link revit. Now select the file and click ok.
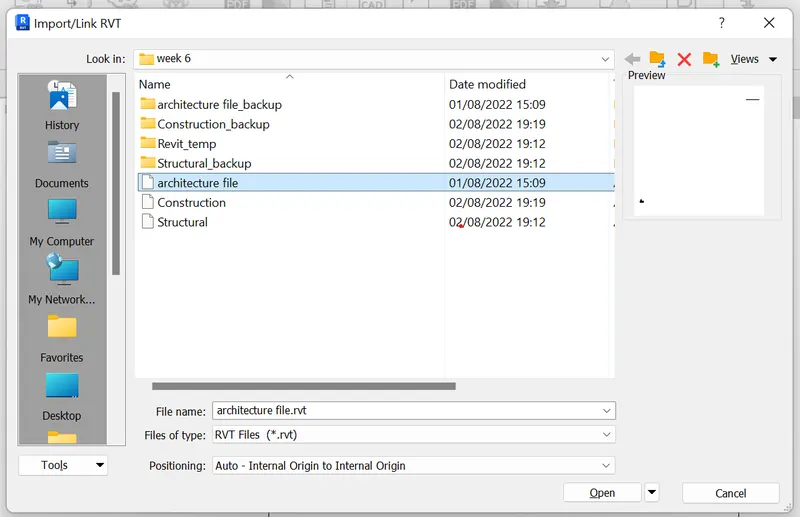
then select the other file and click on open.
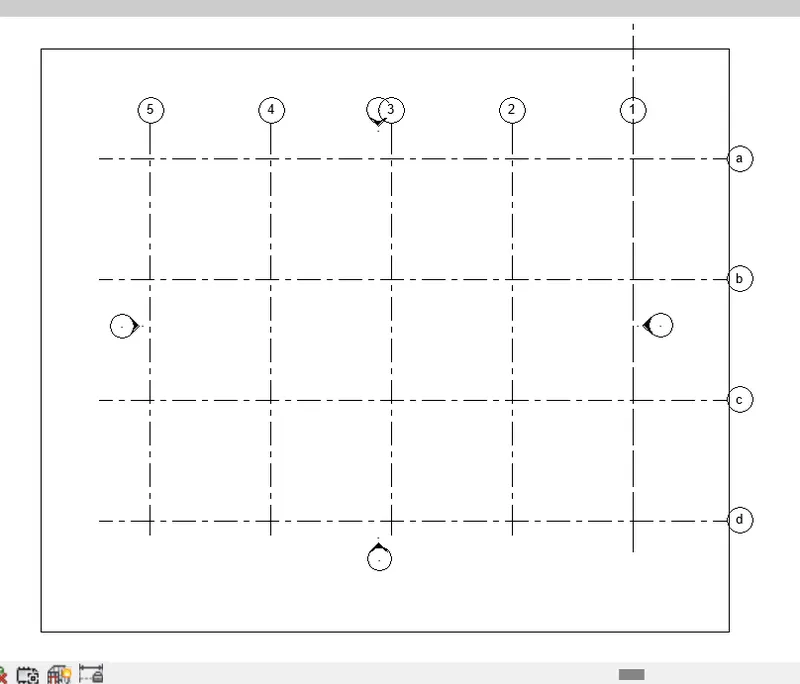
Now click on the file and save the file again.
Result:
As a result we now created a new construction template and then saved the file after linking architecture and the structural files.
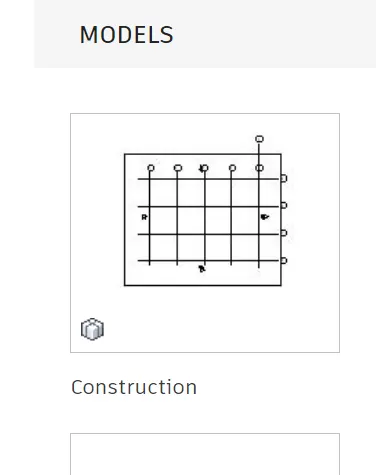
9) Are the grids from structural and architectural model matching in the construction template created? If yes the model is set up for project 2. If not work on the shared parameters and linking options under Manage links
( Hint: origin to origin, by shared coordinates or by project base point to base point ) to link the models in an appropriate manner?
Aim:
To check the linked files are matching in the construciton template if not make them match using by share coordinates. So that we can use this link for the project 2.
Introduction:
Linking the project files to construction template and checking they are in the correct positon. this grids help in the following the model.
Procedure:
As my model is linked with the both file and in the same location so i am not changing the file.
as we can see the both the grid lines on the same plane i can say that my files are same.
now we jus tsaved the project we can use that for the next project.
Result:
As our both grids are in the same position i am not changing the file.
10) List a flow chart of a project tree set up in terms of Construction model, Architecture & Structure model, in this exercise and understand how many people can work on the same project using Revit simultaneously?
Aim:
In this we are listing a flow chart for the project tree for the construction, architecture, strctural and understand how many people can work on the project.
Introduction:
Creating template and use them appropriate with respect to the catogry and can work may people can work on the same project at the same time.
Procedure:
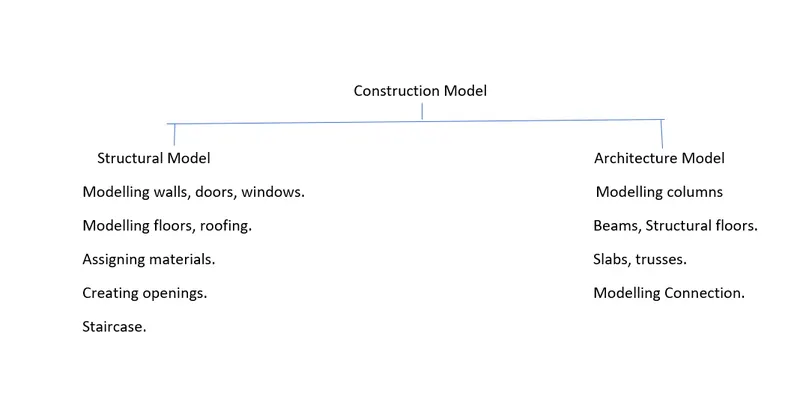
In revit many people can work simuntaniusly on the project by sharing the work. it depends upon the the kind of project they are working upon.
Result:
In revit many people can work simuntaniusly on the project depending upon there work.