Usage of Collaborate tool in REVIT
1.Aim:To create the architectural template and to create the base point and shared coordinates of the project.
Procedure:
- Click on the new option and select the required template architectural and click on OK then the file with the required template is formed.
- Now click on the architectural option in the ribbon and select the Grid option in the ribbon and plot the grids in the two directions.
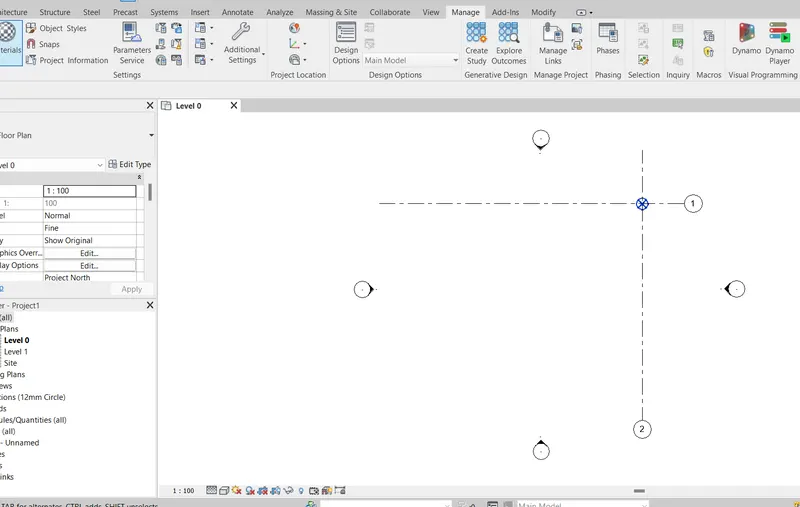
- Now enter the VG command and in the model category drop down the site option and click on the base point option then the base point with a particular coordinates is formed.
- The coordinates of the base point of the project can be changed using the manage option and select the parameters and click on the specify coordinates option and change the coordinates of the base point.
- After changing the coordinates the base point is directed to that particular point.
- Now click on the file option on the top and select save as option and select the project option and change the name of the file and we can name the desired title of the file and click on ok then the file is created as a project.
- The base point inserted in the rivet architectural file is formed as shown in the below.
2.Aim:To create the structural template and to create the base point and shared coordinates of the project.
Procedure:
- Click on the new option and select the required template structural and click on OK then the file with the required template is formed.
- Now click on the architectural icon in the ribbon and select the Grid option in the ribbon and plot the grids in the two directions.
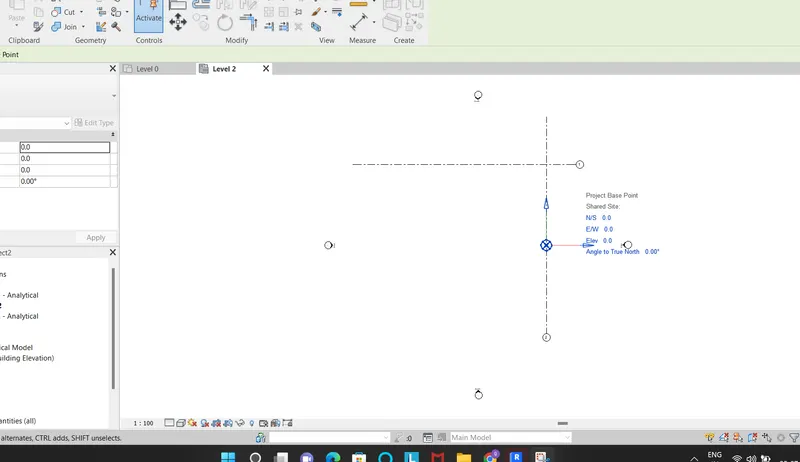
- Now enter the VG command and in the model category drop down the site option and click on the base point option then the base point with a particular coordinates is formed.
- The coordinates of the base point of the project can be changed using the manage option and select the parameters and click on the specify coordinates option and change the coordinates of the base point.
- After changing the coordinates the base point is directed to that particular point.
- Now click on the file option on the top and select save as option and select the project option and change the name of the file and we can name the desired title of the file and click on ok then the file is created as a project.
- The base point inserted in the rivet structural file is formed as shown in the below.
3.Aim:To create the architectural model to the central model and to enable the work sharing of the architectural model.
- In a model more number of people belonging to various departments will work to enable the needs and requirements of the client.So there should a work sharing in the model creation in the rivet.
- To enable the work sharing the model is converted in to central model and we can enable the changes in the local copy of the model and we can synchorize the changes in the central model.So that each and every person can get know about the changes by work sharing option.
Procedure:
- Click on the open option and select the architectural file and click on OK then the architectural file is opened.
- Now select the icon collabrate in the Ribbon and click on the collabrate option then the window displays the option with in a network and with in a cloud which states when the centarl file is created with in a network then the file get accessed from allover the world and where as in the case of with in a cloud the file is accessed with the project members under the strict restrictions, So it is better to create the central file with in a network.
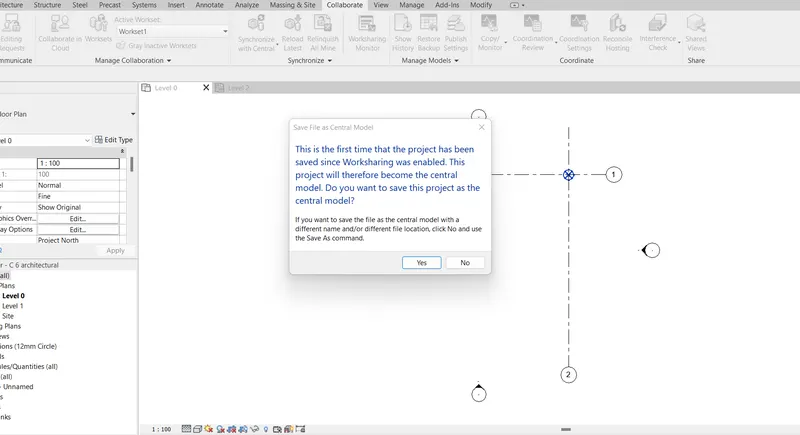
- Now click on the with in the net work option and the work sharing is enabled for the model and now save the file then the file is saved as a central file with the work sharing option.
- The file created as a central model is in the form as shown below.
4.Aim:To create the logitudinal and transverse grids in the architectural template created in the rivet.
Procedure:
- Click on the open option and select the required template architectural and click on OK then the architectural file is opened.
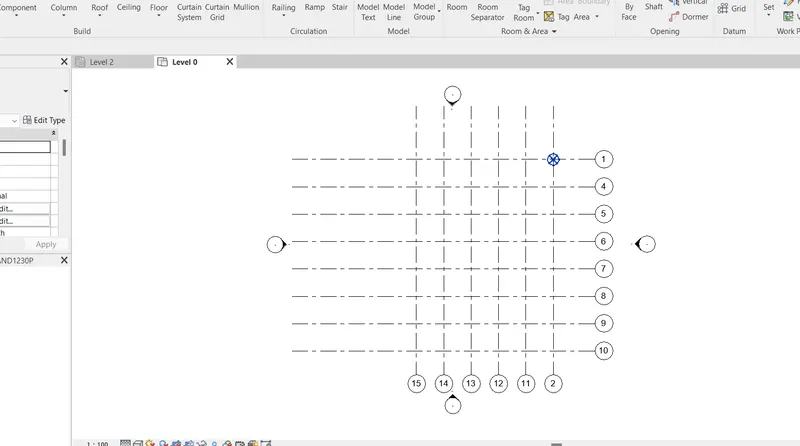
- Now click on the architectural option in the ribbon and select the Grid option in the ribbon and slect the pick line option and enter the off set of the grid as 10,20,30 etc.
- Now the grids are plotted by clicking in the window and we can create the number of grids according to the desire in the longitudinal direction.
- In the same way we can create the grid in the transverse direction also.
- The grids created in the architecural file is shown in the below.
5.Aim:To enable the changes in the central model and to syncharize the changes with the centarl model in the rivet.
Procedure:
- After creating the centarl model we can make the required changes in the model.The changes can be made in the local copy of the model and we need to syncharize the changes in to the central model.
- When we open the central model,the model is opened either by detaching or by creating the local copy of the model.We need to open by creating the local copy of the model we can syncharize the changes in to the central model.
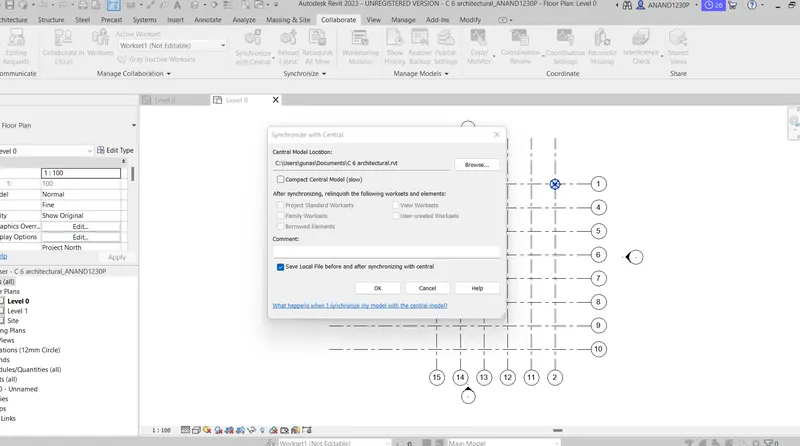
- After creating the local copy of the model we can make the required changes in the model and click the collabrate icon and select the synchorize option in the model.
- After clicking on the synchorize option the changes we made in the local copy of the model will reflect in the central model and can be visible to the other members in the project also by the work sharing option.
- The synchorized file is shown in the below.
6.Aim:To create the structural model to the central model and to enable the work sharing of the structural model.
- In a model more number of people belonging to various departments will work to enable the needs and requirements of the client.So there should be a work sharing in the model creation in the rivet.
- To enable the work sharing the model is converted in to central model and we can enable the changes in the local copy of the model and we can synchorize the changes in the central model.So that each and every person can get know about the changes by work sharing option.
Procedure:
- Click on the open option and select the structural file and click on OK then the structural file is opened.
- Now select the icon collabrate in the Ribbon and click on the collabrate option then the window displays the option with in a network and with in a cloud which states when the centarl file is created with in a network then the file get accessed from allover the world and where as in the case of with in a cloud the file is accessed with the project members under the strict restrictions, So it is better to create the central file with in a network.
- Now click on the with in the net work option and the work sharing is enabled for the model and now save the file then the file is saved as a central file with the work sharing option.
- The file created as a central model is in the form as shown in the question 3.
7.Aim:To copy the grids from the architectural template to the structural template created in the rivet.
Procedure:
- Click on the open option and select the required template structural and click on OK then the structural file is opened.
- To copy the grids from the architectural to structural then we can insert the architecutral link into the structural model.
- To insert the link we can click on the insert option and slect the link rivet option and we can add the architecural link to the structural model then we can able to work out the architectural model in the structural model also.we can also remove the link from the Visibility and graphics option, select the rivet links and click on the box in the architecural link. Then we can't able to see the architectural model in the structural model.
- If we need to see the architectural model in the structural model after removing the link in the VG coomand then we need to copy the architectural model using thecopy monitor option.
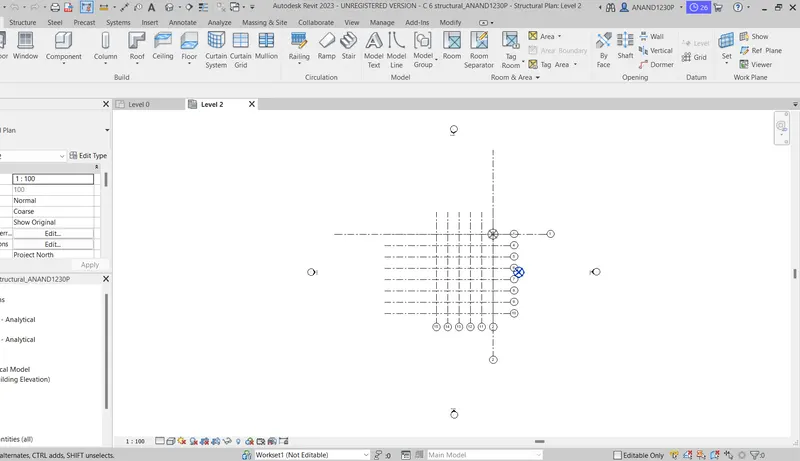
- Select the collabrate tool in the ribbon and click on the copy monitor and clickon the rivet link and selct the link of the model in the window and click on the copy and tick mark the multiple option and click on the finish icon.
- Then the architectural model is copied in to the structural model and we can also see the model after removing from the VG command.
- The structural model formed by copying the architectural model is shown in the below.
8.Aim:To create the construction template and to link the architectural and structural model in the construction template using the rivet.
Procedure:
- Click on the new option and select the required template constructional and click on OK then the file with the required template is formed.
- Now select the icon collabrate in the Ribbon and click on the collabrate option then the window displays the option with in a network and with in a cloud which states when the centarl file is created with in a network then the file get accessed from allover the world and where as in the case of with in a cloud the file is accessed with the project members under the strict restrictions, So it is better to create the central file with in a network.
- Now click on the with in the net work option and the work sharing is enabled for the model and now save the file then the file is saved as a central file with the work sharing option.
- To insert the link we can click on the insert option and select the link rivet option and we can add the architecural link and structural link to the constructional model then we can able to work on the architectural model and structural model also.we can also remove the link from the Visibility and graphics option, select the rivet links and click on the box in the architecural link. Then we can't able to see the architectural or structural model in construction template.
- The coordinates of the base point of the project can be changed using the manage option and select the parameters and click on the specify coordinates option and change the coordinates of the base point.
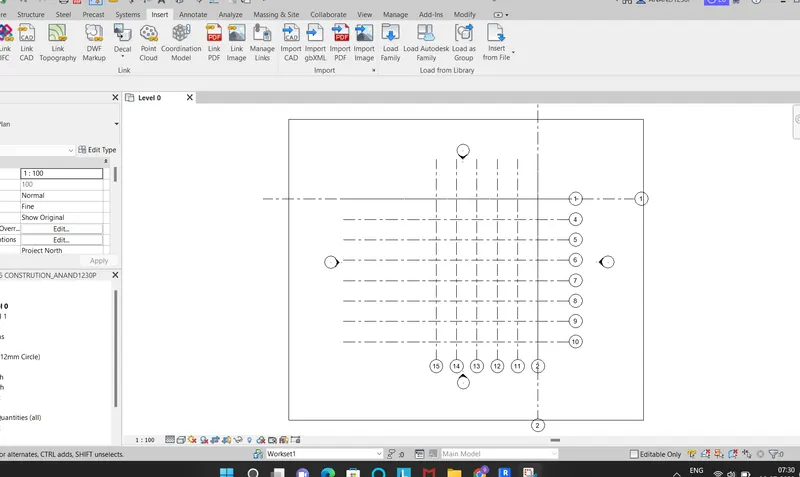
- The fianl construction template formed is shown below.
9.Aim: To check whether the architecural or structural model is matching each other or not in the rivet .
Procedure:
- To create the model in the construction template it is better to match the inserted links architectural and structural models in the construction template if they are matched then the model created is free from the over lapping and if they are not matching then it may create disturbance for visibility due to over lapping.
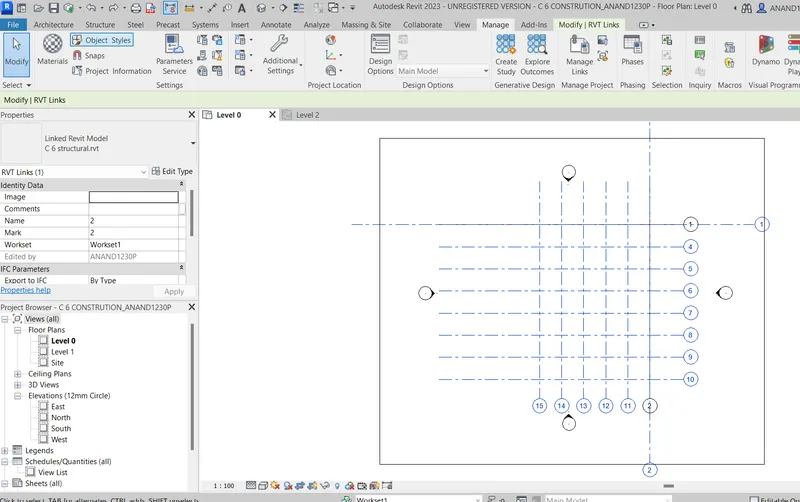
- The created model in the construction template is matching one another i.e architectural and structural.
- If the architectural and structural models are not matching then we need to specify the same coordinates for the base point of the both the models i.e architectural and structural.
- Click on the manage tab and select the specify co ordinates option and change the coordinates of the base point and as soon as we change the coordinates of the base point then the architectural and structural model will match each other.
10.Construction model is the combination of both the architectural and structural model.A model is created by following the guidelines of both architectural and structural models.
Architectural model:
- Modelling walls.
- Modelling doors.
- Modelling windows.
- Modelling roofs and ceilings.
- Modelling stair cases.
- Modelling openings.
- Assigning the materials.
- Architectural model is responsible for the asestic beauty of the building.
Structural model:
- Modelling Footings.
- Modelling columns.
- Modelling Beams.
- Modelling slabs.
- Modelling the connections.
- Structural model enables the entire frame work of the model.
In the rivet project based on the work sharing option many people work together or simultaneously for a particular project. The entire project is divided in to various elements and the each element is work out by the individual people for the particular phase of the project. For the building project many people like plumbing,architectural,mechanical,structural,electrical,interior designer etc work individually to develop the respective phase of the project and this team will be based on the project. For a rivet project all these people may work together or simultaneously to develop the project.