Usage of Collaborate tool in REVIT
ANS 1)
Aim: Opening an architectural template and using the Manage tab set project base point and project shared coordinates for the project.
Procedure:
- Open the REVIT software by double clicking on it.
- On the left side, in the models section NEW option is available click on it.
- Similiarly at the top left corner there is File menu click on it and select the new file.
- Select architectural template press ok.
- Again go to the file menu and select the Save option.
- Give the name to the project as "Challenge 6" and click on the save option.
- First we set the project shared coordinates, from architectural tab draw some grids.
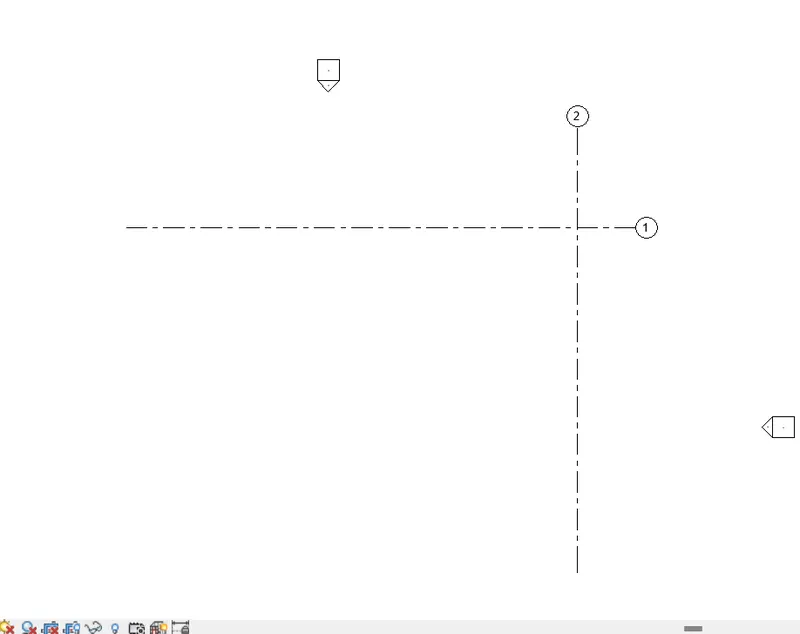
- Now specify the coordinates using the manage tab.
- In project location tab there is option called coordinates.
- Select Specify coordinates at point and click on point, and the below dialog box appears and here provide value as 0 and press ok.
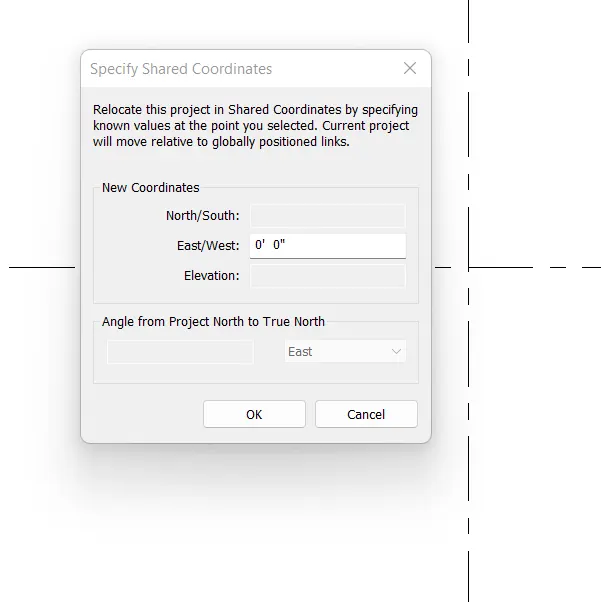
- To set the project base point, type VG (short key for the visibility/graphics) a dialog box appears.
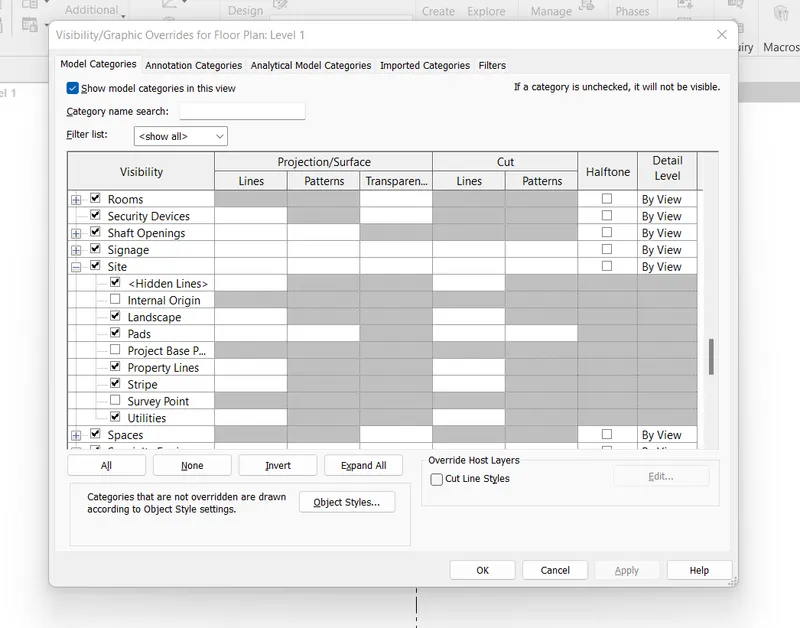
- In visibilty, there is site option expand site option.
- In site, there is option for project base point check the box and click on apply.
- And then press ok, the project base point is visible.
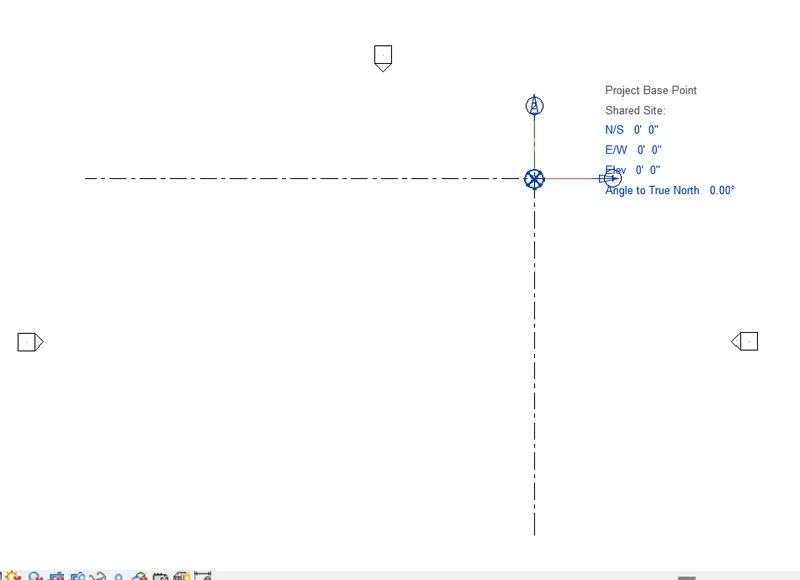
ANS 2)
Aim: Opening a structural template and using the Manage tab set project parameters the same as the architectural model and Copy the parameters from the architectural model to the structural template or enter the parameters manually into the structural model.
Procedure:
- Open the REVIT software by double clicking on it.
- On the left side, in the models section NEW option is available click on it.
- Similiarly at the top left corner there is File menu click on it and select the new file.
- Select structural template press ok.
- Again go to the file menu and select the Save option.
- Give the name to the project as "Challenge 6" and click on the save option.
- First we set the project shared coordinates, from structural tab draw some grids.
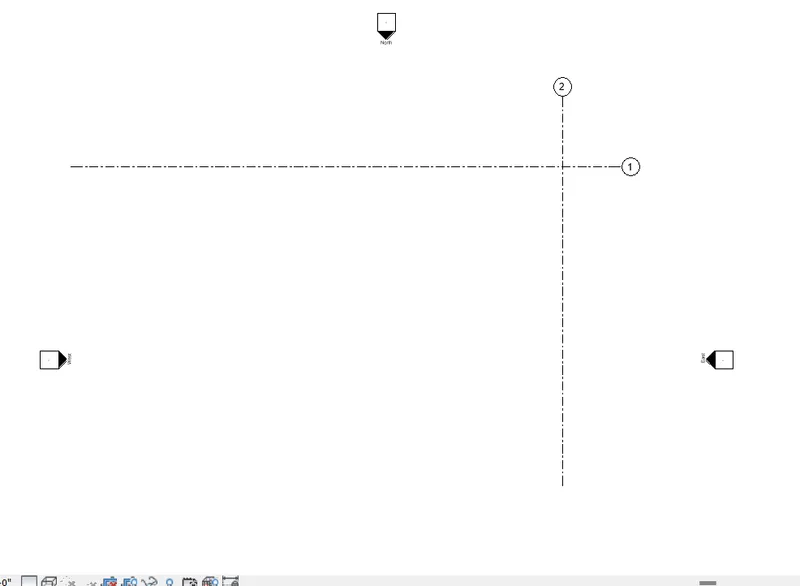
- Now specify the coordinates using the manage tab.
- In project location tab there is option called coordinates.
- Select Specify coordinates at point and click on point, and the below dialog box appears and here provide value as 0 and press ok.
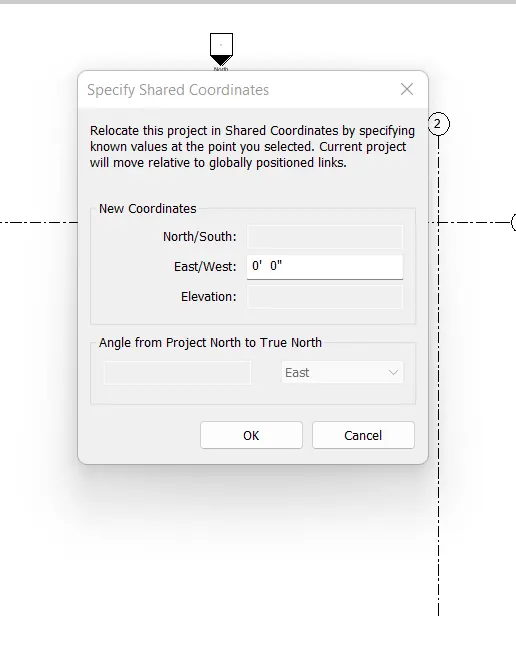
- To set the project base point, type VG (short key for the visibility/graphics) a dialog box appears.
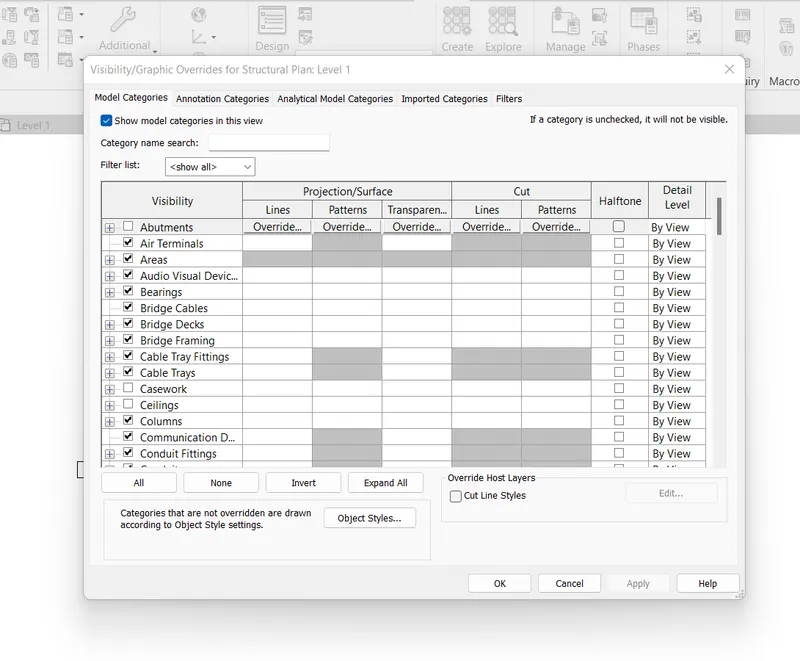
- In visibilty, there is site option expand site option.
- In site, there is option for project base point check the box and click on apply.
- And then press ok, the project base point is visible.
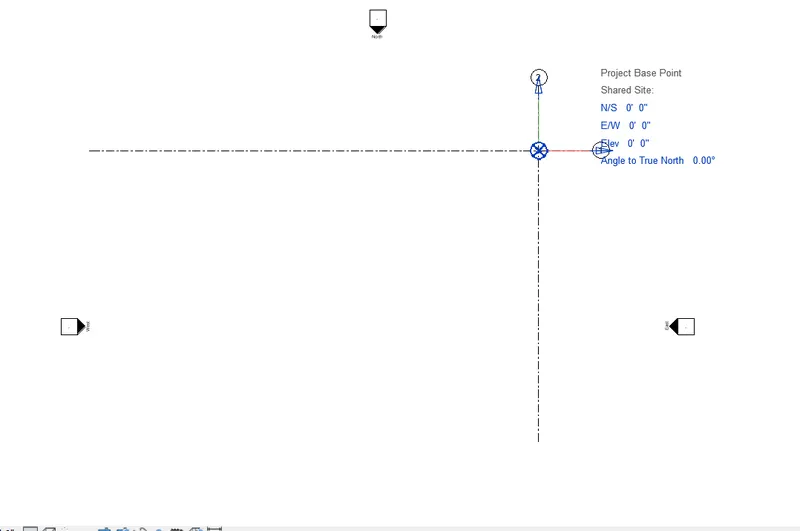
ANS 3)
Aim: Re-opening the architectural model and using the tools under the Collaborate tab and making the architectural model a central model.
Procedure:
- Open the REVIT software by double clicking on it.
- On the left side, in the models section OPEN option is available click on it.
- Similiarly at the top left corner there is File menu click on it and select the Open file.
- Select the architectural file to reopen it.
- Now go to the collaborate tab, there is option called collaborate, click on it.
- Than there is a pop up display as shown below.
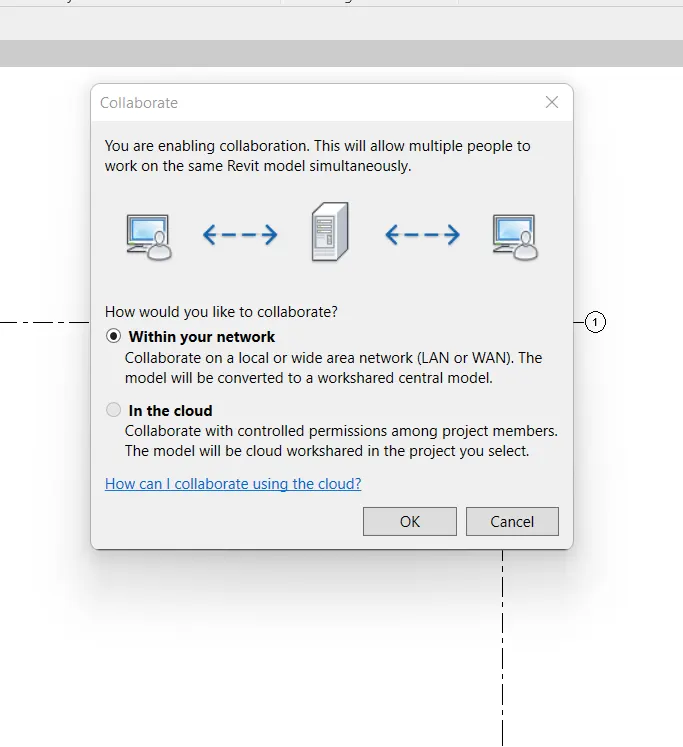
- Select Within your network and press ok.
- After that click on the save button and a pop up displayus as shown below.
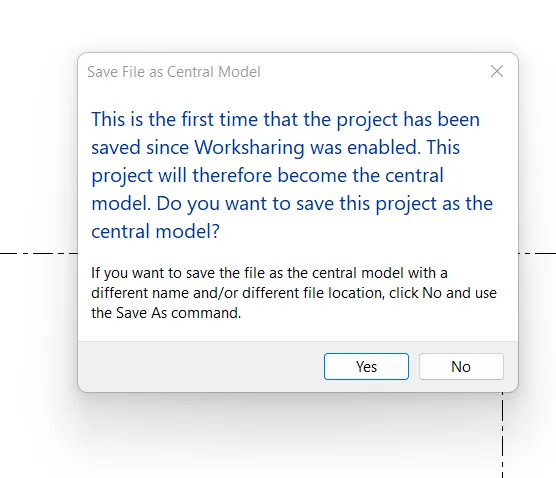
- Click yes to save the project as central model.
ANS 4)
Aim: Creating the Grids Longitudinal and Transverse pattern.
Procedure:
- Open the REVIT software by double clicking on it.
- On the left side, in the models section OPEN option is available click on it.
- Similiarly at the top left corner there is File menu click on it and select the Open file.
- Select the architectural file to reopen it.
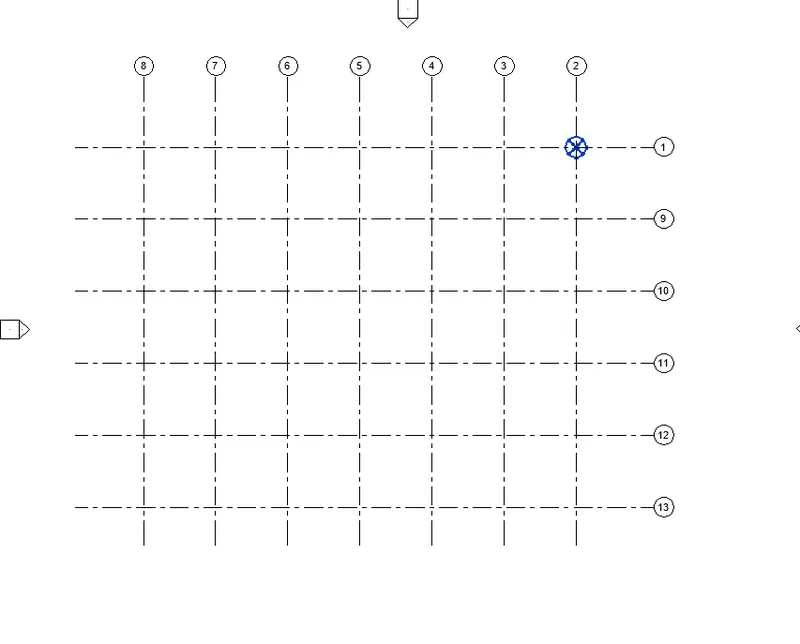
- As we already draw one longitudinal and one transverse grid.
- Now again select the grid in architectural tab and give offset of 15' and draw the transverse and longitudinal grids as show below.
ANS 5)
Aim: Synchronize the changes from the local copy to the central file of the architectural model.
Procedure:
- In the last question we draw a architectural model in that we draw some grids in it.
- And we already have a central model from the question number 3.
- Now go to the collaborate tab, there is a option called Synchronize with central click on it.
- Than there are two options one is synchronize and modify settings and other one is synchronize now.
- Select the first one and pop up display appears as shown below.
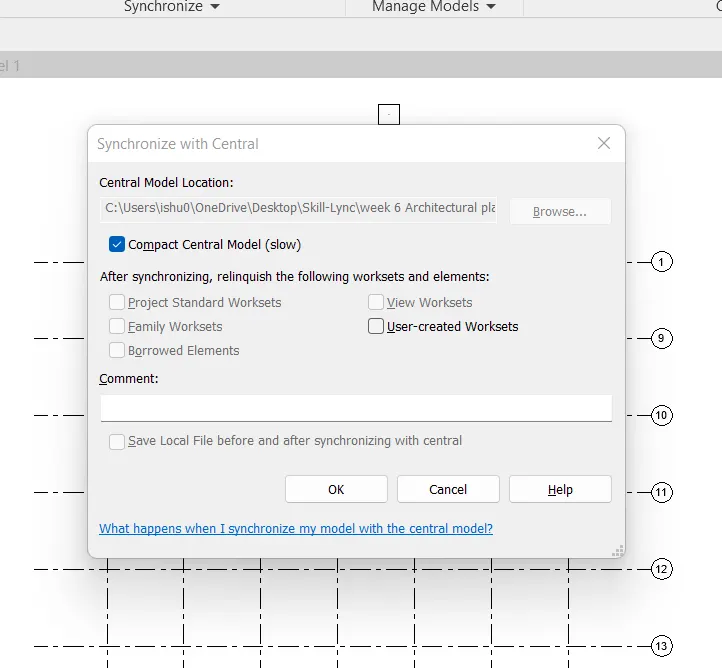
- Press ok to Synchronize with the central.
ANS 6)
Aim: Opening the structural model and use the collaborate tools to save the model as a central file.
Procedure:
- Open the REVIT software by double clicking on it.
- On the left side, in the models section OPEN option is available click on it.
- Similiarly at the top left corner there is File menu click on it and select the Open file.
- Select the structural file to reopen it.
- Now go to the collaborate tab, there is option called collaborate, click on it.
- Than there is a pop up display as shown below.
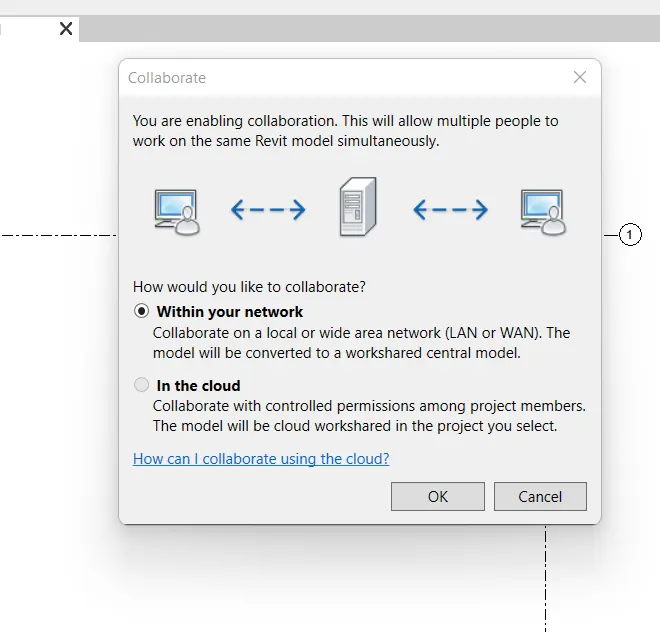
- Select Within your network and press ok.
- After that click on the save button and a pop up displayus as shown below.
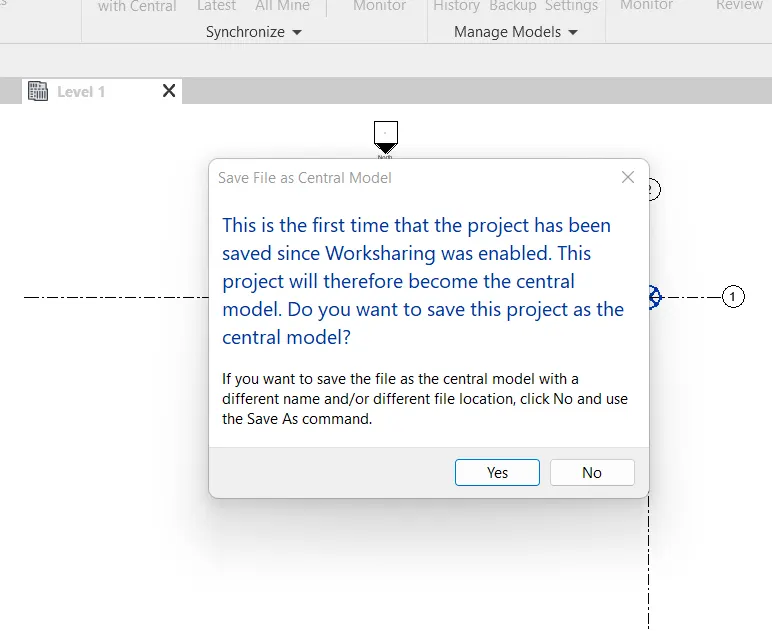
ANS 7)
Aim: Under the Collaborate tab, select the grids and levels from the architectural model, and using Copy Monitor try to copy the grids to the structural model.
Procedure:
- Open the REVIT software by double clicking on it.
- On the left side, in the models section OPEN option is available click on it.
- Similiarly at the top left corner there is File menu click on it and select the Open file.
- Select the structural file to reopen it.
- Now go to insert tab, there is option called link Revit file, click on it.
- Select the architectural file which we have to link in the struactral model, and click open.
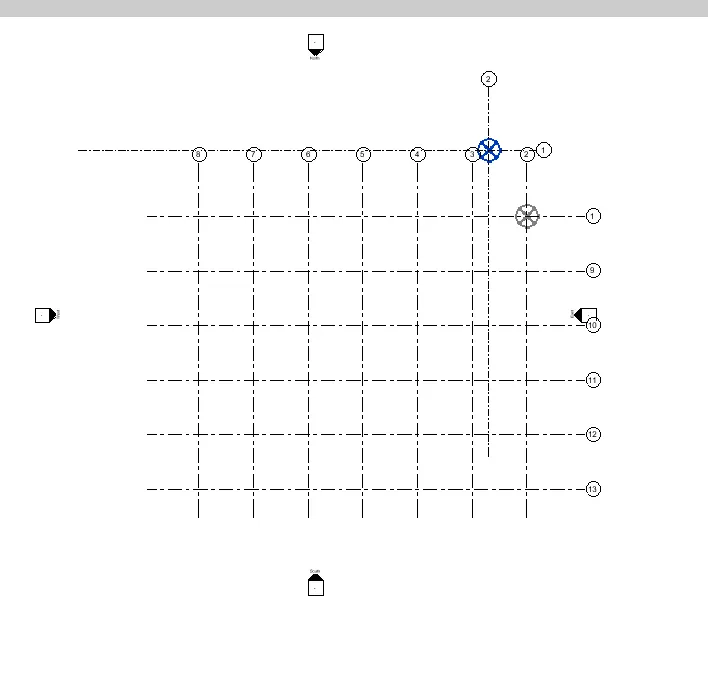
- Now the architectural template is linked with structural model.
- Now Go to the collaborate tab, in coordinate tab there is a option for copy/monitor.
- Select the copy/monitor option and click on the select link option and select the link.
- Now a tab is open and in that tab select the copy option.
- Check the box for the multiple selection now select all the grids and click on finish.
- Again go to the copy/monitor tab and click the finish.
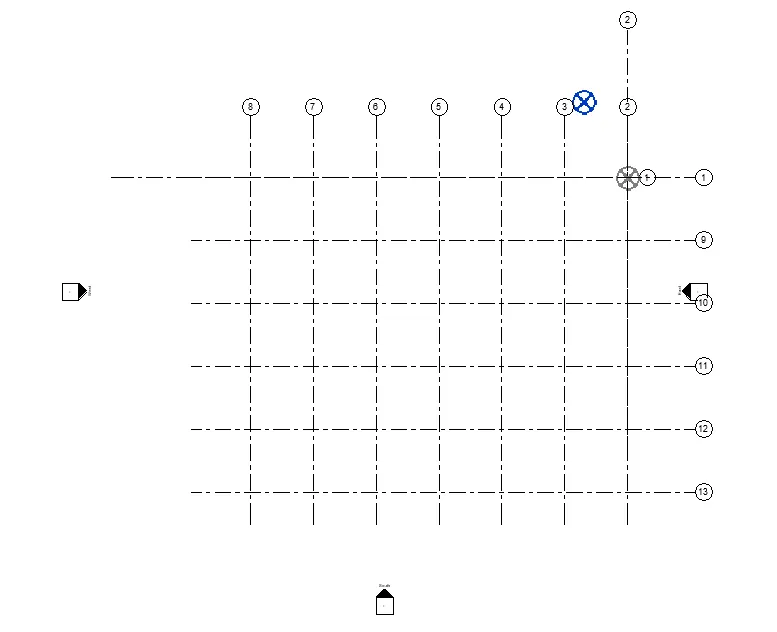
ANS 8)
Aim: Creating new file with a construction template and save the new file as a central model. The file will include both architectural and structural model.
Procedure:
- Open the REVIT software by double clicking on it.
- On the left side, in the models section NEW option is available click on it.
- Similiarly at the top left corner there is File menu click on it and select the new file.
- Select construction template press ok.
- Again go to the file menu and select the Save option.
- Give the name to the project as "Challenge 6 construction template" and click on the save option.
- Now go to the collaborate tab, there is a option called Synchronize with central click on it.
- Than there are two options one is synchronize and modify settings and other one is synchronize now.
- Select the first one and pop up display appears as shown below.
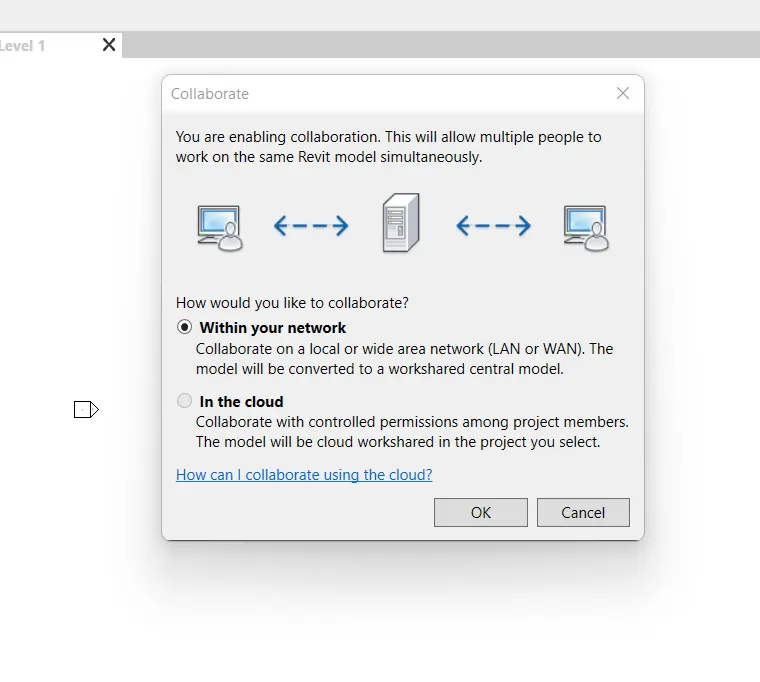
- Select the within your network option ans click ok.
- After that click on the save button and a pop up displayus as shown below.
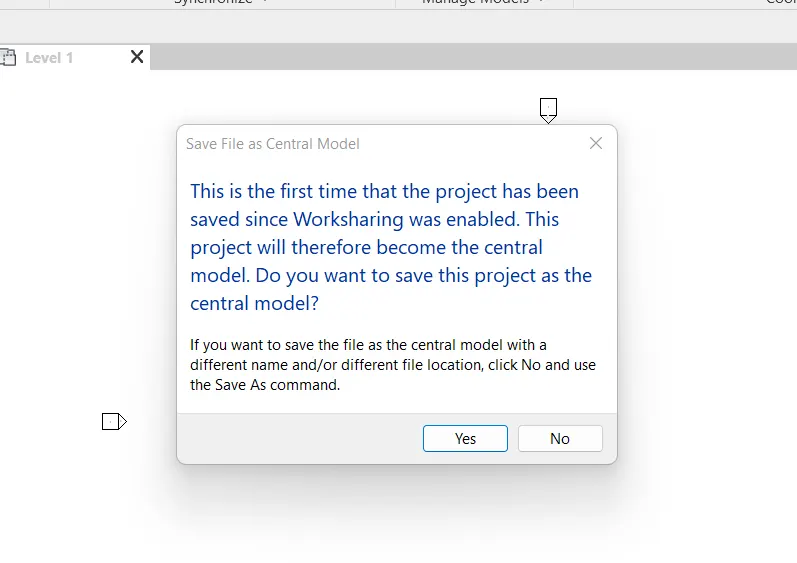
- Now again go to the collaborate tab, there is a option called Synchronize with central click on it.
- Than there are two options one is synchronize and modify settings and other one is synchronize now.
- Select the first one and pop up display appears as shown below.
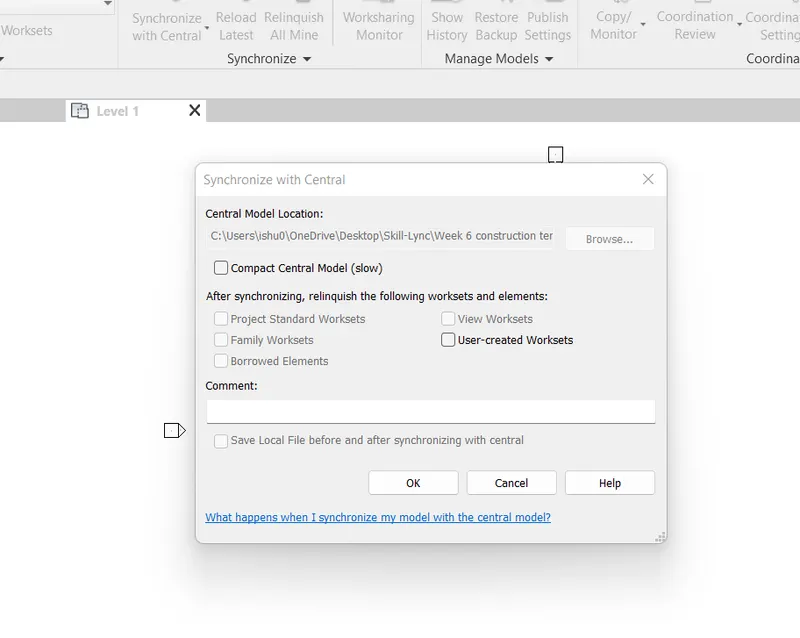
- Press Ok to synchronize with the central.
Now to Link the archhitectural ans structural template in this template
- Go to the insert option, Select the link Revit option.
- Now select the structural and architectural template one by one and click open.
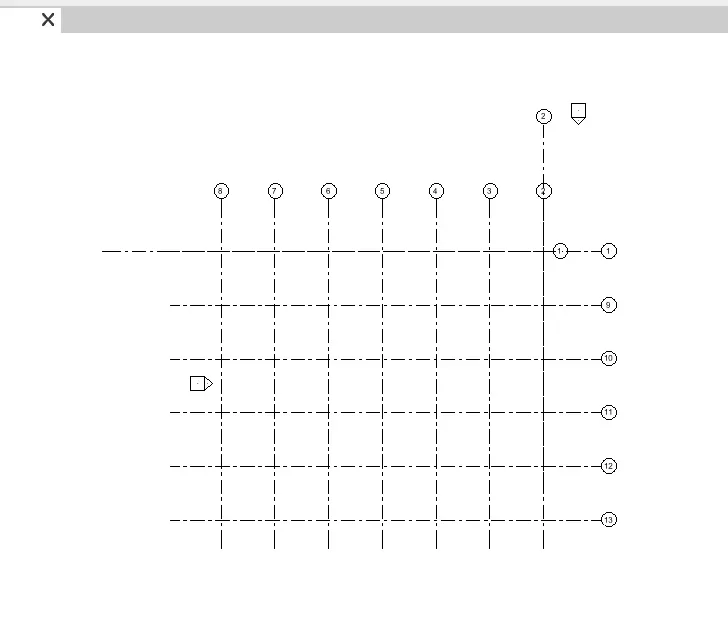
- Hence both the architectural and structural templates are linked in construction template.
ANS 9)
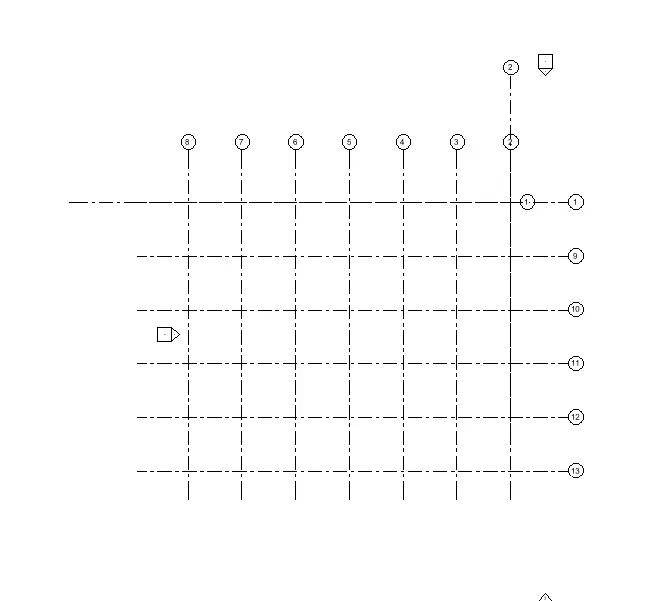
Aim: Cross checking whether the grids from structural and architectural model matching in the construction template created.
YES, the grids of both the architectural and structural template are matching in the construction template.
ANS 10)
Aim: List a flow chart of a project tree set up in terms of Construction model, Architecture & Structure model.
Construction Model :
- Architectural Model
- Modelling walls
- Modelling windows
- Modelling doors
- Modelling architectural flooring
- Modelling architectural roofings and ceilings
- Assign materials
- Enables to provide the geographical conditions
- Modelling Staircase
- Creates openings
- Architectural model in overall contributes to the aesthetic beauty of a building.
- Structural Model
- Modelling columns
- Modelling beams
- Modelling footings
- Modelling Structural floors
- Modelling labs
- Modelling tress systems
- Modelling connections
- Structural model in general develops the entire framework of a structure.
Multiple people can work on the same project simultanesously. Like architect, structure enginner, pluming engineer etc.