Underbody Coating
UNDERBODY COATING
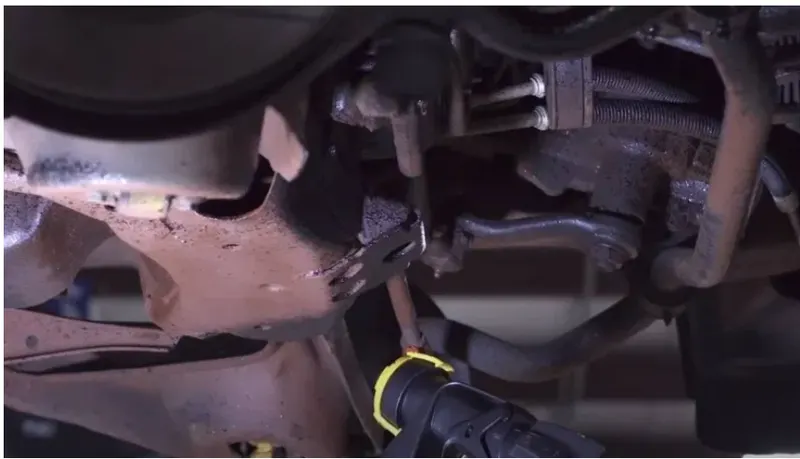
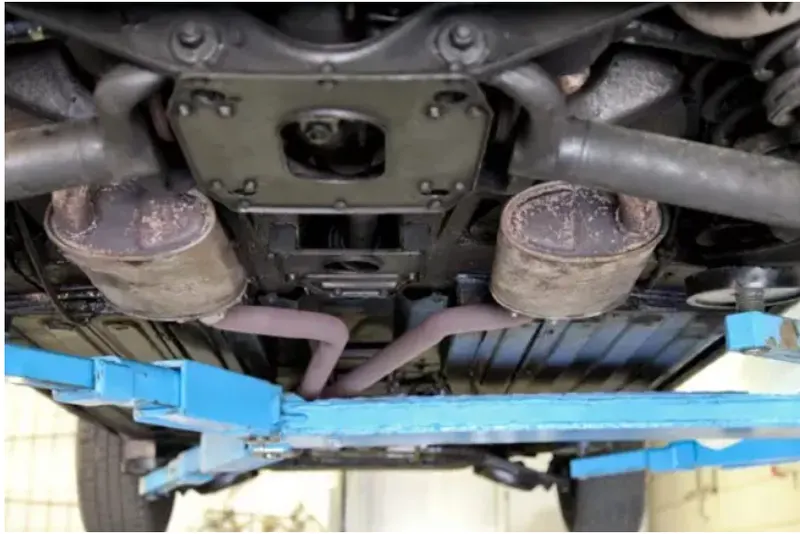
A car’s underbody is exposed to the most wear and tear caused by muddy water, potholed roads, stones and other obstacles on the road. Because it’s not in plain sight, we often do not see the damage.
Underbody coating is usually a dense cladding (often based on rubber) applied uniformly to the undercarriage of the automobile. It is normally sprayed or painted on when the car is just out of the dealership and is clean. But even if you are getting the undercoating applied after a couple of years, it’s fine too. This is because it can prevent further damage to the undercarriage.
The main purpose of undercoating is to check rust especially in the body components like frame rails along with other exposed metal parts. Underbody coating can also reduce wear and tear
Types of Undercoating
1. Rubberized Underbody Coating
This is generally thought of as the best underbody coating for your car. It preserves the underbody well, protecting it from scratches. Applying this to the undercarriage is not much of a hassle either.
2. Wax Based Underbody Coating
This – more or less – ephemeral undercoating will wear away in a few months’ time. On the upside, wax-based undercoating puts up a big fight against moisture. It is also the most affordable option out there.
3. Asphalt Based Automotive Undercoating
Best suited for lorries, trucks and large vehicles this provides a greater degree of protection compared to rubber-based coatings. However, asphalt-based coatings contain little amounts of rubber for sound-insulation purposes. The process of applying this coating is a bit time-consuming though.
4. Polyurethane Underbody Coating
This coating closes up splits and fractures on the underbody of the vehicle. It offers up good protection against corrosion and also bonds with the metal. Unlike in the case of asphalt-based coating, you can paint over the polyurethane coating.
Advantages of Undercoating
- Fights Rust
- Absorbs Noise
- Reinforcement
- Prolongs car life
- Minimizes Sound: It minimizes the sound from underneath the car resulting a noiseless, smooth driving experience.
- Heat Insulation: It insulates the interior of the car from extreme temperatures from beneath the vehicle providing a comfortable cabin experience.
- Anti-chipping property: If any stone hits the coating it does not get chipped away hence protects the underbody from exposure to water.
How to apply a DIY undercoating.
Step 1 - Cleaning of Underbody
You have to remove all debris and contaminants from the chassis to start with the undercoating process. It is another way to maintain your car in routine.
Step 2 - Applying Priming
You will need a primer for applying DIY consumers. Primers serve as a basecoat. You need to follow the instructions listed by the manufacturer for expected results. The recommended primers usually contain a high level of zinc. Zinc helps in reducing rusting, even if the protective layer is penetrated.
Step 3 -Applying Undercoating
This is the final step. The undercoating sprays are similar to bed liners. Most products are applied in two steps as dual layers. The first layer should be thin, covering the entire surface. Allow it to rest at least for an hour, especially if you are applying a rubberized undercoating.