Simulink Model for Fan operating system using Thermistor
Simulink Model for Fan operating system using Thermistor.
THERMISTOR:
A Thermistor is a type of Resistor whose Resistance dependent on temperature, more so than is standard resistors. The word is a combination of thermal and resistor. Thermistor are widely used as inrush current limiters, temperature Sensor (negative temperature coefficient or NTC type typically), self-resetting overcurrent protector, and self-regulating heating elements (positive temperature coefficient or PTC type typically).
Thermistors are of two opposite fundamental types:
- With NTC Thermistor, resistance decrease as temperature rises. An NTC are commonly use as Temperature Sensor, or in series with a circuit as an inrush current limiter.
- With PTC Thermistor, resistance increases as temperature rises. PTC Thermistor is commonly installed in series with a circuit, and use to protect against overcurrent conditions, as resettable Fuse.
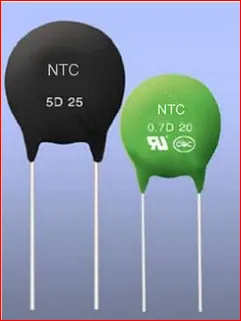
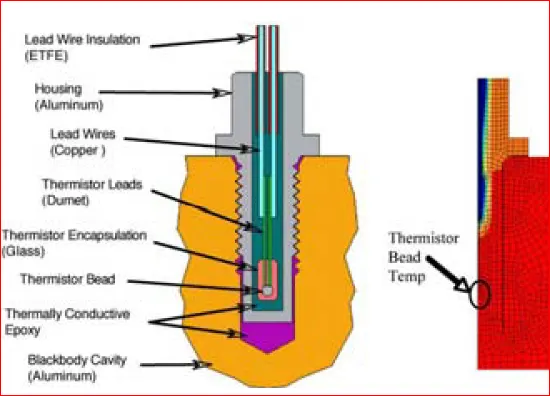
Thermistors are generally produced using powdered metal oxides. With vastly improved Formula and Technique over the last 20 years, NTC Thermistor can now achieve accuracies over wide temperature range such as (+-0.1)’C or (+-0.2)’C from 0 degree Celsius to 70 degree Celsius with the excellent long term Stability. The typical operating temperature range of a Thermistor is (-55) degree Celsius to (+150) degree Celsius, though some glass body Thermistor have a maximal operating temperature of (+300) degree Celsius.
Thermistor differ from resistance temperature detector (RTDs) in that the material used in Thermistor is generally a ceramic or polymer, while (RTDs) use pure metals. The temperature response is also different RTDs are useful over large temperature ranges, while Thermistor typically achieve a greater precision within a limited temperature range, typically -90 degree Celsius to 130 degree Celsius.
FOR FAN OPERATIONS USING THERMISTOR:-
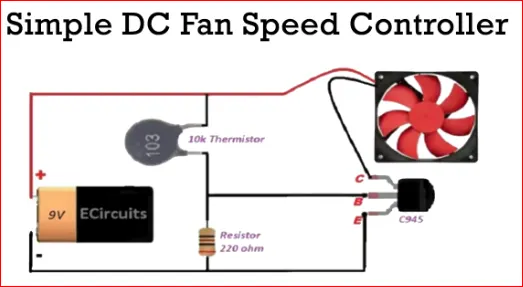
Basic Component used to generate a simple Thermistor operated Fan circuit is:
- Signal Builder Block:
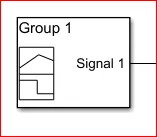
The Signal Builder block allows you to create interchangeable groups of piecewise linear signal sources and use them in a model. You can quickly switch the signal groups into and out of a model to facilitate testing. In the Signal Builder window, create signals and define the output waveforms. To open the window, double-click the block.
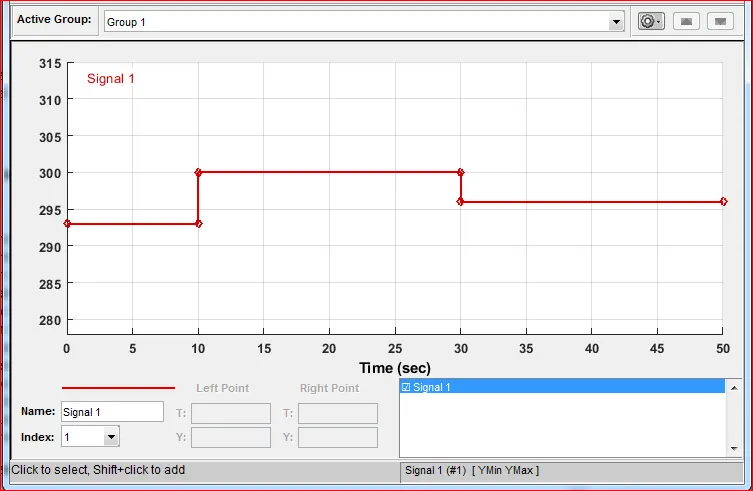
Given inputs :
At Point-1 - Time 0 sec - Temperature is 293K,
At Point-2 - Time 10 sec - Temperature is 293K,
At Point-3 - Time 10 sec - Temperature is 300K,
At Point-4 - Time 30 sec - Temperature is 300K,
At Point-5 - Time 30 sec - Temperature is 296K,
At Point-6 - Time 50 sec - Temperature is 296K,
- Controlled Temperature Source:
The Controlled Temperature Source block represents an ideal source of thermal energy that is powerful enough to maintain specified temperature difference across the source regardless of the heat flow consumed by the system.
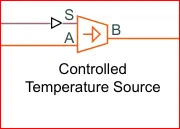
Connections A and B are thermal conserving ports corresponding to the source inlet and outlet, respectively. Port S is a physical signal port, through which the control signal that drives the source is applied.
- Thermistor:
A Thermistor is a type of resistor whose resistance dependent on temperature, more so than in standard resistors. The word is combination of Thermal + Resistor.
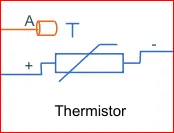
The Thermistor block represents an NTC Thermistor using the B-parameter equation.
NTC – Negative Terminal Coefficient
- Resistor:
The Resistor block model a linear resistor, describe with the following equation.
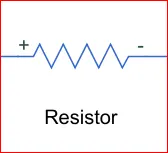
V = I.R
Where,
V = Voltage.
I = Current.
R = Resistance.
- Voltage Sensor:
The Voltage Sensor block represents an ideal voltage sensor, that is, a device that converts voltage measured between two points of an electrical circuit into a physical signal proportional to the voltage.
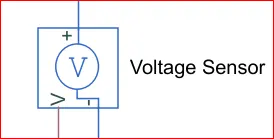
Connections + and – are electrical conserving ports through which the sensor is connected to the circuit. Connection V is a physical signal port that outputs the measurement result.
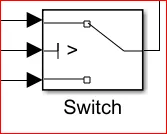
- Switch:
The Switch block passes through the first input or the third input signal based on the value of the second input. The first and third inputs are data input. The second input is a control input. Specify the condition under which the block passes the first input by using the Criteria for passing first input and Threshold parameters.
- Constant Block:
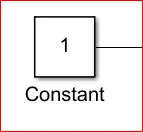
The Constant block generates a real or complex constant value signal. Use this block to provide a constant signal input. The block generates scalar, vector, or matrix output, depending on:
The dimensionality of the Constant value parameter
The setting of the Interpret vector parameters as 1-D parameter
The output of the block has the same dimensions and elements as the Constant value parameter.
- Simulink-Ps Converter:
This Block convert simulink signals into physical signal for operational use in Model.
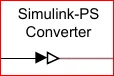
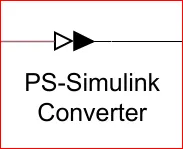
- PS-Simulink Converter:
The PS-Simulink Converter block converts a physical signal into a Simulink output signal. Use this block to connect outputs of a Physical Network diagram to Simulink scopes or other Simulink blocks.
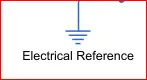
- Electrical Reference Block:
The Electrical Reference block represents an electrical ground. Electrical conserving ports of all the blocks that are directly connected to ground must be connected to an Electrical Reference block. A model with electrical elements must contain at least one Electrical Reference block.
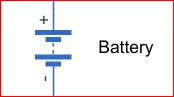
- Battery:
In Battery positive terminal is connected with switch and negative terminal is connected to “Electric Reference”.
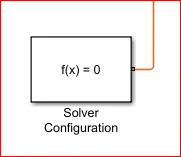
- Solver Configuration:
Each physical network represented by a connected Simscape block diagram requires solver settings information for simulation. The Solver Configuration block specifies the solver parameters that your model needs before you can begin simulation.
- Scope:
Scope is connected with Ideal Translation Motion Sensor to get the output. The real-time Scope block acquires data in chunks of size Number of samples from the real-time application that is executing on the target computer.
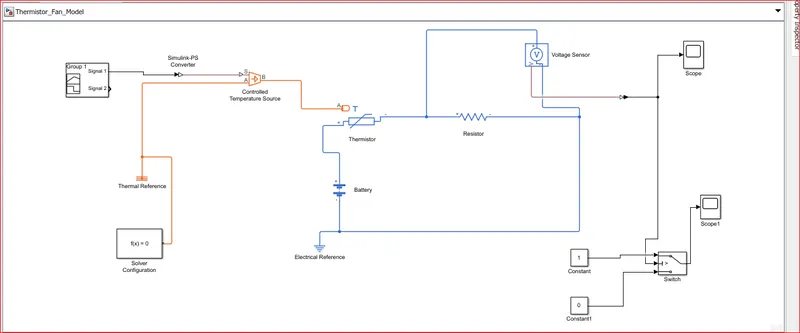
SIMULINK MODEL:
EXPLANATION:
- To create a Simple Fan Cooling Model using Thermistor,Battery,Resistor,Voltmeter, a logical switch which are basic component of the circuit we need in Simulink model.
- First to represent a Thermistor, a “Thermistor Block” is taken and placed in model. Now to represent Battery, a”Battery Block” is taken and the positive terminal of this block is connected to positive port of the “Thermistor Block”.
- Now to represent a Resistor, a “Resistor Block” is taken from Library browser and its positive port is connected to negative port of “Thermistor Block”. The negative port of “Resistor Block” is connected to negative port of “Battery Block”. Now a “Electrical Reference Block” is connected near the negative terminal of the “Battery Block” which represent the Earthing of the real time circuit.
- Now to represent a Voltmeter a “Voltage Sensor Block” is connected parallel to the “Resistor Block”, because to measure the voltage across a component, voltmeter should always connected parallel to that component.
- Thus, we have completed our simple circuit Model, but we need some Physical Quantities to as Signal for Thermistor to work.
- In this case we need the Fan to get ON and OFF at different temperatures. So , to provide temperature , we have used “Controlled Temperature Source Block” which will gives a specified temperature as output even though heat flow is more.
- Now to give different temperature to this “Controlled Temperature Source Block” we need to send Temperature signals. To send these signals we have used a “Signal Builder Block” which allows us to send any type of signal as inputs.
- We have to double click on the “Signal Builder Block” to set the signal configuration according to our requirement.
- Above Figure shows how signals are set in the “Signal Builder Block”. As this Dialogue Box opens, first we have to click on “Signal” at the top and then select “New” then select “Custom” option. Now it will ask to give the value of Y-axis and X-axis. Since we know that at which time, we need which temperature as mentioned in the starting. We can give those values in an array in this box and then the above figure signals are generated.
- We can see in the figure that how different temperatures are given at different time. So, thus we have created our Signals and before connecting it to the “Controlled Temperature Source Block” we have to convert these Signals into Physical Value. So, to do this we have used a ”Simulink-PS Converter Block”.
- So now the port “B” of “Controlled Temperature Source Block” is connected to port ‘A’ of the “Thermistor Block” and port ‘A’ of “Controlled Temperature Source Block” is connected to the “Thermal Reference Block”. In “Controlled Temperature Source Block” a positive temperature difference causes the temperature at port ‘B’ to be greater than the temperature at port ‘A’.
- Now the output of the “Voltage Sensor Block” is connected to “Scope Block” first and before connecting to the “Scope Block” a “PS-Simulink Converter” is used to convert Physical value to Simulink values.
- Now when we run the simulation and Double click on the “Scope Block” we will get the followin Graph.
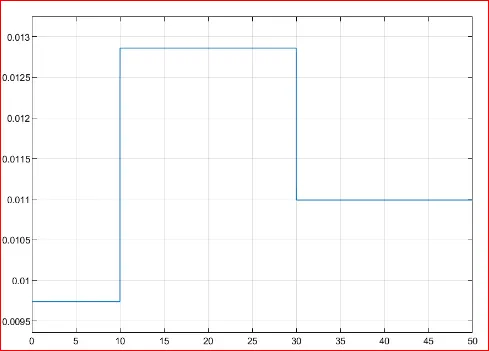
- From the above figure we can see that how voltage is changing with the change in temperature. Using this information, we can set condition for Fan to ON & OFF.
- If we observe the graph, we notice that from time 0 to 10 seconds when the temperature is 293K, Voltage is between 0.0095 and 0.01 and from time 10 to 30 seconds when the temperature is 300K, Voltage is between 0.0125 and 0.013 and from time 30 to 50 seconds when the temperature is 296K, Voltage is nearly 0.011.
- As mention in the objectives fan should be ON when the temperature is more than 25 degree Celsius i.e. 298.15K, from the above graph when voltage is more than 0.011 the Fan should get ON and when the Voltage is below 0.011, Fan should get OFF.
- This above Logic used to ON and OFF the Fan. To do this we have used a “Switch Block” that routes the Signal according to the conditions provided.
- The center port of “Switch Block” is connected to output of “PS-Simulink Converter” which gives the Voltage values. The top port of the “Switch Block” is connected to a “Constant Block” of value ‘1’ and the bottom port of the “Switch Block” is connected to another “Constant Block” of value ‘0’.
- The center port of “Switch Block” is the condition input which means that when the value from “Voltage Sensor Block” is more than the Threshold value in the “Switch Block” then it will pass the value ‘1’ which we have specified in the top port of the “Switch Block”. If the Voltage from the “Voltage Sensor Block” is less than the Threshold value in the “Switch Block” then it will pass the value ‘0’ which we have specified in the bottom port of “Switch Block”. Here it acts like a Transistor in Real time Circuit.
- To set the “Threshold value” of the “Switch Block”, we have to Double click on the “Switch Block” and then we can change the value of Threshold. Since we want to be ON only when the temperature is 300K so the Threshold value is given as {0.011}. so when the Voltage gets more than “0.011” the Switch will give value ‘1’ as output which means Fan will be ONN and when Voltage get less than 0.011 the Switch will give value ‘0’ as output which certainly means Fan will get OFF.
- Now the output of “Switch Block” is connected to another “Scope Block” to get results.
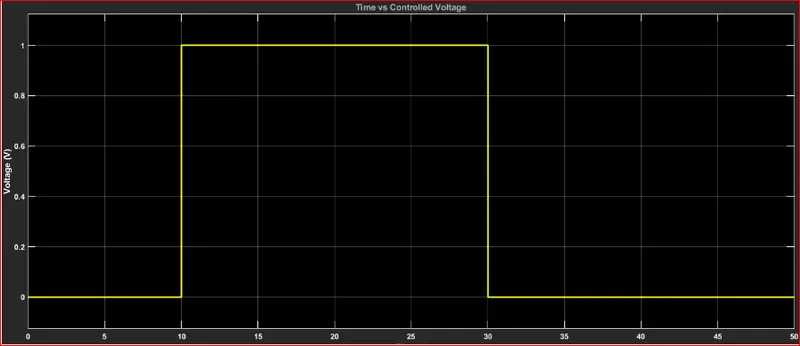
22.By Double clicking the “Scope Block” we can observe the above Graph. Here we can clearly see that when temperature is 300K the Fan is ON and at remaining temperature the Fan is OFF.
CONCLUSION:
- Thus, both the objective was achieved successfully.
- Similar approach can be used for simulating other Physical Device using Simulink.
- Fan temperature was sensed by the thermistor in the Heater Model.
REFERENCE:
3. https://www.electrostudy.com/2011/10/ntc-and-ptc-thermistor.html