REVIT_Introduction to REVIT_Week 1
1) From the file menu, create a new project (Structural / Architectural / Construction template ) and name the project appropriately
AIM:
To create a new Architectural project and name the project.
PROCETURE:
Step1: Opewn the Revit software.
Step2: Click the NEW option in Revit.
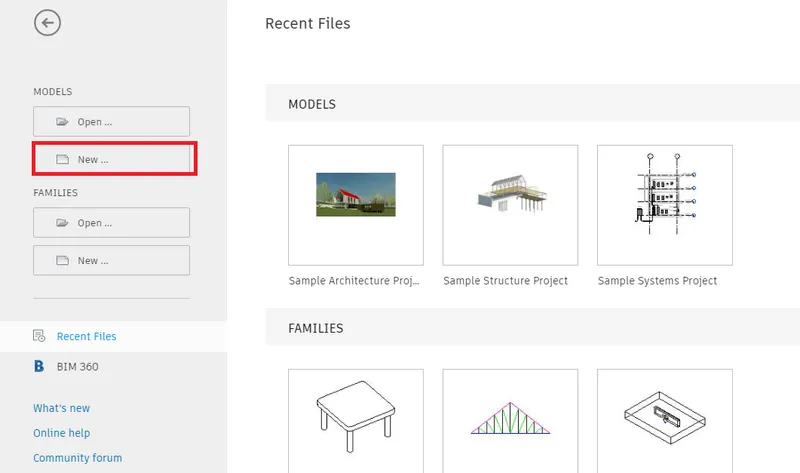
Step3: choose the any option depent the your project.
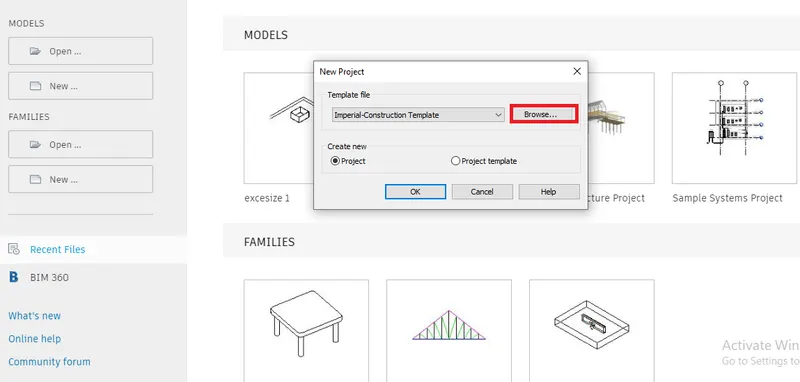
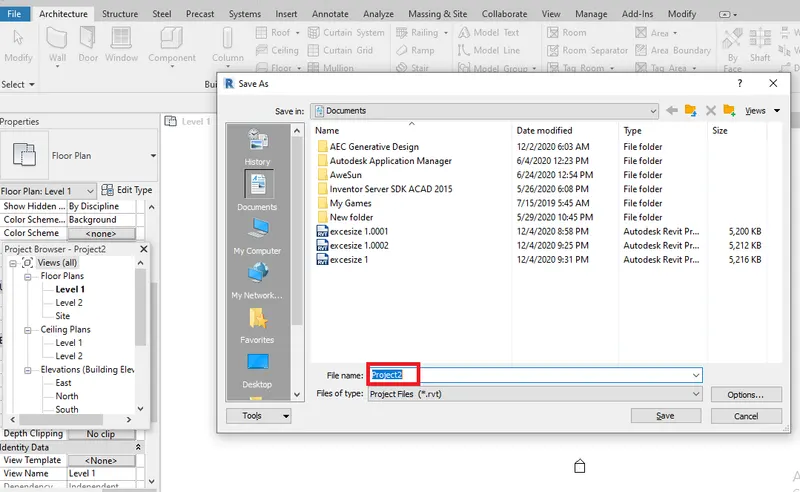
Step4: open the project and create the project name.Click the save option.
Step5: Type the project name,and save.
RESUT:
Creat a new project and name the project ,And supmit the layout.
2) Save the new project file. Close and open using icons from file toolbar
AIM:
Open the saved project using file toolbar.
PROCETURE:
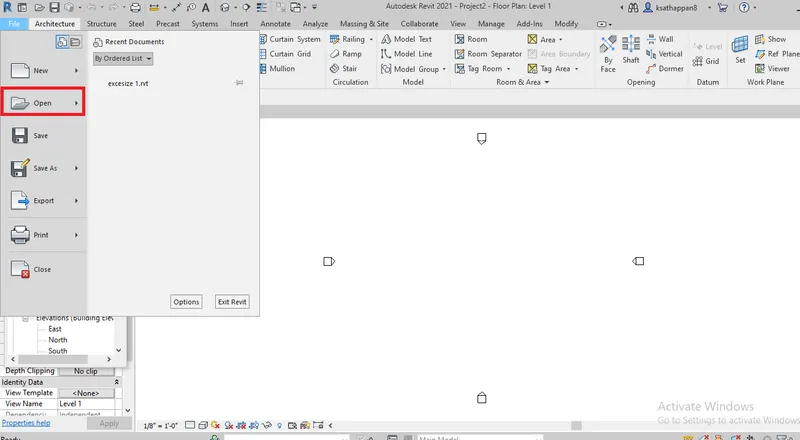
Step1: open FILE icone in the toolbar.
Step2: click the OPEN option in the file toolbar.
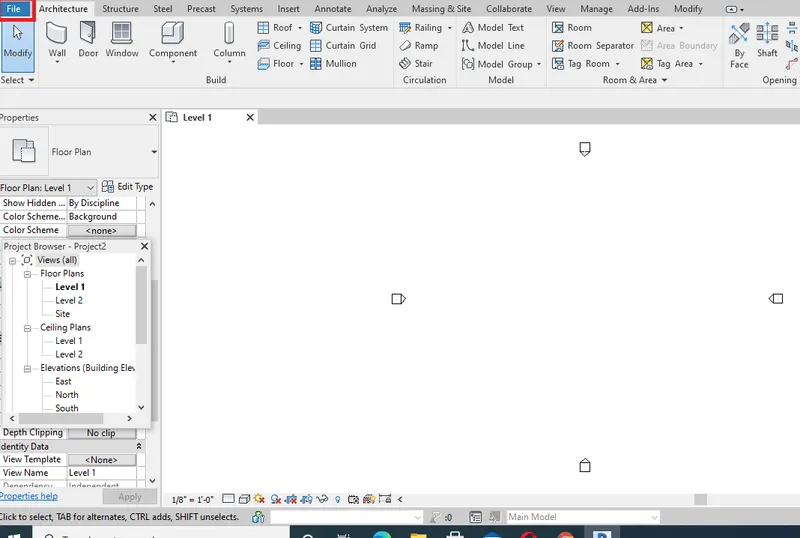
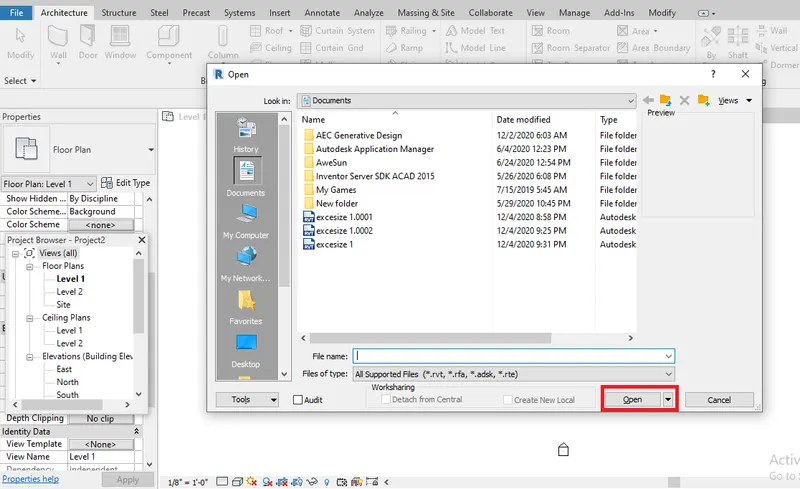
Step3: click the open project in open file manager,And click OPEN.
RESULT:
Open the saved project using the file toolbar,And supmit the layout.
3) From the architecture/ structure toolbar familiarize with options to draw a wall. Create a rectangular layout of walls of about 40’-0” X 35’-0”
AIM:
To create a rectangular layout of walls of diamension 40'x35' using Architectural toolbar.
PROCETURE:
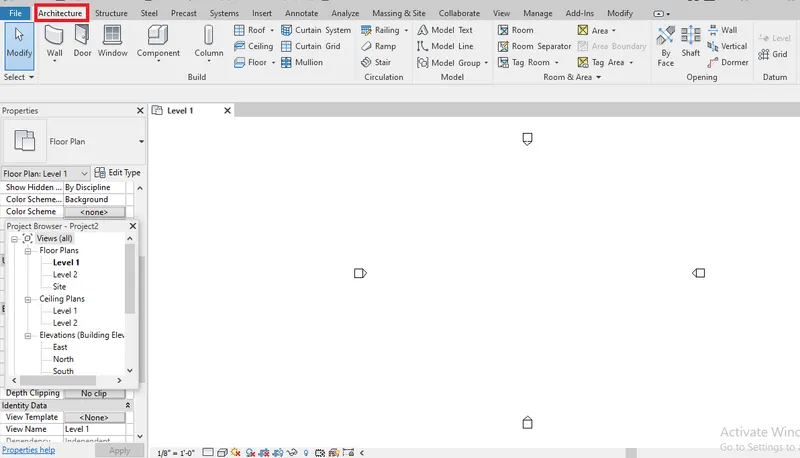
Step1: Click the Architectural toolbar.
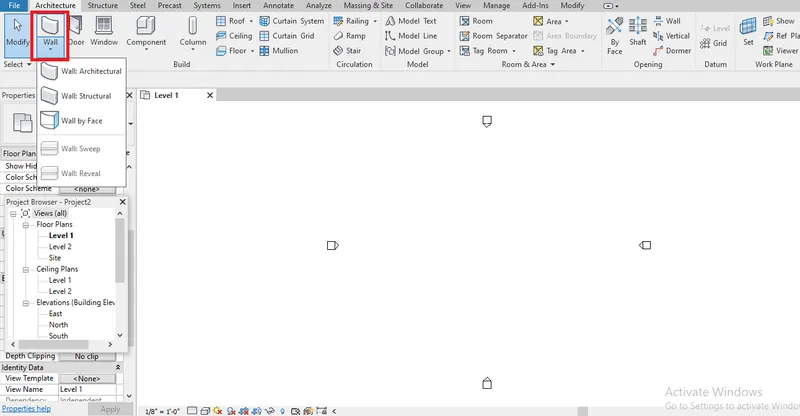
Step2: click the wall, And option choose the Architectural.
Step3: Draw the architectural walls for given diamension 40'x35'
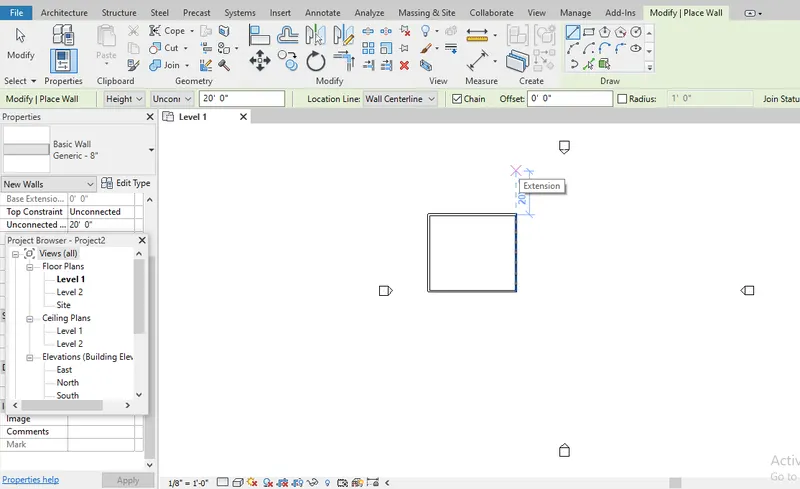
RESULT:
Create a rectangular layout walls for given dimension,And supmited a layout.
4) From the Annotate toolbar use the aligned option to add dimensions to the layout
AIM:
To measure the diamension in the layout use aligned option in Annotate toolbar.
PROCETURE:
Step1: To click the Annotate toolbar.
Step2: Click the ALIGNED option in the Annotate toolbar.
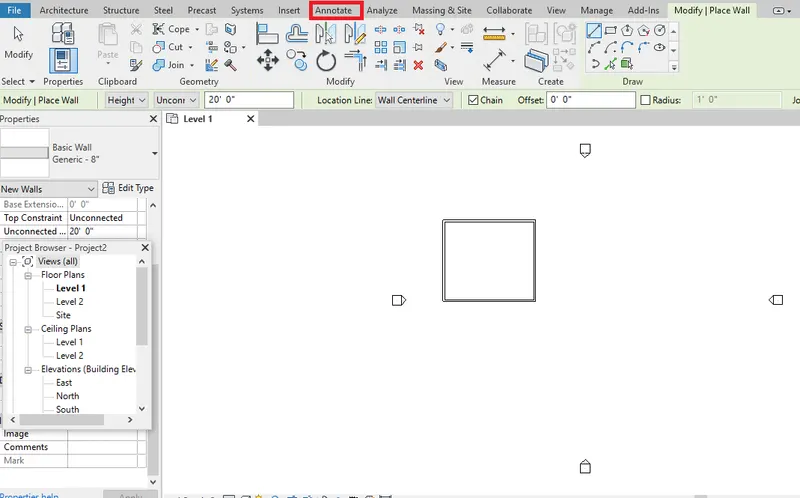
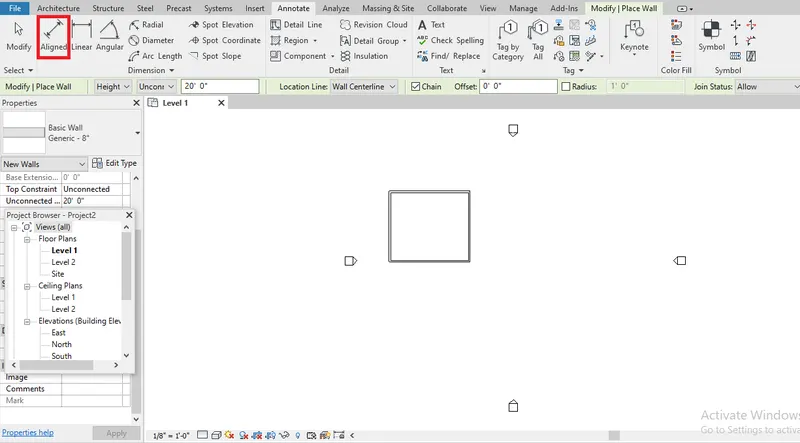
Step3: Draw the diamention ,And measure the layout.
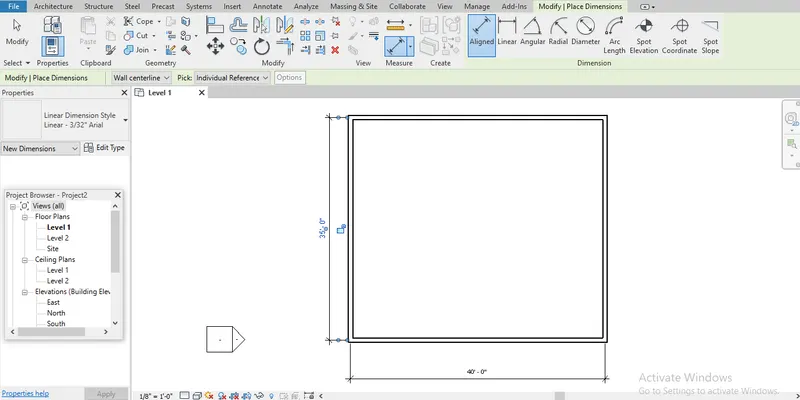
RESULT:
Draw the diamention using aligned in Annotate toolbar,And supmit the layout.
5) Use the properties browser to switch to different wall types
AIM:
Toswitch the diffrent walltypes using the properties browser.
PROCEDURE:
Step1: click the wall in layout.
Step2: click properties browser.
Step3: switch to different wall types.
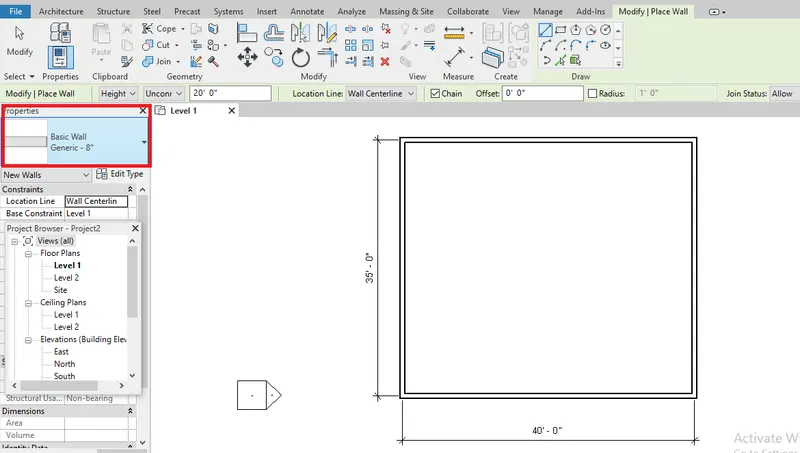
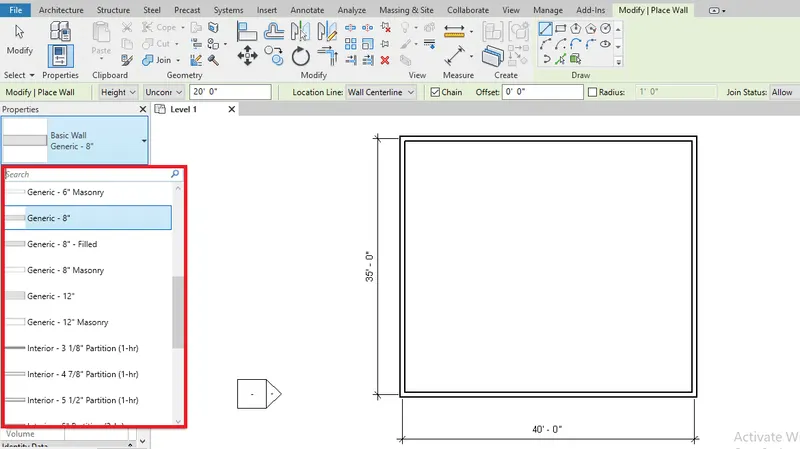
RESULT:
Switch the different types of wall.
6) Create a 3D view from the view toolbar and save the view with the appropriate name
AIM:
To create a 3D view from the view toolbar and save the view with name.
PROCEDURE:
Step1: click the view option in toolbar.
Step2: To click the 3D VIEW in view toolbar.
Step3: choose the Defult 3d view.
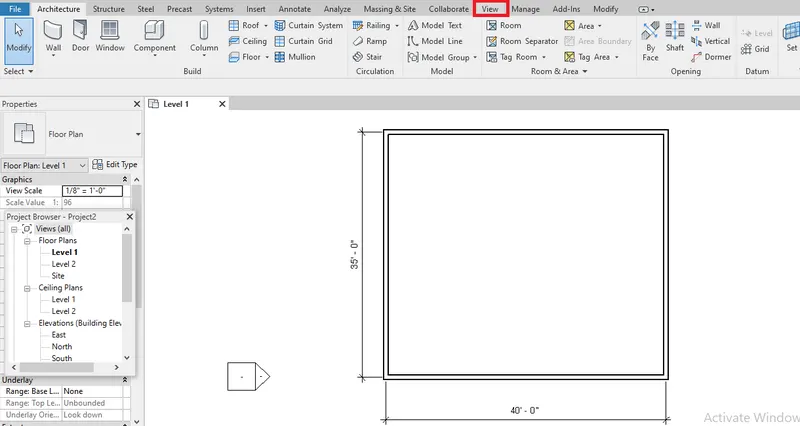
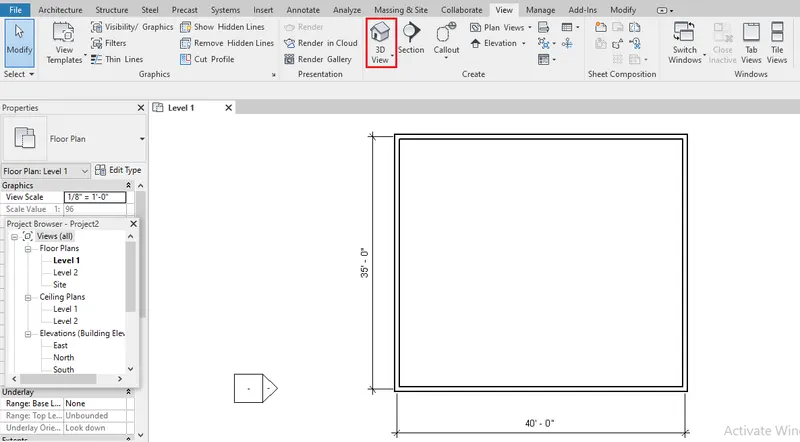
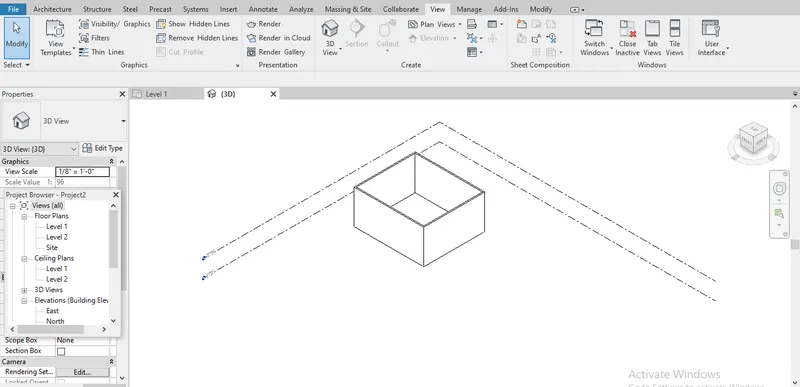
RESULT:
creat a 3d view using view toolbar.
7) Navigate through the 3D model using the view cube. Orbit/pan through the model layout created
AIM:
To creat a layout through the Orbit/pan and navigate through the 3d model using the view cube
PROCEDURE:
step1: open the 3d view
step2: opern the 3d navigate in 3d view cupe.
step3: creat the layout through the orbit/pan.
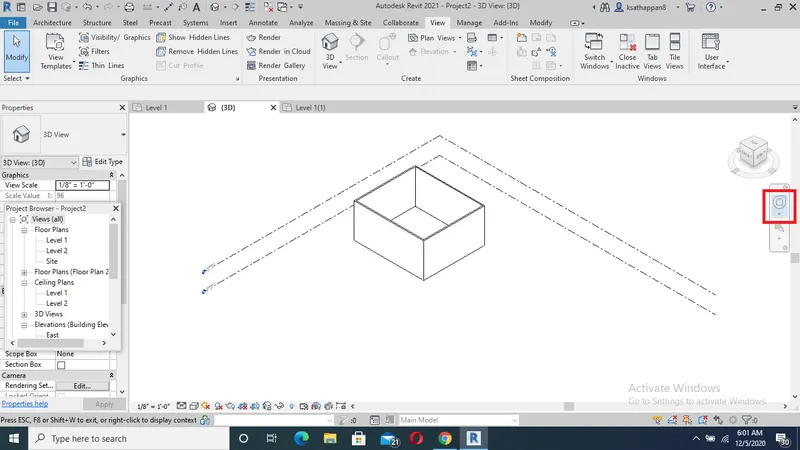
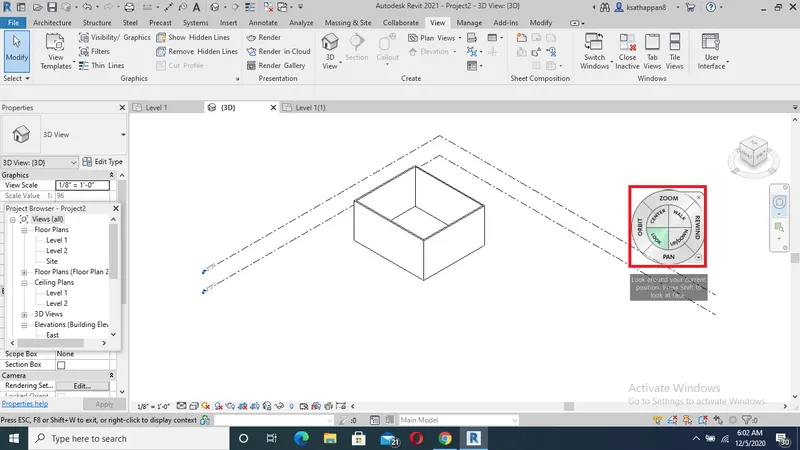
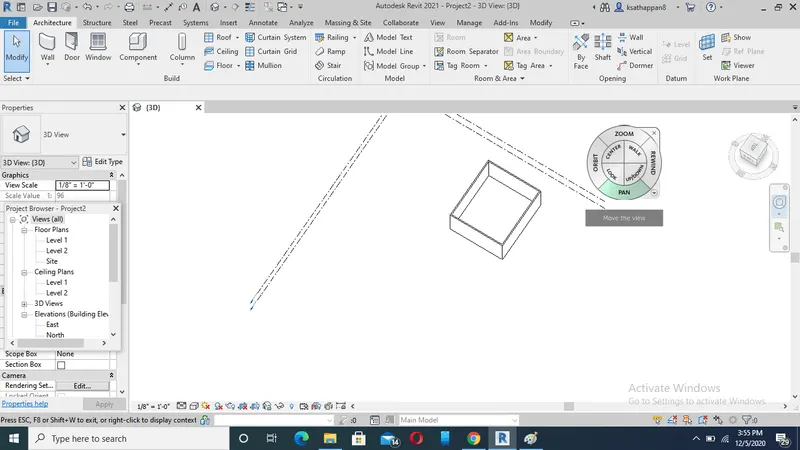
RESULT:
Creat the layout through the orbit.
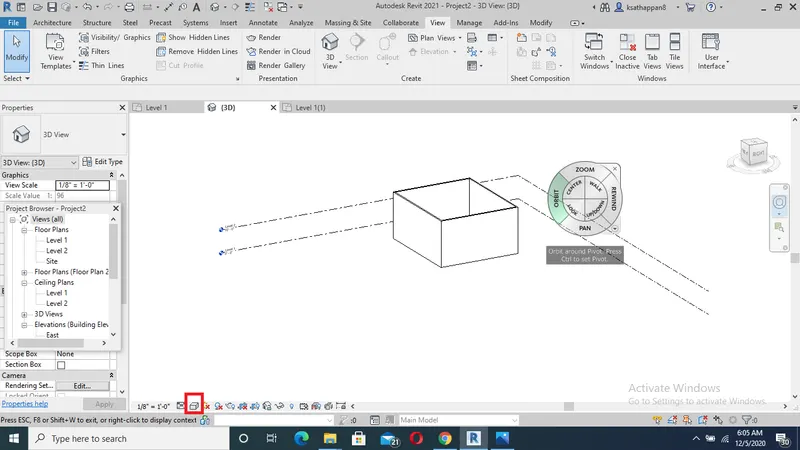
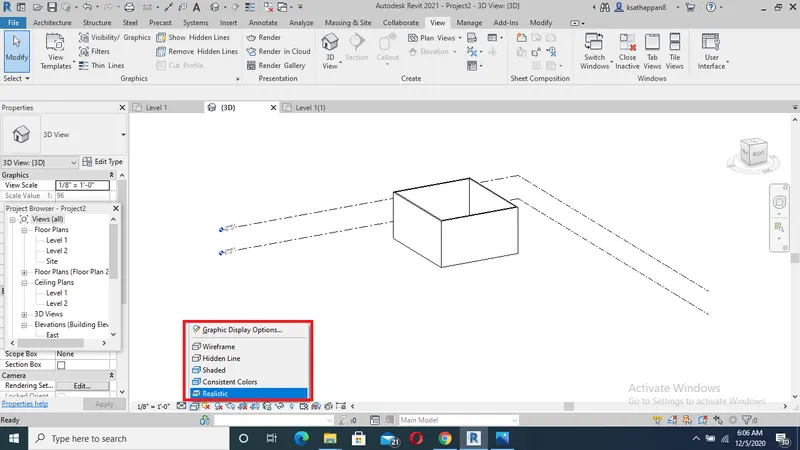
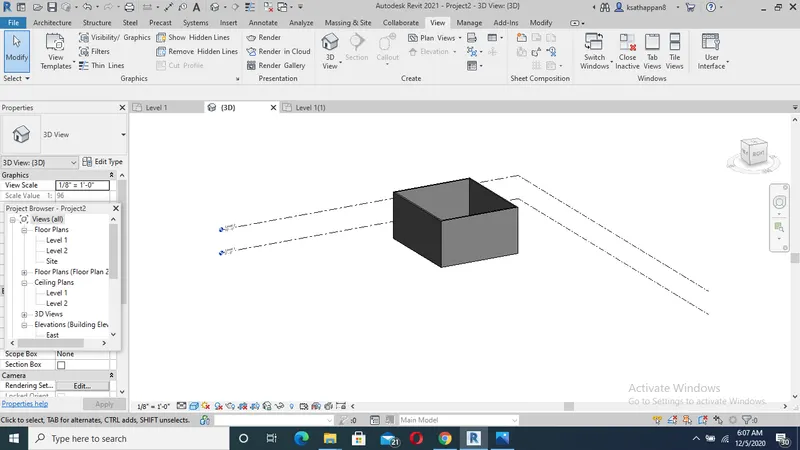
8) Use the visibility settings option below to switch model to shaded, realistic, hidden lines options
AIM:
To switch the model to shaded,realistic,hidden lines use the visibility setting.
PROCEDURE:
Step1: open the visibility option below the window.
step2: choose the option the needed visible.
RESULT:
SWITCH THE MODEL OF REALISTIC USING VISIBILITY.
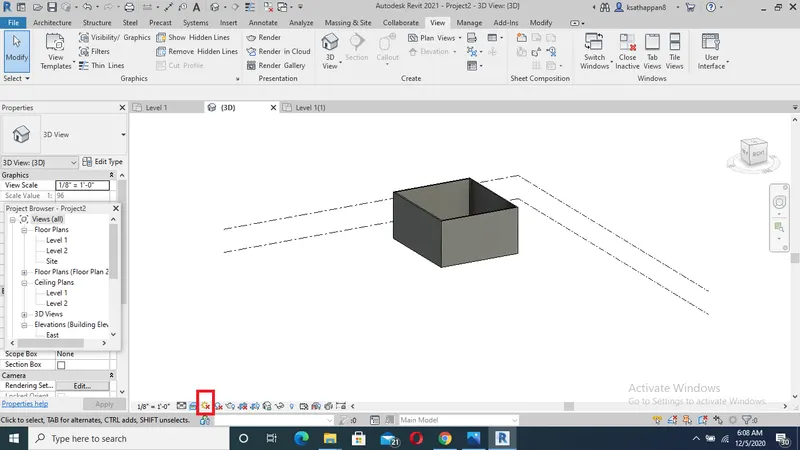
9) Turn the sun path on and off to view shadings in the layout created
AIM:
TO creat the layout view shading sun path on and off.
PROCEDURE:
Step1: click the sun path from below the window.
step2: choose the option sun path on or off.
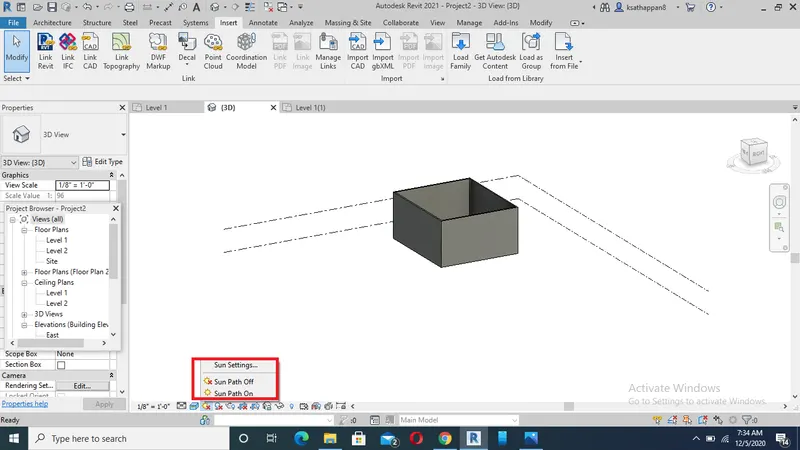
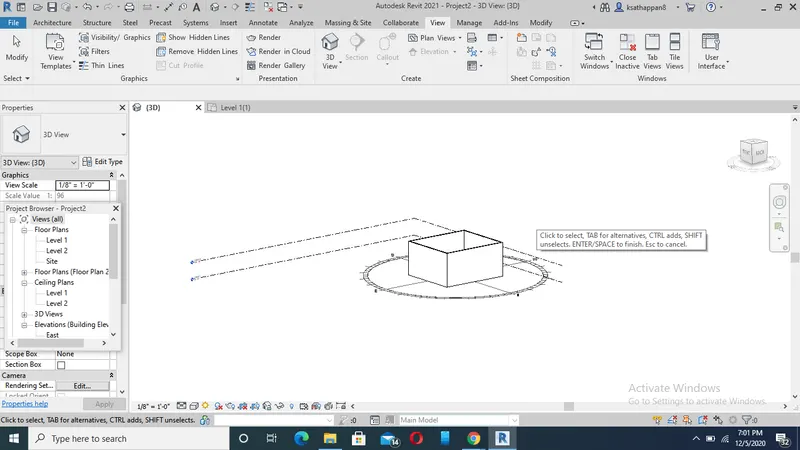
RESULT:
Create the layout sun path on using sun path.
10) Use the Manage toolbar to enter project settings, project name, and project issue date (choose according to your convenience).
AIM:
TO enter project name and project issue date use the manage toolbar to enter project setting
PROCEDURE:
Step1: open manege toolbar in file toolbar.
step2: open the project information in manage toolbar
step3: create the name of the project and issue date .
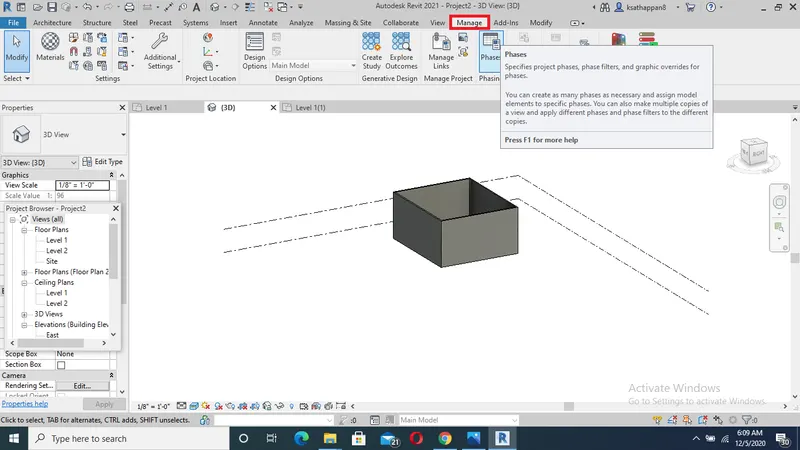
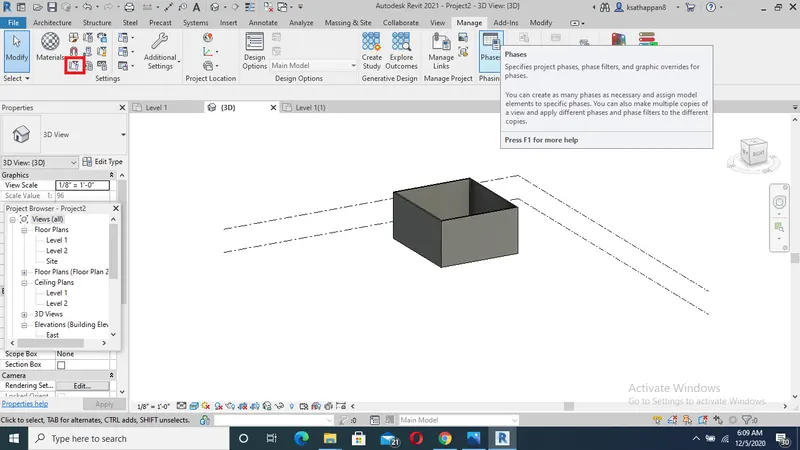
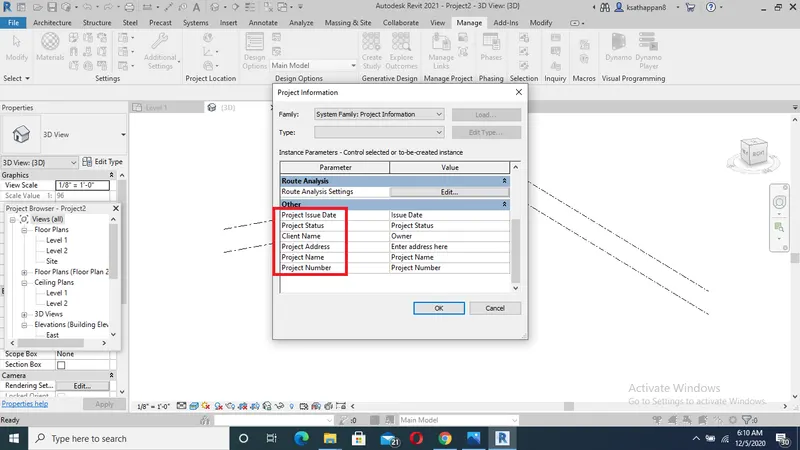
RESULT:
Create a project name and project issue date using manage toolbar.
11) What is the Analyze toolbar used in Revit? How it is beneficial for design and modeling
Analyze toolbar used in Revit:
* Toolbar analyze used for load calculation in building.
* Toolbar analyze used for estimation calculation.
13) Why do you need the Collaborate tab in Revit? How it supports modeling and its efficiency
Needed fo Collaborate:
* collaborate used in revit varieyous typs of working control in one project