Radar Mast & Final Assembly of Yacht
Objective :
To design individual parts of the yacht with fully defined sketches and appropriate appearances.
To assemble all the individual parts of the yacht model by assigning suitable constraints.
To render the yacht model by adding appearances, decals, lights, cameras, and background scenes.
Softwares Used
Solidworks 2023
Solidworks Visualize 2023
Introduction:
Solidworks: Solid works is a product of Dassault systems company. It is a software used for designing, assembling and real time rendering of the real time models. Any kind of complicated and sensitive designs can be easily modeled using the tools and interface of this software. The basic tools and its usage are explained in the description section
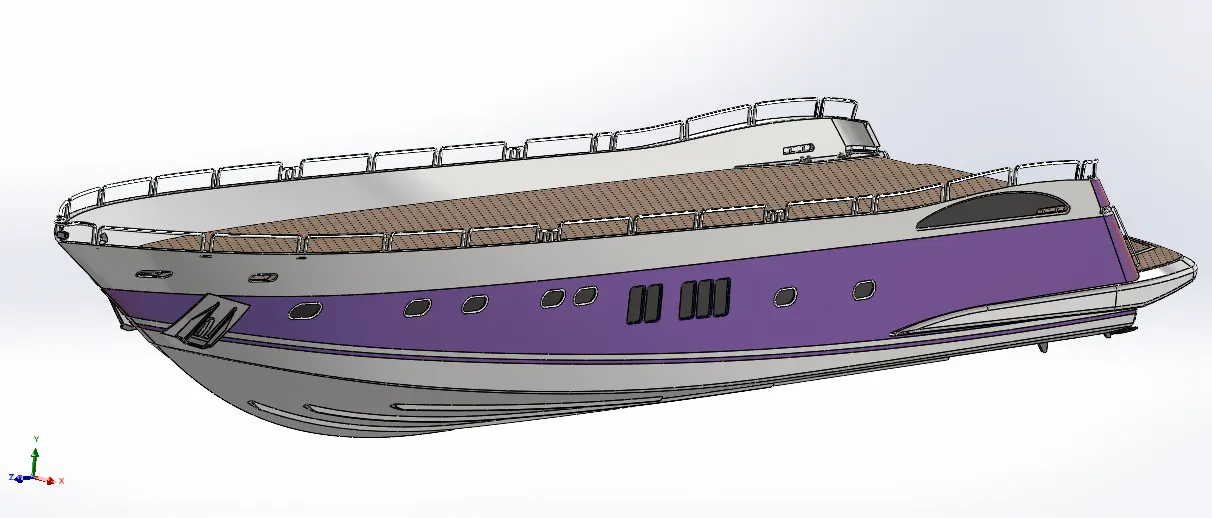
Yacht : A yacht is a Watercraft used for pleasure or sports.The term originates from the Dutch word jacht (which means "hunt"), and originally referenced light, fast sailing vessels that the Dutch Republic navy used to pursue pirates and other transgressors around and into the shallow waters of the Low Countries. The yacht was popularized by Charles II of England as a pleasure or recreation vessel following his restoration in 1660.
Today's yachts are almost exclusively for leisure. A yacht is any sail or power vessel used for pleasure, cruising, or racing. The word often connotes luxury; however, luxury is not a quality necessary to meet the definition; nor is it always desirable. Many racing yachts are stripped-out vessels with a minimum of accommodations to lower weight. The term 'sailboat' or 'sail yacht' is used in America to differentiate from a 'powerboat' or 'power yacht.' As of December 2018,there were about 6,500 yachts over 24m on the market.
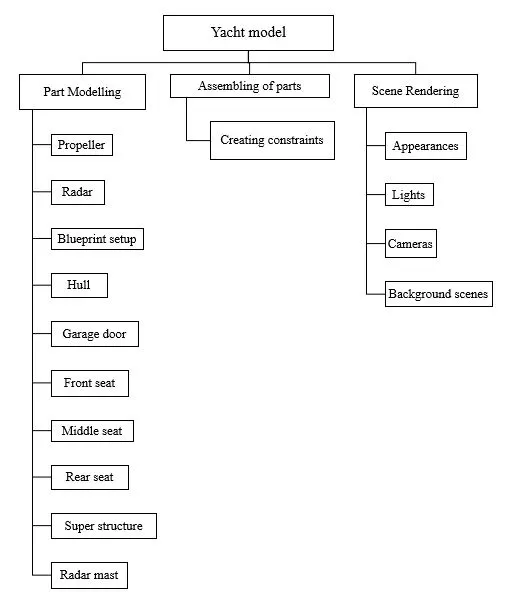
Design methodology Flowchart
Design Process
The entire modelling process is divided in to Six Stages
Blue Print Setup & Creating Planes.
Modelling of Hull Part
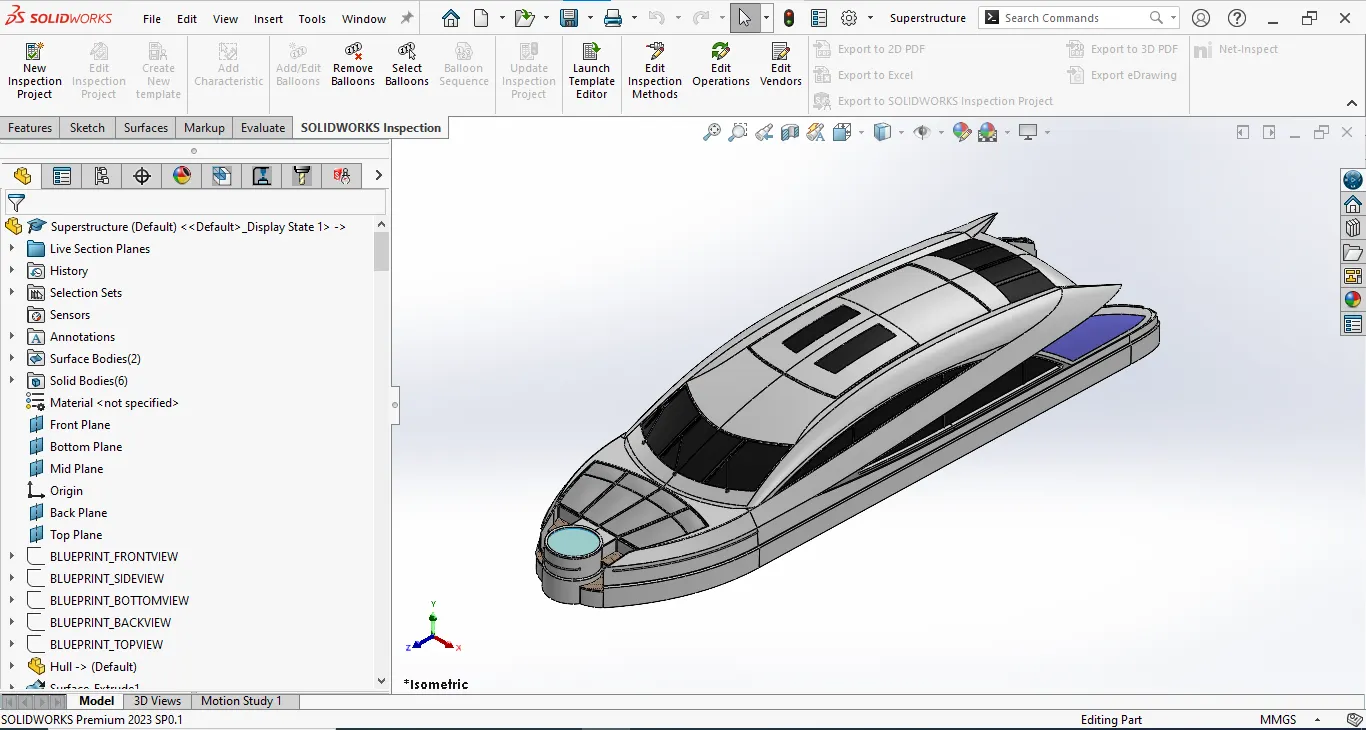
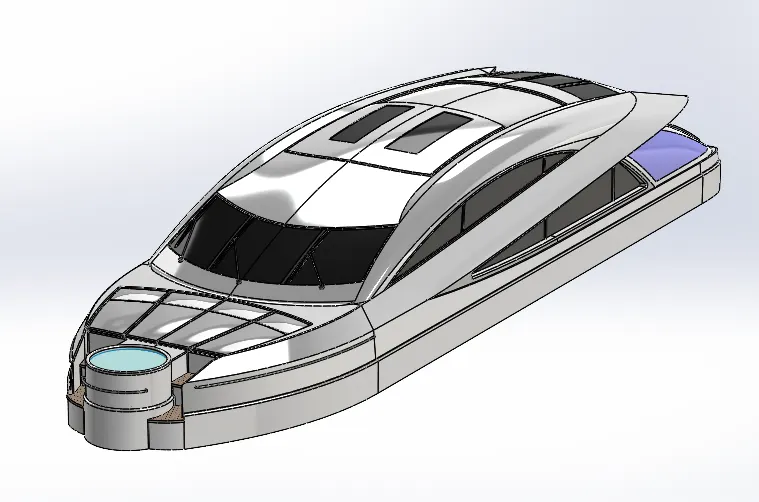
Modelling of Super Structure
Modelling of Radar Mast
Modelling of front, middle & Rear Seats.
Assembling the individual parts.
Parts of yatch
Hull
Superstructure
Radar mast
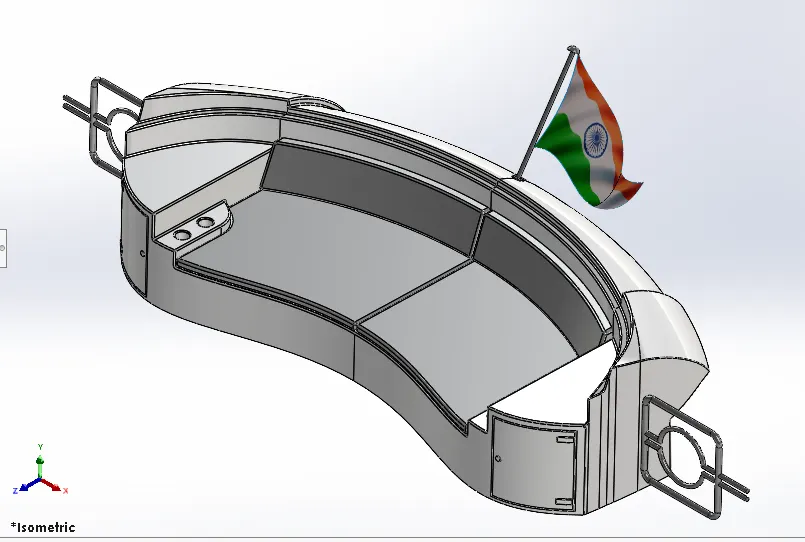
Rear seat
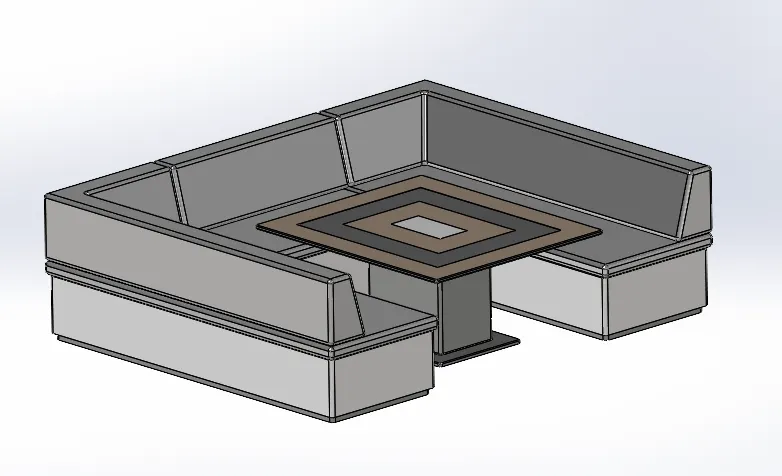
Middle seat
Front seat
Radar
Garage door
Propeller
Commands Used
Line: This feature allows us to create a straight line. The line can be a solid line or a construction line.
Circle: This feature allows us to create circles.
Rectangle: This feature allows us to create squares or rectangles.
Spline: This allows us to make curved lines
Curve Projection : this is used for the projection of the curves made in different planes to create an intersected curve.
Arc: This allows us to create arc.
Projected Curve: It is a very powerful tool which can project two different 2D splines from two different planes into a single spline or a curve in 3D which can meet our need. It is the most often used feature before creating any surface.
Split: This feature is used to split to bodies using a sketch.
Trim: This is used to trim sketches.
Extend: This feature allows us to extend the sketches.
Extrude Bose: This feature allows us to create solid bodies.
Extrude cut: This feature allows us to create cuts or holes of any shape in the solid body.
Swept Bose: This feature allows us to make a solid body along a curve path or create a curved solid body.
Mirror: This feature allows us to create exact copy of the solid body using a reference plane or face.
Revolve: This allows us to create revolve solid body around an axis.
Linear Pattern: This allows us to create a pattern in a straight line.
Circular Pattern: This allows us to create a pattern in a circle
Fillet: This is used to create circular edges.
Chamfer: This is used to create inclined edges.
Plane: This feature is used to create new planes.
Loft: This feature allows us to make solid bodies with uneven geometry.
Dome: This feature is used to make a dome shaped solid over a flat solidbody.
Shell: This is use to make a hollow solid body.
Mirror Entities: This is use to create a mirror of sketch.
Split Entities: This is used to split a line into two or more parts.
Split line: the Split line is used to divide parts into multiple bodies. You can use the Split line feature to save the new bodies when you split the part or use the Save Bodies to save them after the split is complete.
Convert Entities - Converts selected model edges or Sketch entities into Sketch segments.
Loft: this is creates a feature by making transitions between profiles. A loft can be a base, boss, cut, or surface. We can create a loft using two or more profiles. For a solid loft, the first and last profiles must be model faces or faces created by split lines, planar profiles, or surfaces.
Fillet: this is creates a rounded internal or external face on the part. We can fillet all edges of a face, selected sets of faces, selected edges, or edge loops.
Helix: this is create a helix or spiral curve in a part. The curve can be used as a path or guide curve for a swept feature, or a guide curve for a lofted feature.
Loft Surface Loft Surfaces are surfaces generated by multiple 3D Curves or existing edges creating a smooth tangency between the selected curves.
Surface trim it is used to cut away material from a surface, and provides two modes: Standard and Mutual.
Extend Surface it is used to extend the surface which is already created. There are different options available on the extended surface. We can extend the surface as same surface or we can extend the surface tangent to the surface.
Surface knit it is used to knit the two free edges/open edges of the surfaces together. Also it reduces the gap between the two edges of the surface.
Sweep Surfaces this is surfaces that are generated from a section curve positioned along a path.
Filled Surface this Surface feature constructs a surface patch with any number of sides, within a boundary defined by existing model edges, sketches, or curves, including composite curves.
Ruled surface it is used to obtain the extruded surface perpendicular to the plane and can be titled in certain angle
Rollback: Rollback is yet another powerful tool that allows going back to any phase of design in case if we need to edit or add some features later. We can use roll-up bar while removing errors too. This reduces the rebuild time and avoids further errors in the children features.
Combine
Combining Bodies – Add:
In a multibody part, you can combine multiple bodies to create a single body.
Combining Bodies – Subtract:
In a multibody part, you can subtract one or more bodies from another body.
Combining Bodies – Common:
In a multibody part, you can create a body defined by the intersection of multiple bodies.
Combine Property Manager:
In the Combine Property Manager, you specify which bodies in a multibody part to add, subtract, or overlap.
Delete/Keep Body:
You can select bodies to keep or delete using the Delete/Keep Body feature. This is useful in working with multibody parts with multiple configurations.
Design and Methodology
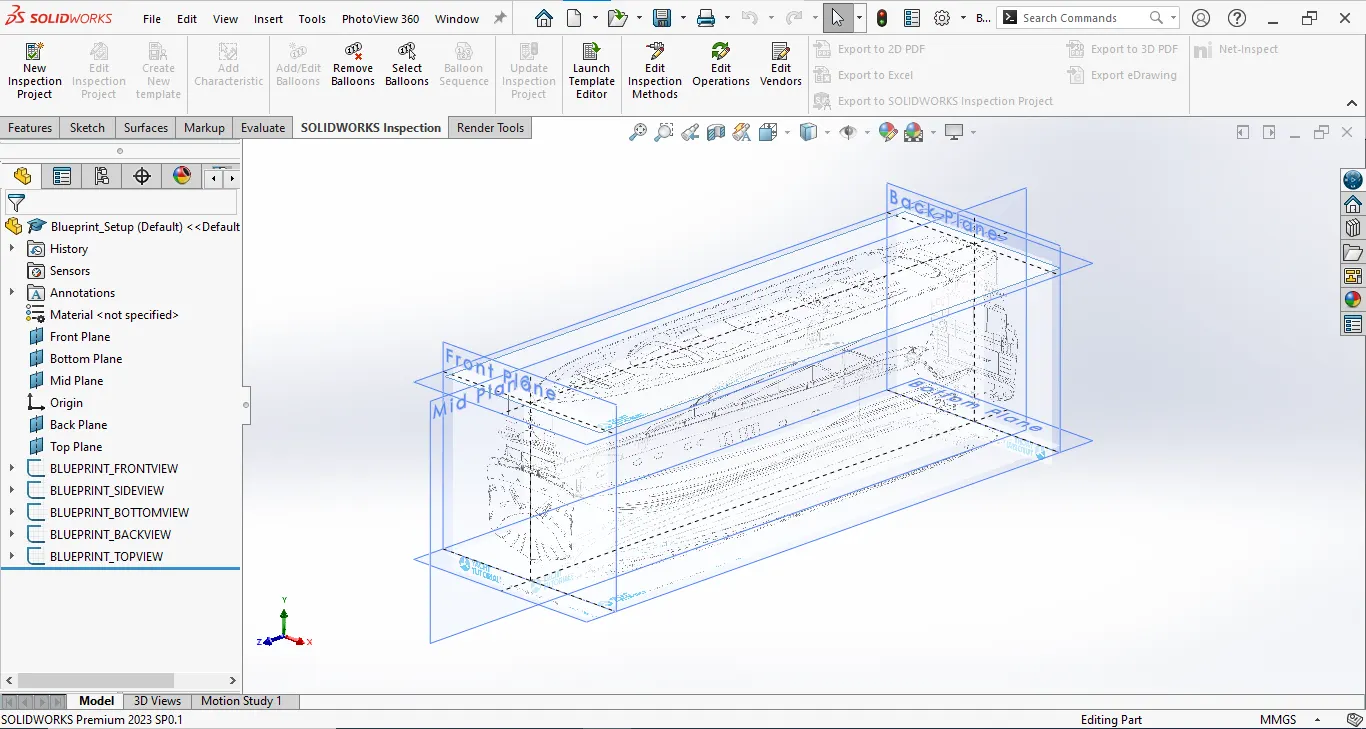
1. Blueprint Setup
2. Hull :
3. Superstructure
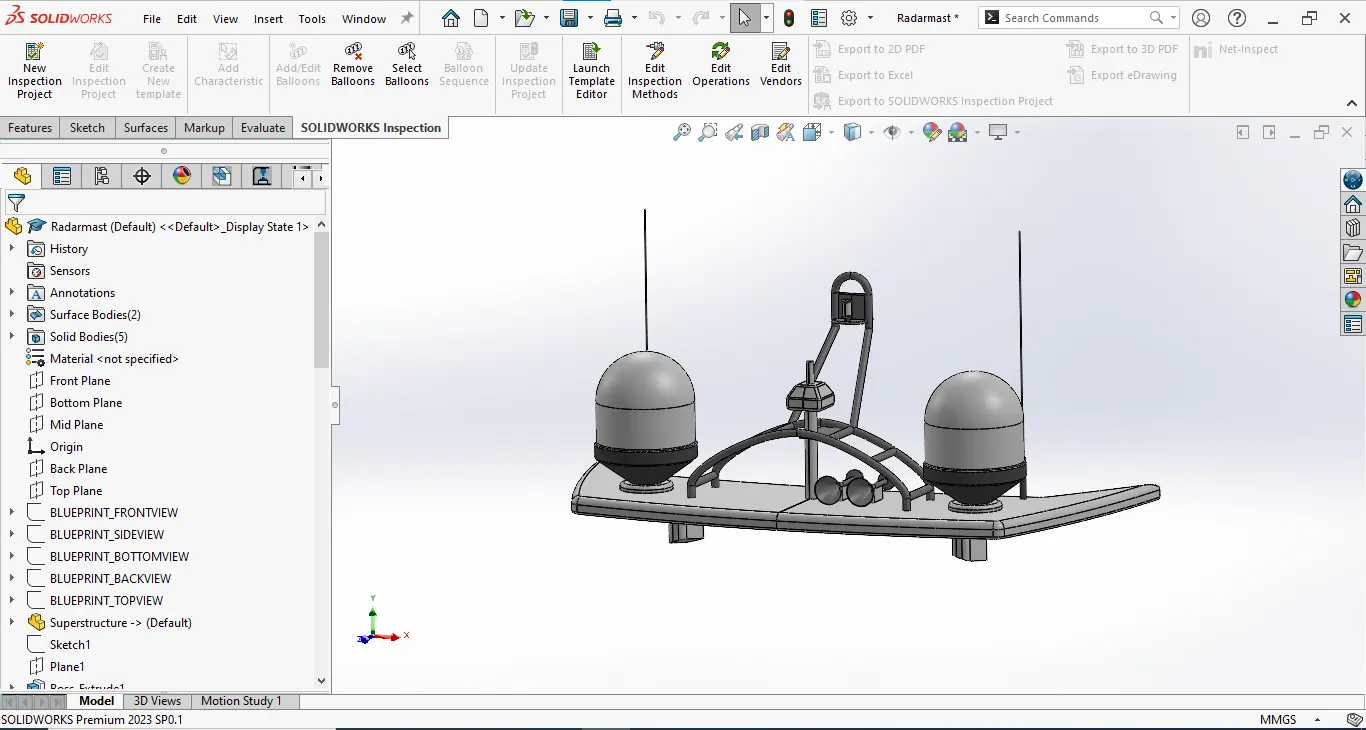
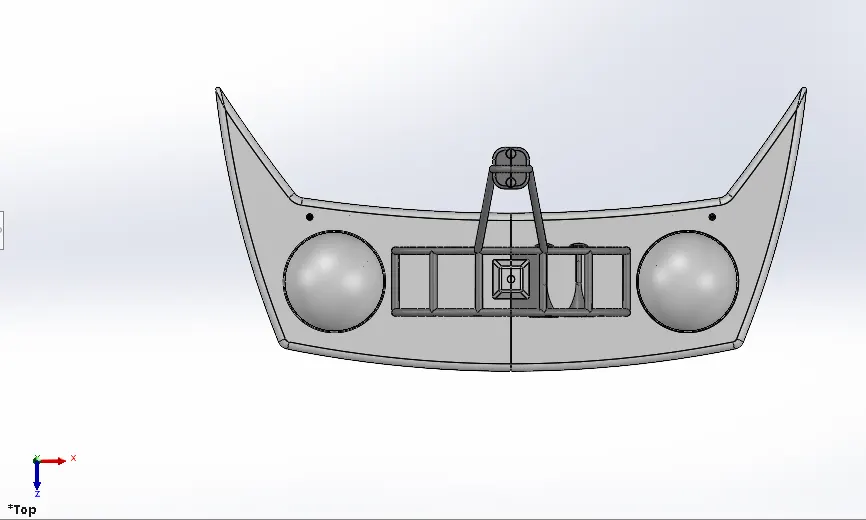
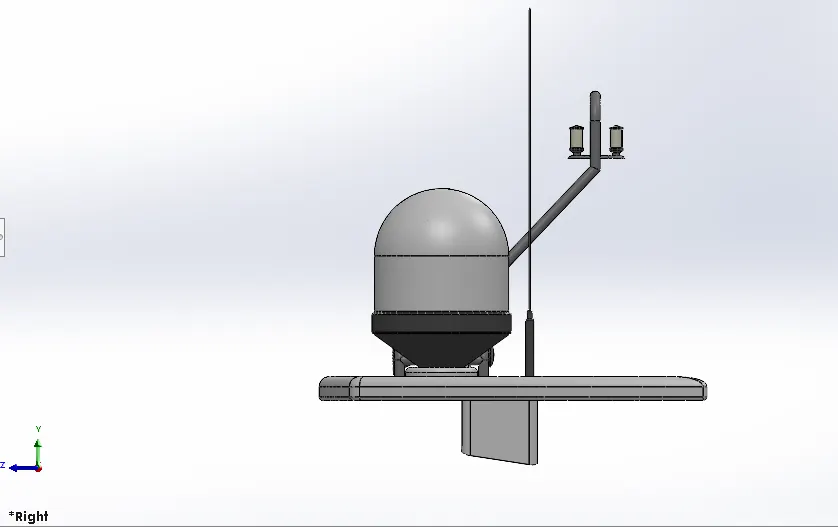
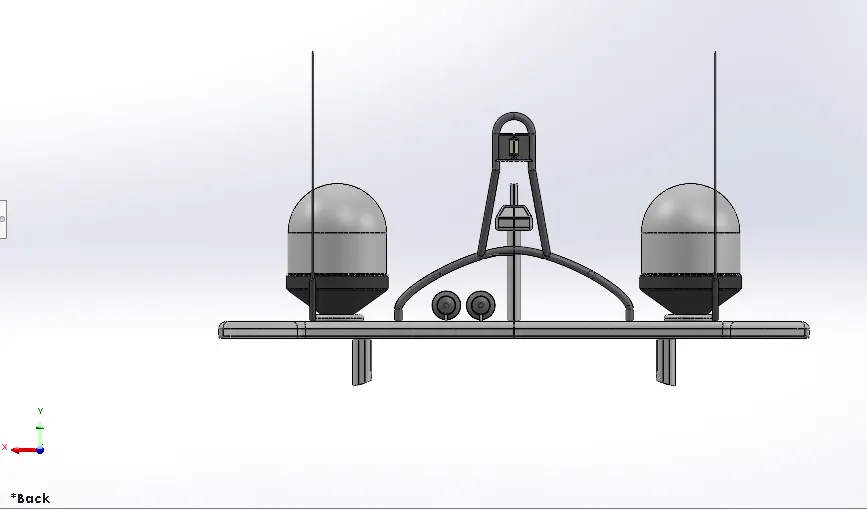
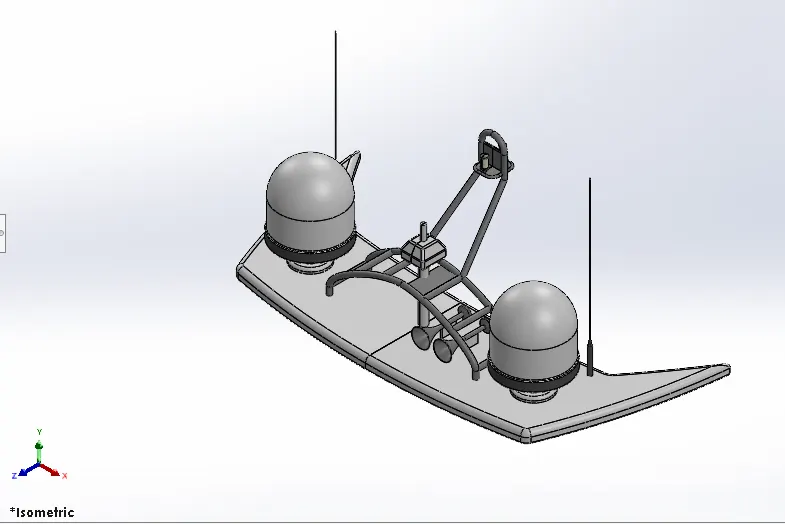
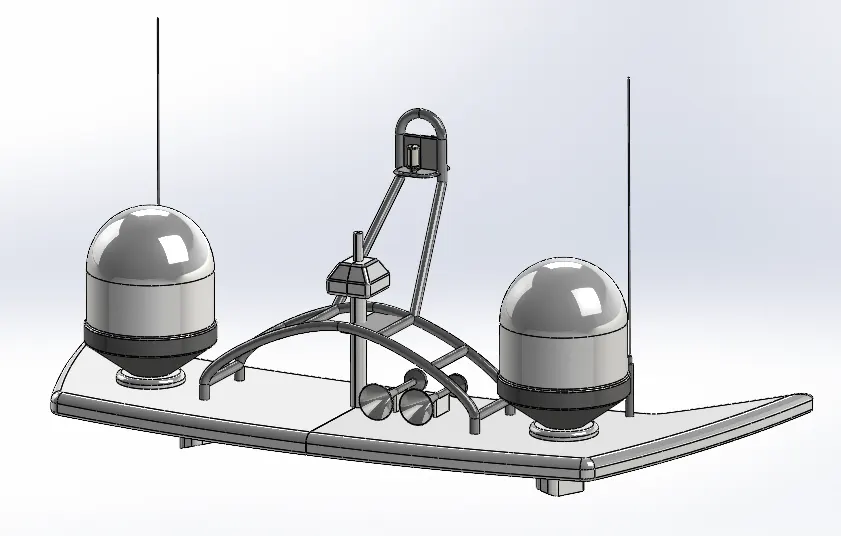
4. Radar mast
Marine radars are X band or S band radars on ships, used to detect other ships and land obstacles, to provide bearing and distance for collision avoidance and navigation at sea. They are electronic navigation instruments that use a rotating antenna to sweep a narrow beam of microwaves around the water surface surrounding the ship to the horizon, detecting targets by microwaves reflected from them, generating a picture of the ship's surroundings on a display screen. A Radar has a flat antenna that spins, emitting a signal, then listening back for that signal. The return signal bounces back at varying times based on what it may be bouncing off.
it has a detection system that uses radio waves to determine the range, angle, or velocity of objects. It can be used to detect aircrafts, ships, spacecrafts, guided missile, motor vehicles, weather formation, and terrian. A radar system consists of a transmitter producing electromagnetic waves in the radio or microwaves domain, a transmitting antenna, a receiving antenna (often the same antenna is used for transmitting and receiving) and a receiver and processor to determine properties of the object(s). Radio waves (pulsed or continuous) from the transmitter reflect off the object and return to the receiver, giving information about the object's location and speed.
Features used to create Radar Mast
Spline
Extrude Bose
Revolve
Circle
Mirror
Line
Mirror
Fillet
Chamfer
shell
projected curve
Methodology
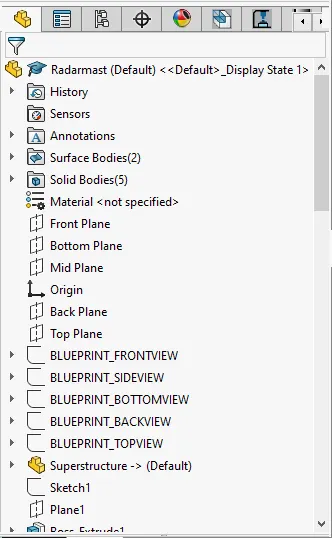
- Blue Print setup - Insert all views like Top view, Side view, bottom view, front view,etc.. by giving proper X,Y & Z direction dimensions to it.
- Create two new planes Back Plane and Top Plane using Front & bottom plane as references.
- Insert the Super structure part by selecting the surface bodies.
- Create asketch on surface of radar mast by drawing a horizontal line at a distance of 160mm from surface and apply fillets to outer and inner edges.
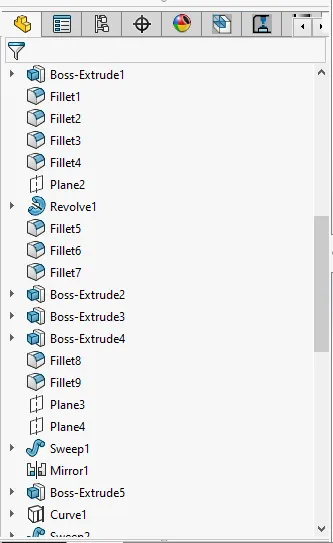
- Draw 4 splines and a line as per Blue Print and extrude it on created plane.
- For Radar Indicators - Draw a sketch on Top face of Previous extrude using a line and 3 point arc., revolve it. Draw a circle on extruded face and extrude it. Apply fillets.
- For Antena - Create a Sketch on Extrude1 face by drawing a circle and extrude it. Draw one more circle on extruded face and extrude it. Do one more extrude on previous extrude face by drawing a circle.
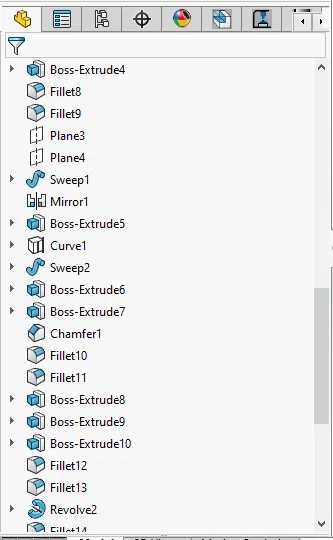
- Create a sweep by drawing a sketch on created plane using spline and a circle on 3D sketch.
- Mirror above sweep across Plane 2 and connect them by drawing three circle on sweep and extrude them.
- Create a Projected curve as per requirement by drawing sketches on respective Planes.
- Create a Sweep by drawing a circle at the edge of projected curve.
- For Horn- Draw few lines and splines as per blueprint.,do revolve. Apply Dome to one end and shell to other end.
- Mirror Everything except Horn across Mid Plane.
- For Horn Support- Draw a straight slot on Extrude 1 face and extrude upto Horn Face.
- Create a Plane using above extruded right face and offset it. Mirror the Horn and its support across the created plane.
- Finally give Appearance to Radar mast, Antena, Horn & Indicators
5. Rear Seat
6. Middle Seat
7. Front Seat
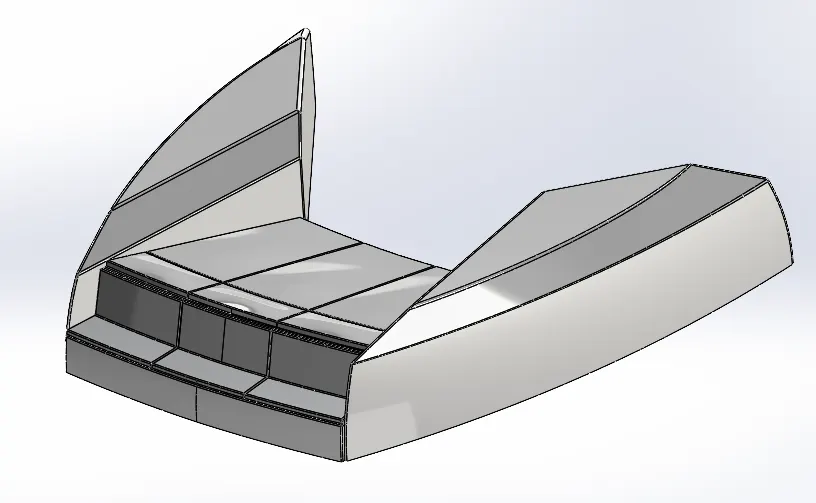
8. Radar
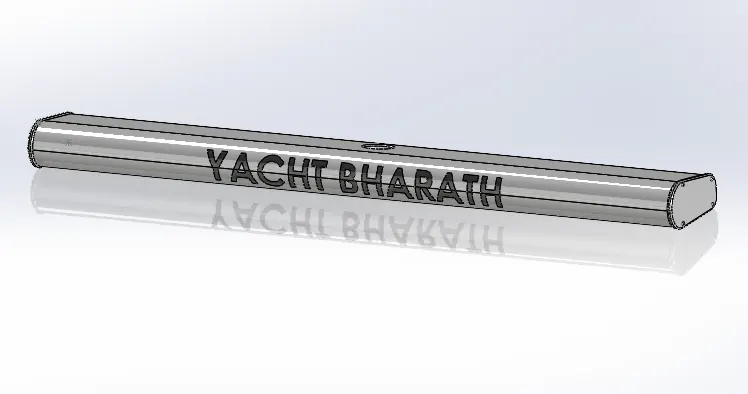
9. Garage Door
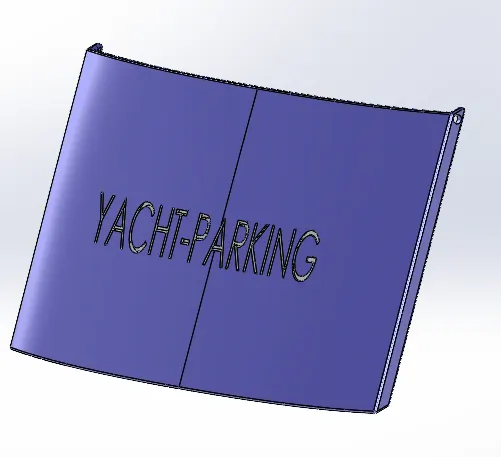
10. Propeller
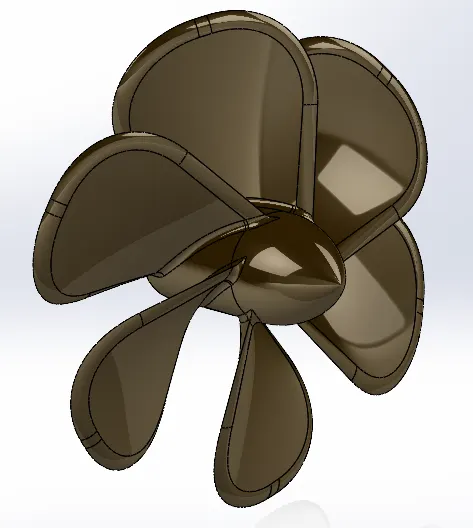
Assembly
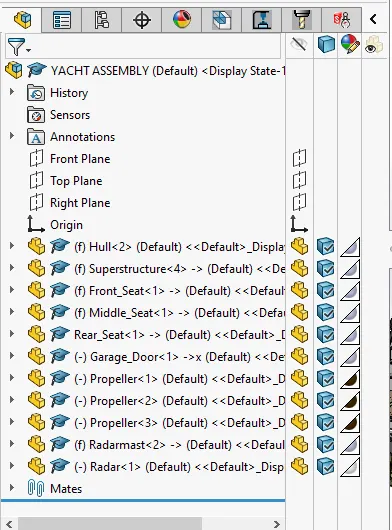
The assembly of the Yacht is quite simple since we have taken the base deck surface for the most of the parts it gets mated automatically,although some mates are used to assemble the Yacht.
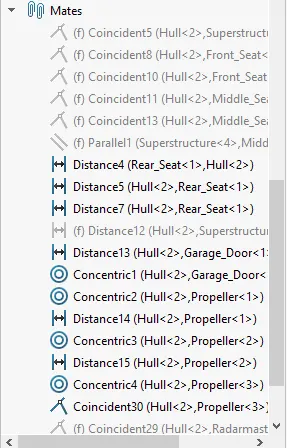
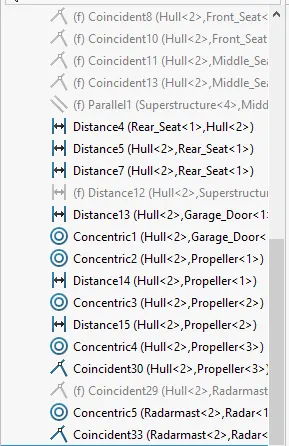
Mates Used
Coindident
Concentric
Angle Limit
Steps to be followed for Assembly
All Designed Parts to be inserted one by one as per requirement.
Apply Mate Conditions with respective parts for giving exact location in Assembly.
In this assembly Only Rear seat, Radar and Propeller are to located using coincident and Concentric relations with respective Parts. Other Parts are already fixed (Using Surfaces as references) so no need of giving seperate mate conditions.
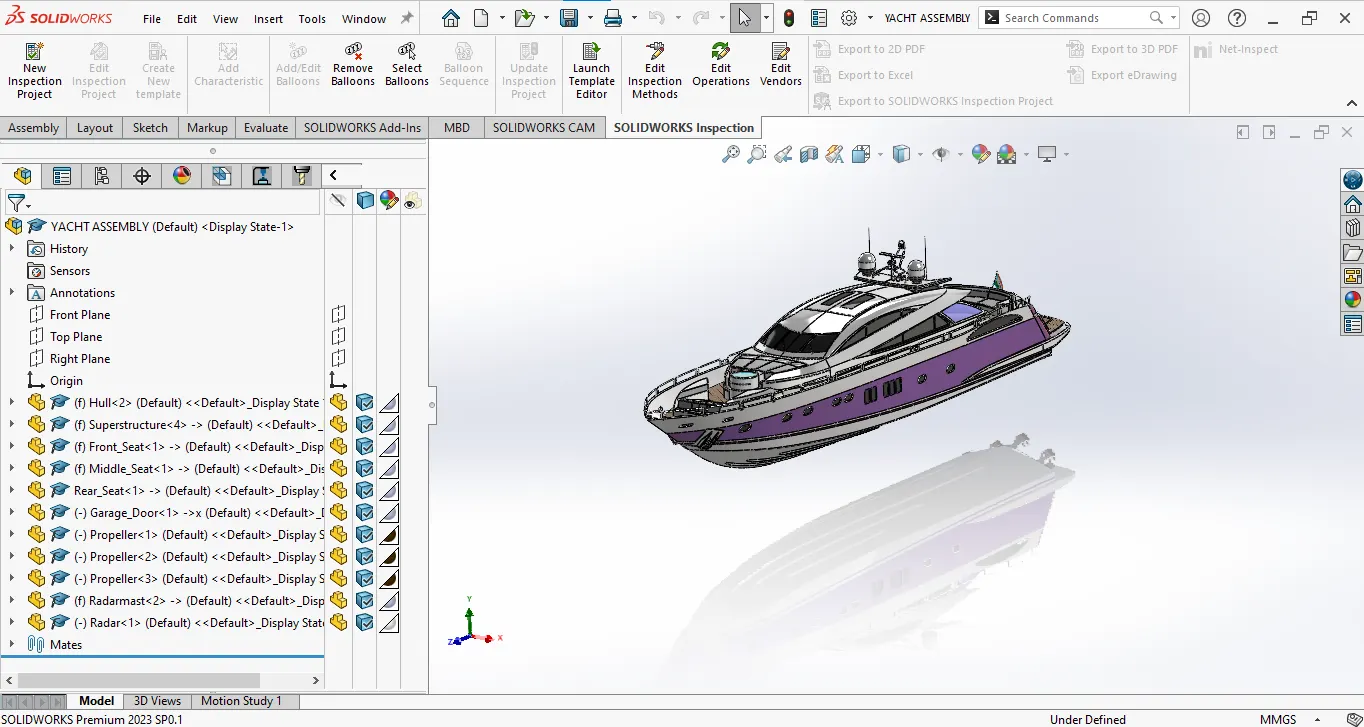
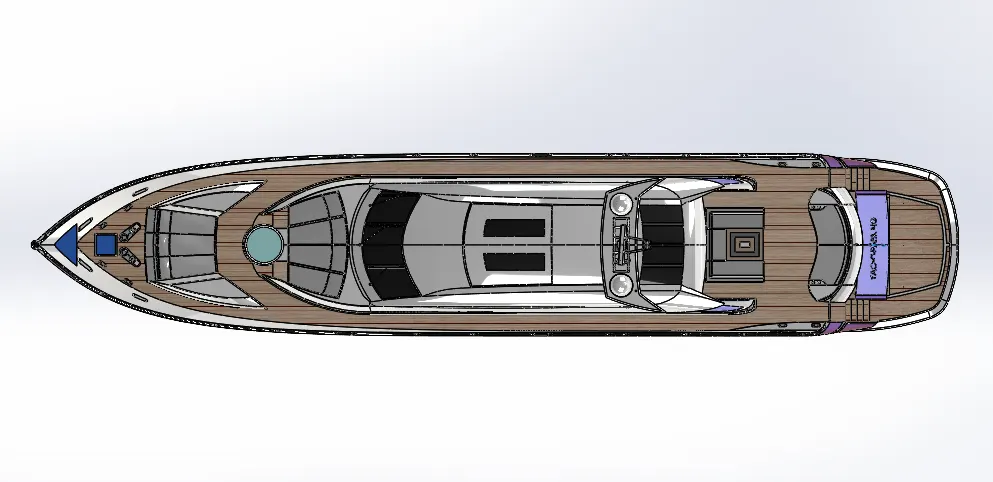
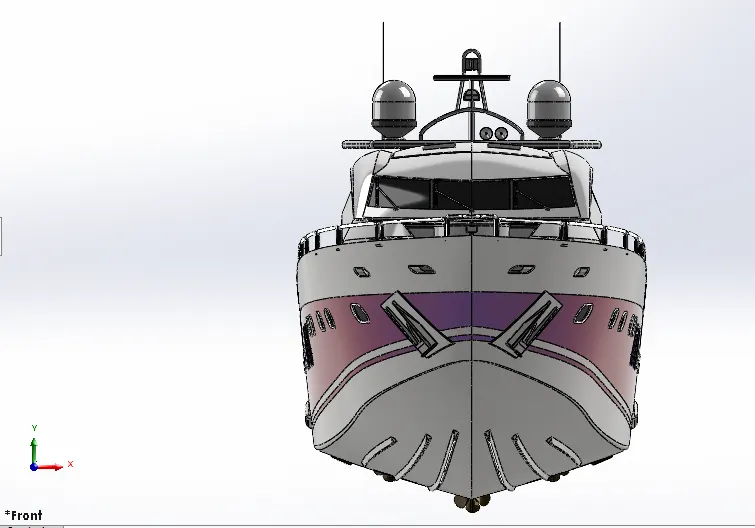
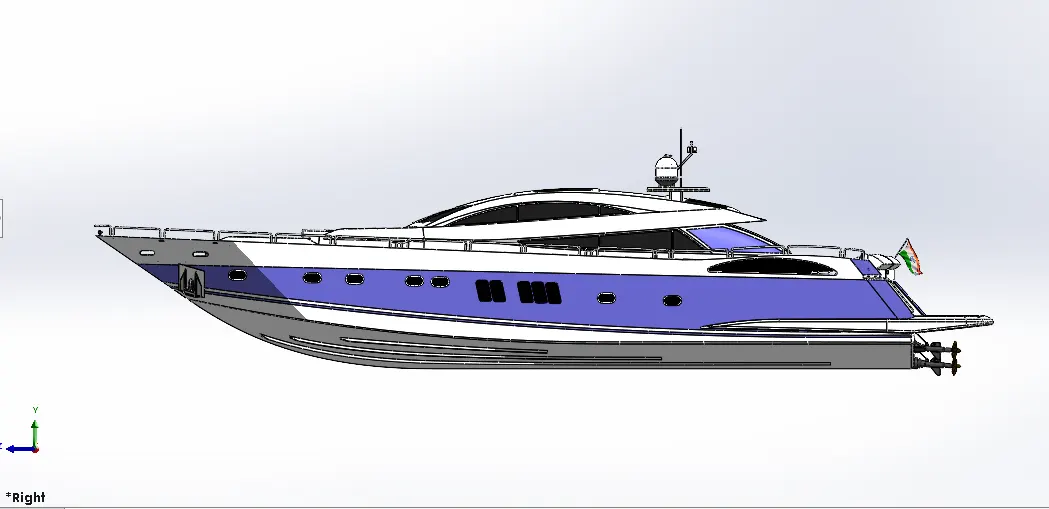
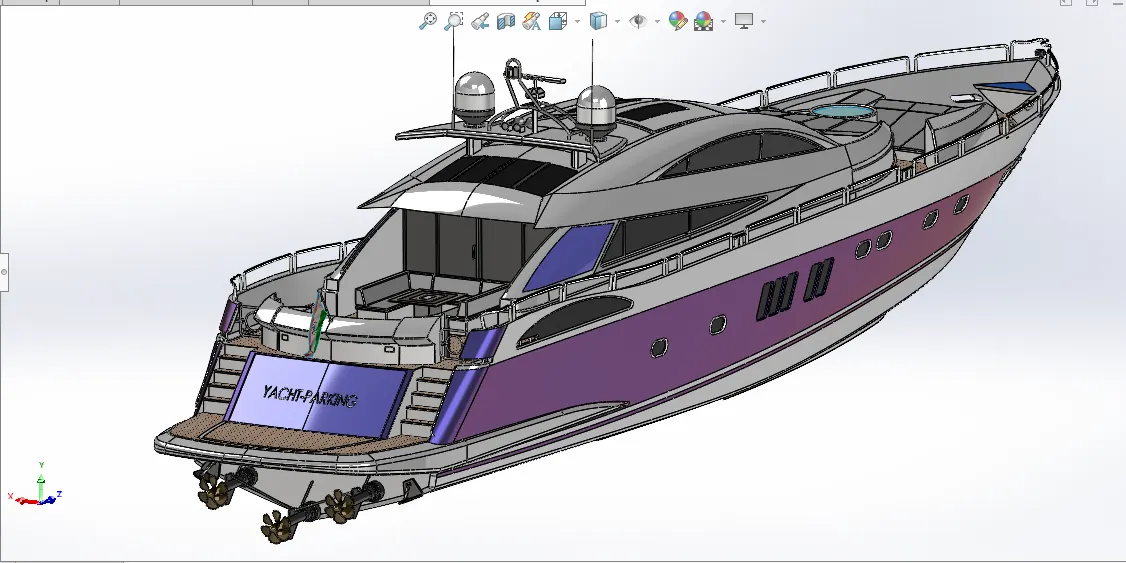
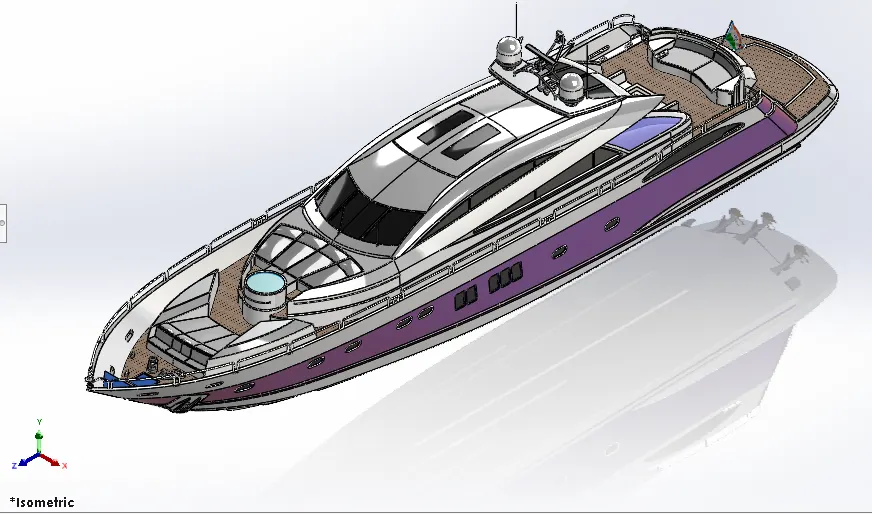
Final Rendering :
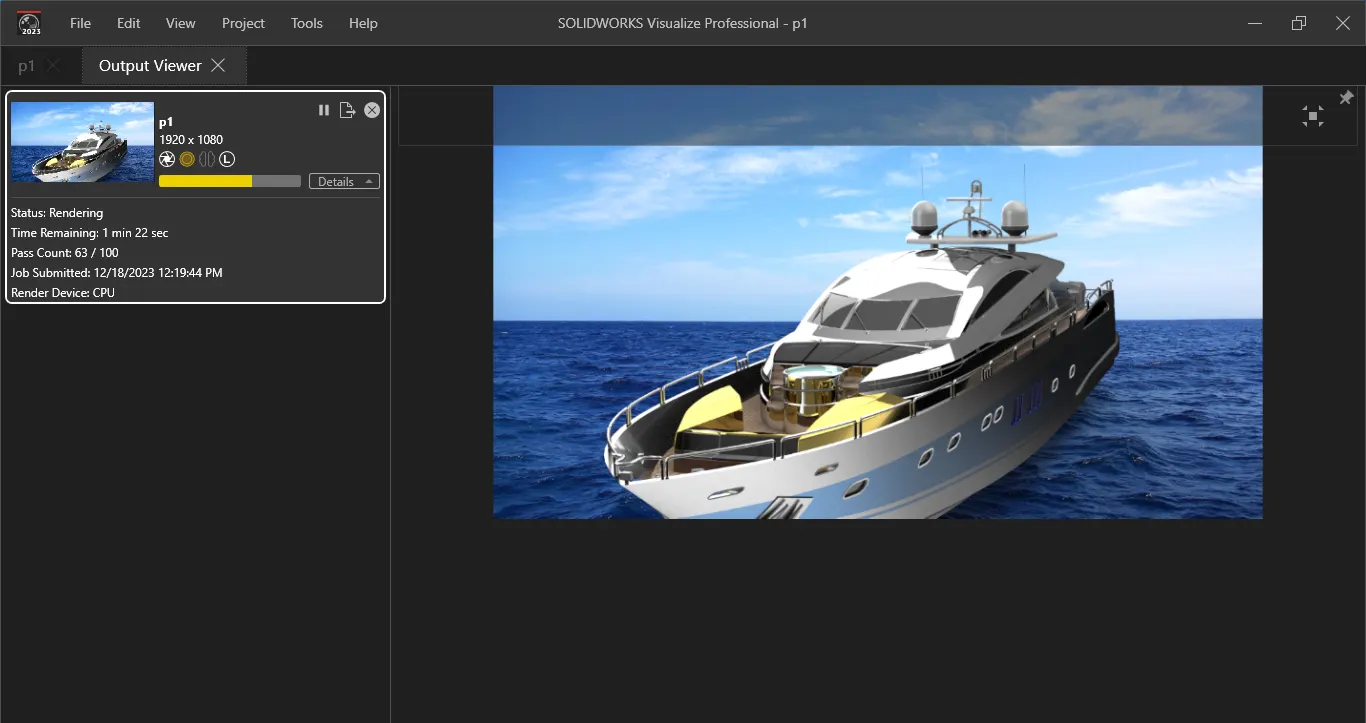
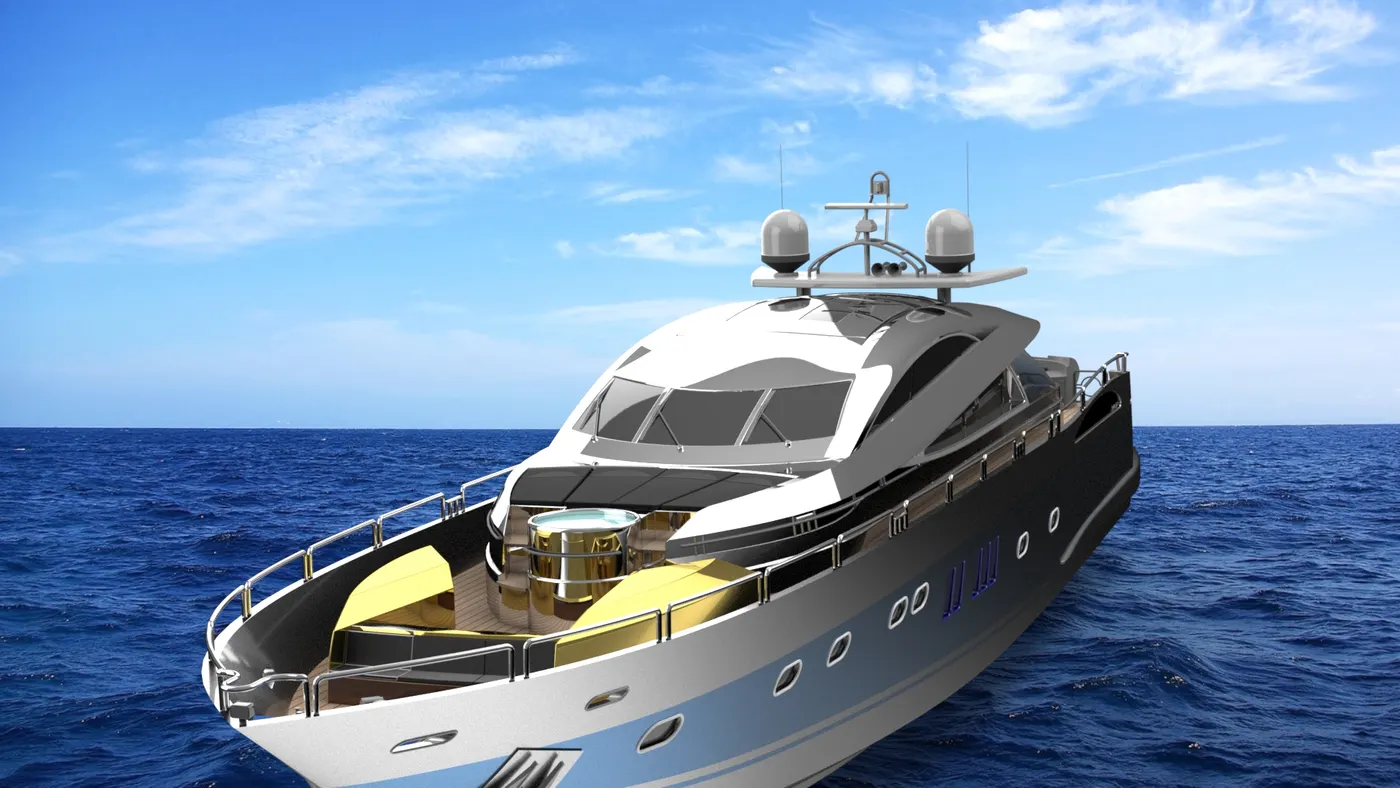
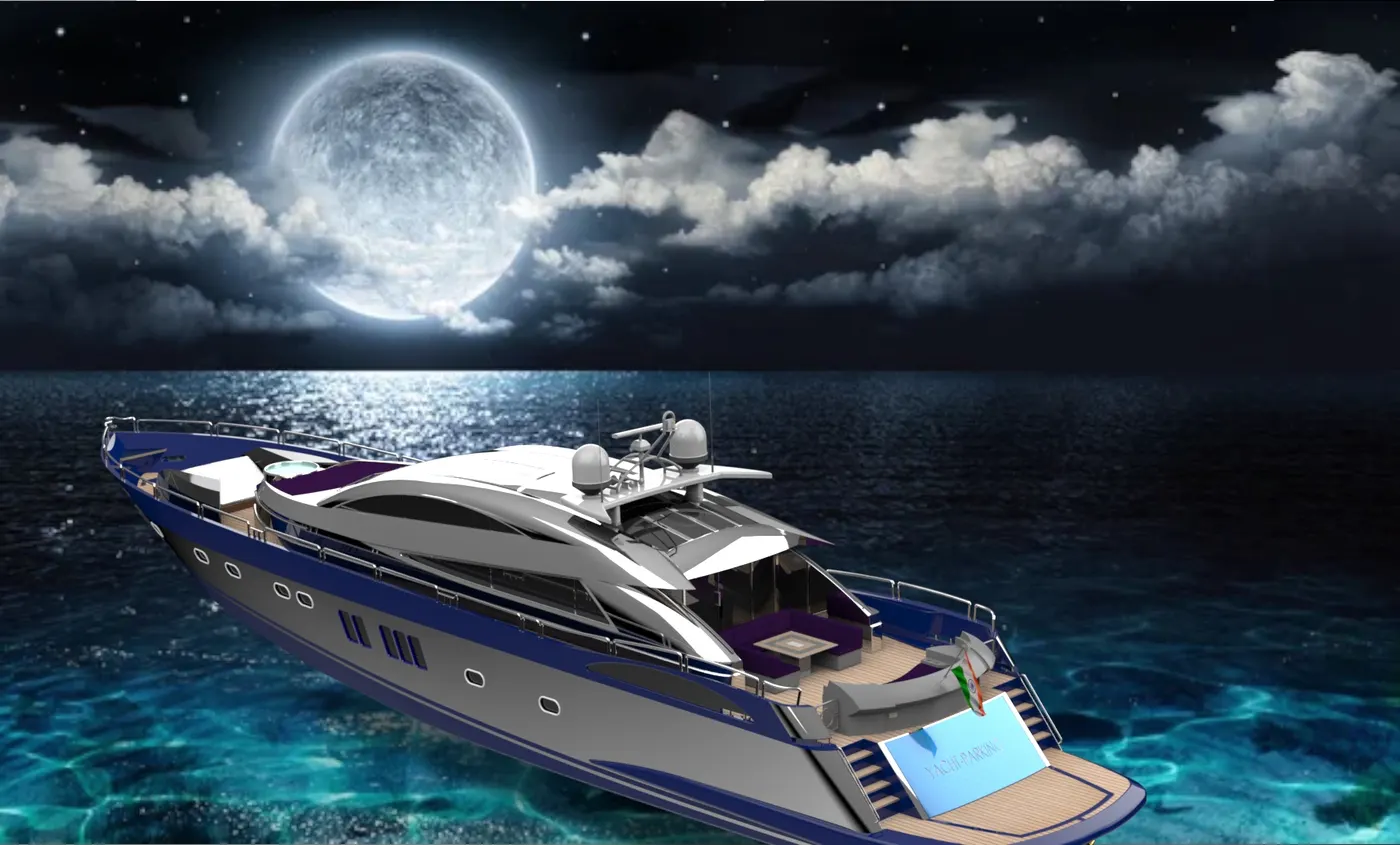
In this our Yacht Assembly rendered to make it more realistic using Solidworks Visualize.
Methodology
Import - Import assembly once created a new project.
Appearance - Give appropriate appearances to various parts to make more attractive after rendering.
Scenes - Use Proper Back Plates/Environment as scenes and drag the assembly at proper location.
Decals: Graphics or deisgns used
Lights & cameras: To adjust lighting and set camera
Output - Once done with all setup, a quick render help you out to review final output. Changes the colours by increasing/decreasing various values for better look (if required). Then go for final quallity rendering.
Software: Solidworks Visualize 2023.