Week 10 - Challenge 2- Attachment Feature Creation (Dog House)
Aim:
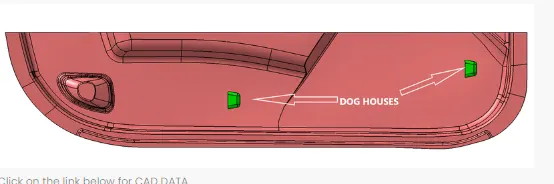
Create the Dog House for the Door Trim considering the design rules and perform the draft analysis for class A and create the final close body component and perform the draft analysis.
OBJECTIVES:
- To create the class B and class C surfaces from the given class A surface.
- To form a solid geometry by combining all the surfaces.
- To create a dog house for the solid part by following the design rules.
- To perform draft analysis on the class A surface and the final solid part model.
CLASS A SURFACE:
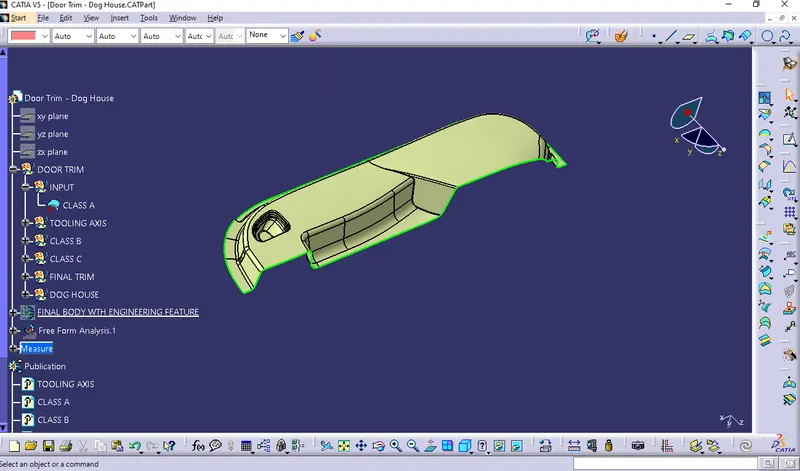
In automotive design, a class A surface is any of a set of free form surfaces of high efficiency and quality. It gives the aesthetic of the component which is created by the styling team and gives to the part design engineer to create the part with all engineering aspects.
CREATING TOOLING AXIS:
The Tooling Direction is basically the direction that the mold pulls a part. The mold is built in two separate pieces, basically. You have a Cavity side and you have the Core side. The Core pulls apart from the Cavity and that's the Dye line or the Tooling Direction.
- Class-A surface is first analyzed to create the tooling axis or tooling direction that molds pull apart in injection molding. Tooling direction is important for plastic product design as it decides the direction for mold separation.
- First check the connectivity of the given Class A surface by using the Boundary or Join feature to visualized and repaired the open edges of the surface.
- And then, analyse visually the best suitable plane or surface for tooling axis.
- First check the connectivity of the given Class A surface by using the Boundary or Join feature to visualized and repaired the open edges of the surface.
- And then, analyse visually the best suitable plane or surface for tooling axis.
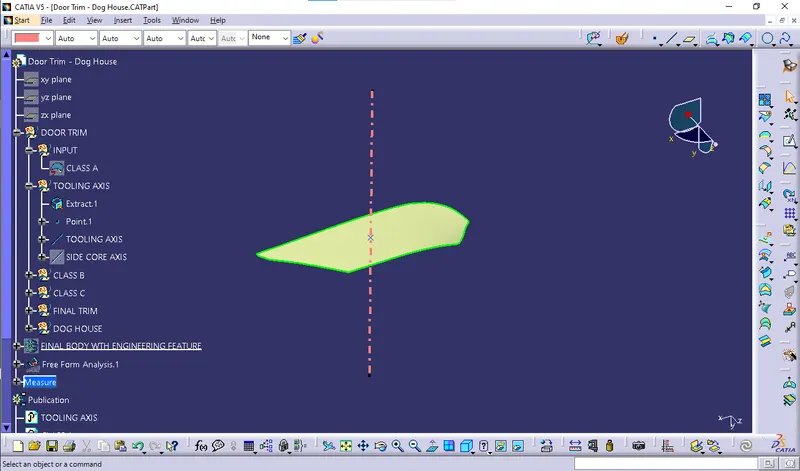
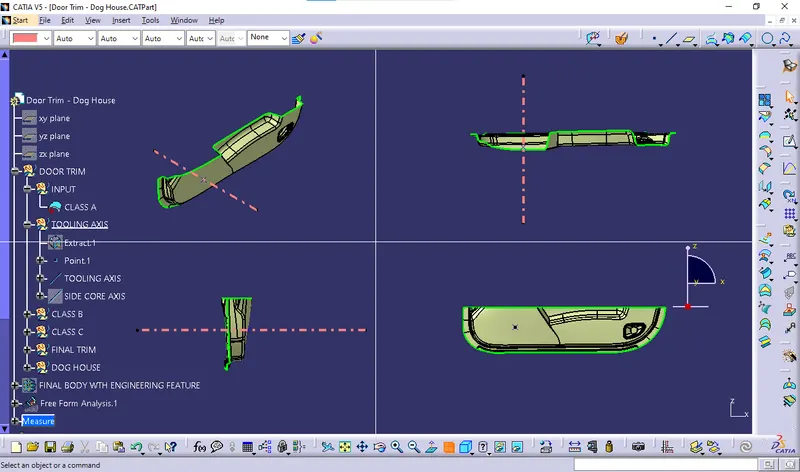
- TOOLING AXIS is created by bisecting the axis created on two intersections .
- The best tooling direction for the class-A surface is along y-axis direction.
- Flat surface on the center part is extracted for creating the tooling axis in y direction
- Then a line is created by BISECTING METHOD with the point and direction along y axis.
- Before going to drat analysis go to customized view parameter >under mesh >check material and then click ok.
- Now for draft analyses go to insert » analysis » feature draft analysis.
- Use the compasss to define the draft direction.
- In the colour scale change the draft angle to 3 degree.
- The component changes to green in indication of passing draft angle.
- Use running point to check the angle on the component.
- Here we have used Normal to surafce method to create Tooling axis by extracting surface creating point normal to surface and creating line in point-direction.
DRAFT ANALYSIS OF CLASS A SURFACE:
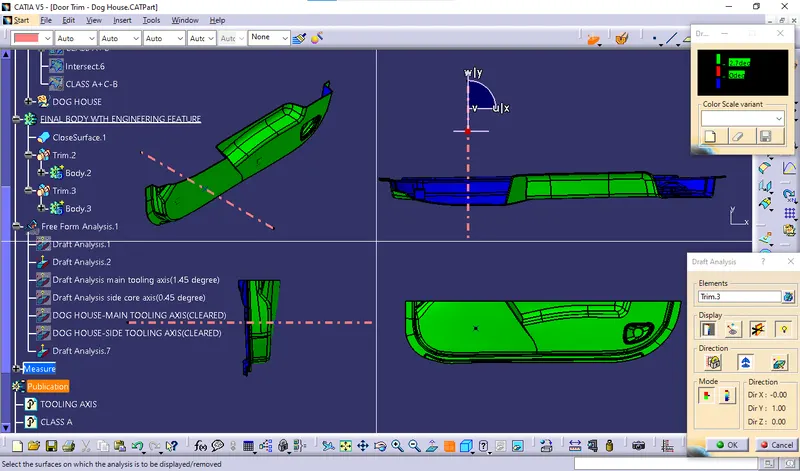
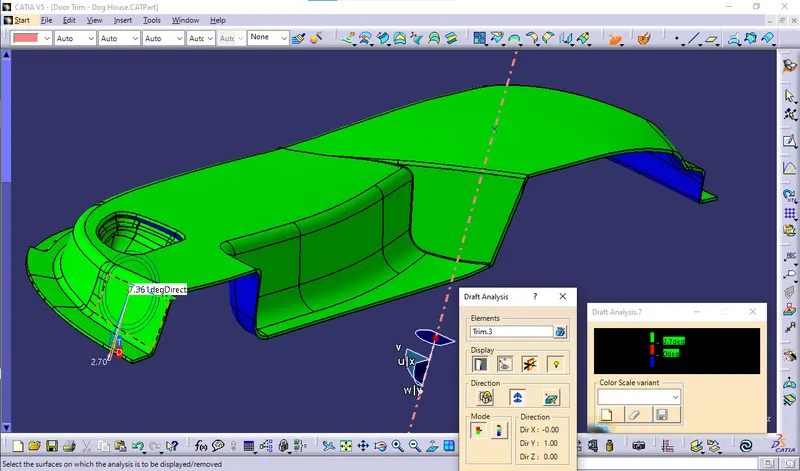
The Draft Analysis command enables you to detect if the part you drafted will be easily removed. This type of analysis is performed based on color ranges identifying zones on the analyzed element where the deviation from the draft direction at any point, corresponds to specified values.
- Before going to drat analysis go to customized view parameter >under mesh >check material and then click ok.
- Now for draft analyses go to insert » analysis » feature draft analysis.
- Use the compasss to define the draft direction.
- In the colour scale change the draft angle to 3 degree.
- The component changes to green in indication of passing draft angle.
- Extract the surfaces from the class A using multiple extract and untrim them.
- Use Extrapolate to make sure that all the untrims are properly intersected to trim and offset the surfaces to 2.5 mm to create the thickness.
- Fill the patches which are not offested by the using the commands like extract,boundary and multi-section surface.
- Then join the patches to the offseted surface using the command.So will get the complete class B.
- Use running point to check the angle on the component.
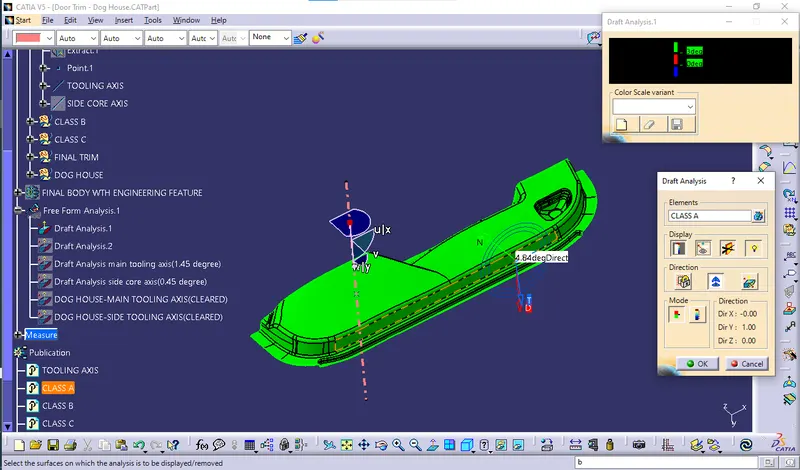 Note: Some areas of class A does not clear draft analysis which is reflected in some areas in output of final plastic component draft analysis.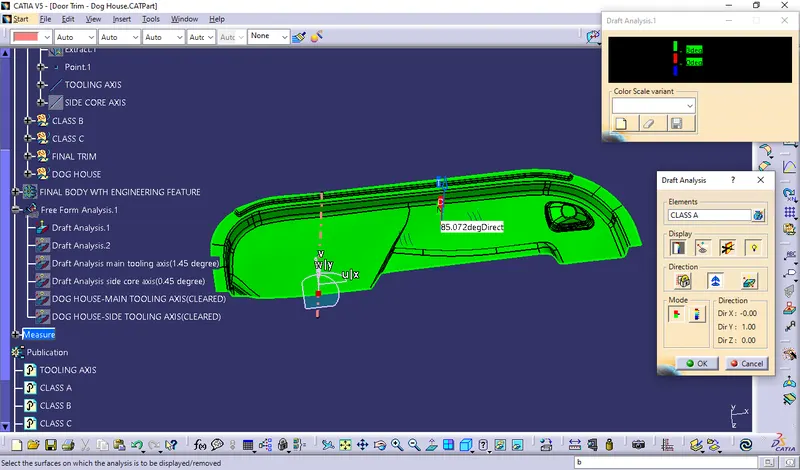
CREATING CLASS B SURFACE:-
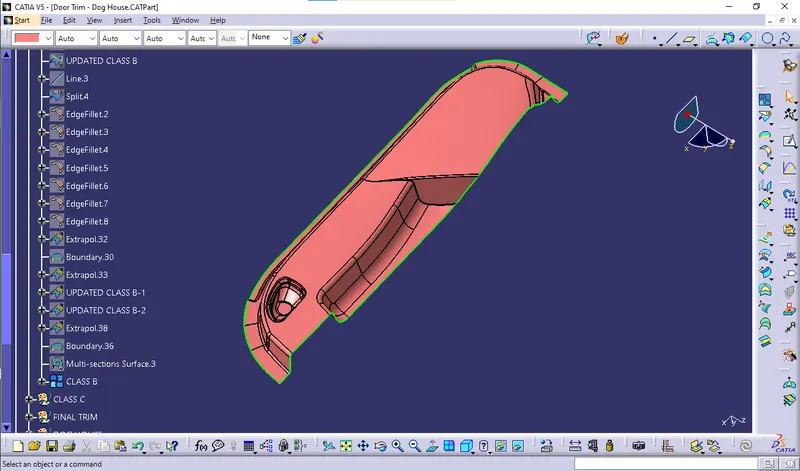
- Extract the surfaces from the class A using multiple extract and untrim them.
- Use Extrapolate to make sure that all the untrims are properly intersected to trim and offset the surfaces to 2.5 mm to create the thickness.
- Fill the patches which are not offested by the using the commands like extract,boundary and multi-section surface.
- Dog house is an engineering feature used in the plastic trim design.
- Dog houses are used as supporting features. Sometimes other engineering features like snaps; locators, etc. are mounded on them to increase their strength.
- Dog houses are designed to avoid SINK MARK created on the CLASS-B surface by screw bosses and to solve the length issues when giving screw bosses which need to be assembled to other components.
- Dog house is an engineering feature used in the plastic trim design.
- Dog houses are used as supporting features. Sometimes other engineering features like snaps; locators, etc. are mounded on them to increase their strength.
- Dog houses are designed to avoid SINK MARK created on the CLASS-B surface by screw bosses and to solve the length issues when giving screw bosses which need to be assembled to other components.
- Dog house is an engineering feature used in the plastic trim design.
- Dog houses are used as supporting features. Sometimes other engineering features like snaps; locators, etc. are mounded on them to increase their strength.
- Dog houses are designed to avoid SINK MARK created on the CLASS-B surface by screw bosses and to solve the length issues when giving screw bosses which need to be assembled to other components.
- Then join the patches to the offseted surface using the command.So will get the complete class B.
CLASS C SURFACE
The surface that joins class-A and class-B surfaces are class-C surfaces. Class C is often specified for interior surfaces not readily visible, surfaces that will be covered by another part when assembledThe Class C finish allows more imperfections than Class A or B. Class C is often specified for interior surfaces not readily visible, surfaces that will be covered by another part when assembled, or surfaces which the Customer feels do not need to meet a high cosmetic finish.
The method used for class c surface is sweep feature
Since it is a complex class-A surface, we cannot create the class-A boundary curve and sweep in a single stretch.
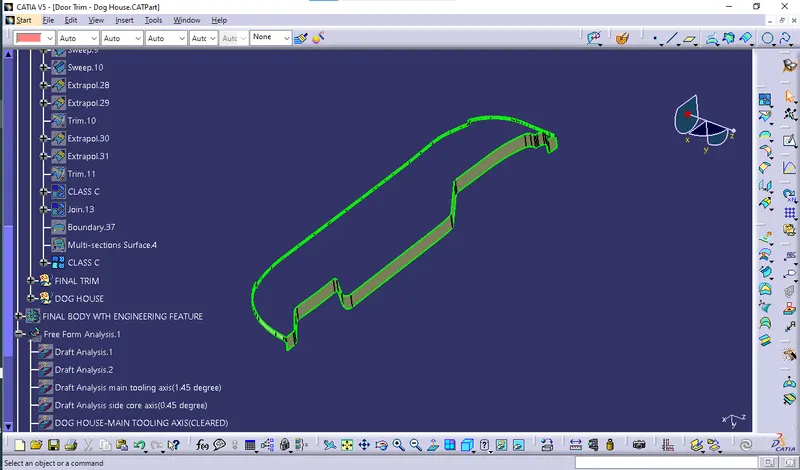 CLASS A+C SURFACE
 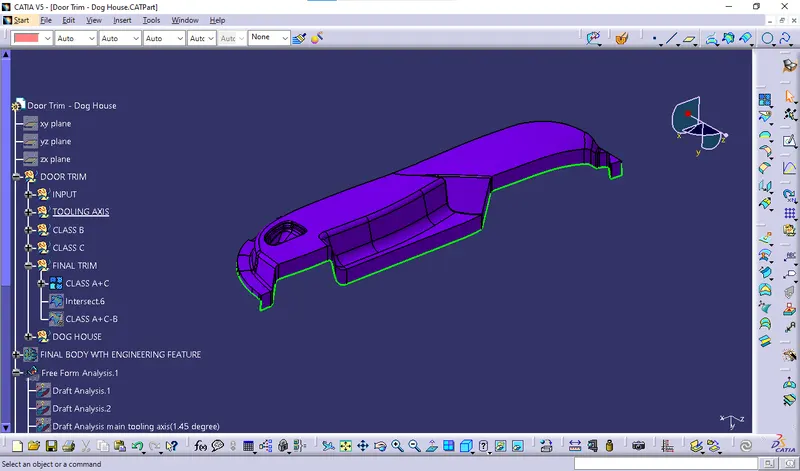 CLOSED SURFACE OR CLASS A+B+C: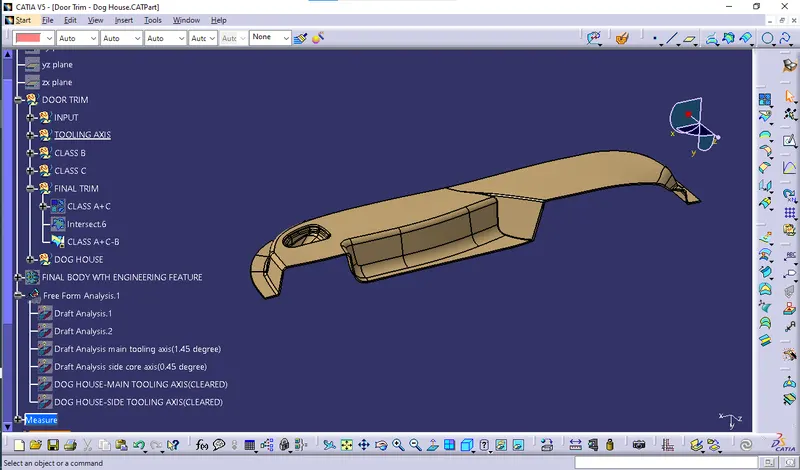
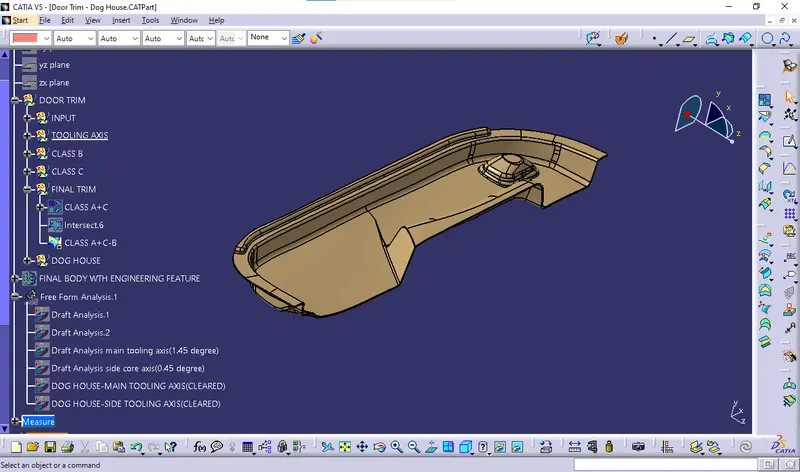 Draft analysis for Close Surface: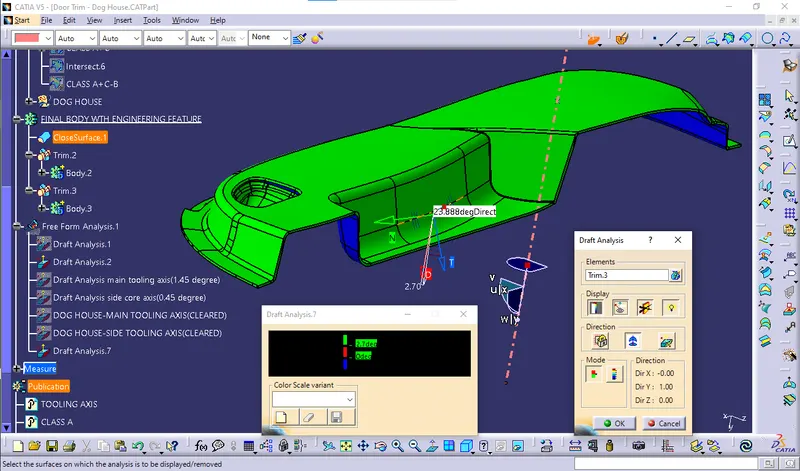
DOG HOUSE DESIGN:
- Dog house is an engineering feature used in the plastic trim design.
- Dog houses are used as supporting features. Sometimes other engineering features like snaps; locators, etc. are mounded on them to increase their strength.
- Dog houses are designed to avoid SINK MARK created on the CLASS-B surface by screw bosses and to solve the length issues when giving screw bosses which need to be assembled to other components.
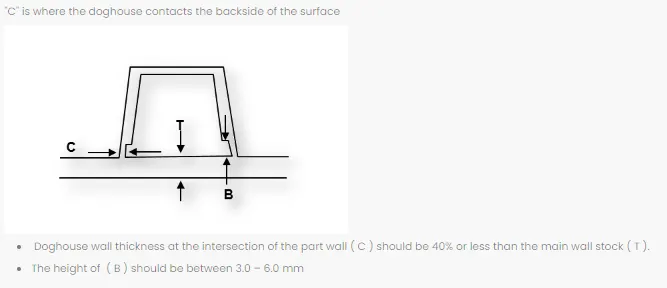
C" is where the doghouse contacts the backside of the surface.
Doghouse wall thickness at the intersection of the part wall ( C ) should be 40% or less than the main wall stock ( T ). =0.4*T=0.4*2.5=1mm.
The height of ( B ) should be between 3.0 – 6.0 mm. Here we considered B=6mm.
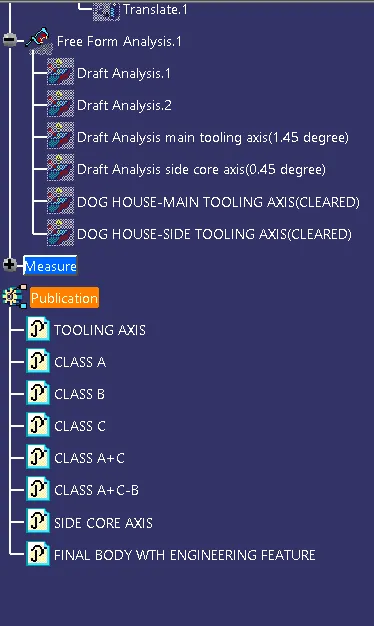
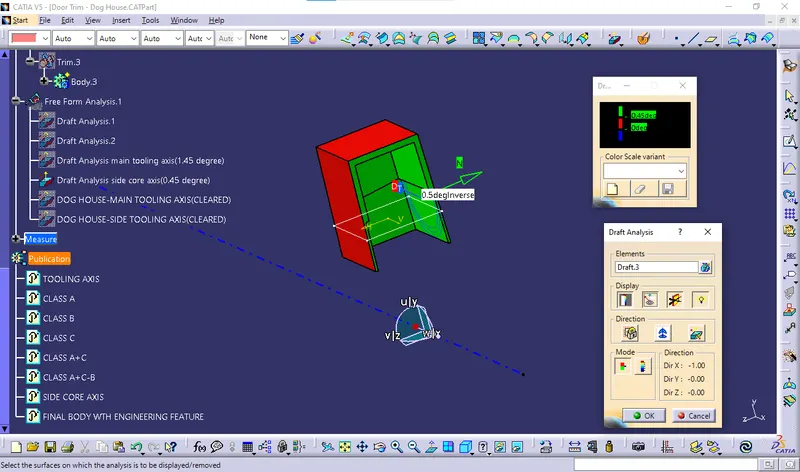
SKETCHES AND DRAFT ANALYSIS OF DOG HOUSES{DH}: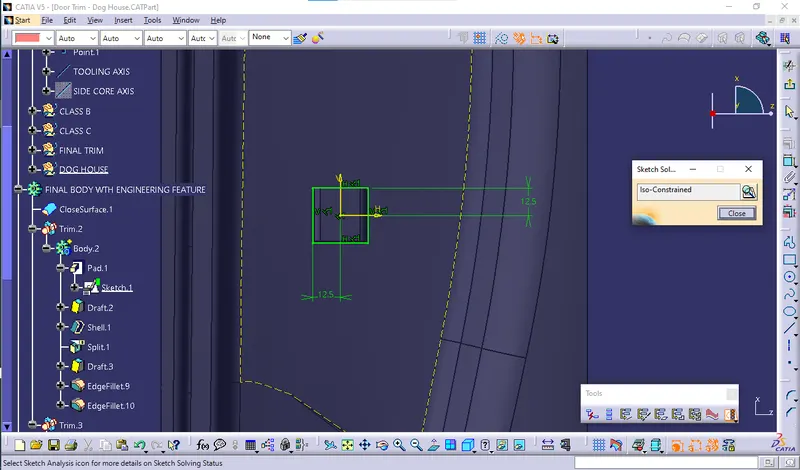 DRAFT ANALYSIS OF DOG HOUSES{DH}: Draft analysis of DOG HOUSE with respect to main tooling Axis it clears Cavity side as shown in below image
 - Draft analysis is cheked with 1.45deg as the outer faces of dog houses are provided with 1.5 deg draft angle.
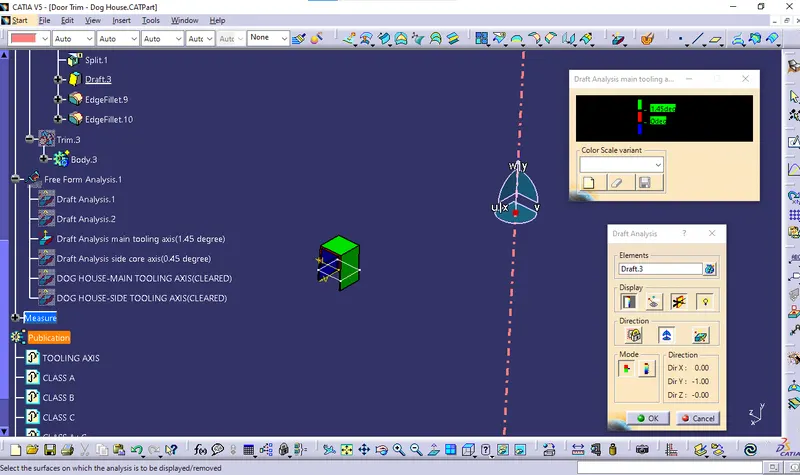
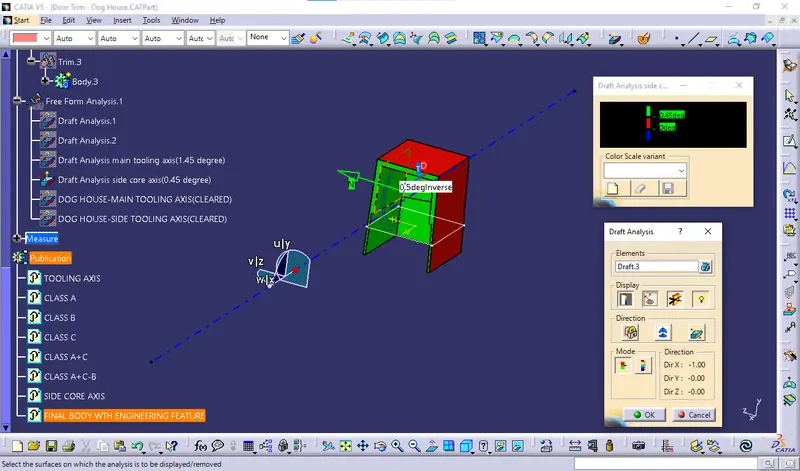
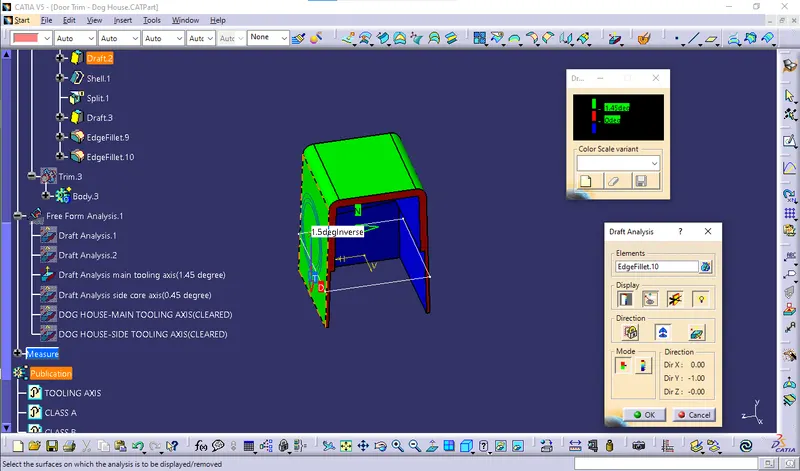 DRAFT ANALYSIS OF DOG HOUSES{DH}: Draft analysis of DOG HOUSE with respect to side core tooling Axis it clears inner faces that is side core side as shown in below image
 - First we create a tooling axis called SIDE CORE TOOLING AXIS WITH APOINT IN x-DIRECTION
- With the above tooling axis with 0.45deg draft is checked for dog houses before assembly.
- after assembly with the closed base body we cannot find draft individually for dog houses
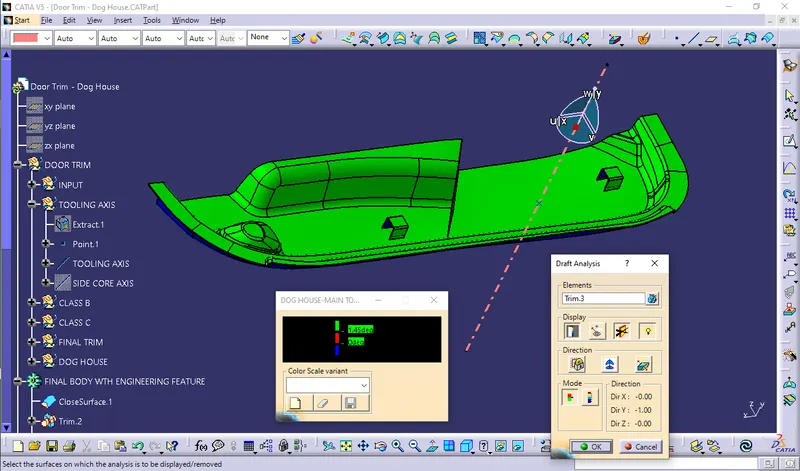
- Draft analysis clears side core side of the mould.
 FINAL BODY DRAFT VIEW:
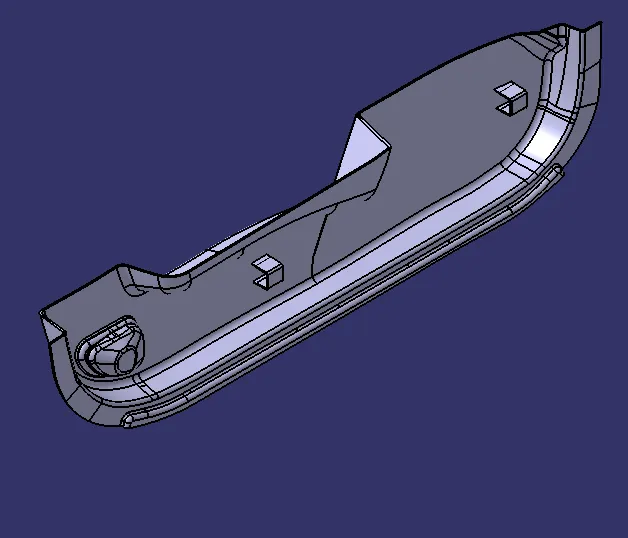
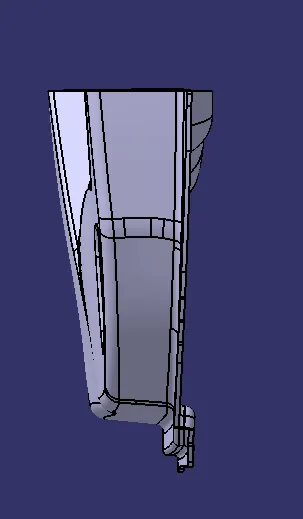
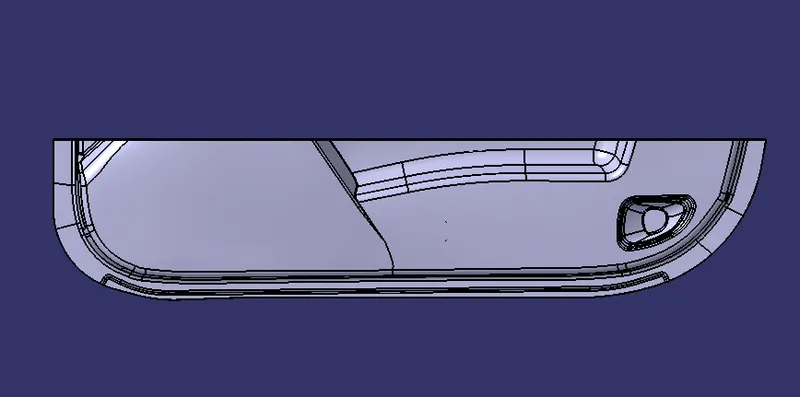
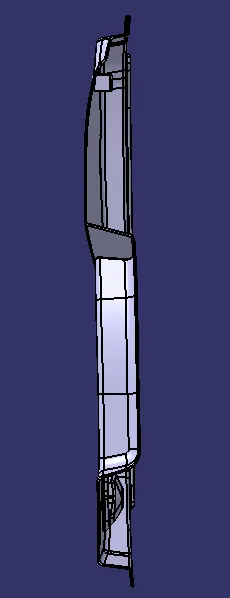
  FINAL BODY VIEWS: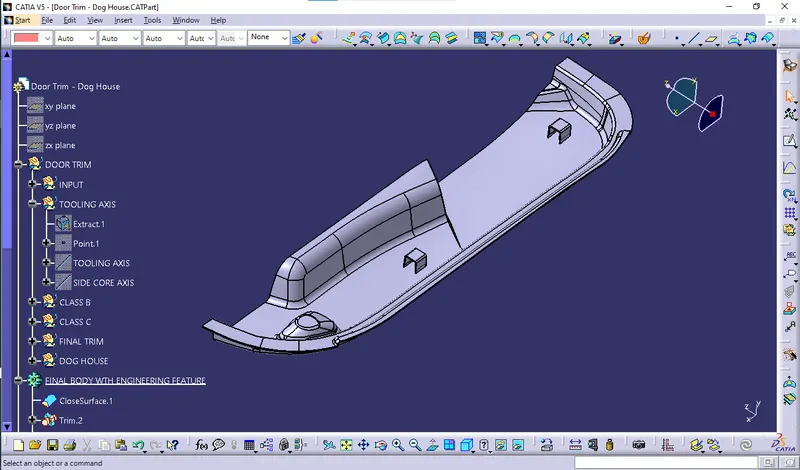
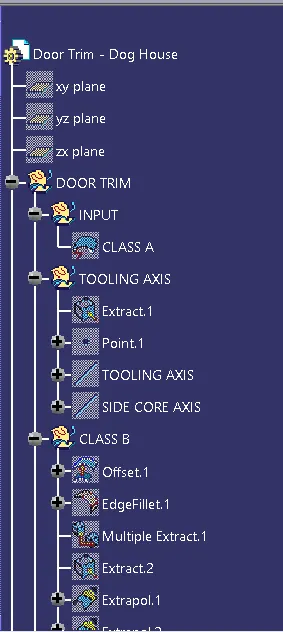
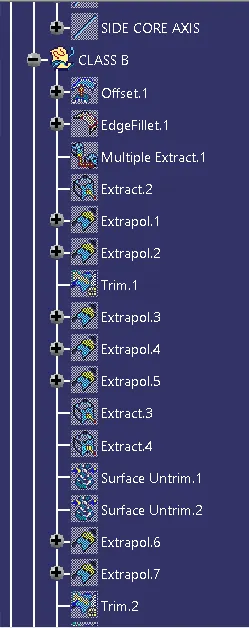
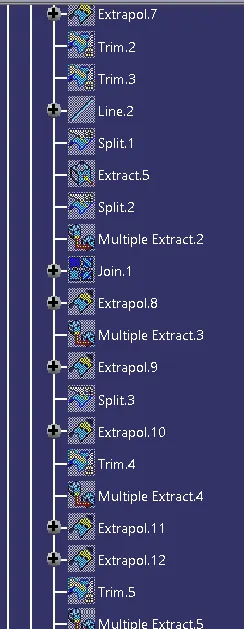
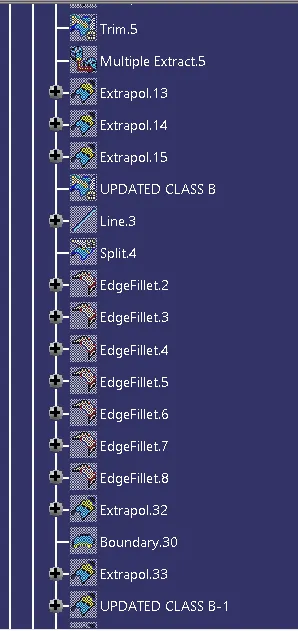
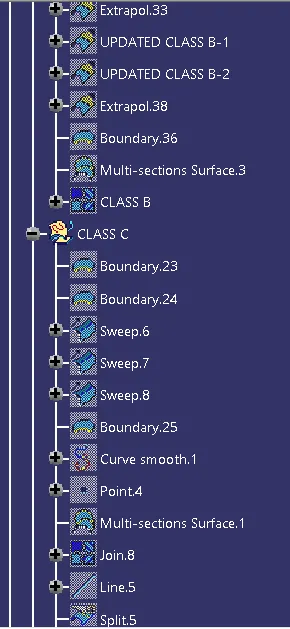
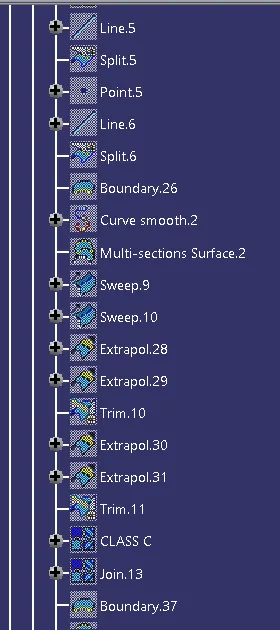
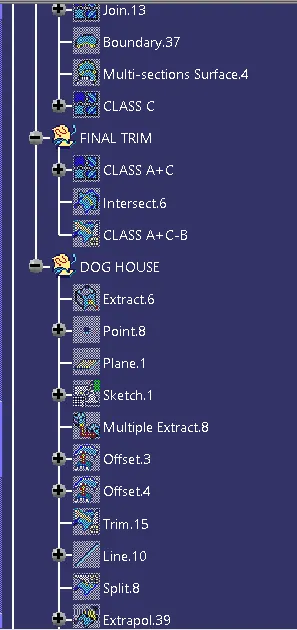
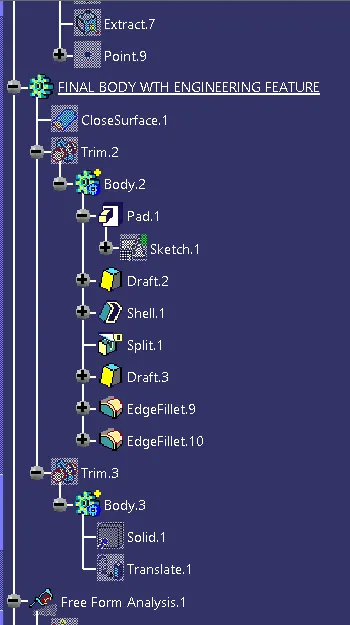
 TREE STRUCTURE: