Radar Mast & Final Assembly of Yacht
MODELLING AND RENDERING OF SUNSEEKER PREDATOR 108 YACHT
INTRODUCTION: In this project we will learn about more surface modeling and we did that by making the sunseeker predator 108 yacht.
OBJECTIVE: The purpose of the modeling of the sunseeker predator 108 yacht was to learn more about the surface modeling and the features including in it. And to get a better insight on the tools we were using on it.
DESIGN METHODOLOGY:
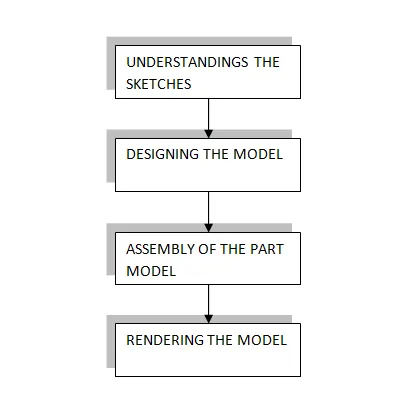
FLOWCHART
DESCRIPTION:
We will understand the 2d sketch and according to that we will start to design the yachtWe have to constraint the sketches by giving proper relation to it which will fully define the sketch.So that we can proceed for further part modelling.
After modelling the part we will give proper appearance to it which will give the realistic look to the yacht and then we assemble the parts after assembling the part we will render it.
PART MODELLING:
- Propeller
It is used to convert energy from engine and use as a power so that the yacht can move forward.
FEATURES/TOOLS USED
- Sketch
- Revolve
- Loft
- Cut extrude
- Circular pattern
- Fillet
For making of the propeller we sketch according to the given 2d drawing and we will use the features that has been mentioned above to model the part.
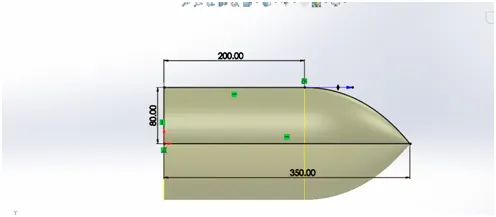
Sketch of the propeller
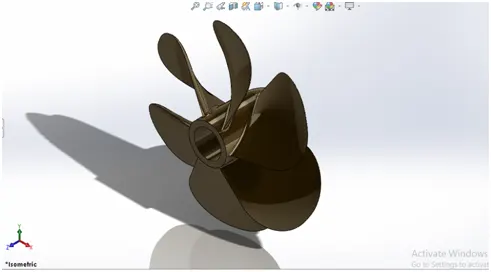
3D model of the propeller
- Radar
Radar is used for navigation and to detect objects and position relative to their current location.
FEATURES/TOOLS USED
- Sketch
- Boss extrude
- Cut extrude
- Sketch pattern
- Mirror
- Split line
- Text feature
- Fillet
For the making of the radar we will follow the sketch and model it as according to the requirement in this we have used text feature which is use to add text on the part
And used split line feature which is projects the text on the object.
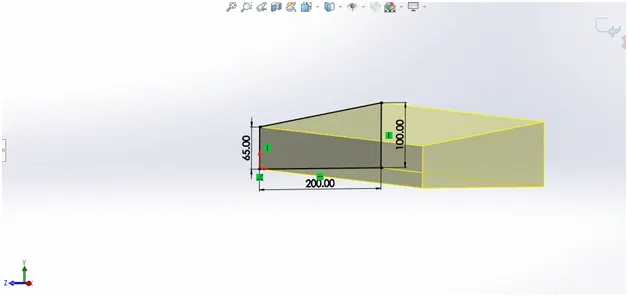
Sketch of radar
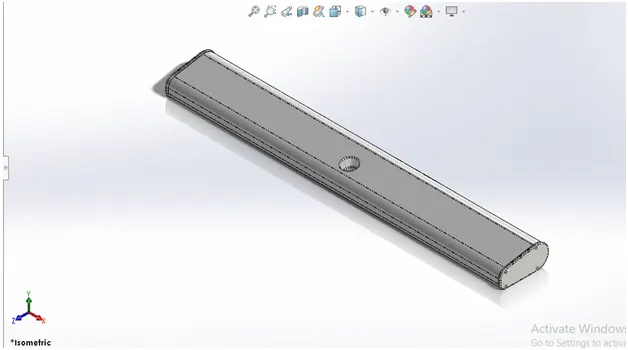
3D model of radar
- HULL
The hull is the waterlight body of the yacht which atop the superstructure upon it.
FEATURES/TOOLS USED
- Sketch
- Sketch picture
- Curve
- Surface loft
- Surface trim
- Surface fill
- Surfaces knit
- Shell
- Boss extrude
- Cut extrude
- Reference planes
- Sweep
- Revolve
- Dome
- Helix/spiral
- Linear pattern
- 3D sketch
- Mirror
- Delete face
- Spilt line
- Chamfer
- Fillet
For making of the hull part is quite a challenge cause in this you have to deal with 3D sketches which are most of the time gets under defined if we didn’t give a proper relation to it.
First we will use sketch picture to make a reference for us so that we can start design with the help of the picture.
We use the curve features to make the outline of the hull and after that we projected the curves and we used the surface loft to give the base look of the hull so that we can work further from it.
After creating the base for the hull now we have to add to many detailing to the hull.
We have used surfaces loft,surface filled and surface trim on it.
After making the surfaces we will surfaces knit them so that it merge properly without having any kind of gap in between and we make sure that we get a well defined object to work with basically surface knit helps to merge surfaces.
So that we can make it as a single body in the end.
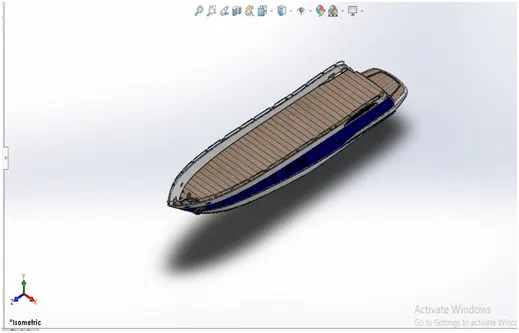
3D model of the hull
- Garage door
It is the door for the garage in the yacht.
FEATURES/TOOLS USED
- Sketch
- Cut extrude
- Mirror
- Text
- Fillet
For making of the garage door we have used the save part from the hull which we used to cut the space for the garage in the hull so we imported that part and made the door from it.
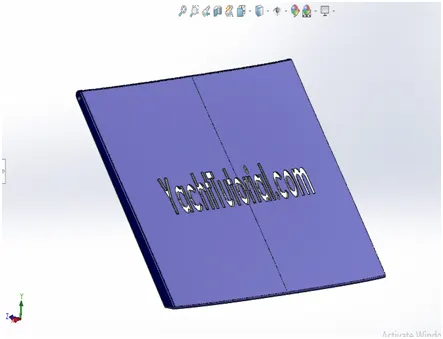
3D model of garage door
- FRONT SEAT
We have to design seats for the yacht as per the requirement.
which will be placed at the front of the yacht.
FEATURES/TOOLS USED
- Surface sweep
- Surface extrude
- Surface fill
- Surface trim
- Surface loft
- Surface knit
- Revolve
- Cut extrude
- Mirror
- Dome
- Chamfer
- Fillet
For making of the front seat we will sketch and use the features according to that so that we can get the desire results.
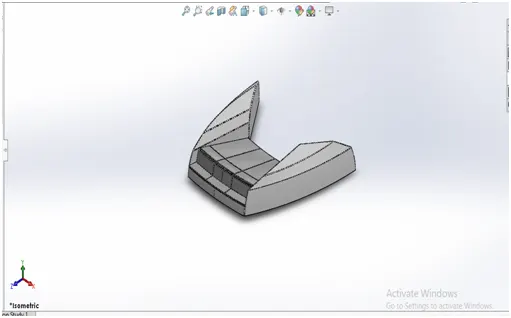
3D model of front seat
- MIDDLE SEAT
We have to design seats for the yacht as per the requirement. And will be placed in front of the yacht.
FEATURES/TOOLS USED
- Sketch
- Boss extrude
- Mirror
- Cut extrude
- Chamfer
- Fillet
For making of the middle seat it is same as the front seat only.
3D m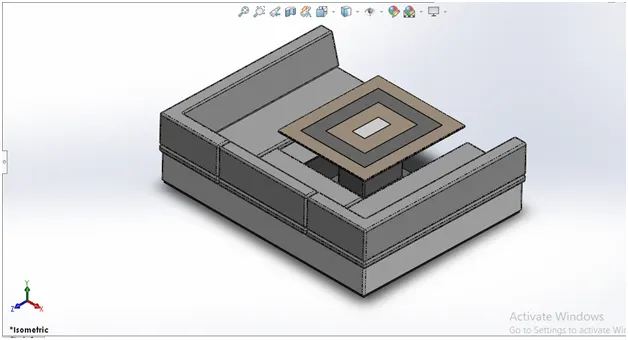 odel of middle seat
REAR SEAT
We have to design seats for the yacht as per the requirement.
Rear seat will be placed in the rear of the yacht.
FEATURES/TOOLS USED
- Surface sweep
- Surface offset
- Surface trim
- Ruled surface
- Surface knit
- Surface extrude
- Surface loft
- Surface extend
- Cut extrude
- Boss extrude
- Chamfer
- Sweep
- Revolve
- Mirror
- Fillet
As for the rear seat we have used surfaces features cause of the design of the rear seat is little bit different so we have used surface features to get it done.
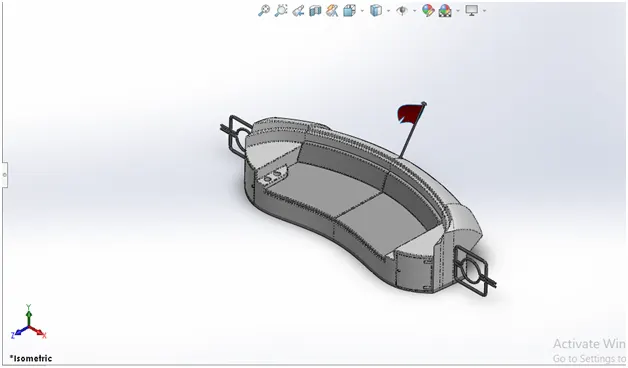
3D model of rear seat
SUPERSTRUCTURE
It is the cabin structure which is placed above the hull and from there only we can control the yacht.
FEATURES/TOOLS USED
- Sketch
- Sketch picture
- Surface extrude
- Ruled surface
- Surface sweep
- Curve
- Surface fill
- Surface knit
- Surface trim
- Surface loft
- 3D sketch
- Surface extend
- Boss extrude
- Cut extrude
- Surface offset
- Thicken
- Dome
- Fillet
- Mirror
- Chamfer
In this making of super structure it is made like the hull only where we surfaces features to get the desire shape and we have given the detailing as per required for the superstructure.
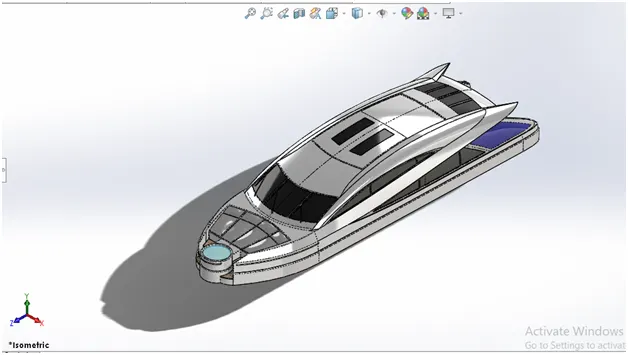
3D model of super structure
RADARMAST
It is used for the navigation purpose where it helps to find the location and also detecting the other objects and there coordinates so that to avoid collision.
FEATURES/TOOLS USED
- Sketch
- Sketch picture
- Revolve
- Boss extrude
- Mirror
- Sweep
- Curve
- Dome
- Chamfer
- Fillet
As for the radar mast we have design it with the help of surfaces that we made on the superstructure as a reference for our radar mast and we used sketch picture to make the model.
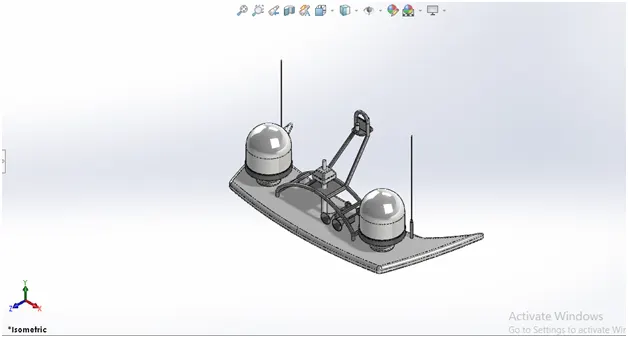
3D model of radar mast
ASSEMBLY OF THE YACHT
We have created all the part of the assembly now we will assemble it for that we will mate their planes with assembly planes we fix the hull as our base part from there we are going to mate every other part with hull.
And also did the render in solidworks.
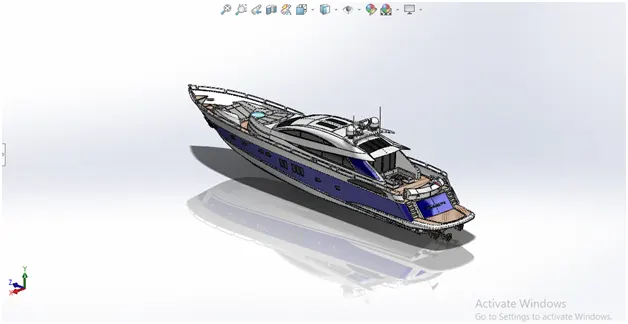
Yacht assembly
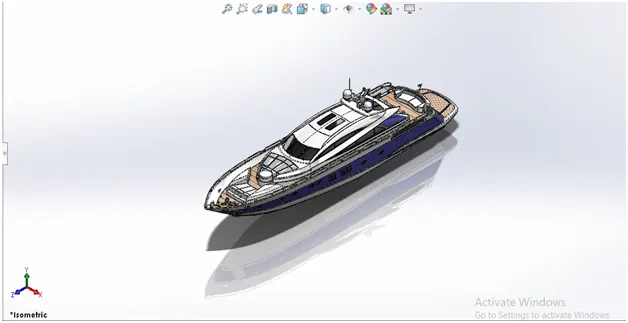
ISOMETRIC VIEW
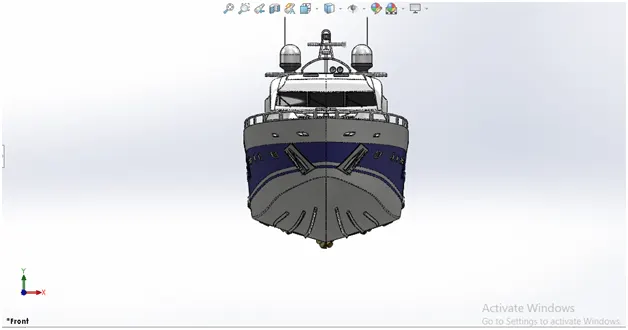
FRONT VIEW
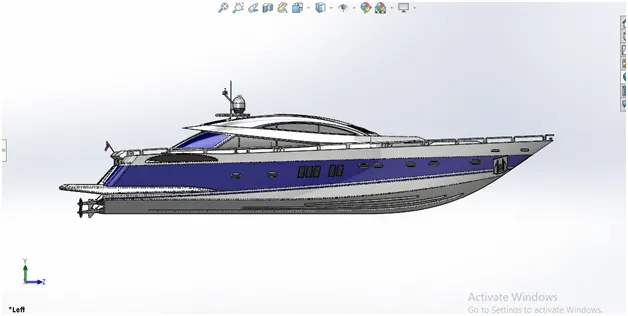
LEFT VIEW
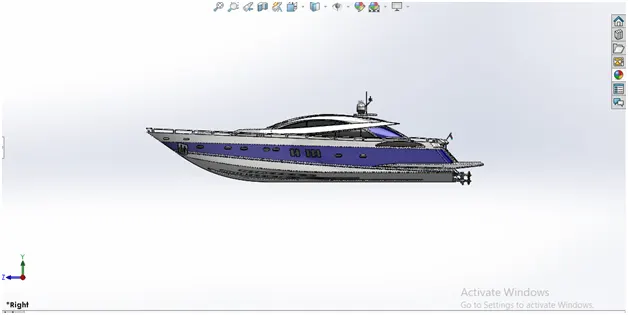
RIGHT VIEW
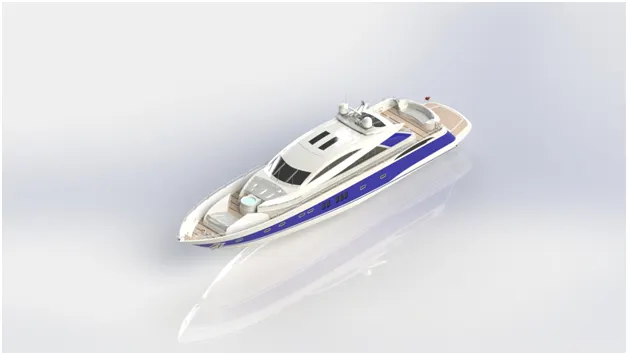
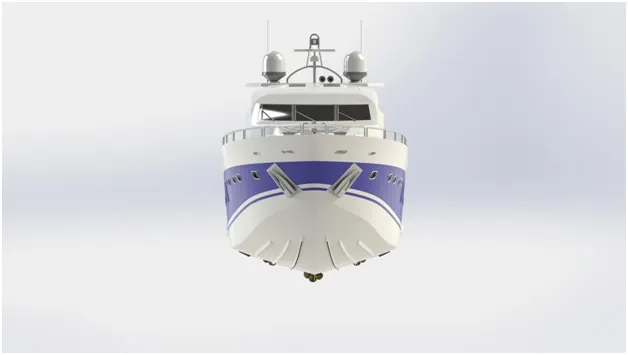
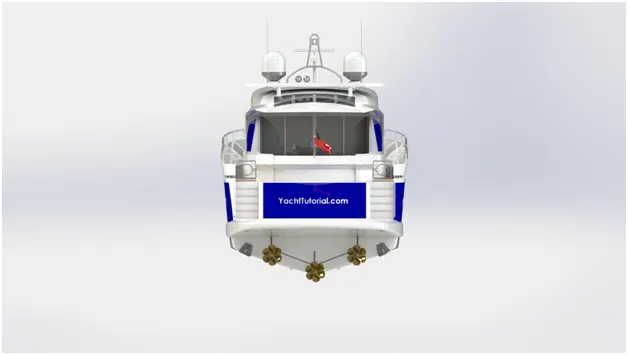
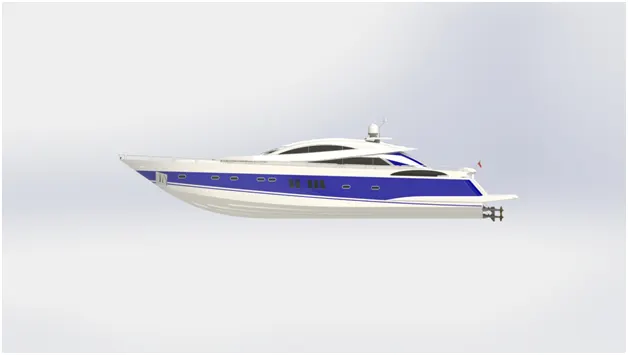
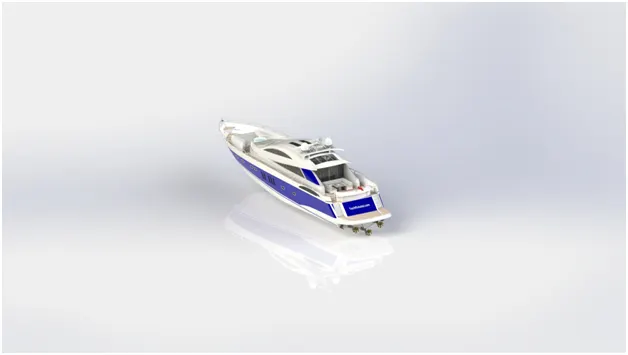
Rendered images
RENDERING
Rendering the model will give a realistic look to the model as we try to set up our model in the enviornment so we have used solidworks visualise.
Which is rendering tool from solidworks so we have render the model using that tool.
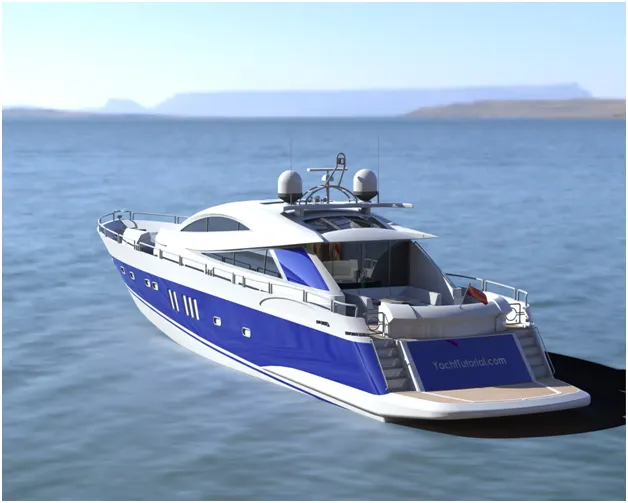
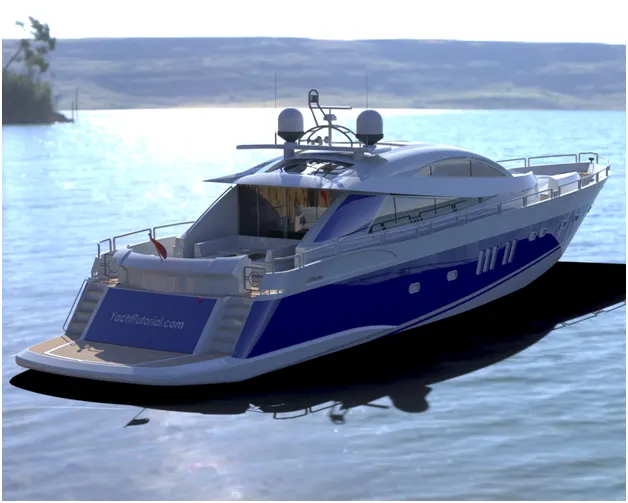
FINAL RENDERED IMAGES
CONCLUSION:
As we able to design the yacht successfully.
We get to learn the surface features in the solidworks.
And did the rendering of the yacht.