Advanced Sheet Metal Design Using NX Cad Challenge_2_Box Assembly
Advanced Sheet Metal Design Using NX Cad Challenge _Box Assembly
INTRODUCTION :
In this project we will try to design a box assembly by using NX_CAD.
OBJECTIVE :
Is to create a box assembly in a sheet metal and try to understand the features which has been used in it.
DESIGN METHODOLOGY :
FLOWCHART :
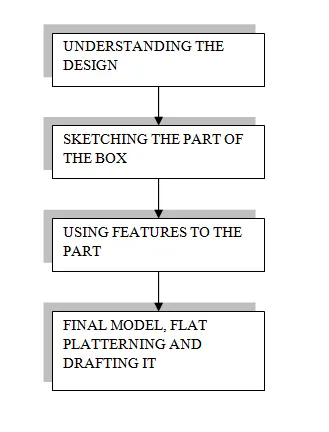
DESCRIPTION :
We are going to design a box assembly in sheet metal by using NX CAD.
For that first we will understand the sketch and according to that we will start the design of it and after designing it we will use flat pattern feature so that we will get a flat view to show in the flat view and we will do the drafting for it the features will be describe below.
FEATURES/TOOLS USED :
- Sketch
- Tab
- Flange
- Closed corner
- Hem flange
- Mirror body
- Unite
- Dimple
- Bead
- Mirror feature
- Unbend
- Rebend
- Break corner
- Normal cutout
- Flat pattern
As mentioned above features used in the design of box assembly.
We sketch the base of the box and we extrude it by using the tab feature which gives the thickness along with the direction vector which is going to extrude.
Then we use the flange features to create the bend features to the box as we used to make the side walls of it using the flange feature.
After using the flange we used the closed corner feature to close the flange opening with the base tab that we have created now it started to take the shape of the box.
Then we used hem flange to close the flange opening that we made.
After creating one side of the box we used mirror body feature to mirror the other half part of the box.
And we used unite feature which actually combines two part into one and make it as a single body.
And then we used dimple feature to list the material from the sheet metal to give the stamping tool effect and we used mirror feature to the other side of the box to get the dimple feature on it.
And then we started to unbend the box then rebend it in a reverse order.
And then we made the lid of the box by using the tab feature and then we added the flange to it and then added the required hem flange.
After that we made the closed loop holder which connects the lid and the box which resembles that the box can be opened by using that closed loop part.
For making of that closed loop part we used to cutout feature and hem flanges for it.
And at the end we added the feature color to the box and the lid.
And then used flat pattern to get the flat view and then we drafted it.
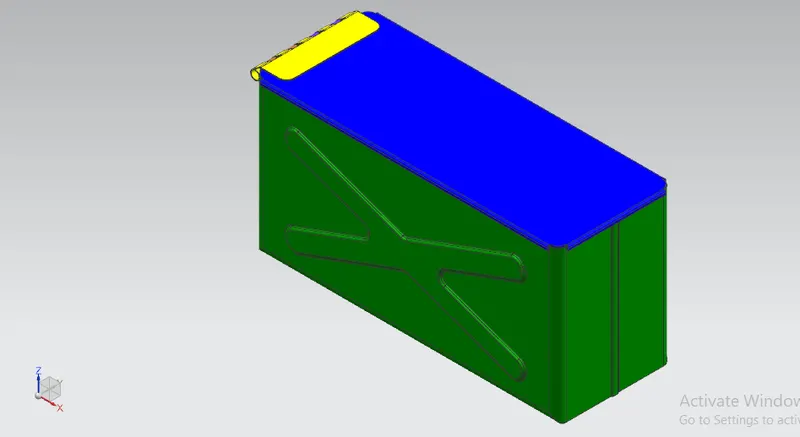
Isometric view
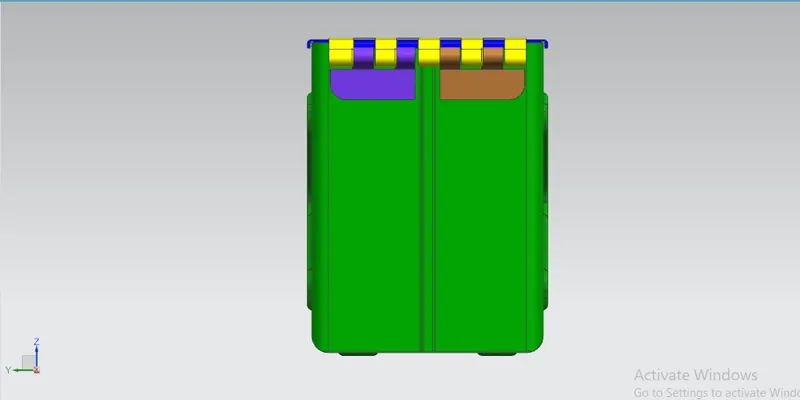
Left view
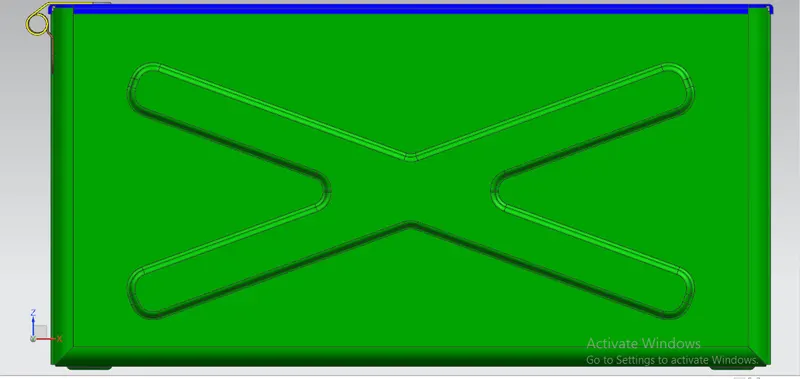
Front view
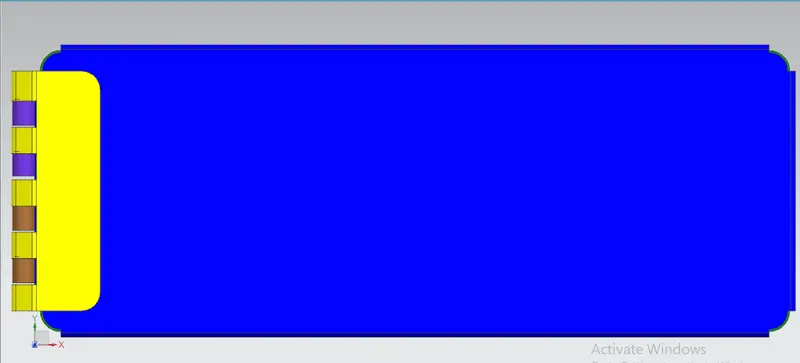
Top view
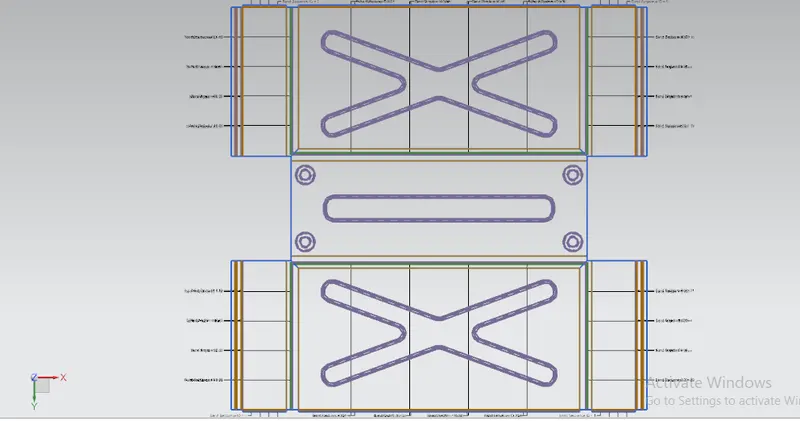
Flat pattern view
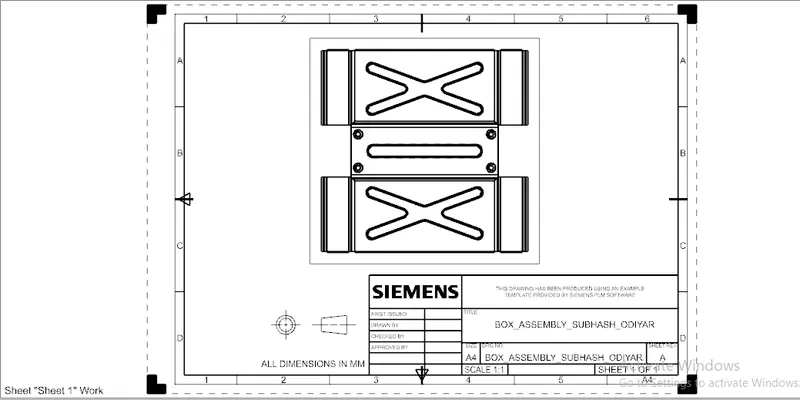
Drafting sheet
CONCLUSION :
We successfully design the box assembly using NX CAD.
And learned more about the hem flanges and it various types.