Radar Mast & Final Assembly of Yacht
Introduction
The report describes about Designing, Modeling Sunseeker Predator Yacht using SolidWorks
Objective
The main objective is to Designing, Modeling Sunseeker Predator Yacht with various tools and its abilities using SolidWorks.
The Modeling is done by various steps but this report consists of
- Individual Part Modeling
- Assembling of Individually modeled part
Definitions
- Propeller: A device with several flat metal parts (blades) which turn round very fast in order to make a ship or a plane move
- Radar: Radar is a detection system that uses radio waves to determine the range, angle, or velocity of objects
- HULL: The body of the ship
- Garage Door: A garage door is a large door on a garage that opens either manually or by an electric motor
- Seat: The part of a chair, etc. that you sit on
- Superstructure: A structure built on top of something
- Radar Mast: Radar is a detection system that uses radio waves to determine the range, angle, or velocity of objects
- Propeller
Feature: Boss Revlove, Lft, Circular Pattern
Create a new part using Solidworks. Select Right Plane in feature manager and draw a sketch straight line horizontally and vertically. Draw a sketch with spline connecting top line and bottom line, and then make the spline tangent to the top line so that a smooth curvature will be obtained. Then use Boss Revolve to 360 degree.
Draw a sketch in Top Plane with three point corner rectangle of 230mm length and 12mm of width. Incline the rectangle to 74 degree from the bottom of previous sketch.
Create a new reference plane with Top Plane and offset with 360mm. Sketch a corner rectangle on the plane and incline it to 14 degree.
Using feature Boss loft and select the two sketches which has been completed. Create a fillet on the edge of the lofted surface with 135mm.
Create a circle in circular pattern of the sketch for 114mm
Using feature Circular Pattern and make 6 counts and enable the option equal spacing.
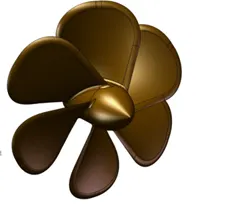
- Radar
Features: Boss Extrude, Extrude cut, Mirror
Create a new part using Solidworks. Create a new sketch on Right Plane draw four lines vertically and horizontally joined with 100mm width one side, 65mm width one side and length of 200mm. Extrude the sketch to 700mm and create fillet of 46mm on one side and 20mm on other side.
Offset one edge with 3mm and extrude it for 10mm. Then again offset the same for 10mm and make it construction line. Create a circle on the constructed line and extrude it. Use fillet to the circle of 3mm for revert.
Insert a mirror with the reference of right plane, click merge solids and knit surface. Create a circle at the center and make a extrude cut with 3mm
Add text to the Radar using the text feature and color it using the appearance feature.
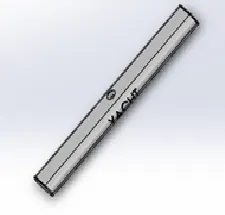
- Hull
Feature: Extrude,Extrude cut,Surface loft, surface trim, Projected curve, Surface fill, Sweep Surface, Mirror,Knit,Fillet
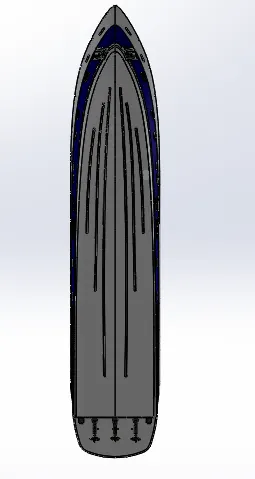
For sketching the hull we are using the Blue prints of the hull as a reference. The blue print is aligning in such direction and dimension which represents the Top, Bottom, Front and Back side of the Model.
The sketch is created using bottom plane for the bottom of the hull. With the use of spline the curved surface of the hull is obtained. The line and the spline should be with the relation of Equal curvature.
Sketch a line in Mid Plane. The line will follow the top layer of the hull. Using spline obtain the curved surface and make a tangency relationship with the line drawn.
Using previously drawn sketch click feature projected curve to get the top layer
Similarly sketching on mid plane we can obtain a projected curve for the bottom of the Hull
Sketch on Back plane with a line and using pierce feature pierce the line with spline. Similarly follow the same on sketching in front plane.
Using the feature loft surface select the bottom projected curve and top projected curve to obtain the surface of the HULL.
Using trim feature trim the excessive surface at the back of the hull.
Sketch on the mid plane along with the blue print to cover the back side of the hull.
Using the feature fill, select the side and the top layer to fill the surface of the hull. Once it is done Knit the surface and merge with gap control of 0.025mm.
Using the feature shell make the hull hollow with 120mm.
Now sketch on mid plane with the line and connect to the ends of the hull and using feature extrude it to upto next and merge the result to obtain the shape of Half hull. Using the feature fillet make the required surfaces smooth.
Create a new sketch on plane 1 and sketch the windows of the hull using straight slots. Using feature extrude, extrude all the sketch to through all.
Create a plane on the vertex of the window and draw a circle with 25mm and convert the window sketch entities.
Using the feature swept surface select the circle and the entities to obtain a round shaped image.
Similarly sketch for the stairs along with sketch image and extrude it. Fillet the required surfaces
On the bottom plane create a sketch using spline for obtaining the frictional surface of the hull and fillet the required surfaces. Sketch along with the sketch image for the little details over the surface of the hull.
Create a new plane near the stairs and sketch the handle for stairs using 3 point rectangle. Fillet the corner of the rectangle, create a new plane on the vertex of the rectangle and draw a circle of 25mm. Using the feature swept surface select the rectangle and the circle to obtain the handle for the stairs.
In similar way crate the handle for the corners of hull by sketching in plane one. The same steps will follow to obtain the handle.
Now to mirror the hull draw a rectangle in front plane of height more than the hull, the dimension it into the hull for 0.1mm. Using feature Extrude cut, cut the full solid through all.
Mirror the created hull part using the Mirror feature. Now check all the bodies which are mirrored are appeared.
Create a Decal for the top surfaces, change the color of hull using the appearance and save the part
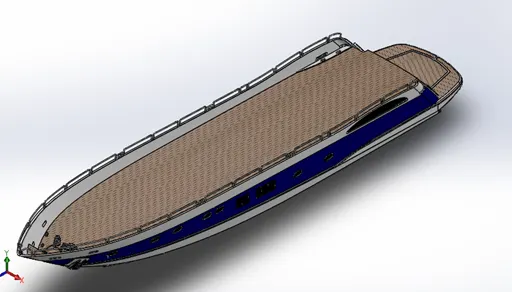
- Garage Door
Feature: Boss Extrude, Extrude cut, Text, Mirror, Fillet
Open the surface which is created from the hull. Sketch on the surface with lines and Extrude cut through all in direction. Once the solid body is obtain create a Shell form 100mm. Fillet the sharp corners. At the top sides of the garage door sketch a hole for connecting with the screw. Sketch a circle for 50mm and extrude cut for 100mm inside the surface. Now mirror the door using corner face as the reference. Ensure all feature used has been appeared along with the fillet. Now create wordings in the door using the Text Entities in sketch feature and extrude cut to offset from surface and select the plane which the text has to be appeared.
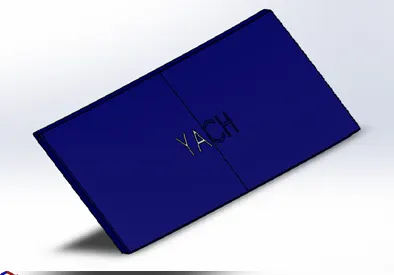
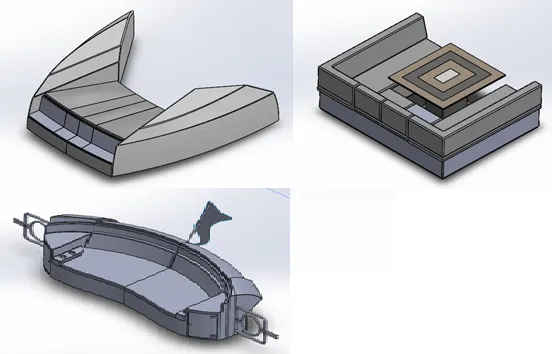
- Front Seat, Rear Seat, Middle Seat
Features: Boss Extrude, Trime surface, Surface fill, Knit, Mirror, Fillet
Sketch on the top vie along with the Sketch inserted. Sketch using spline and lines accordingly and using the feature of surface sweep get the swept surface of the sketch created Create a sketch on the floor of hull using lines and connect those lines to the swept surface and Extrude it. Using Trim feature trim the excessive surfaces. Using feature Surface fill, fill the top layer which is swept. Loft the gap area. Now knit all the surfaces which is created with gap control of 0.025mm. Create a chambered fillet on the one side of the surface by direction-Direction option. On the side face of the seat draw another sketch and extrude. Using the feature of fillet smoothen the sharp surfaces. Now mirror the bodies keeping the side of the body as the reference to mirror. Ensure all the features included have appeared properly. Knit, merge and make it as a solid body.
Using the same technic sketch for middle and rear seat.
- Super Structure
Feature: Extrude,Extrude cut,Surface loft, surface trim, Projected curve, Surface fill, Sweep Surface, Mirror,Knit,Fillet
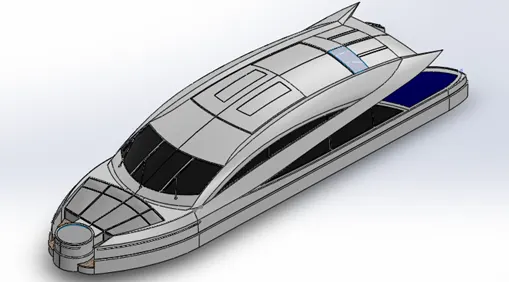
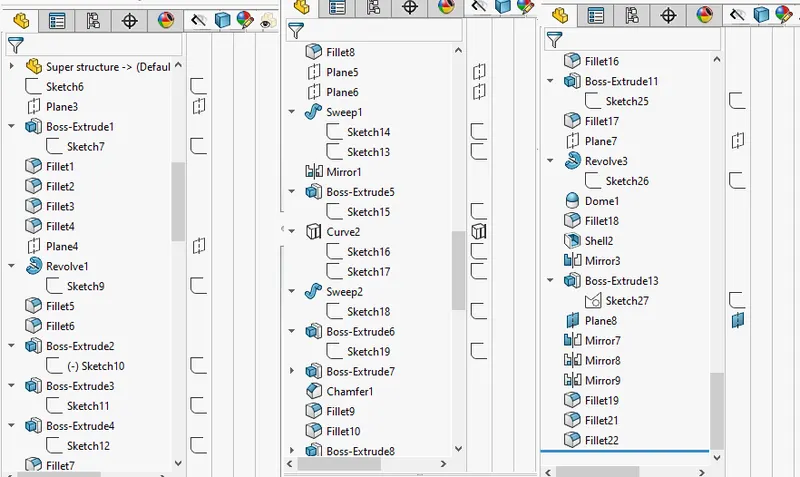
Insert the Blue print of the sketch and sketch on the top of the deck using lines and splines and extrude out to get a lofted surface from the deck. Convert the entities of the surface and sweep the surface using the swept surface feature and knit the surface with gap control enabled. Create two sketches in top plane and back plane and using feature projected curve uplift a curve for side in superstructure. Using spline and activate the edges to smoothen the surface, follow the sketch. Join the projected curve with the Hull and using feature of Surface loft, loft the surface and using the feature of surface fill, fill the surface to get the body. Trim and remove the excess section. In mid plane and convert the surface entire and trim the excess surface. Sketch the other places along with the blue print. Knit the surface. Convert entity of the surface which is created and using feature Ruled surface and reverse direction to get the window of super structure and trim the excess of surface using trim feature. Using feature extend surface, extend the extra surface. Loft the open surface. Knit the surface. Draw a line on the hull and extrude to 2250mm to the super structure. Loft the gap. Using mirror feature mirror the superstructure in reference to the plane on the mid. Ensure all feature, bodies are available. Create appearance using feature and color with desirable one. Add the Decals to the front steps.
- Radar Mast
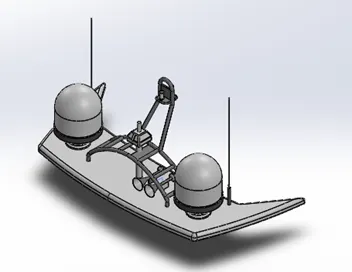
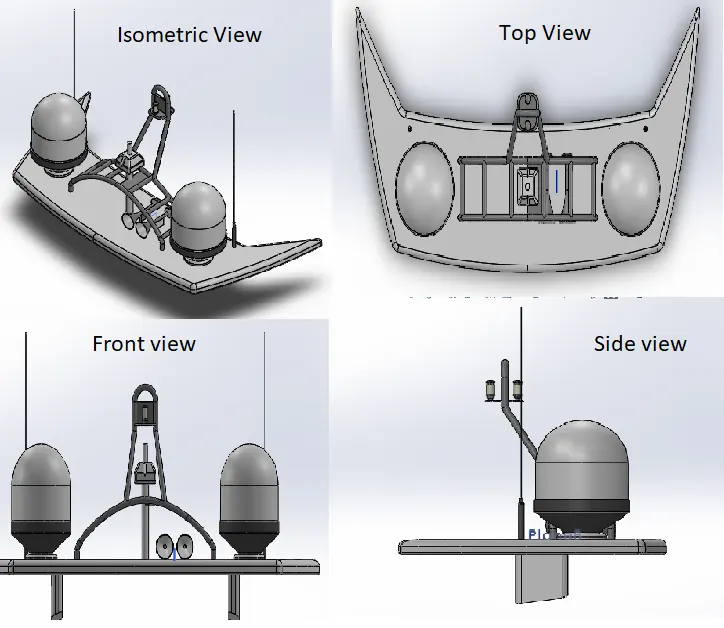
Align the blue print and create a sketch in mid plane and create a reference plane along with the sketch and second reference in mid plane. Create a sketch in the plane and draw the sketch in reference with blue print and extrude the surface. Fillet the sharp edges. Create a plane in reference with front plane with the distance of 20950mm. In the plane create draw a sketch with lines and revolve the sketch for 360 degree. Fillet the sharp edges. Draw a circle and extrude for the antenna. Mirror it using mirror feature and ensure all surface is available and change the appearance using the appearance feature.
- Assembly of Yacht
Feature: Mate
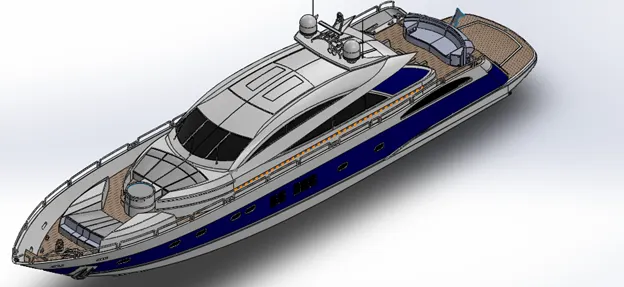
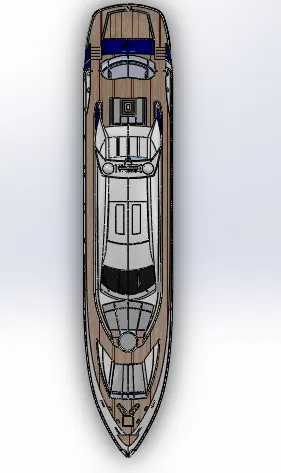
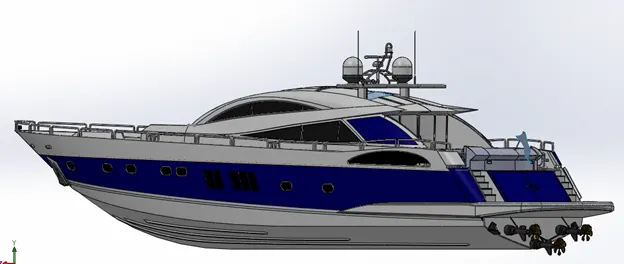
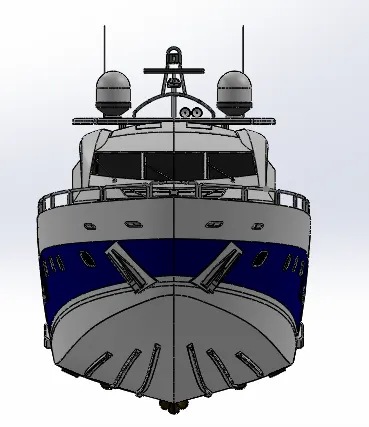
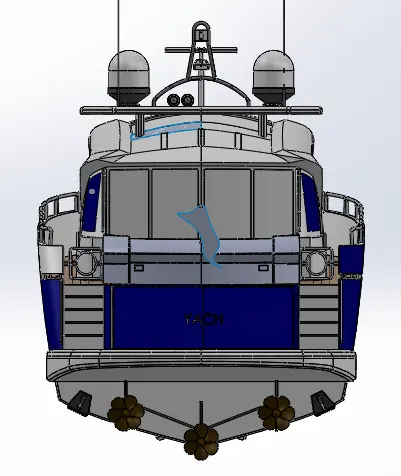
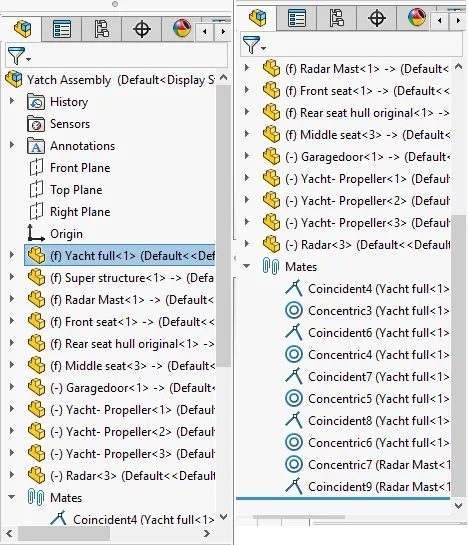
Open assembly in Solidworks and Insert component and select hull and click ok. Since all the parts are created in reference with Mid plane it is easy to assemble it. Insert the superstructure and click ok. Insert the front, rear and middle seat and click ok. Insert the radar mast and click ok. Insert the propeller and mate with the arm using concentric and coincident relation.
Conclusion
Design and Modelling of Yacht using Solidwork and Assembling to get Live view is obtained
Radar Mast Images
Radar Views
Yatch Assembly
Assembly
Side View
Top View
Isometric View
Front view
Back View