Radar Mast & Final Assembly of Yacht
3D Modelling, Assembly, and Photorealistic Rendering of Sunseeker Predator Yacht
- Aim - To create a 3D Model of a Sunseeker Predator Yacht
- Objectives -
- To 3D Model Parts of Sunseeker Predator Yacht
- To create an assembly of a Sunseeker Predator Yacht
- To create Photorealistic Rendering of Sunseeker Predator Yacht
-
Introduction -
- Solidworks - Solidworks also known as DSS Solidworks, is a solid modeling computer-aided design (CAD) and computer-aided engineering (CAE) computer published by Dassault Systèmes.
- Sunseeker Predator Yacht - Sunseeker International is a British luxury performance motor yacht brand. Originally named Poole Power Boats, the company was founded by brothers Robert and John Braithwaithe in 1969. The company changed its name to Sunseeker International in 1985 and has become a global icon. Its headquarters and main assembly facility is in Poole Harbour, at Poole in Dorset, England. A Predator is poised and dynamic. Offering performance, agility, and exceptional handling, with a low-profile silhouette that cuts through the water. Complete with joystick control and 34-knot capability, she will provide an exhilarating, one-of-a-kind driving experience in a well-appointed surroundings. Over two spacious decks, both modern and classic designs blend harmoniously to exceed even the highest of expectations. On the main deck, expansive windows allow plenty of natural light to illuminate both the dining and separate seating areas. Below deck, three double suites, plus twin bed guest cabin comfortably accommodate up to eight guests. The cockpit features a blend of contemporary style, design, and modern technologies, while the flybridge is just as sumptuous and innovative. Rarely overshadowed, never outrun. It leaves all others in its wake.
-
Design Methodology -
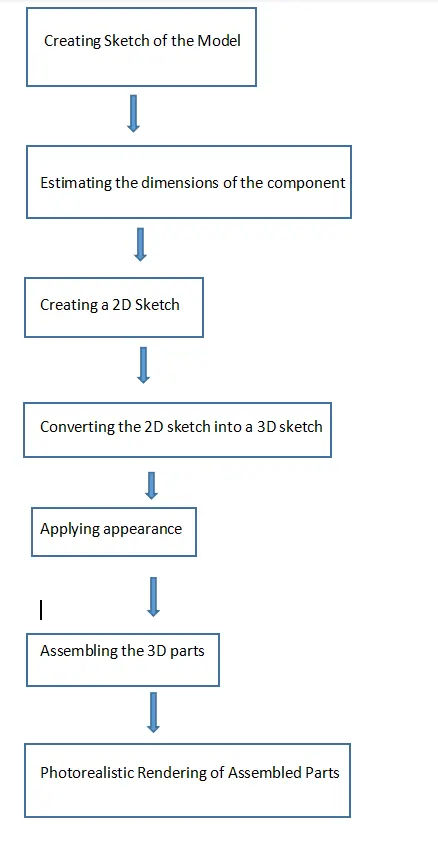
- Features Used in modeling of Predator Yacht -
- Creating 2D Sketch - 2D Sketch is created on XY, XZ, or YZ planes. With the help of a 2D sketch, we create 3D features. The status of the sketch can be determined by color codes. If the sketch is black then it is fully defined, if the sketch is blue then it is under-defined, if the sketch is red then it is called over-defined.
- Extruded Boss/Bass - Using this feature we can create a solid which has the same boundary as that of the 2D sketch that we are using for extrusion.
- Knit Surface - Using this feature two or more than two surfaces can be joined and converted into a single entity.
- Trim Surface - Using this feature we can remove unnecessary surfaces.
- Extend Surface - Using this feature we can extend the surface using its edge.
- Fill Surface - Using this feature we can create the surface in the close boundary.
- Surface Extrude - Using this feature any 2D sketch can be extruded to create a surface.
- Revolved Boss/Bass - This feature is used to create a solid 3d model around an axis. With this feature, we can create cylindrical shapes.
- Swept Boss/Bass - Using this feature we can create complex hollow pipes, curved rods, tubes, twisted parts. Inputs for this feature are a path and sketch perpendicular to that path.
- Extruded Cut - Using this feature we remove solid which has the same boundaries as of that of the 2D sketch, this feature is used to create hollow surfaces.
- Lofted Boss/Bass - This feature is used to add materials between two or more profiles with ease. Inputs for this feature are cross-section and guide curve.
- Fillet - This feature is used to create smooth edges.
- Chamfer - This feature is used to create cuts (45-degree angle with the normal surface), or make edges or corners (vertex) of the 3D model straight.
- Circular Pattern - Using this feature we can create patterns of a feature, body, or face in a circular manner.
- Mirror - This feature is used to copy features across planes.
- Curve-driven Pattern -This feature is used to create patterns along a planar or 3D curve.
- Draft - We use this feature to provide taper on specified angles, using a neutral plane or parting line.
- Convert Entities - This feature is used to create a replica of a sketch entity or its dimensions in the same plane or another coordinate.
- Shell - This feature is used to create the spherical shape or Dome on 3D parts or shapes.
- Split - This feature is used to cut the part across some sketch boundary and to remove that part from the main model.
- Reference Geometry - This feature is used to create plans, axes, coordinate systems, and points.
- Curves - This feature is used to create one 3D curve from two 2D curves drawn on different plans.
- Combine - This feature is used to join two or more solid bodies into a single entity.
-
Components - Sunseeker Predator Yacht consist of -
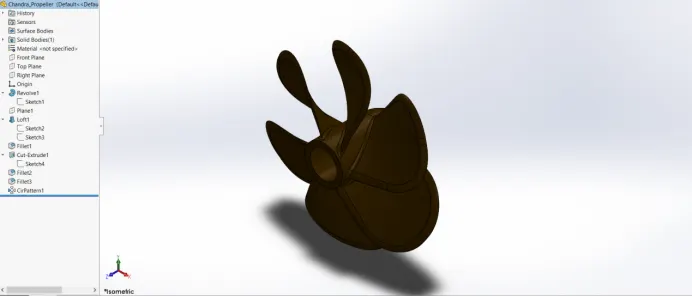
- Propeller - Tools used to create Propeller are Revolve, Loft, Fillet, Cut Extrude, Circular Pattern.
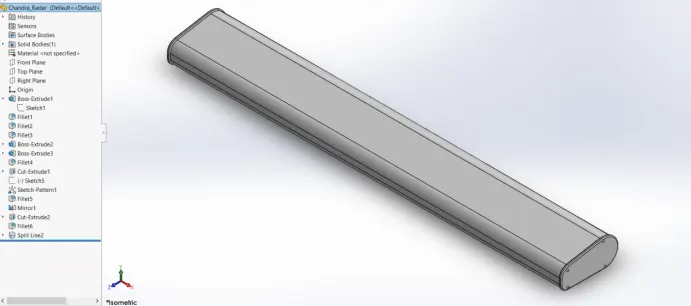
- Radar- Tools used are Extruded Boss/Bass, Fillet, Extrude Cut, Sketch Pattern, Mirror, Split Line.
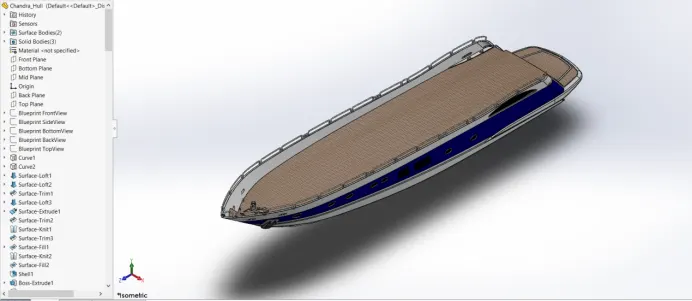
- Hull - Tools used are Projected Curve, Surface Loft, Surface Trim, Surface Extend, Surface Trim, Surface Fill, Surface Knit, Shell, Extruded Boss, Chamfer, Fillet, Sweep, Dome, Helix/Spiral, Mirror.
- Garage Door - Tools used are Extrude Cut, Shell, Fillet, Mirror.
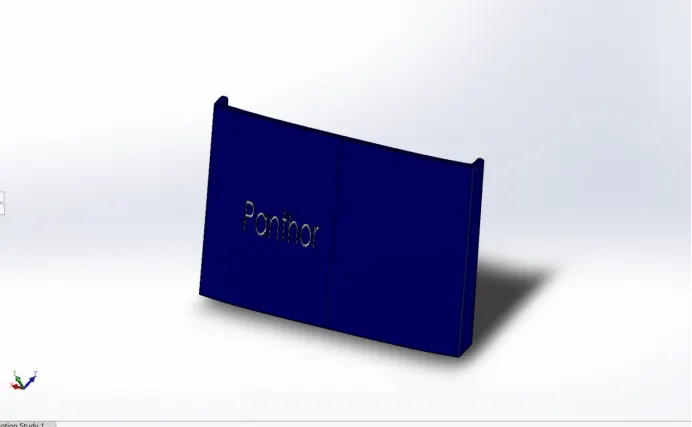
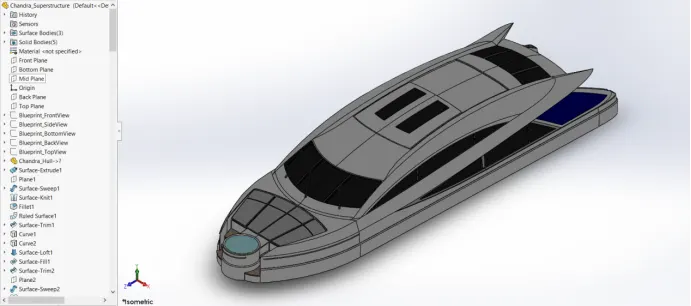
- Superstructure - Tools used are Surface Extrude, Surface Sweep, Surface Knit, Fillet, Projected Curve, Surface Loft, Surface Fill, Surface Trim, Surface Knit, Ruled Surface.
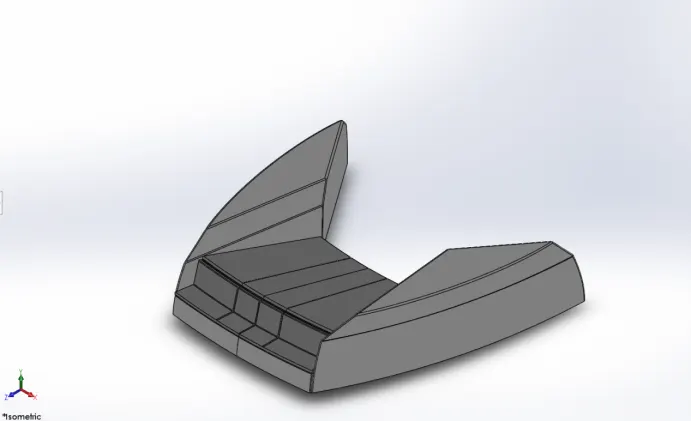
- Front Seat - Tools used are Surface Sweep, Surface Extrude, Surface Trim, Surface Loft, Surface Fill, Surface Knit, Chamfer, Fillet, Dome, Mirror, Cut Extrude.
- Middle Seat - Tools used are Extrude, Chamfer, Fillet, Mirror, Cut Extrude.
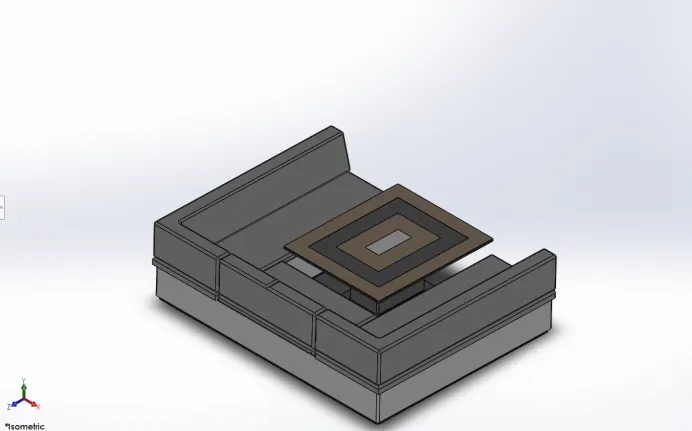
- Radarmast - Tools used are Extrude, Fillet, Revolve, Sweep, Shell, Mirror.
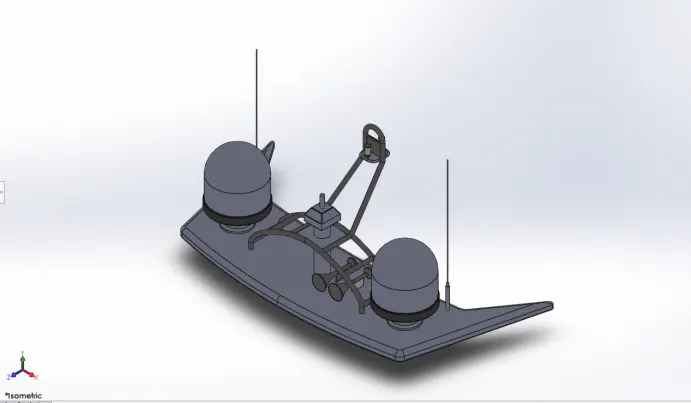
- Rear Seat - Tools used are Surface Sweep, Surface Offset, Surface Knit, Surface Trim, Surface Loft.
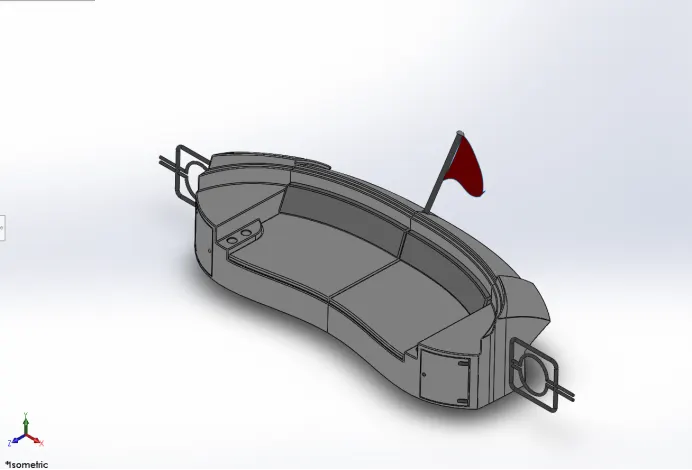
-
Assembly of Sunseeker Predator Yacht
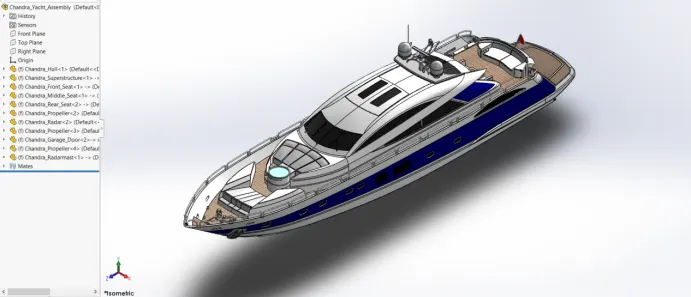
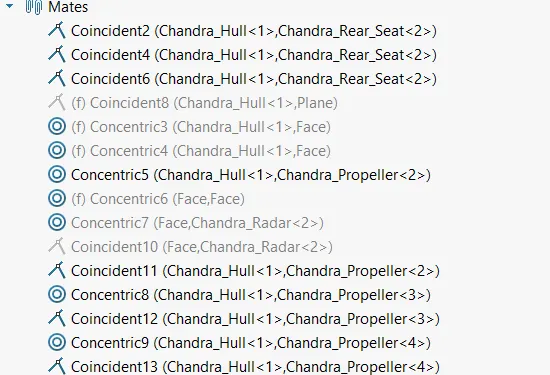
- Mates Applied -
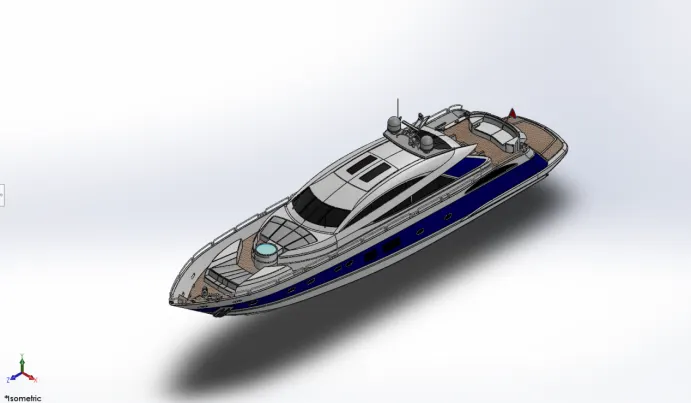
- Isometric View -
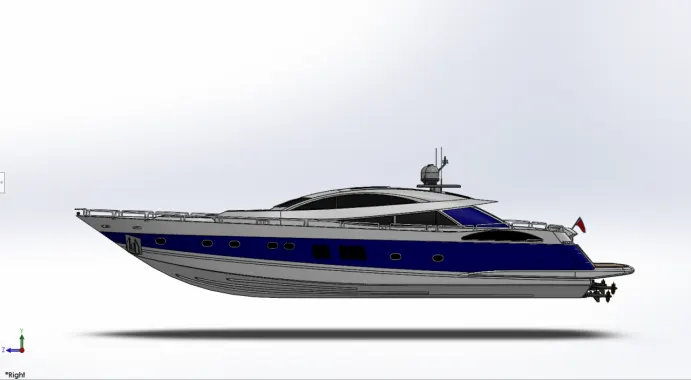
- Right View -
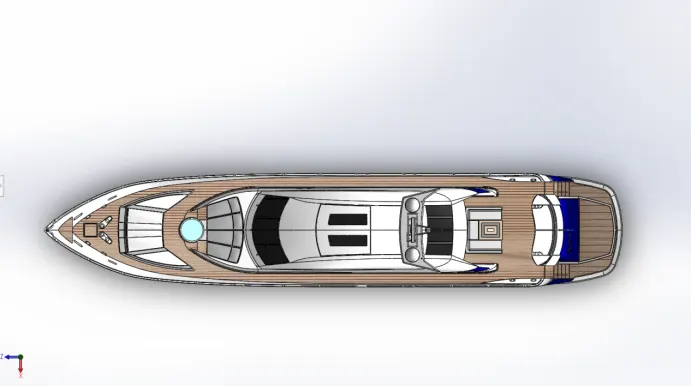
- Top View -
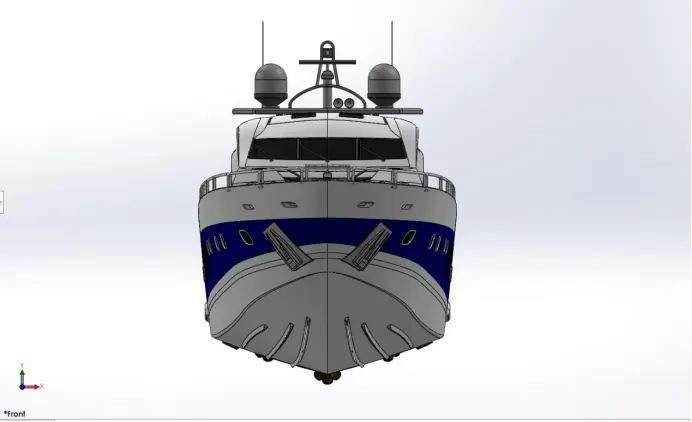
- Front View -
- Back View -
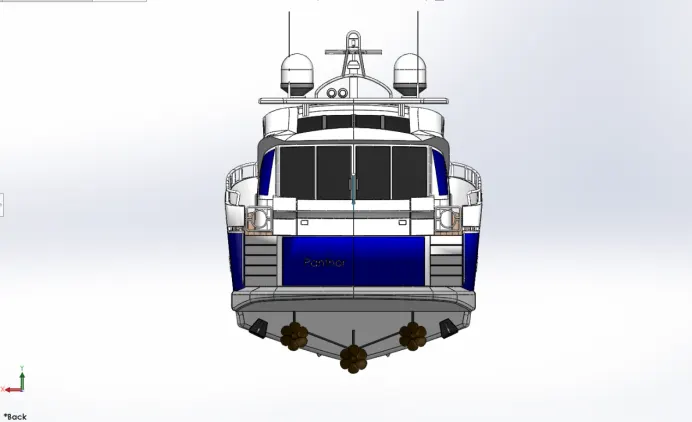
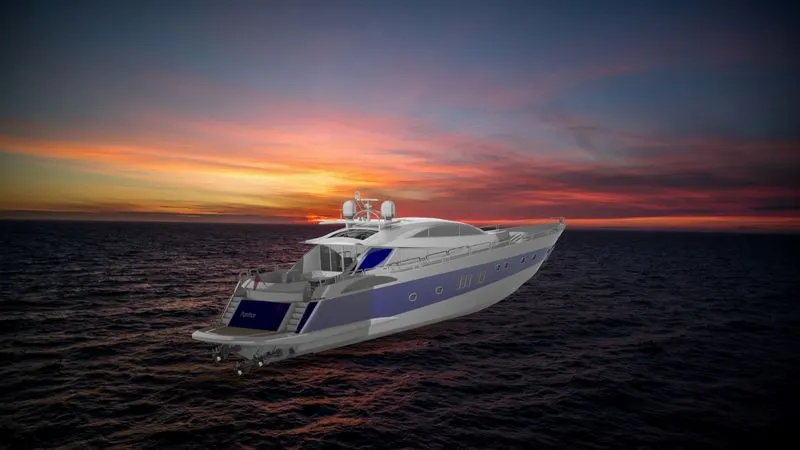
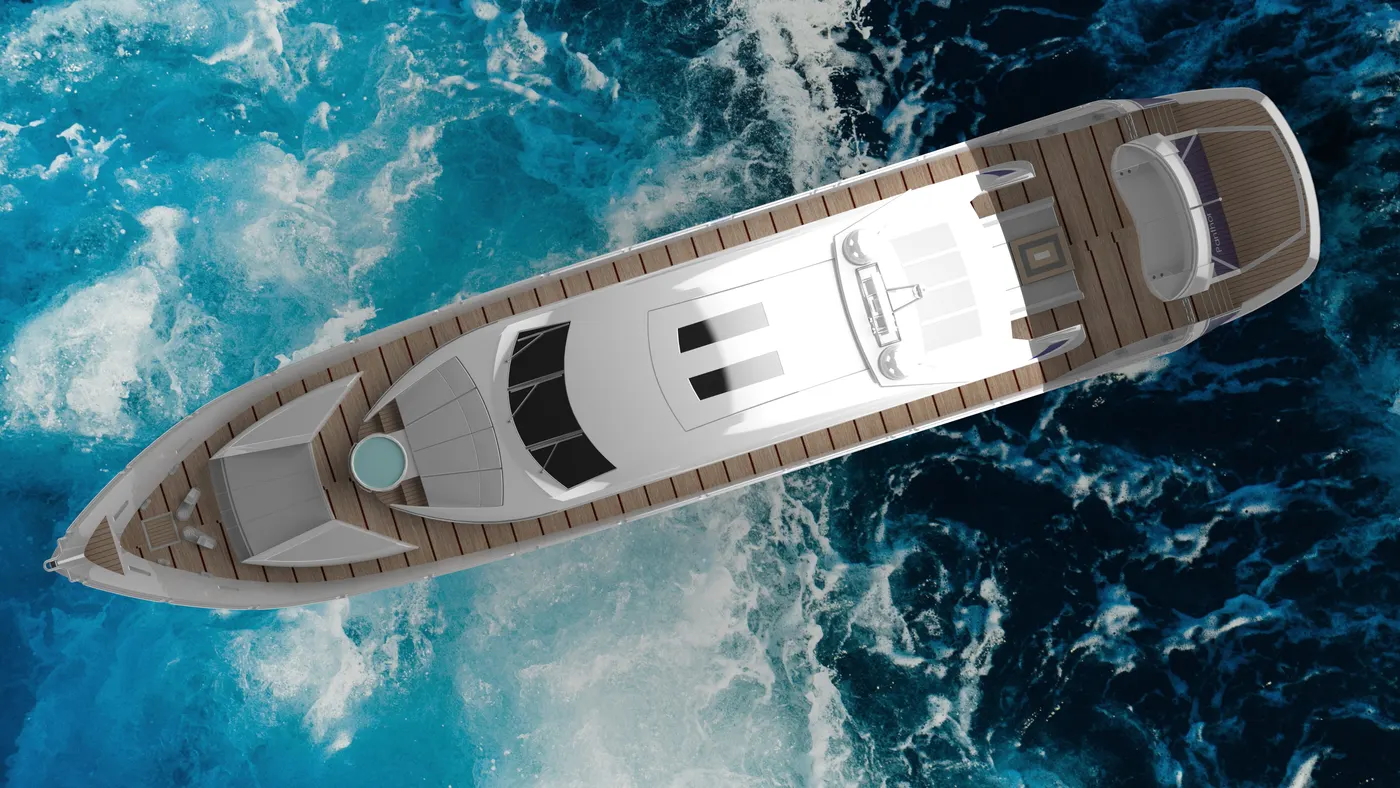
- Rendered Images of Predator Yacht
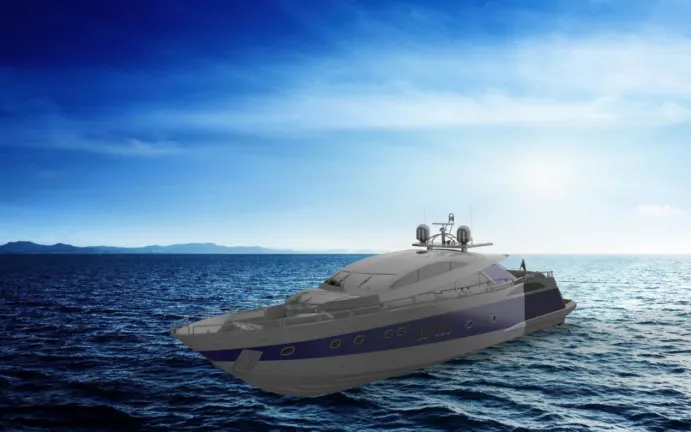
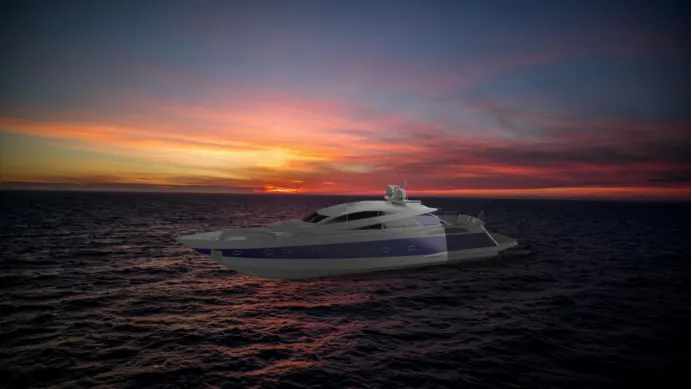
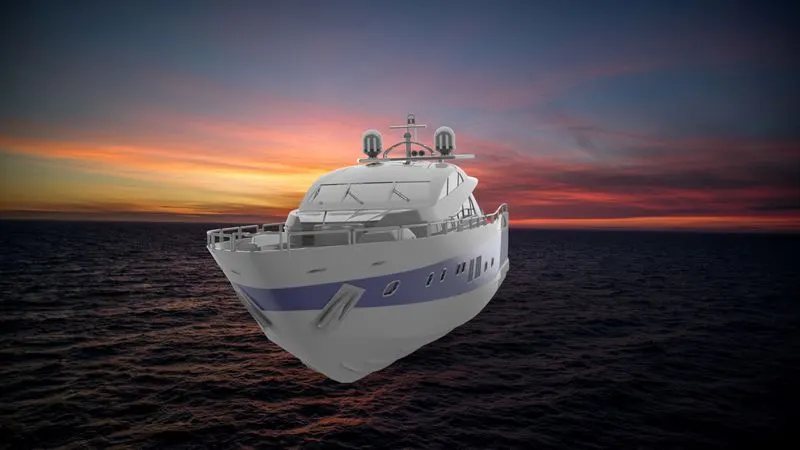
- Conclusion -
I have successfully learned solid modeling, solid surfacing features, and rendering technique using PhotoView 360 and Solidworks visualize.