Project 3
PROJECT-3
1. Design the roadway layout for the mainline, and all the intersecting streets.
Aim: To design the roadway layout for the mainline and all the intersecting streets.
Procedure:
Create a new file with seed 2d imperial training. Set the coordinate system in texas. Attach the topo file. Turn on the background aerial view. Turn off the major and minor contours. Attach row existing and prop files. Turn off the major things. Draw a line with the help of the line tool. Copy or mirror it. Draw the mainline at one end with the best fit tool. Then draw the mainline as the same procedure at mid. Then add curves with a simple arc. Before creating lines add feature definitions to them as geo-temp. Then the alignment will be created.
To create the intersection procedure is the same as the driveways. Draw a line and mirror it. Draw centreline using best fit and extend them till survey limits. Before drawing any line, add feature definitions to them. Use offsets and best fir to draw lines for driveways.
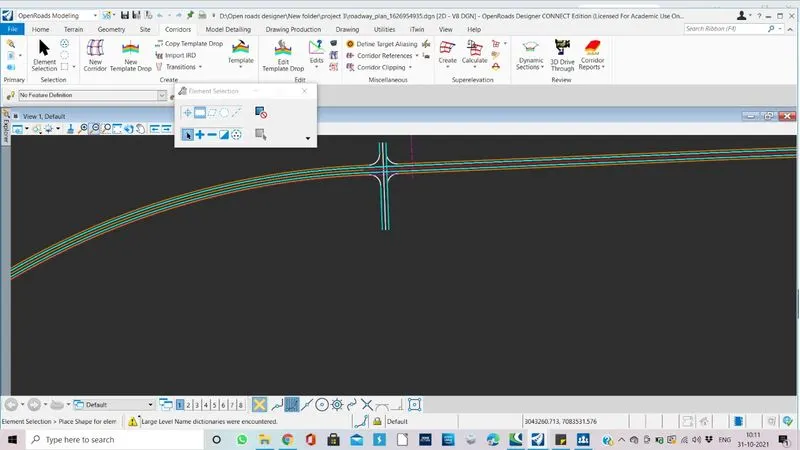
Result: Designed the roadway layout for the mainline, and all the intersecting streets.
2. Design templates for mainline and intersecting streets.
Aim: To Design templates for mainline and intersecting streets.
Procedure:
Create a new folder in a template. Copy the 2-lane concrete pavement with asphalt shoulder. Paste it under the New folder. Make it active by clicking twice. Remove the end conditions using the delete components option. Now click on EOP change the lane width. EOP_L for shoulder width and cross slope change. Also the thickness at the centerline point. Do the same for intersecting streets.
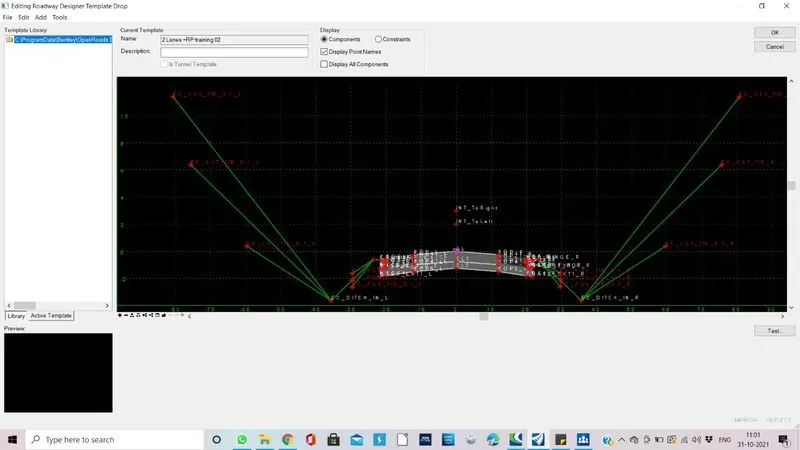
Result: Designed the templates for mainline and intersecting streets.
3. Create a corridor for mainline alignment.
Aim: To Create a corridor for mainline alignment.
Procedure:
Create a New file and attach the references with the coincident world. Go to ORD>Corridors>New corridor. Select the alignment. Give Start and endpoints. The corridor will be created for selected chainage. We can also add transitions using the Transitions option. After creating the edit option also will be there. The template will be created using create new template option. there will be all choices available like asphalt or asphalt shoulder and 2 lanes or 4 lanes etc. End conditions of different slopes can be added. Finally, test the end conditions. Add them to TCS.
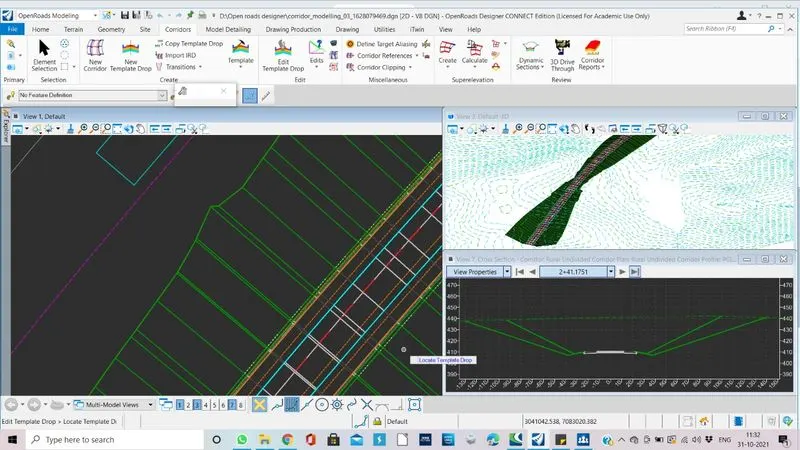
Result: Created a corridor for mainline alignment.
4. Design Superelevation with e max = 6%.
Aim: To Design Superelevation with e max = 6%.
Procedure:
Open the mainline alignment file. Use create superelevation tools to create superelevation. Give the superelevation of 6% while creating.
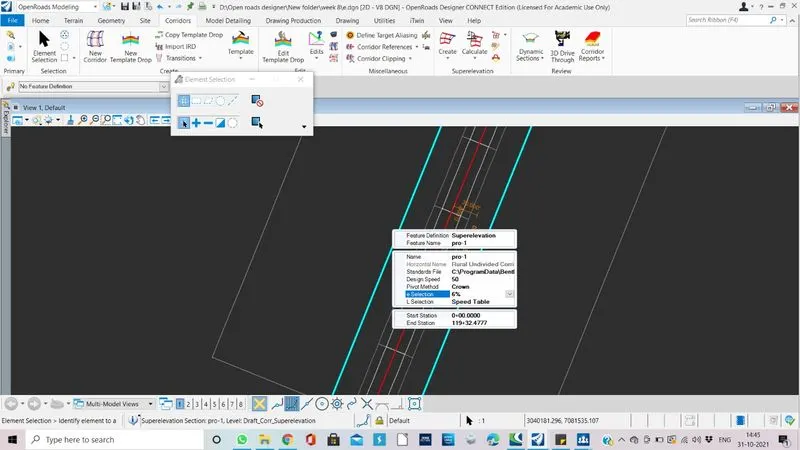
Result: Designed Superelevation with e max = 6%.
5. Apply superelevation to the corridor.
Aim: To Apply superelevation to the corridor.
Procedure:
Attach the superelevation file in the corridor file. Hover on the superelevation section and there apply superelevation to corridor option will be there. Apply it.
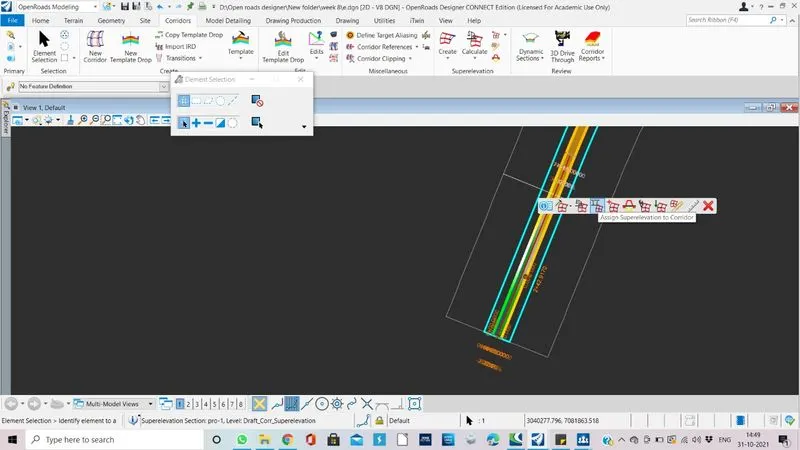
Result: Applied the superelevation to the corridor.
6. Review the dynamic cross-sections throughout the mainline. Pay detailed attention to all the intersections.
Aim: To Review the dynamic cross-sections throughout the mainline
Procedure:
Go to ORD> Corrdior> Dynamic sections>
In the dynamic section, choose the open cross-section view. Go to the bottom view number option and click on any one of them. Use place horizontal temporary dimension. Now click on CL ( as a start point) and EOP as (endpoint) The dimension at which height we want can adjust easily. Do the same for any dimension. Also, for the thickness of the pavement layers. Click on section via data point option we can see the dimensions change along the alignment.
Result: Reviewed the dynamic cross-sections throughout the mainline
7. Make necessary changes to the intersecting alignment proposed profiles designed in the mini-project.
Aim: To make necessary changes to the intersecting alignment proposed profiles designed in the mini-project.
Procedure:
Changes are done in the mini-project itself. No more changes are required as per my knowledge.
Result: Changes are done in the mini-project itself.
8. Model the retaining wall at the alignment created in the mini-project. Point control necessary points.
Aim: Model the retaining wall at the alignment created in the mini-project.
Procedure:
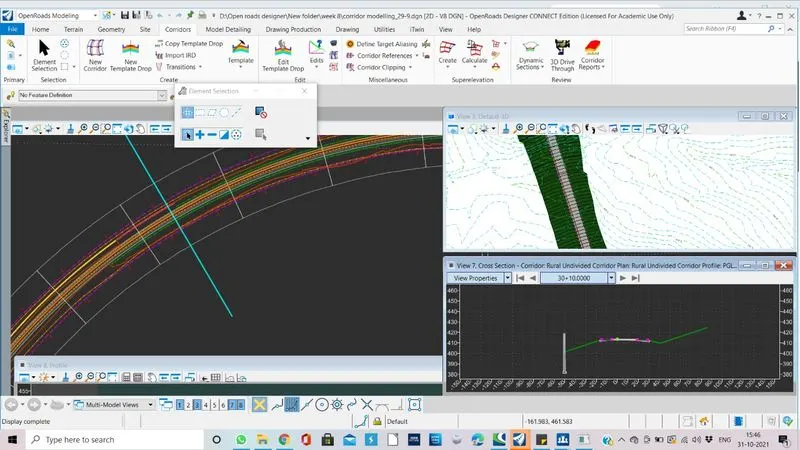
Result: Modeled the retaining wall at the alignment created in the mini-project. Point control necessary points.
9. By model detailing tools, model the parking lot. Apply end conditions of Curb & Gutter, Berm and End Conditions.
Aim: To model the parking lot
Procedure:
Draw a rectangle using draw tools. Apply civil rules and feature definition. Open profile model. Create the profile usig profile creation tools.
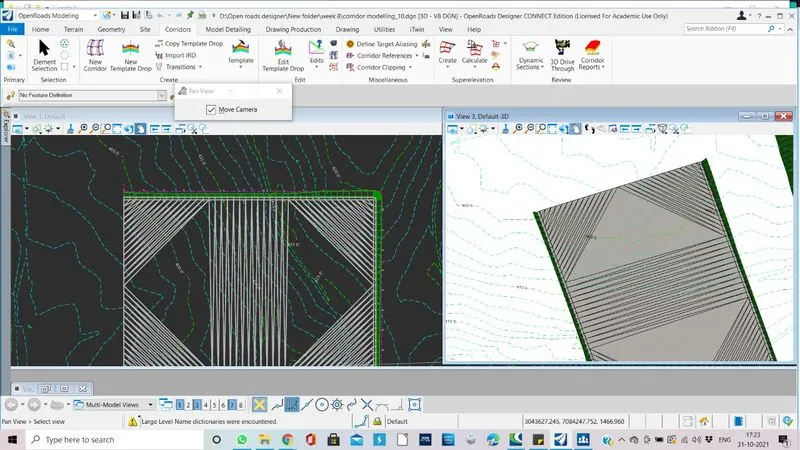
Result: modeled the parking lot
10. Place civil cells at all the intersection streets. (Clip the mainline corridor at intersecting streets with the help of template design)
Aim: To Place civil cells at all the intersection streets.
Procedure:
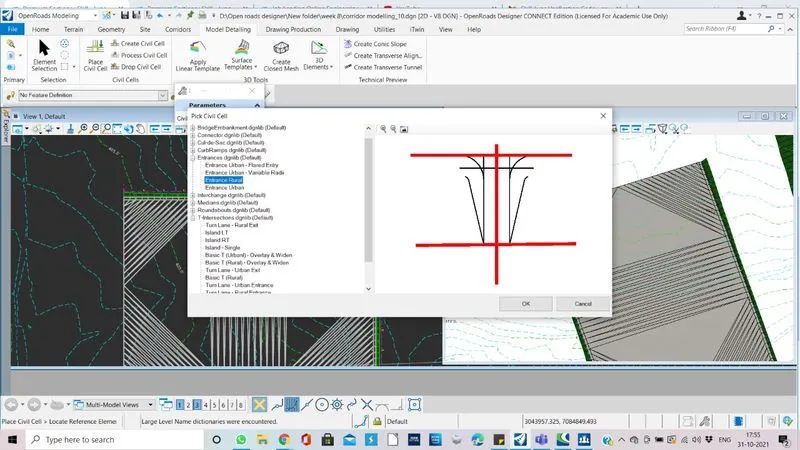
Result: Placed civil cells at all the intersection streets.
11. Create earth work quantities, component quantities and save them in PDF reports.
Aim: To create earth work quantities, component quantities and save them in PDF reports.
Procedure:
For Earth quantities go to cross section view. Click on arrow at View properties. Generate cut fill volume values.
Go to corridor report for component reports.
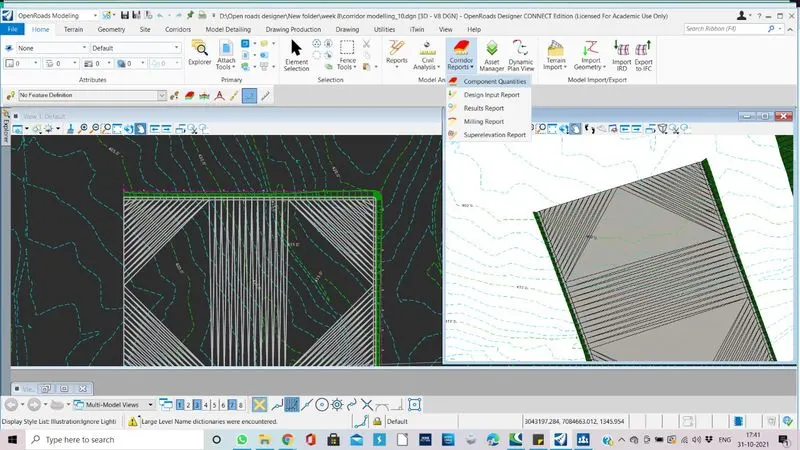
Result: Created earth work quantities, component quantities and save them in PDF reports.
12.Generate geometry reports, corridor reports and save them in PDF formats.
Aim: Generate geometry reports, corridor reports and save them in PDF formats.
Procedure:
Go to reports. Generate reports and save them as pdf.
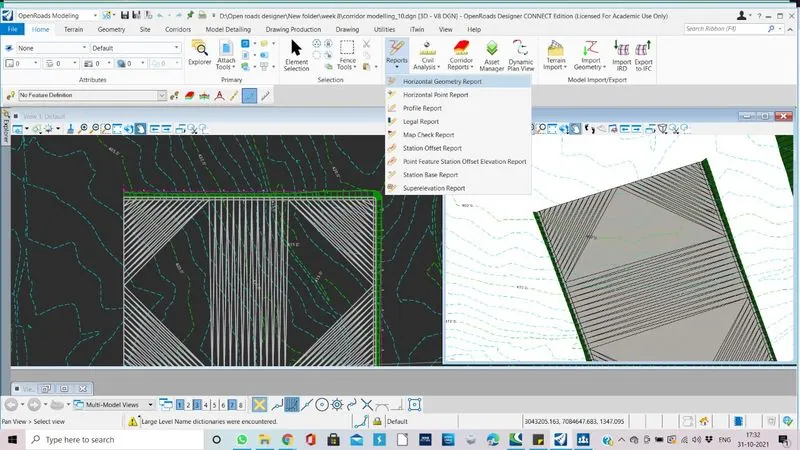
Result: Generate geometry reports, corridor reports and save them in PDF formats.