Project-2-Meshing of Door Inner Panel Challenge
1. AIM: Meshing of Door Inner Panel as per the given quality criteria using Hypermesh.
2. OBJECTIVES OF THE PROJECT:
Mesh the Model with below-mentioned quality criteria and assign the thickness.
Target Element Length = 4 Units
| S.N | Quality Criteria | Value |
| 1 | Aspect Ratio | 5 |
| 2 | Skewness | 45 |
| 3 | Warping | 15 |
| 4 | Taper | 0.5 |
| 5 | Min. Length | 2 Units |
| 6 | Max. Length | 6 Units |
| 7 | Min angle Quad | 45 |
| 8 | Max angle Quad | 135 |
| 9 | Min angle Tria | 20 |
| 10 | Max angle Tria | 120 |
| 10 | Tria % | 10 |
3. BODY OF THE CONTENT:
- Visualizing the component:
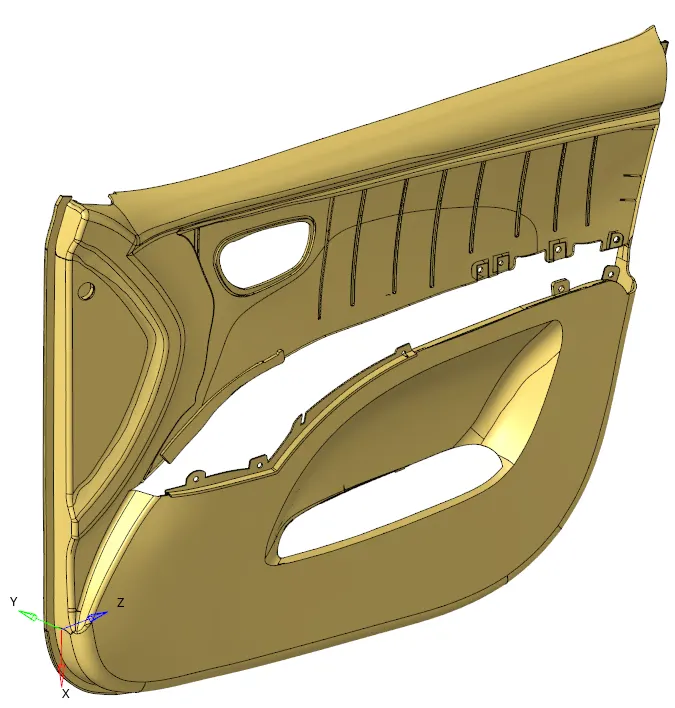
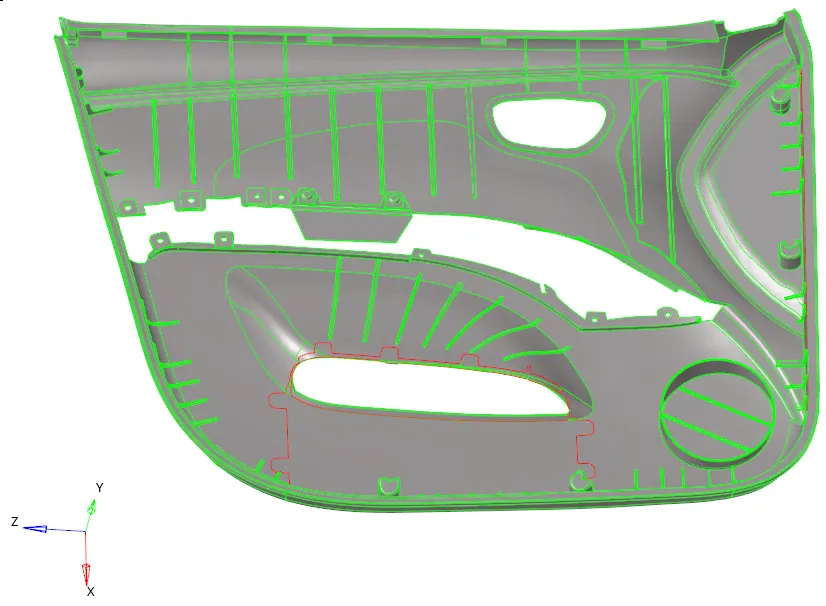
As a first step, We import the model & then visualize it. So, as can be seen in the image (in topo view) there are some free edges at the boundaries & at center. But we are not correcting them because as the complexity of the model is high, it will not become a hurdle while creating a mid-surface via manual method.
- MID-SURFACE GENERATION & TOPO CLEANUP:
After this we need to generate a mid-surface, so for that we have to choose a suitable method to generate mid-surface. So, as per the measurement the base has 2.8 unit, at boundary 2 unit and where ribs are 2, 5, 10, 27 & some dog-houses are there. So, in conclusion it looks like a plastic component. It is a very complex model where the auto-mid surface generation will not work.
So, In manual method first we create a mid-surface of 'base surface' then we create a its ribs & dog-houses. And using some commands like, extend, trim we will attach it to the base surface. We can see the generated mid-surface in the image below. Also some cons are suppressed to avoid element failures.
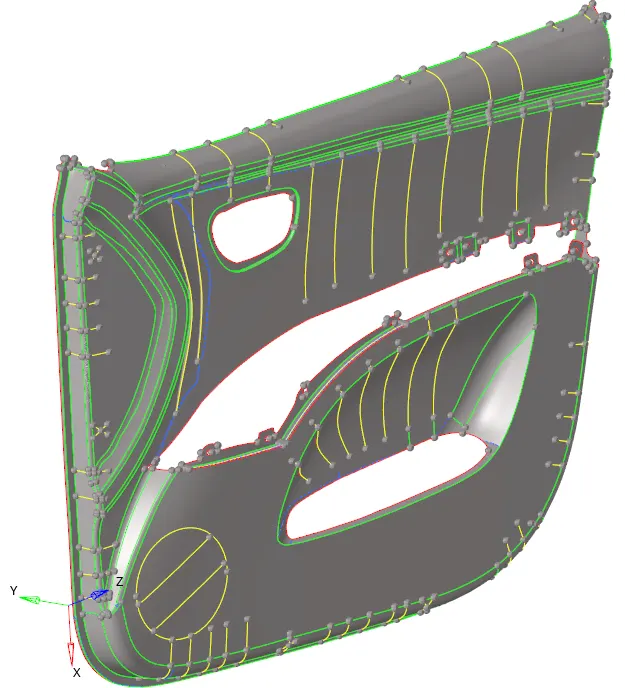
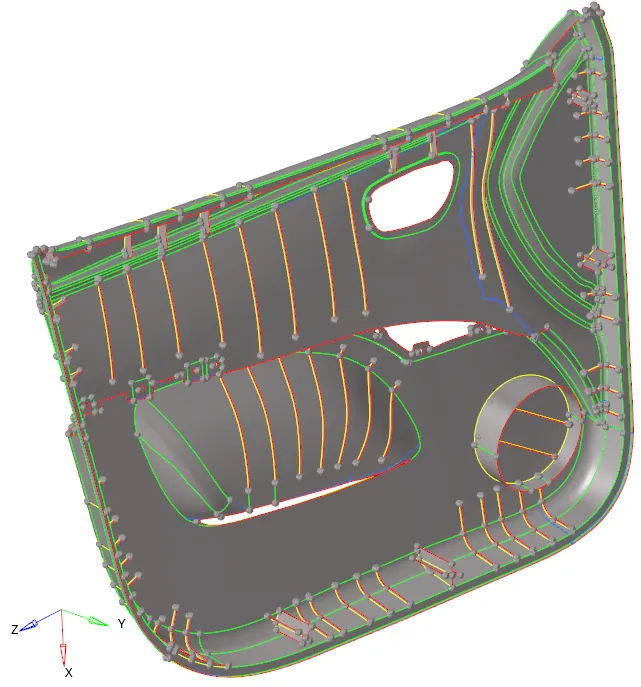
By making a cross, I captured the dog-houses in the model.
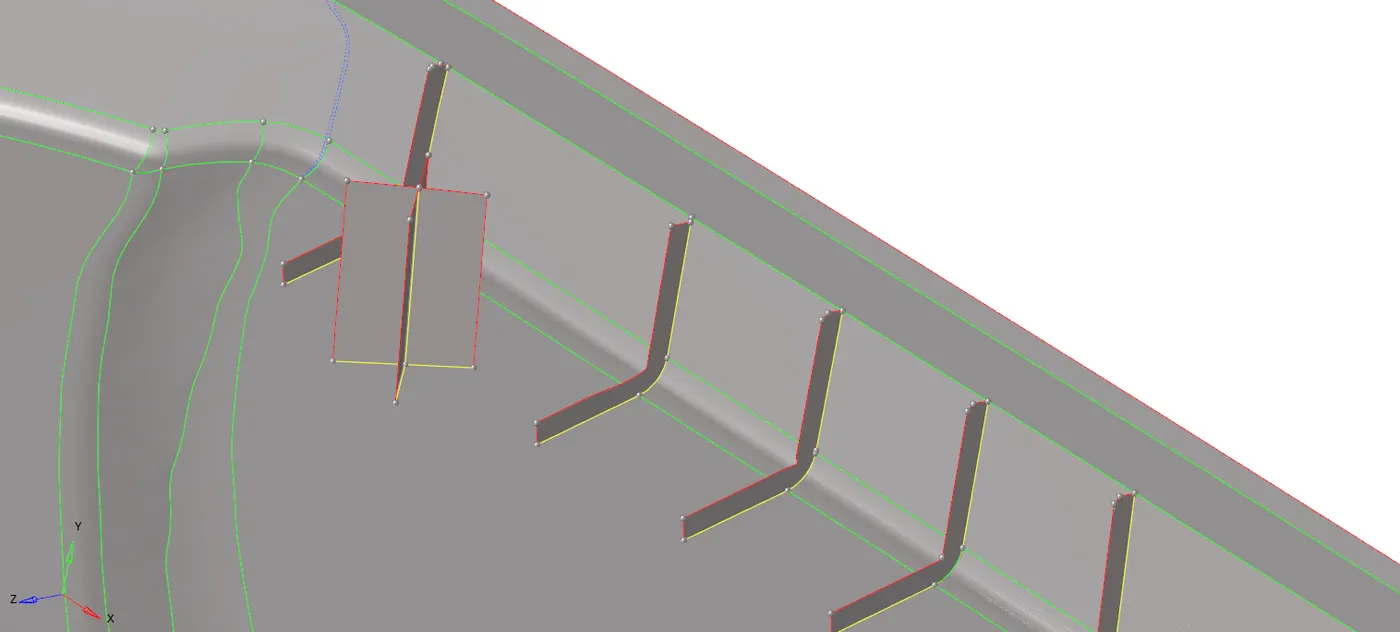
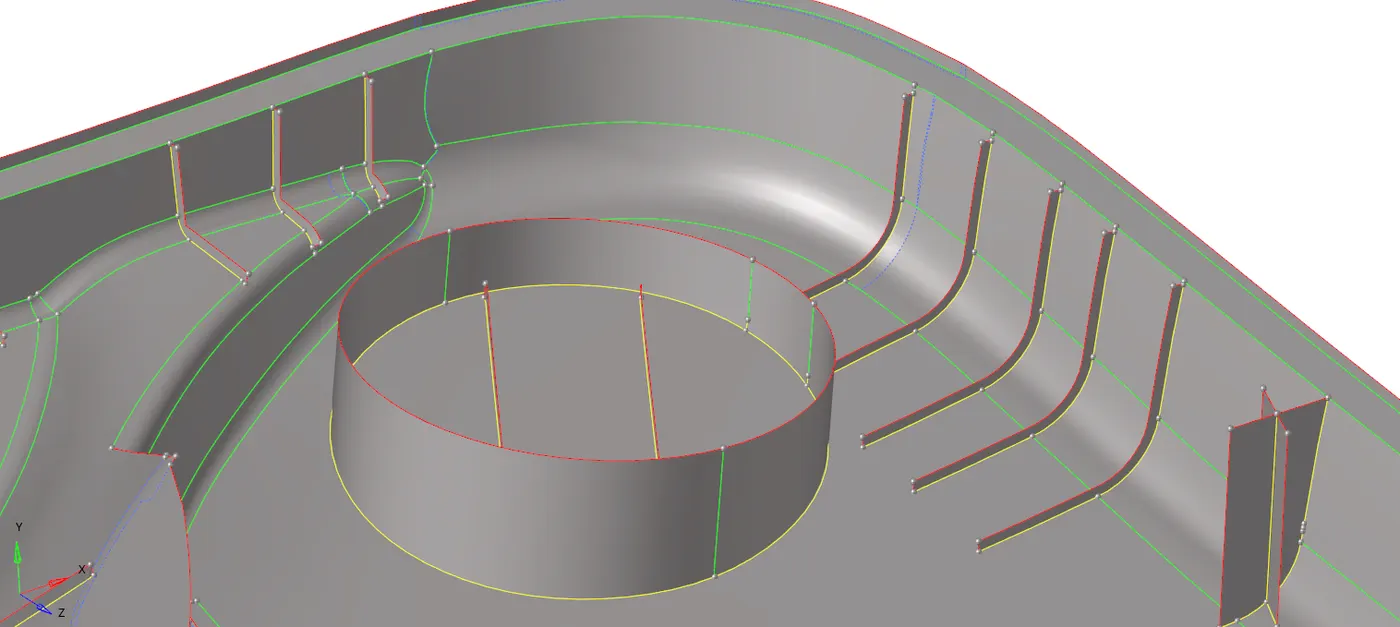
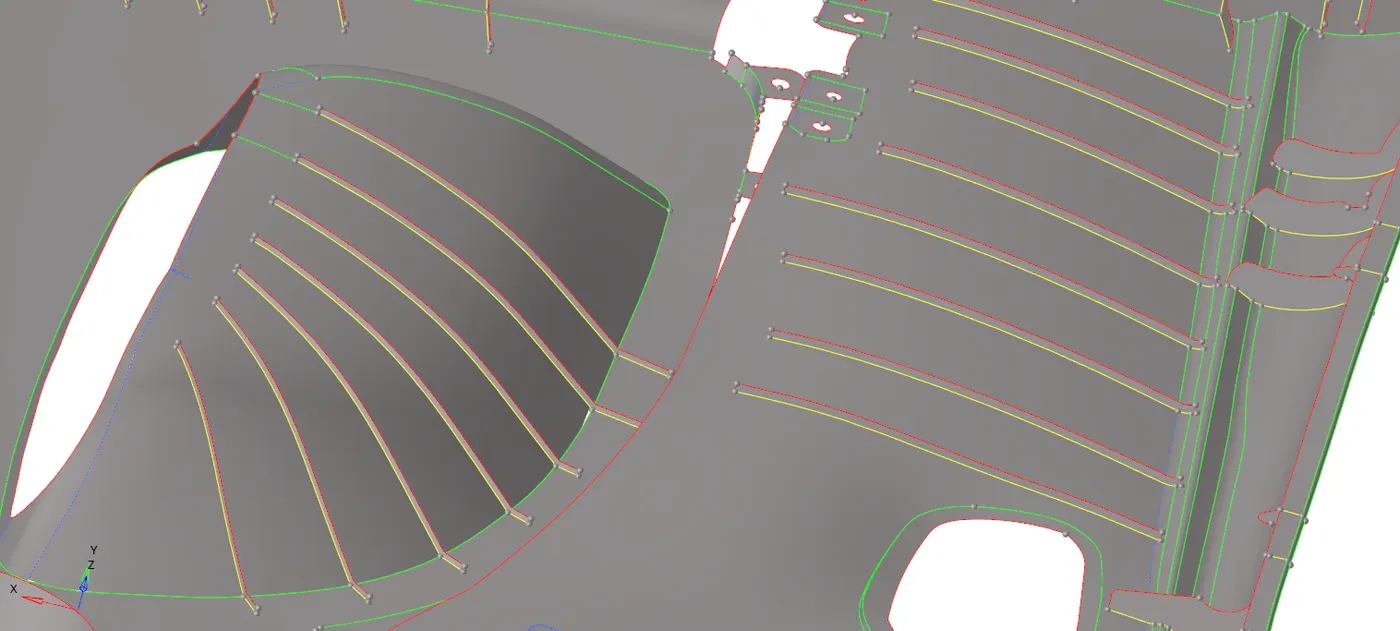
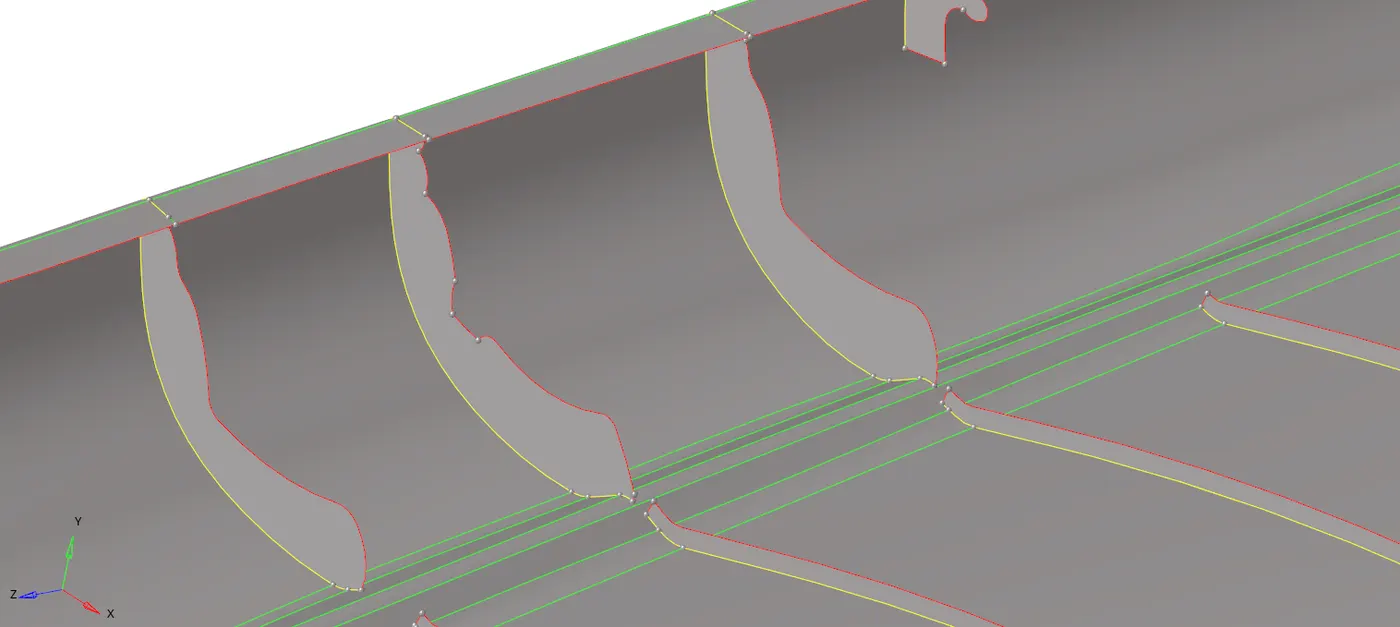
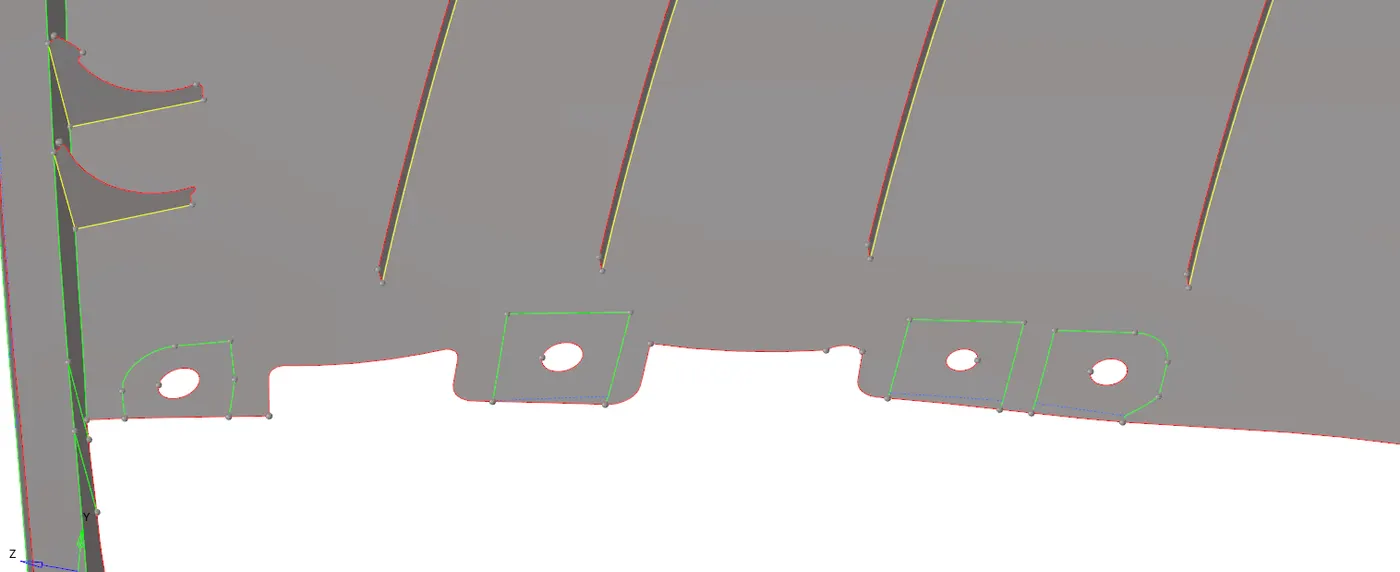
Some features may be difficult, So to capture that in the mid-surface we have to just create its shape on the base surface (see the below image).
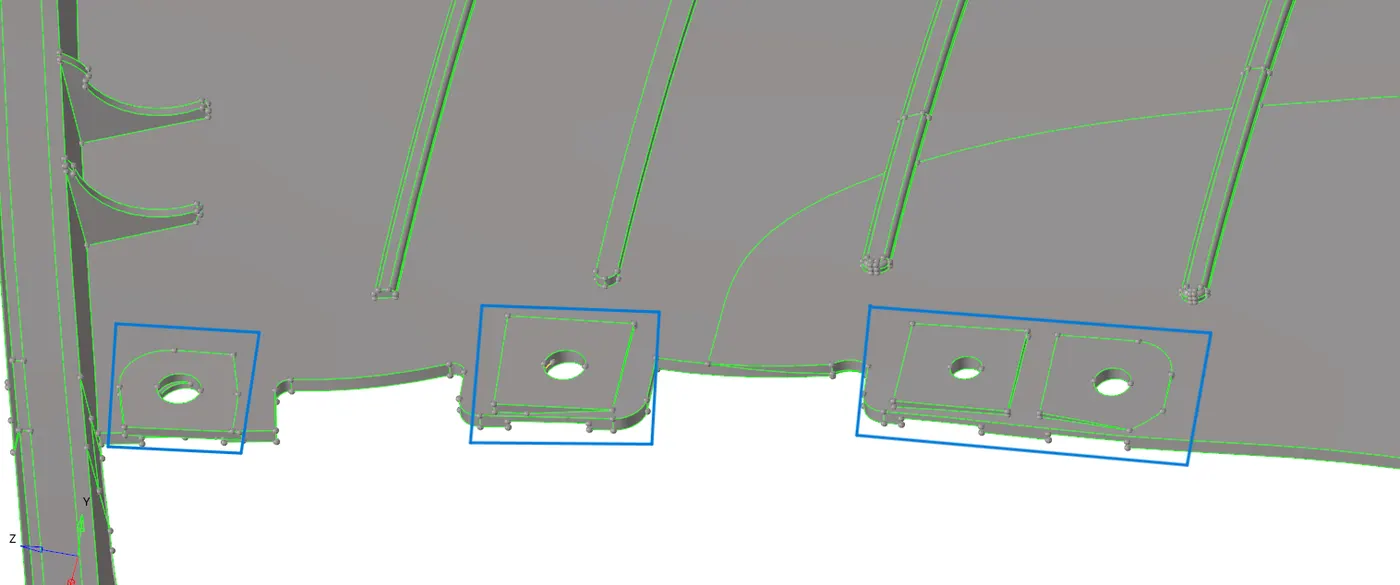 `=>`
`=>` 
- MESH GENERATION:
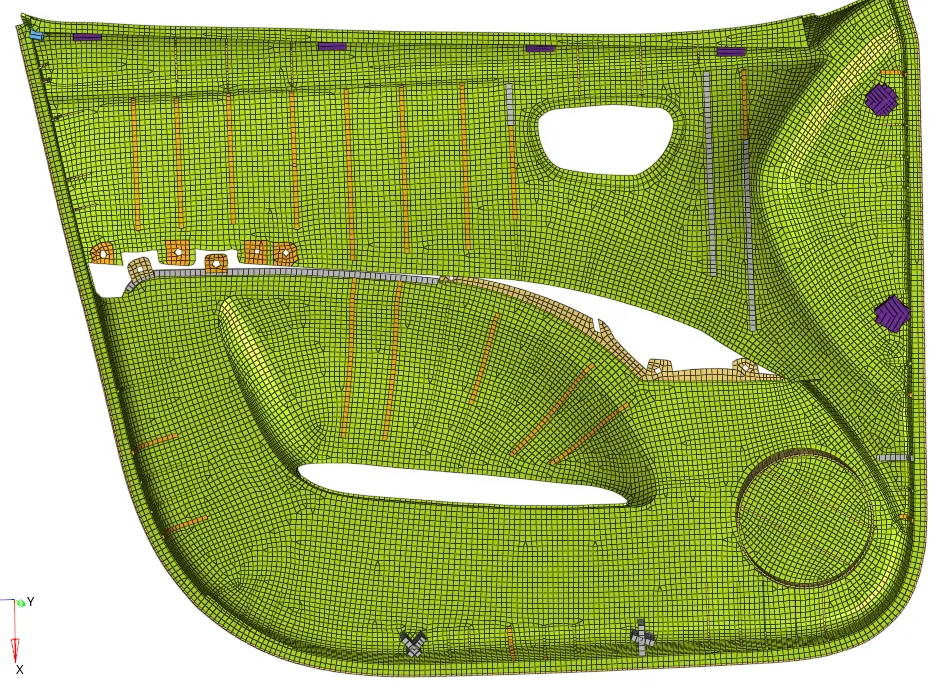
After geometry cleanup it's time to generate the mesh. Before creating a mesh don't forget to set the quality criteria in the model as per given. For this model I am not sure from which portion I have to start the mesh. So, I meshed all surfaces in one hit, and then cleared the failed elements one by one. See the below image.
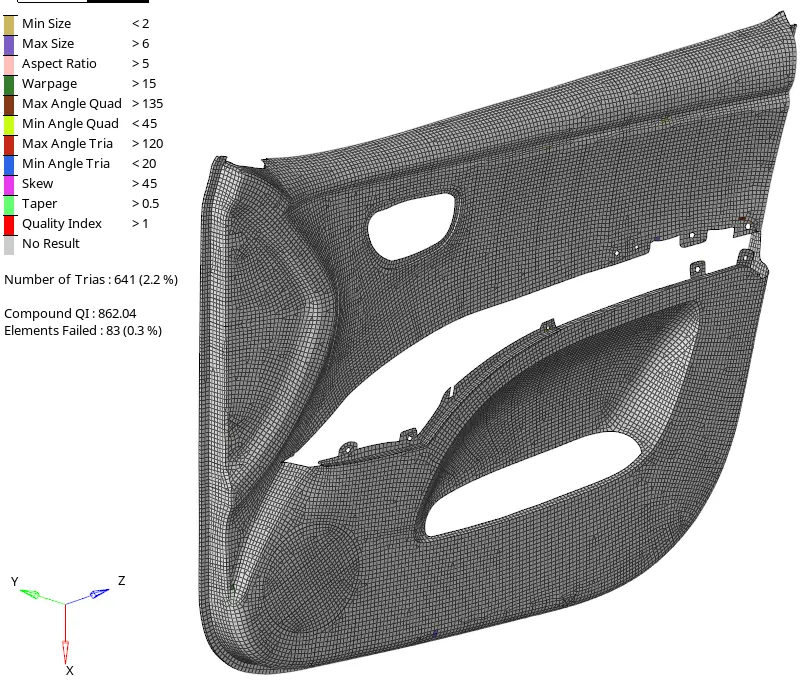
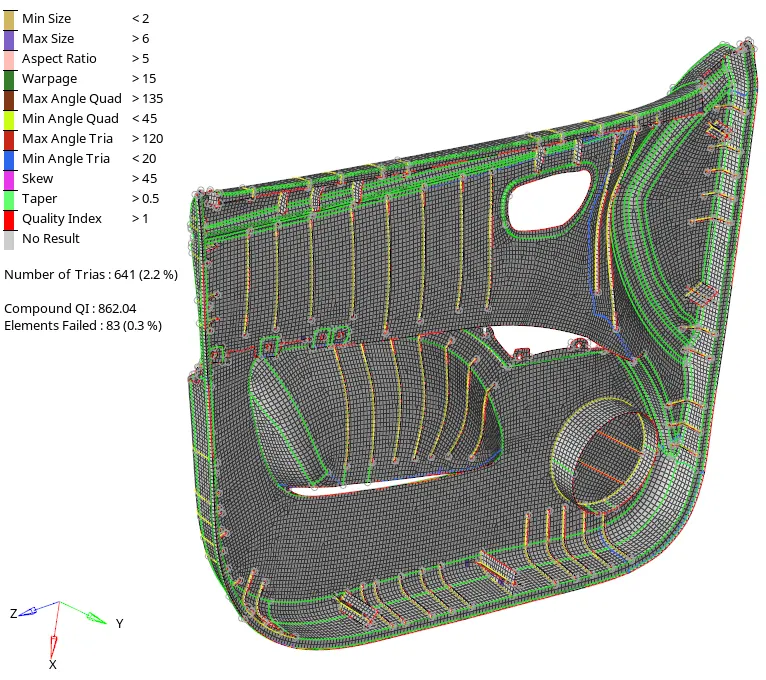
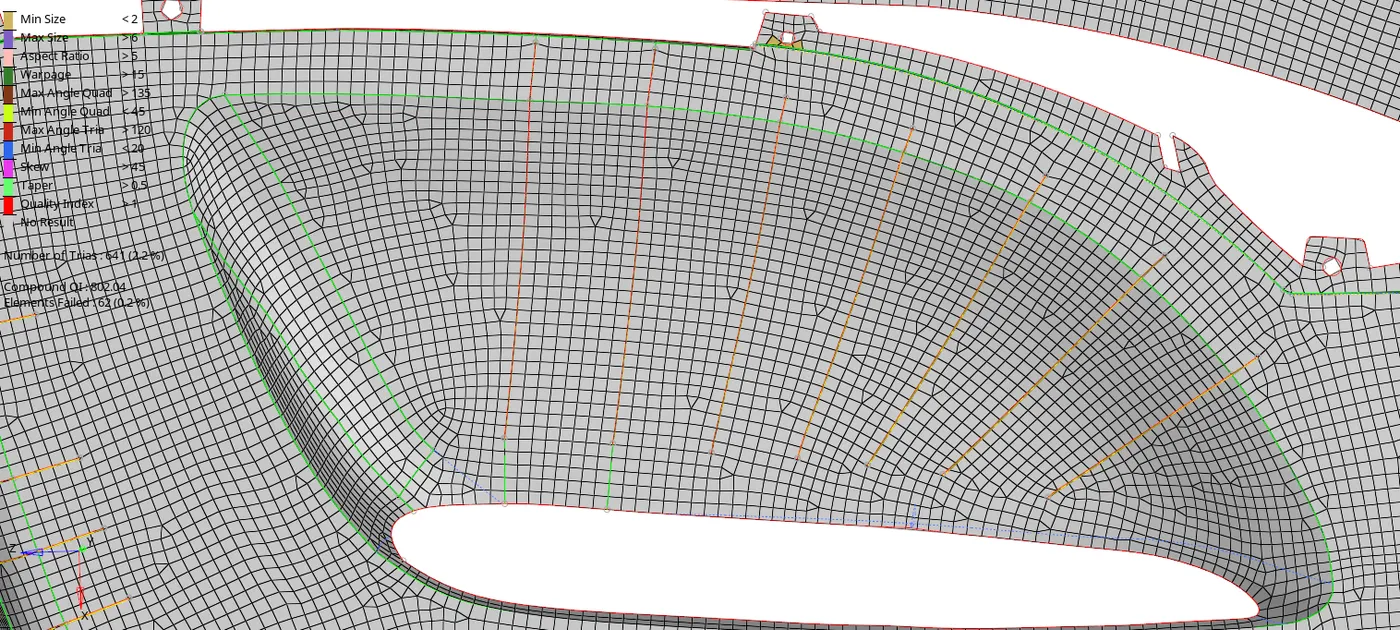
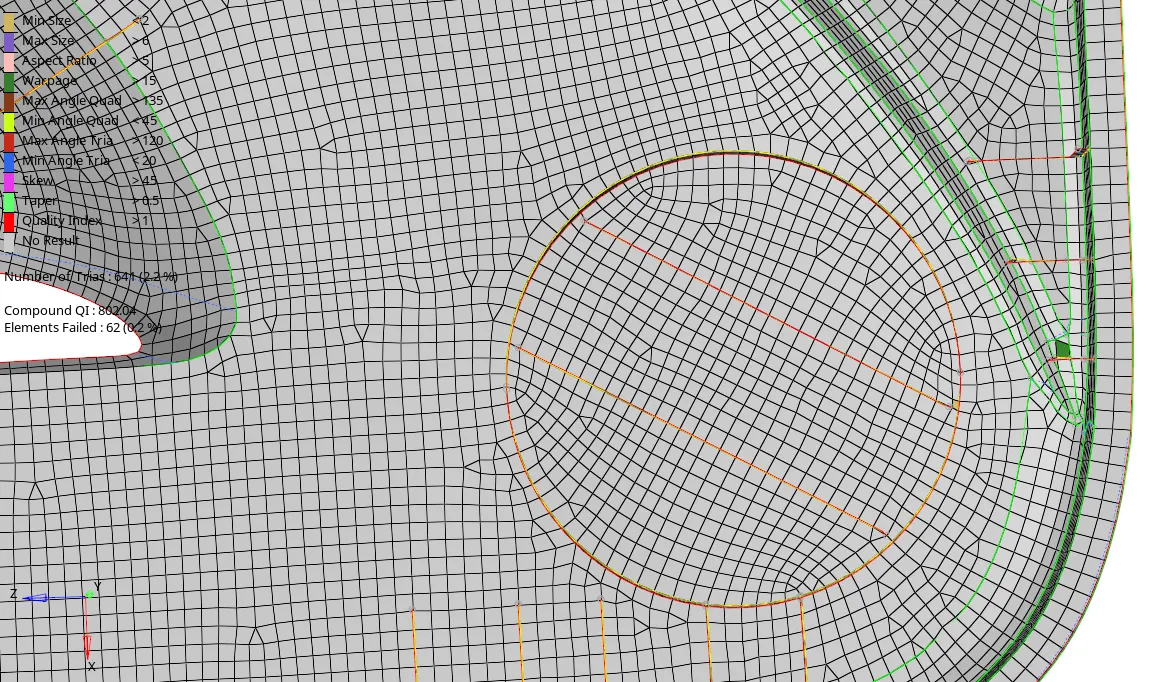
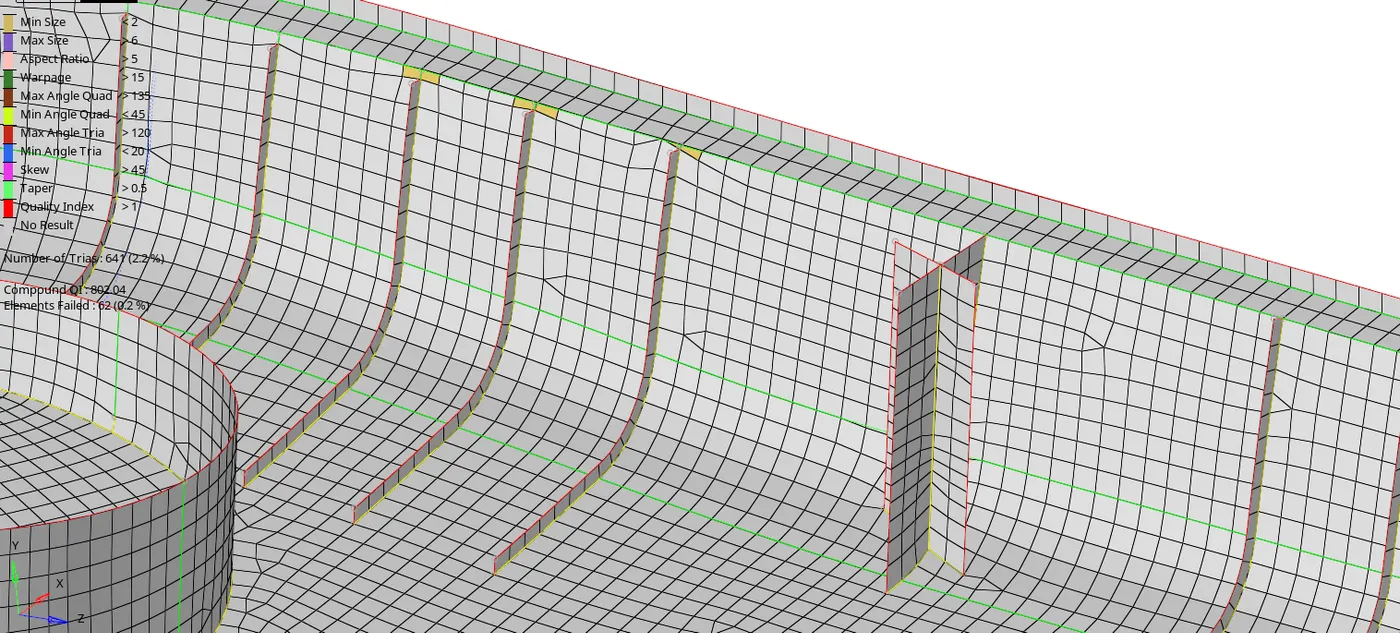
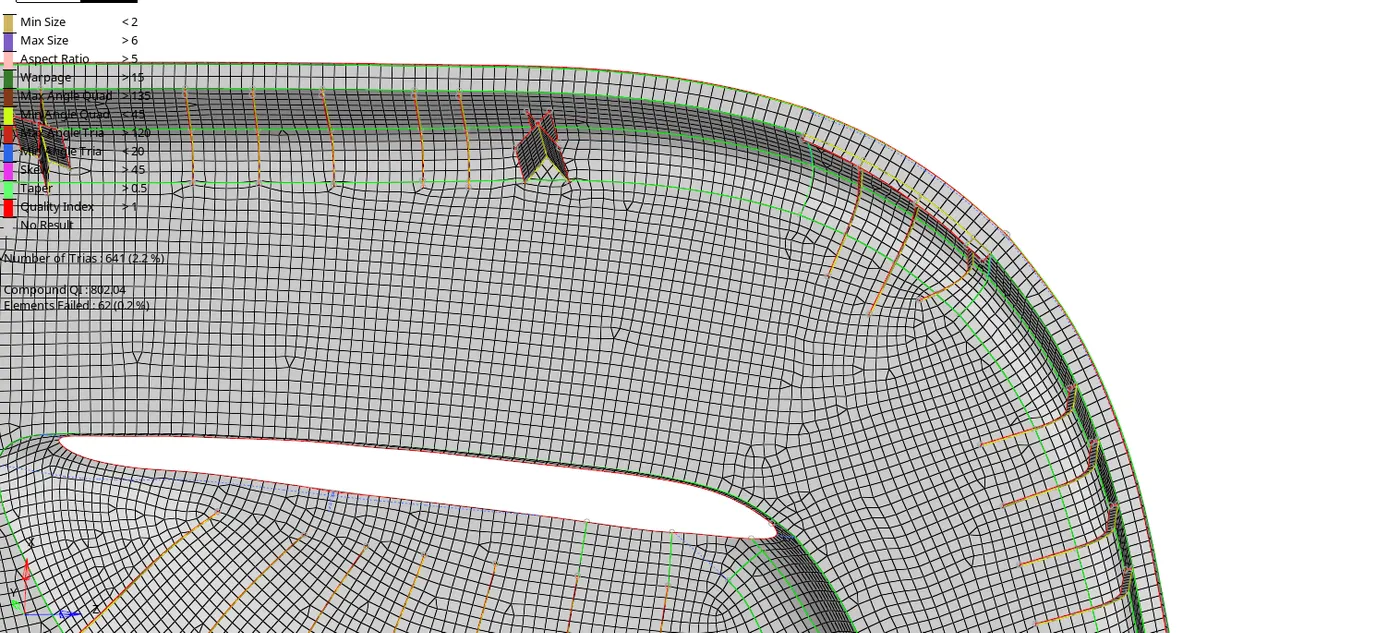
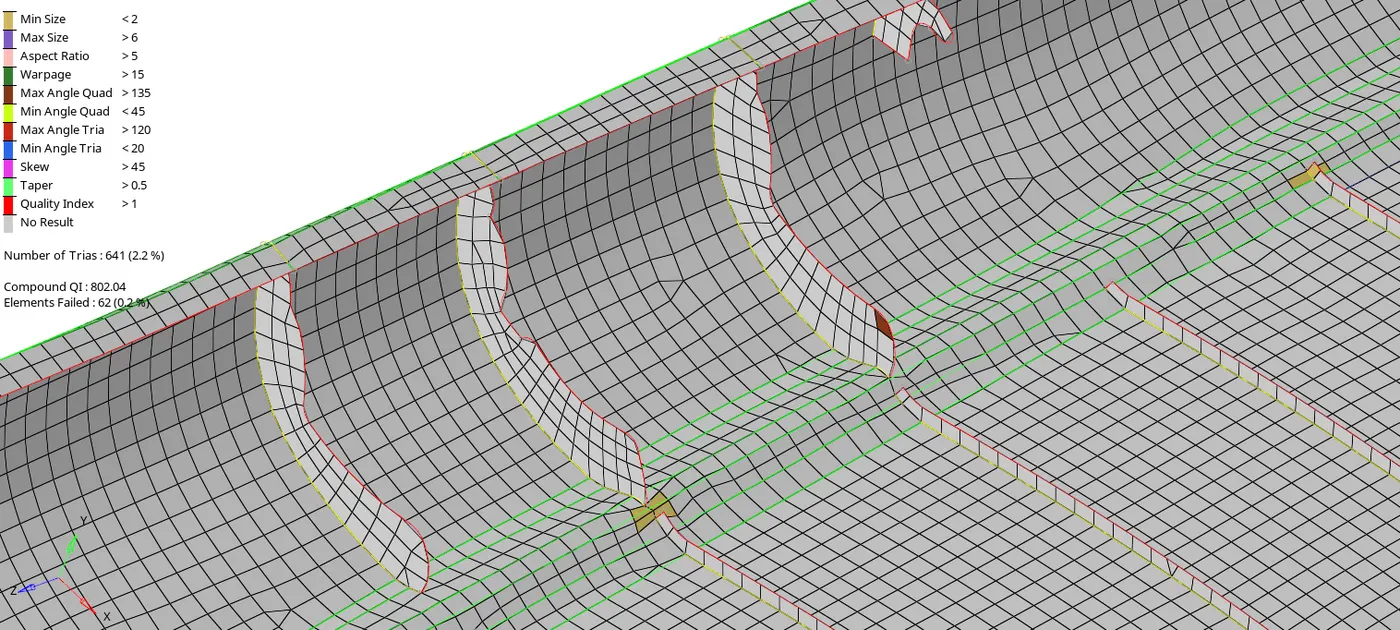
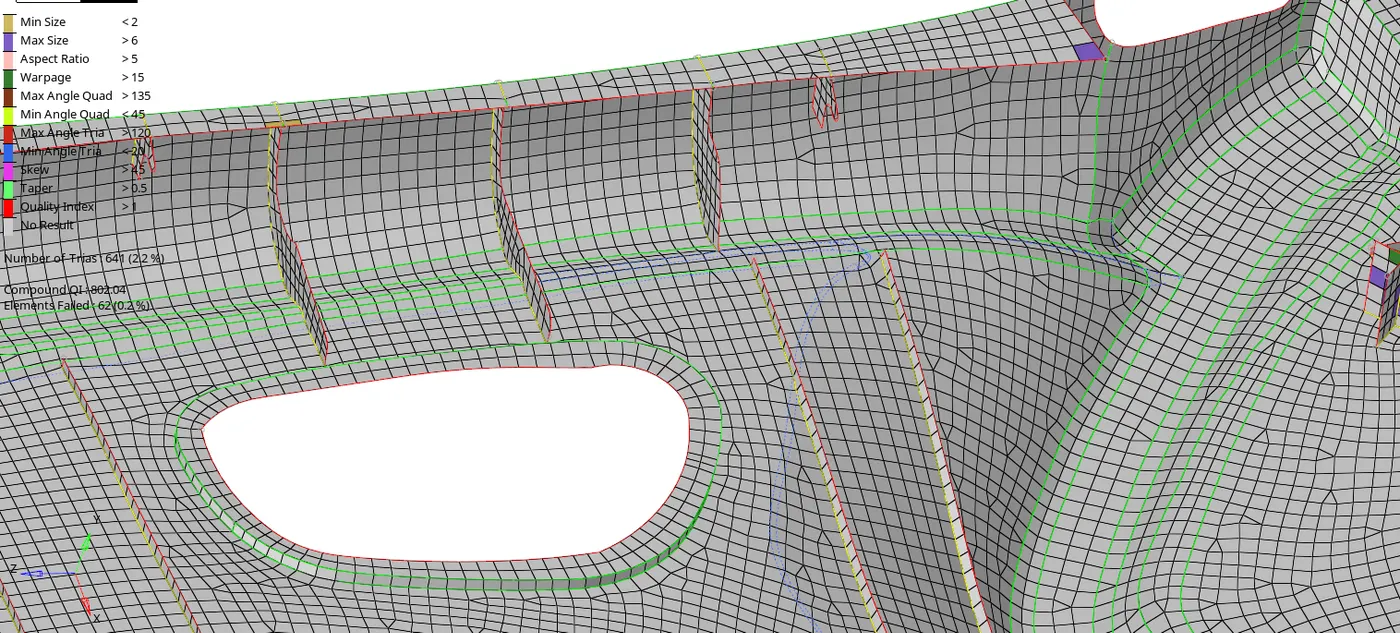
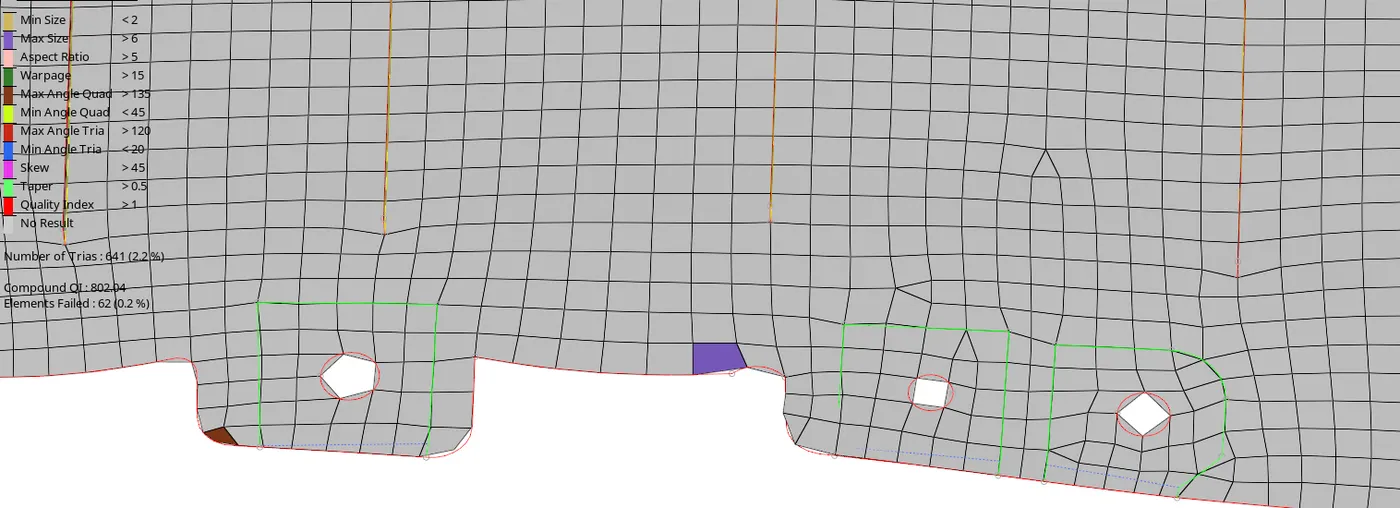
As you can see the mesh is generated using 'automesh' command, But only by one click it's not generating a perfect mesh, using a 'rebuild mesh', 'elem cleanup', 'quality index', 'translate', etc. commands are used to correct them.
- ASSIGNING A THICKNESS:
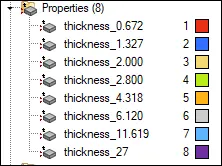
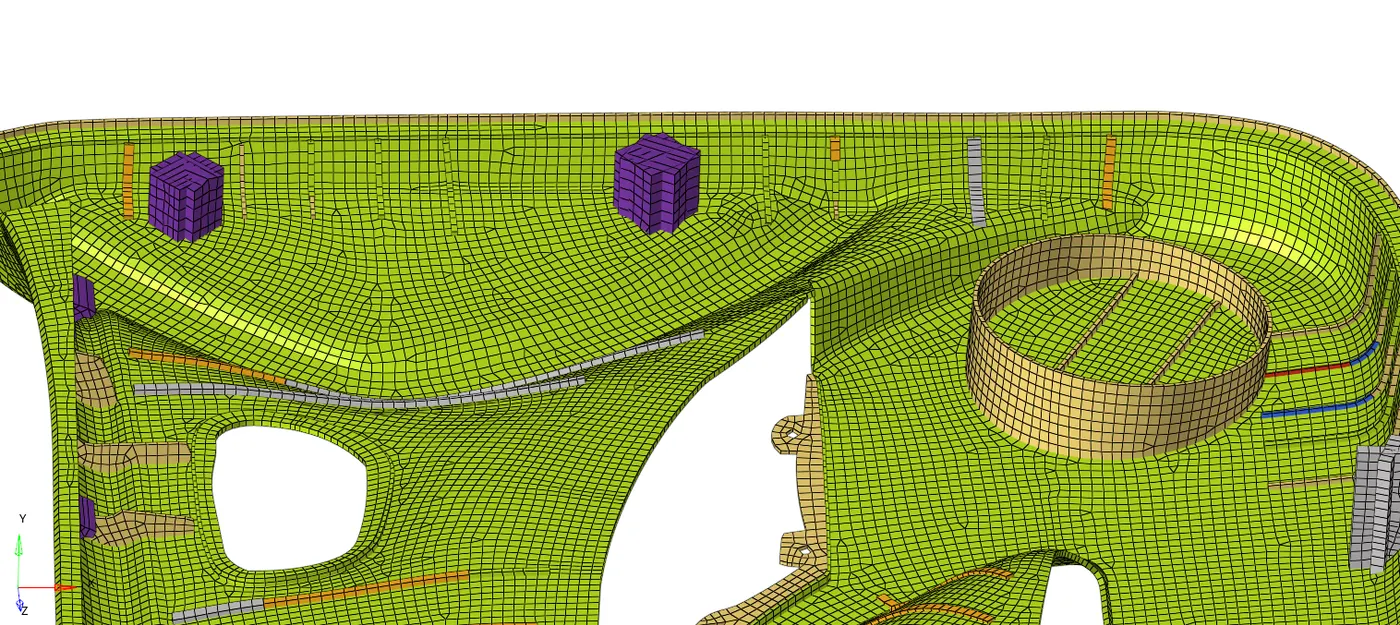
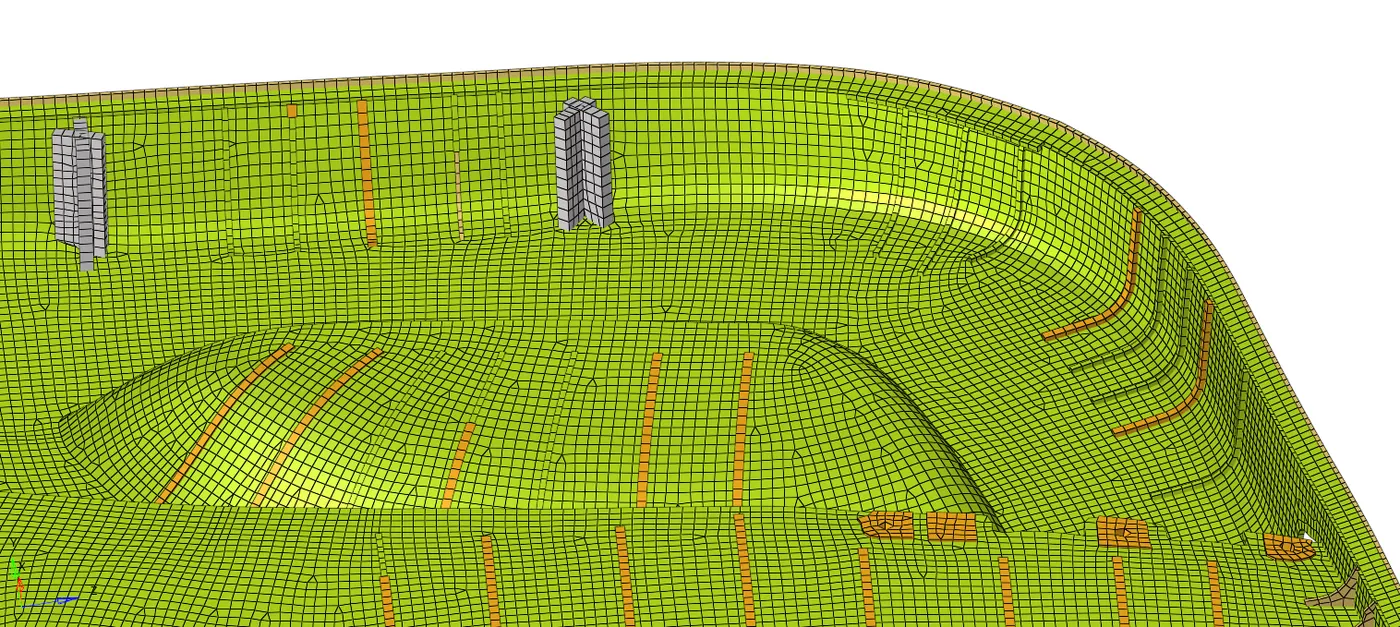
Here to assign a thickness I choosen an auto option (Mesh > assign > Midmesh thickness). see below image where the properties are create.
4. CONCLUSION:
The Challenge is completed for the plastic model And As per me this part has a difficult feature where I have completely lied on manual methods. So overall it's a good practice for the use of manual tools.
End of Challenge