Project 2_Creating a 3D rendered model for a Residential Building in AutoCad
AIM:
To Create a 3 dimensional model of the residential building with a rendered view.
COMMANDS USED:
- Line command
- Rectangle command
- UCS command
- Dimlinear command
- Dimaligned command
- Region command
- Extrude command
- Substract command
- Box command
- Units command
- Dimstyle command
- 3Dface command
- 3Dorbit command
- Hide command
- Explode command
- Move command
- Copy command
- Dist command
- Solidedit command
- Union command
- Boundary command
- 3Dmirror command
- 3Drotate command
- Erase command
- Plan command
- Chamfer 3D
PROCEDURE:
- First we have to open the autocad and set the maximum and minimum limit of the autocad screen using the limits command.
- Next we have to draw the plan from the ground floor to the G+2 floor.
- We draw the doors and windows using the standard dimension.
- Next we draw the stairs with the riser of 7.5" and tread of 11".
- Next we need to write the names of the plans.
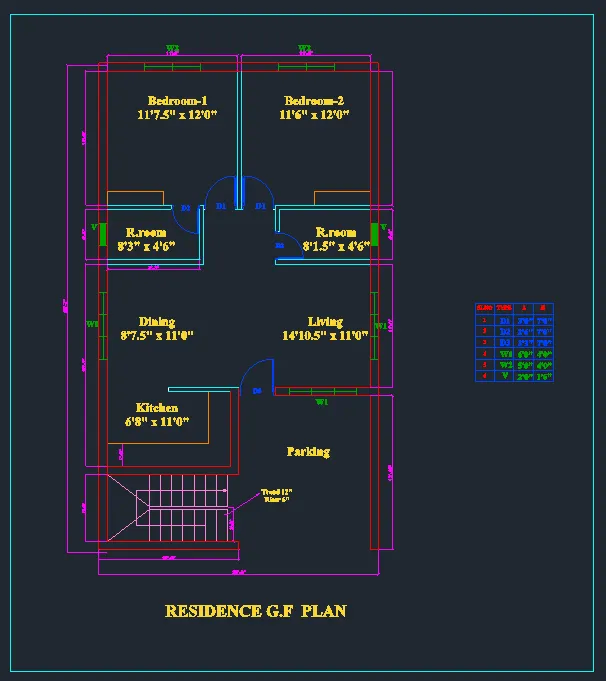
- Next we need to turn the 2D view to the isometric view of the plans.
- Nextt we need to use the region command and select the external and internal walls.
- Then the selected objects will be become as a region.
- Then again extrude the selected regions upto the height of 10'.
- Next we create the door openings and window openings using the substract command.
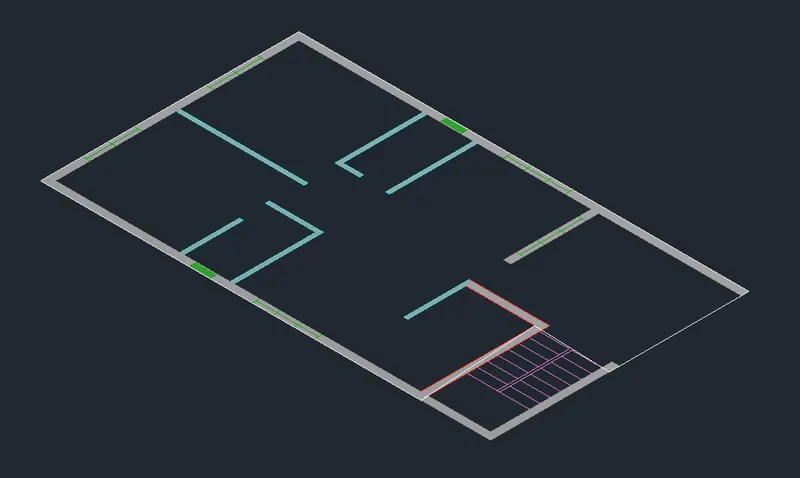
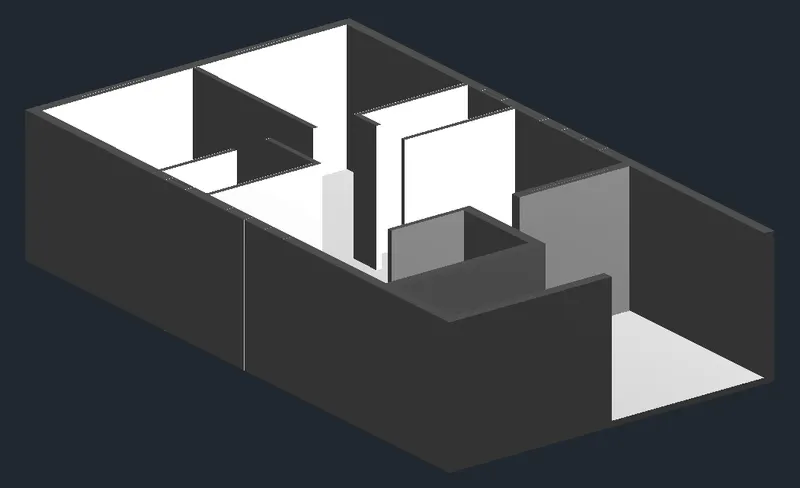
- Next we draw the stairs with the riser of 7.5" and tread of 11", as shown in the below figure.
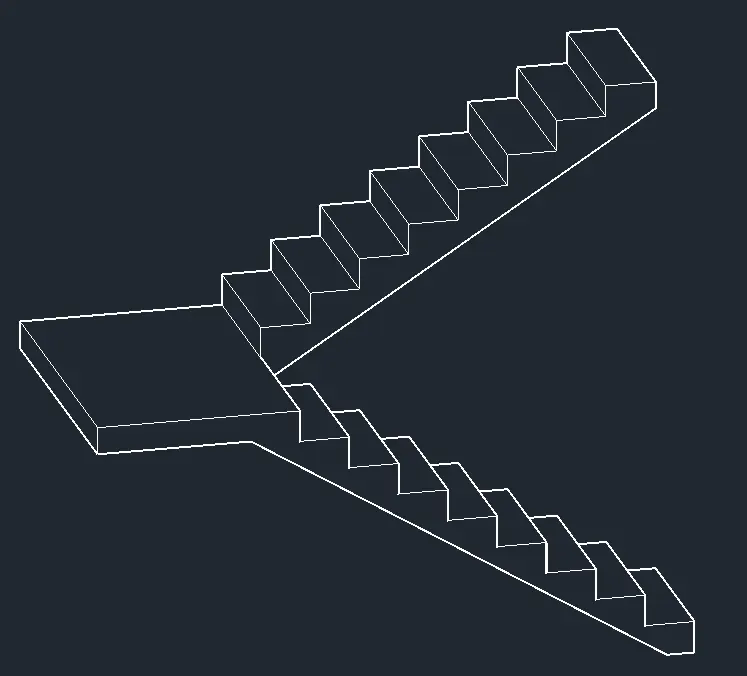
- Next we insert the staircase in the building using the move command as shown in the below figure.
- Next we need to create the windows using the standard dimensions as per indian standards.
- The size of the window is 3' x 4', The sizes of the all windows in the building are same
- Next we need to create the doors using the standard dimensions as per indian standards.
- The size of the main door is 3'-6" x 7' , The size of the inside doors is 3' x 7' and restroom door are 2'6" x 7'.
- Next create the sunshade and to fix on above windows.
- Then we apply the material on the wall paint and inner wall paints also.
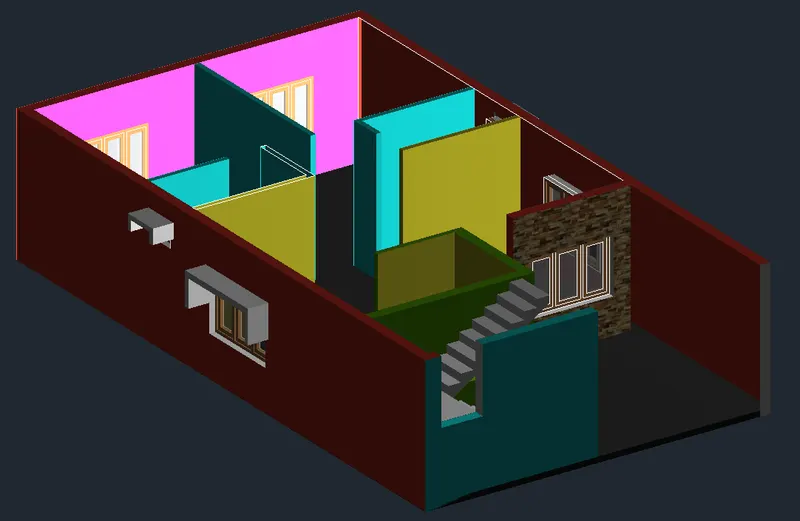
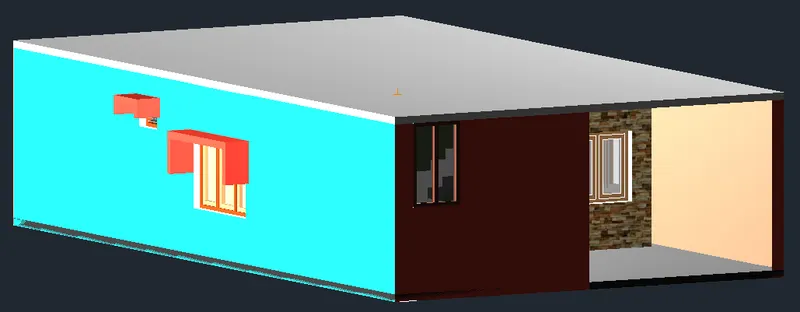
- Next we use the copy command and copy the ground floor.
- Next use the array command and set levels upto the G+2 floors.and staircase mumty.
- Next we draw the parapet wall with the height of 3', as shown in the figure.
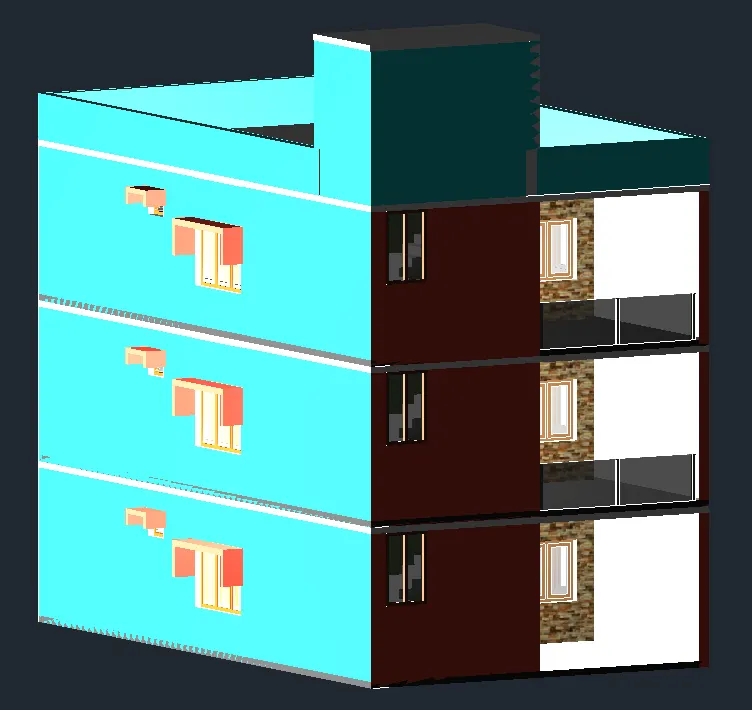
- Next we turn the residential building to the another view using the 3Dorbit command as shown in the below figure.
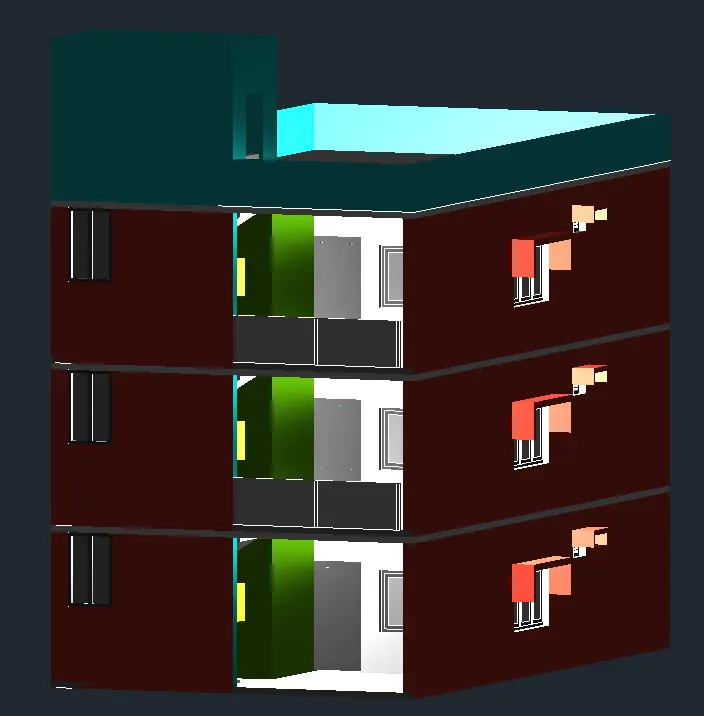
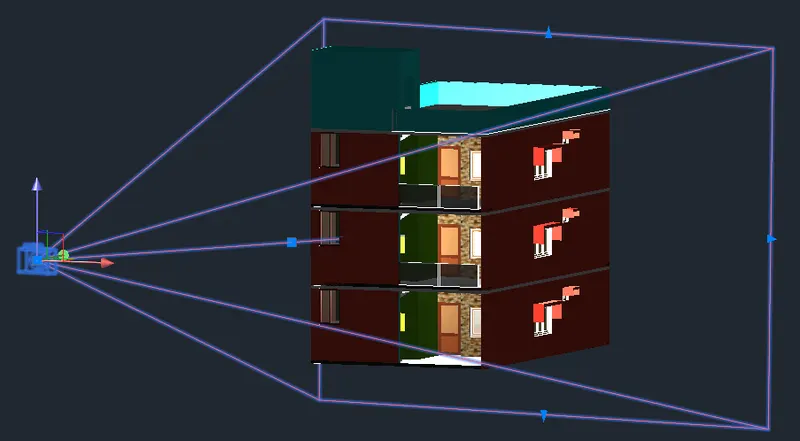
- We select the camera and put it in the required postion.
- Next click on the camera then the small tab will appears at the top of the left corner, as shown in the figure
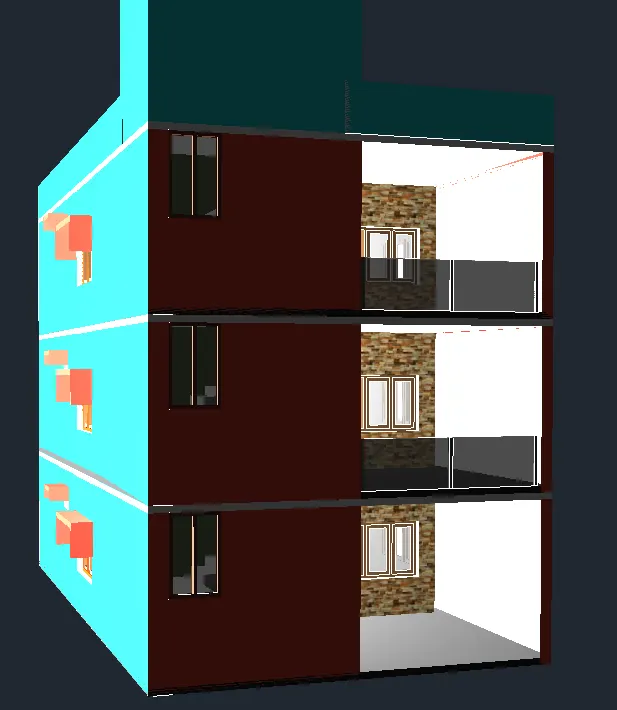
- Finally we select the render option and then slowly it changes to the rendering view as shown in the below figure.
RESULT:
The create a 3 dimensional model of the residential building with a rendered view drawn successfully using AutoCAD.