Project 2_Creating a 3D rendered model for a Residential Building in AutoCad
AIM: To create a 3D rendered model for a residential building.
Steps:
1. Walls:
Create a 2D plan for the building.
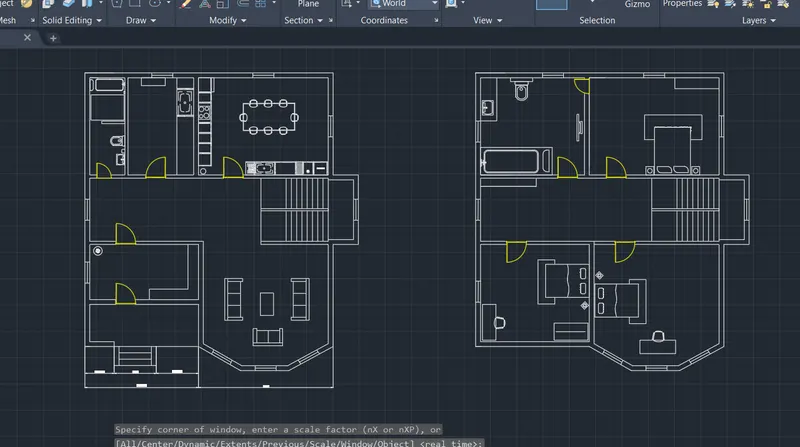
Create a boundary for the walls.
Extrude it
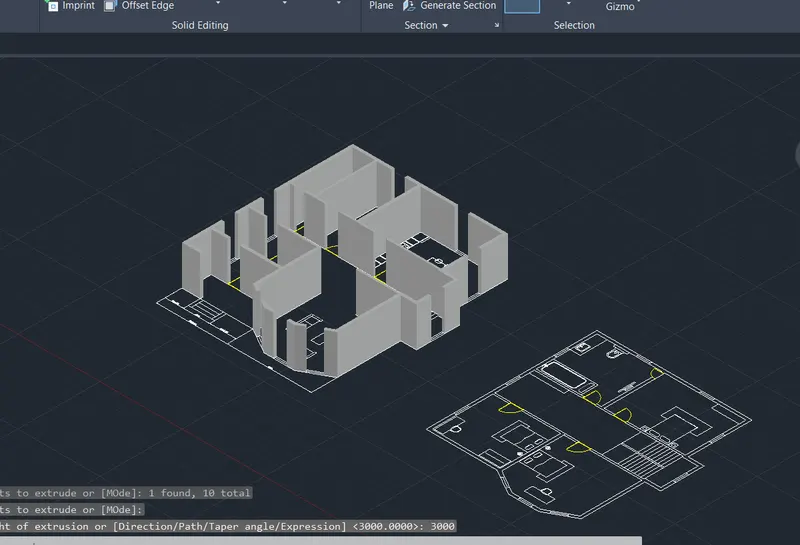
Now create a layer for each element .
Then extrude the windows boundary.
Extrude it and union it.
2. Window:
Create a 3D window using rotate,boundary, layers and extrude
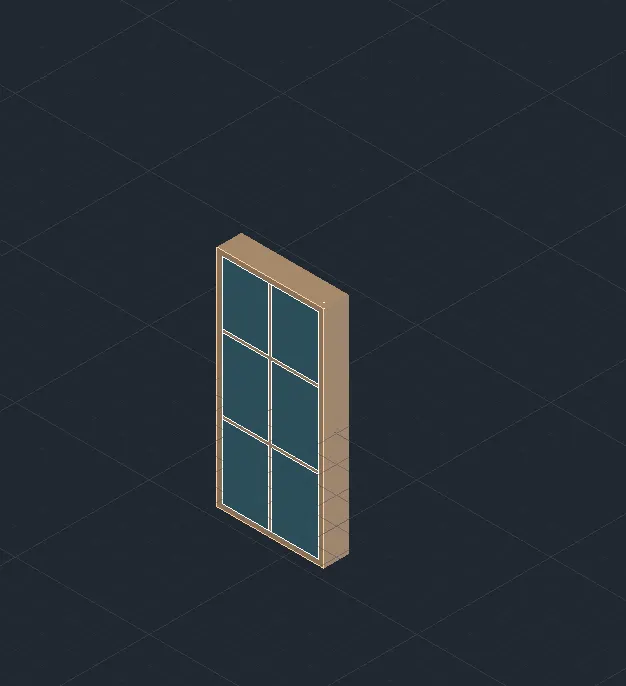
Copy and place it on the window space.
3. Slab:
Trace the outline of the plan
Make a boundary for first floor and roof
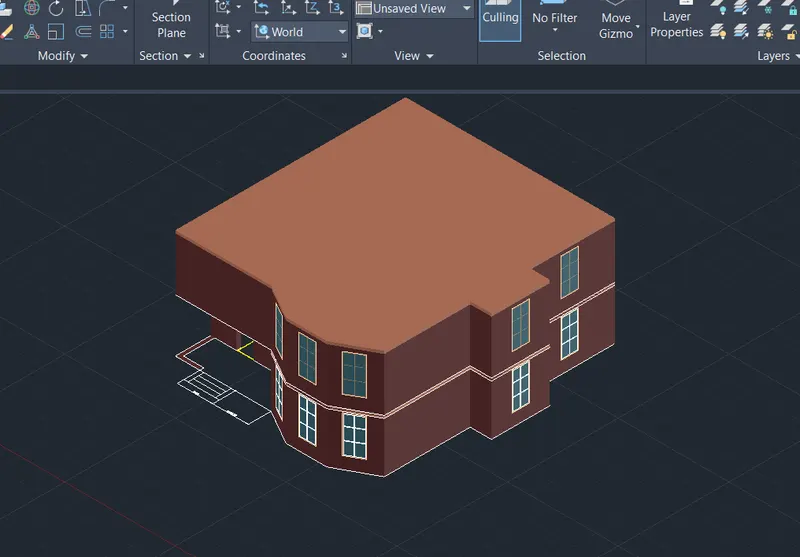
Extrude it giving thickness of slab as 150mm.
Now place it in each floor.
4. Plinth:
Trace the ground floor
Extrude it with height of 900mm
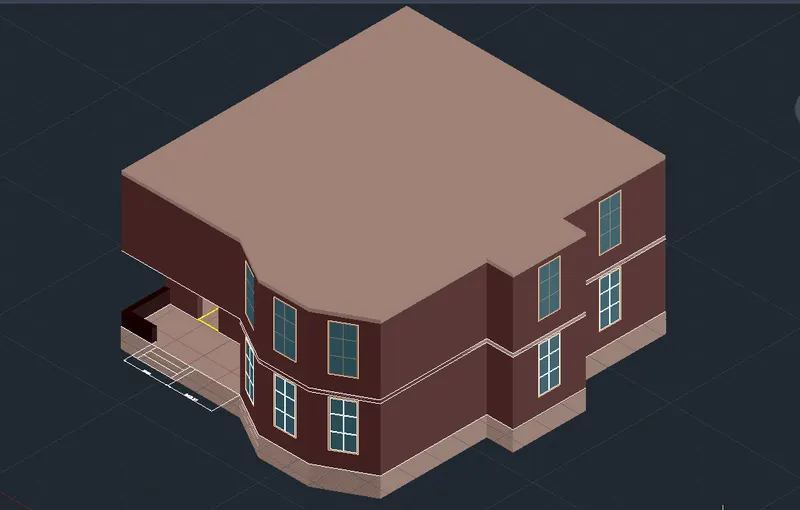
5. Stairs:
Create a boundary on the 2D sketch.
Extrude it with height of 300mm and the boundaries with its coresponding dimensions.
6. Massing:
Create a frame for the window and doors .
Massing is also done using tools like arc,line,sweep tool
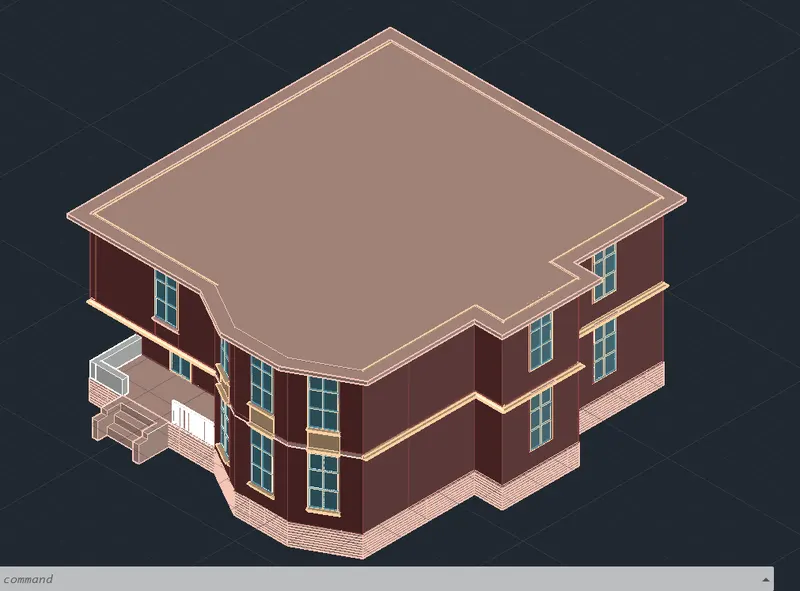
The conceptual view of the massing
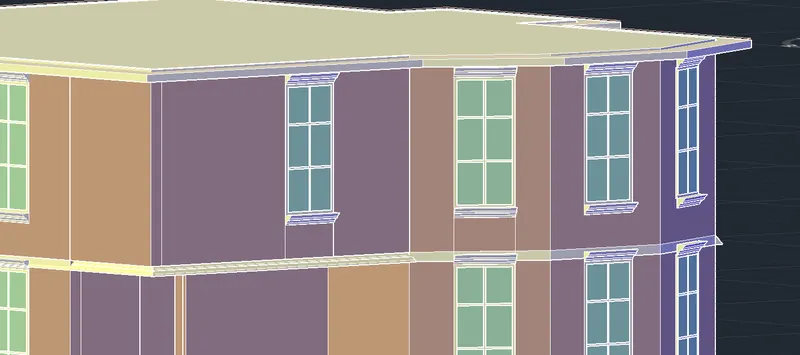
7. Roof:
Trace the line of the plan.
Offset it to create a mass.
Create a boundary.
extrude it with angle of 60 degree.
Height of 196.15
Now , command Solidedit it .
Choose face then give height of the slope.
Now a slope is created.
The picture shows the top view of the roof and the plan.
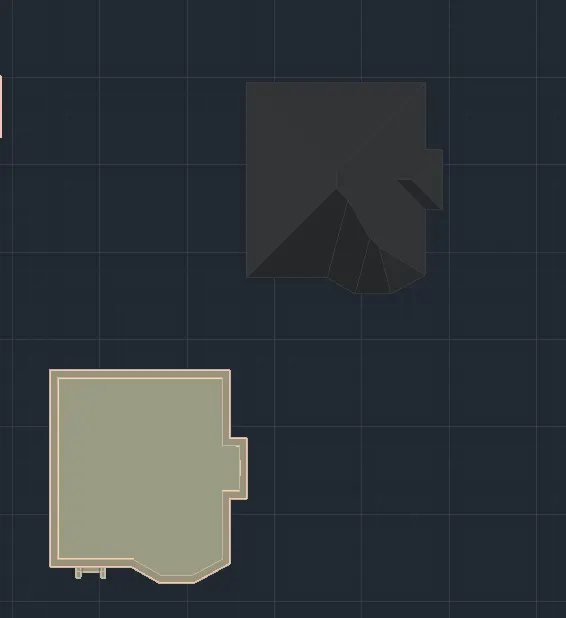
Now place the roof on the plane.
8. Material
Choose the material for each element.
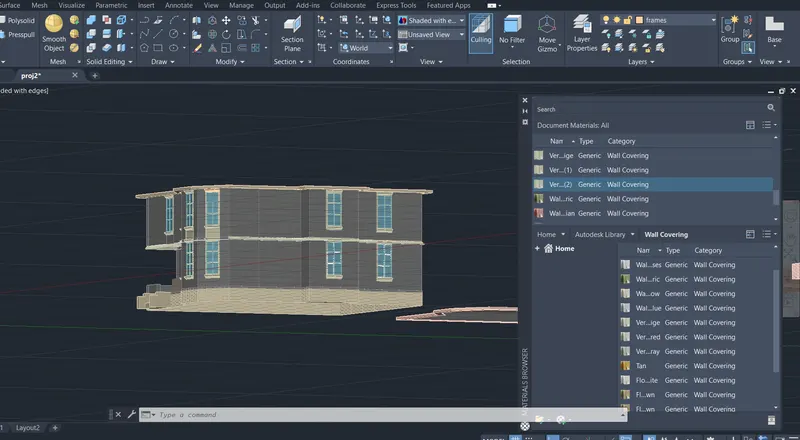
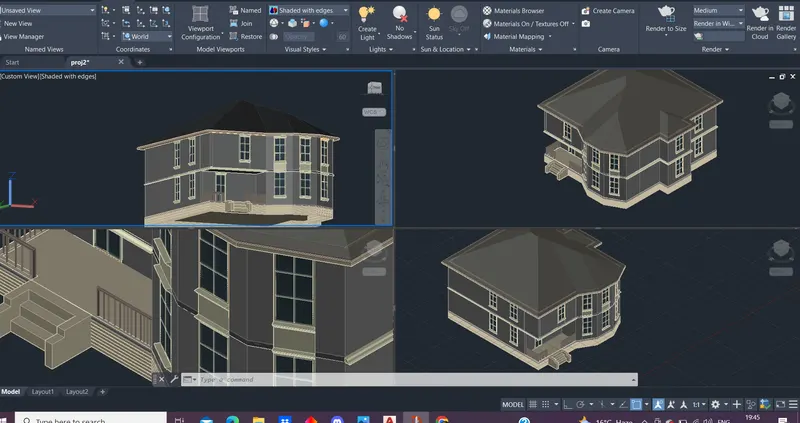
This are the views of the model with material and roof.
9. Camera view.
Create a cylinder with height 3000mm.
Place the camera.
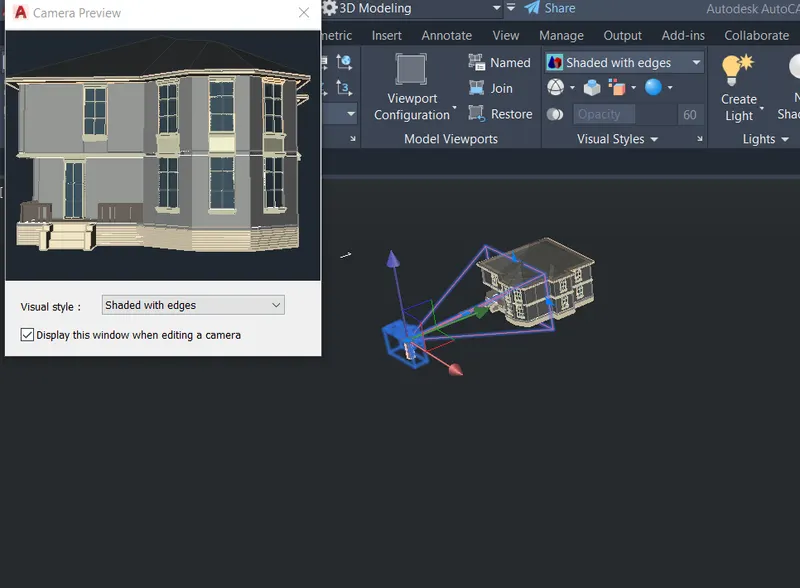
This is the camera view of the model.
10. Rendering.
Turn on the environmnt exploxer.
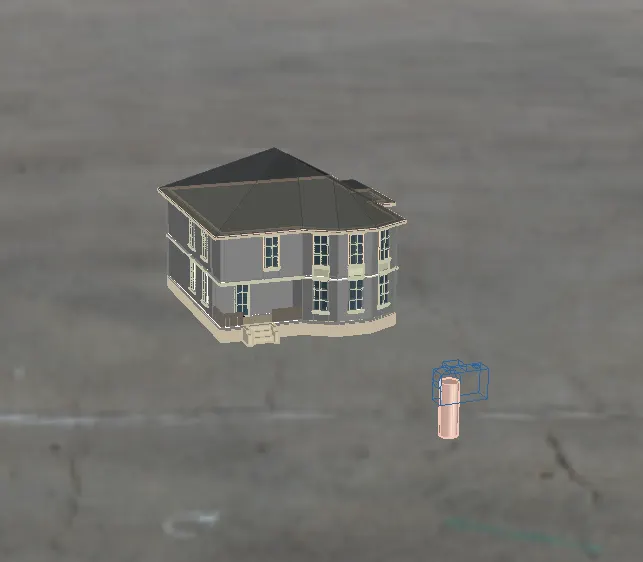
Select the size.
Adjst the properties.
Render it.
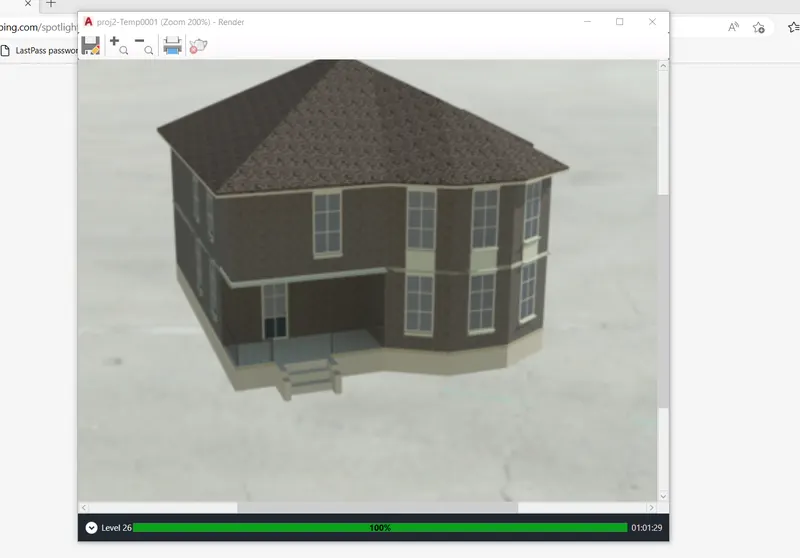
This is the rendered model.
This is the process of the creating a 3D model with dimensions. The wall of this structure is masonry.
The image is captured using snip&snap tool.