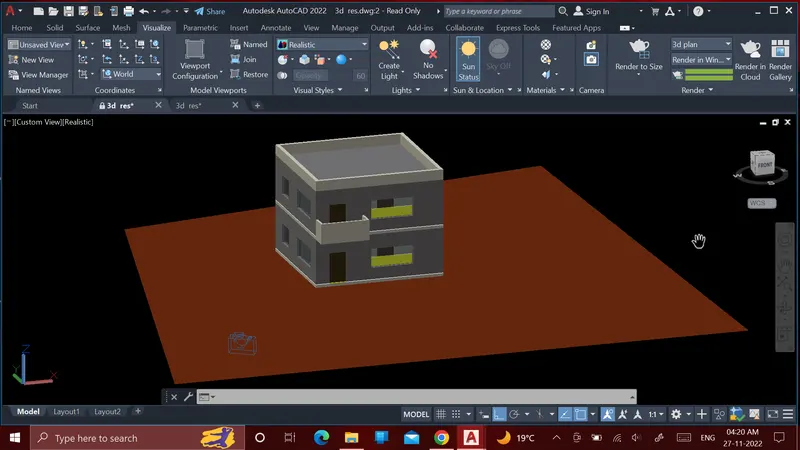
Project 2_Creating a 3D rendered model for a Residential Building in AutoCad
Aim: - To create a 3-dimensional model of the residential building with a rendered view
Introduction: The AutoCAD Command line is like a combined control panel and index of all AutoCAD commands you run – and have run – on your drawing. AutoCAD is three-dimensional CAD software that is used commercially across the world
Procedure:
- write command UN and select the measuring units in engineering unit
- then write command limmax and take 30' and 50' inches
- then zoom and press all
- again, write command limits and take 30' and 50' inches
- then take Xline and make a horizontal and vertical
- after that make the 9" inches wall with the help of offset command
- then separate the rooms by the help of the offset command 12',4'6",11',13'9.5" with the help of the xline
- and in between the rooms make 4.5" inner walls and 9" outer walls
- after that use trim tool to trim the remaining lines to complete the figure
- then use the offset to draw the door line from the middle wall
- door measurement d1 - 3'
- after that trim and make the arc to complete the door
- make a window of 6'
- and complete the drawing
for 3d
- first make the region of the figure
- then select subtract command then subtract 1st region from 2nd region
- then extrude wall at a hight of 10'
- then take the elevation of the plan to make the door and window and extrude and place in the figure
- make the copy of the first floor and place in the top to make it 2 floor building
- then make the slab in the top middle and in the bottom by extruding
- then open material option and select the material for the figure
- then open create light and select distant put it in the figure
- after that select camera and put it in the figure to get the cam view
- then go to the render from visualize then make it render by level
- and save it
result: