Project 2
Aim: To route the wiring harness on the given tailgate assembly and prepare the flatten view drawing in CATIA V5.
Objective: The objective of this project is to route the wiring harness and prepare straighten view sketch for the tailgate of the car. All types of packaging rules should be considered while routing the harness and manufacturing based practices shall be illustrated in harness design. All necessary analyses like clearance, excerpt/clamping selection, harness repairing necessities, harness continuity should be given so that design the wiring harness.
Given car door file:
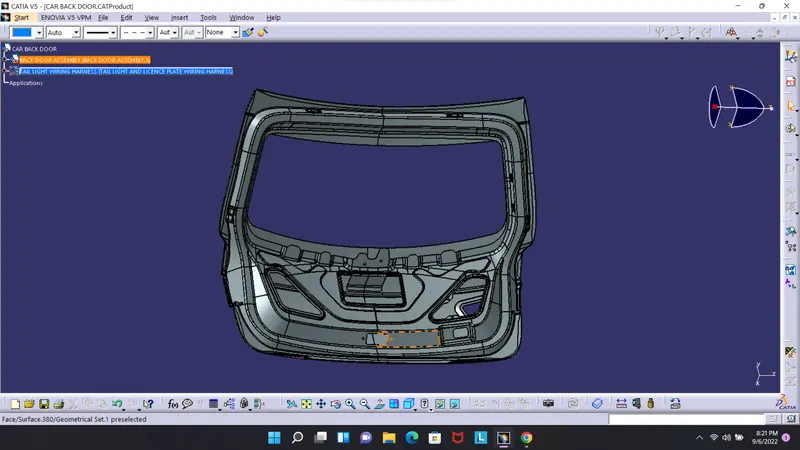
Step 1: Creating Context Assembly

Defining connectors
Define 32 pole connector
- make connector connection point and bundle point
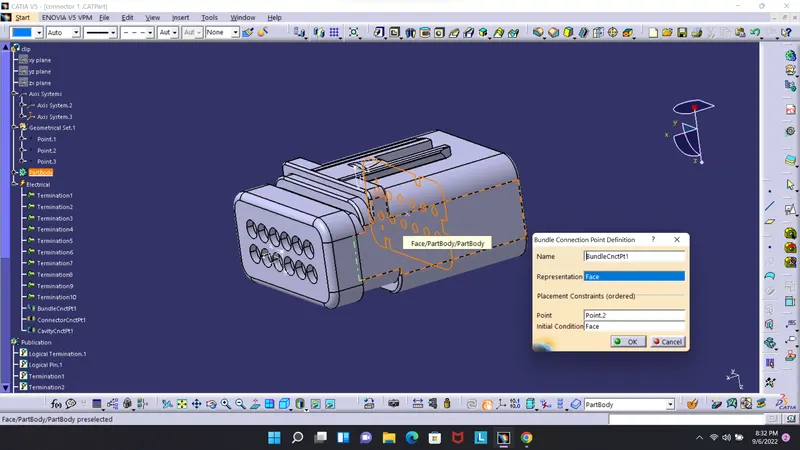
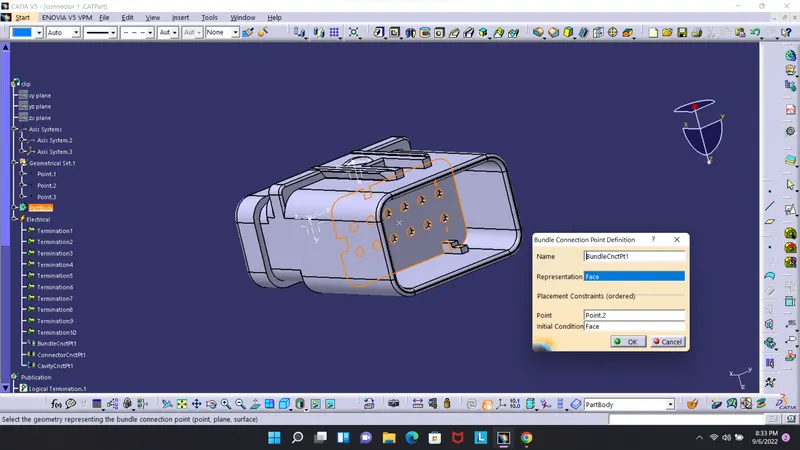
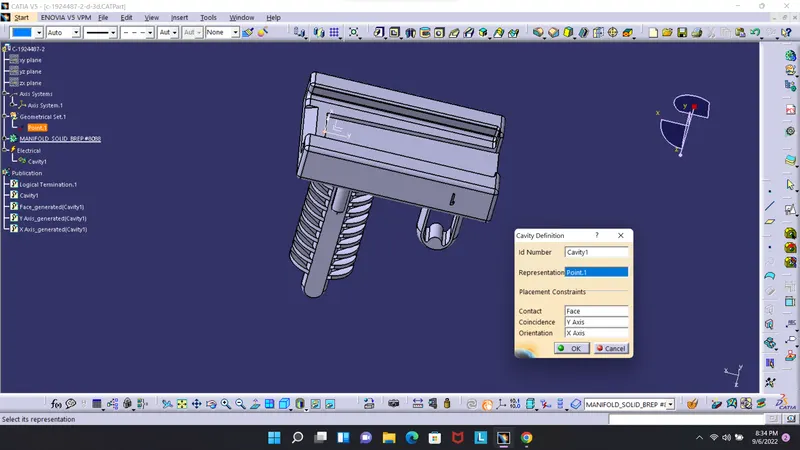
- Create cavity point on bottom side of the connect
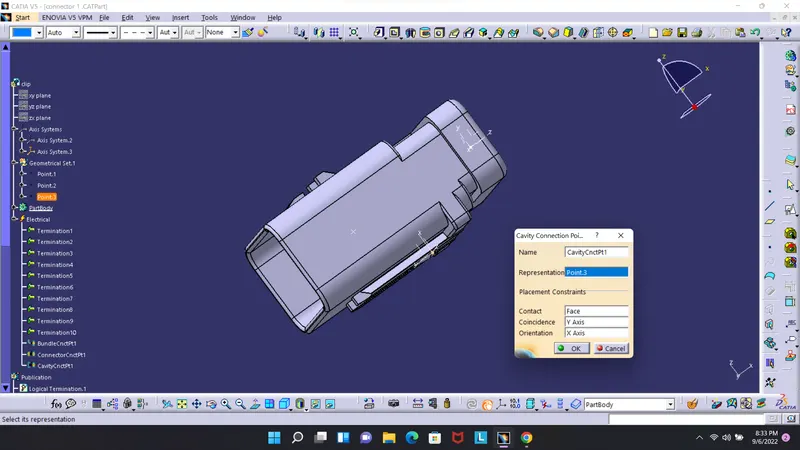
clip
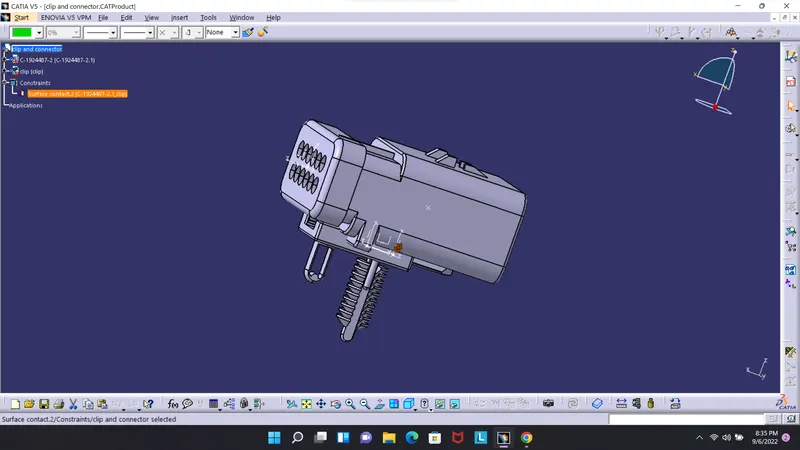
- Make the 2 Part in ELectrical asembly design and connect with Connect electrical device tool
- Connect clip and connector
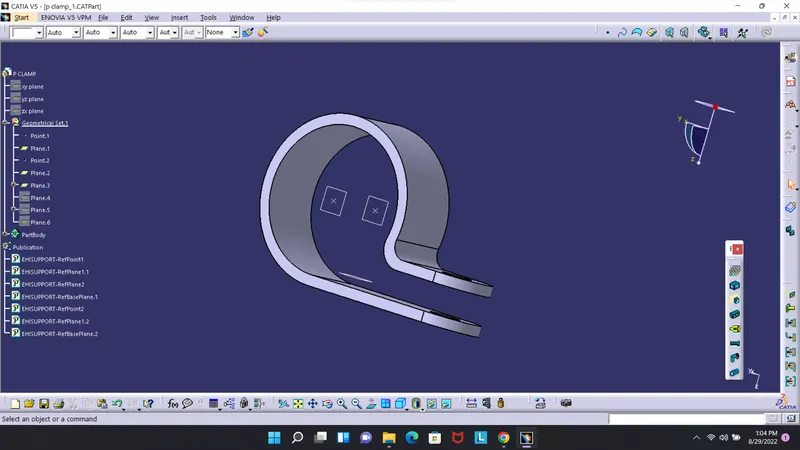
P CLAMP
- Open the p clamp and make as support definition
- Define entry and exit plane
- As well as support plane
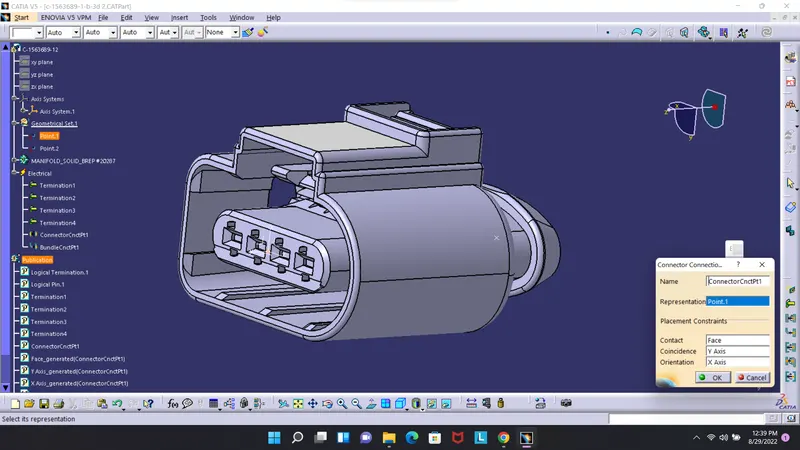
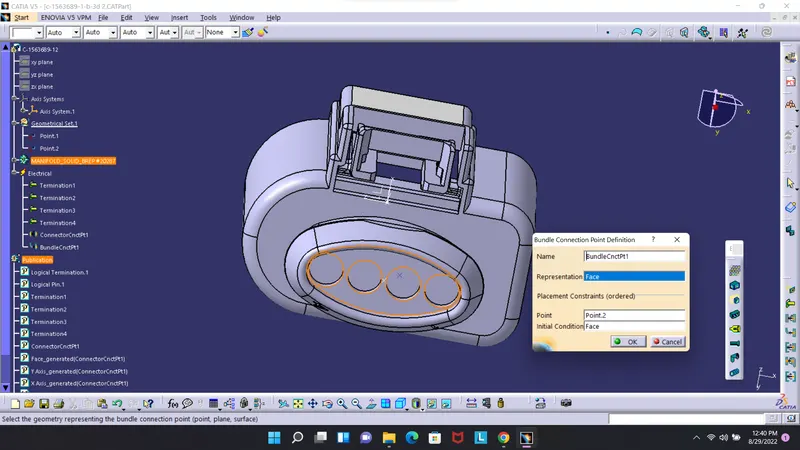
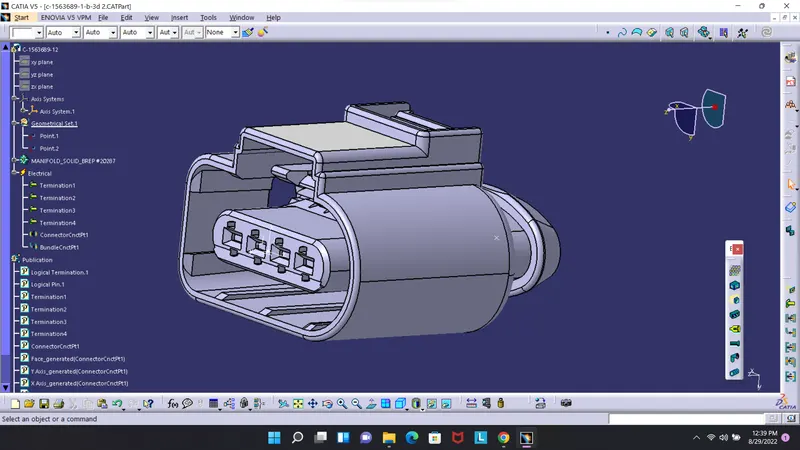
C-1563689-12
- Defining connector connection point using connector connection point command and define the parameters as shown in the image below
PLACING ELECTRICALLY DEFINE PART ON CAR DOOR
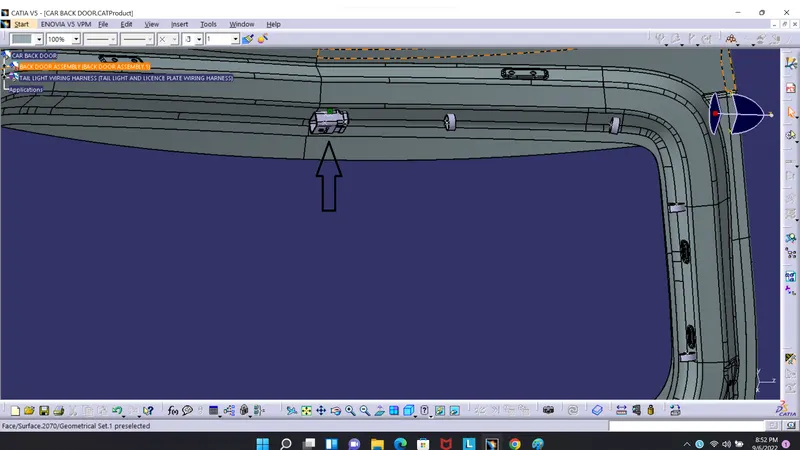
- 32 pole connector is placed on top of the door
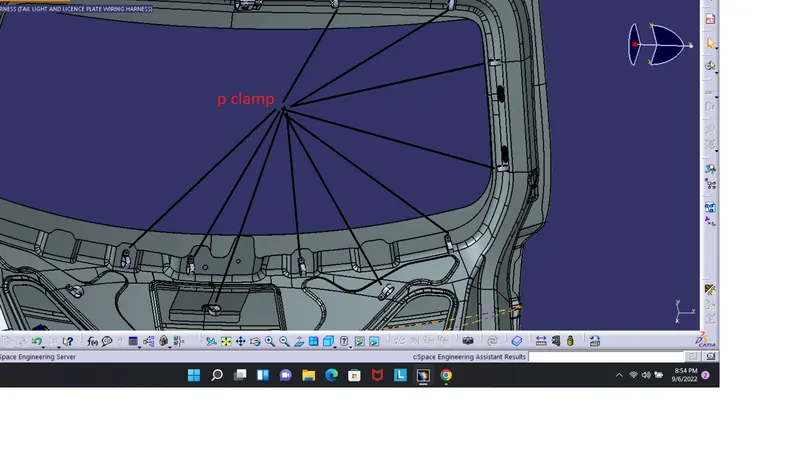
- P clamp also connected on the door where the bundle goes
- 2 Connector are placed near the tail light and 1 connector are placed on near c15 connector
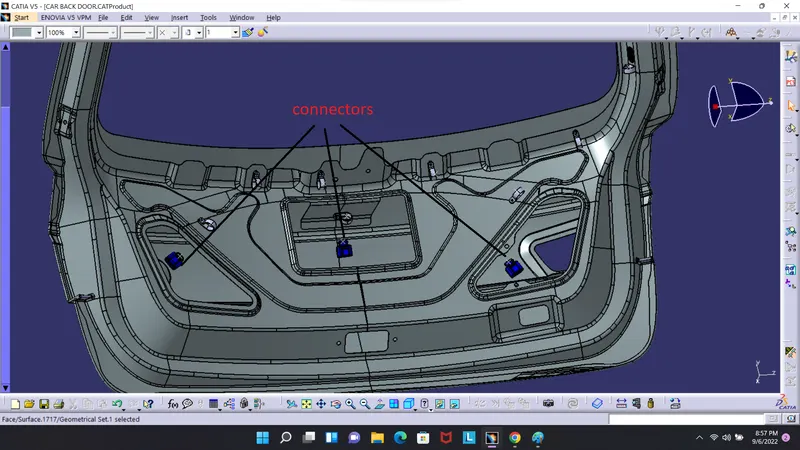
Routing the wiring haraness
- Go to multi branch document and give necessary bundle radius and connection point
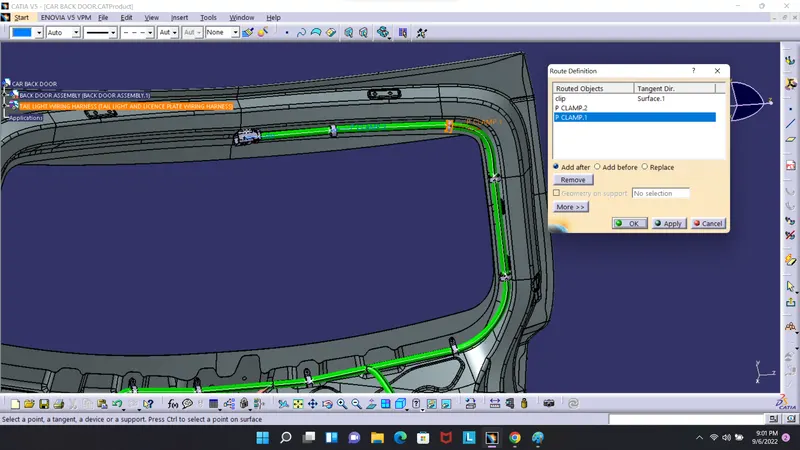
- Continue the process all the connector and p clamp are connected
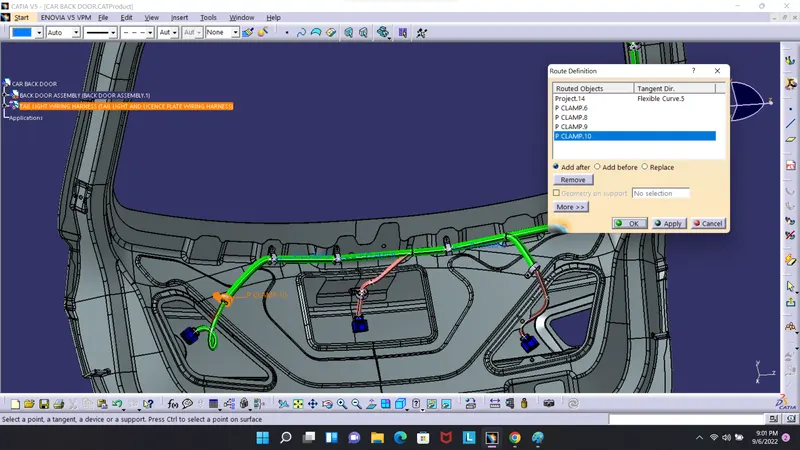
- connect to the connect neat tail light and licence plate and also provide different color for recognisie easily
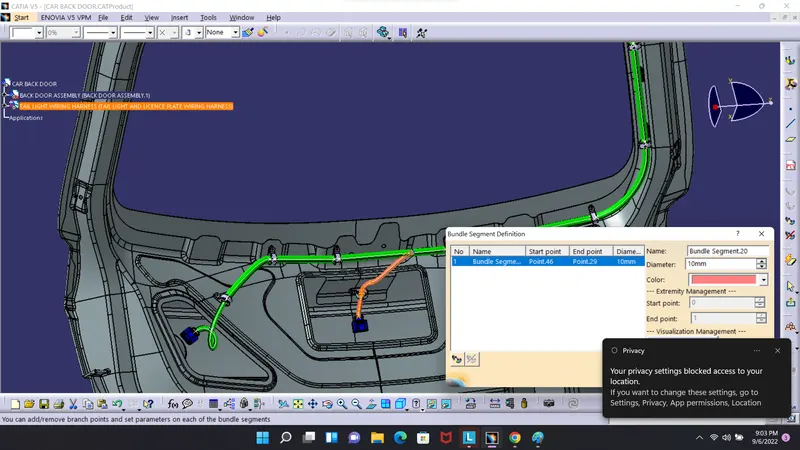
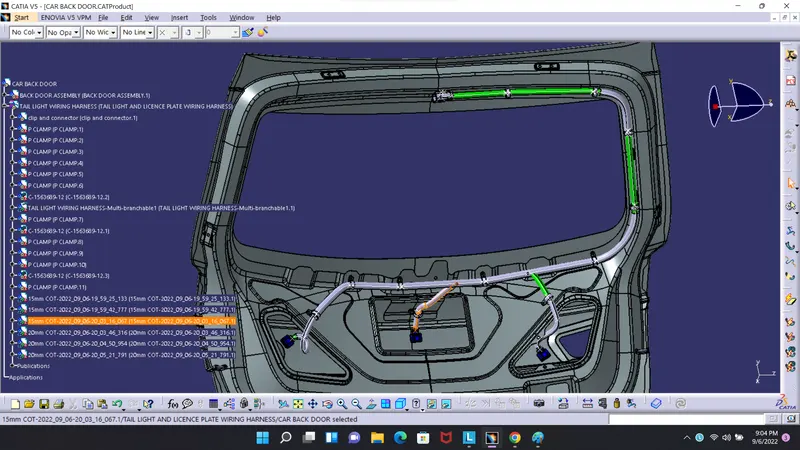
Adding protective coverings and guiding channels top shell to harness bundle
To protect the bundle protection covering are provided in diameter of 10mm,15mm,20mm
Checking bundle continuity
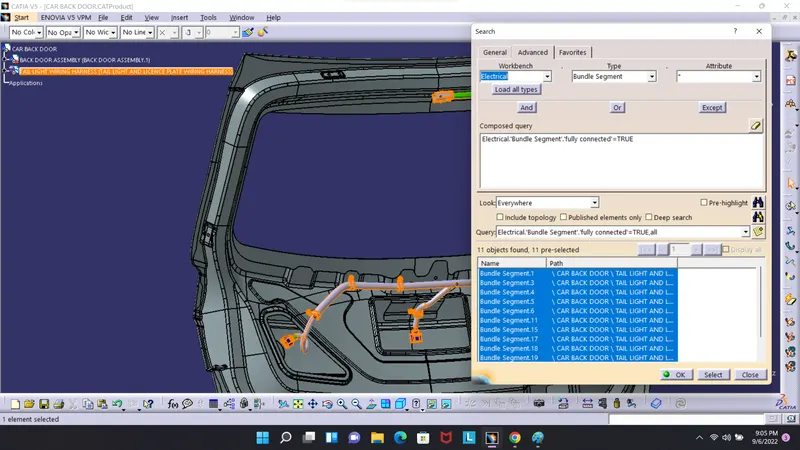
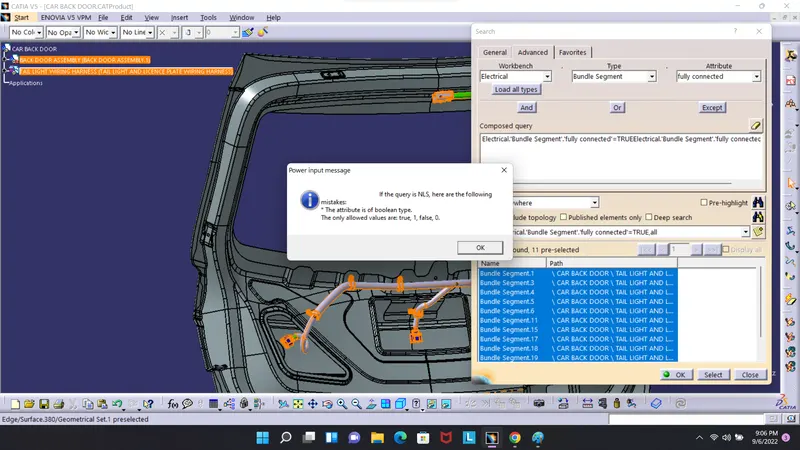
- First, we have to select multi-branchable and go through the sequence as Edit>Search>Advanced>Workbench-Electrical>Type-Bundle Segment>Attribute-Fully Connected.
- After selecting 'True' condition will show all the connected bundle segments while selecting 'False' condition will show all the non-connected bundle segments.
- Here, we have selected 'True' condition and search for the results. All the bundle segments are highlighted and showing that all the bundle segments are connected electrically as shown in below image.
- Also check 'false' And move to next stage
Create flatten view of the wiring harness bundle
- To create a flatten view of the harness assembly, we have to work in Electrical Harness Flattening workbench in Catia V5.
- Also, we have to make sure that the flattening file is saved into the same folder where we have all the parts of the harness assembly.
- As shown in below image, while defining the wiring harness flattening parameters make sure to select Single line for bundle segment and Double line for protective covering.
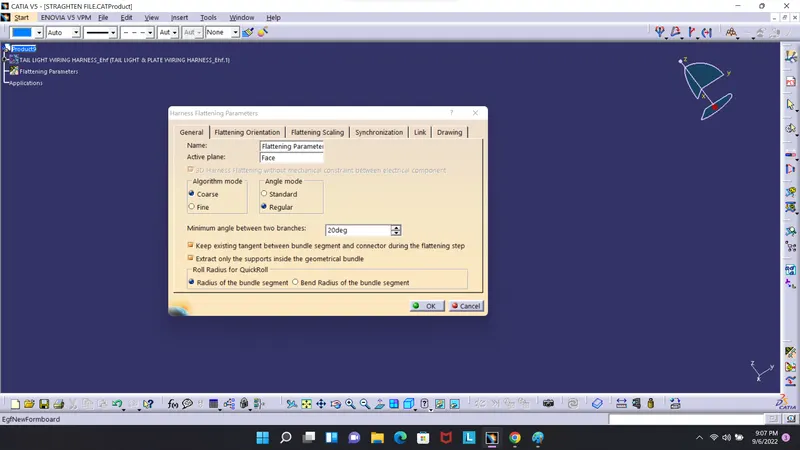
- After importing the harness straighten the bundle using plane or face
- Provide roll and rotate make the bundle presentable
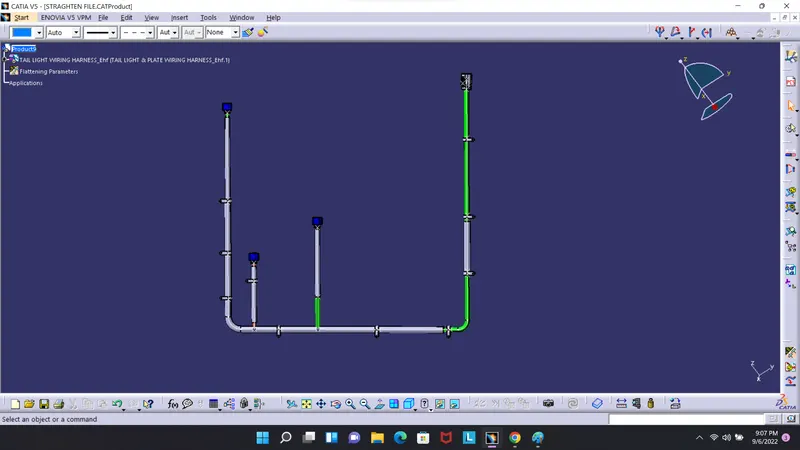
- Make sure all the connection are correct
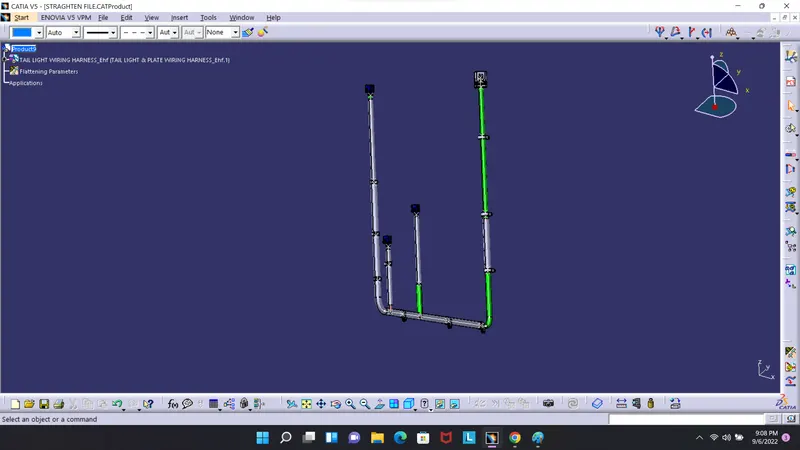
DRAFTING
- Open drawing and import the file
- As shown in below image, we have to insert front view of the harness assembly into drawing file and define drawing properties.
- It should be noted that for the Dress-up feature 3D wireframe is always ON. If this setting is not selected then the bundle segments will not be visible on the drawing view.
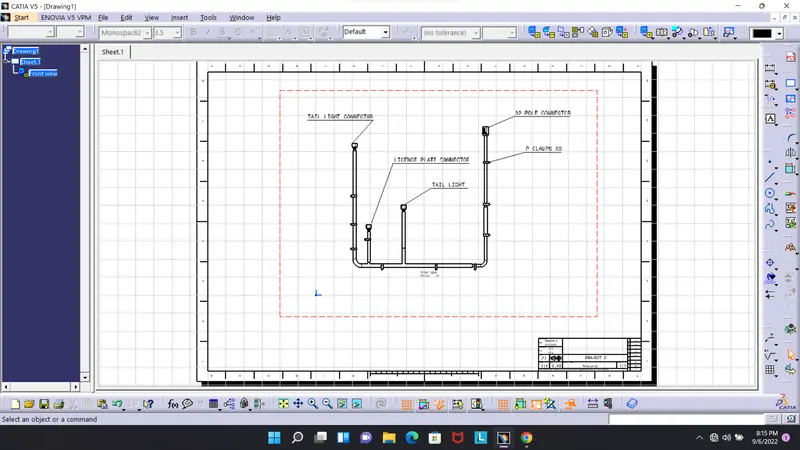
- Provide necessary indication names and name block
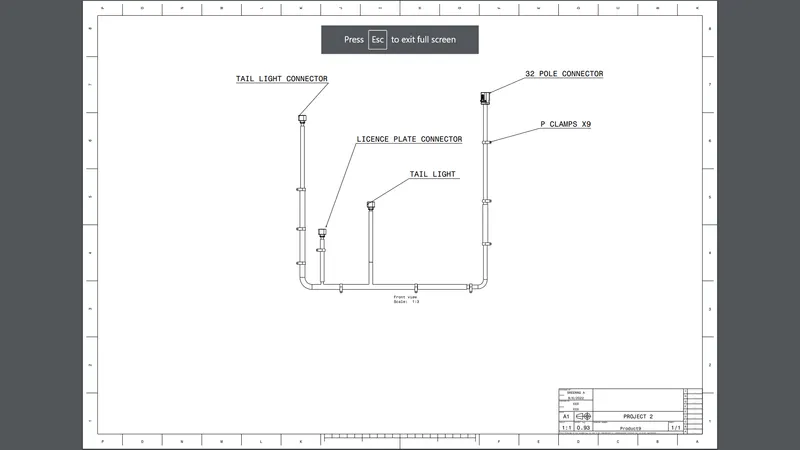
FINAL VIEWS
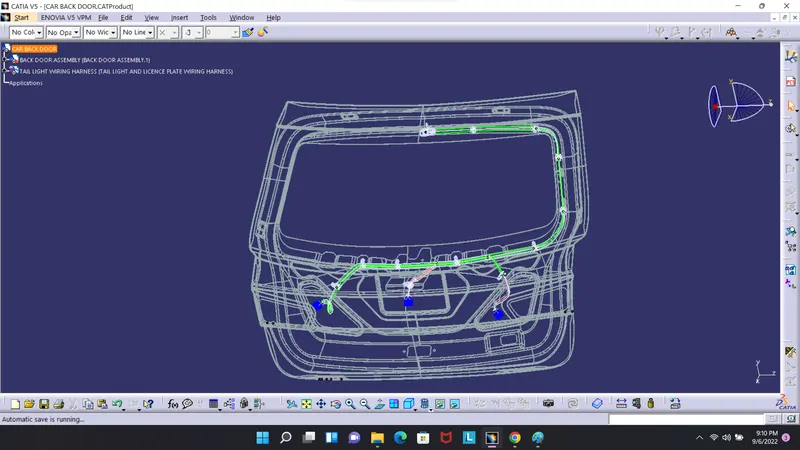
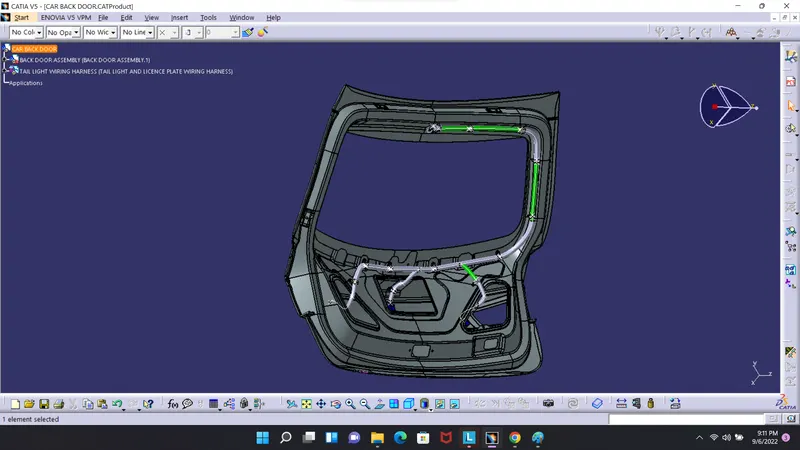
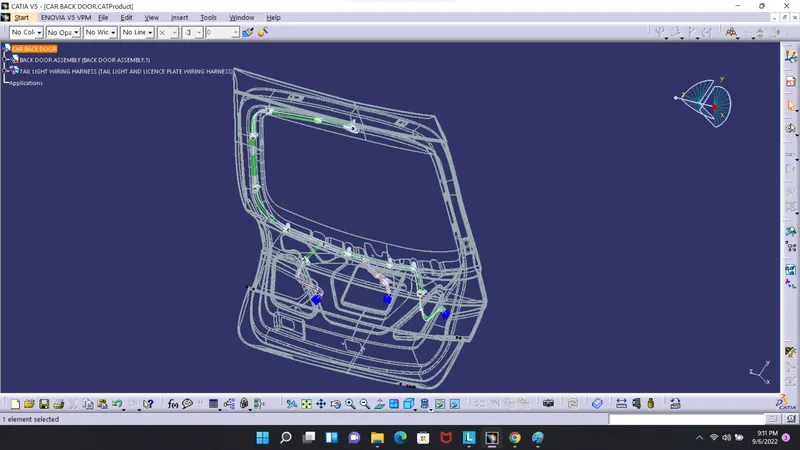
ASEEMBLE TREE
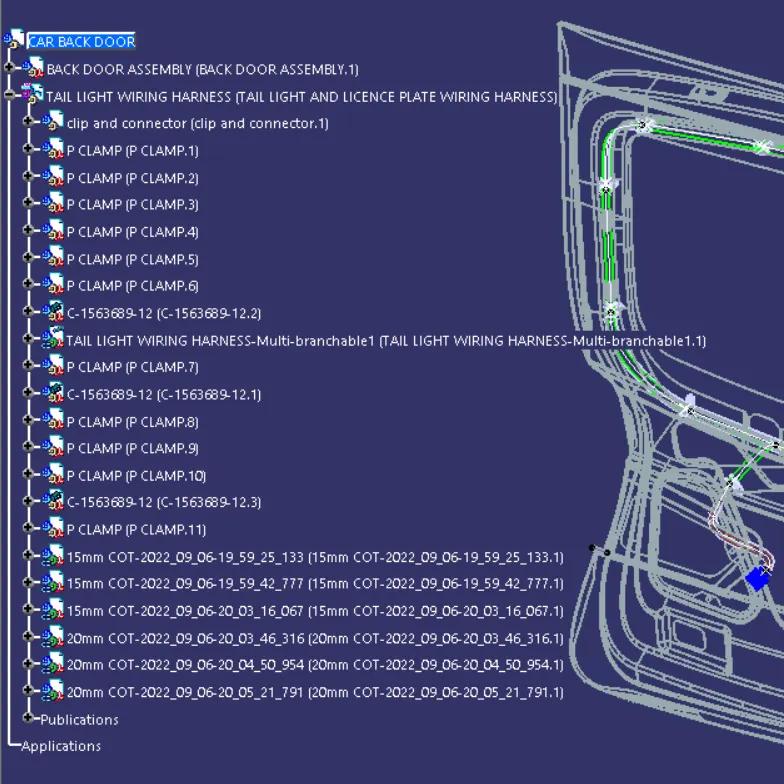
Conclusion:
Routing of the wiring harness for the car tail gate assembly has done and prepared flatten-view drawing in Catia. Applied all the packaging rules while routing the wiring harness. Also, provided details clearance, clipping selection, harness fixing requirements, harness continuity in order to design the harness