Project 2
Step 1: Download the CAD data "Back door" for routing and open in Catia software.
Step 2: Select the connectors, clips, clamps etc, for routing the back door and define its electrical properties as shown below.
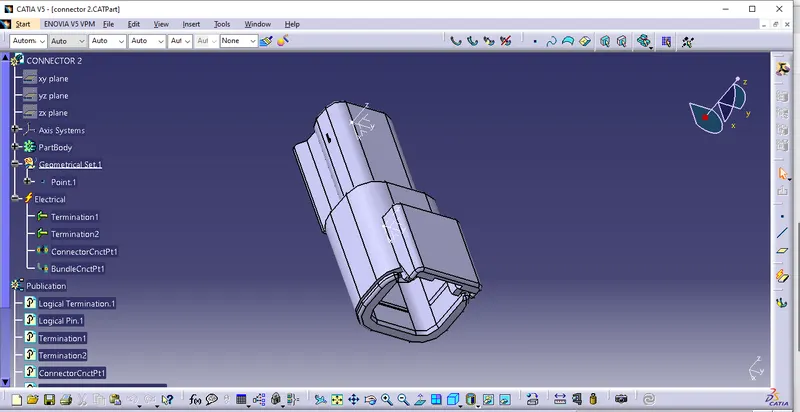
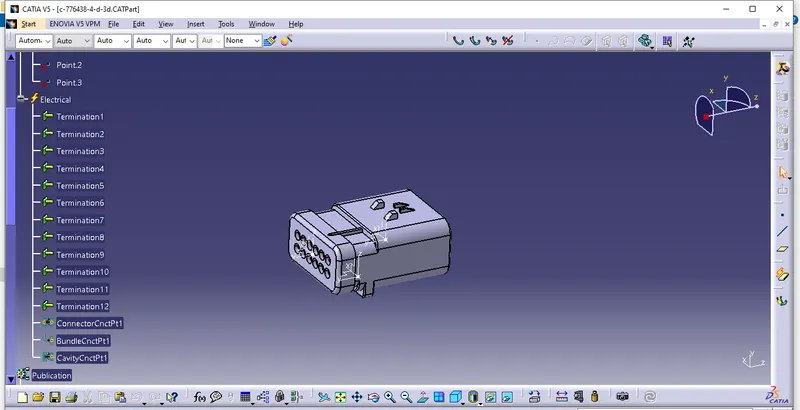
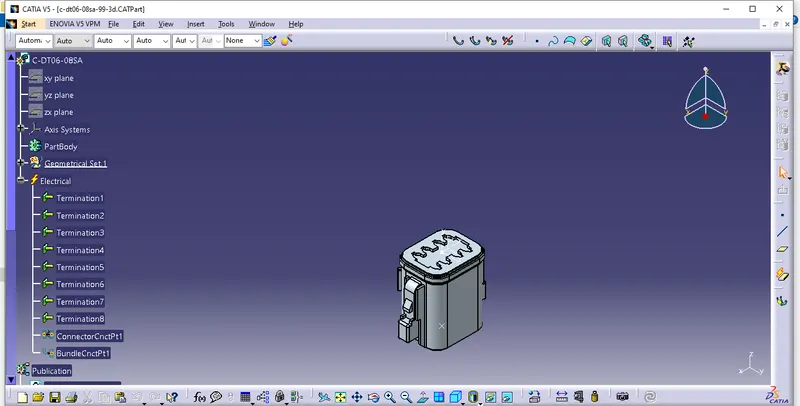
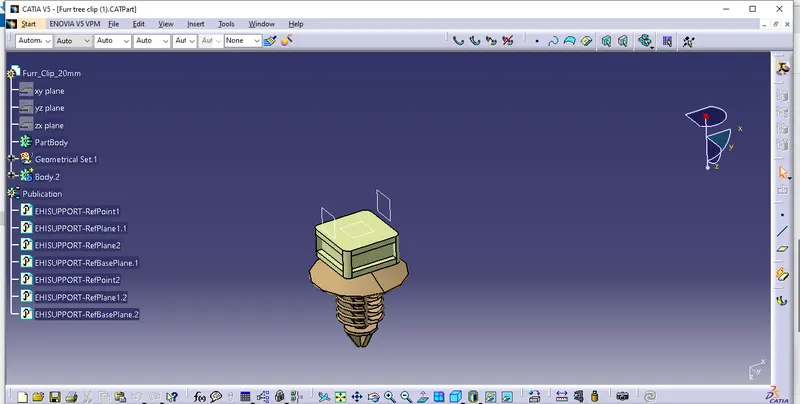
Step 3: Place all the connectors and clips in the environment for routing as shown below. 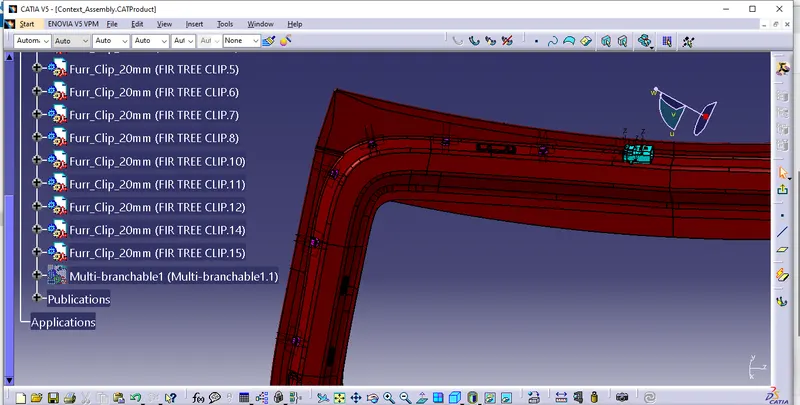
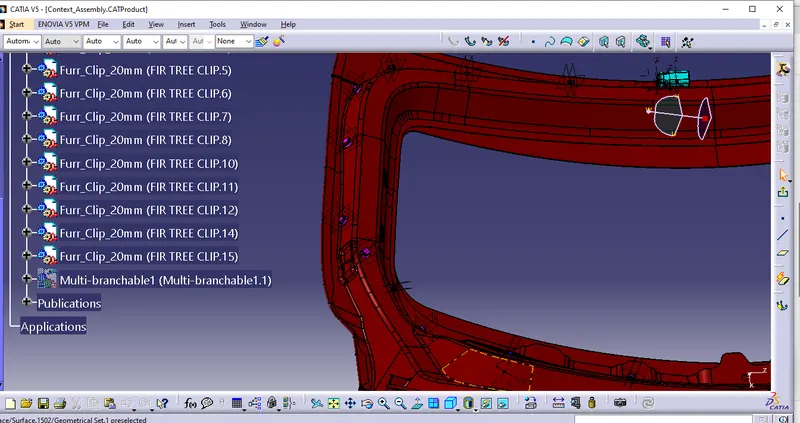
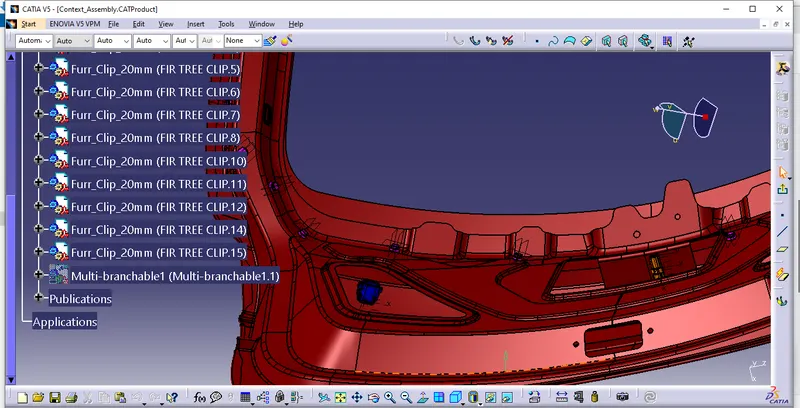
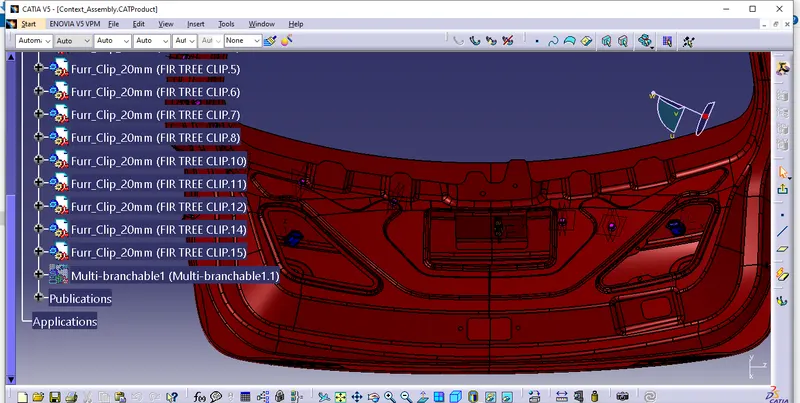
Step 4: Start the routing from the top and continue till the end by providing bundle diameter and bending radius as desired, shown below
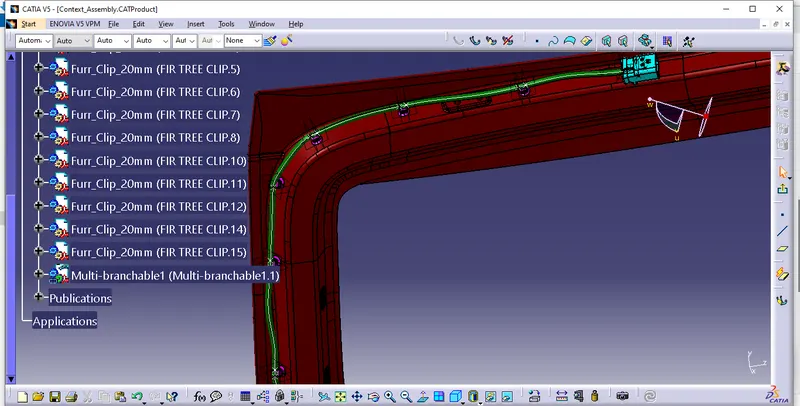
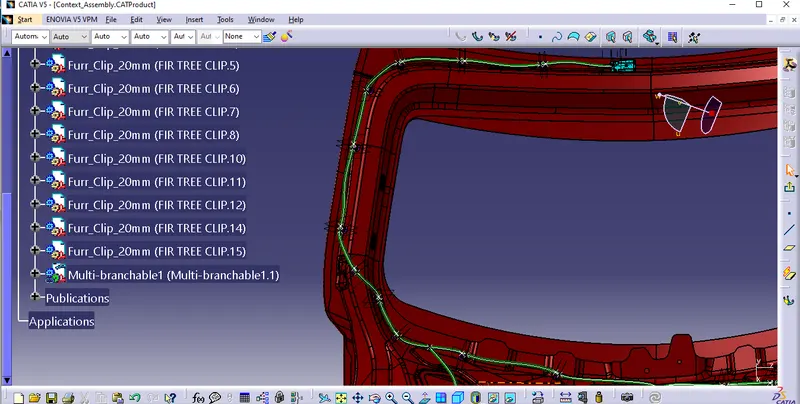
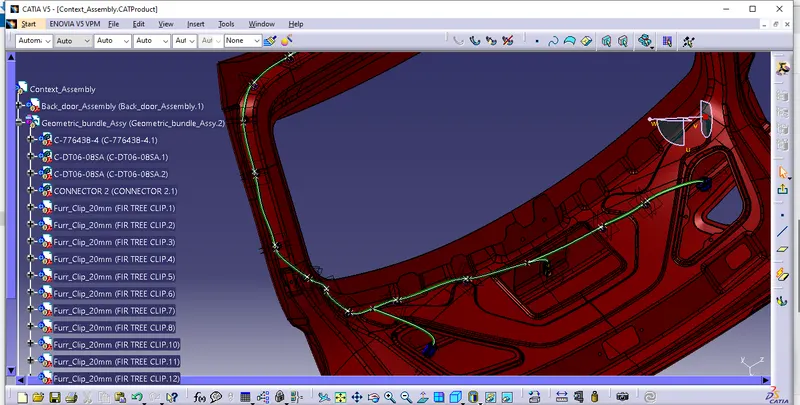
Step 5: provide slack during the routing for easy servicability and access, provide branching point where ever necessary and maintain minimum 50mm of branch length .
Step 6: Check the continuity of the bundle as shown below
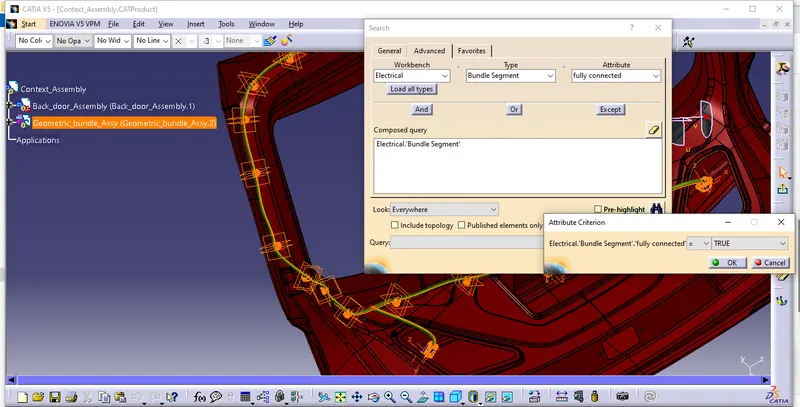
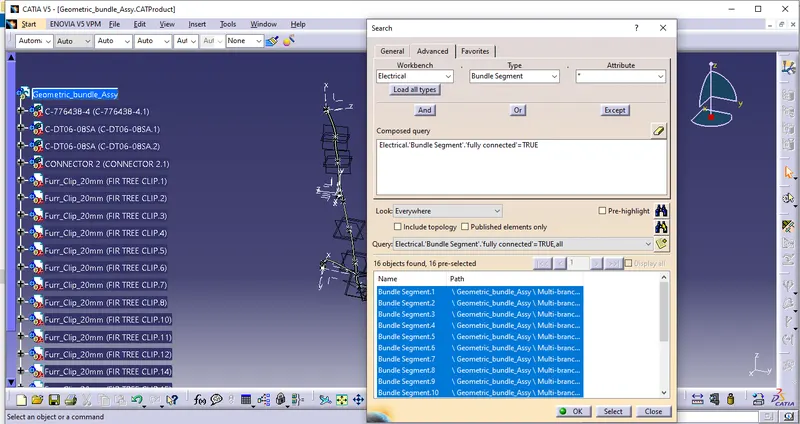
Step 7: Create new product for flattening and set all the flattening parameters and flatten the bundle as shown below
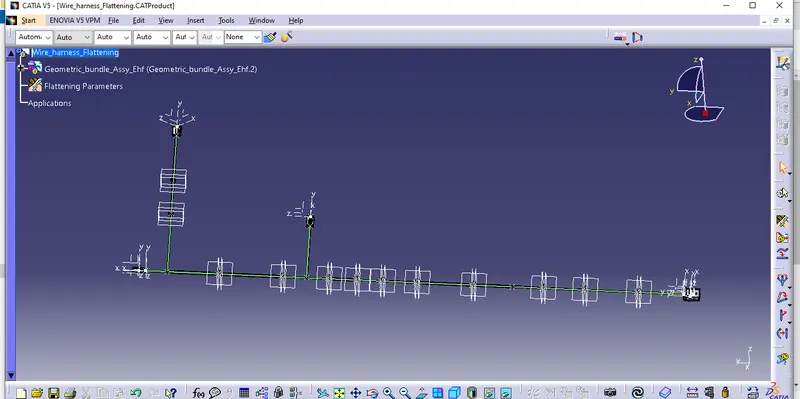
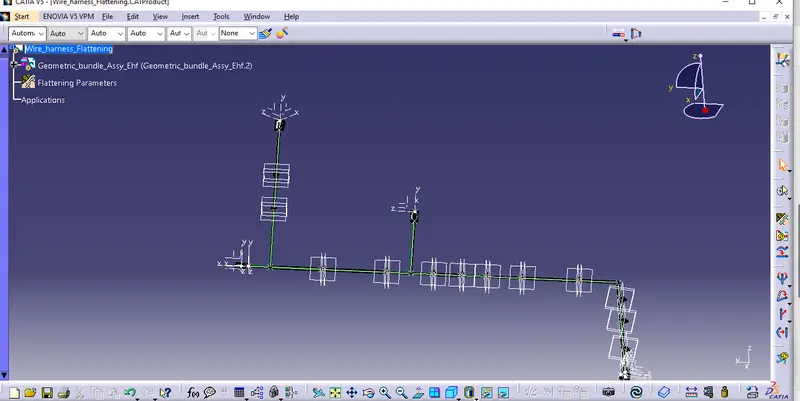
Step 8 : roatate the bundle at desired place for better fitment in the drawing as shown below
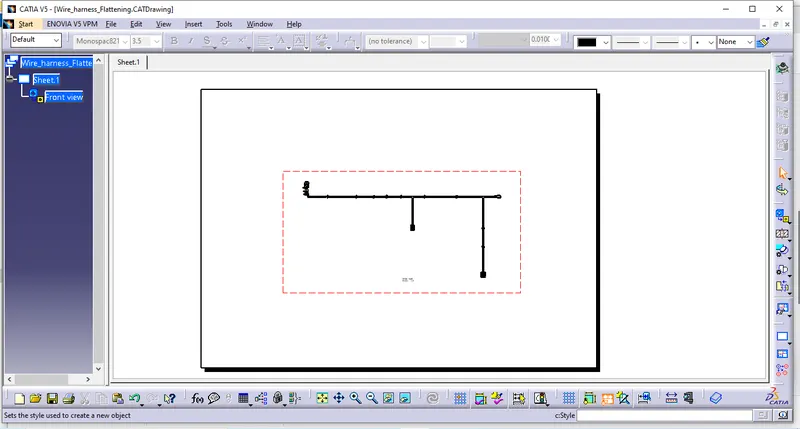
Step 9: Create the drawing of flattening for Manufacturing purpose as shoen below
Please find the attached files for your reference. Challange completed.