Project 2
Creation of Project
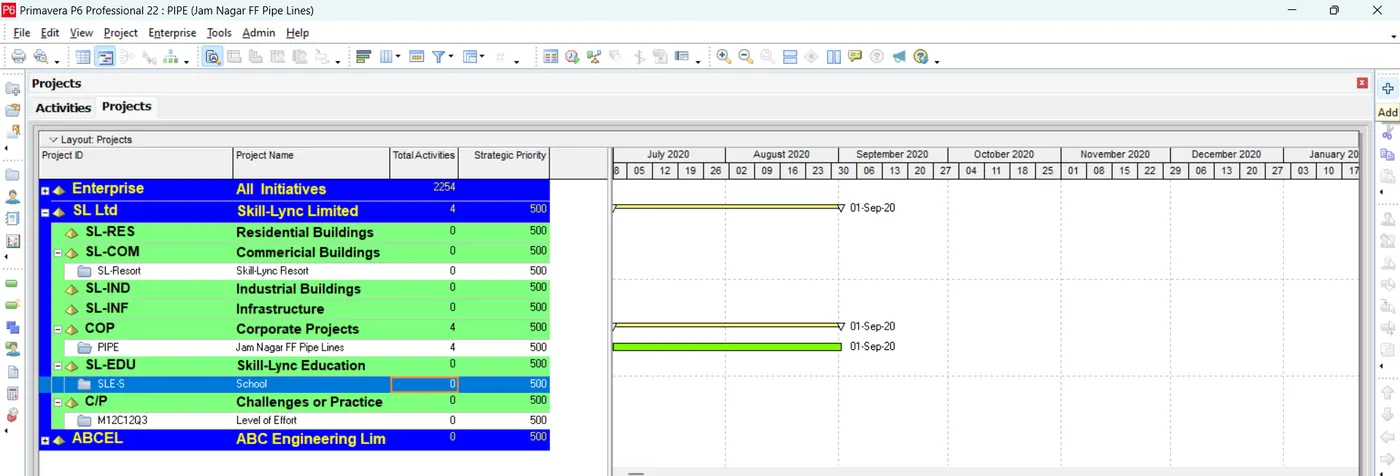
Initially, we open the Primavera P6 software, where we then add a new project under the required EPS using the + available at the top right.
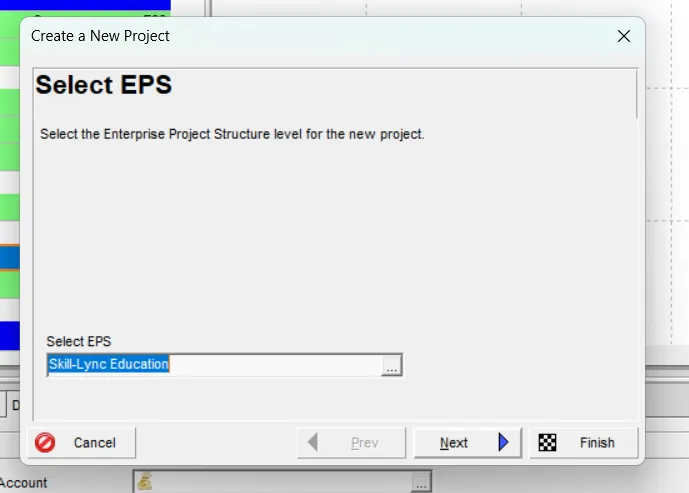
Where we then proceed by providing the required details like name, id, dates, etc.
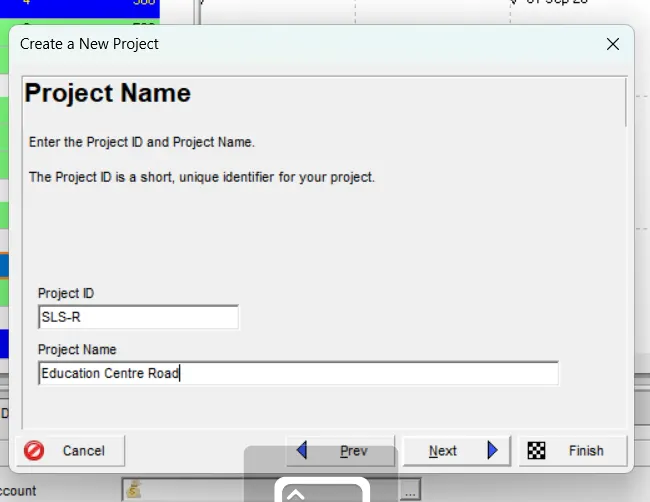
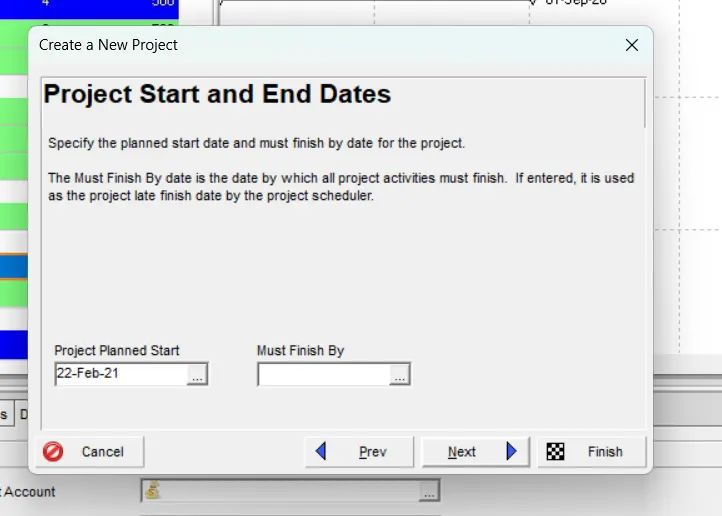
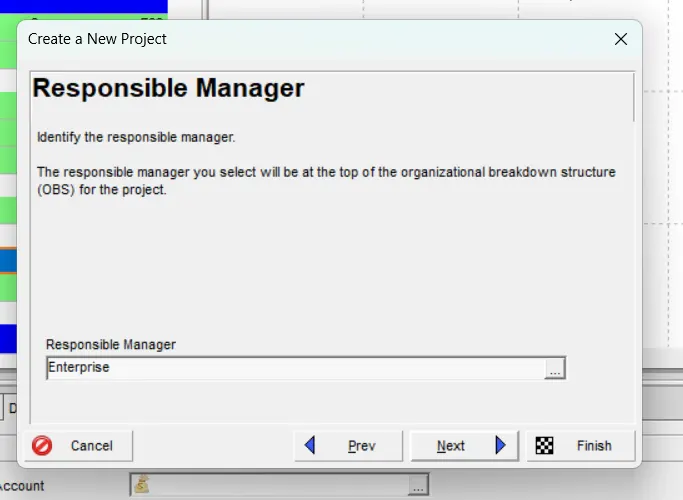
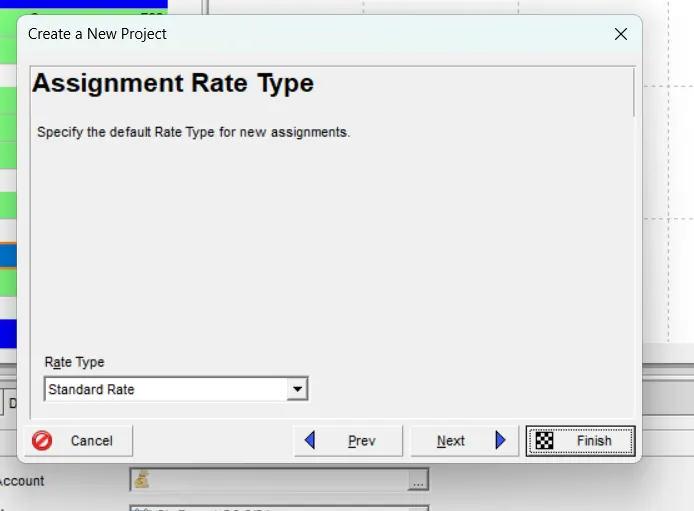
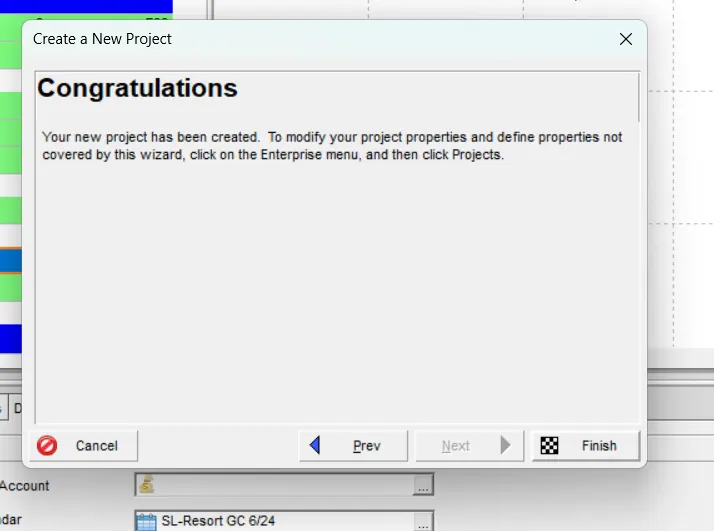
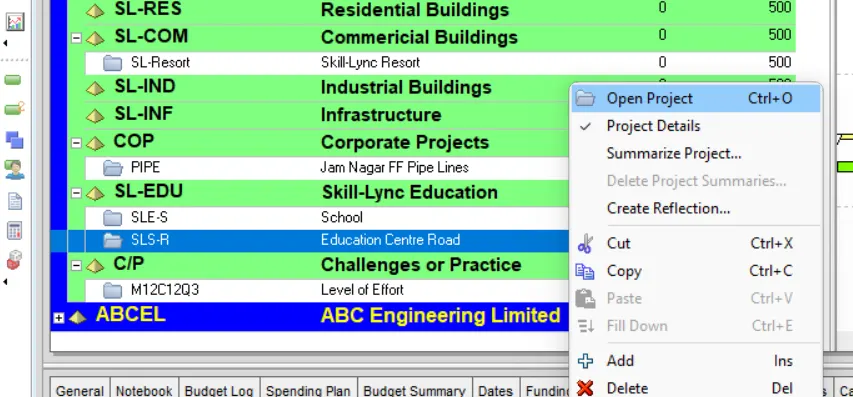
So, the project is created after adding the required details, then we open the project.
Addition of Activities
Then we add the activities of the project by using the + available at the top right.
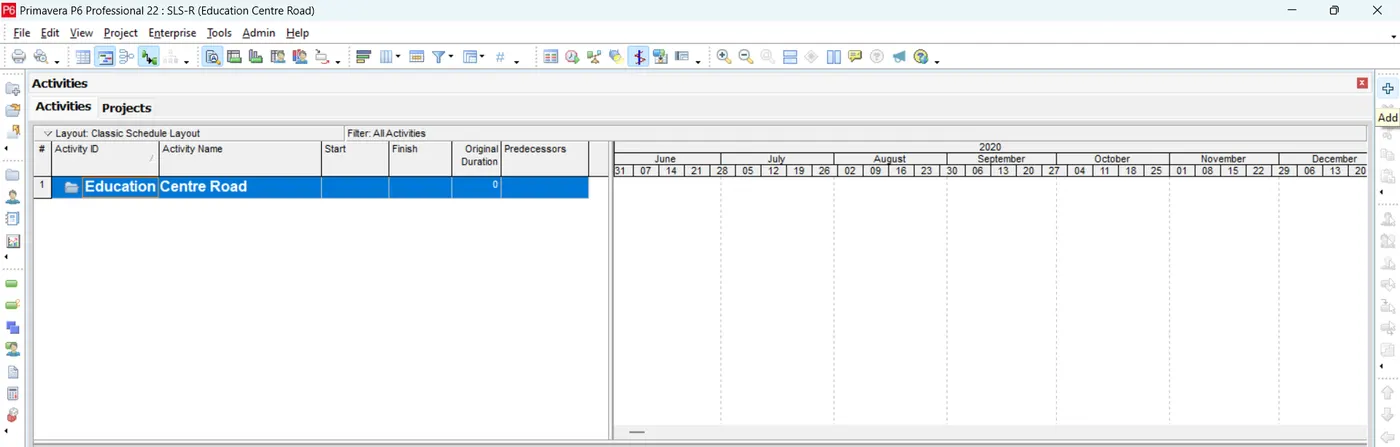
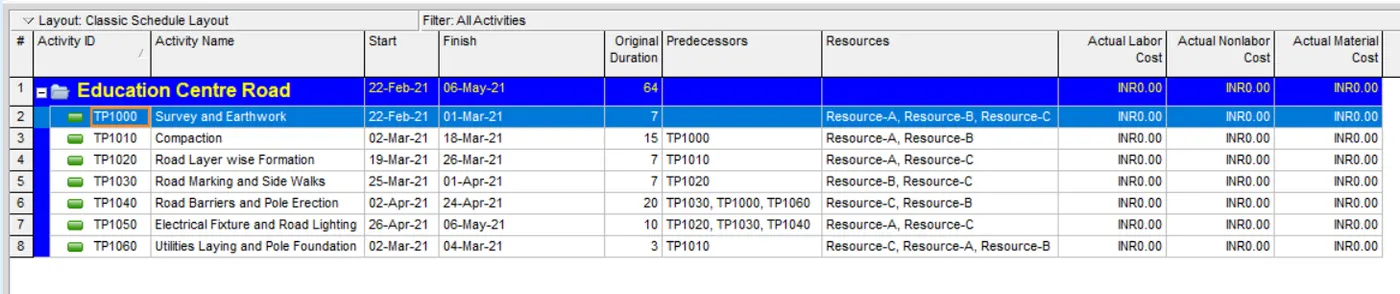
Along with the successfull addition of the activities, we even provide the other required details such as duration, start, finish, etc.
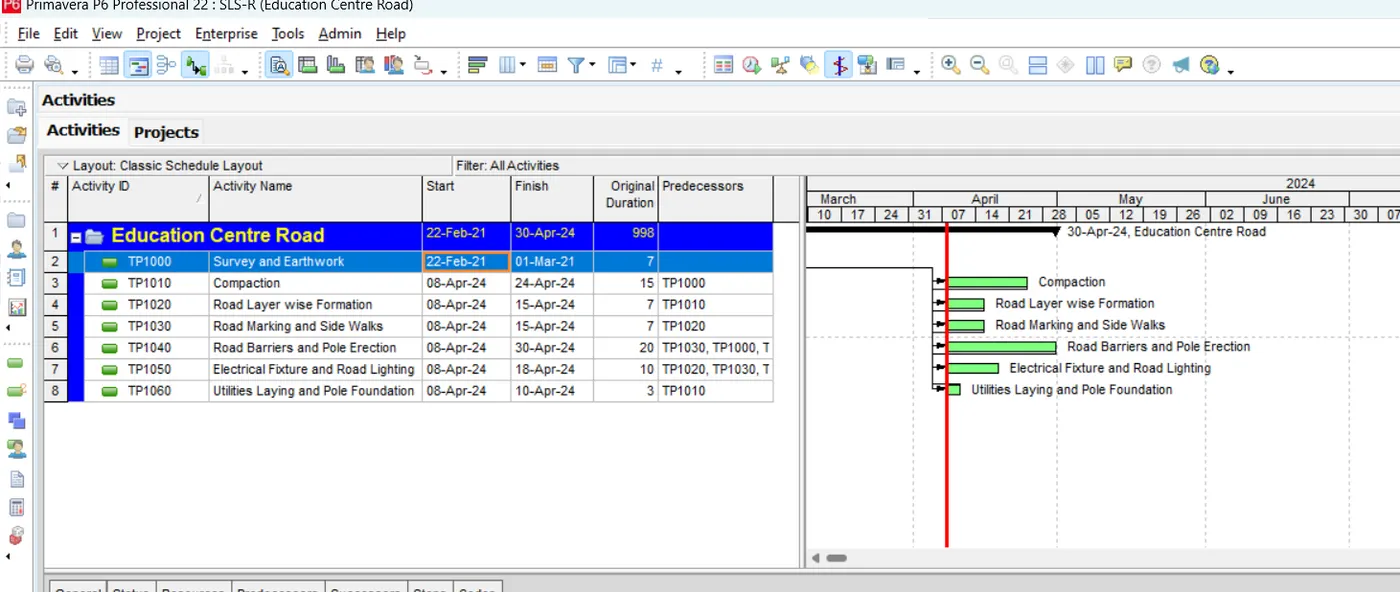
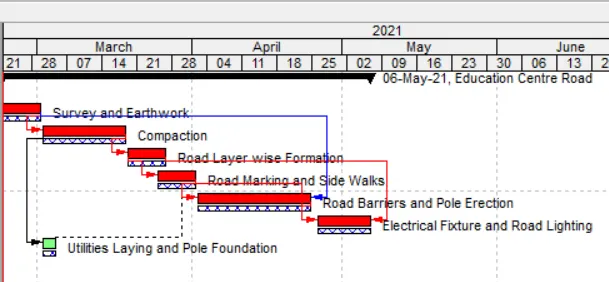
We then schedule the activities, then we can find the correct arrangement of the activities in the bar chart.
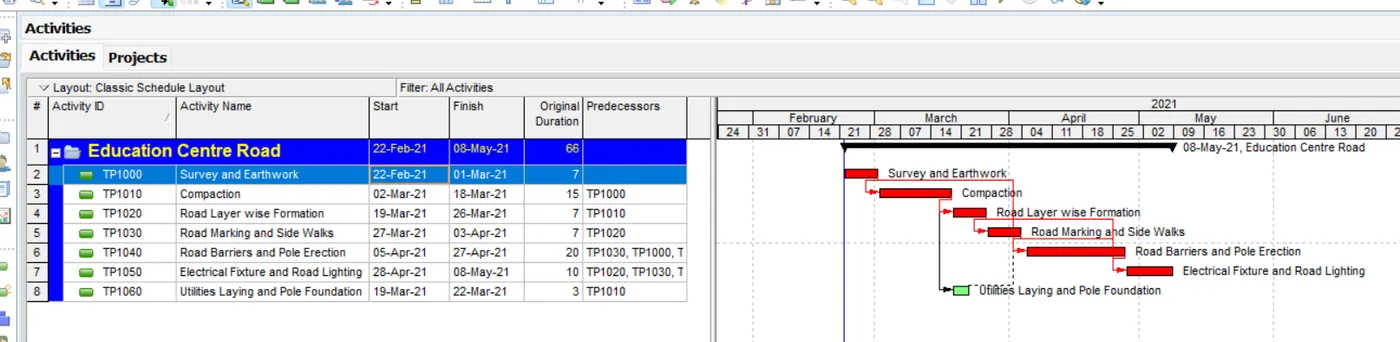
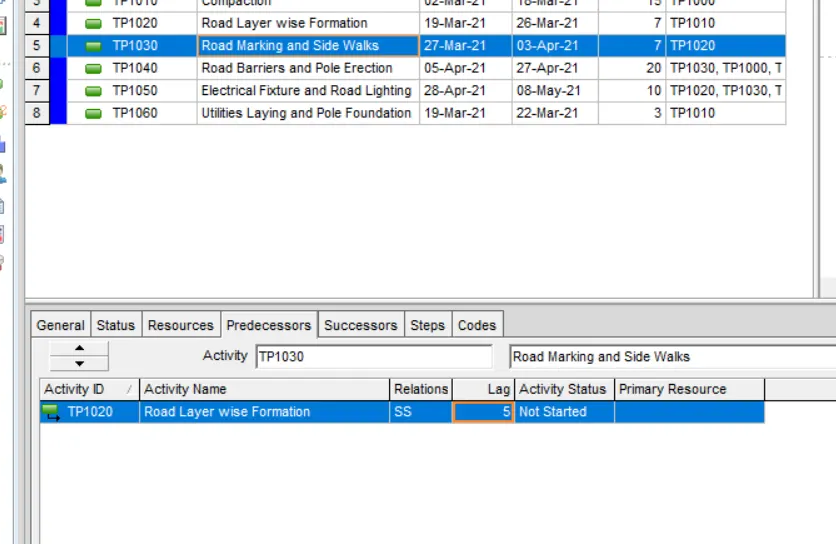
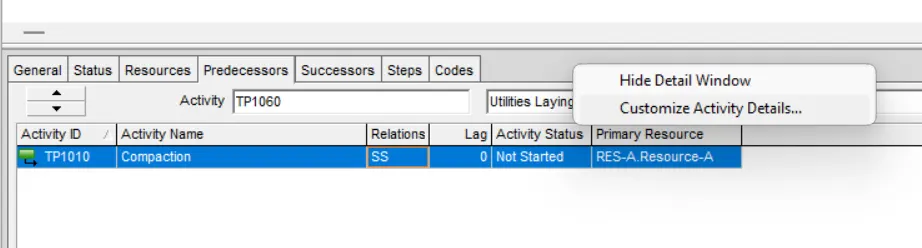
Not only adding predecessors but also we add the suitable relationships between the activites along with lag when required.
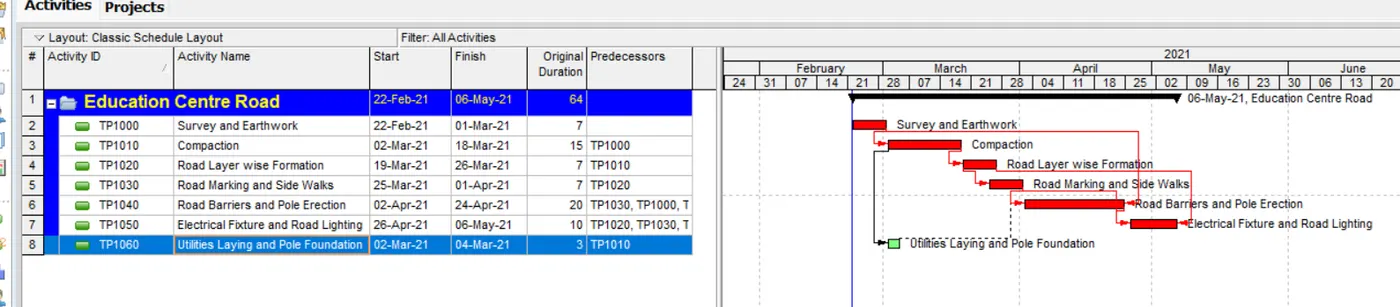
Then, we can reschedule the project once again to view the updated bar chart.
Addition of Resources
Then, we add the resources to the project. Where we go to Enterprise>Resources...
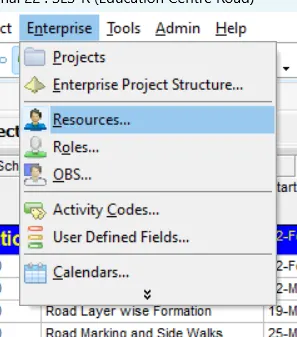
In the resultant tab, we proceed with the addition of the resources.
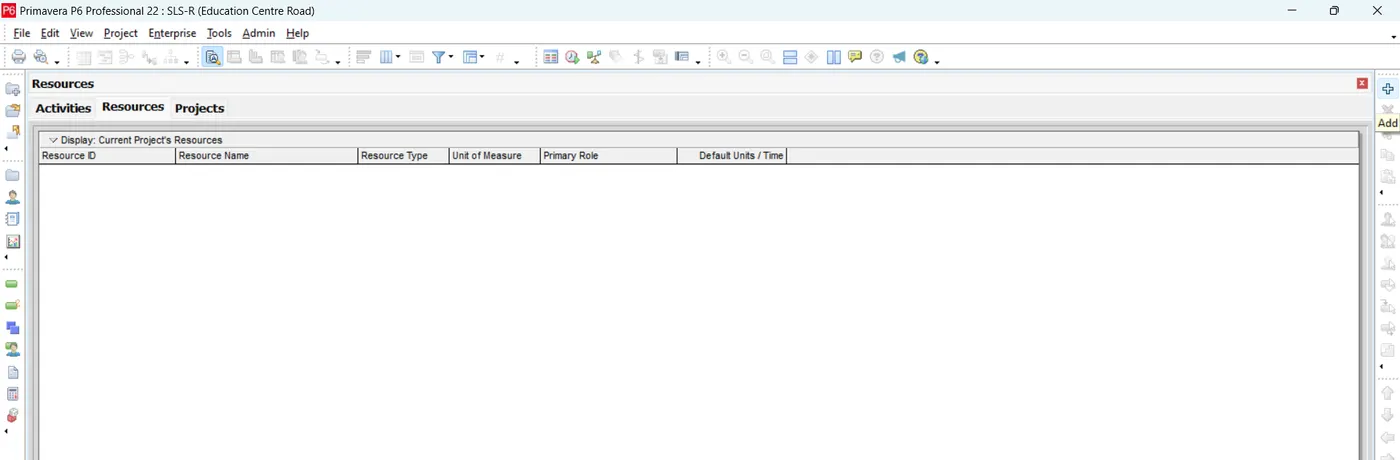
Where we provide the required details like Resource ID, Resource Name, Resource Type, Units/Time & Prices.
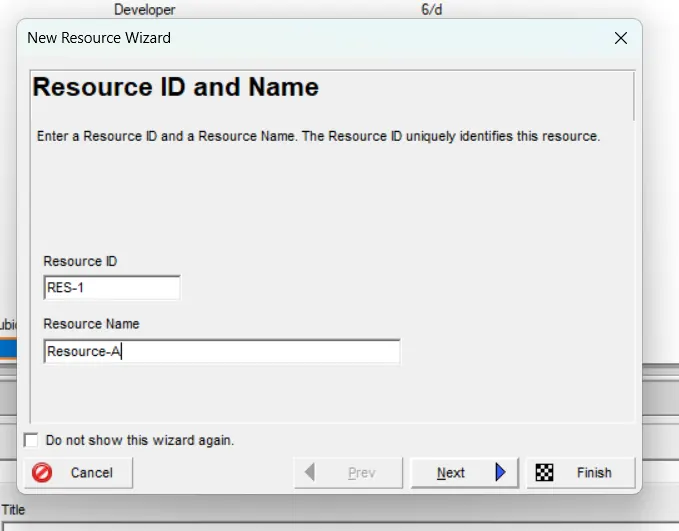
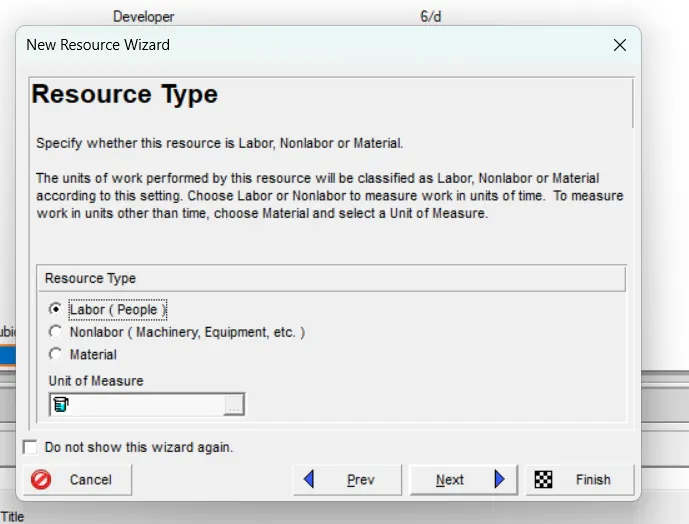
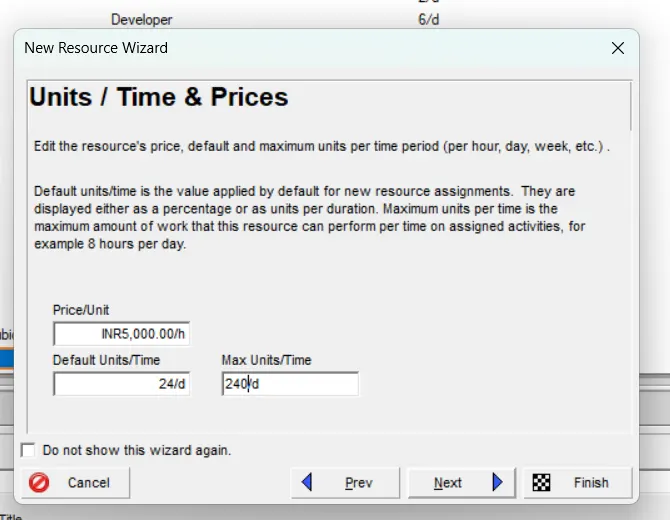
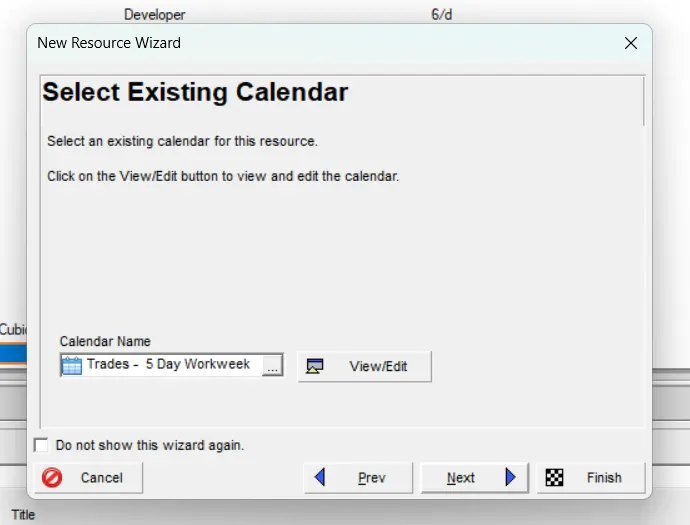
We even select a calender for the resources.
Then we can find the required created resources.

Assigning of Resources
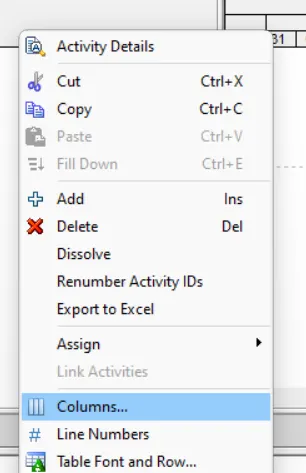
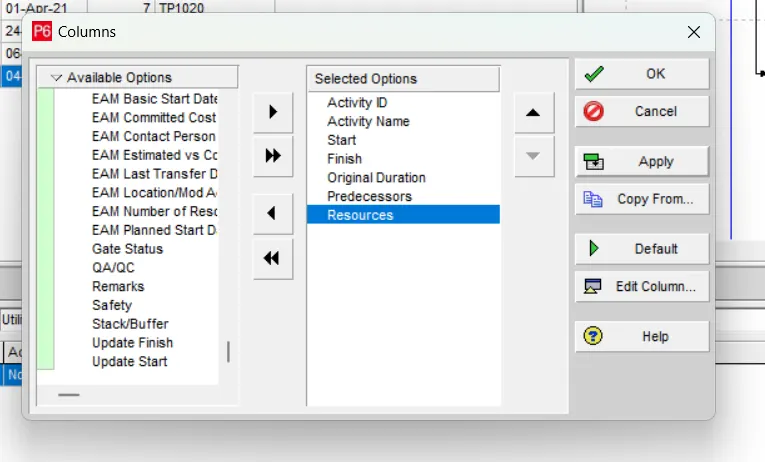
We even add the resources column to the schedule such that we can add the required resources to activites and we can view them.
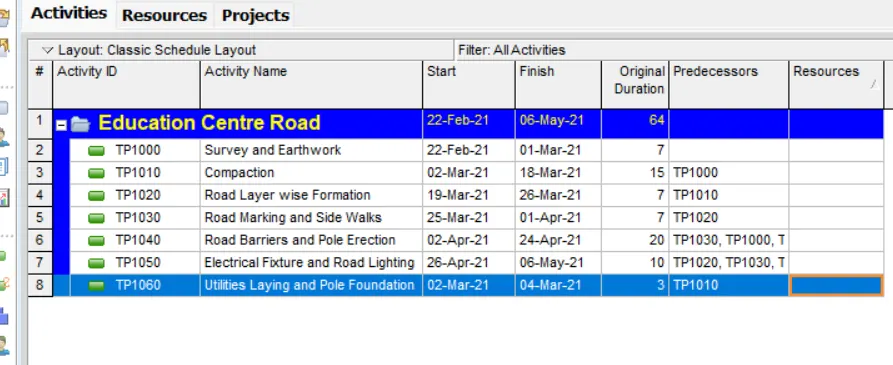
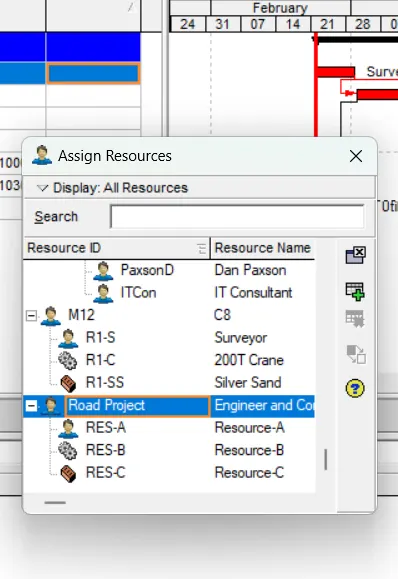
As mentioned, after the successfull assignment of the resources we can view them.

Change of Time Scale
We then change the time scale of the bar chart as required.
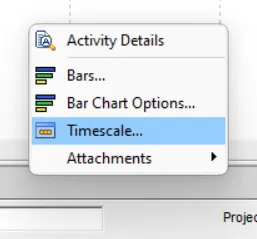
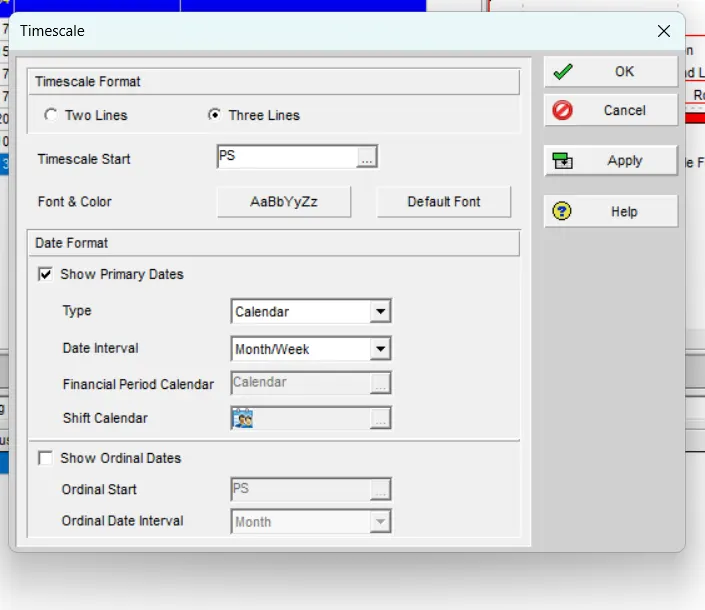
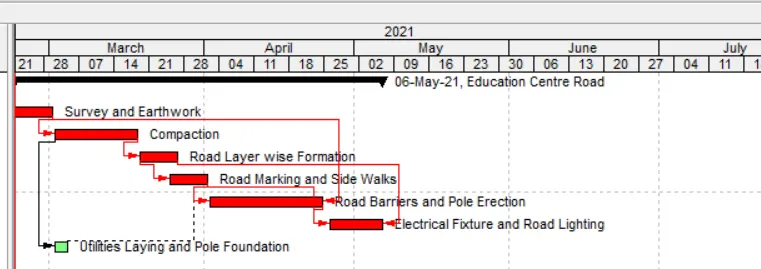
We even assign a calender to the project.
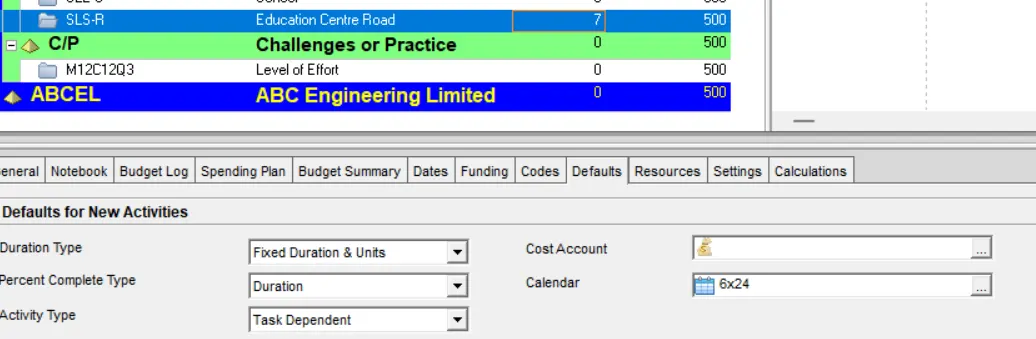
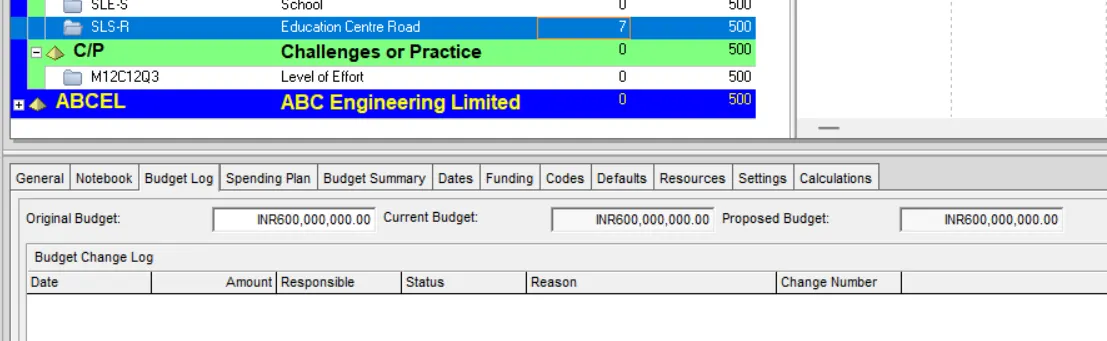
We then add a budget to the project.
Creation of Base Line
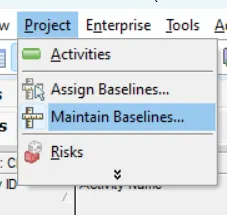
We then go with the assigning of the baselines. So, we go to Project>Maintain Baselines...
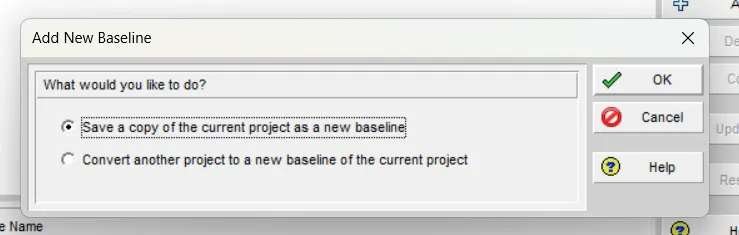
We then click on Add in the resultant tab and select the Save a copy of the current project as a new baseline option such that the current project itself will be saved as a base line.
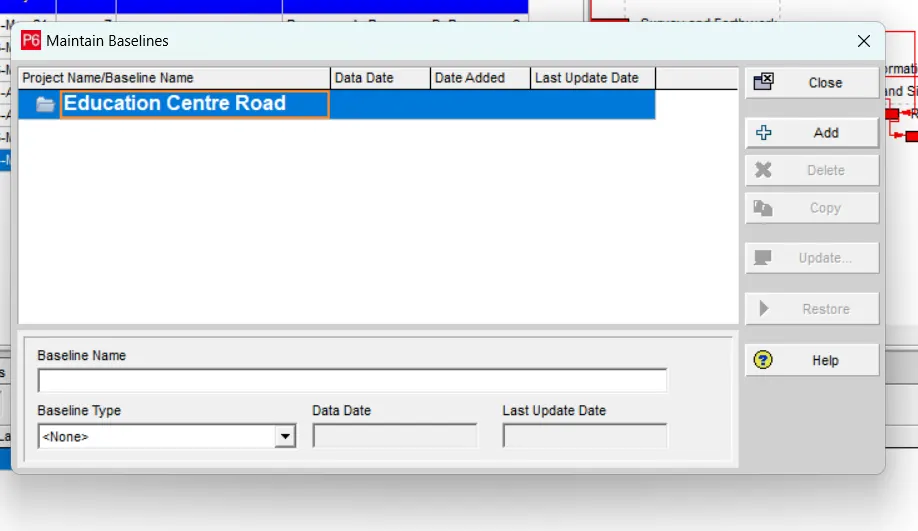
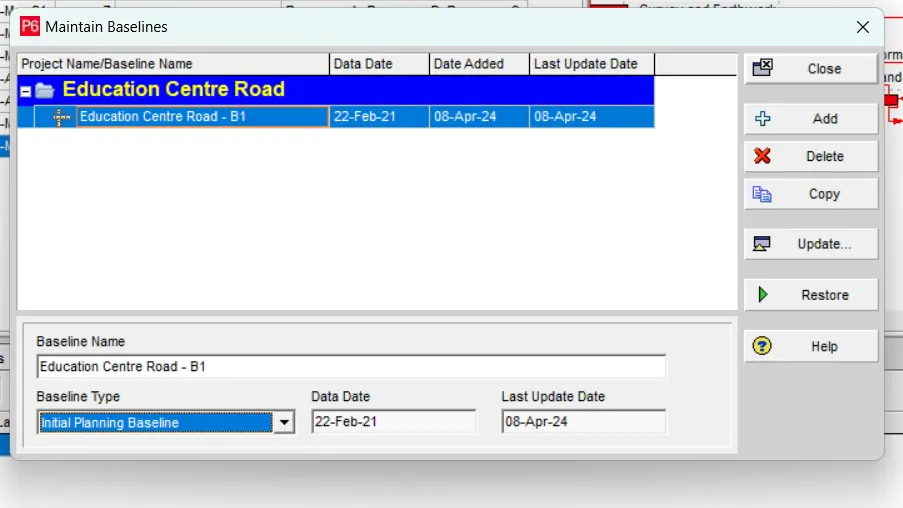
We even provide a name and select the type of baseline.
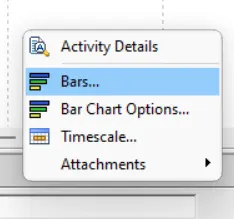
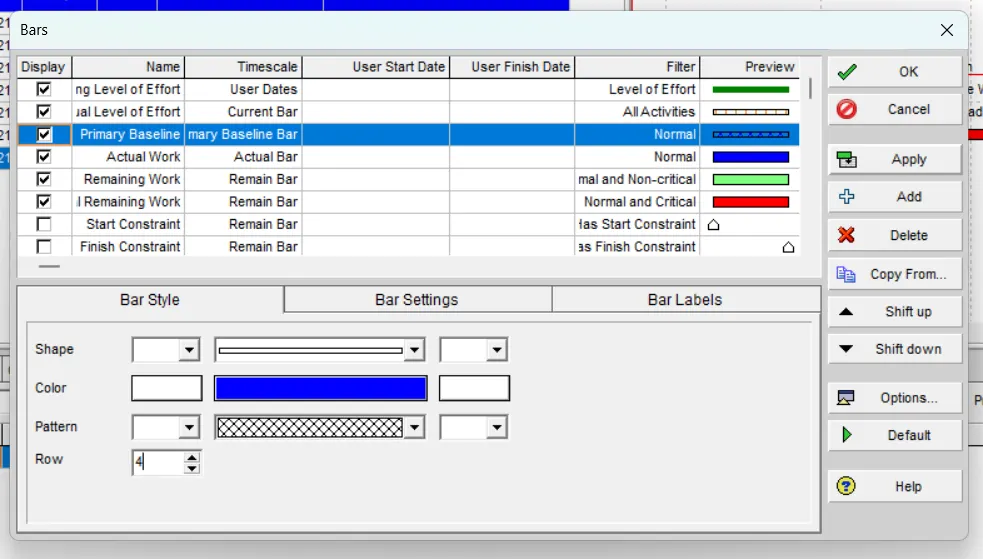
Then we modify the bars to view the baseline over the bar chart.
Addition of Expenses
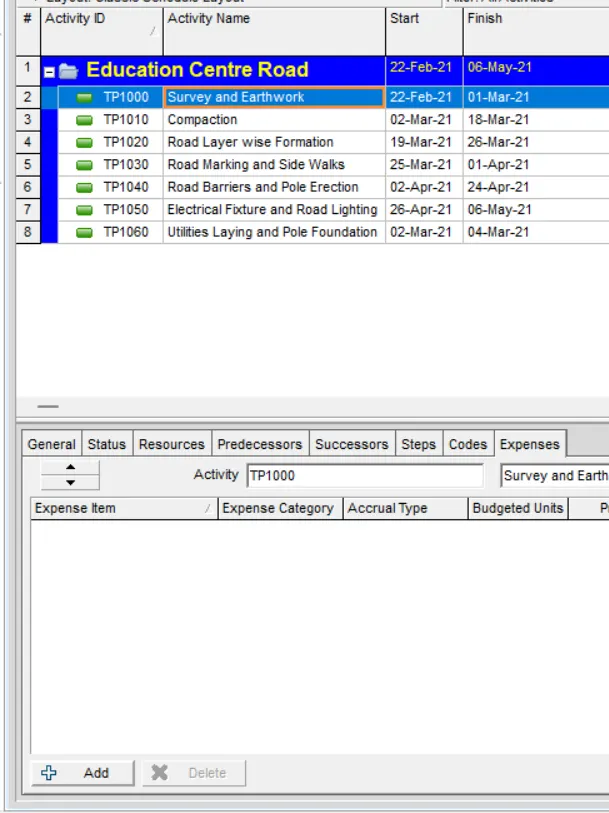
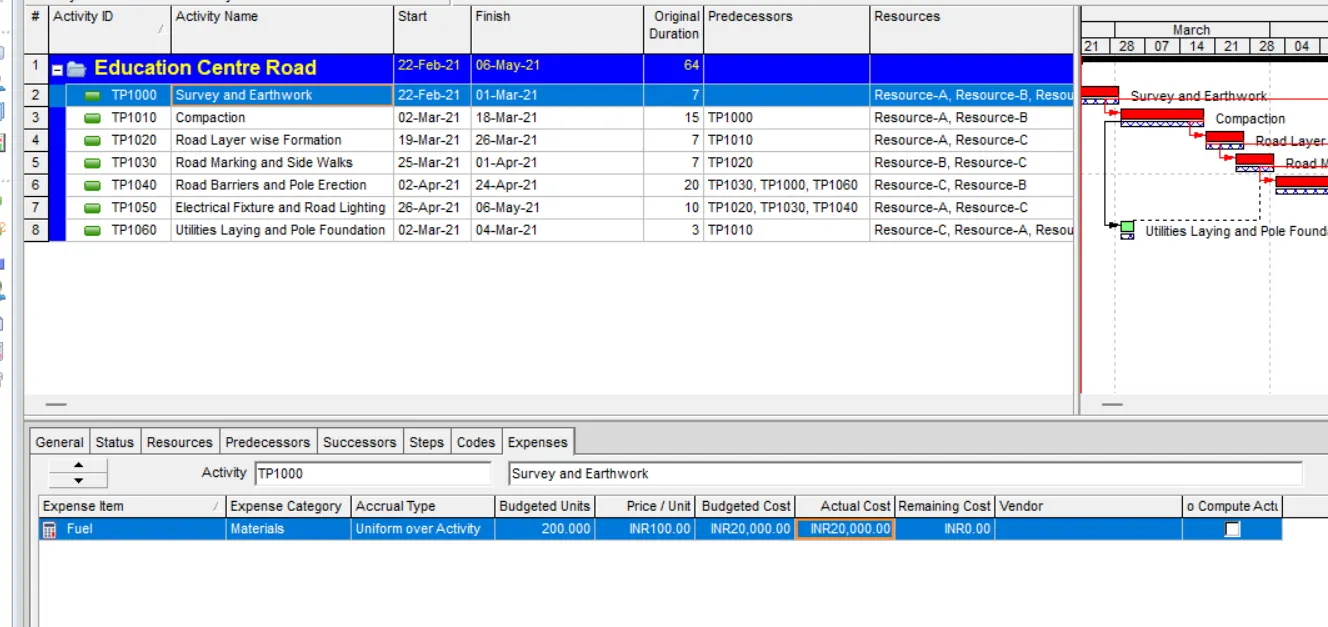
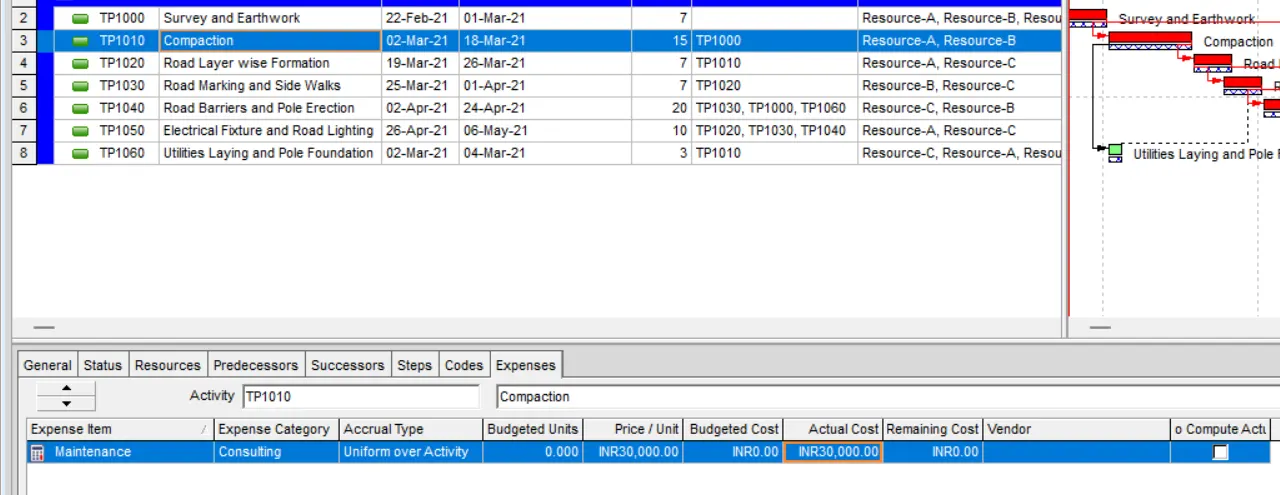
We then add the expenses for the activities.
Creation of Reports
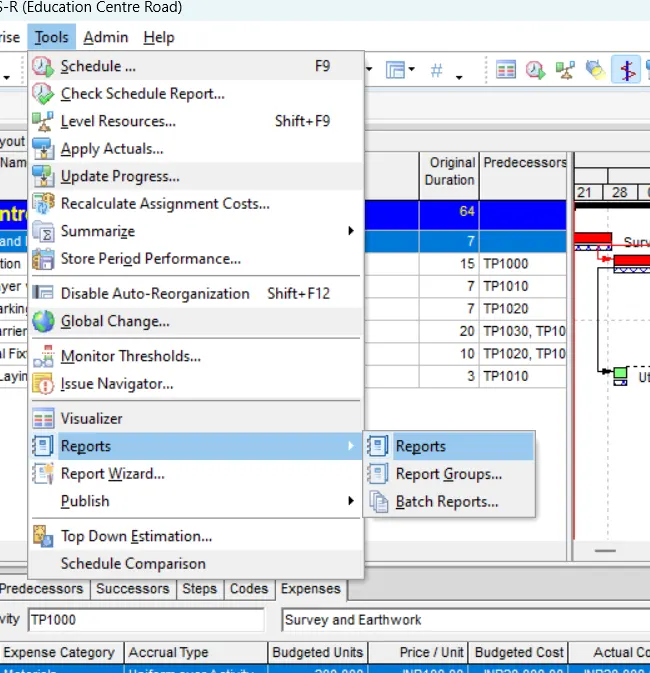
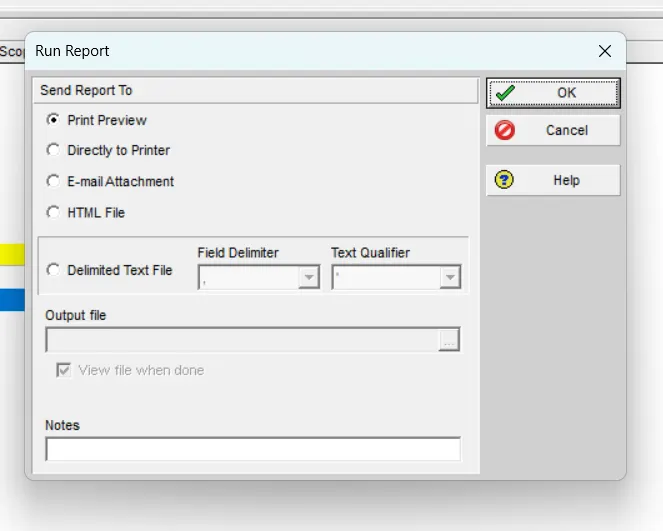
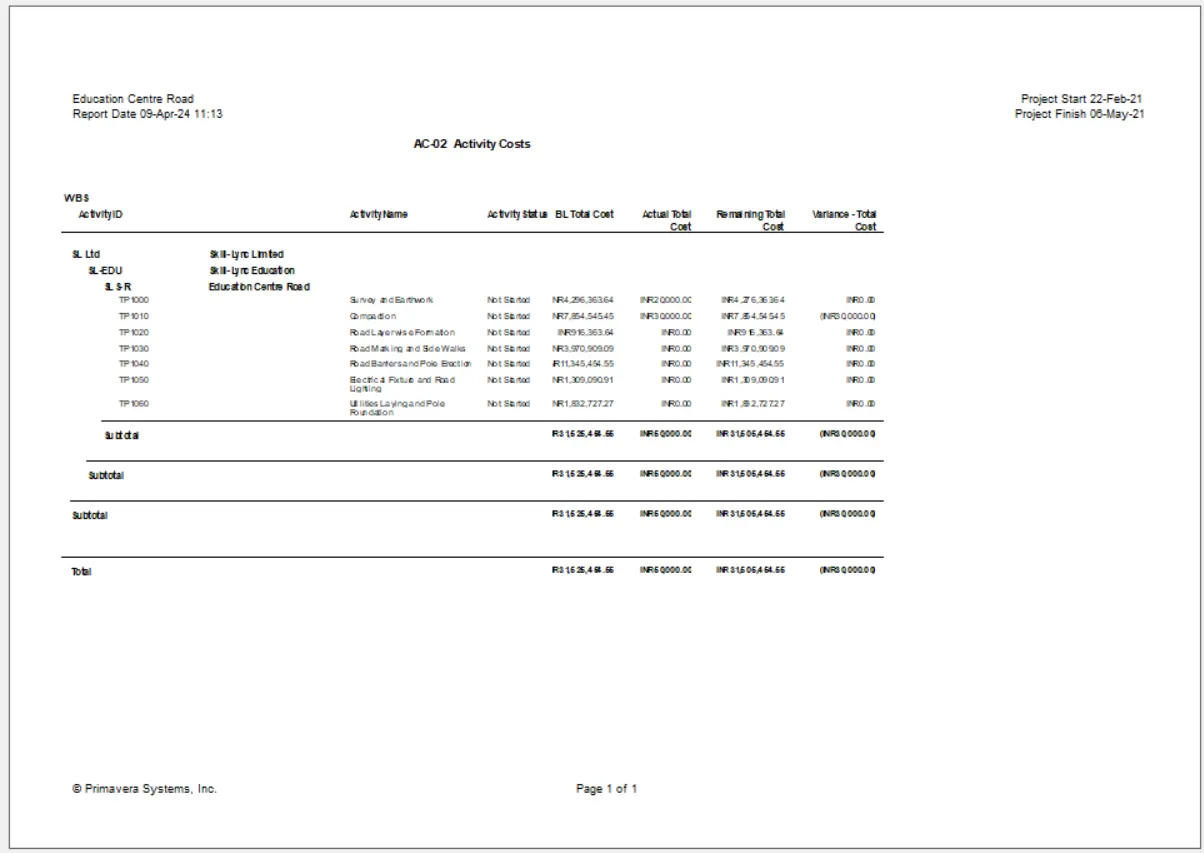
We then create a report, where we go to Tools>Reports>Reports.
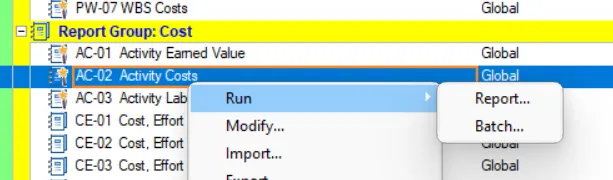
In the resultant tab, we select the required report.
Creation of Reflection
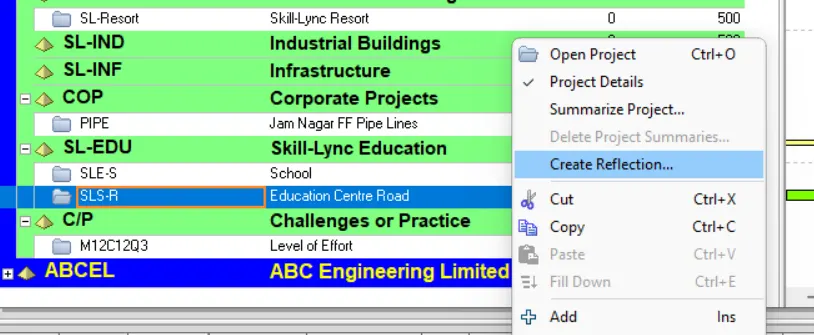
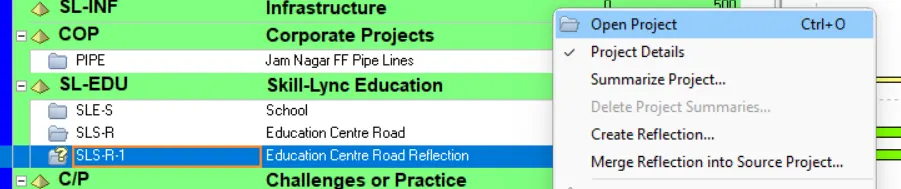
We then go to the Project Tab to create a reflection of the project. On right clicking over the required project, we select the Create Reflection... option from the available list.
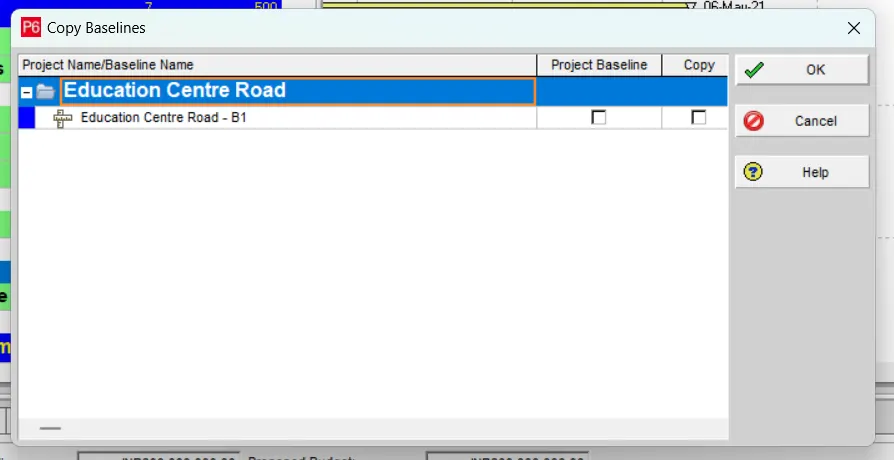
After the process, we can find the reflection of the project in the Projects Tab.

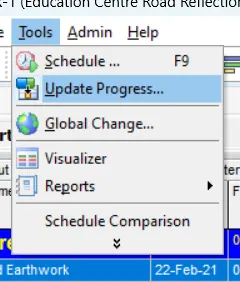
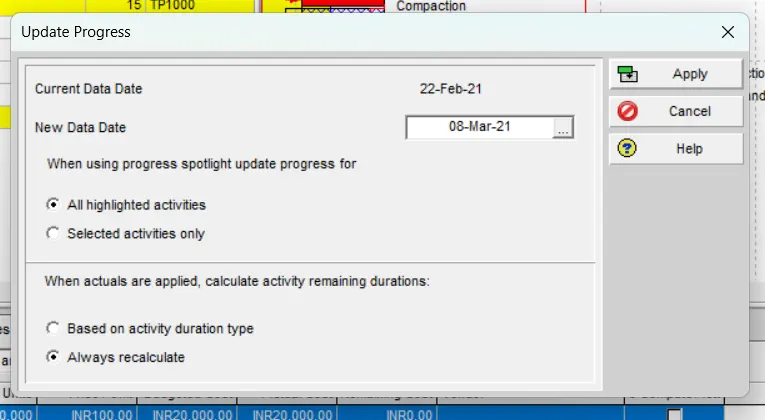
Then we open the reflection to update it.
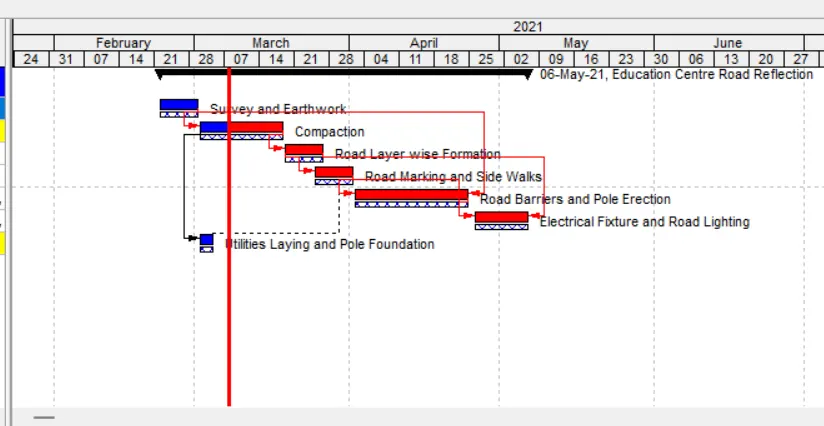
Bar Chart in Visualizer
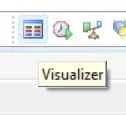
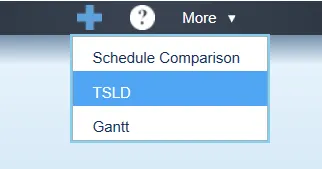
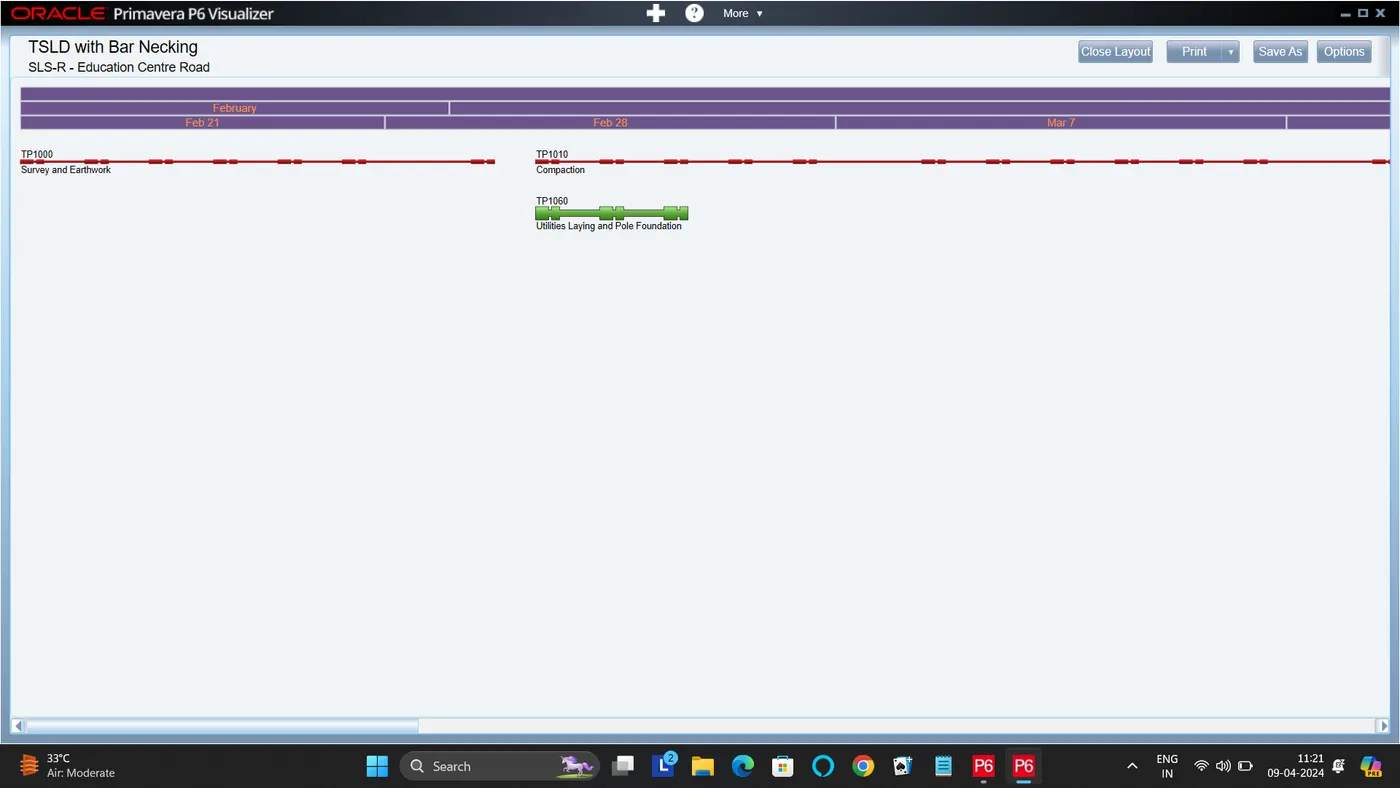
We go to Visualizer, and click on + and select TSLD.

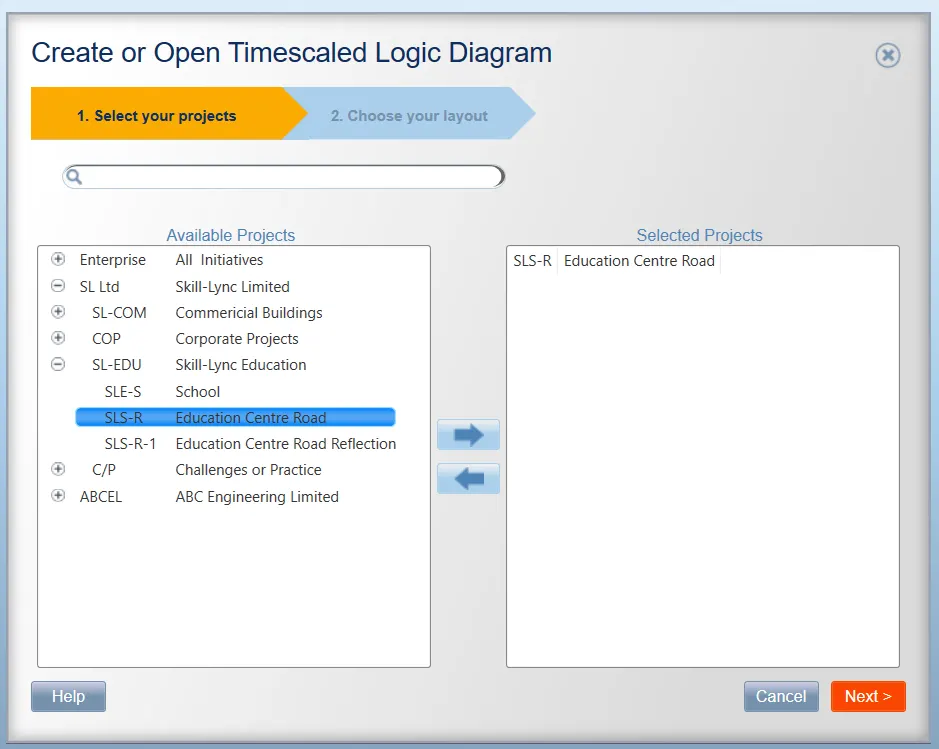
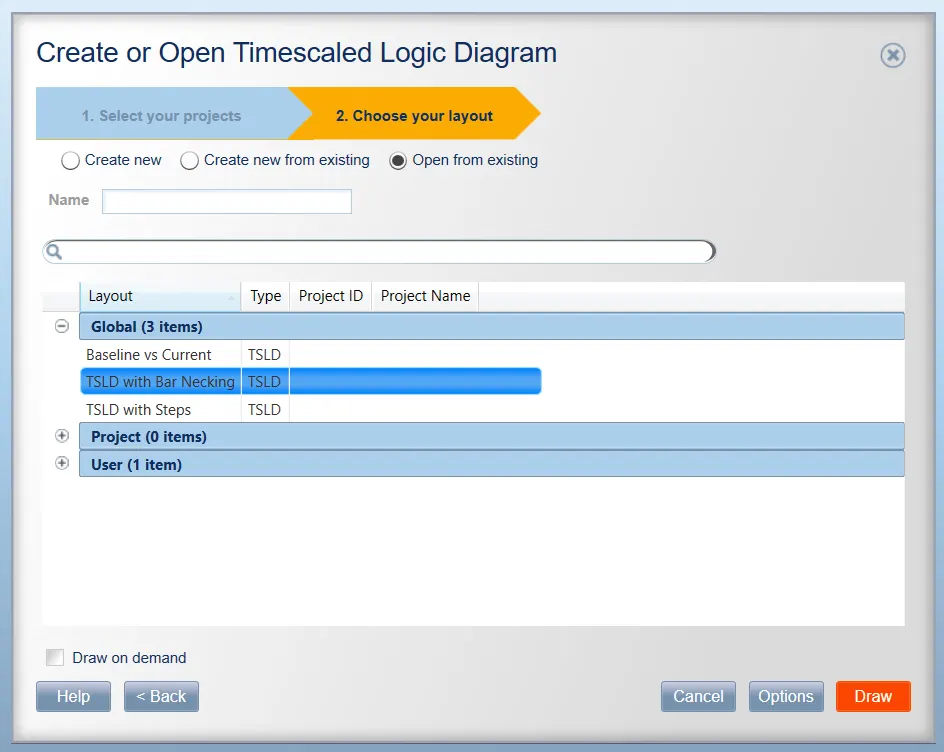
And select the required project to be viewed in the Visualizer and we choose the required layout to view it.
Addition of Curtain
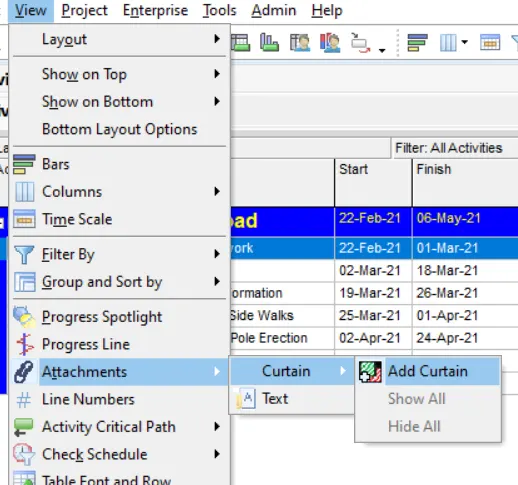
We add a curtain to the project. Where we go to View>Attachments>Curtain>Add Curtain.
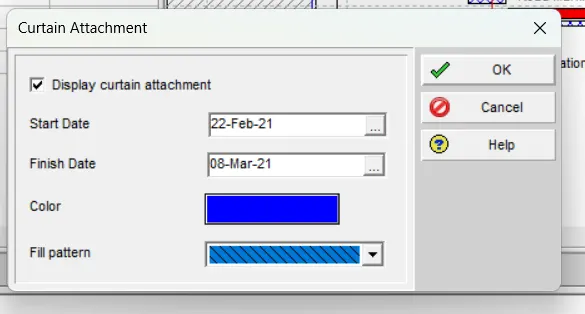
We provide the details like Start Date, Finish Date, Colour, Fill Pattern and click on OK.
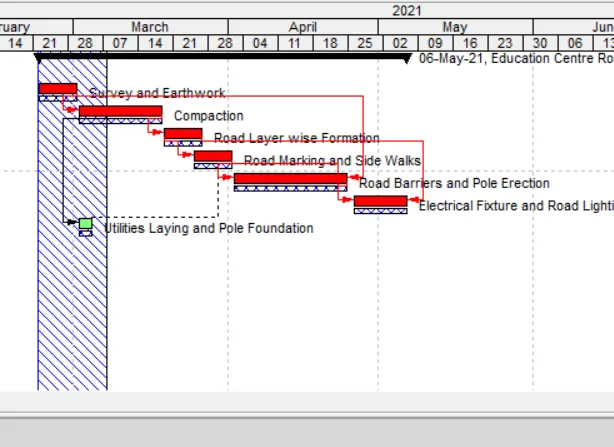
Where we can see the curtain over the designated period.
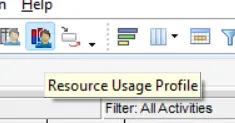
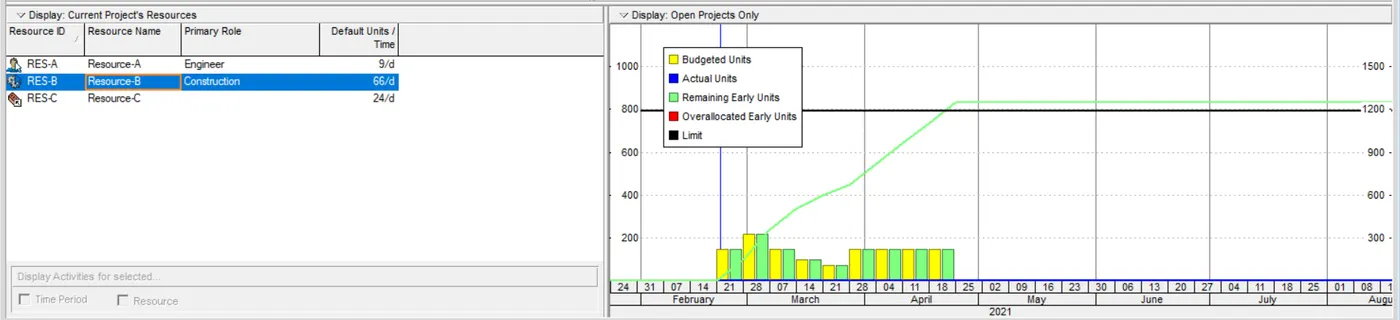
We the go to Resource Usage Profile to see the resources usage.
For us to find the actual costs for the labour, non labour and material, we can add the respective columns to the schedule to find the amount.