Project 2
Project-Back_Door_wiring_Harness
Objectives:
A. Prepare wiring harness context and wiring harness geometry file.
B. Prepare product of flattening of wiring harness geometry file.
C. Prepare drawing sheet of harness file.
i. Procedure:-
1. download all connector form T.E. com
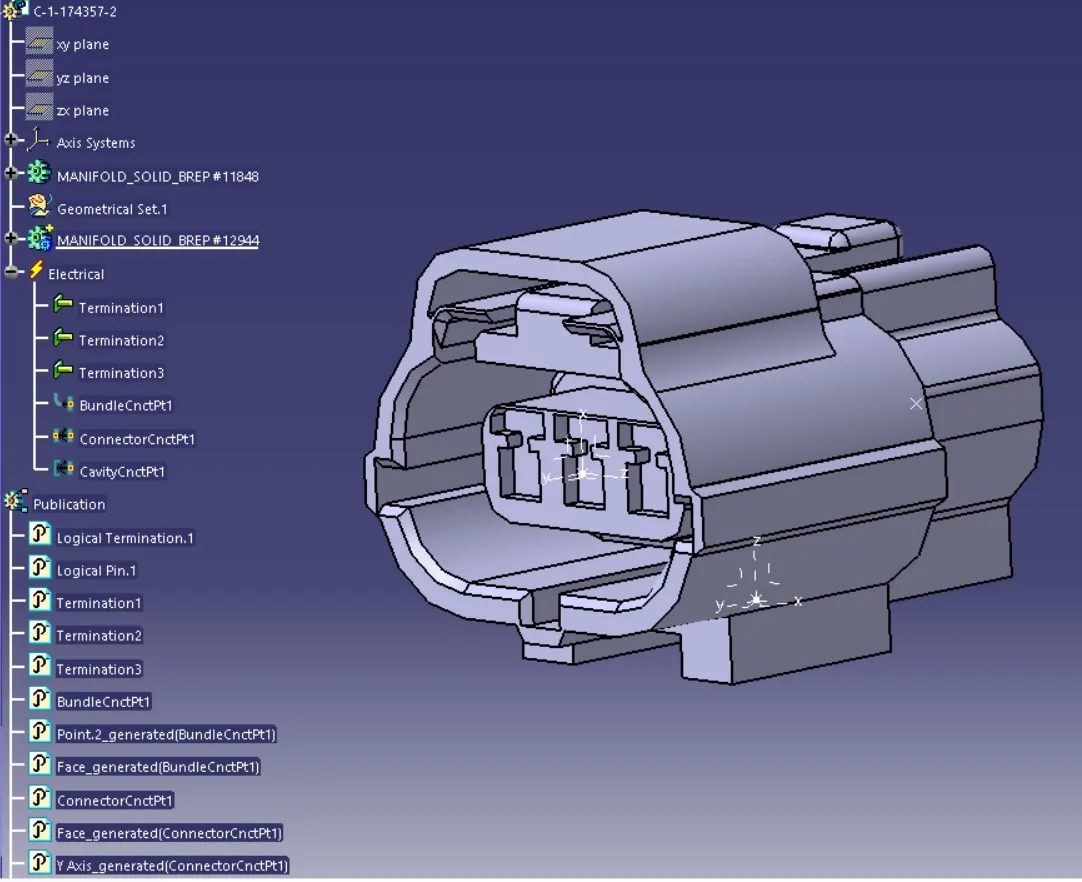
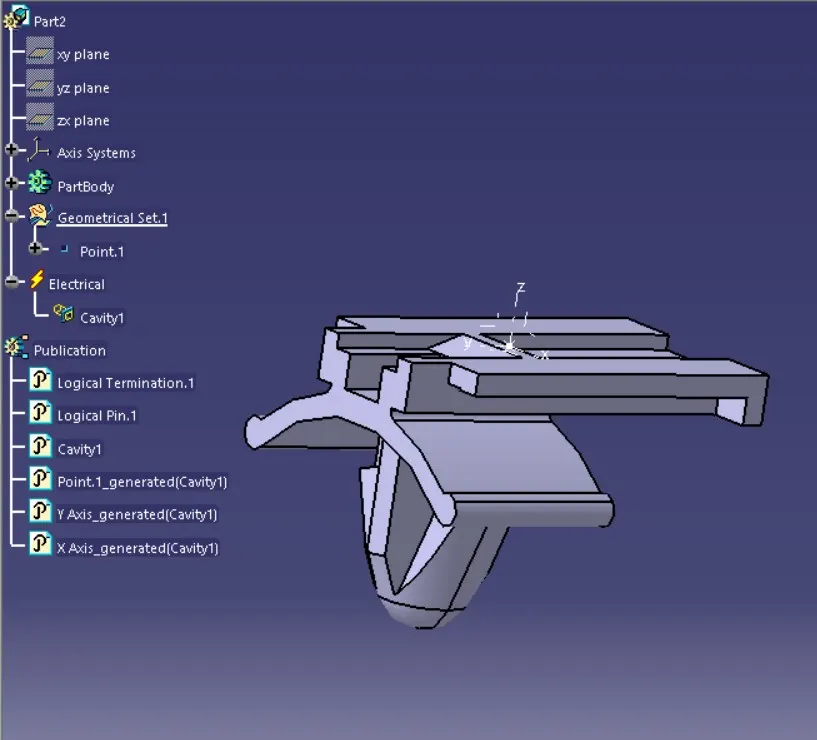
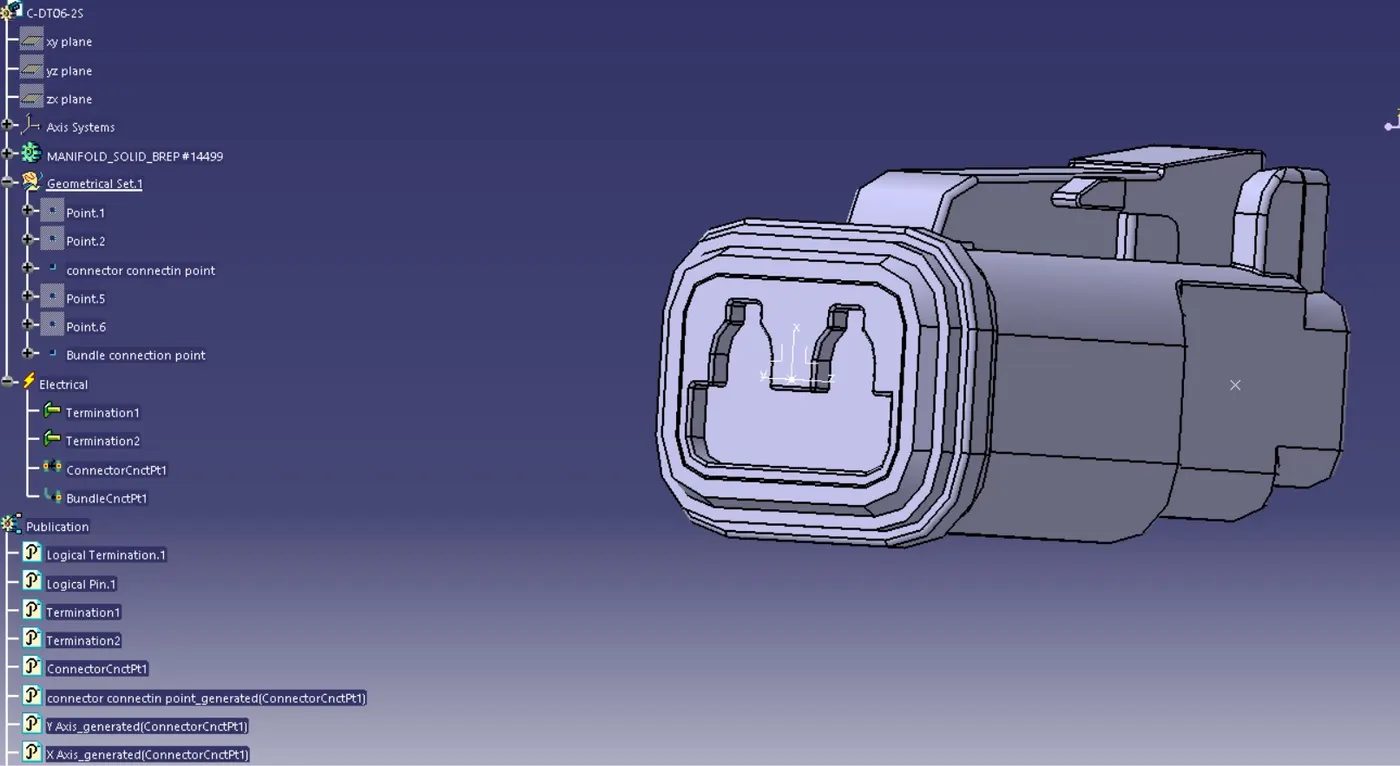
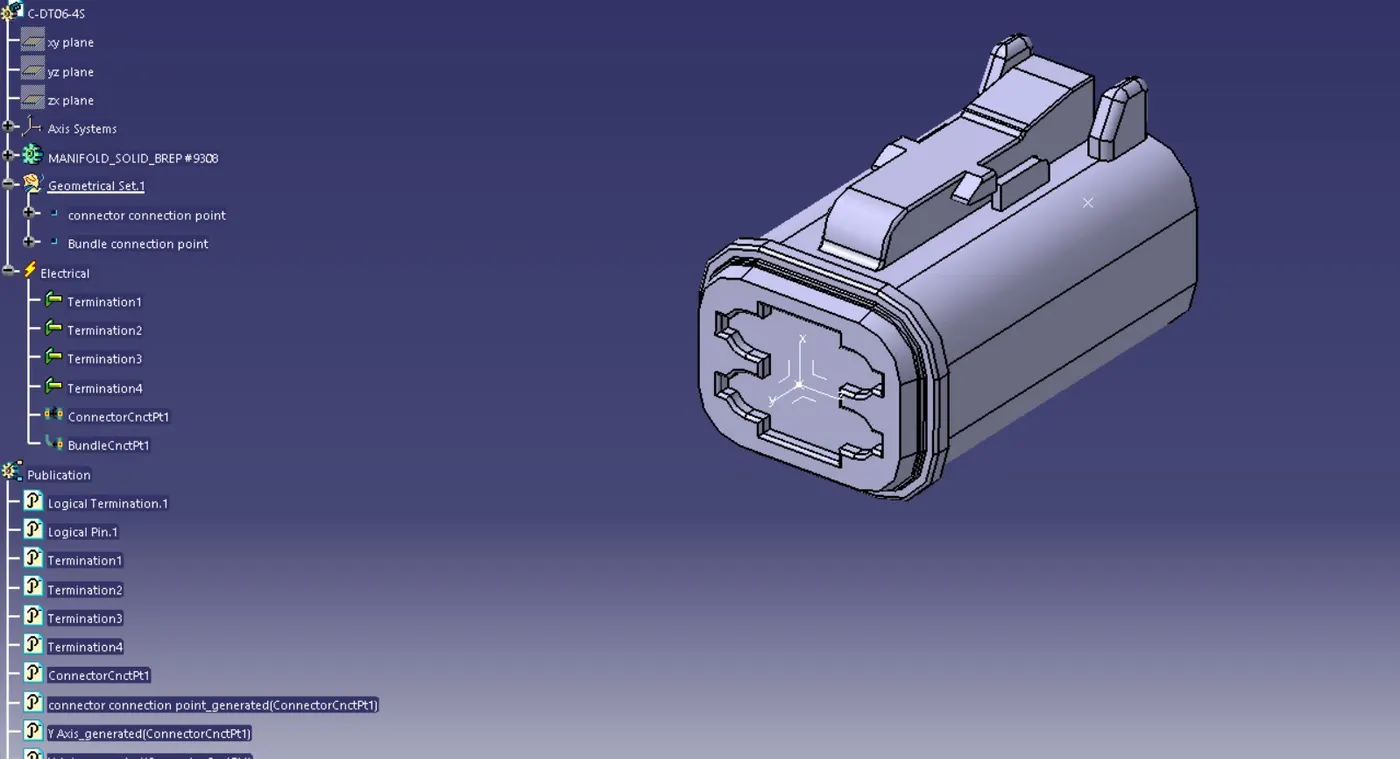
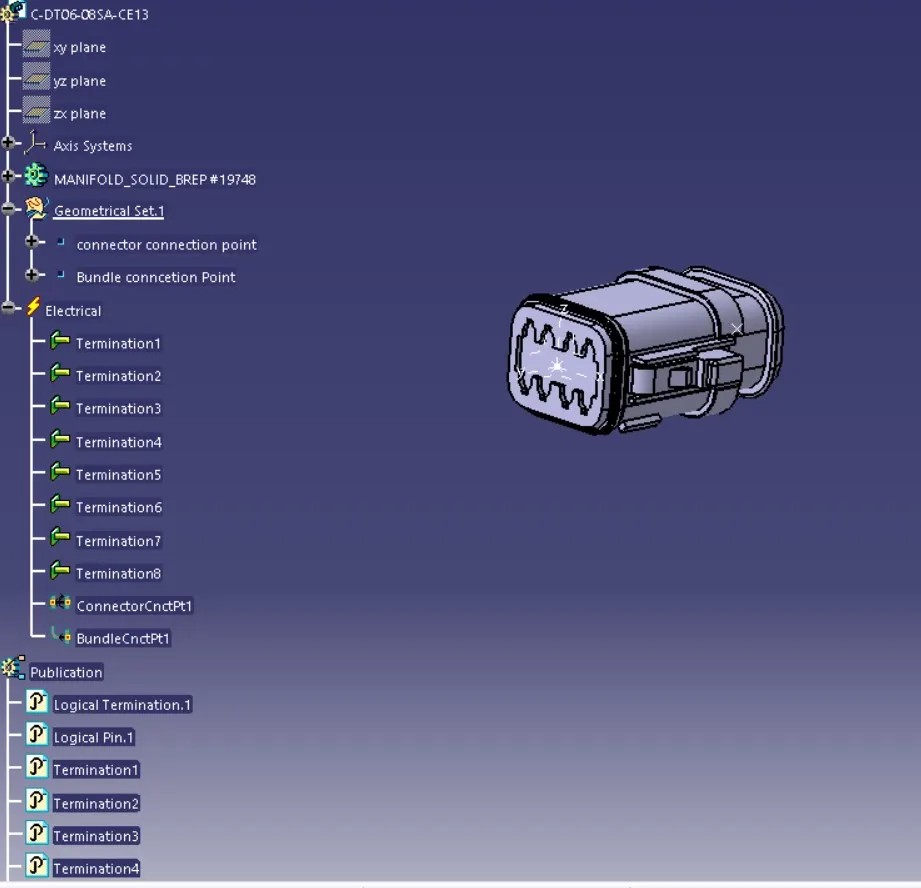
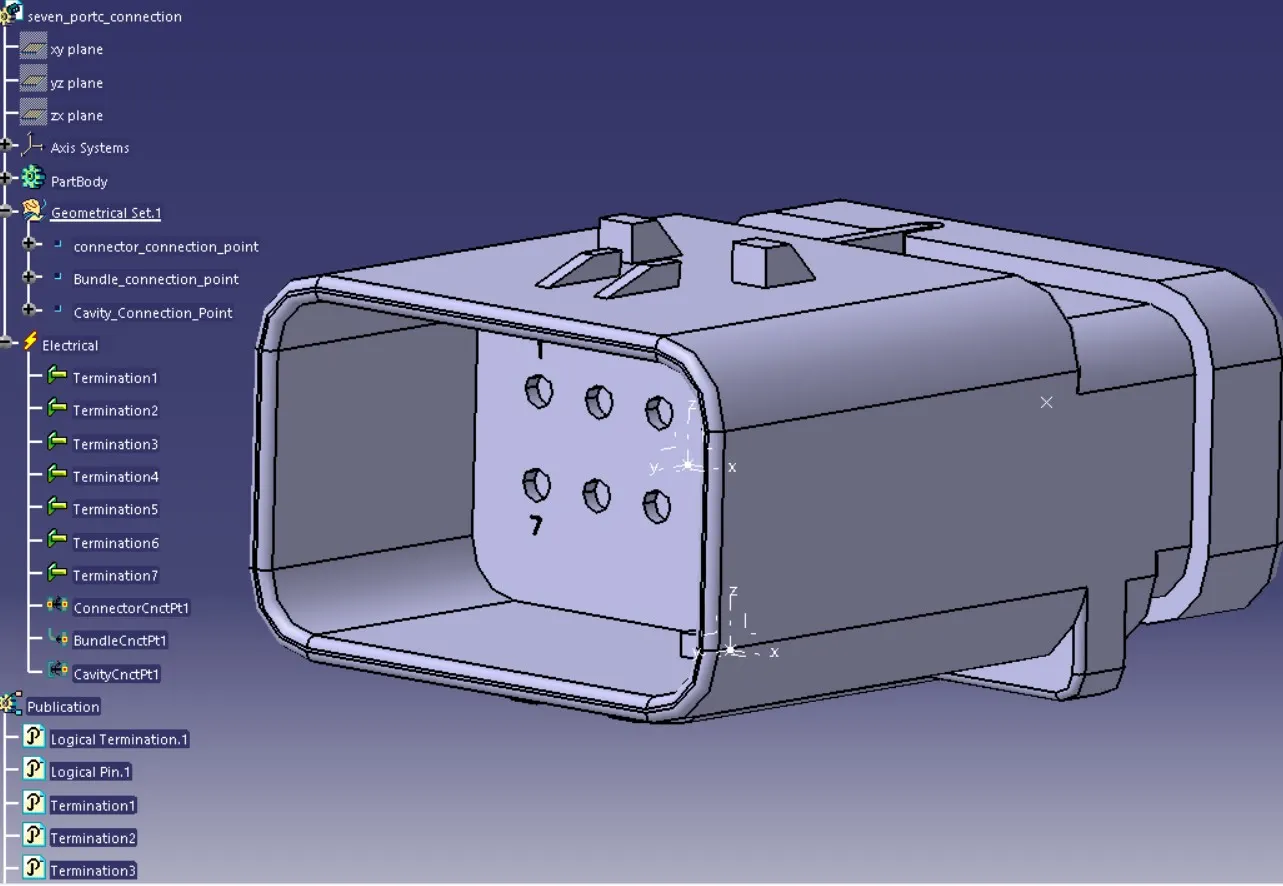
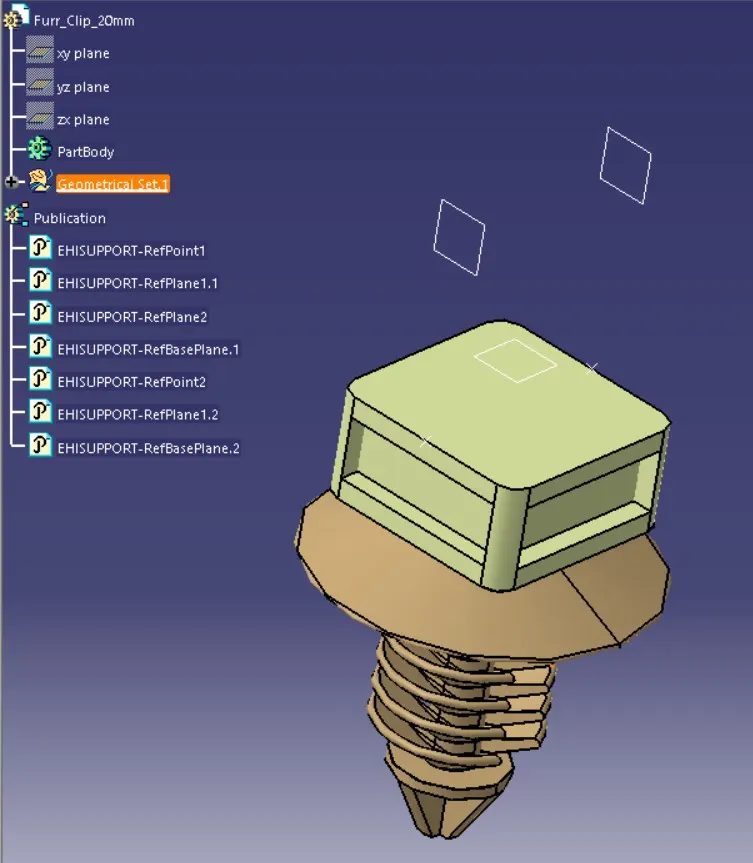
2. Now create one product file named it wiring harness context.
3. Create another one product file in first one and open it in separate window then name it wiring harness geometry.
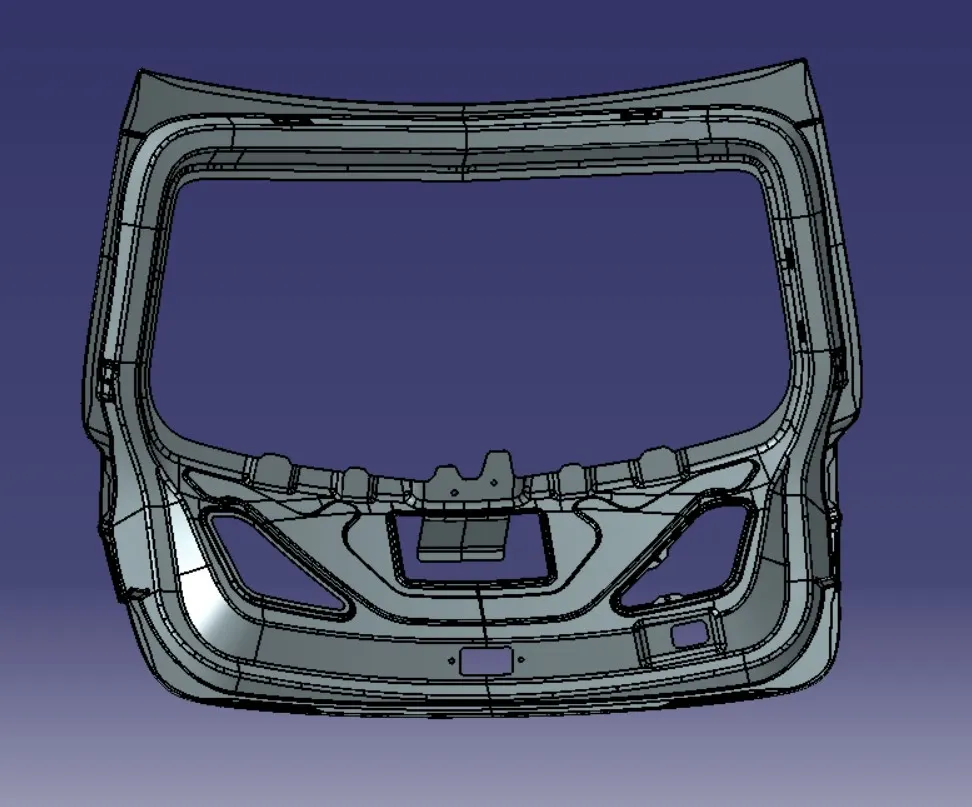
4. Now go to first file and open it in mechanical design save it as cat part file and assembly design and click on arrow called existing component and call back door cat part file.
5. Now by activating second product file call all required connectors and fur-tree clips one by one through existing component.
6. Arrange them properly as inter connection connector,puddle lamp,back light,number plate light,wiper motor connector on back part back door cat part file by product assembly .
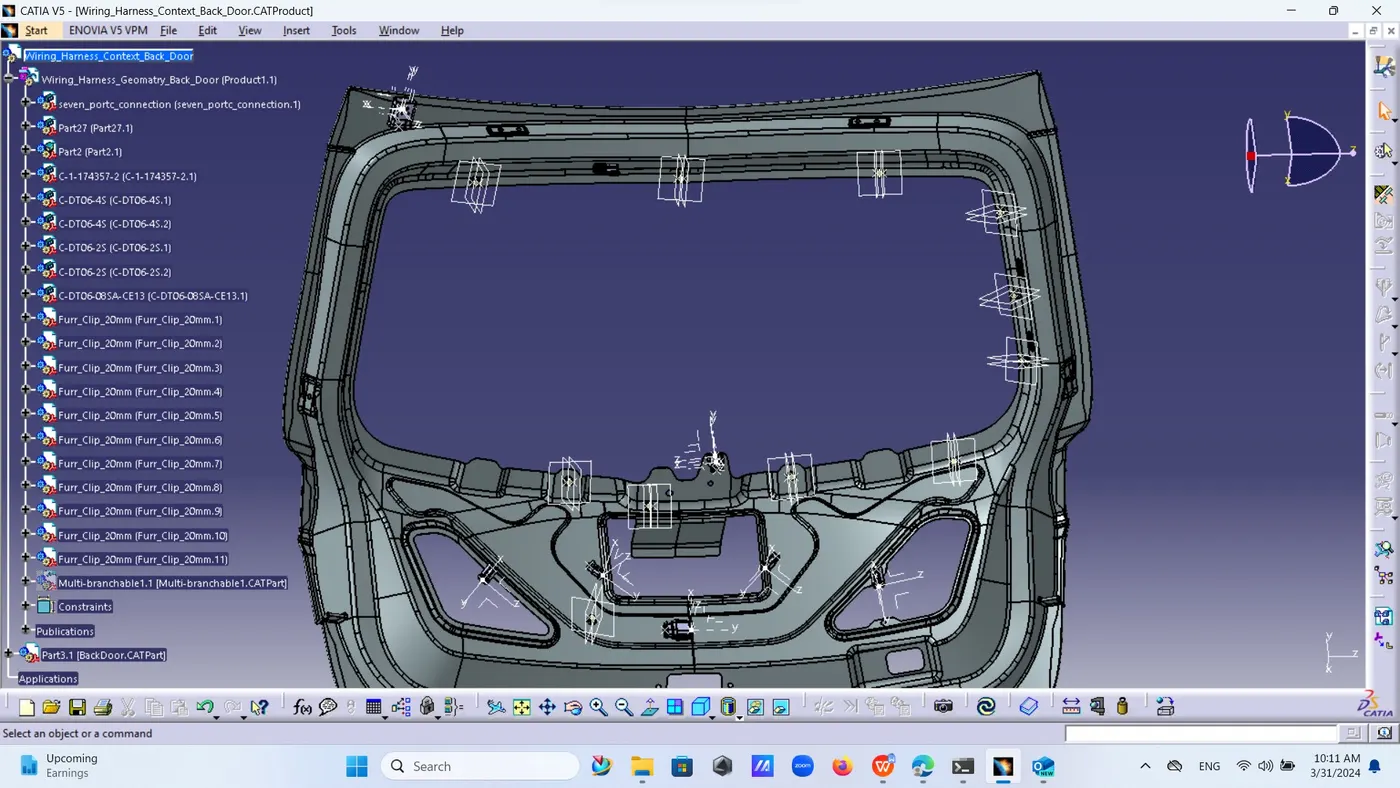
7. Now go to electrical harness assembly define wiring harness geometry electrically by geometrical bundle.
8. Now go to multi branch able and connect arranged connector through fur-tree clip for proper routing.
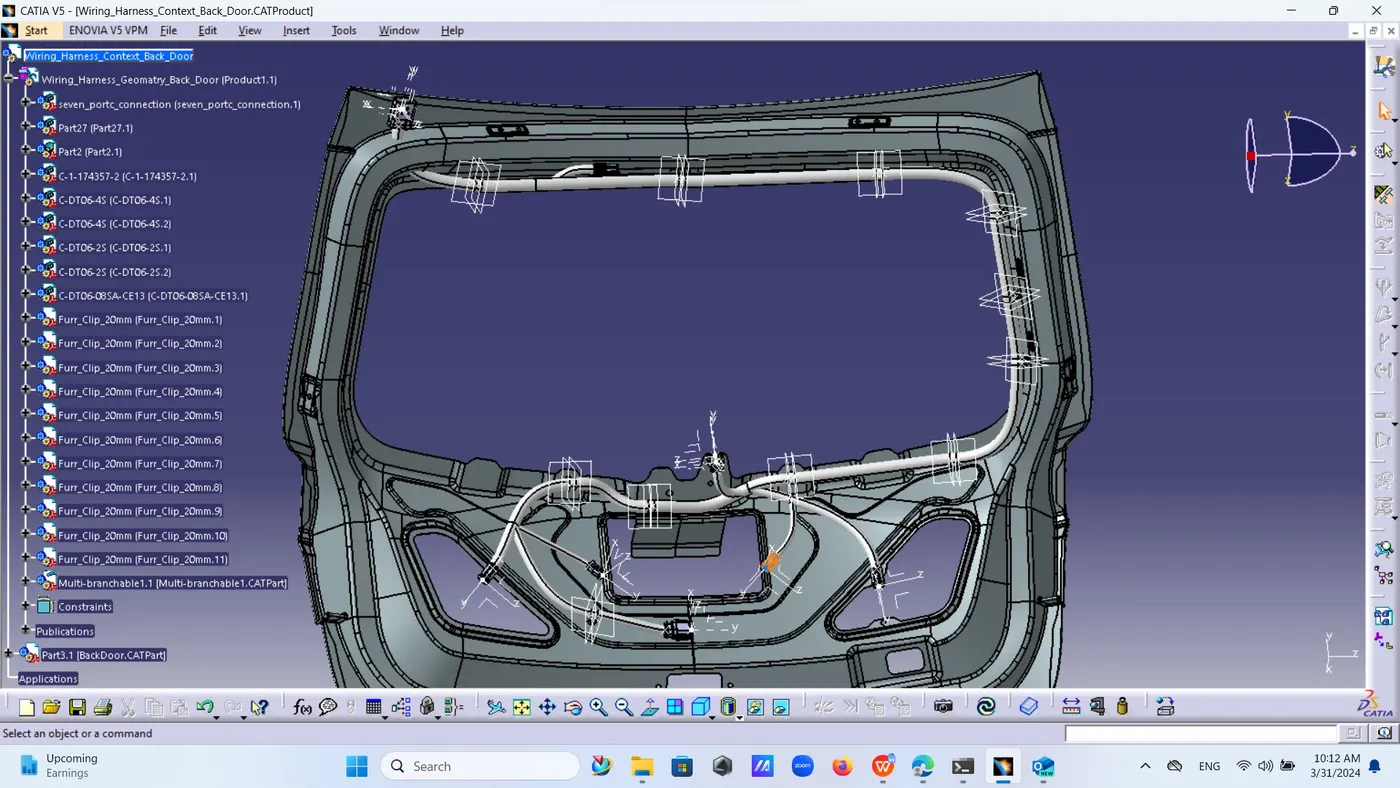
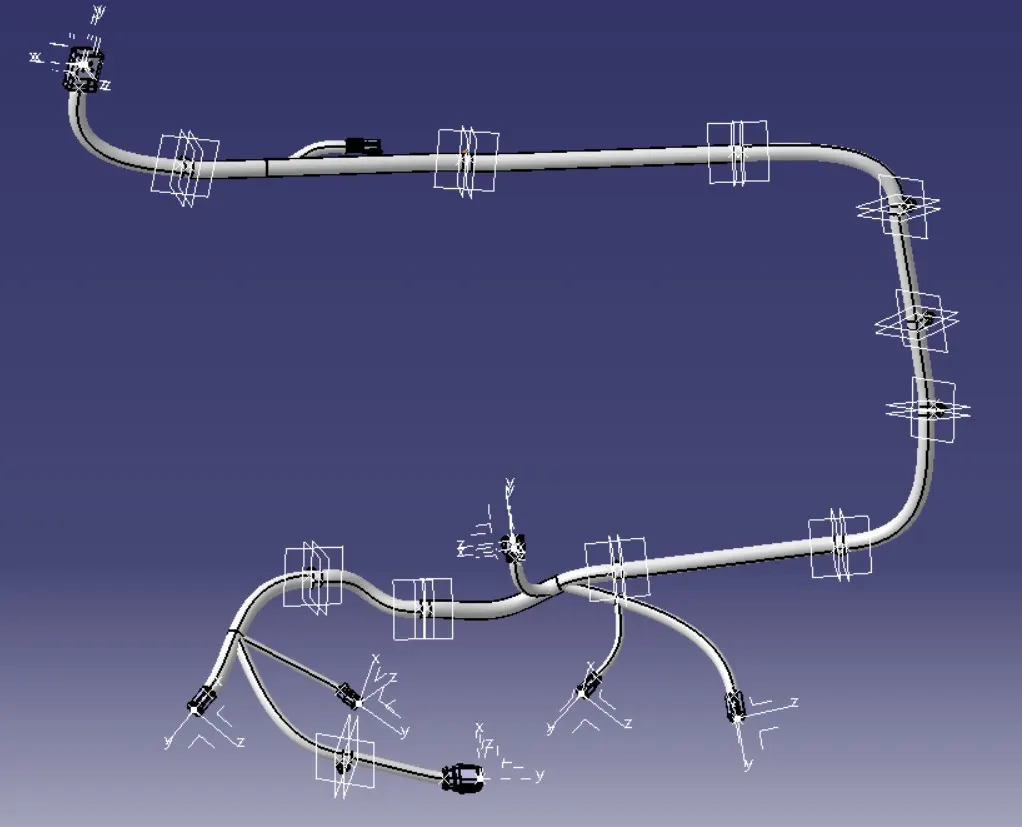
9. Then add branch points to this branches to connect out side connector to multi branch connection give some slack if required.
ii b Flattening Process:-
10. Now create new one product file and named it as flattening of back door and save this file as .
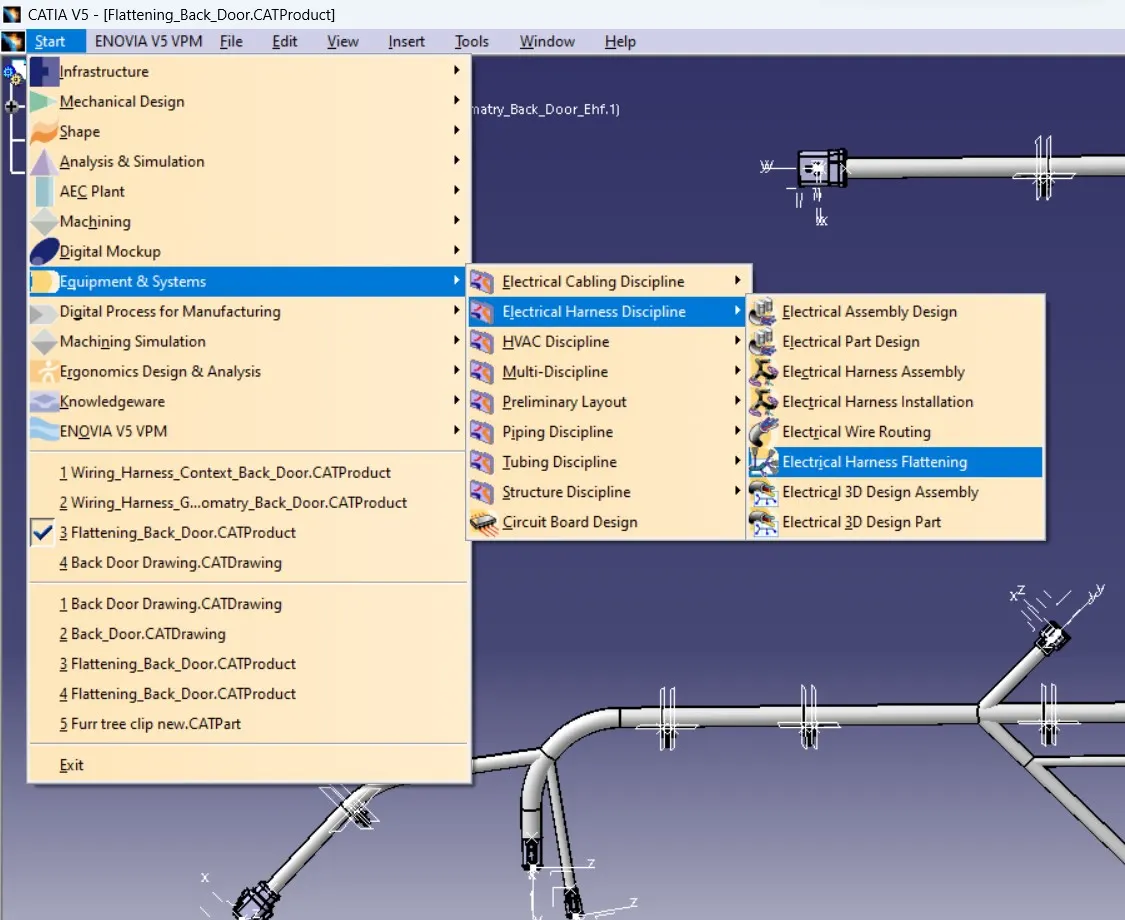
11. Now go to equipment and system -electrical harness discipline -electrical harness flattening.
12. Dow some setting for flattening parameter active plane xy plane ,algorithm coarse, angle mode regular,minimum angle between two branches is 25 deg,roll radius for quick role radius as bundle segment.
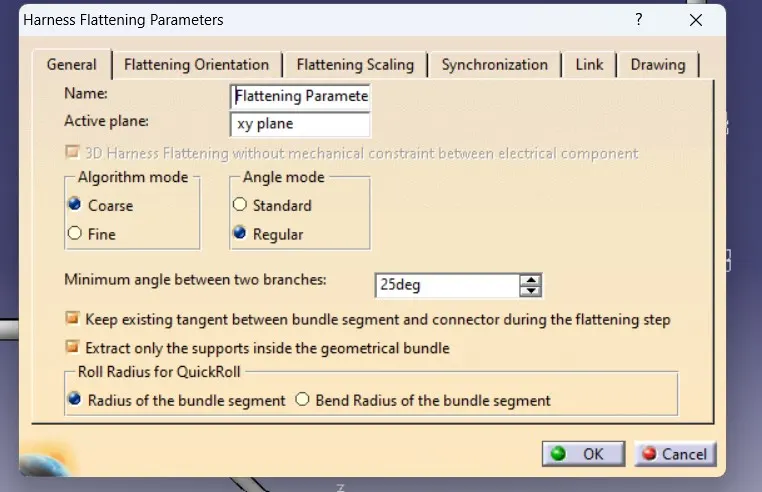
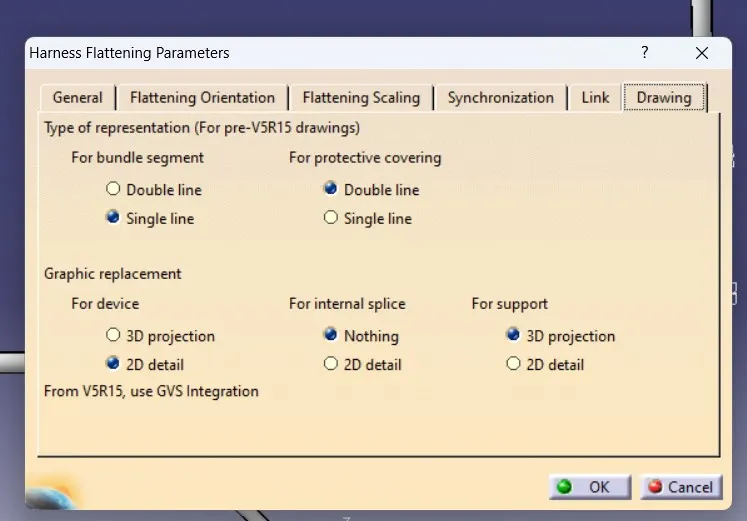
13. Now click on extract and then select file form wiring harness geometry those will merge together.
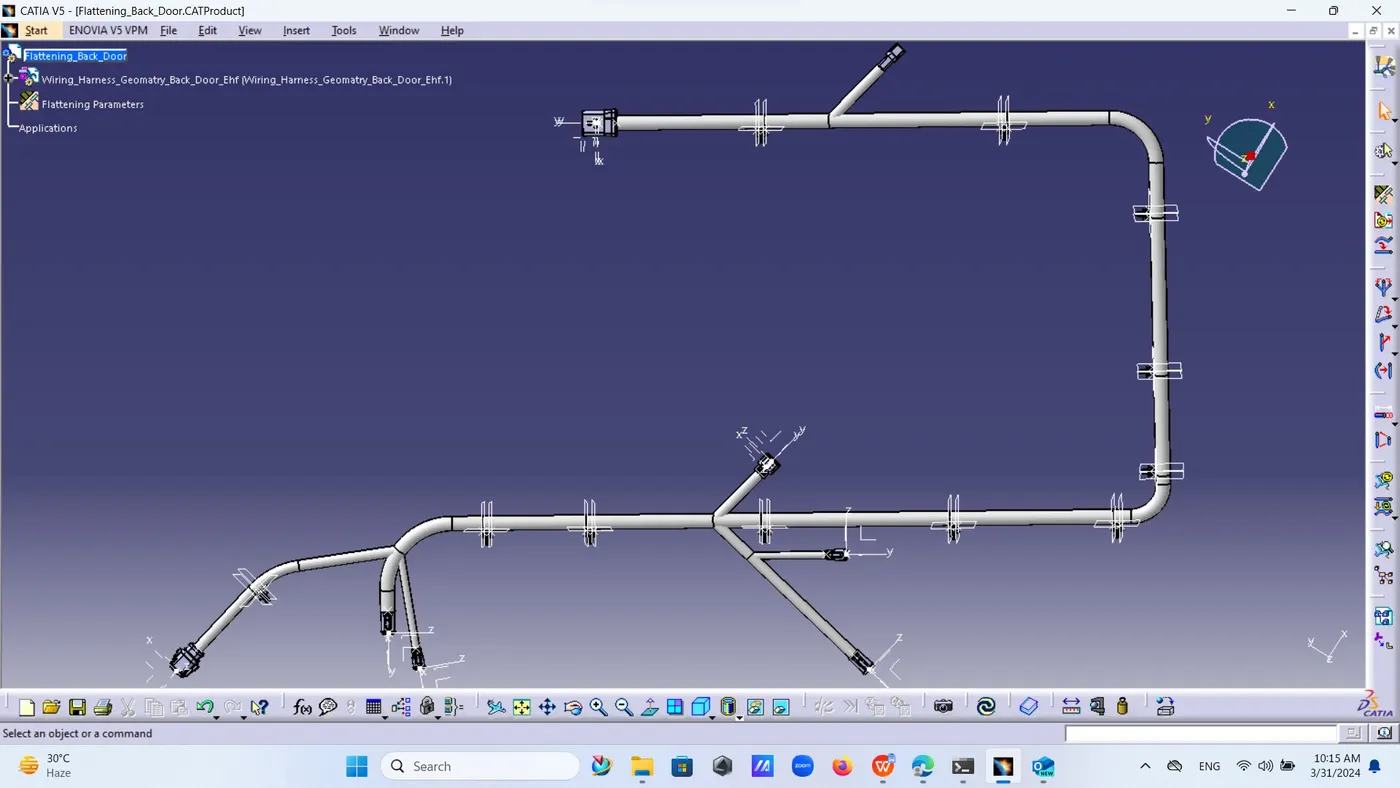
14. Now click on flatten icon and select x y plane then branches to be flatten.
15. Then rotate and bend roll branches as per requirement to set drawing properly on sheet and easy to understand.rotate all connectors and furr tree clips .
iii Drawing :
16. Now file new drawing select sheet normally we select A2 size for proper arrangement.
17. Now click on front view and then go flattening window and select file to be draw.
18. Then change its ratio if required or sheet size or can change both.
19. Now go to property of drawing and change view 3d wire frame then is always visible.
20. Now add tile box and bill of material by going to edit sheet background and come to work view again after finishing it add it’s nomenclature.
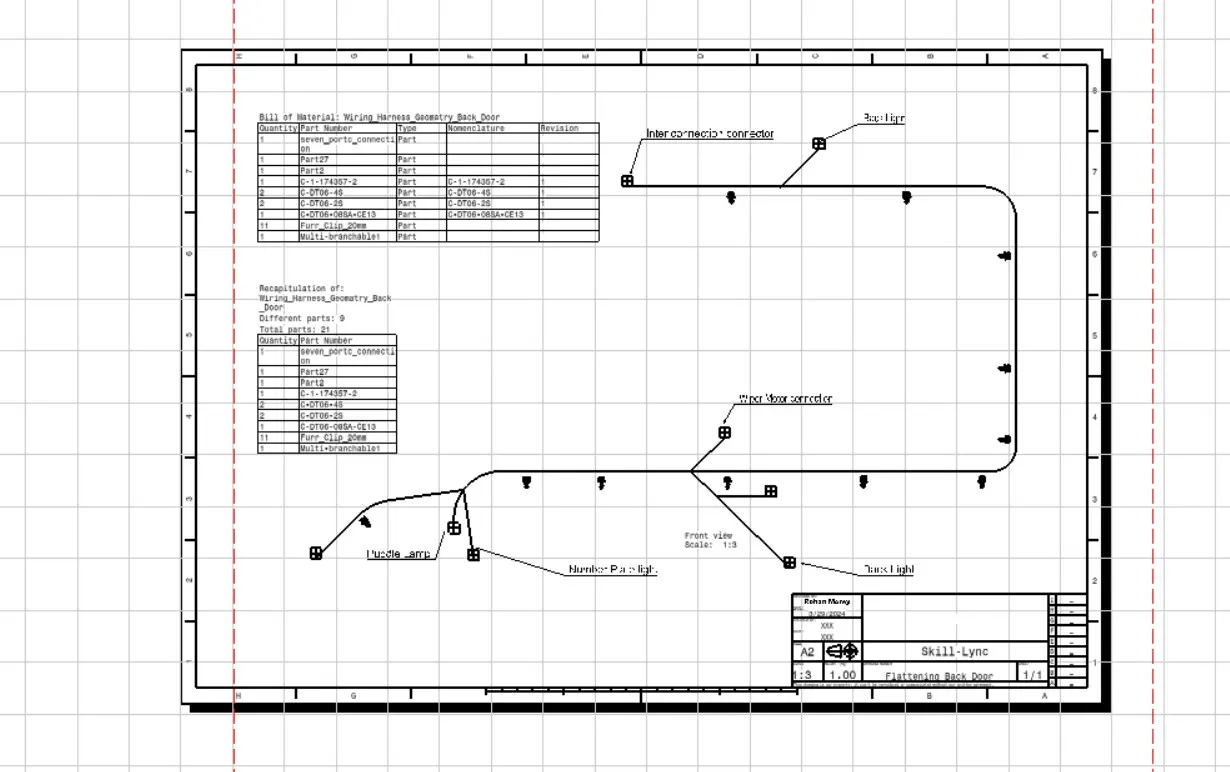
21. Save this file as PDF .