Project 2
Wiring Harness Routing & Packaging on Backdoor Sheet Metal
Aim:
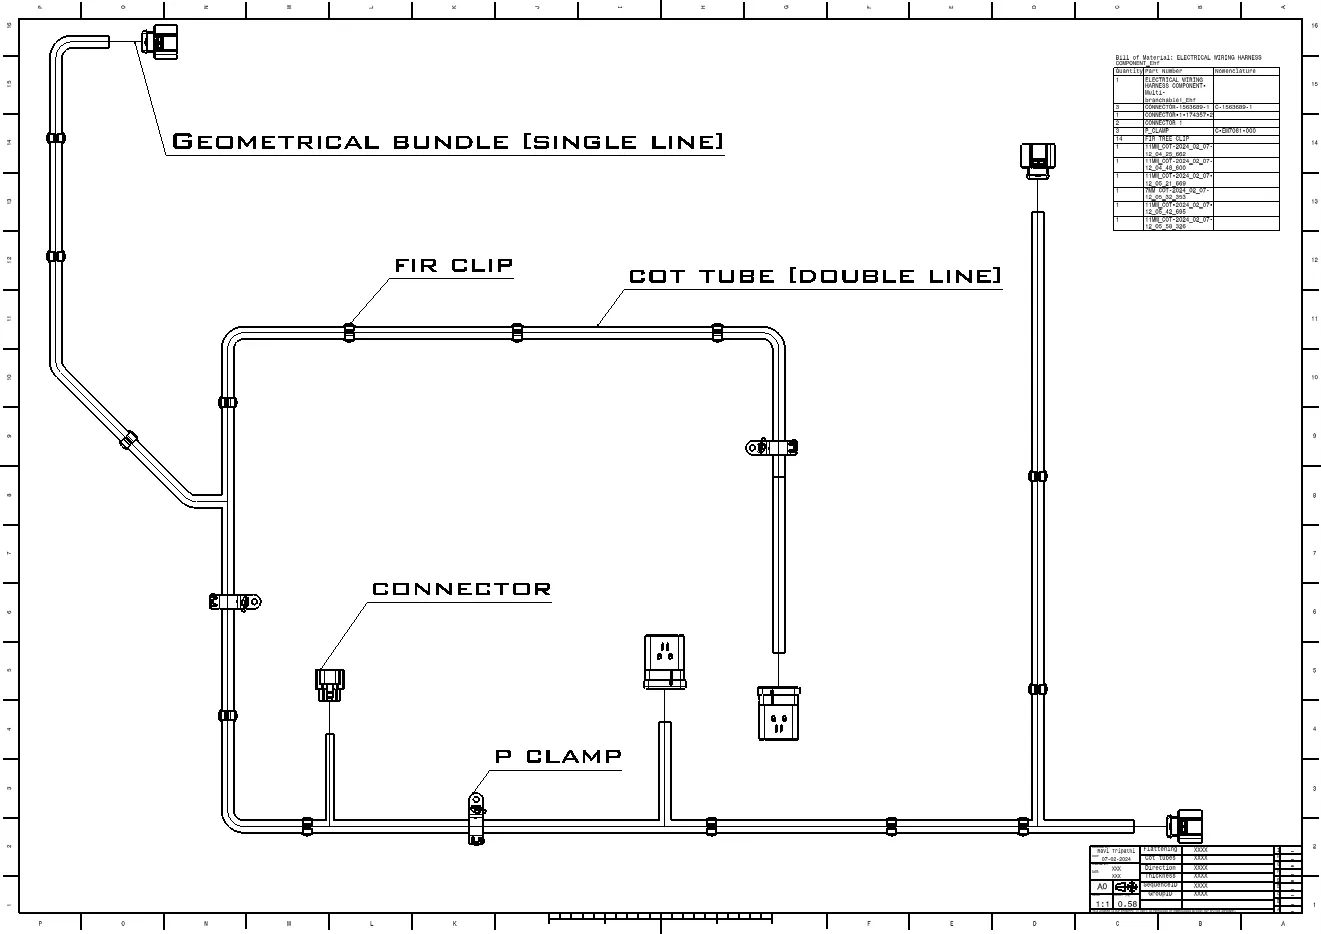
The primary objective of this project is to efficiently route the wiring harness on the provided backdoor assembly and generate a flattened view drawing using CATIA V5.
Objective:
The project aims to route the wiring harness and produce a flattened view drawing for the backdoor of an automobile. It necessitates adherence to various packaging rules while routing the harness, demonstrating industry-based practices in harness design.Essential details such as clearance, clipping/clamping selection, harness fixing requirements, and harness continuity must be meticulously provided to facilitate the wiring harness design process.
Introduction:
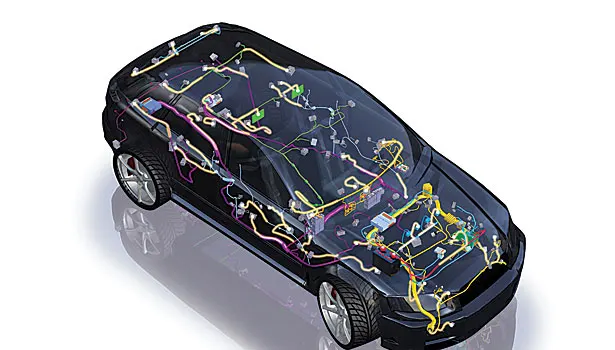
In automotive engineering, the trunk or backdoor of a car serves as the primary storage or cargo compartment, often equipped with a hatch at the rear, also known as a tailgate.This assignment entails the design of the trunk or backdoor wire harness using Catia software. The backdoor assembly comprises multiple parts, including the inner panel, outer panel upper, outer panel lower, and reinforcement, with the inner panel attached to the outer panel using mastic sealant.
Types of Doors
Based on Working Position:
Top Mounted Door:
These doors are hinged at the top and swing upward when opened. Commonly found in vehicles like SUVs, minivans, and some pickup trucks.They provide convenient access to the cargo area and require sufficient overhead clearance when opened.
Side Mounted Door:
Side mounted doors are hinged on the side of the vehicle and swing outward when opened. They are commonly seen in traditional sedans, coupes, and hatchbacks.Side doors provide access to the passenger compartment and often the rear cargo area in hatchbacks.
Bottom Door:
Bottom doors are typically hinged at the bottom and swing downward when opened. They are commonly used in vehicles like tailgates on pickup trucks or large cargo vans.Bottom doors provide access to the cargo area and may also serve as a platform for loading and unloading cargo.
Rules to Be Followed:
- Wiring harness should facilitate easy assembly and access.
- Consideration of ease of manufacturing, installation, removal, and maintenance.
- Avoid routing wiring harnesses near sharp edges, corners, or other potentially damaging environments.
- Prevent harness routing and clipping in blind zones or hard-to-reach areas.
- Provide additional slack as needed based on surrounding and harness bending requirements,considering envelope dimensions during door opening and closing.
- Avoid routing through small structural holes and openings to minimize chaffing and handling issues.
- Ensure no fouling occurs while designing the wiring harness.
- Utilize rubber grommets if the harness passes through sheet metal panels.
- Branch length should exceed 50mm.
- Maintain a minimum distance of 25mm between the clip and branch point.
- Maintain a minimum distance of 50mm between two branch points.
- Utilize clips/clamps readily available in the market to avoid additional costs.
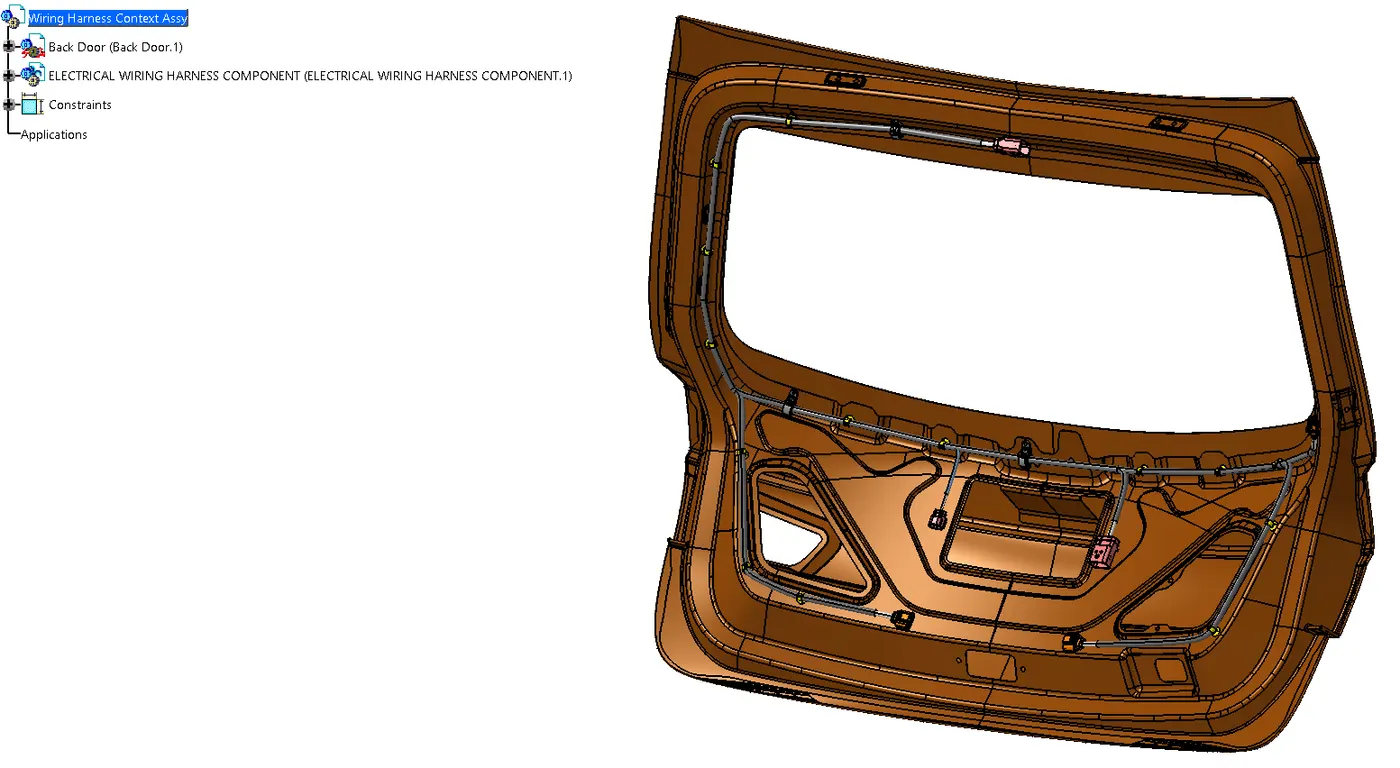
Step 1 - CreatingContext Assembly:
Step 2 - Defining Connectors Electrically:
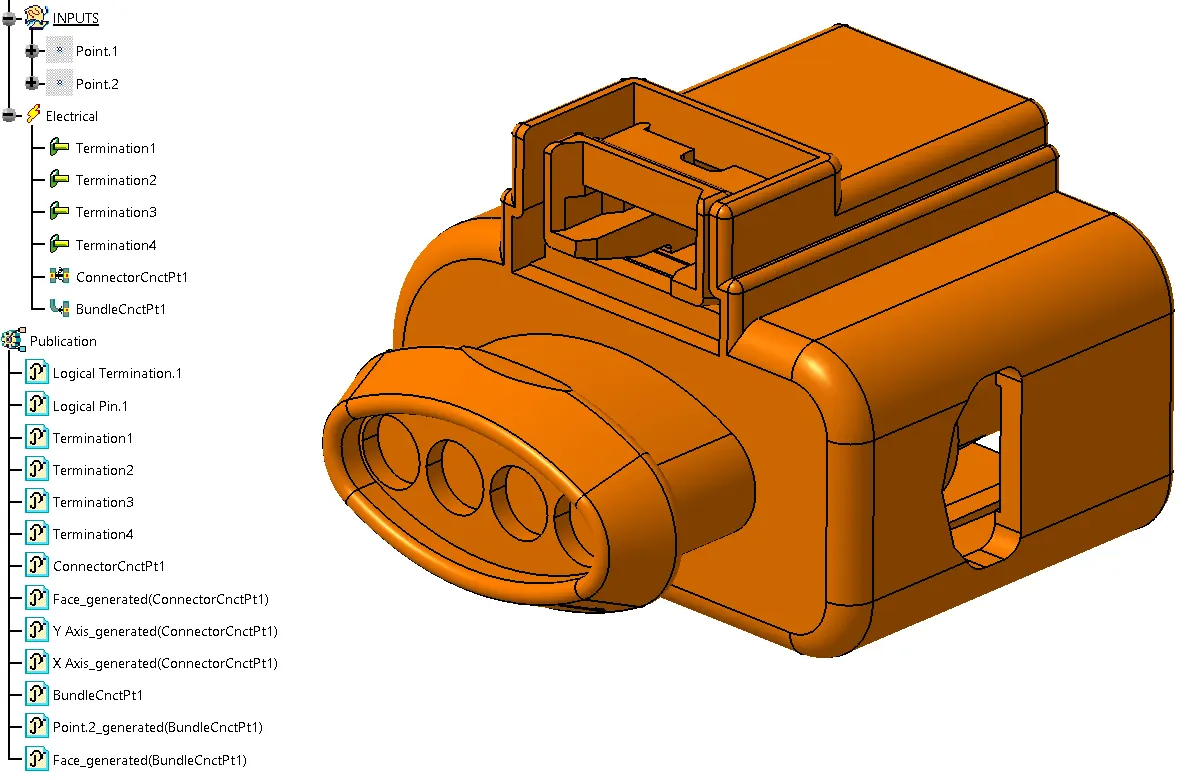
Select required components for wire harness routing, including backdoor upper and lower lights, wiper motor, sensors, and defogging equipment.Define connectors electrically and integrate them into the CATIA model.
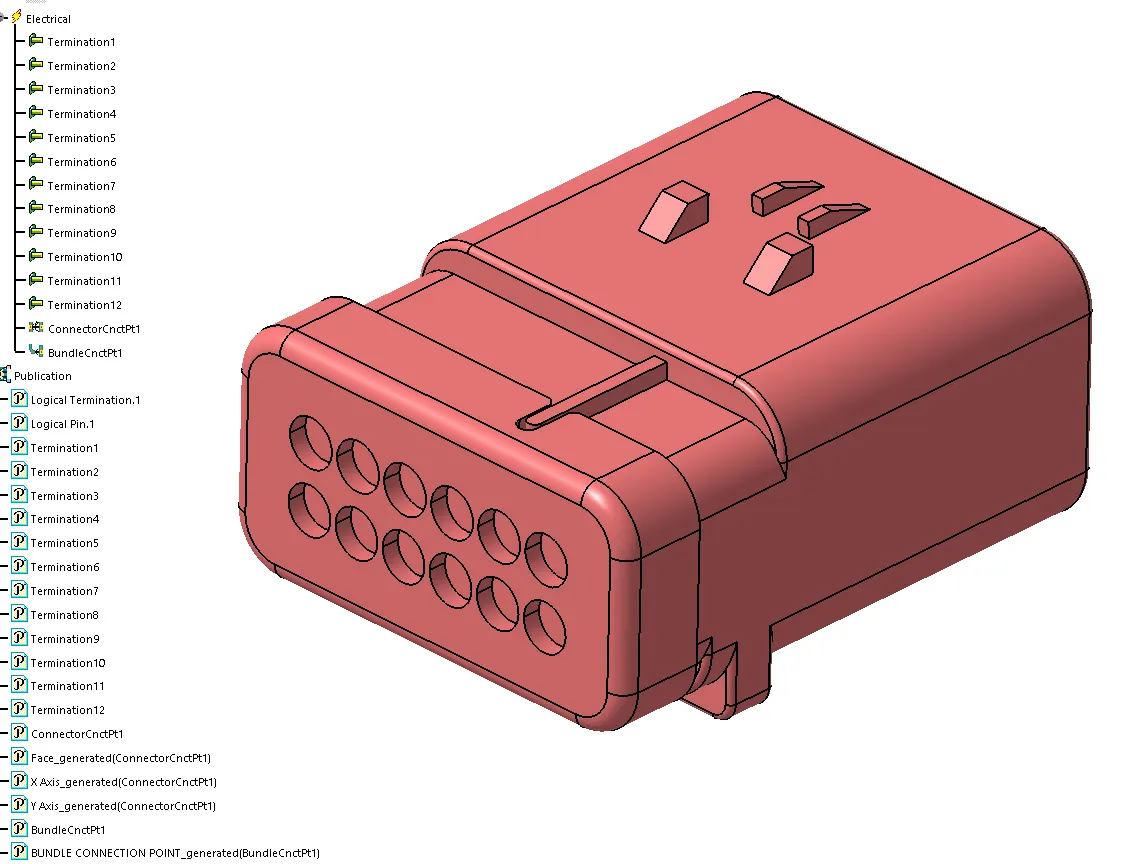
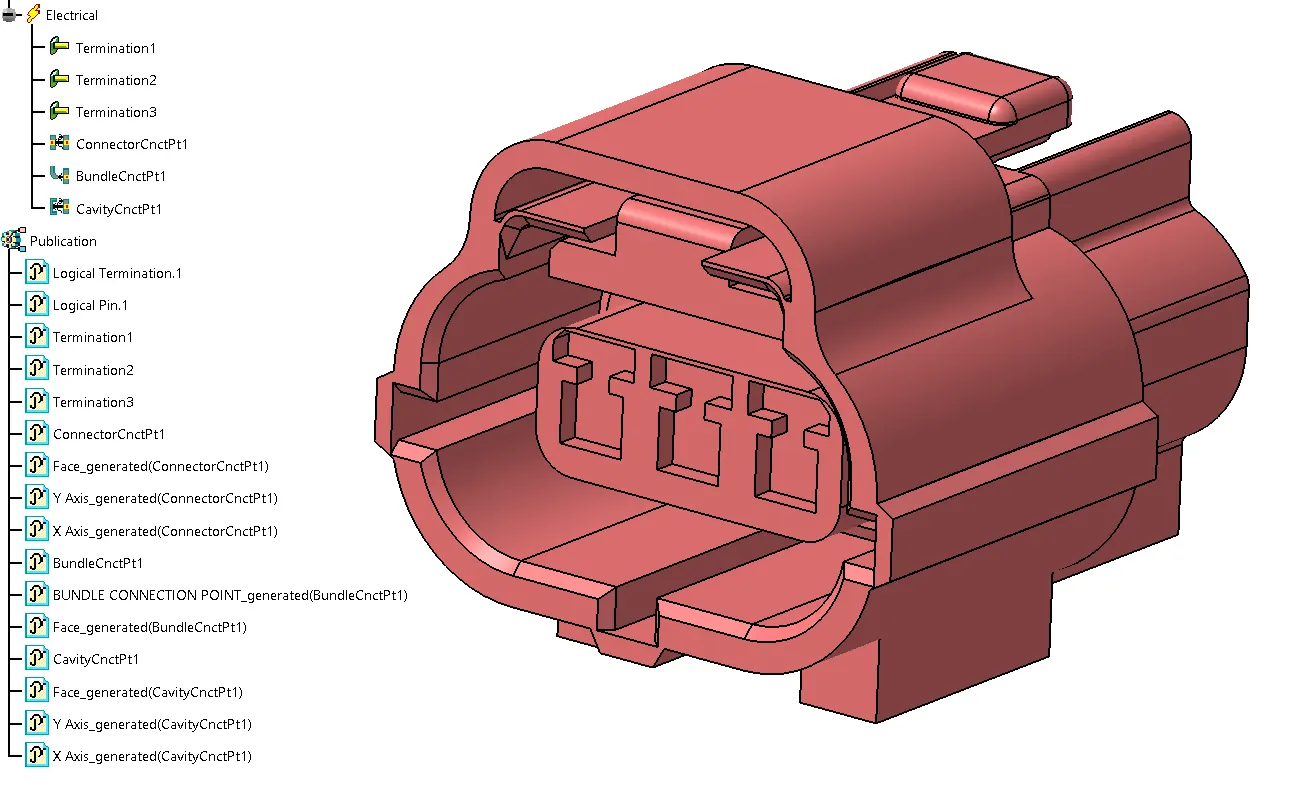
Step 3 - Adding Connectors and Necessary Equipment:
- Position interconnection connectors.
- Place P-clamps for support in required positions.
- Position proper connectors for different electrical equipment.
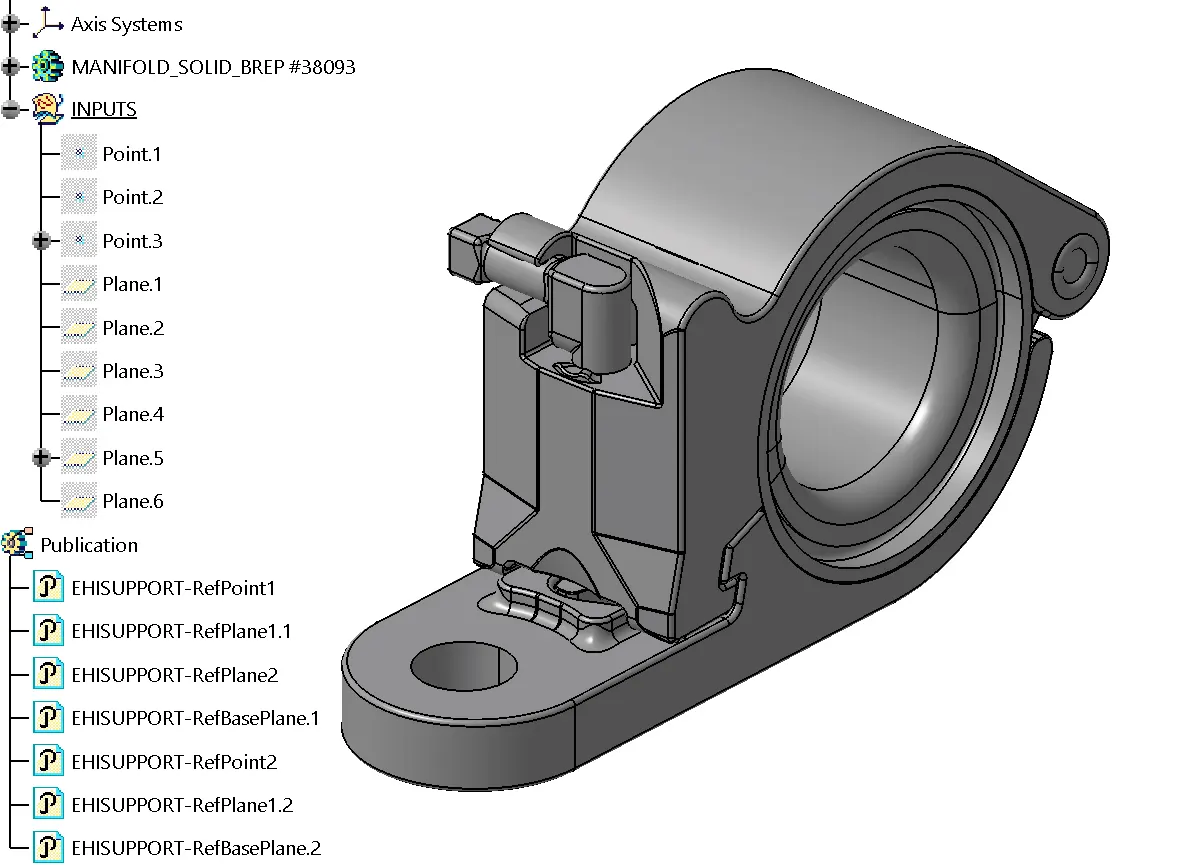
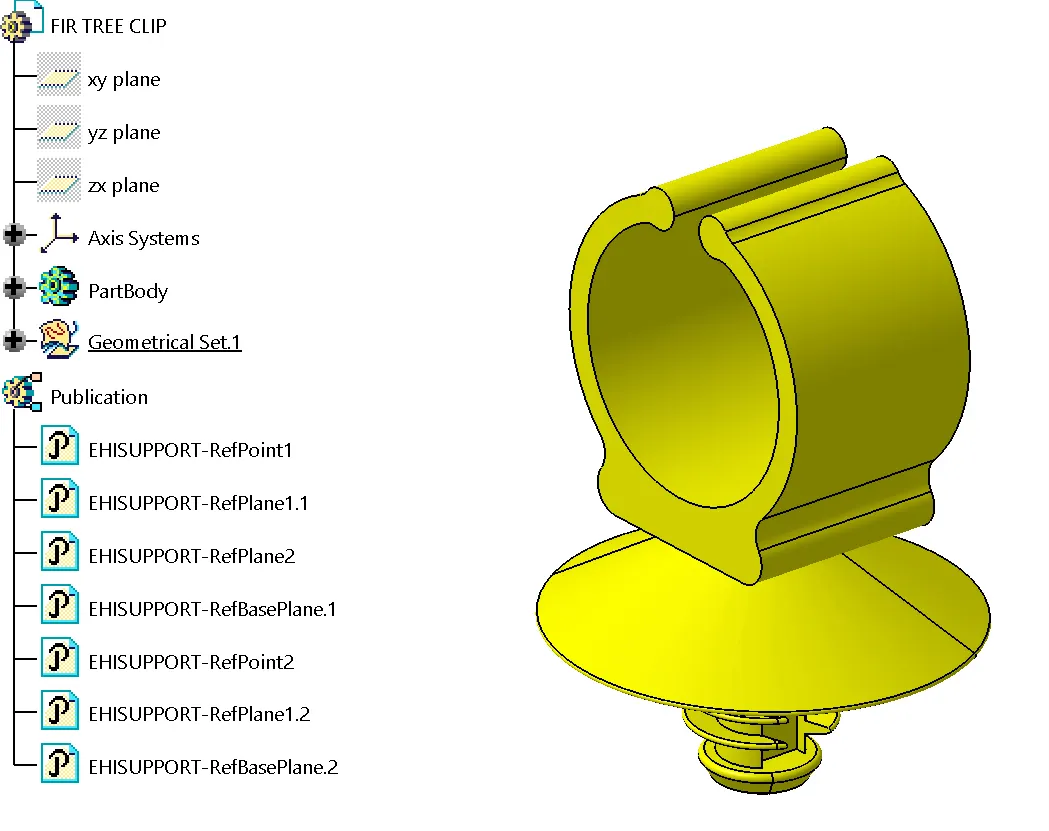
Step 4 - Bundle Routing:
- Start routing from the interconnection connector placed on the Backdoor.
- Continuously route to following supports, utilizing P-clamps and fir tree clips.
- Route back light connectors, connectors for wiper motor equipment, connectors for number plate lights, and sensors.
- Utilize multi-branch bundle route for all connectors with clips and clamps.
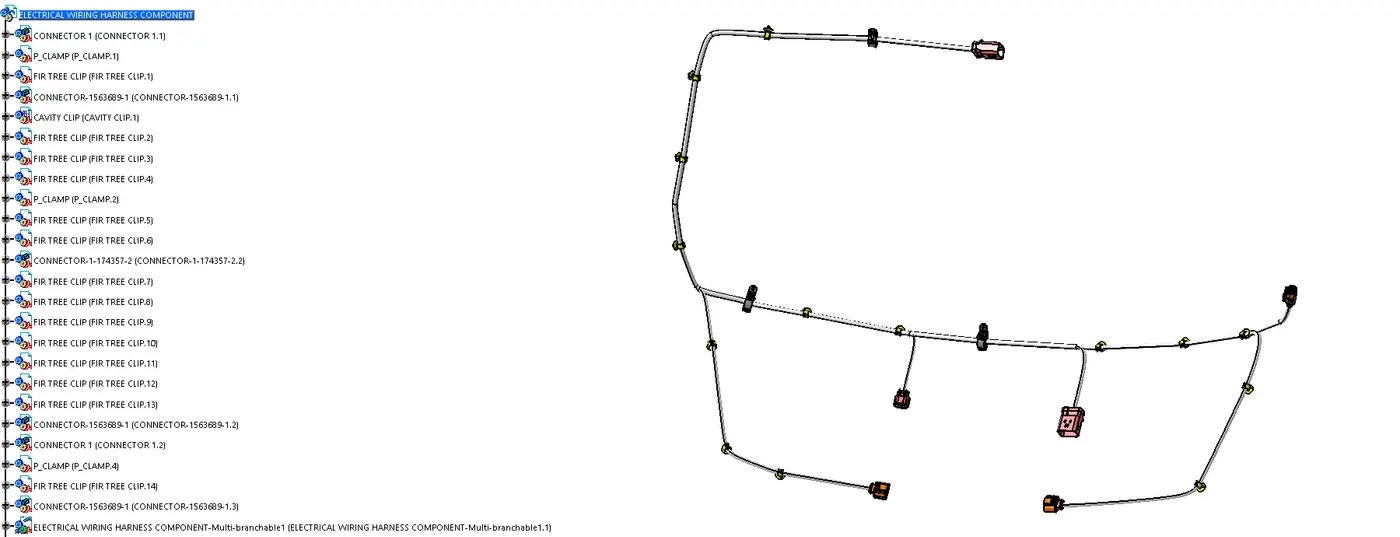
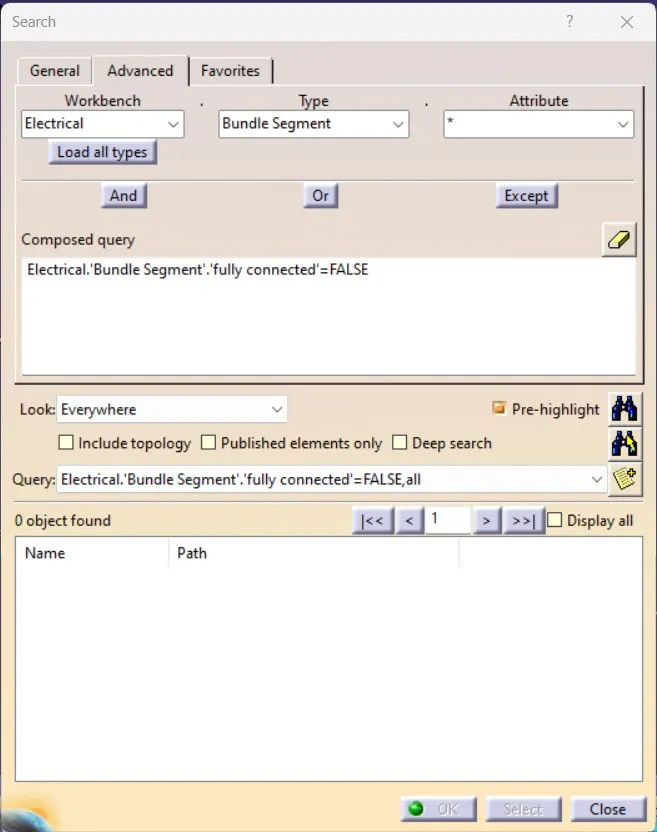
Step 5 - Bundle Continuity Check:
Perform bundle continuity check for further processing, ensuring FALSE conditions are verified [as it is easy to show in one click].
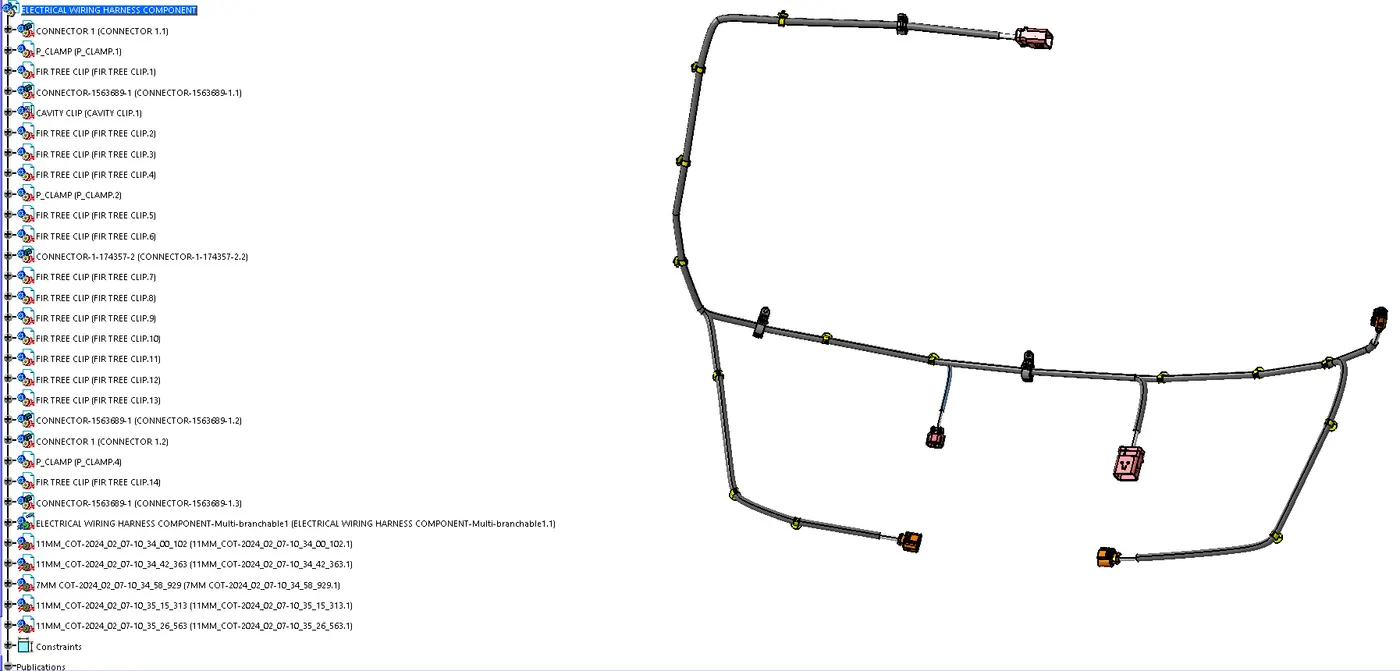
Step 6 - Adding Protective Covering to the Harness Bundle:
- Apply protection covering tool to the entire bundle, selecting coverings of 11mm and 7mm diameters.
- Create a gap from the start and end extremities [whichever near to connectors].
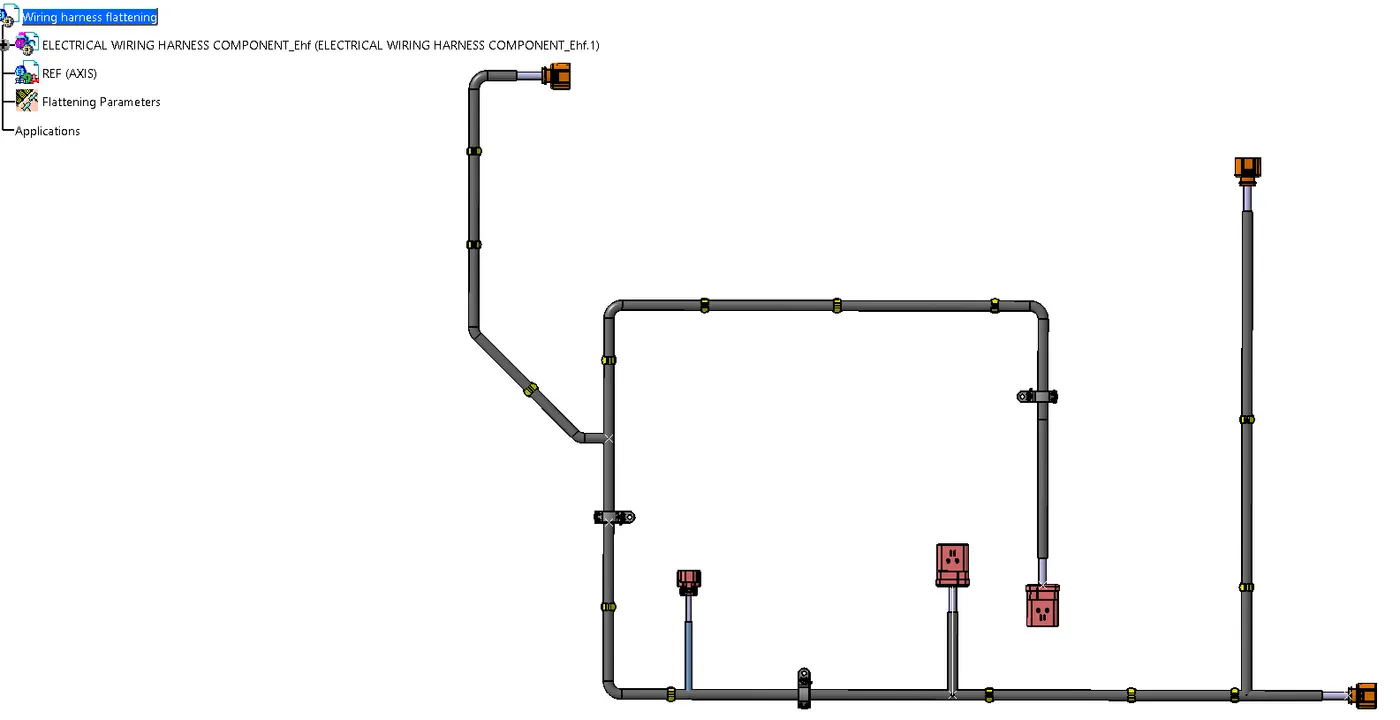
Step 7 - Create Flatten View:
- Open a new product file for Electrical harness flattening.
- Save the geometrical bundle segment and extract it to flatten the harness, applying flattening parameters.
- Modify branches using rotate, bend, straighten, and other tools in the Electrical harness flattening.
Step 8 - Creating a Flatten View Drawing:
- Proceed to generate a flattened view drawing.
- This structured approach ensures a systematic and efficient routing of the wiring harness on the backdoor sheet metal, adhering to industry standards and best practices in automotive wiring design.