Project 2
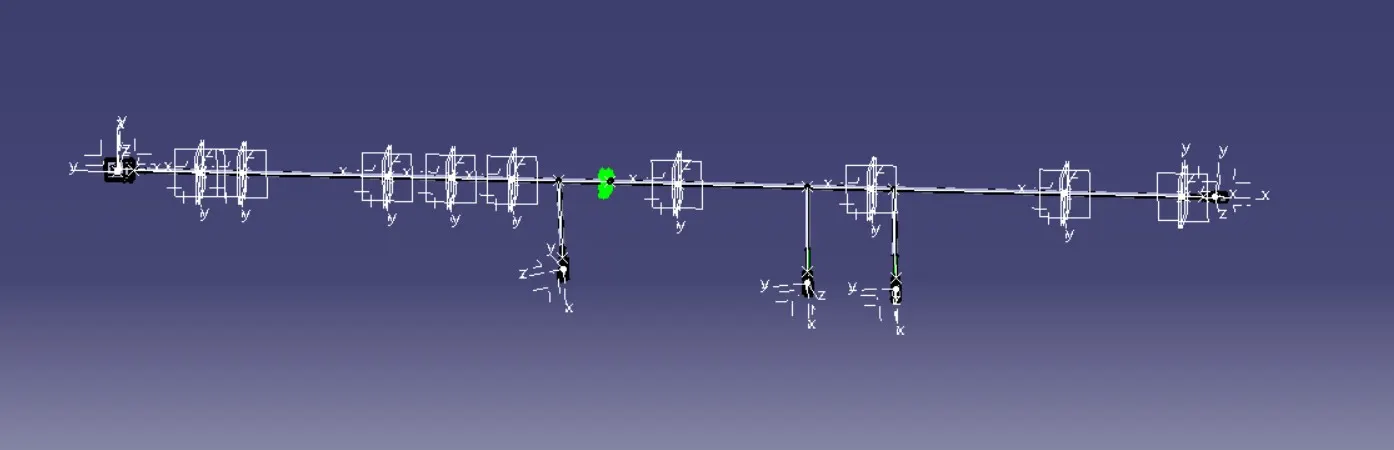
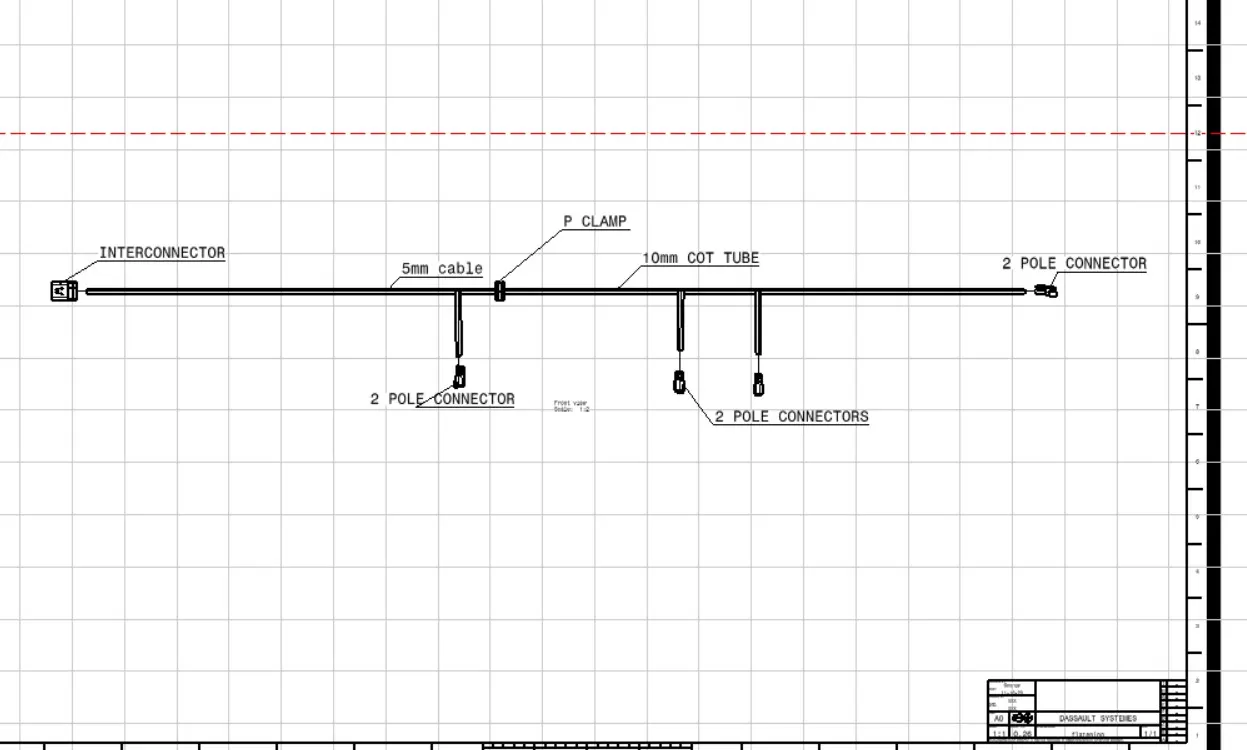
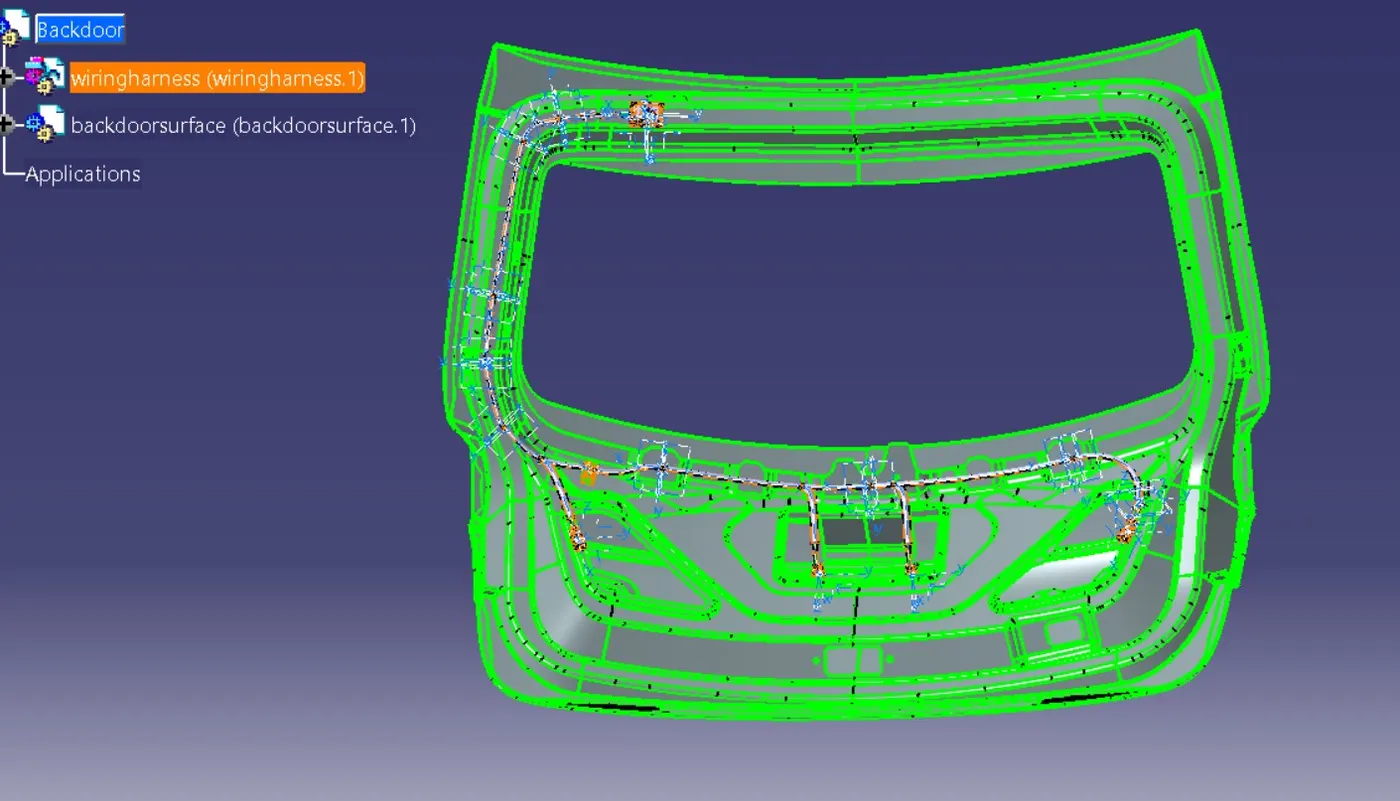
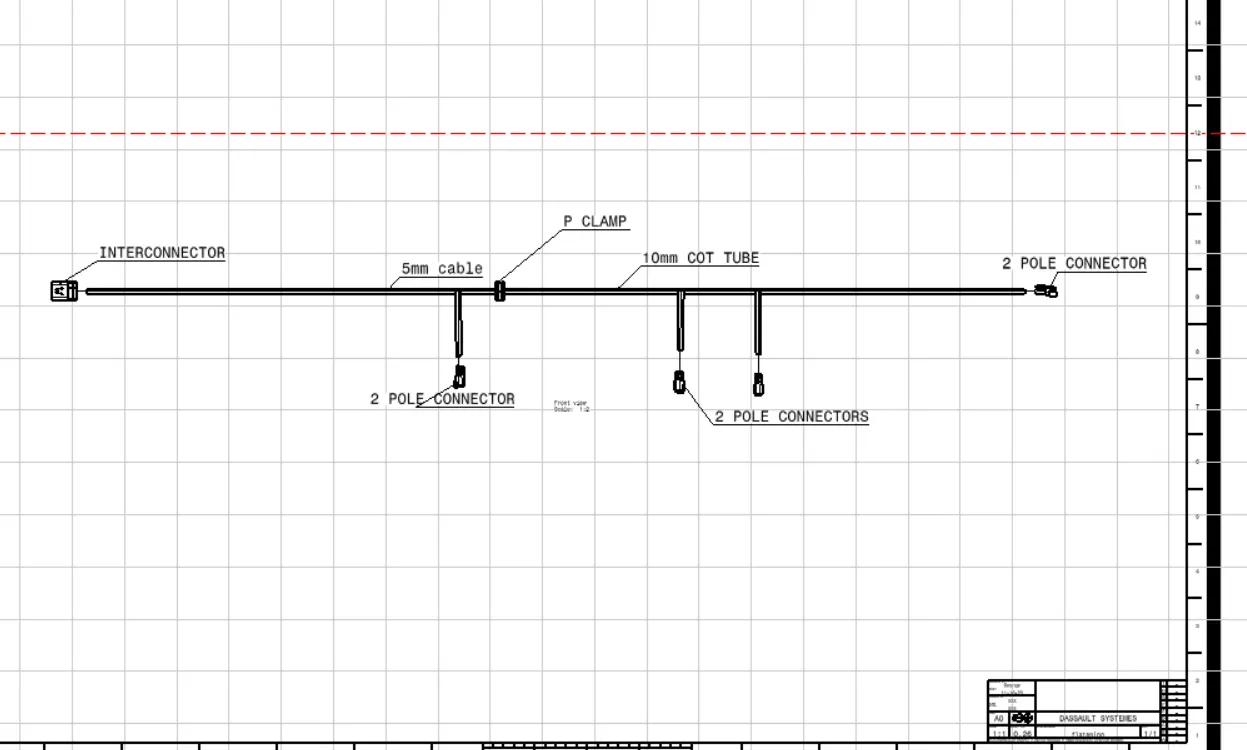 Assignment: Route the Wiring harness on Given car body and Prepare flatten view drawing in CATIA V5. Application of all Packaging rules, Industry best practices studied in this course shall be demonstrated in design. Apply Protection coverings as required.
The first step involved in Wiring harness design process is "Input Collection".
All the required data like Physical Architecture (gives the location of the components), BOM(Bill of Materials), Vehicle Specification (Assembly sequence and Wet/Dry Zones) and ROX(Return on Experience) from past learning.
The next step is "Data Study". The data from the input collection is studied to understand the assembly sequence and component location which helps in building the "Harness Topology".
The Wiring harness topology is reviewed with the cross functional teams it is modified if any changes required.if the topology is approved then the "concept routing" is prepared and it is again reviwed with the cross functional teams to check manufacturing & service feasibility.
After finalizing the concept routing, the packaging requirement is published to the design team and then the proto Harness drawing is reviwed for supplier feasibility. upon finalizing the drawing prototype is built and it is reviewed with all Cross functional teams for validation before releasing the harness drawing to the production.
Download all the relevant CAD data like Back Door, Connectors and clips & clamps etc., for Back Door Harness routing(from Grabcad, TE.com & HellermannTyton etc).
To create the context assembly for routing. Go to File > New > Product and click on OK. Right click on the product and select properties.
Routing of Cables(5mm)
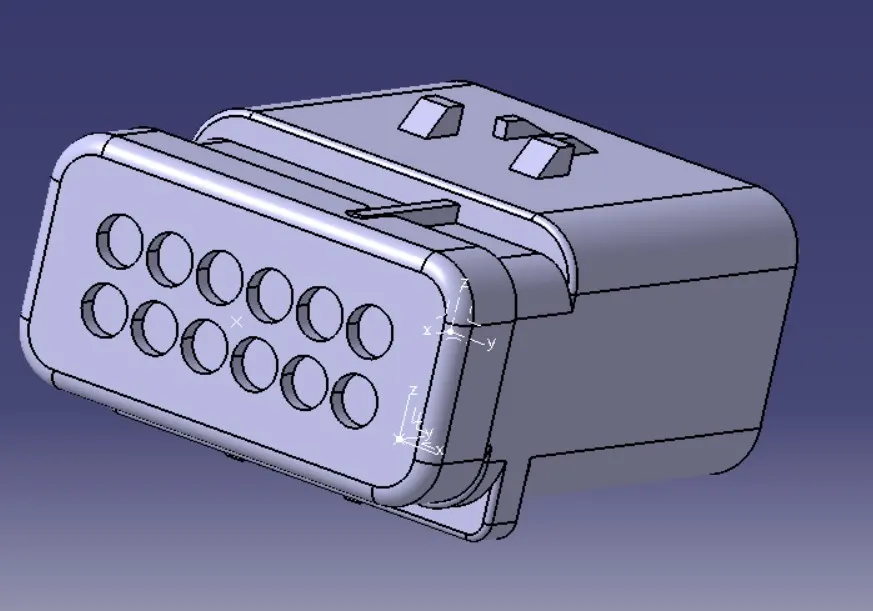
INTERCONNECTOR
Define the part as a connector with 12 terminations.
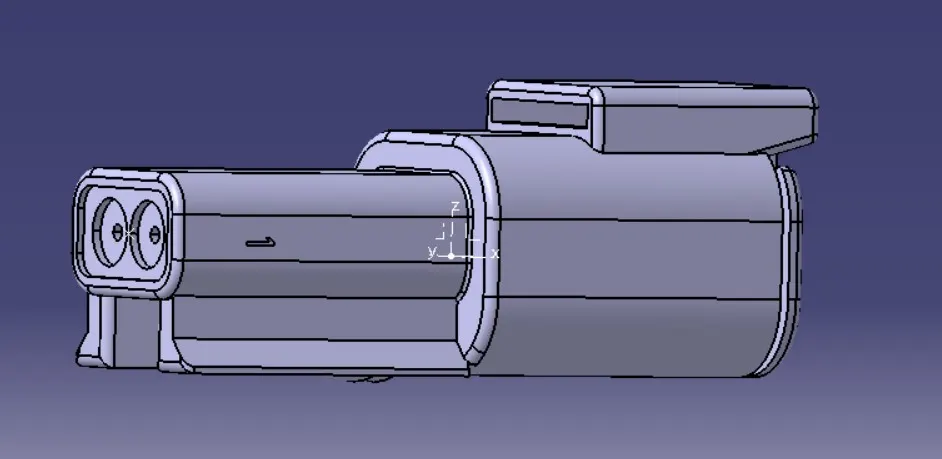
Connector 2
Define the part as a connector with 2 terminations.This is used in tail lamps and number plate lights
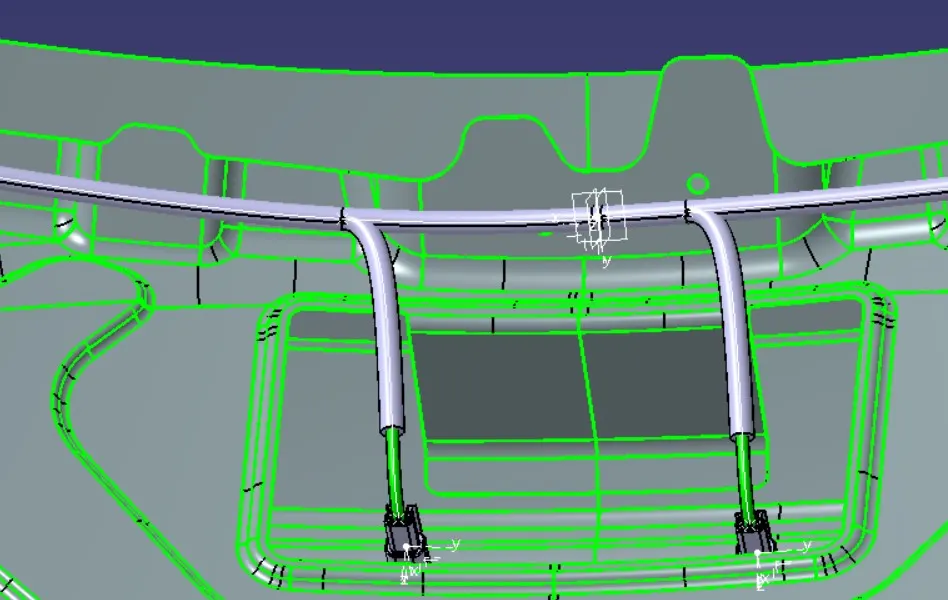
COT TUBES
Here we use 10mm cot tubes for protection
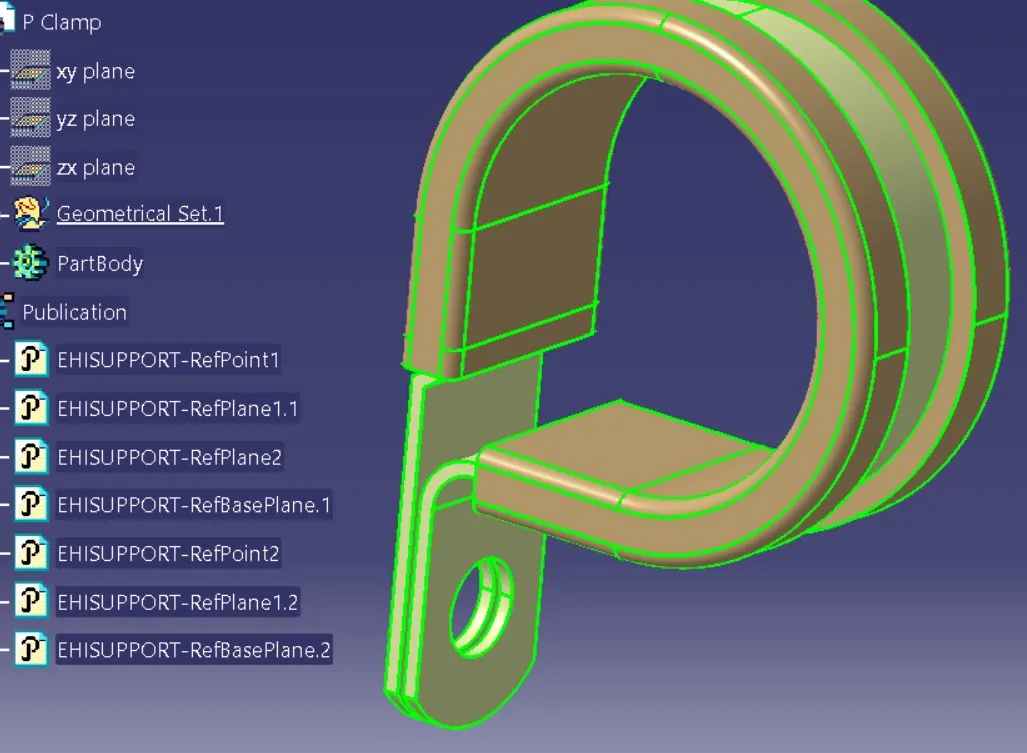
P CLAMPS
Supporting element for cable
FIR TREE CLIP
Supporting element for cable
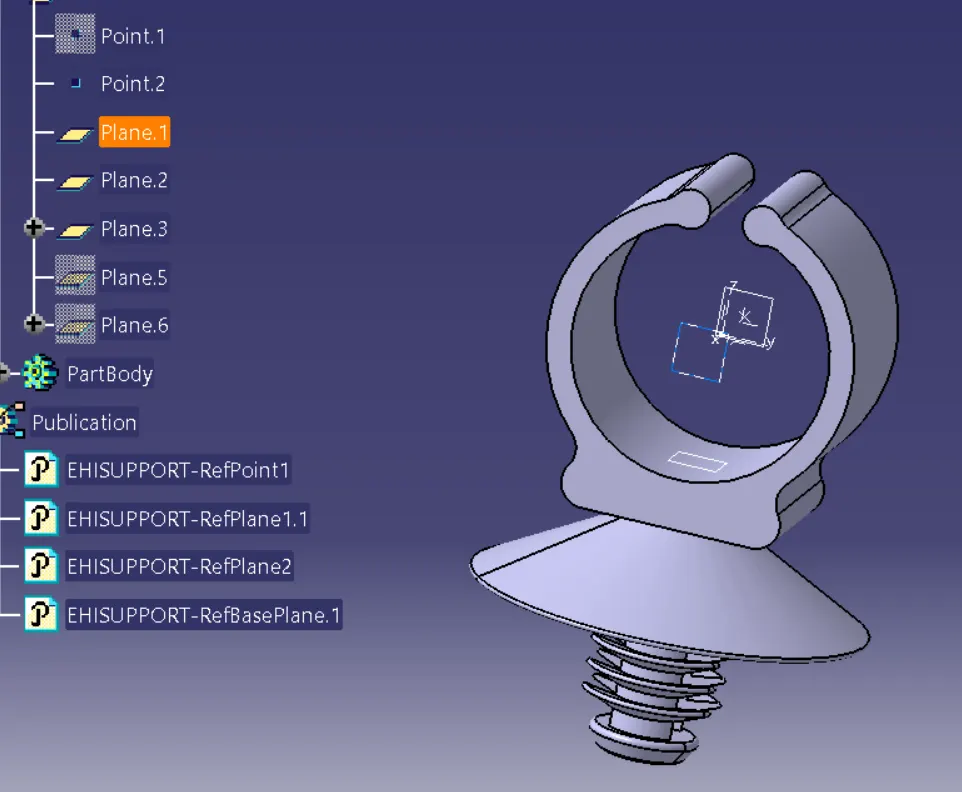
Start routing the bundle segments:
Create branch.
The bend ratio is 1.4.
Slack of 1 - 5% is provided at the necessary location.
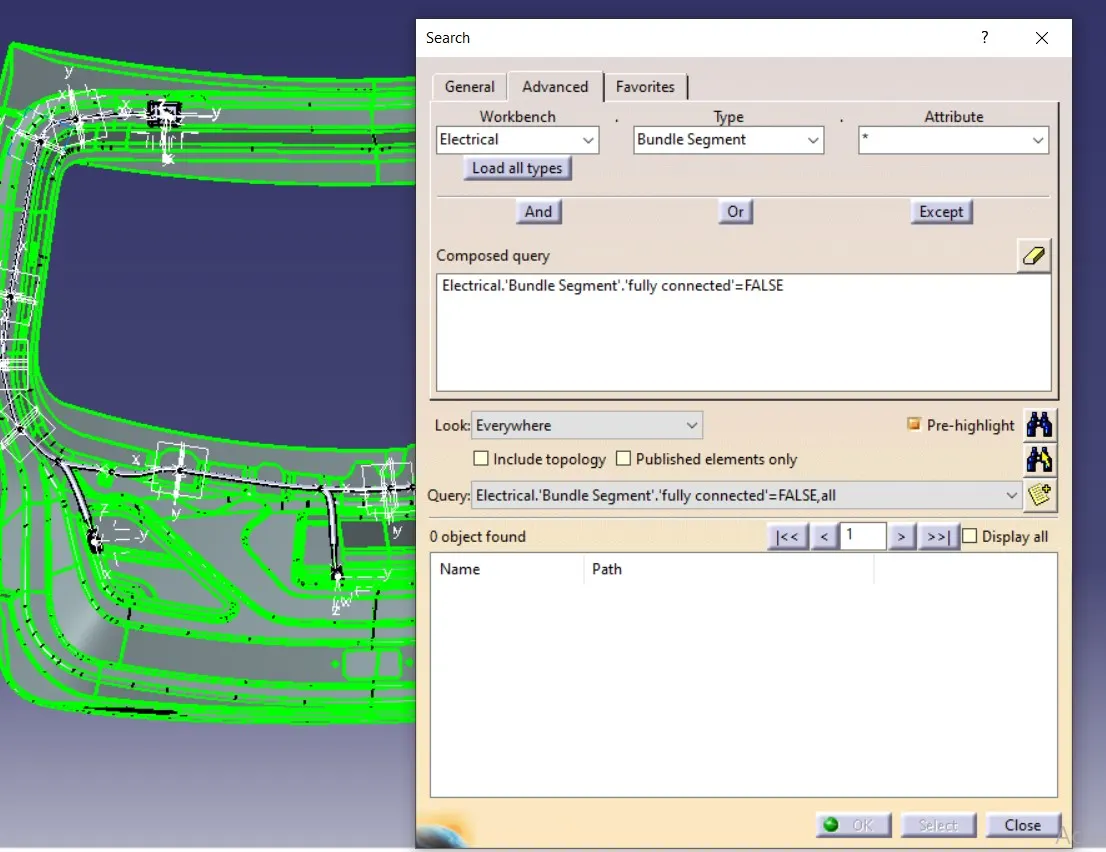
Checking the connections:
Flattening the Harness Assembly:
Create a new product and go into the "Electrical Harness Flattening" Workbench.
Click on the "Harness Flattening Parameters" option to adjust the parameters.