Project 2
REPORT ON FINAL PROJECT 2
AIM
The aim of this project is to route the wiring harness on the given backdoor of a car and prepare a flattened view drawing in the CATIA V5 by applying all packaging rules and following the industry standards and design guidelines.
INTRODUCTION
Wiring harness design and Routing
Wire harnesses are a mixture of wires that are bundled together to form a wire harness. Wire harnesses range in complexity from a few individual wires going point to point to hundreds of individual wires, multi-conductor cables and welded wires all forming a complex wire harness used to transmit power and all types of data. Wire harness designs are highly customizable, as harnesses are typically designed to suit specific applications. They may need to be concealed behind walls, fit within electrical boxes, or conform to other space constraints. Precise measurements of the environment, power demand, and lengths must be taken during design to prevent costly mistakes and ensure proper safety and functionality of the final product.
A wiring harness routing structure includes a wiring harness routing member configured to be attached to a vehicle body and a protector that accommodates and holds a wiring harness. The protector has a recess shape in which the protector is opened in one direction in a sectional view. At least one of the wiring harness routing members and the protector includes a fixing mechanism that fixes the protector to the wiring harness routing member. The protector and the wiring harness routing member are configured to be integrated via the fixing mechanism.
Back Door
A door which is located at the rear side of a car which gives access for the boot space to store luggage, spare wheel etc. These doors can be operated manually or electric powered. In most of the luxury cars door is electrically operated.
In most cars, usually this process will be done manually. One has to get down the car to open and close the tail-gate with the car key.Nowadays, automobile manufacturers providing Advanced features like the automated tail-gate. An automatic tail-gate in the car will do the process of shutting and opening the tail-gate electronically.
DESIGN METHODOLOGIES
- Open the cad file of the backdoor and identify the position of electrical components such as tail lights, wiper motor mounting area etc where the wiring harness routing is to be done.
- Decide the type of connectors, clamps, supports and external components going to be used for the backdoor routing.
- Understand the concept path of the main branch of the bundle that is going to be connected with the electrical parts of the backdoor.
Define the connectors as electrical part
- Download the neutral data file (step file / igs file) of the connectors from the given source (TE connectivity website) and open it in the CATIA part workbench.
- Identify the faces of the connector connection point, bundle connection point and the mechanically locking sides of the connectors.
- Create the geometries like center points of the connector connection point and bundle connection point by selecting appropriate edges and create an axis on the connector connection point by placing the Y axis towards the connector connection point (mating point) direction and the X axis pointing towards the side of the locking mechanism. The same axis direction should be followed for the compatible mating part.
- Now switch to the electrical part design workbench and define the model as an electrical connector part by using the define connector command.
- Define the connector connection point by giving the representation as the back connector connection point, selecting the face of contact, coincidence direction as Y axis and orientation direction as X axis.
- By using the define bundle connection point command select the face of the bundle entry side and the bundle center point to define the bundle connection point of the connector.
- Now the connector part file is converted into the electrical part file with all electrical properties.
- Follow the same steps for converting all connectors into electrical.
12 pole connector -
4 pole connector -
3 Pole Connector -
2 Pole Connector -
P-Clamp -
Furr Tree Clip -
Now positioned the connectors and clips & clamps at the required position -
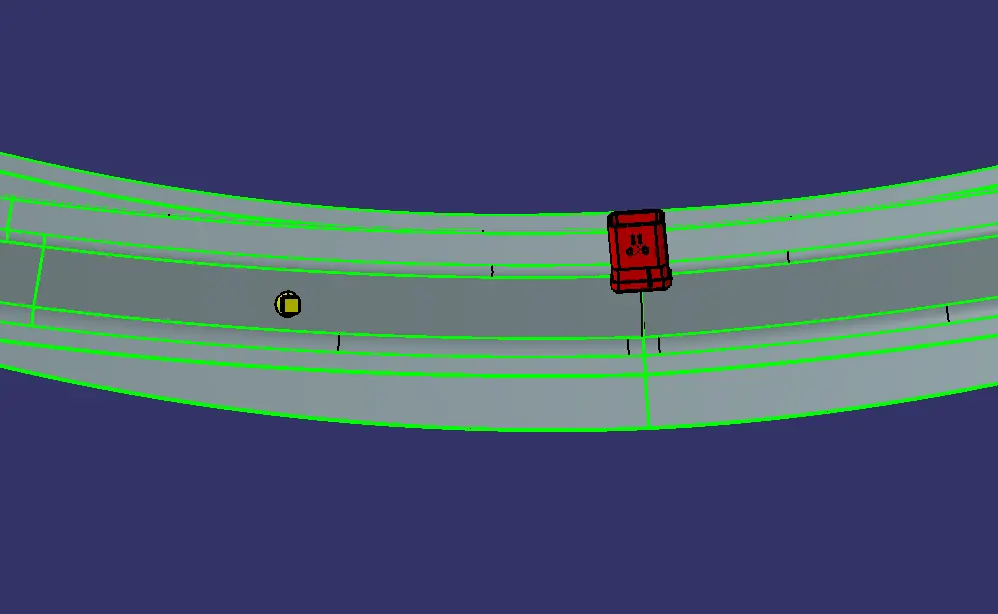
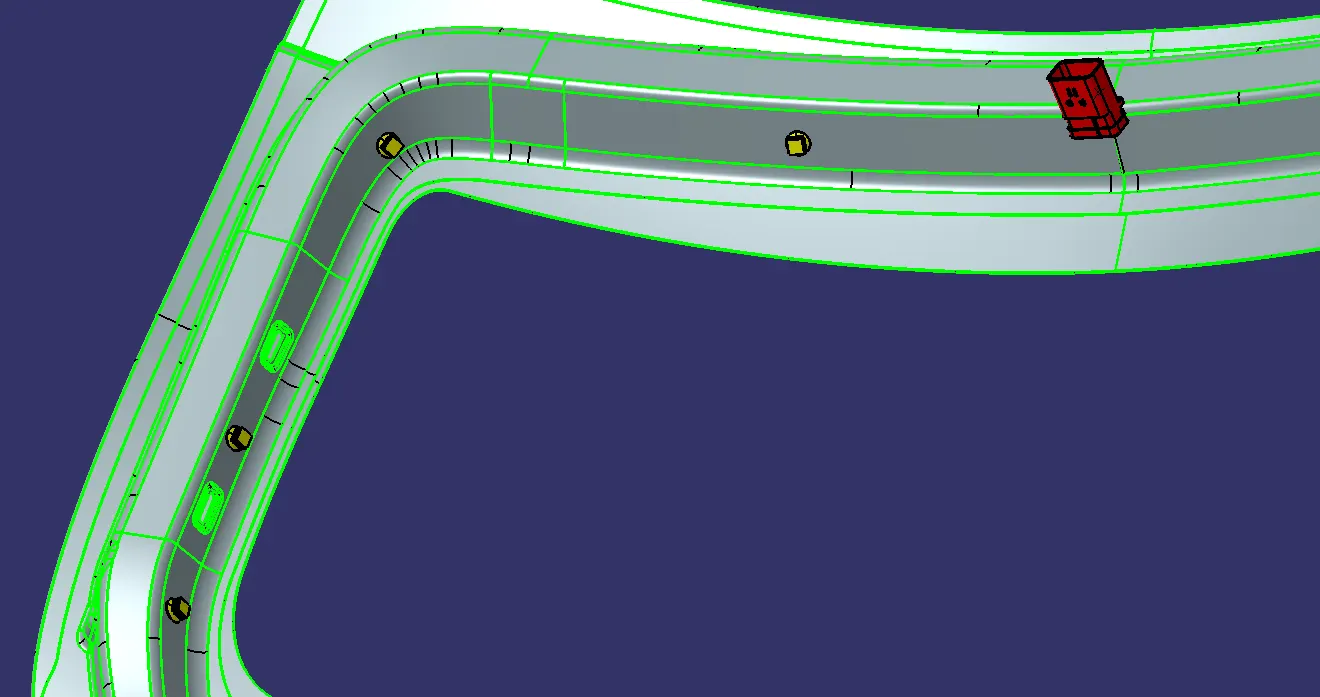
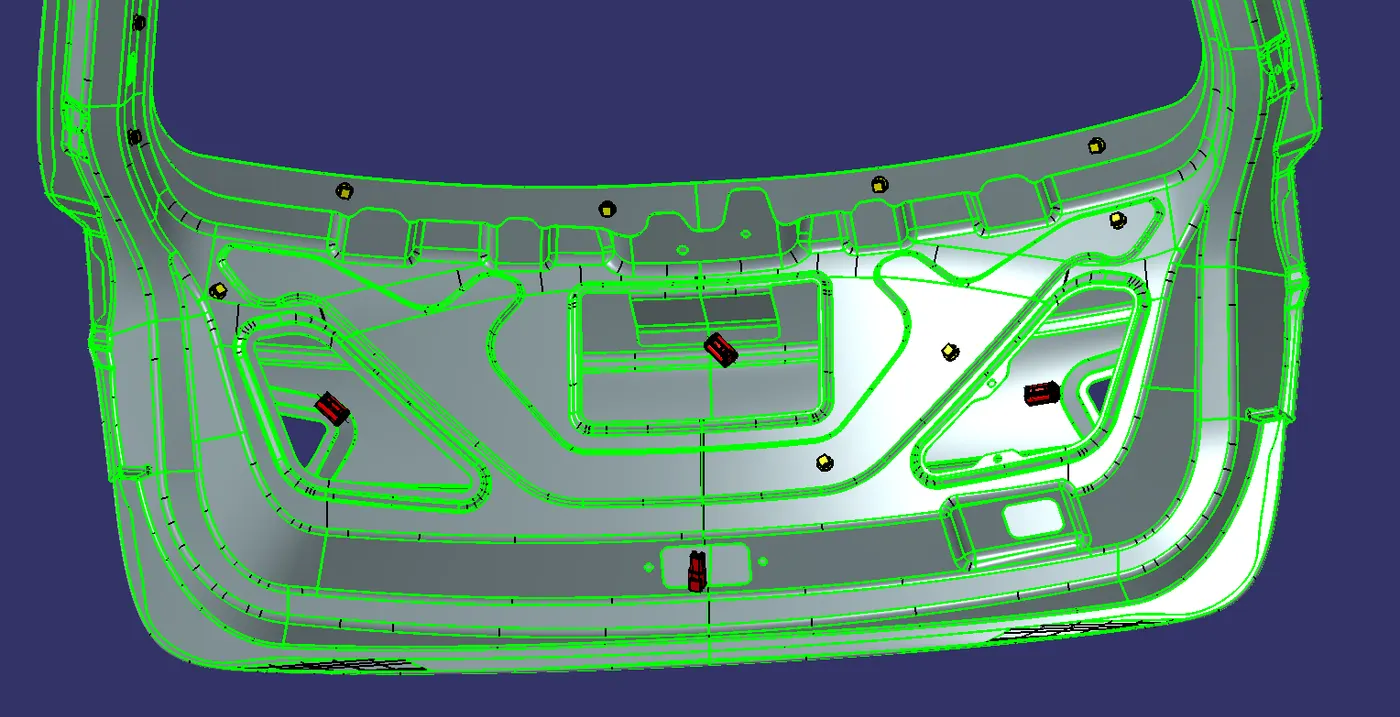
Now create bundle harness for back door -
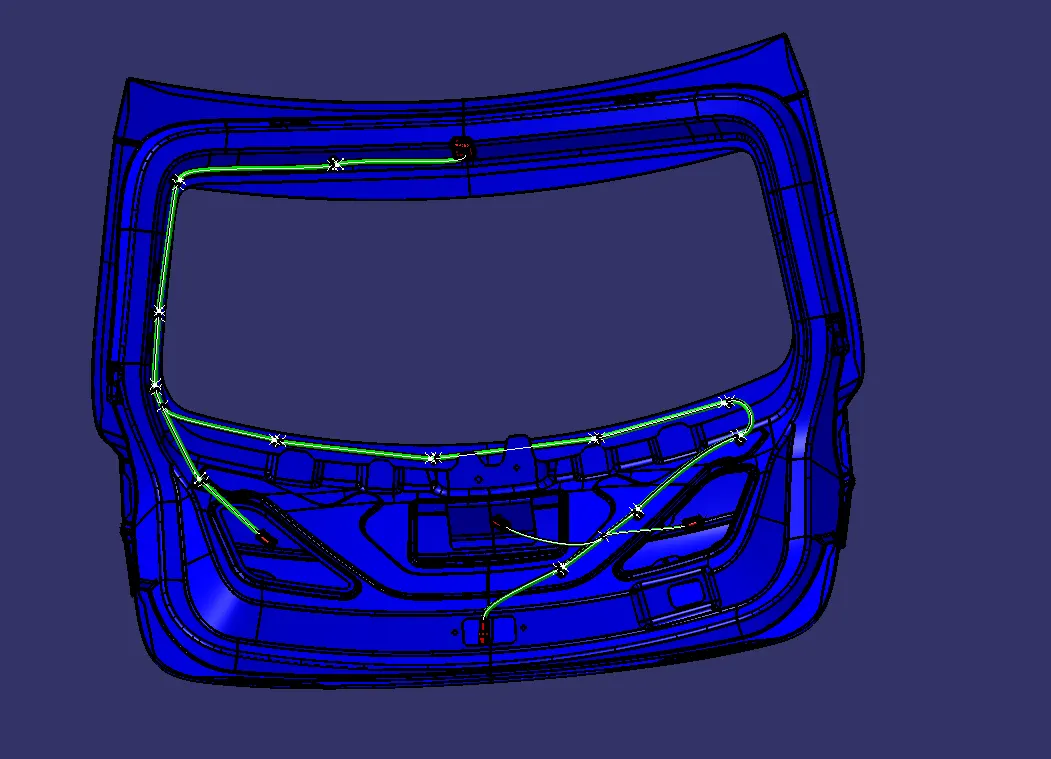
Now add the protective covering on the bundle segment -
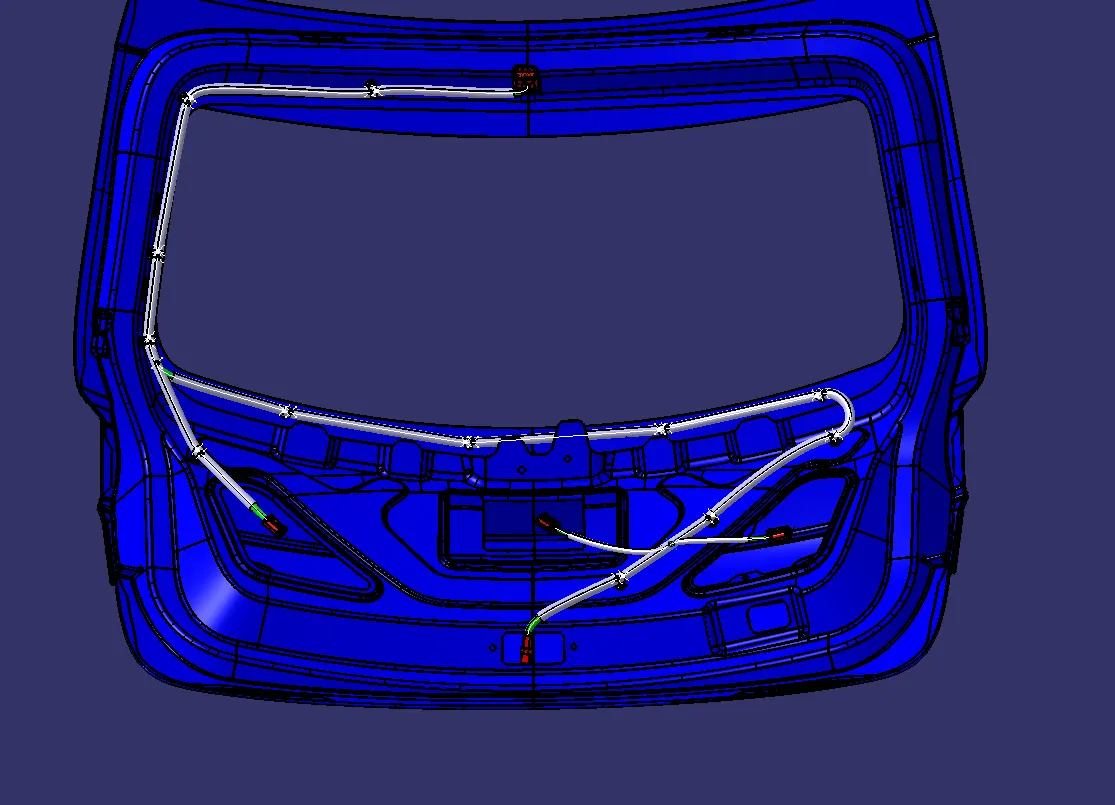
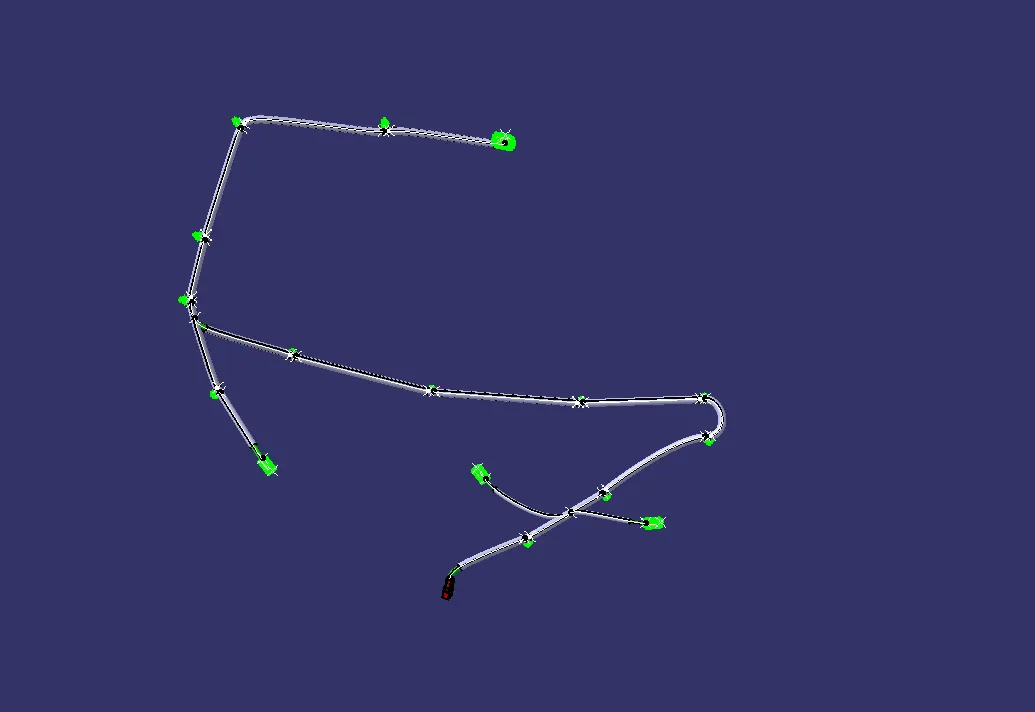
Creating New Product File and named as Flatten Product and add the geometrical bundle set into Flattening product -
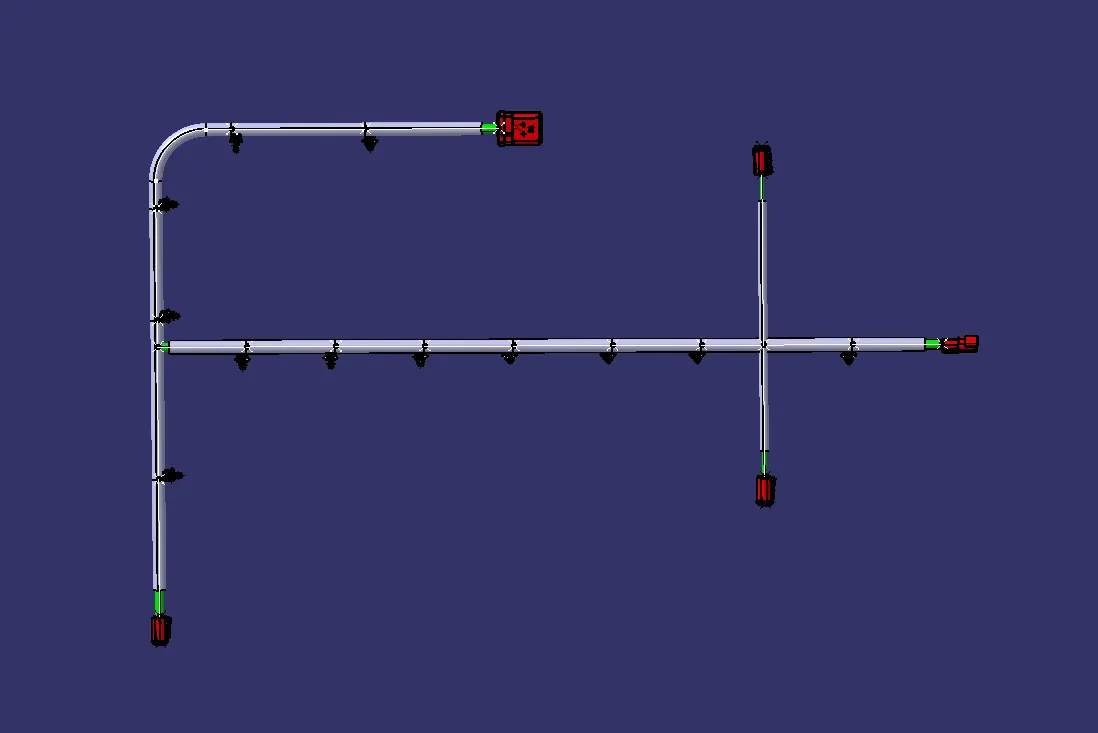
Use the Flatten Command to Flatten the harness bundle and do some modification on flatten product -
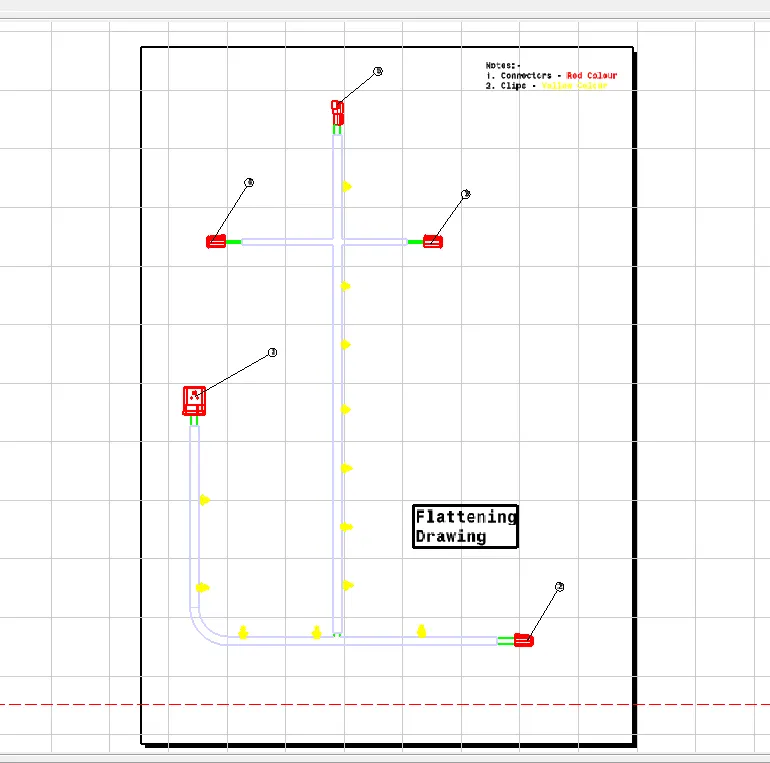
Now Create a new Drawing File and create drawing of flatten product -
CONCLUSION
We have discussed about wiring harness design and routing & design methodology. Then we have created wiring harness for back door and also flatten the harness bundle and create the drawing file.