Hood design-Week 2
REPORT ON HOOD ASSEMBLY DESIGN
- AIM
The aim of this project is to design a Hood Assembly which consists of Hood outer Panel and Hood inner panel. The latch for the hood will also be placed at appropriate position considering that the hood should be opened and closed easily by its mechanism. For the rotation of the Hood, Hinges will also be Placed at appropriate position so that the hood can be rotate easily.
- INTRODUCTION
The hood (also called as bonnet) is the cover over the engine of the vehicle. Its provides the access to the engine compartment whenever needs to repair and maintainance. it mainly consists of outer panel and inner panel. The outer panel functions as the metal cover and inner panel provides the strength of the hood. we also provide striker for the locking mechanism of hood and also hinges for the rotation of the hood.
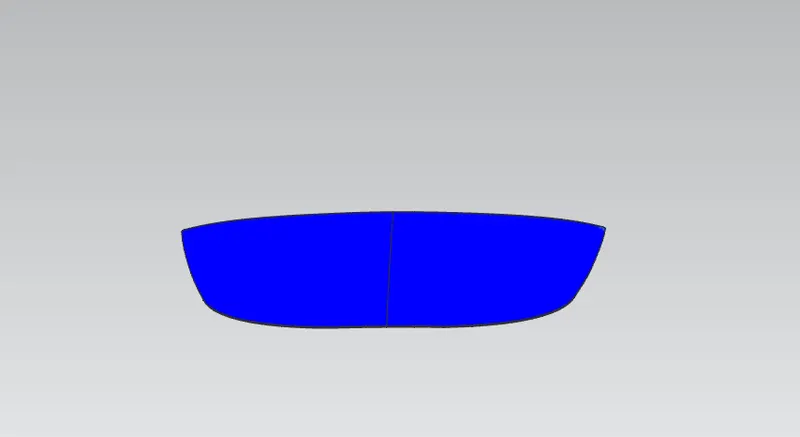
Outer Panel -
The outer panel has the aesthetic look to it but on its own is very weak and not capable of handling force during impact. this part is provided with a good surface finish, painted with corrosion-resistant paint to prevent the inner parts from corrosion.
Inner Panel -
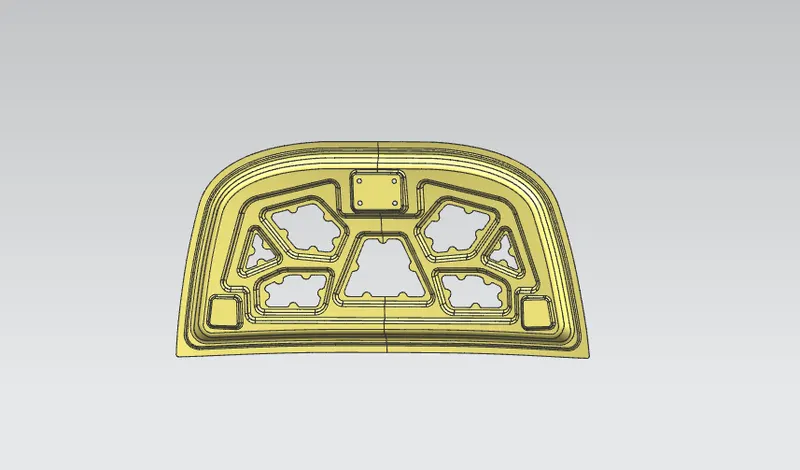
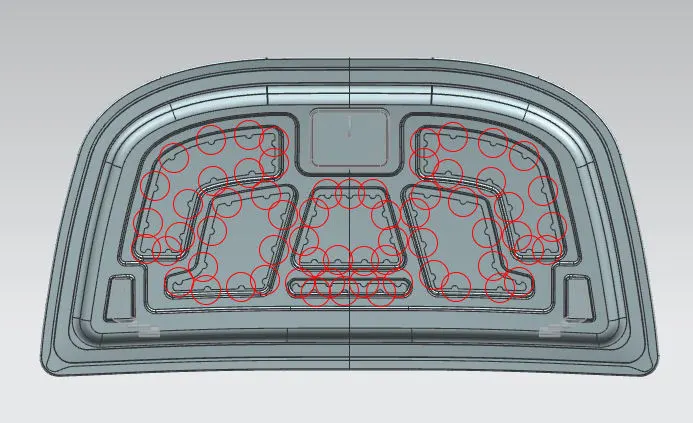
The inner panel of the hood is not visible to the customer but this is the engineering feature of the outer panel. it is the part on which hinges, striker are to be fixed to make our hood fully functional it also consists of embossed sections for proper force distribution and mastic sealant points are also located on this part with reinforcement for hinge & striker. To reduce the weight of our hood some material is removed from the hood inner panel as shown below.
Striker -
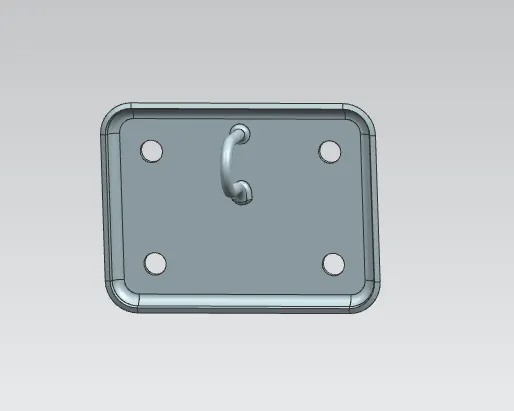
Striker is used to provide the locking to the hood it consists of a latch-type mechanism and it is located on the inner panel of the hood to decide the position of our striker.
Hinge -
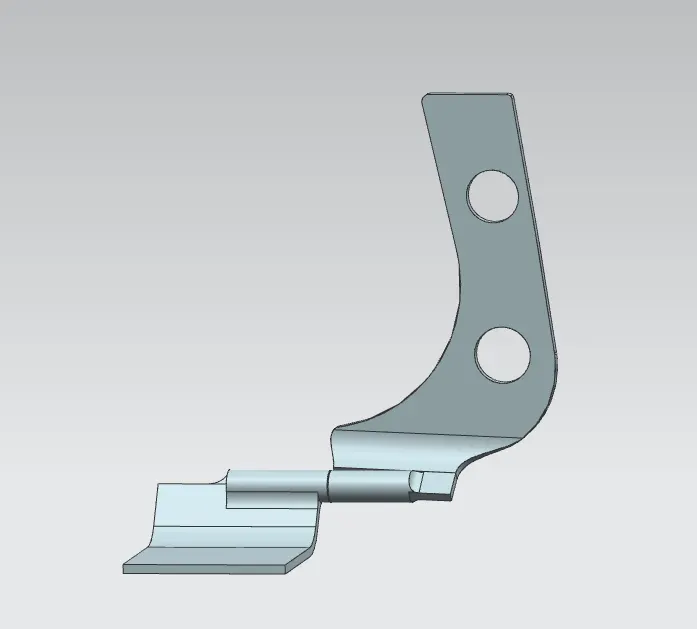
This is an important part of our hood because by use of this part only we are able to open and closed our hood whenever required with ease. This part should be strong enough to take the load of the hood and also the forces which act upon the hood in case of crash. So, this part should be designed with utmost care that it should not fail during its operation.
So the first criteria for the designing the hood is to set an angle till which hood panel can be opened. This opening angle can be different for different countries which depends on the avarage height of a person in that particular country.

The Open and Close movement of hood can be controlled by either of these -
1. Support Rod
2. Gas Stay
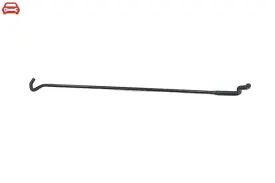
1. Support Rod - Support rod is most commonly used for opening of hood at certain angle and closing the hood. The one end of the support rod is connected to the engine compartment which is fixed and the other end of the support rod is free to lock the inner panel when hood is opened. it is used where the weight of bonnet is small.
it is important to consider that the support rod should not be collide with the engine compartment.
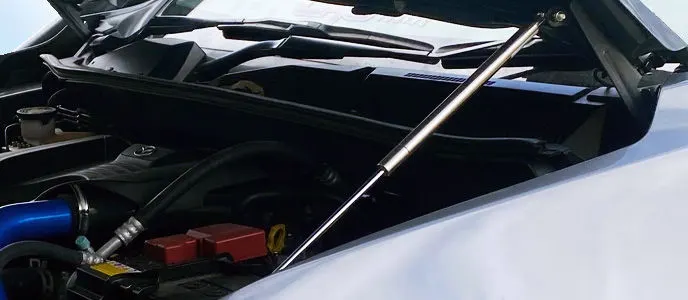
2. Gas Stay - This type of component used in the most heavy vehicle where the weight of the hood is more and it is difficult to a human being to open it conveniently. So, basically, a gas stay system uses gas-filled telescopic cylinders which only require an initial force to set it in motion.
Padestrian Safety -
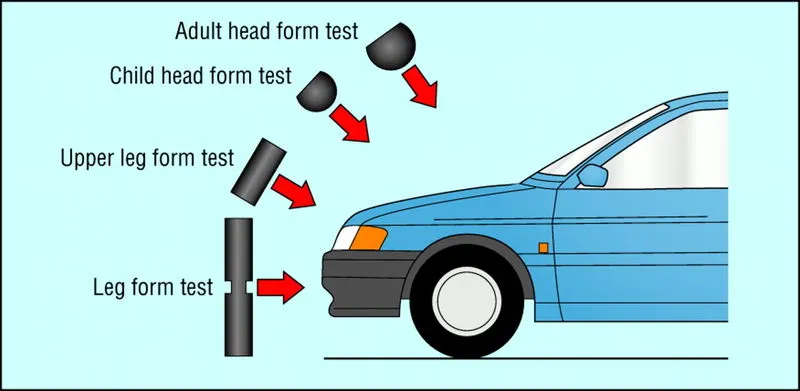
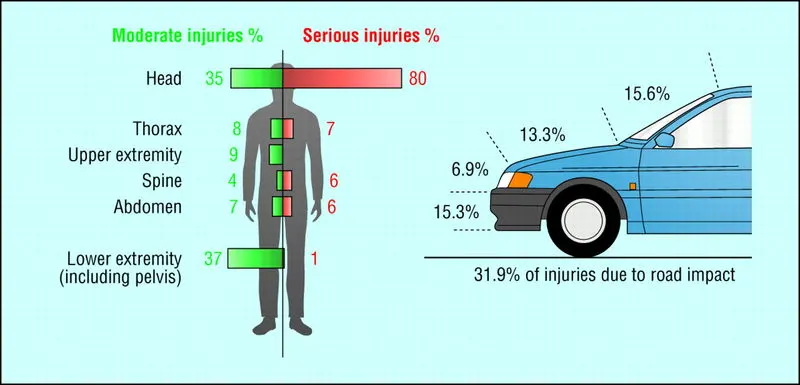
Padestrian safety is something which refers to the study area of hood where where different body parts of pedestrians are going to hit. whenever we design a hood it is necessary to consider the safety of pedestrians as when your car hits the pedestrian during a crash. we should also take into account the average height of adults and children while designing our hood. So, whenever a new car is been launched, all these safety parameters are checked by taking a crash test and studying the data obtained from it to make changes accordingly to follow pedestrian safety.
We consider the padestrian safety on these three impacts -
- Head Impact
- Upper leg Impact
- Lower leg Impact
Mastic data -
When outer and inner panel of hood are assembled to form a hood a small gap remains between these two parts as they are both metal parts this may lead to noise and vibrations when the vehicle is in running condition which is undesirable to avoid this mastic sealant is filled between this small gap.
Manufacturing Process
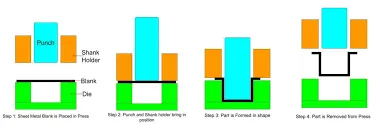
These are the two types of manufacturing process for the production of hood inner panel and hood outer panel.
1. Deep Drawing - Deep drawing is the process of forming sheet metal by using a punch to radially draw the metal into a forming die. The mechanical action of the punch in combination with the hollow die applies both tensile and compressive forces that transform the shape under high pressure.
2. Heming - Hemming is a sheet metal forming process in which sheets are joined by bending it to 180°. Automotive body panels and automotive parts such as deck-lids, trunk-lids, doors, hoods and tailgates are formed by hemming process. In this process, usually a sheet is bent with the help of inner sheet in three different stages.
here are two types of heming process use:
a) Conventional die Heming
b) Roll Heming
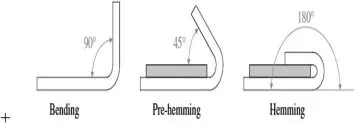
Now to start with our hood design some standard or master data is to be followed for deciding the dimensions of our hood such as thickness of inner and outer panel, heming data, etc.
Hood input data -
- Thickness of outer panel: 0.75mm
- Thickness of inner panel: 0.75mm
- Reinforcement thickness: 1.5mm
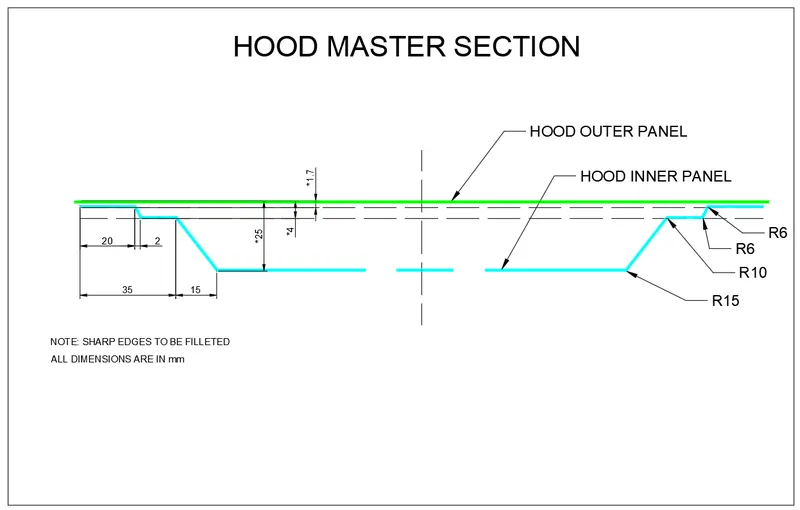
Master section -
This data is used for the design of our hood inner panel it gives all the information about the standard dimensions to be followed for the inner panel also information about radius values, maximum height of the hood inner panel from the top.
These are the steps followed to create Modeling of Hood Assembly -
- Hood Outer Panel - For designing the hood outer panel, Class-A Surface is provided as an input.
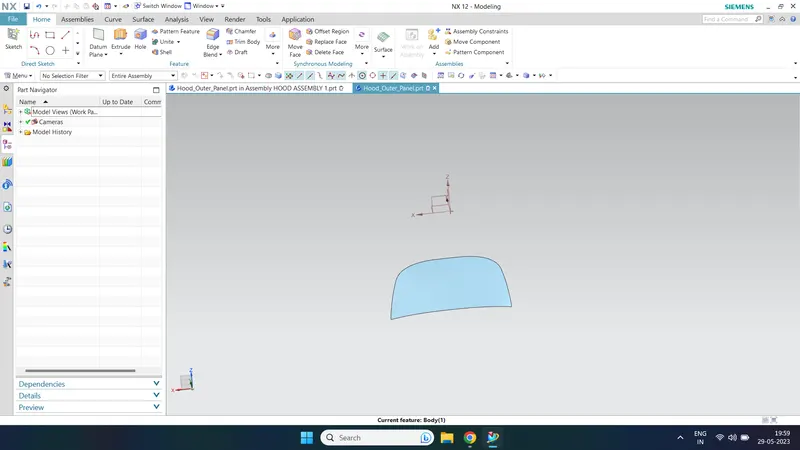
create outer panel from this Class-A Surface by uses of Offset, Offset curve in face, Trim, Low of Extension, Through Curve, Trim and Extend etc.
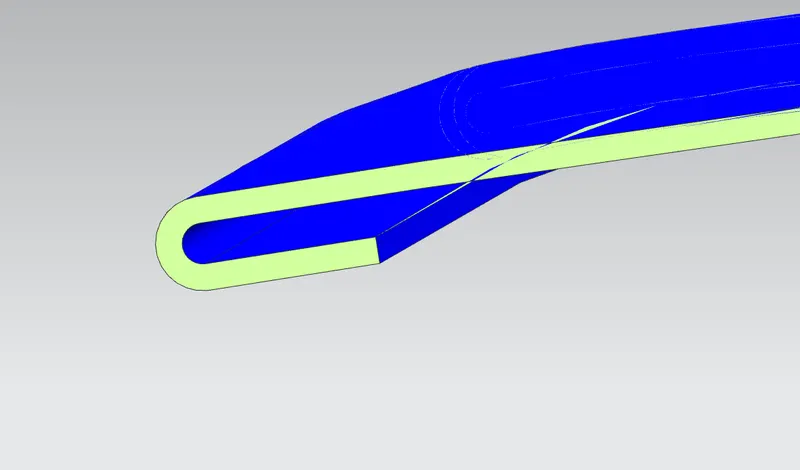
- Hood Inner Panel - For designing the hood inner panel, First we create a offset surface from Class-A Surface given as an input. Then we create different flanges by offsetting the surface and make embosses on it.
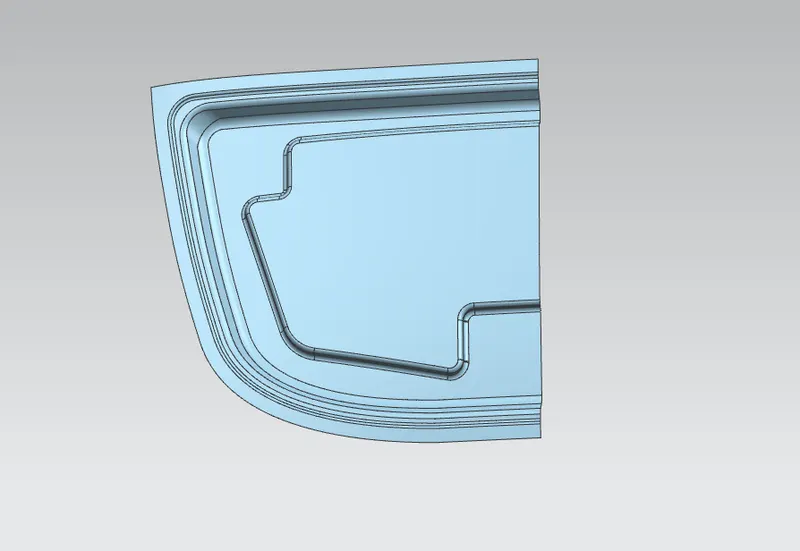
While we creating embosses we also removed the cutout portion from the embosses -
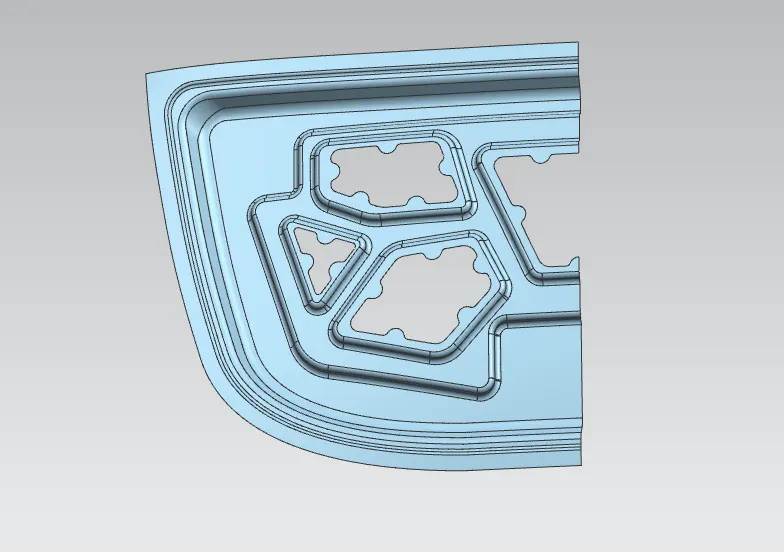
Then we create henge renforcements for inner panel -
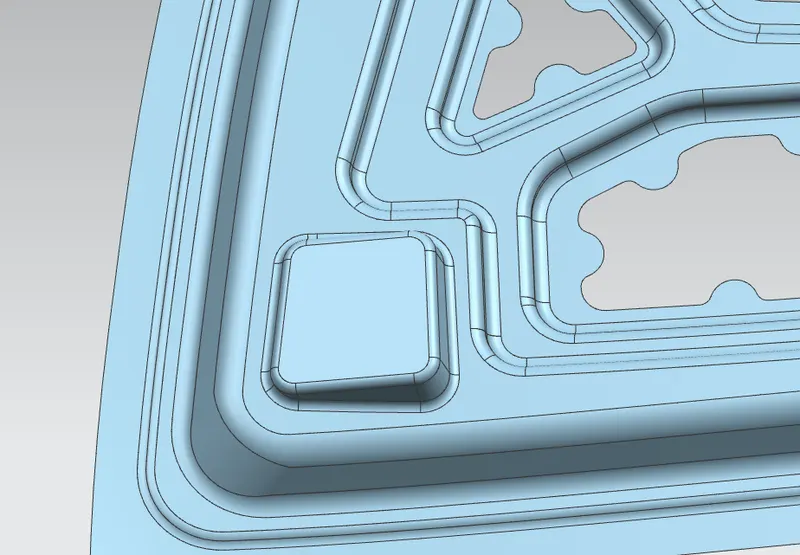
Then we mirror it and get inner panel -
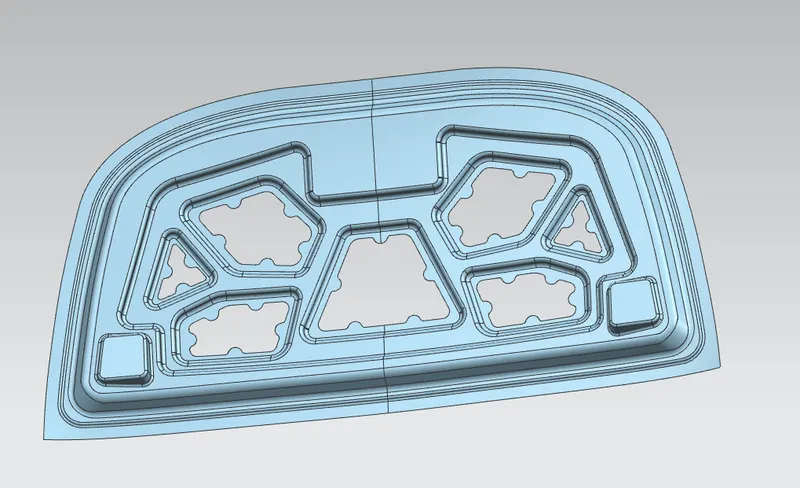
Then we create Striker Renforcements -
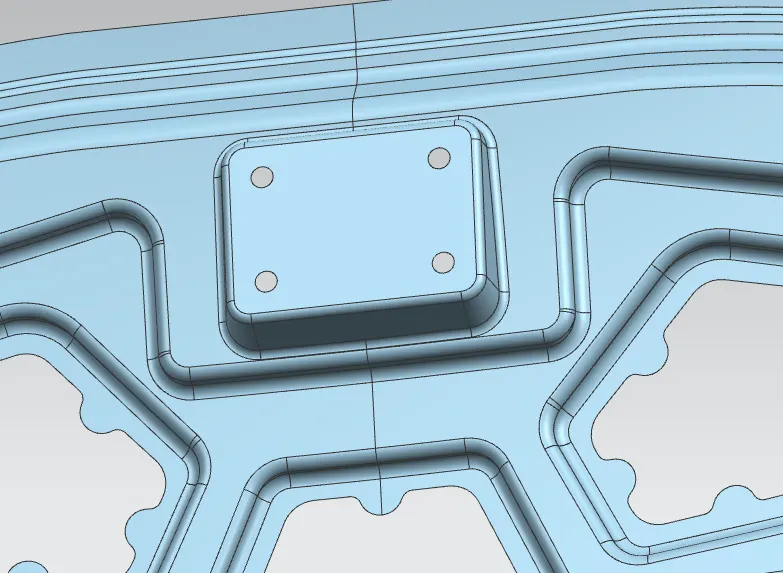
Now change the colour for inner panel and the inner panel is completed.
So now make the assemble of Hood Outer Panel, Hood Inner Panel, Hinges and Striker.
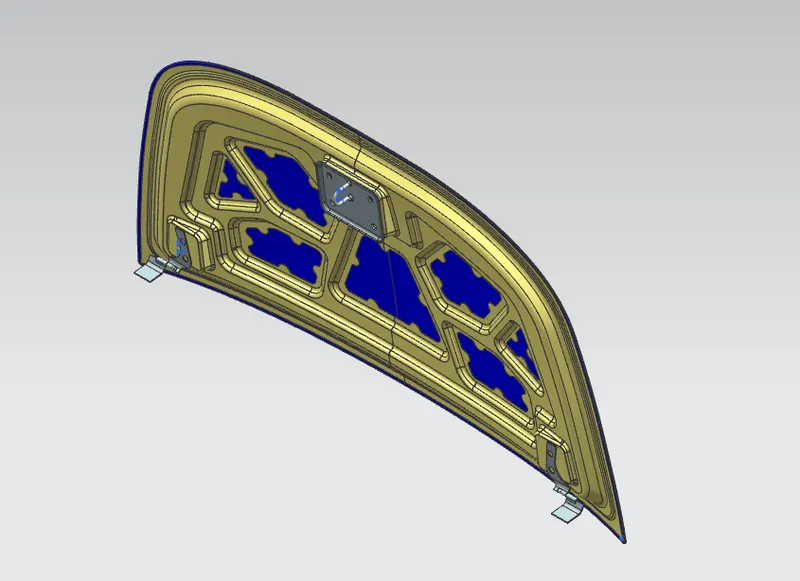
Different Views -
- Front View -
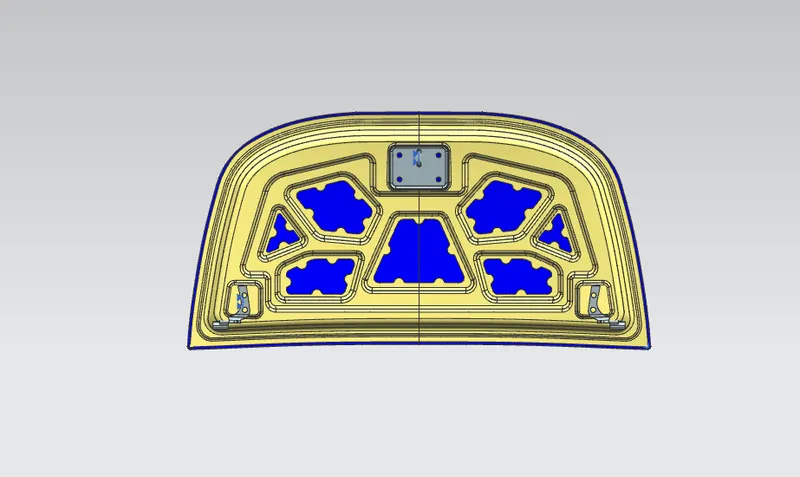
- Top View -
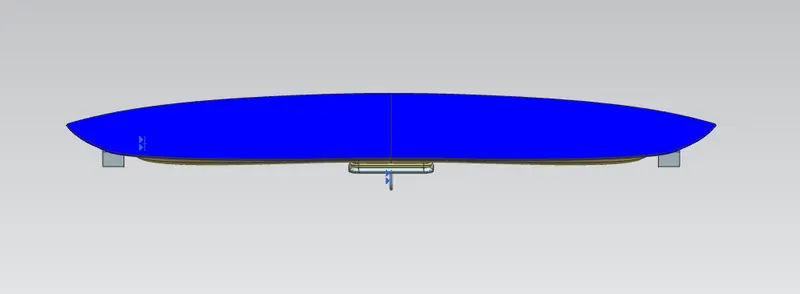
- Bottom View -
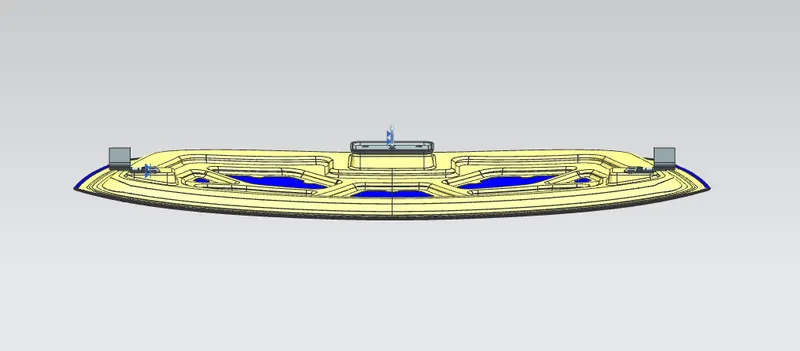
- Left View -
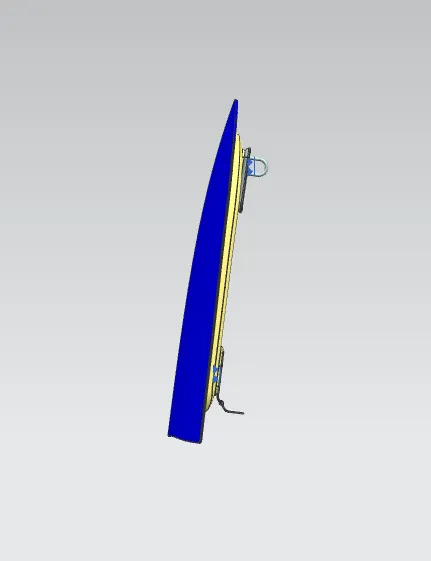
- Right View -
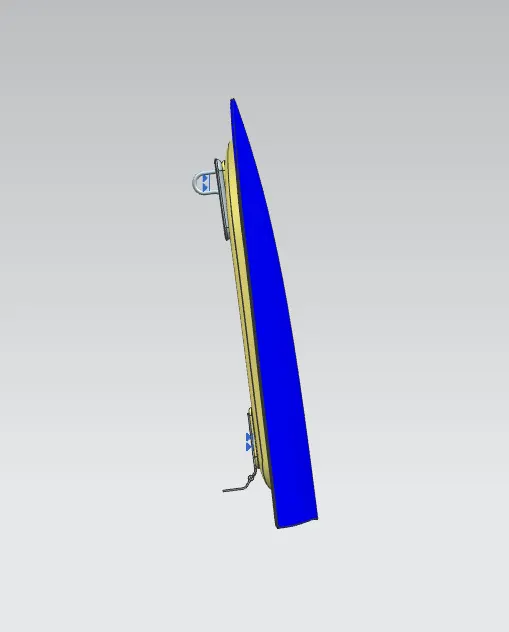
- Back View -
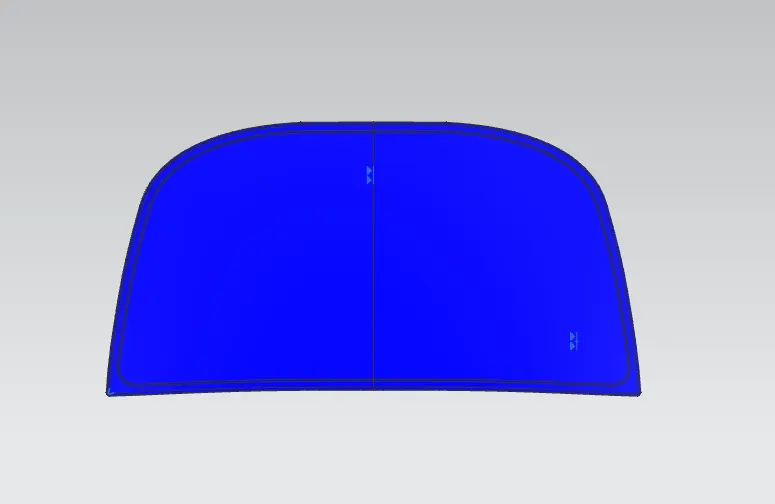
- Isometric View -
Conclusion
Hence, we have successfully completed our hood assembly by modeling all the components of hood that is hood outer panel & inner panel, striker and hinge assembly by following all the standard dimensions as given in input data.