Project 2
AIM :
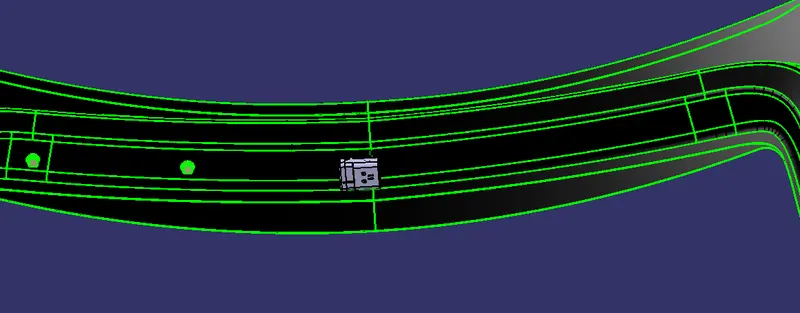
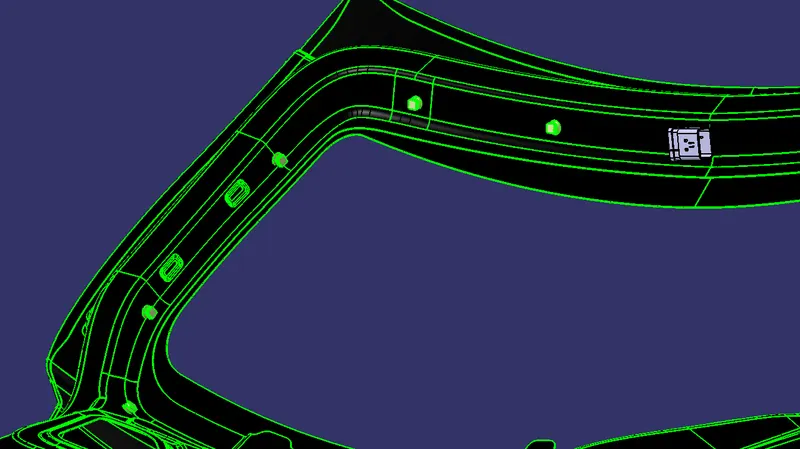
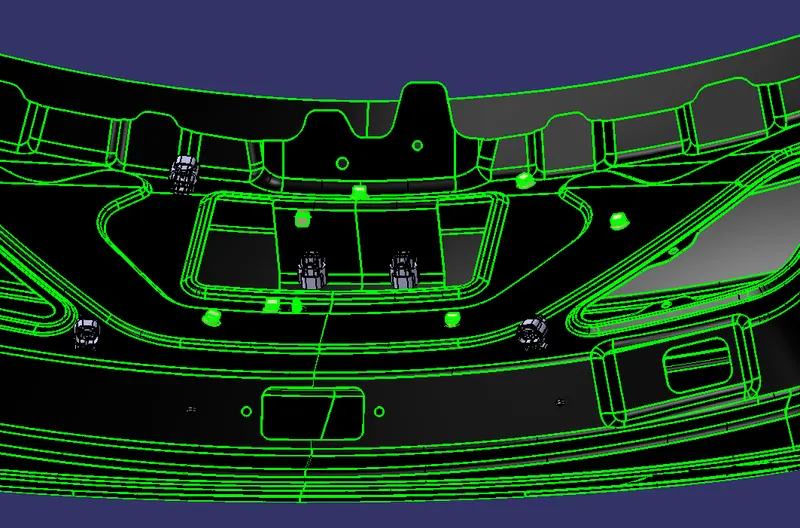
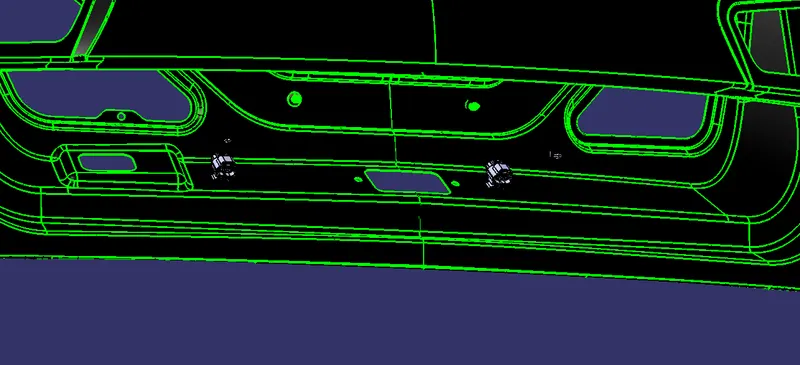
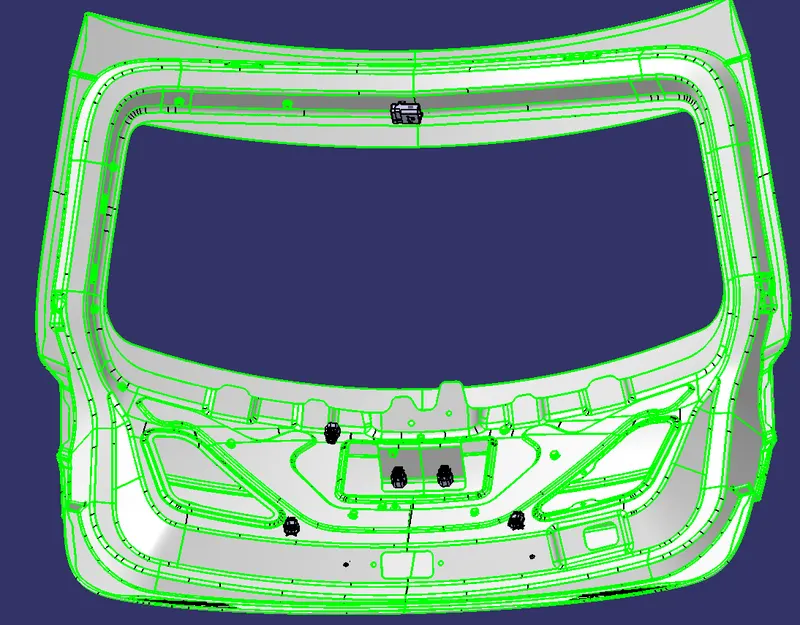
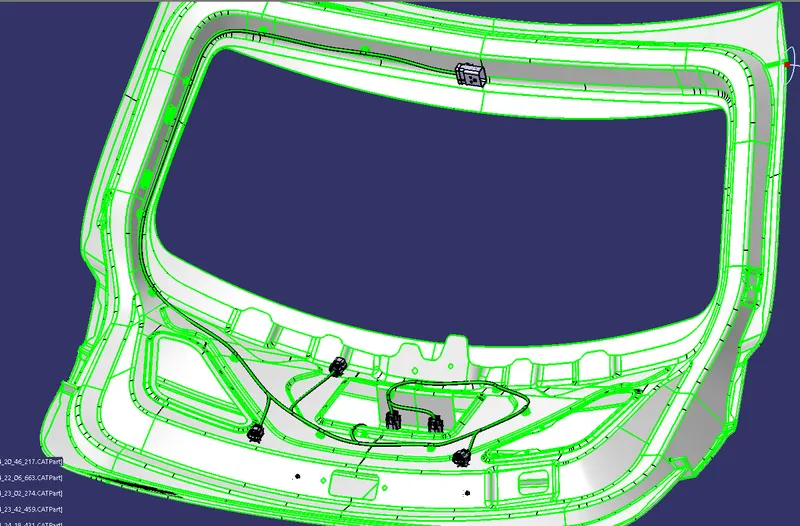
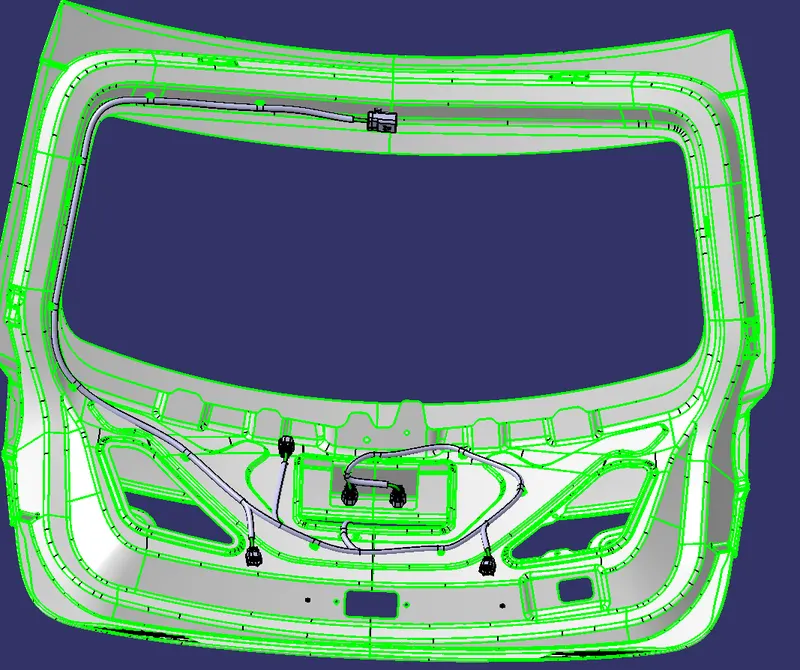
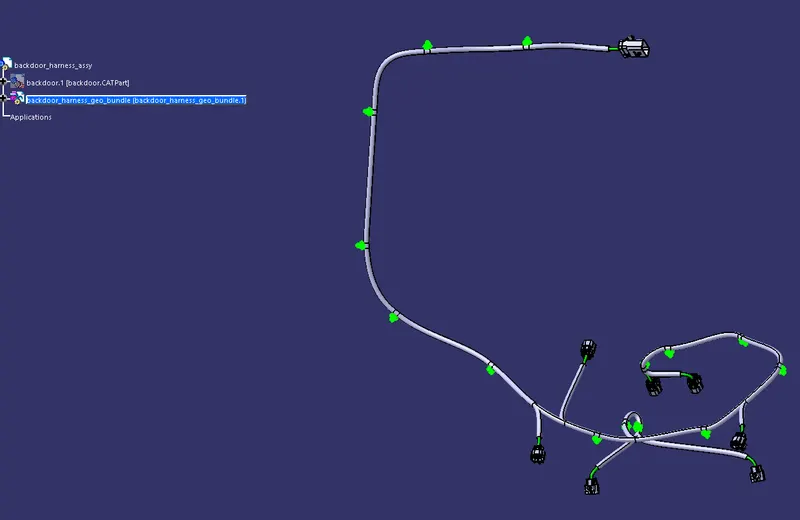
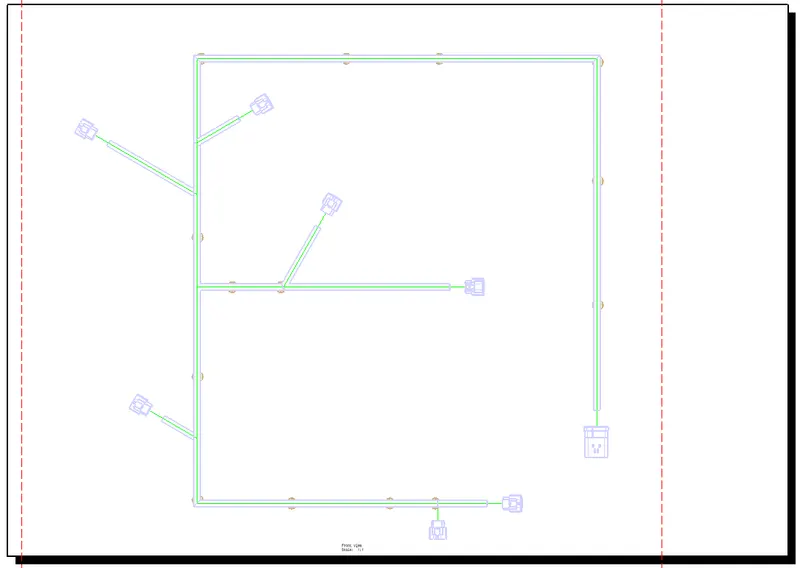
Routing of Wiring harness on a given car body back door and prepare a flatten view drawing in CATIA V5.
INTRODUCTION :
what is a wire harness ? :
A wire harness, also commonly referred to as a wiring harness, is an exterior sheath used to cover some types of electronic wires. Generally, wiring harnesses are made of thermoplastic or thermoset materials that can help protect the cables from the environment.
Automobiles today come with some great features. Their design, though, calls for deft wiring considerations. An automotive wiring harness is an assembly of wires, connectors, and other electrical parts. You use it in a vehicle for the transmission of signals.
Design of a Wire Harness :
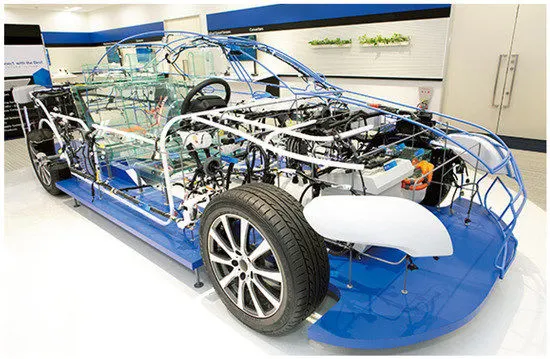
The design of the harness comprising of the interconnected mesh of wires is crucial. Select the important components like connectors, fuses, and sensors. Ensure their reliability.
Study the schematic circuit diagram. Divide the entire vehicle into detachable parts like chassis, body, and engine. Then design the wiring harness that suits the requirements. Ensure that it fits the customer requirements, shape, and size of the vehicle. Chalk out electrical routing in a way that reduces complexity and uses minimal space.
There are three types of engine wire harnesses based on the vehicle part you are looking at. The engine wire harness is a set of wires, connectors, and terminals to relay the signal to and from the engine. It also communicates messages from all sensors within the engine.
The body wiring harness routes electrical and electronic bits of information. It’s what keeps the major components of the automobile working. The body wiring takes care of power windows, lighting, and other accessories. And then, you need a chassis wiring harness for connecting the components.
Door Wiring Harness :
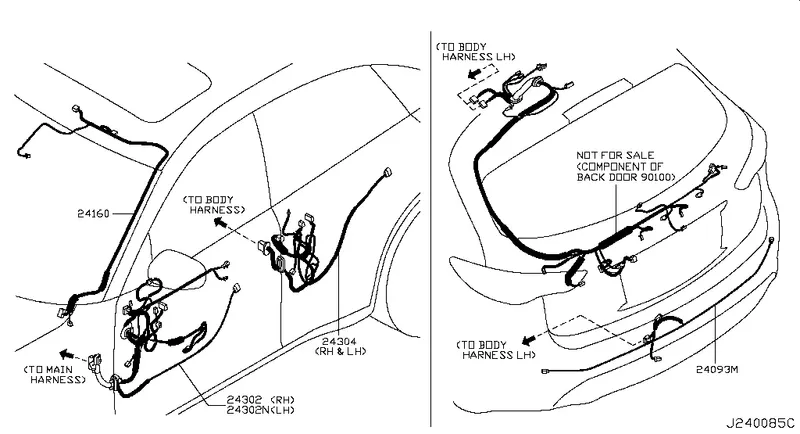
In the case of car doors, as the door of the automobiles opens and closes, the wires bend. If you use the car every day, the door will open and close many times. In case of Back door, the trunk could be open and close many times in daily life. Backdoor wiring harness mainly introduced to connect the brake lights, number plate lights, rear wiper motor, defogger connections. The harness routing should be maintained properly with all the supporting components like clips, clamps with proper protective covers, rubber grommets.
OBJECTIVE :
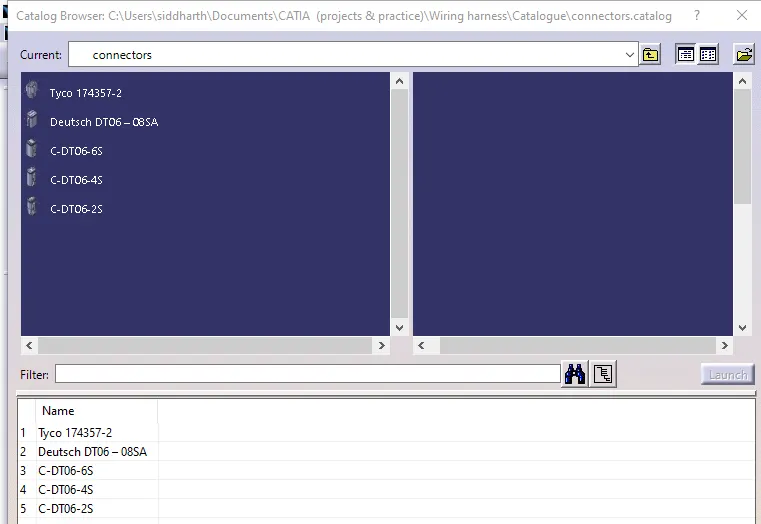
- Define all the mechanical connectors electrically and save it in the Catalogue.
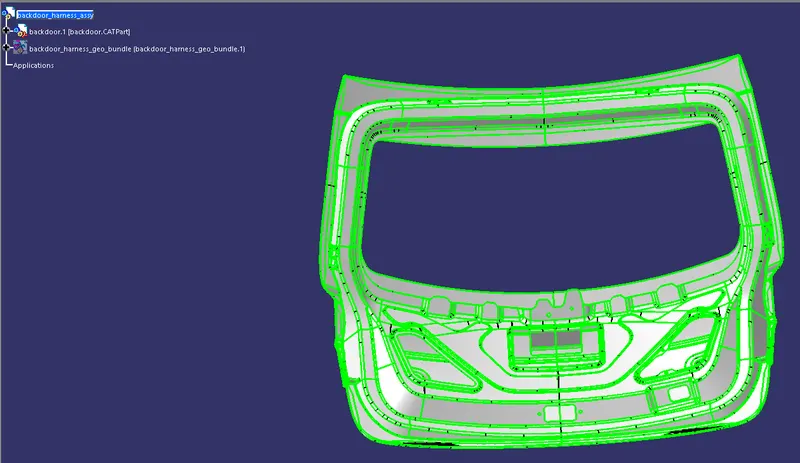
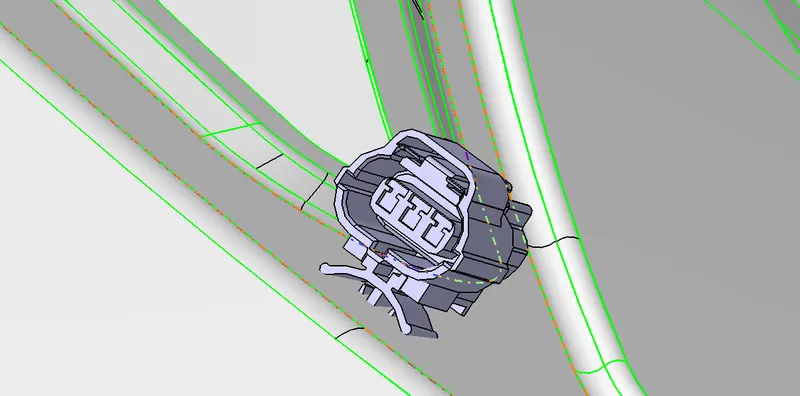
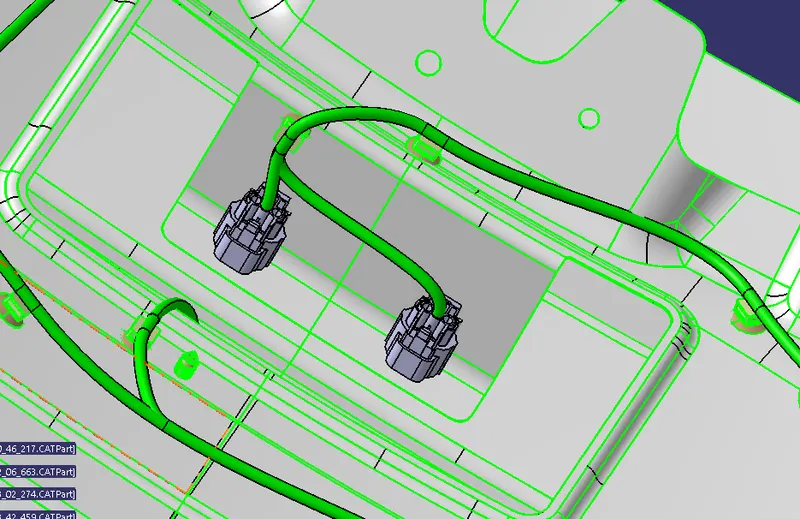
- Place required Connecters on the Back door CAD data.
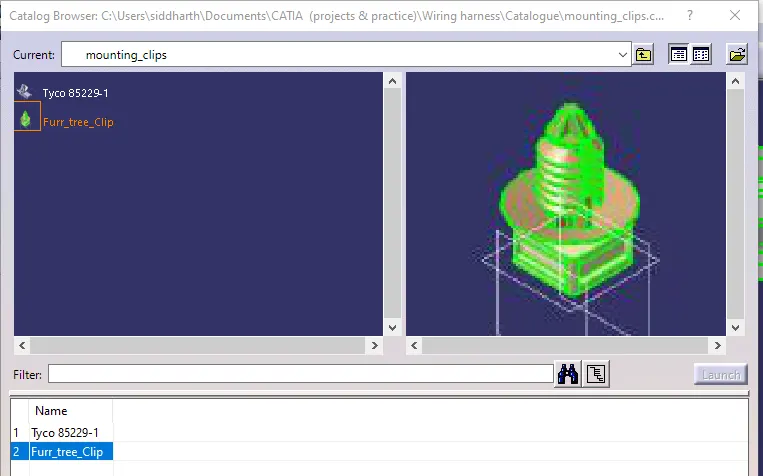
- Place Fir Tree clips at the required position by following the packaging rules.
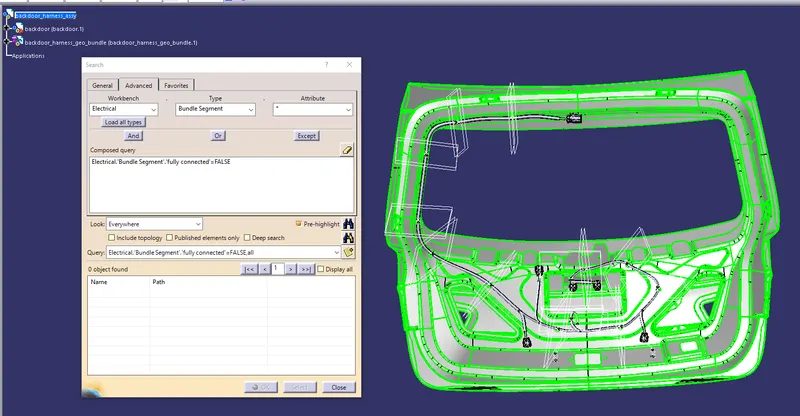
- Create the Wiring Harness Routing with all the electrically defined connectors and mounting equipments.
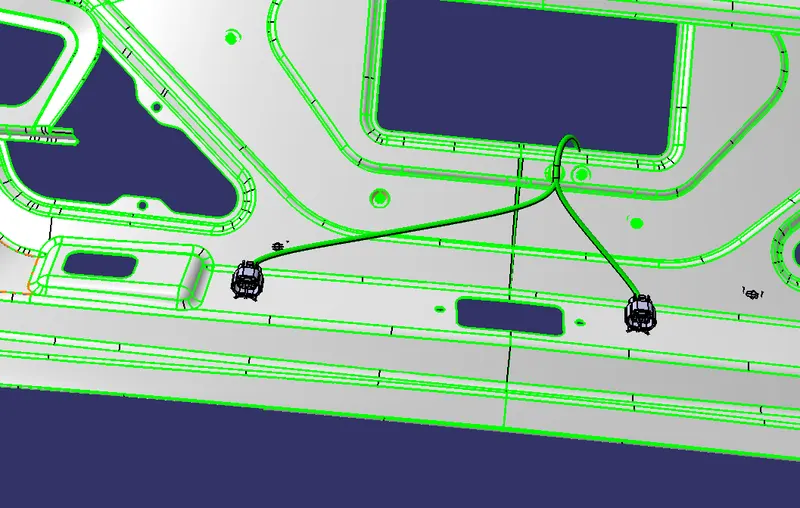
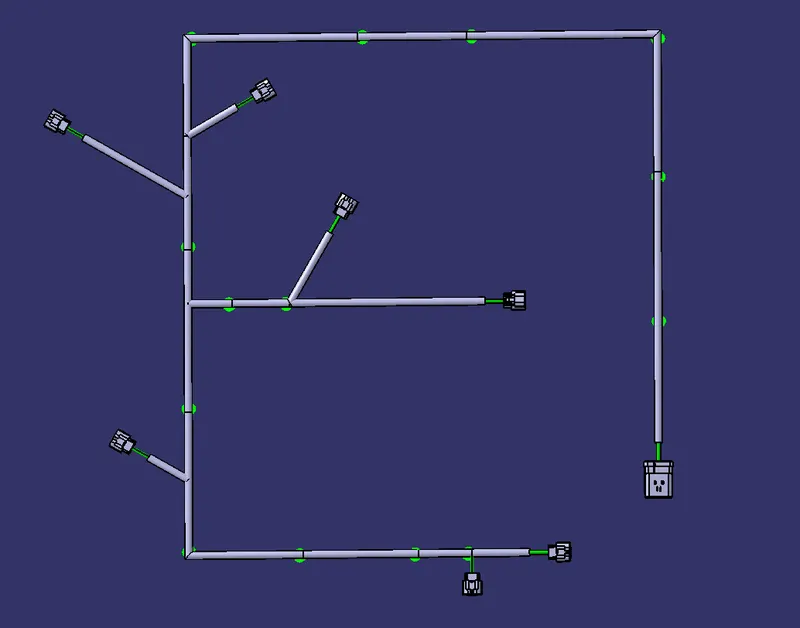
- Create branching points at required locations to create sub branches and connect to various connectors in the geometrical bundle.
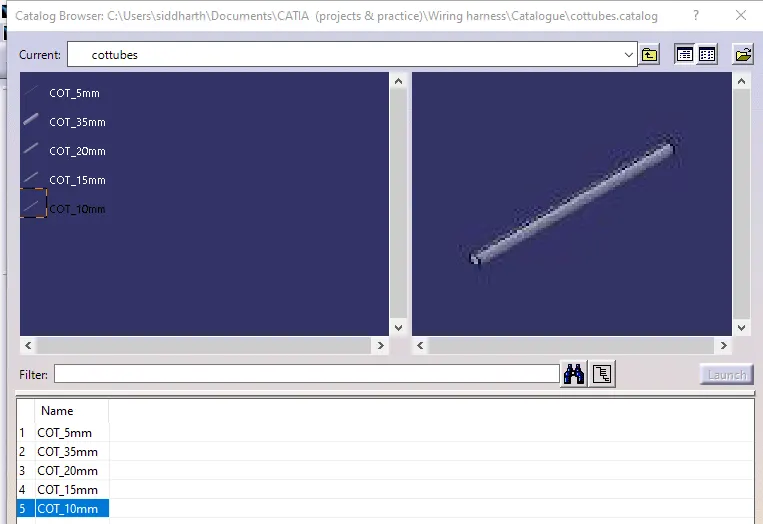
- Apply Protection coverings as required.
- Create Wiring harness flattening for the final geometrical bundle.
- Using the drafting workbench, create a drawing sheet with the flattened wiring harness.
FOLLOWED HARNESS DESIGN METHODOLOGY :
- Distance between two clamps on a straight branch should be maximum of 200mm.
- The minimum branch length should be 50mm.
- Minimum distance between clip and nearest branching point should be 25mm.
- The minimum distance between two straight connection points should be 200mm.
- The minimum distance between two breakout points should be 50mm.
- To limit the number of branches from a single branch point to 4.
- Enough clips clamps shall be provided to ensure positive clearance with surroundings and safety of wiring harness.
- Fir tree clips and other clips can be added to the Geometric bundle as they are electrically defined and are part of the Wire harness routing and should be provided with the Wire bundle package.
- Enough slack should be provided to the wiring harness which help not to get damaged during the opening and closing of Back Door.
- Easy manufacturing, installation, removal and maintenance have to be considered while designing the wire harness.
- The wire routing should be done keeping in mind the cost effectiveness of the bundle package.
- To avoid the harness routing and clipping in blind zones of the operator during the assembly and the service.
- To provide proper slack at end connectors so that there will be no tension on the wire bundle.
- To avoid sharp edges on the sheet metal parts and if it is not possible then provide protection parts to prevent damage of the wire bundle.
- Routing through small structural holes and openings shall be avoided. To minimize chaffing and handling of the wiring harness during installation.
- To provide separate branch points for separate connectors to ensure Poka-Yoke.
- The bend ratio for all the bundle segment is considered to be 1.4.
HARNESS CREATION :