Project 2
WIRING HARNESS ROUTING ON CAR BACKDOOR
Aim : To route the wiring harness on given car backdoor and and prepare flattern view in CATIA V5 by appluing all packaging rules and industry best practices.
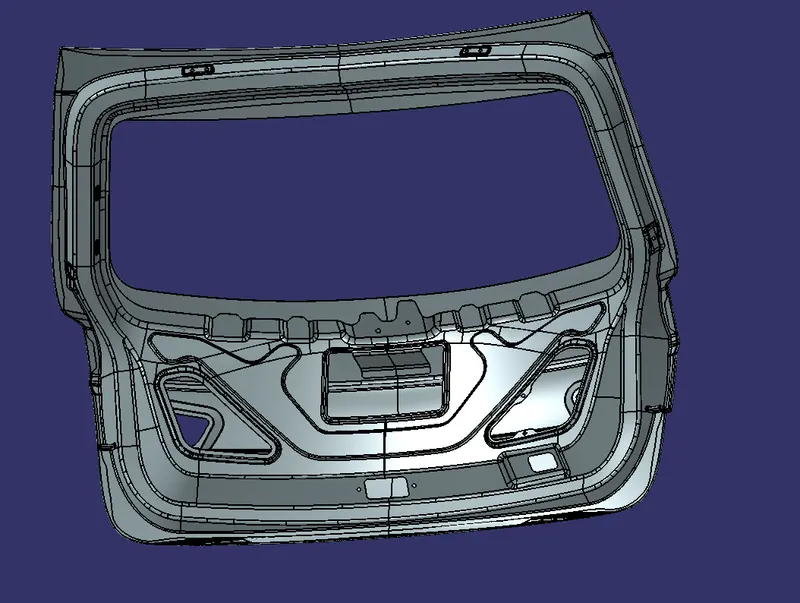
Given Back door data
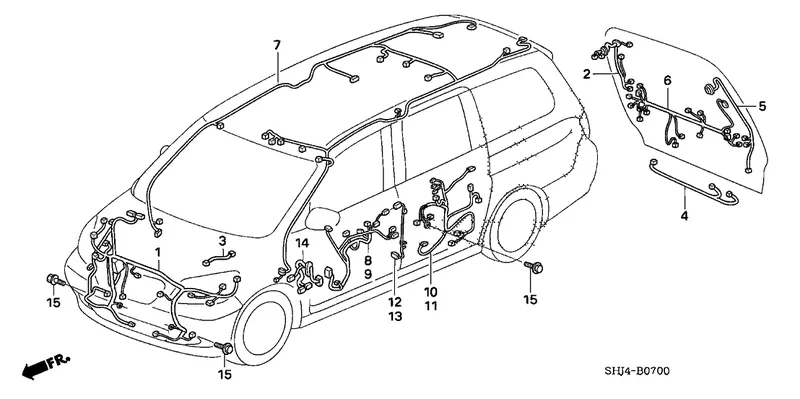
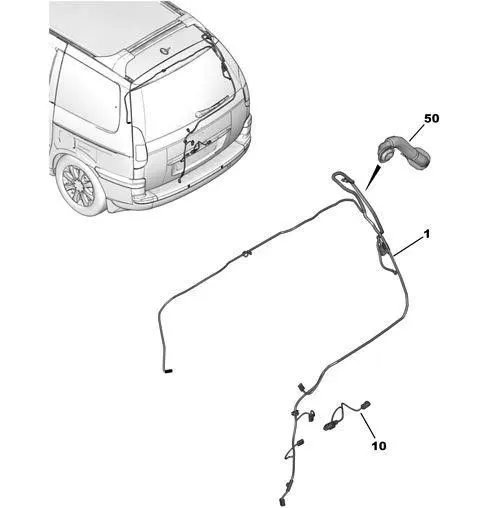
In the case of car doors, as the door of the automobiles opens and closes, the wires bend. If you use the car every day, the door will open and close many times. In case of Back door, the trunk could be open and close many times in daily life. Backdoor wiring harness mainly introduced to connect the brake lights, number plate lights, rear wiper motor, defogger connections. The harness routing should be maintained properly with all the supporting components like clips, clamps with proper protective covers, rubber grommets.
Design process of wiring harness in CATIA V5 :
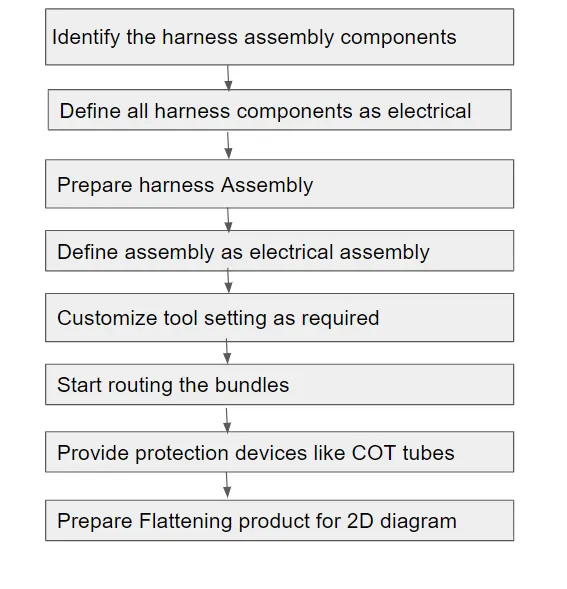
STEP 1.Identify the harness assembly componets.
There are many electrical devices in back door like Rear lamp, Head stop lamp, Rear camera , Number plate light, wiper motor, gas stay etc... We have to identify componets to route beteween this devices.
Selection parameters of connector :
- Electrical connections (Number of poles)
- Operating current of circuits / wire gauges used
- packaging space constrains / Available size
- Operating temperature
- Sealing requirements
- Secondary lock requirements / wedge lock requirements
- Parking requirements (Required of interconnection)
- Applicable standards
- Aesthetics/Bundle dressing requirements (Back shell requirements)
Connector C-776438 is used as interconnection. Number of poles in interconnection decided by number electrical devices going to connect in that wiring Harness. Number of poles here was 12.
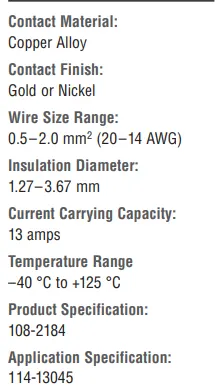
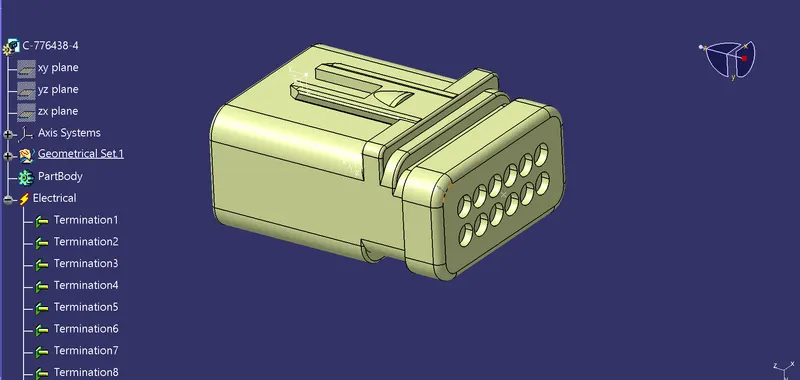
C-776438
For Rear lamp Connector C-1563689 is used. Number of poles is 3. For rear haed lamps connectors with 3 terminal is must needed. It is 12V connector with maximum operating temperature as 130 degeree clecius.
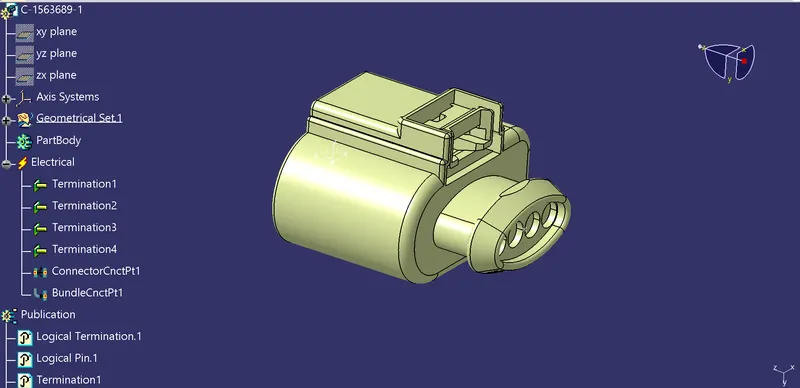
C-1563689
There are four wires in wiper motor so 4 poles connector used here, DT06-4S is used. It is 12 V connector.
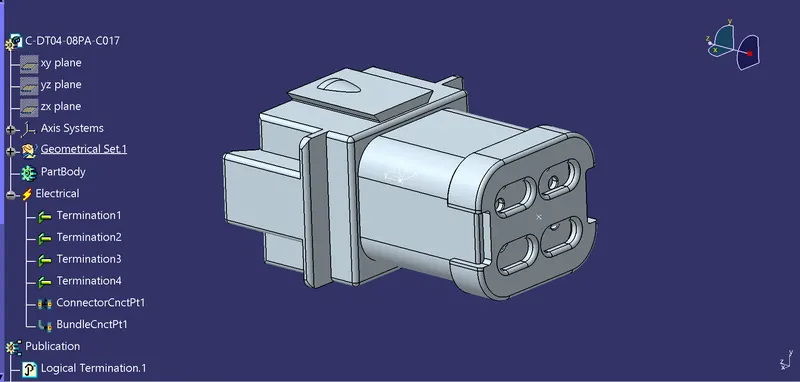
DT06-4s
For rear camera RCA cable consist of 2 wires So two way connectors is used here C-282080.Same connetor is used for number plate light and rear head stop light.
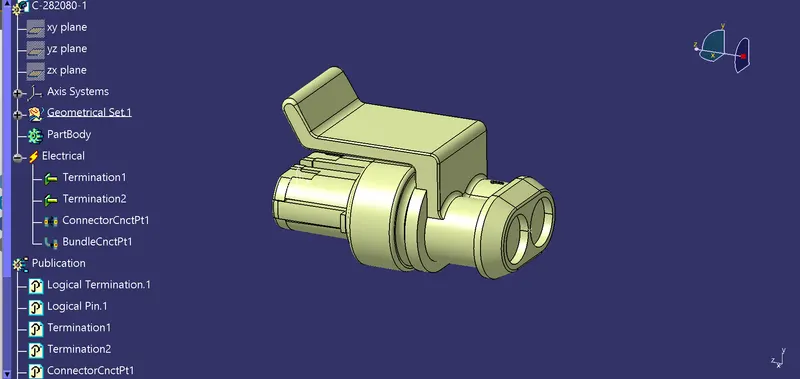
C-282080
For Defogging 3 way connector is used to DT06-3s at both the ends.
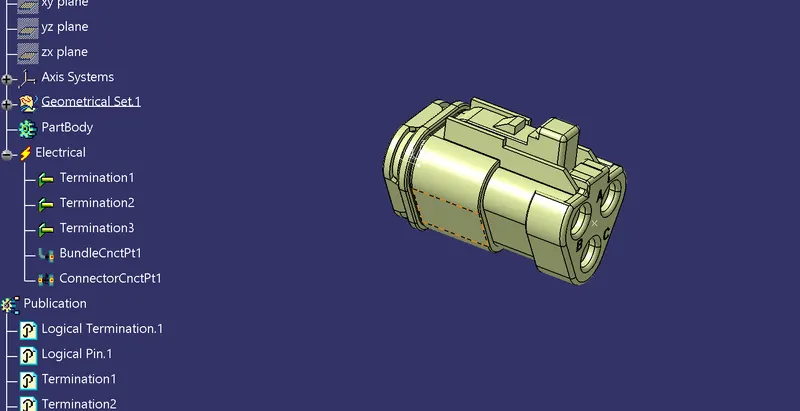
STEP 2 : Define all Harness components as electrical
Identified components for harness should be defined as electrical component.
Bundle connection point and Connector connection points are also defined.
STEP 3 : Prepare Harness assembly
New product file have to be created and place all components in desired locations with sorrounding data.
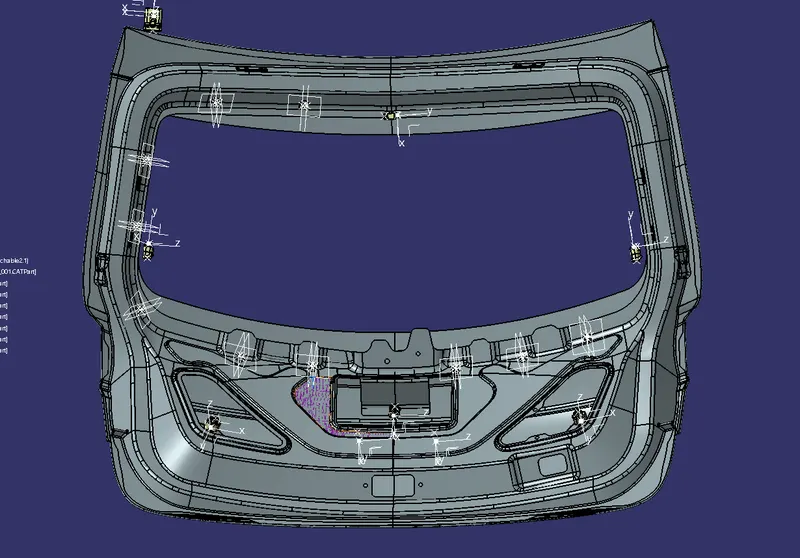
Interconnection palced in Top left side of the back door. From where harness routing going to start.
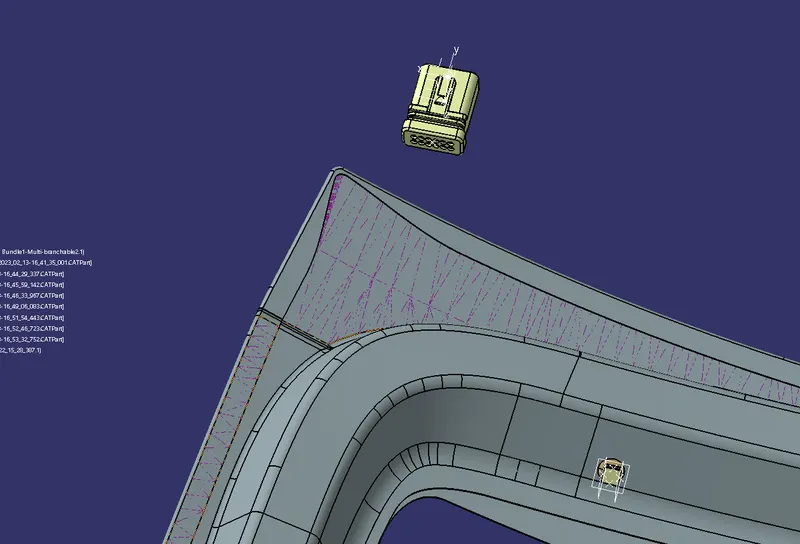
Connector for Rear head lamp is located near Rear lamp area.
 \
\
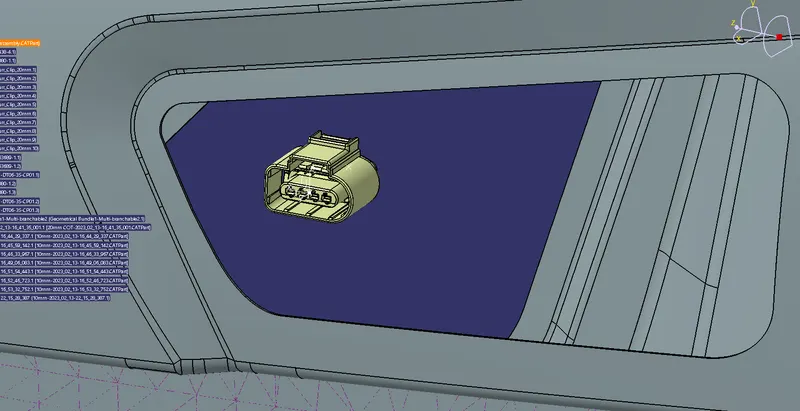
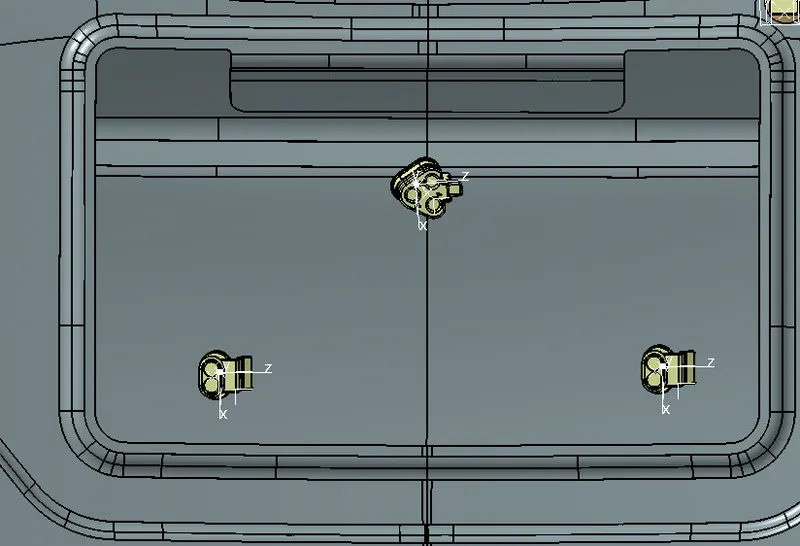
Location of Wiper motor , rear camera and number plate light connector.
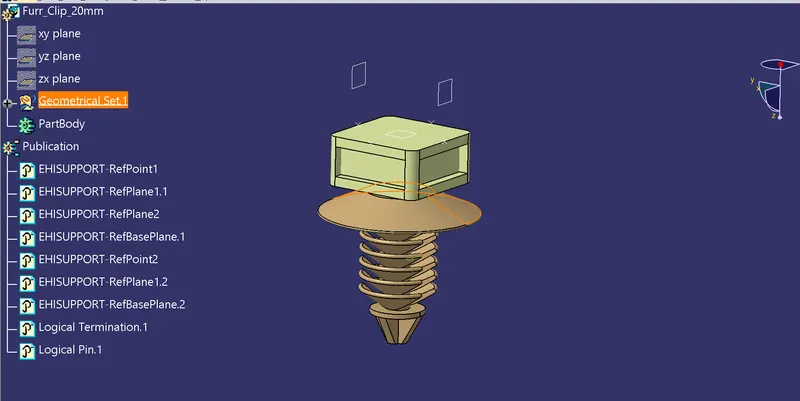
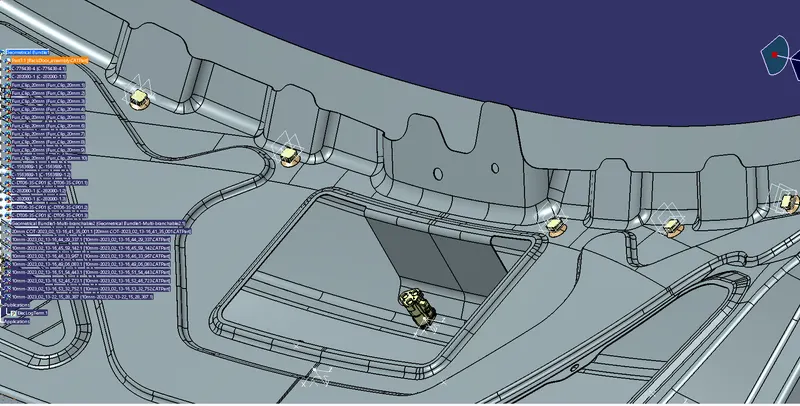
Push clips are placed at distance of 150mm to 200mm on the back door.
STEP 4 : Routing the bundles
There are packaging rules, industry best practices which have to be followed when routing the wiring harness. Some of them mentioned below.
- Wiring harnes routing shall provide easy in manufacturing, accessibility,easy removal and easy maintanance of attached equipment and wiring routing.
- Routing through small stractural holes and openning shall be avoided, to minimize chaffing and handling of the wiring harness during installation.
- Avoid the harness and clipping in the blind zone of operator during harness or in assembly.
- Routing shall offer protection against possible damage through comman misuse such as being a hand fold and temporary support for test equipment.
- Provide additional slack to the harness according to sorroundings and harness bending requirements. If harness paassing through the closures/doors or tail gates the envolpe dimension during openning and closing of doors.shall be considered to provide the slack. Check the harness slack in open and close condition to avoid the excess slack.
- Provide additonal slack to harness branch which connects to the loads and covered with enclosures. This is to ensure that harness has enough length to allow the ease fittment and removal of lodaing during service.
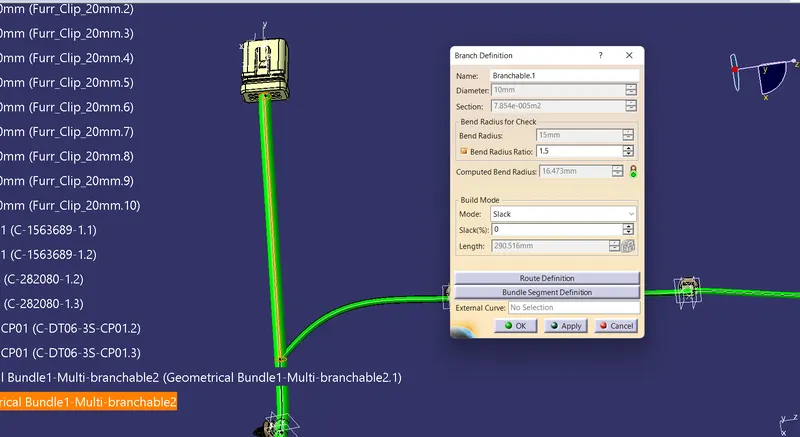
Routing of bundle segment is started from interconnector with 10mm dia and 0 percent slack.
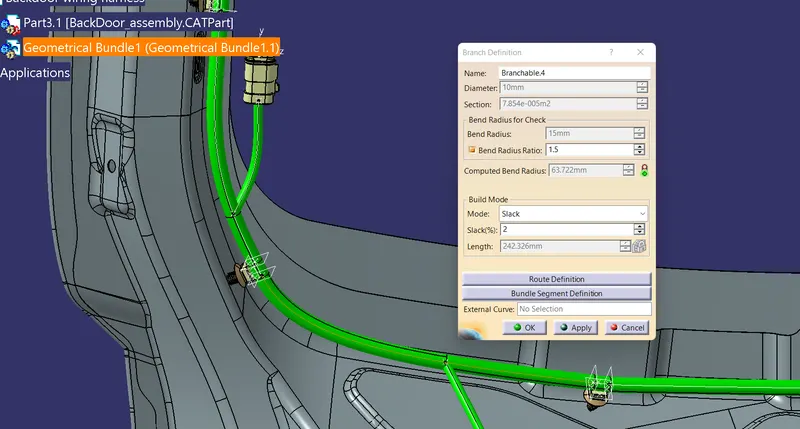
In main bundle segment slack percentage increased where ever needed like wind shield corner area.
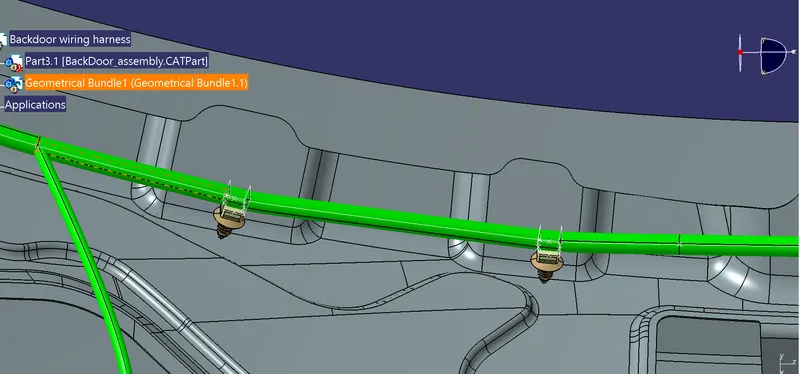
Inbetween main bundle segment pushclips has been added at a distance of 150mm to 200mm.
In main bundle segment first branch point is added for Stop Head lamp with 5mm diameter and two push clips have been added at distance of 150mm to 200mm.
Slack percentage increase in wind shield corner area for visibility criteria.
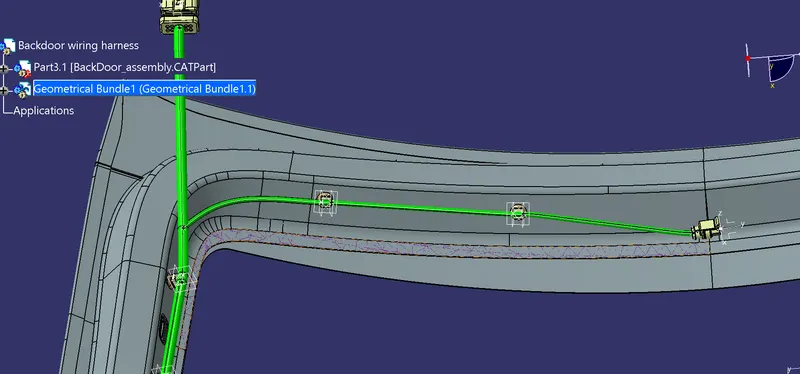
Second branch point is added for left hand rear head lamp. Bundle segment with 6mm diameter and 6 percent of slack. Slack percentage increased for manufacturing and service accessibility.
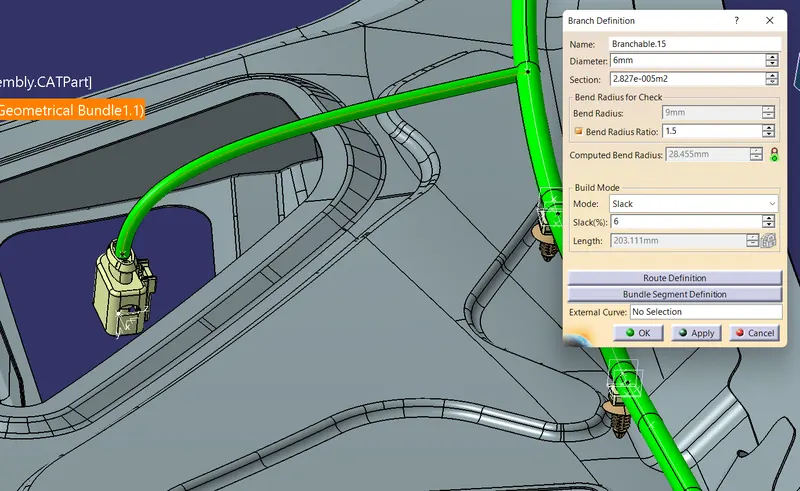
Third branch point is added for wiper motor connector. Bundle segment with 6mm diameter and 10 perceny slack. Slack percentage increased for manufacturing and service aacessbility.
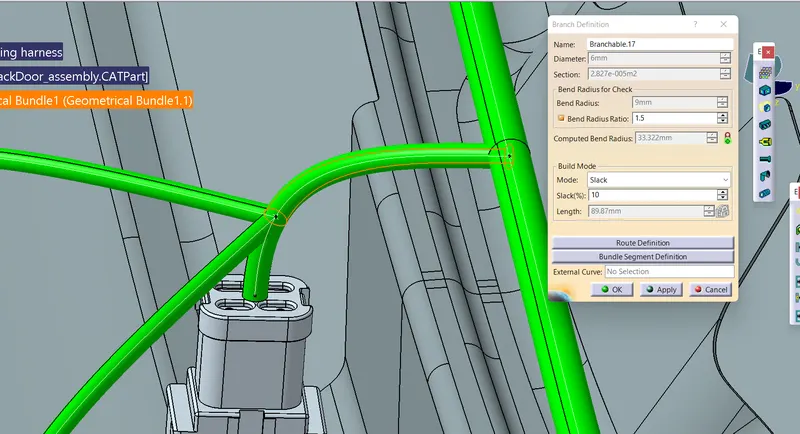
In wiper connector bundle segment another branch point created and bundle segment created for rear camera bundle and Number plate lamp.
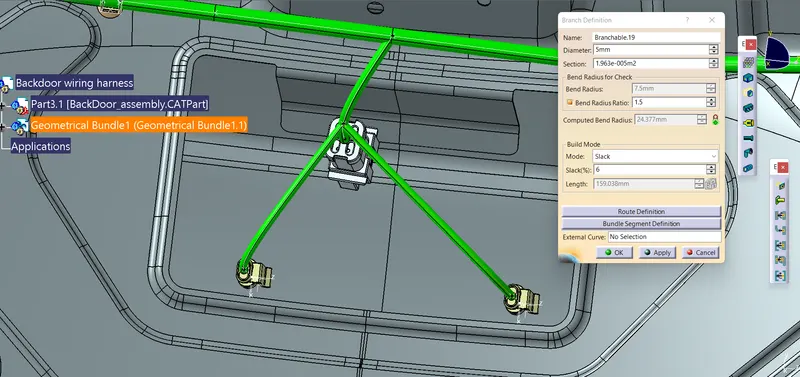
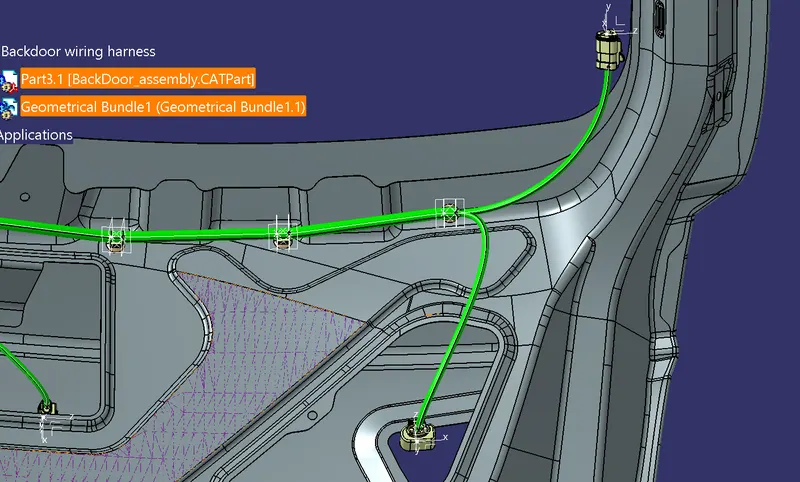
At the end of main bundle segment , another bundle segment created to Defogging connector and for Right hand rear head lamp.
STEP 5 : Add protection coverings
Here corragared tubes are used as protection cover of bundle segment.
In corrgated tubes Start and End extremity have to set 20 to 30 mm from connector.
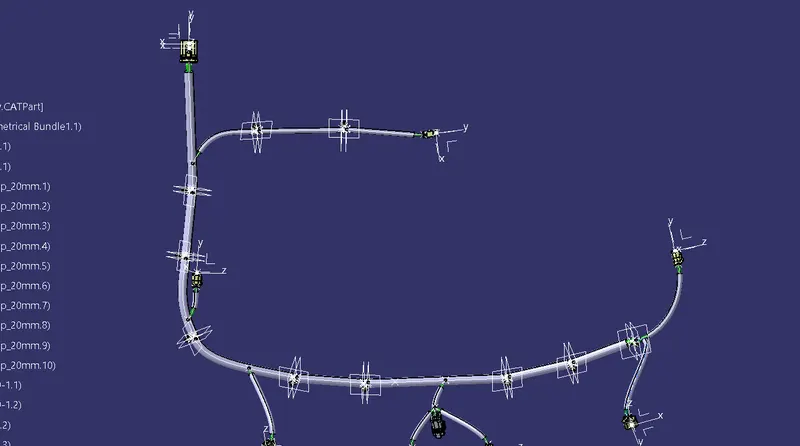
STEP 6 : Create Flatten product of Geomentric bundle for 2D diagram.
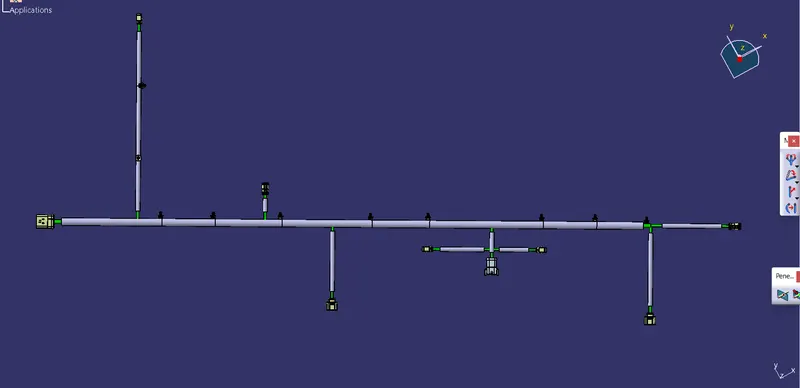
Flattern view created in seperate product file using Flatten Harness assembly.
In Flatten Harness Assembly , Flatten parameters have to be set first and Geomentric bundle have to be imported.
Flattern command used to flattern the geomentric bundle.
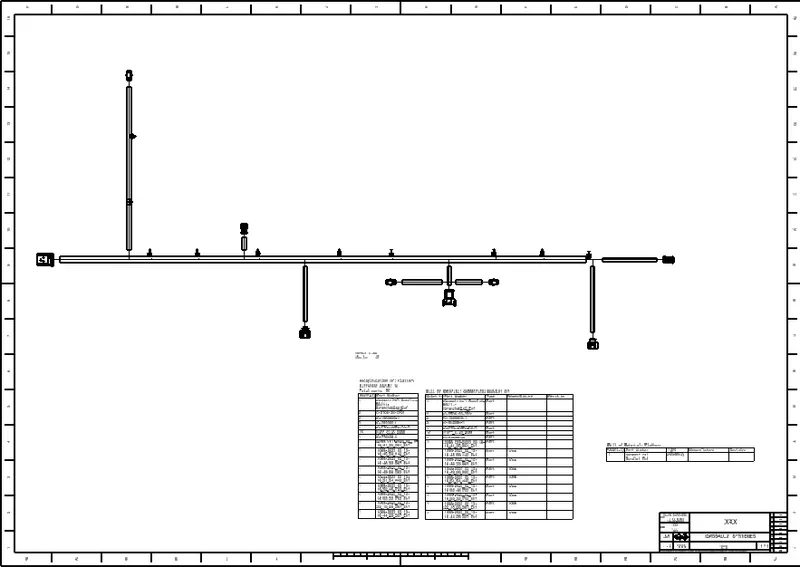
Flatten geomentric bundle front view peojected into the 2D drawing Sheet.
CONCLUSION :
Routing of wiring harness on Backdoor are done and flatten view on 2D diagram prepared using CATIA V5 by applying all packaging rules and industry best practice.