Project
PROJECT 1
Objective: To Create a 3D CAD model in Spaceclaim and make it ready for 3D Printing.
Introduction:
3D printing or additive manufacturing is the construction of a three-dimensional object from a CAD model or a digital 3D model. It can be done in a variety of processes in which material is deposited, joined or solidified under computer control, with material being added together (such as plastics, liquids or powder grains being fused), typically layer by layer.
In the 1980s, 3D printing techniques were considered suitable only for the production of functional or aesthetic prototypes, and a more appropriate term for it at the time was rapid prototyping. As of 2019, the precision, repeatability, and material range of 3D printing have increased to the point that some 3D printing processes are considered viable as an industrial-production technology, whereby the term additive manufacturing can be used synonymously with 3D printing. One of the key advantages of 3D printing is the ability to produce very complex shapes or geometries that would be otherwise impossible to construct by hand, including hollow parts or parts with internal truss structures to reduce weight.
Fused deposition modeling (FDM), which uses a continuous filament of a thermoplastic material, is the most common 3D printing process in use as of 2020.
What is 3D Slicing?
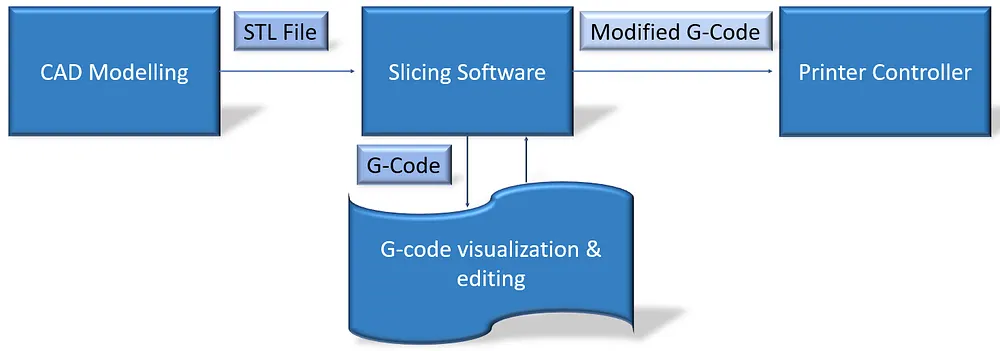
The act of converting a 3D model into a set of instructions for the 3D printers is called Slicing. Quite literally, it ‘slices’ the 3D model into thin layers, and further determine how each layer should be printed (the tool path) to get minimum time, best strength, etc.
A slicer software takes a 3D CAD model which is generally an STL format file and converts it into a g-code that gives commands to the printer. Following are the three major types of settings that can be controlled in a slicer software —
- Print Settings: layer heights, shells, infill per cent, and speed
- Filament Settings: filament diameter, extrusion multiplier, the temperature of the extruder, and print bed.
- Printer settings: nozzle diameter, print bed shape (L x W), and Z offset.
In the next few sections, we will delve into some of these Slicer settings that will directly impact the 3D print quality of the models.
The idea is to create a TOY BASKET
First of all, the 3D model has created in Spaceclaim.
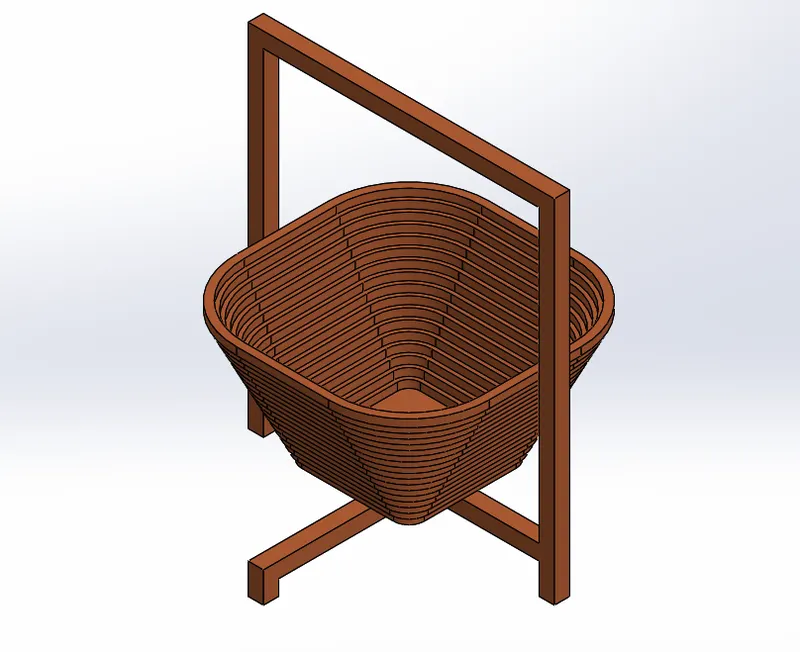
We won't be able to 3D print the CAD model as a single part because it will need lot of support structures. It will take lot of filaments.
So inorder to avoid that, we have splitted the part into three component and placed it accordingly to slice it perfectly.
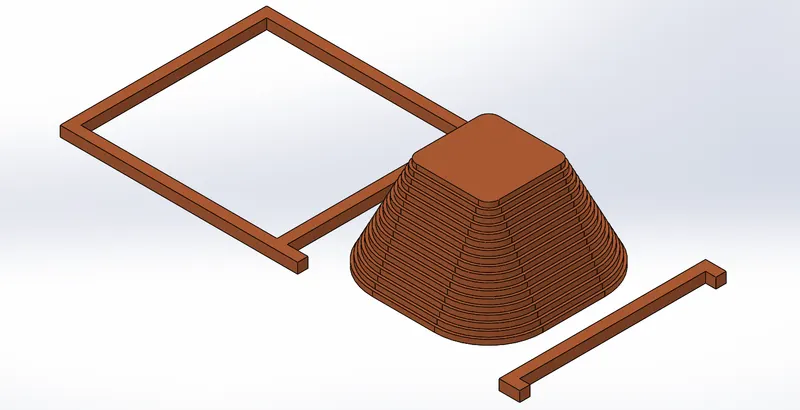
Now tha CAD model has been saved into STL format inorder to attach in the Slice software.
Now the CAD model is attached in the slicer.
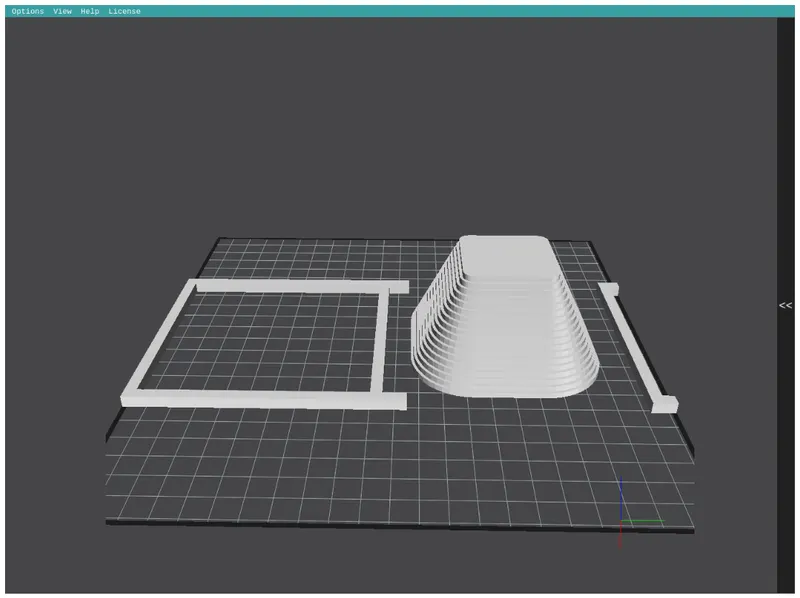
Now the slicing has done and G-code for the printing operation has generated.
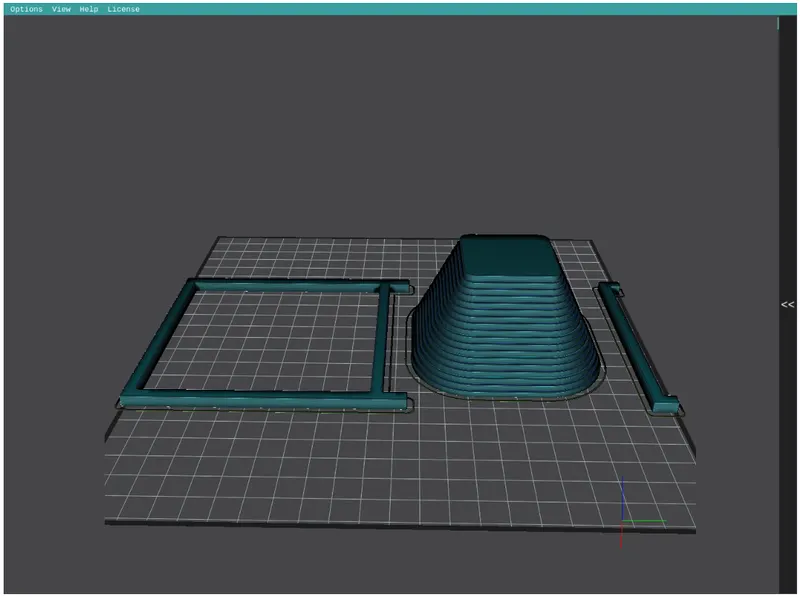
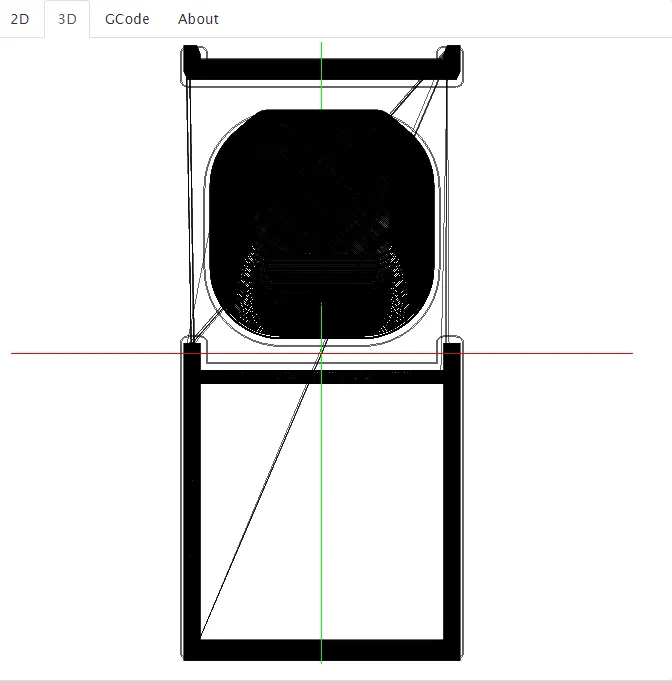
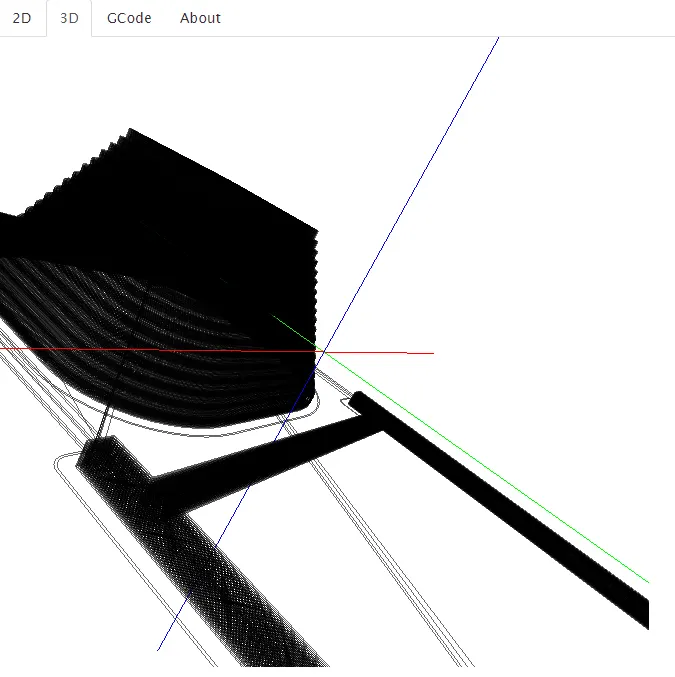
Inorder to view or modify the G-code, we can use G-code visualizer.
The G-code has been attached in the G-code visualizer.
Model Info:
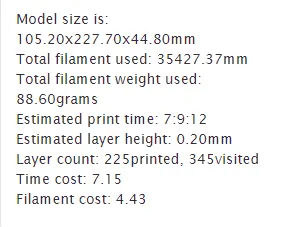
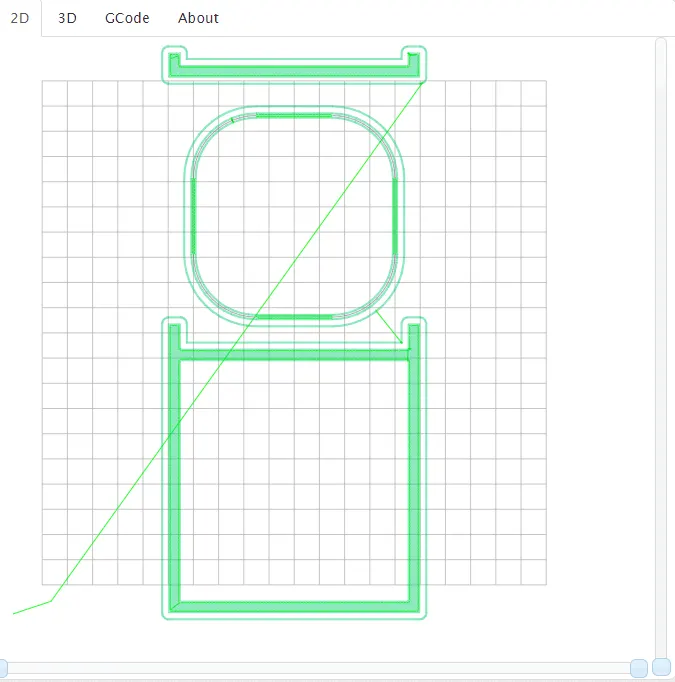
2D Image generated from the G-code:
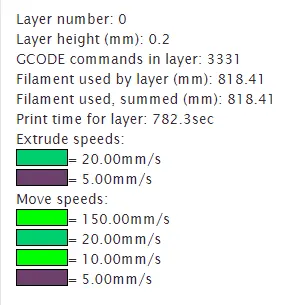
Layer Info:
3D Image generated from the G-code:
Conclusion:
Learnt about what all the procedures are there in between a 3D CAD model to 3D printer.