Radar Mast & Final Assembly of Yacht
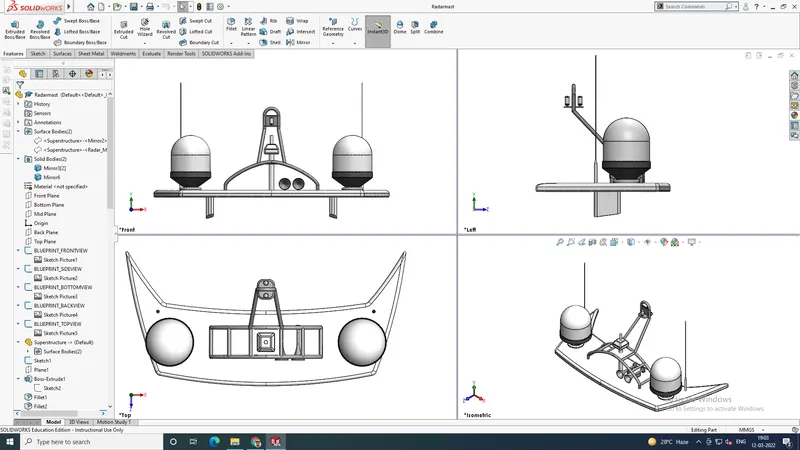
Radar Mast
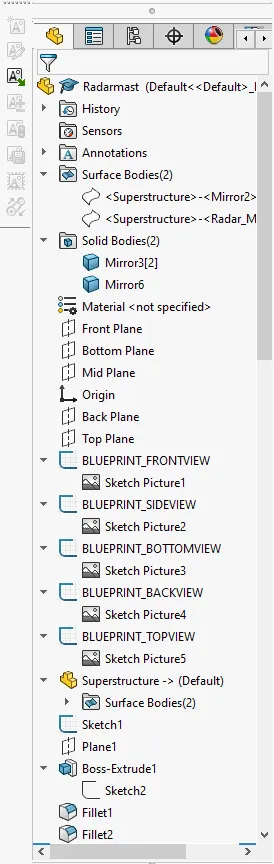
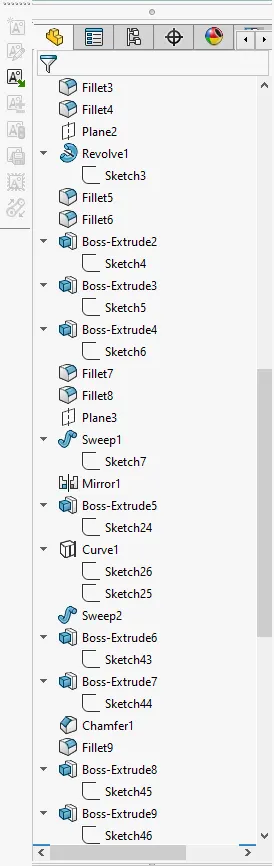
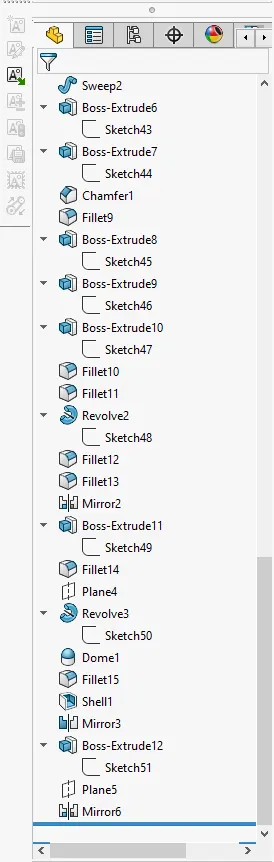
Feature Tree
Yacht Assembly
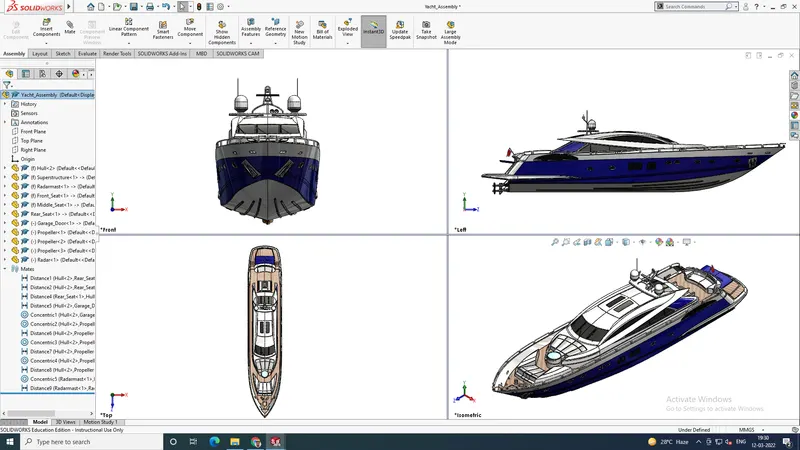
MODELLING OF SUNSEEKER PREDATOR YACHT ON SOLIDWORKS
Introduction
In this project, we learnt about designing a Sunseeker Predator Yacht using Solidworks. At first, we learn about each command and apply it to create each part. With the help of the blueprint, we get the idea about sketching and dimensioning the parts. After designing the parts, we study about assembling each part to create the Sunseeker Predator Yacht.
The parts we designed for creating the Sunseeker Predator Yacht are mentioned below:
- Propeller
- Radar
- Hull
- Garage Door
- Rear Seat
- Front Seat
- Middle Seat
- Super Structure
- Radar Mast
Objective
- To learn the commands in Solidworks
- To design parts with the use of blueprints
- To assemble the parts
- To render the Sunseeker Predator Yacht on PhotoView 360 and Solidworks Visualize.
Design Approach
There are two types of design approach for modelling in Solidworks
- Bottom Up Approach: You first design and model parts, then insert them into an assembly and use mates to position the parts. To change the parts, you must edit them individually. These changes are then seen in the assembly.
- Top Down Approach: One or more features of a part are defined by something in an assembly, such as a layout sketch or the geometry of another part. The design intent comes from the top, which is the assembly, and moves down to the parts.
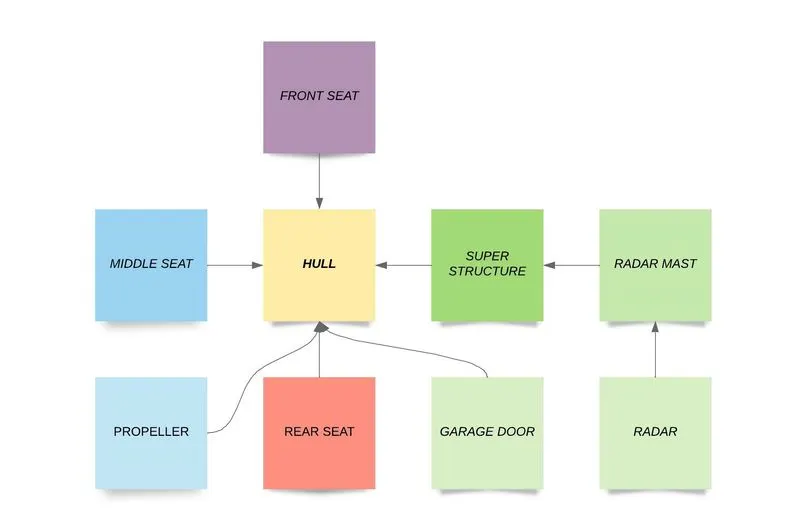
Here we have used Bottom Up Approach because it is the simplest method for creating an assembly.
Here are the some of the commands which we used to complete this project model:
- Extrude and Extrude-Cut
- Revolve and Revolve-Cut
- Swept and Swept-Cut
- Lofted Base/Boss
- Fillet
- Chamfer
- Linear Pattern
- Circular pattern
- Curve Driven Pattern
- Sketch Pattern
- Mirror
- Split Line
- Shell
- Reference Geometry (Plane & Axis)
- Curve (Project & Composite)
- Dome
- Split
- Combine
- Extrude Surface
- Revolve Surface
- Sweep Surface
- Trim Surface
- Offset Surface
- Extend Surface
- Thicken
- Fill Surface
- Boundary Surface
- Knit Surface
- Mates
Now let us see how these commands or features helped us in creating the parts and assembly of Sunseeker Predator Yacht.
-
Propeller
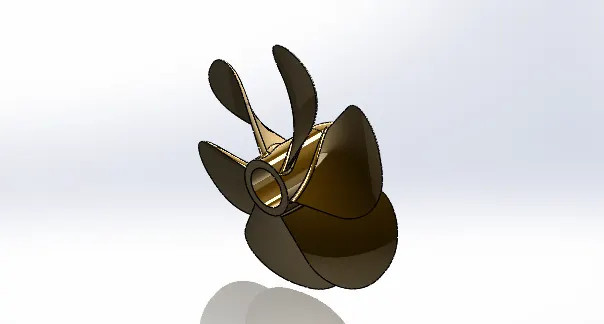
It is a fan type structure which is designed in such a way to propel the boat forward. The transmitted power is converted from rotary type to thrust to propel it.
The features used are:
- Sketch
- Revolve
- Loft
- Cut Extrude
- Circular Pattern
- Fillet
Appearance (RGB): 71, 45, 0
-
Radar
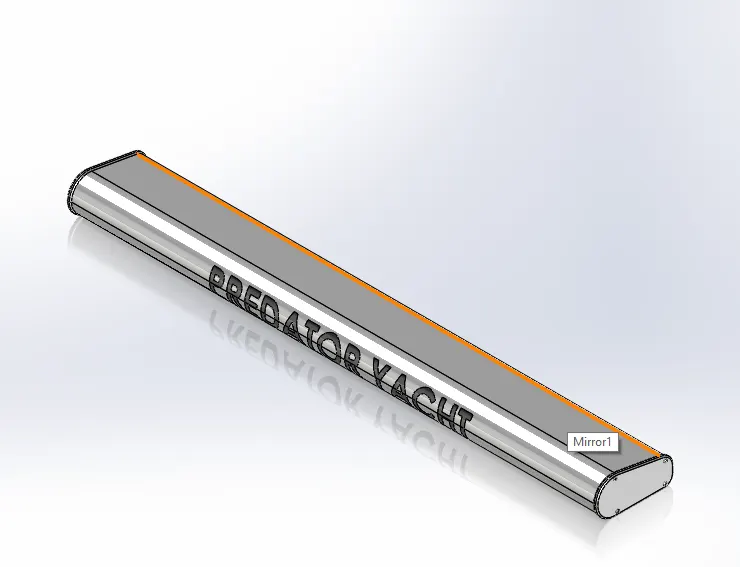
A system attached on top of the radAR mast to transmit and receive signals. It is basically a ranging and detecting system which is used in every ship.
The features used are:
- Sketch
- Boss Extrude
- Fillet
- Cut Extrude
- Sketch Pattern
- Mirror
- Split Line
Appearance (RGB):
- 255,255,255
- 70,70,70
-
Hull
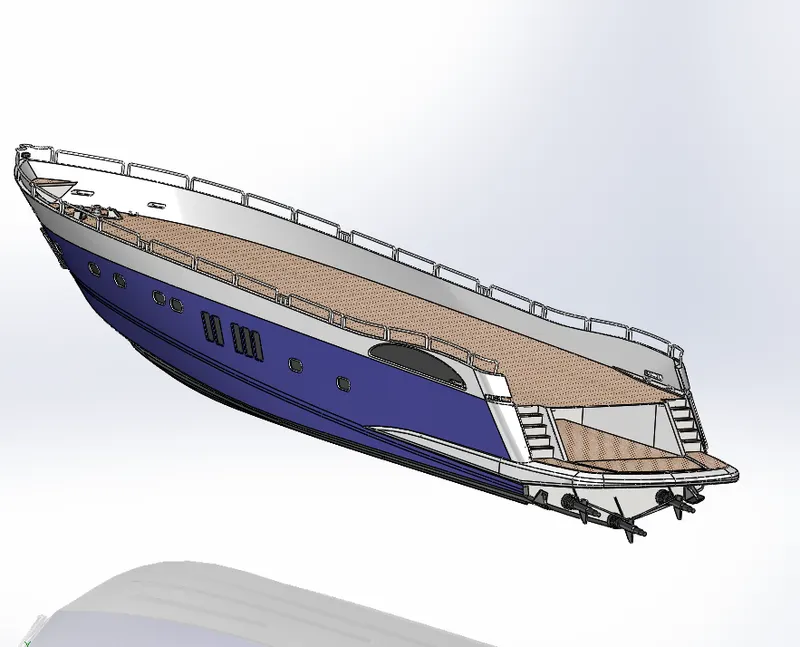
The part which is in contact with the water body. The hull is supposed to be made watertight. The portion of the hull which is in contact to the last surface point of water is called the water line.
The features used are:
- Sketch
- Projected Curve
- Lofted Surface
- Fill Surface
- Surface Extrudes
- Surface Trim
- Extend Surface
- Shell
- Boss Extrude
- Cut Extrude
- Fillet
- Chamfer
- Sweep
- Plane
- Dome
- Helix
- Linear Pattern
- Delete Face
- Revolve
- Combine
Appearance (RGB) (RGB)
- 255,255,255
- 0,0,128
- 64,64,64
- 192,192,192
- 0,0,0
- 128,128,128
- 192,169,146
-
Garage Door
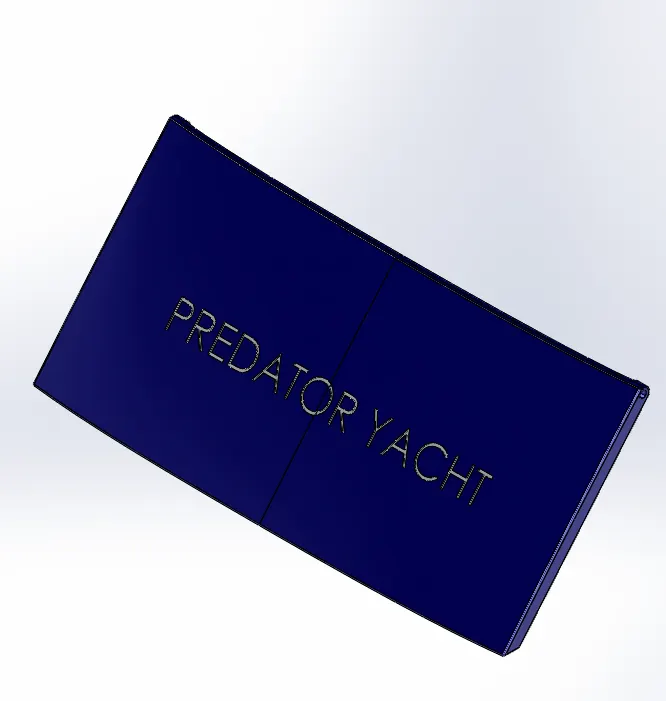
A big door attached behind which either operates manually or with a motor. A garage is usually used to store automobiles in a yacht.
The features used are:
- Sketch
- Cut Extrude
- Fillet
- Mirror
- Shell
Appearance (RGB) (RGB):
- 0,0,128
- 255,255,255
-
Front Seat
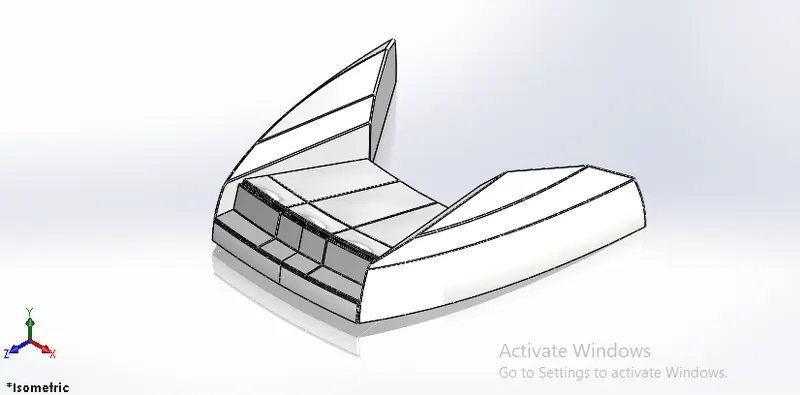
The features used are:
- Sketch
- Sweep Surface
- Surface Extrude
- Trim Surface
- Knit Surface
- Surface Loft
- Revolve
- Chamfer
- Fillet
- Dome
- Mirror
Appearance (RGB):
- 192,192,192
- 255,255,255
-
Middle Seat
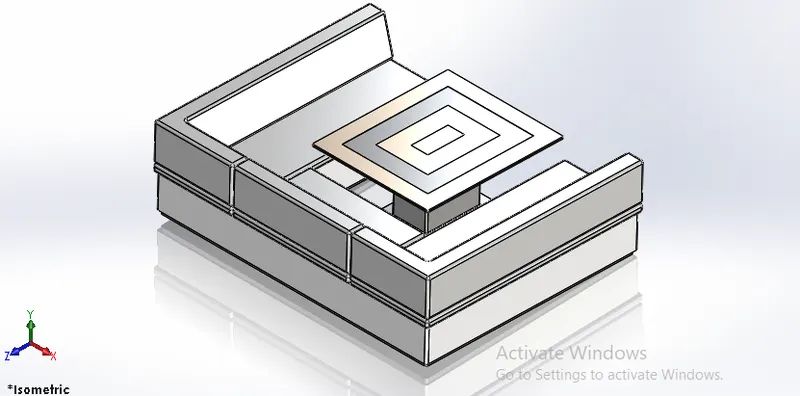
The features used are:
- Sketch
- Boss Extrude
- Cut Extrude
- Chamfer
- Fillet
- Mirror
Appearance (RGB):
- 192,192,192
- 120,120,120
- 255,255,255
- 190,169,146
-
Rear Seat
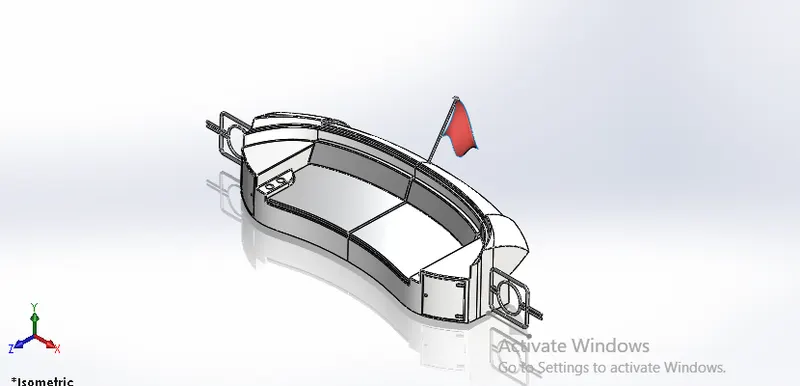
The features are used are:
- Sketch
- Surface Seep
- Surface Offset
- Surface Trim
- Ruled Surface
- Knit Surface
- Extend Surface
- Surface Loft
- Boss Extrude
- Chamfer Revolve
- Revolve
Appearance (RGB):
- 128,128,128
- 255,255,255
- 192,192,192
- 255,255,227
- 192,0,0
-
Super Structure
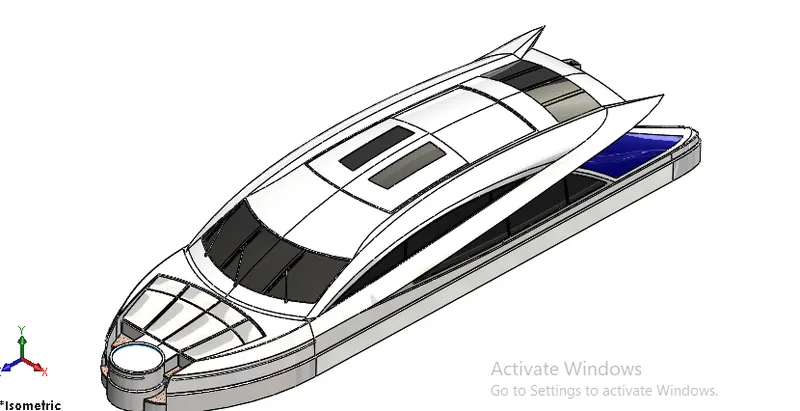
The part which emerges from the deck. It consists of all kinds of building and infrastructures of the yacht.
The features used are:
- Sketch
- Projected Curve
- Lofted Surface
- Fill Surface
- Surface Extrudes
- Surface Trim
- Extend Surface
- Boss Extrude
- Cut Extrude
- Fillet
- Chamfer
- Sweep
- Plane
- Dome
- Delete Face
- Revolve
- Combine
Appearance (RGB):
- 255,255,255
- 0,0,128
- 64,64,64
- 192,192,192
- 0,0,0
- 128,128,128
- 190,169,146
- 192,255,255
-
Radar Mast
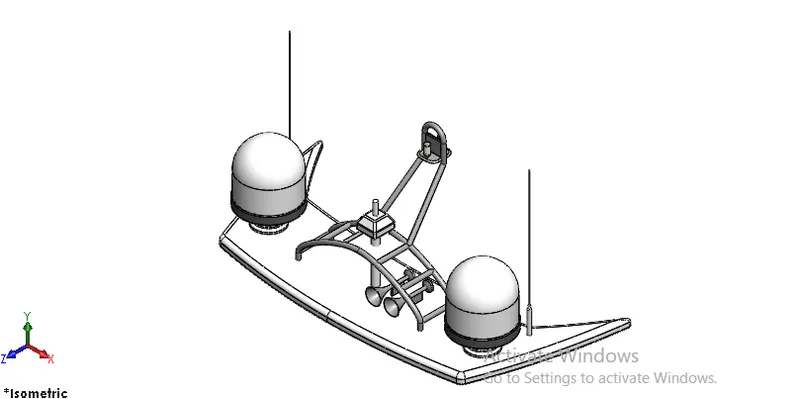
The mechanism used for navigation of the ship. It also supports the life boats and other accessories of the ship.
The features used are:
- Sketch
- Revolve
- Boss Extrude
- Sweep
- Shell
- Fillet
- Chamfer
- Mirror
ASSEMBLY OF SUNSEEKER PREDATOR YACHT
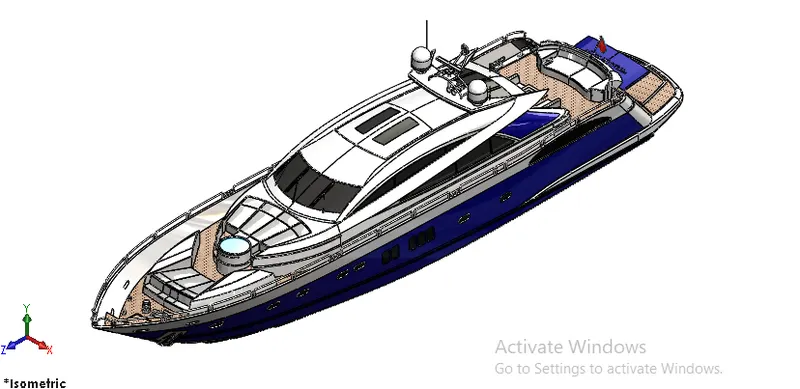
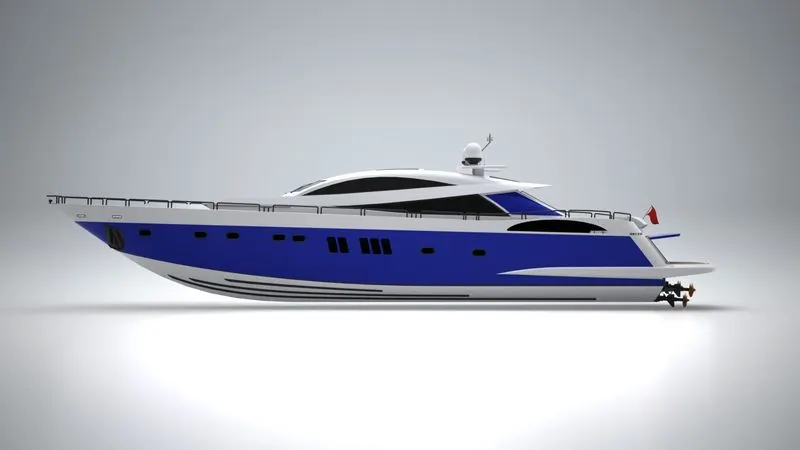
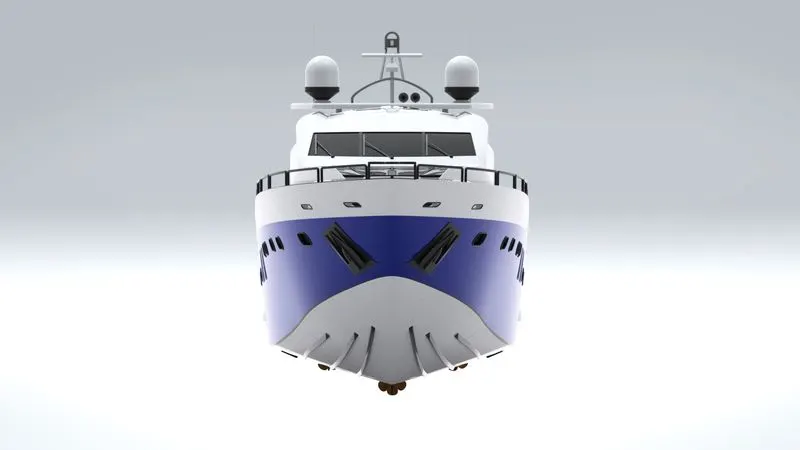
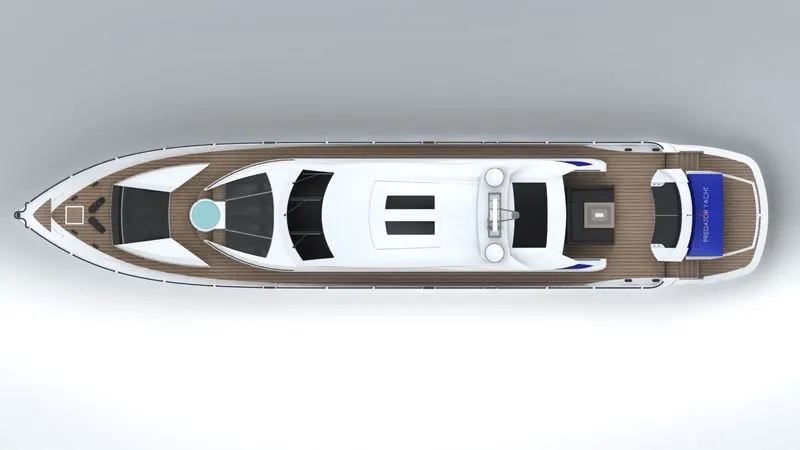
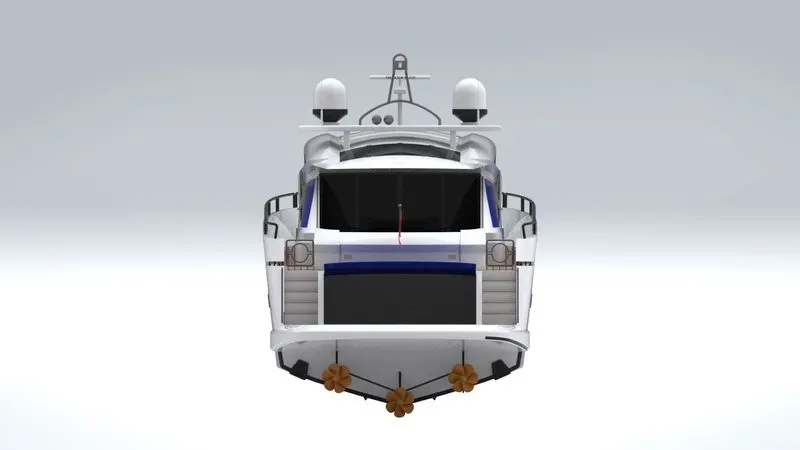
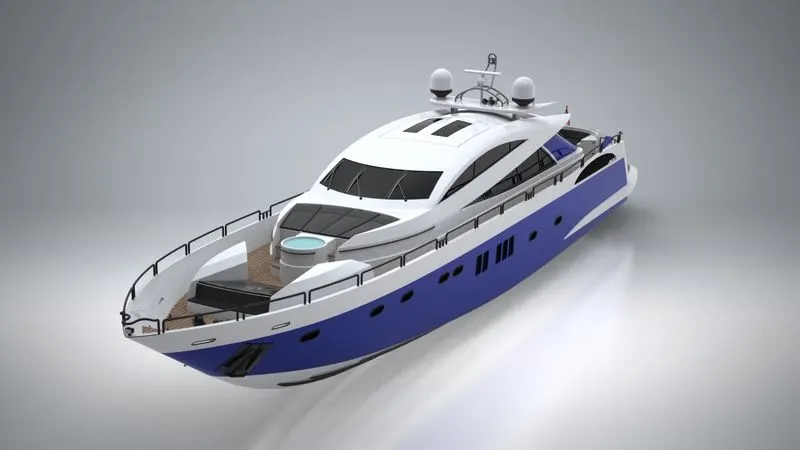
We have created all the parts and imported them to the assembly. First of all, we fixed the hull part and with reference to the hull, we connected all the other parts using mates. Different types of mates were used for this assembly. We have also used the planes of the hull as reference to align other parts. Some of the parts were modified during the assembly to make it perfect according to requirement.
RENDERED IMAGES OF SUNSEEKER PREDATOR YACHT
Conclusion
The project on Sunseeker Predator Yacht helped us understand the different portions of solidworks such as Solid modelling, Surface modelling, Assembly Modelling, Rendering etc. It helped us to have knowledge on different commands. It helped us to get the idea that only with a proper blueprint, we can create the model using our own dimensions.