Project 1-Meshing of Rear Wheel Holder challenge
AIM:
- Meshing of Rear Wheel Holder as per the given quality criteria using Hypermesh.
OBJECTIVES OF THE PROJECT:
Target Element Length = 5 Units
| S.N | Quality Criteria | Value |
| 1 | Aspect Ratio | 5 |
| 2 | Skewness | 45 |
| 3 | Warping | 15 |
| 4 | Taper | 0.5 |
| 5 | Min. Length | 2 Units |
| 6 | Max. Length | 8 Units |
| 7 | Min angle Quad | 45 |
| 8 | Max angle Quad | 135 |
| 9 | Min angle Tria | 20 |
| 10 | Max angle Tria | 120 |
| 10 | Tria % | 10 |
BODY OF THE CONTENT:
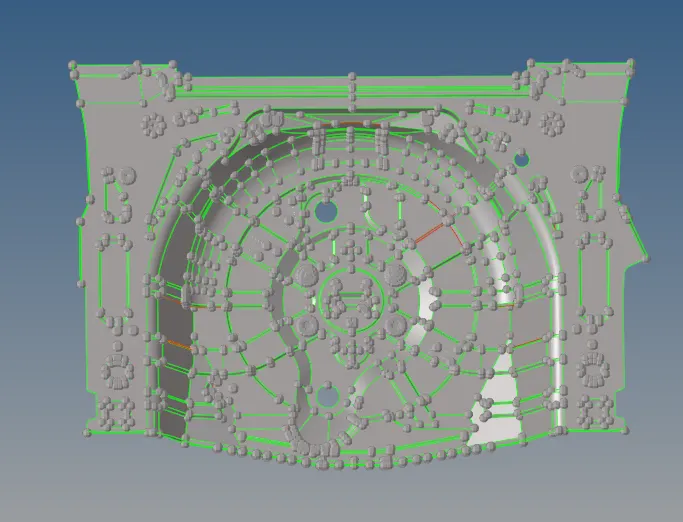
CLEANUP THE MODEL
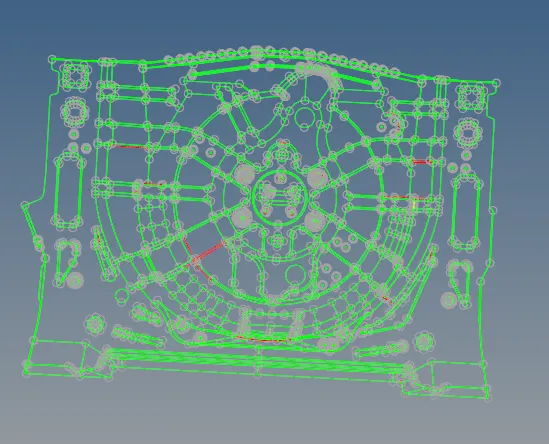
- As we can see, this model has some defective area and some pin holes are there. so fixing it using a delete and defeaturing command.
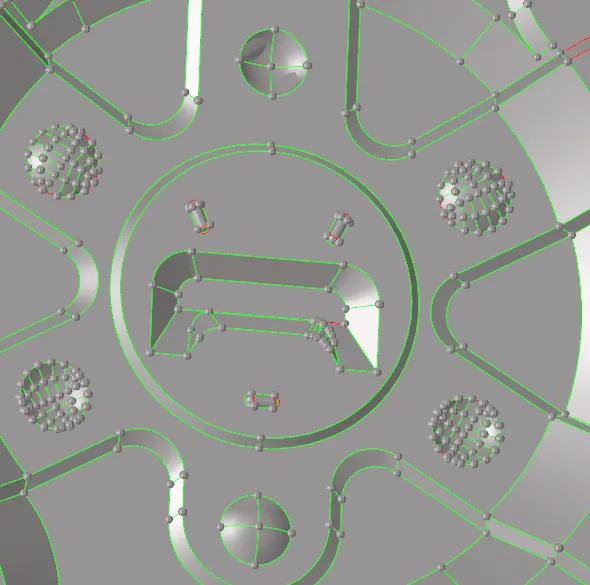
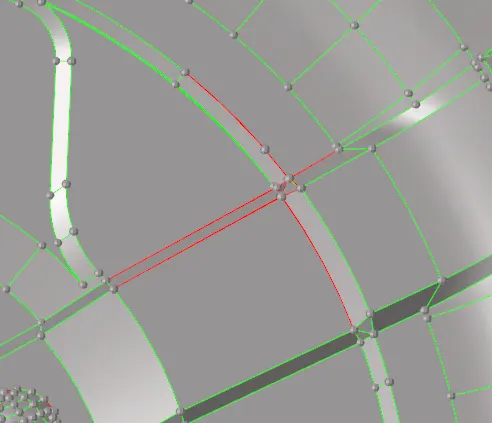
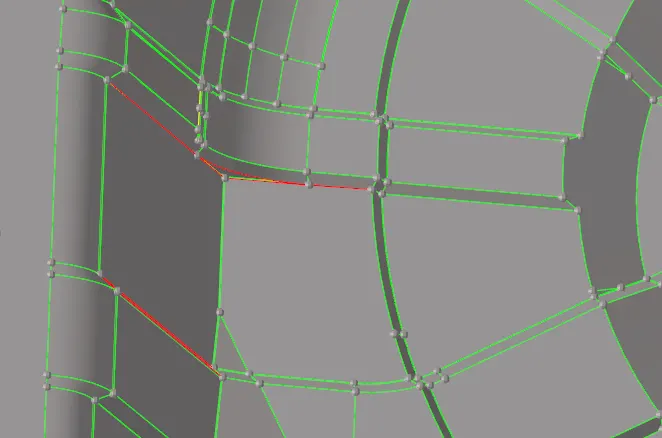
-
At more locations there are defects in the model, as below and corrected it using node edit, surface edit and edge edit command.
GENERATING MID-SURFACE & GEOMENTRY CLEANUP:
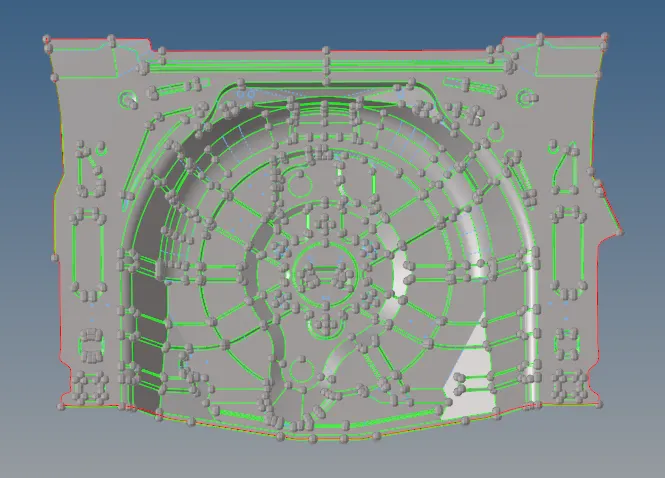
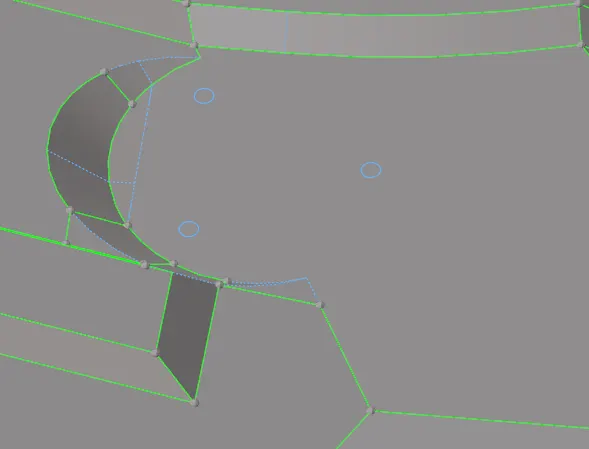
- After cleaning all the defected surfaces, still not generating a proper mid-surface. Tried all extraction options Like, 'offset+planes+sweeps', 'offset+planes', 'offset', 'skin offset', but not gotted surface as required (can see in below image).
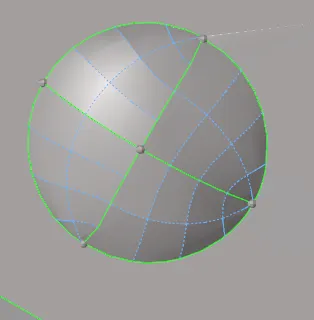
- Later, using 'surface edit > offset' the remaining surface is generated. see the below image.
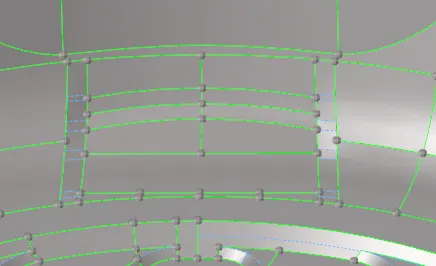
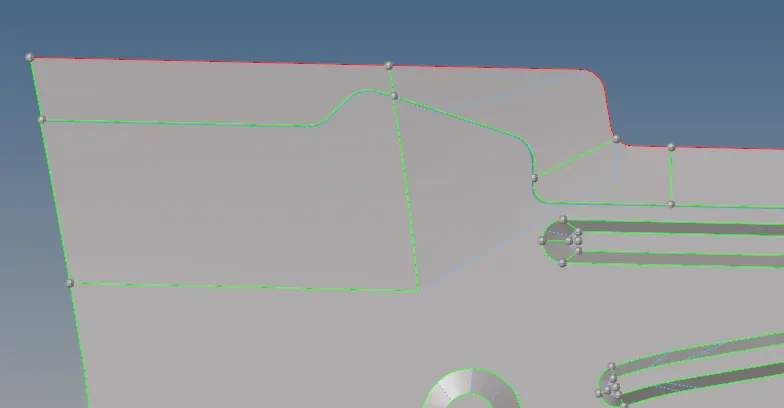
- can see the topology process is done in the mid-surface in below images.
MESHING:
- After geometry cleanup its time to generate the mesh.
- Before mesh don't forget to set the quality criteria in the model as per given.
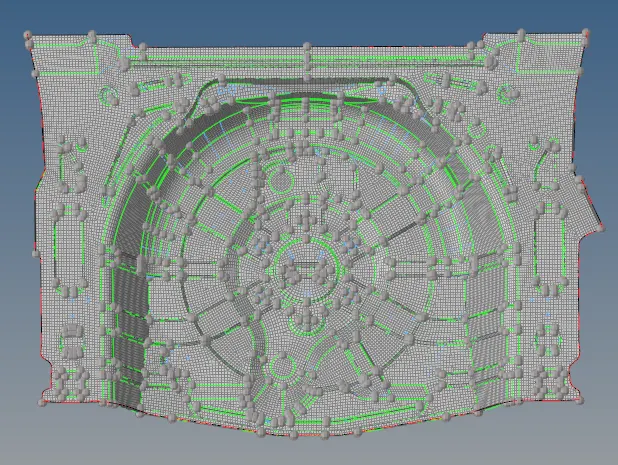
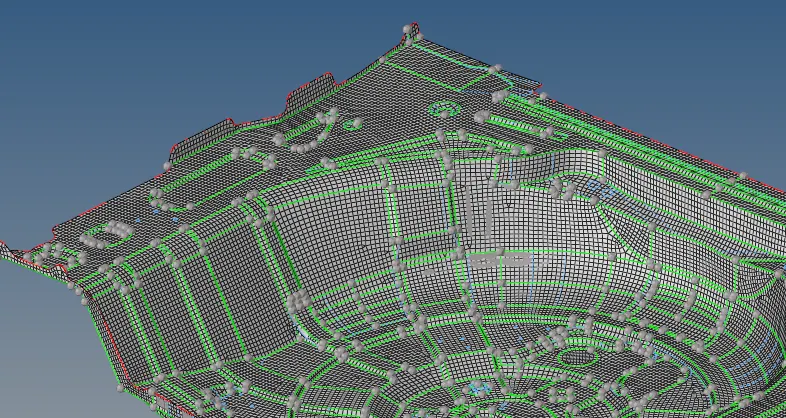
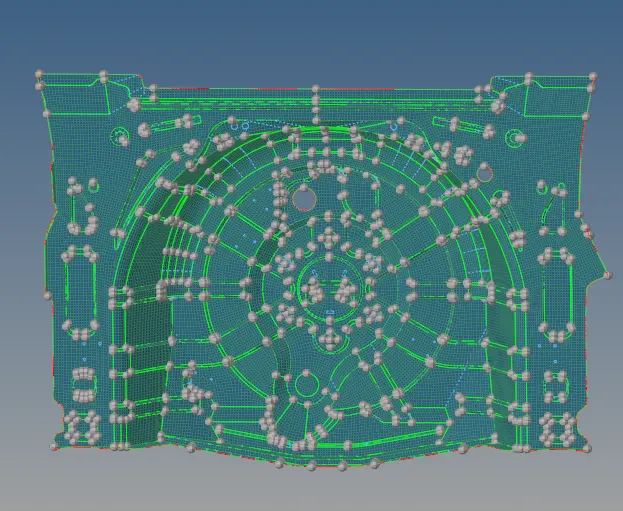
- Here as per the model shape, Mesh is started from its center parts to the periphery direction.
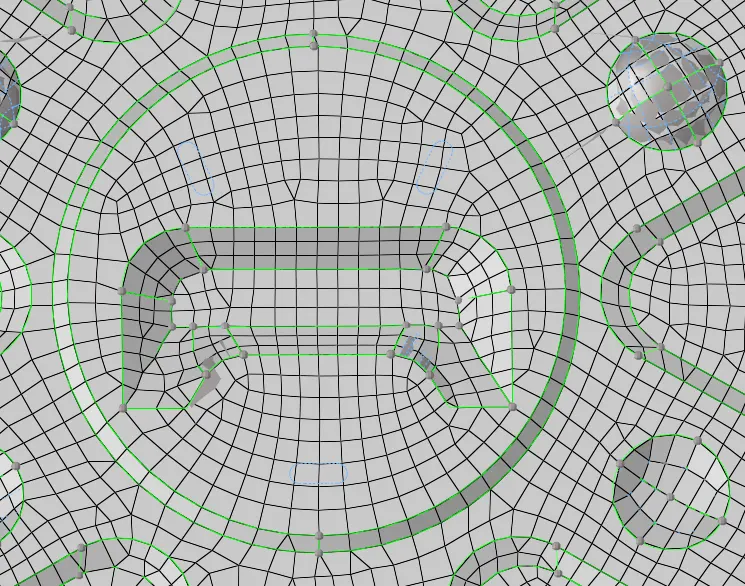
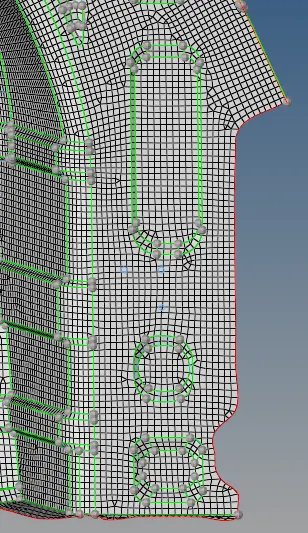
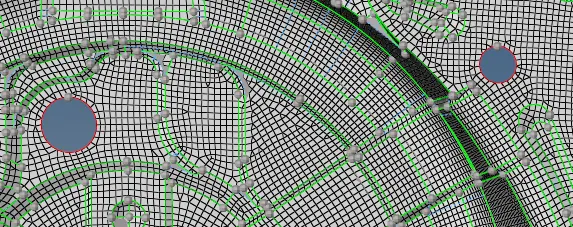
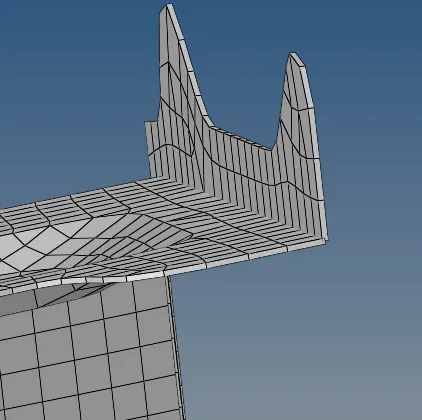
- At the initial level mesh is generated from one by one area, but as there are many areas , and if I go through one by one, it will consume more time. So, the mesh of the whole component is generated in one step, then used 'rebuild' option to get a better mesh.
- Then quickly check the all area, if found any not eligible mesh, then correct it.
- see some images as per below.
- Then final step is to assign a thickness to the model via creating a property card with 0.75 thickness.
LEARNING OUTCOMES:
- With this model I learned the commands in a new way. While manual offsetting I learn the use of duplicate options in different ways, also I tried the 'untrim' option in 'surface edit'.
CONCLUSION:
- This model has a only 0.75 thickness, But it has a many feature. Where, it take some more time to generate the good mesh. So, as per me, instead of going one-by-one to generate a mesh, it will consume more time. So, I decided to mesh the whole component in one shot and went through it.